# Avo Documentation
> Avo is the data governance platform that keeps every analytics event defined consistently, implemented reliably, and trusted across every team. Built for both humans and AI agents, Avo lets product, data, and engineering teams design a single source of truth tracking plan (events, properties, metrics, journeys), audit it for quality and naming consistency, generate type-safe tracking code, monitor live data quality, and publish definitions to tools like Amplitude, Mixpanel, and Segment. Through the Avo MCP, agents like Claude, Codex, and Cursor can search the tracking plan, design tracking from a PRD or Figma onto a branch using your existing patterns and rules, generate the code snippets and instructions so developers and their agents implement correctly without opening their tracking plan in another tool, and query product data accurately because Avo knows your metric definitions.
This file concatenates the full text of every Avo documentation page.
---
Source: https://www.avo.app/docs/index.md
# Get Started With Avo
There are a few ways to get started in Avo, all depending on your immediate needs:
- [**Try the Avo workflow**](#try-the-avo-workflow-for-your-next-analytics-release): For teams that want a solid workflow for their next analytics release, create a branch in Avo and define new events and properties visually in context of the user journey
- [**Find (and fix) your data quality issues**](#find-and-fix-your-data-quality-issues): For teams that are struggling with data quality, install Inspector and get a view of all your data quality issues in one place
- [**Audit your tracking plan**](#audit-your-tracking-plan): For teams that want a single source of truth for their tracking plan and review their event and property definitions, import your existing tracking plan into Avo or manually create one
You can do these steps in any order or in parallel, and skip those you
don’t think apply to you.
## Try the Avo workflow for your next analytics release
If you have an analytics release coming up in the next few days, we
highly recommend you try out the Avo Workflow for that release.
The Avo workflow is a visual way to design your data structures in context of the user journey and covers all the steps required to plan, review,
request implementation, implement, validate and publish your analytics
release.
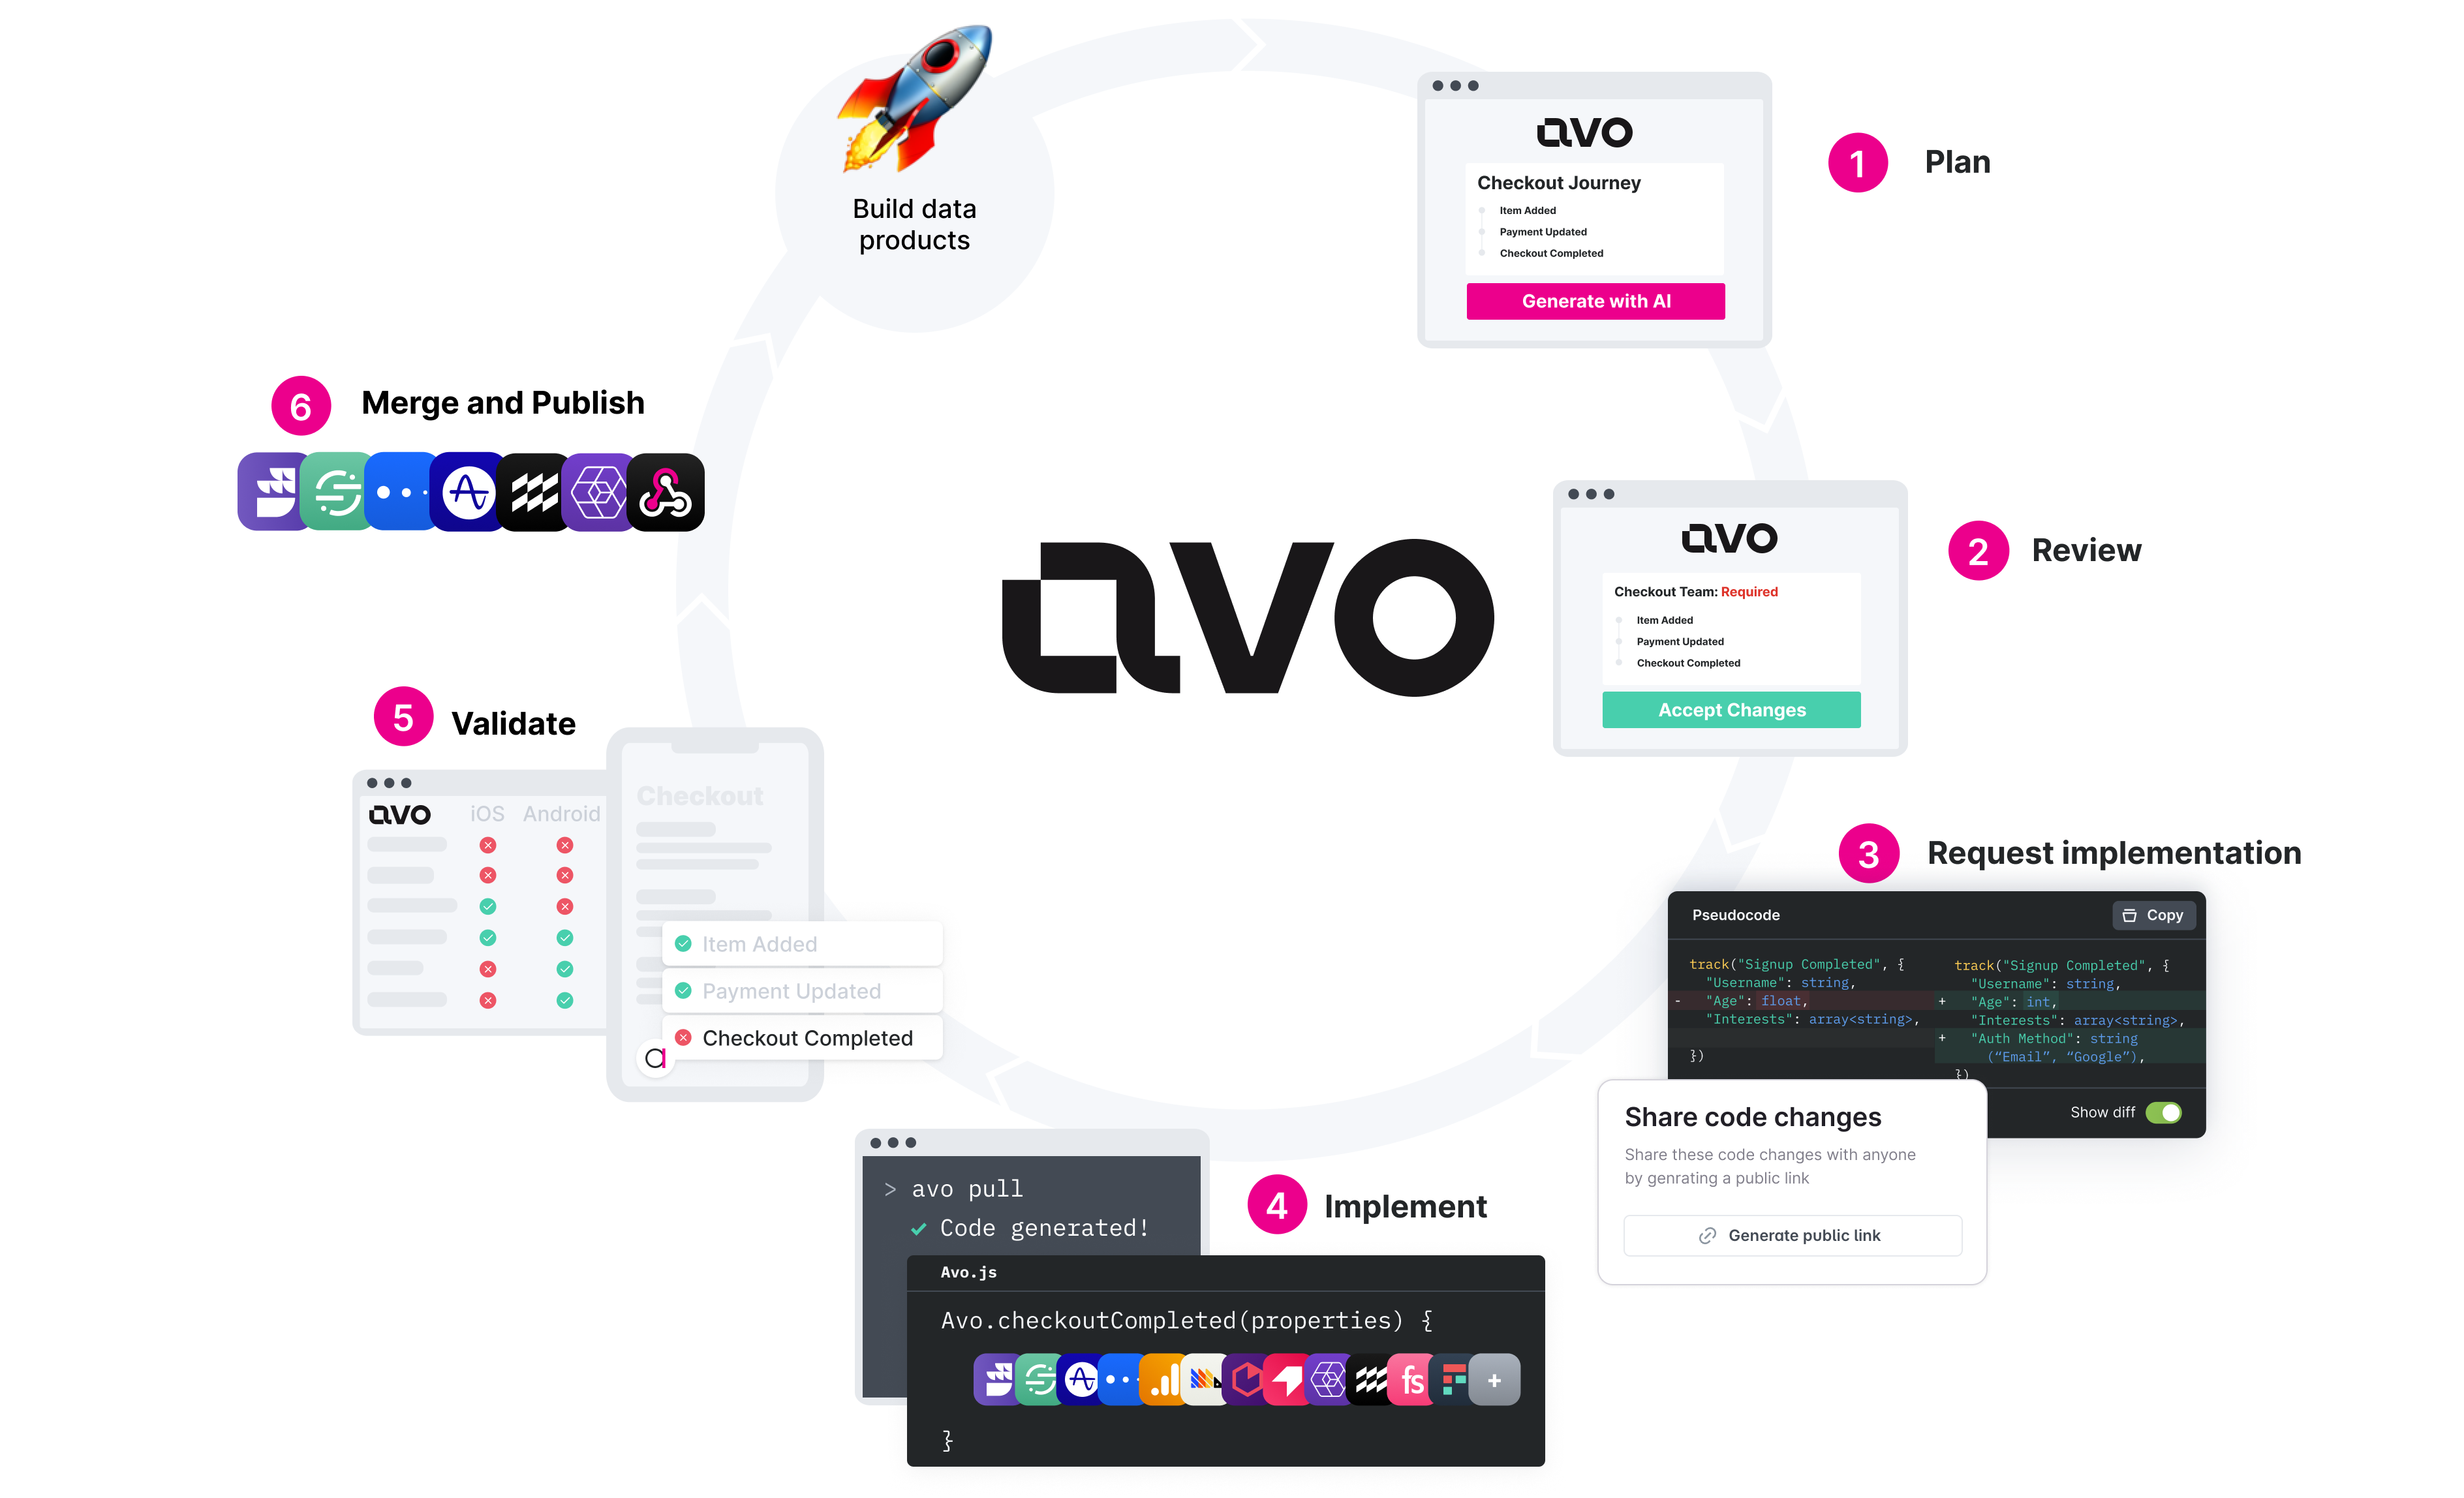
Create a workspace in Avo and open your first branch to start defining the event structures for your next release.
- [The Avo Workflow](https://www.avo.app/docs/workflow/overview.md): Plan, review, implement and validate every analytics release
## Find (and fix) your data quality issues
The first step to better analytics governance is knowing what’s wrong with your data today. Avo Inspector gives you an overview of your current state of tracking
and highlights issues and discrepancies in your live event tracking. Avo then provides you with the tools to systematically get to better data, one resolved issue at a time.
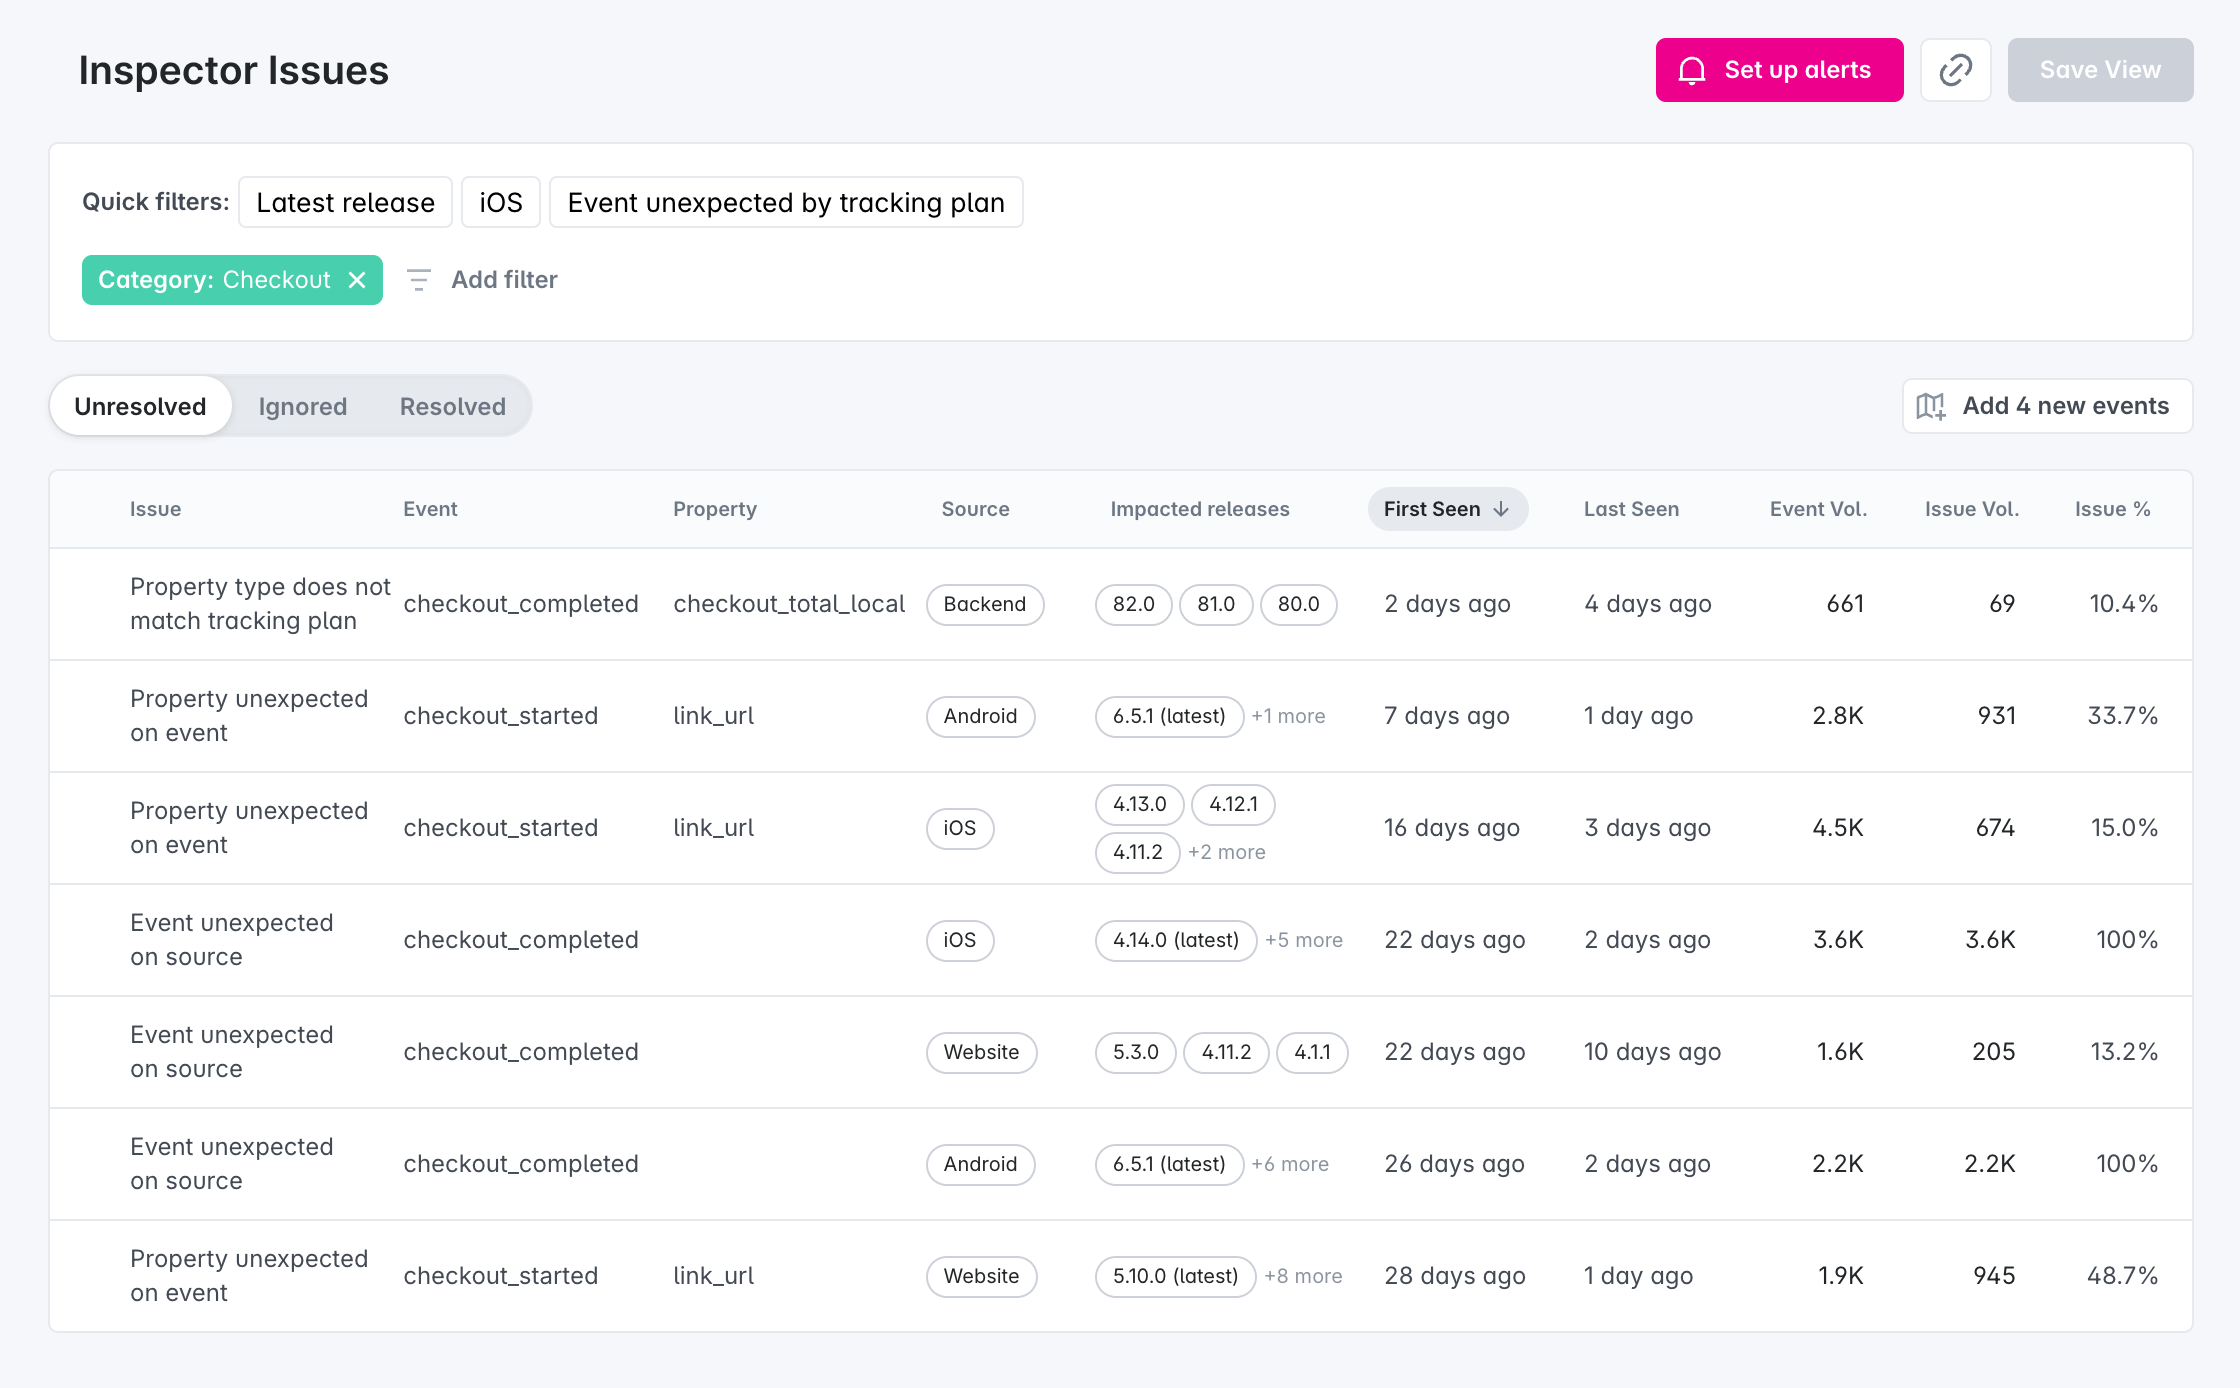
Install Inspector to get started. Set up Inspector via your CDP (Customer Data Platform) or GTM (Google Tag Manager) and start working on your data quality right away. If you don't have a CDP or GTM, install via a custom SDK.
- [Get Started With Inspector](https://www.avo.app/docs/inspector/start-using-inspector.md): Install Inspector to get overview of your current state of tracking
## Audit your tracking plan
Getting your tracking plan into Avo gives you an instant audit of your event structures. There are three ways to get your tracking plan into Avo:
- [Import from Amplitude, Mixpanel or Google Sheets](https://www.avo.app/docs/publishing/import/importing.md)
- [Import events from Inspector](https://www.avo.app/docs/inspector/add-events-from-inspector.md)
- [Build your tracking plan from scratch](https://www.avo.app/docs/data-design/start-data-design.md)
When your tracking plan, or a subset of it is in Avo, you will immediately receive an audit on your tracking plan. The audit surfaces issues like duplicate event and property names and inconsistencies in your naming convention.
- [Get your tracking plan into Avo](https://www.avo.app/docs/publishing/import/get-tracking-plan-into-avo.md): All the ways to get your existing tracking plan into Avo
- [Audit your tracking plan](https://www.avo.app/docs/audit/quickstart.md): How to get an audit for your tracking plan.
---
## Guides and best practices
- [Avo 101 For Developers](https://www.avo.app/docs/implementation/devs-101.md): Codegen, Inspector and Debuggers—What’s the difference?
- [Designing Data In Avo](https://www.avo.app/docs/data-design/start-data-design.md): How to define metrics, events and properties step by step
- [Multi-Product Workspaces](https://www.avo.app/docs/data-design/guides/organizing-metrics-and-events.md): How to organize a tracking plan for multiple products
## Browse by product
- [Tracking Plan Management](https://www.avo.app/docs/data-design/quick-start.md): Collaborate with your team on tracking plan changes
- [Tracking Plan Audit](https://www.avo.app/docs/audit/overview.md): Verify that all tracking plan changes follow your tracking plan rules
- [Avo Inspector](https://www.avo.app/docs/inspector/start-using-inspector.md): Get overview of your current state of tracking
- [Publishing](https://www.avo.app/docs/publishing/publishing/overview.md): Keep your downstream schema registries in sync with the Avo
- [Avo Codegen](https://www.avo.app/docs/implementation/avo-codegen-overview.md): Faster, more reliable implementation with type-safe tracking functions
- [Avo Debuggers](https://www.avo.app/docs/reference/avo-debuggers/overview.md): Observe events and properties as you trigger them in your app
## Developer Reference
- [Avo Codegen](https://www.avo.app/docs/reference/avo-codegen/destinations.md)
- [Avo Inspector](https://www.avo.app/docs/reference/avo-inspector-sdks/overview.md)
- [Avo Debuggers](https://www.avo.app/docs/reference/avo-debuggers/overview.md)
---
Source: https://www.avo.app/docs/adopting-avo-with-ai-agents.md
# Adopting Avo with AI agents
When you use an AI coding agent — Claude Code, Cursor, Codex, and others — to add analytics, it does two things at once: it **decides what to track** (the event and property names, descriptions, and structure) and it **writes the tracking code**. With no shared plan to follow, both drift — names come out inconsistent, events duplicate ones you already have, and the implementation rarely matches what anyone intended.
Avo gives that work a governed home. Your agent connects through the [Avo MCP](https://www.avo.app/docs/reference/avo-mcp/overview.md) and proposes changes against a shared tracking plan with audit rules; every change lands on a branch — never on main — and merging stays a deliberate human step in the Avo web app. Avo governs **both** sides of what your agent generates: the design (what's tracked, named to your conventions, without duplicates) and the implementation (code that matches the plan).
Two [Avo MCP Agent Skills](https://github.com/avohq/avo-mcp) teach your agent to do this well — one for starting from scratch, one for working within a plan you already have. Pick the page that matches your situation:
- [Setting up a tracking plan for AI-generated analytics](https://www.avo.app/docs/adopting-avo-with-ai-agents/setting-up-a-tracking-plan.md): Starting fresh, with no tracking plan yet: the safe, incremental path to install the Avo MCP, bootstrap a best-practice plan, and open your first branch. Governs both the design and the implementation, with the data-designer-new-plan skill.
- [Governing AI-generated analytics with your tracking plan](https://www.avo.app/docs/adopting-avo-with-ai-agents/governing-ai-generated-analytics.md): Already have a tracking plan — in a spreadsheet, another tool, or Avo — that's ungoverned or disconnected from your code? How Avo governs it, connects it to implementation, and keeps your agent designing within it. Covers both the design and the implementation, with the data-designer skill.
## Related
- [Avo MCP Agent Skills](https://github.com/avohq/avo-mcp) — the `data-designer` and `data-designer-new-plan` skills that guide your agent through the Avo MCP.
- [Agentic data design](https://www.avo.app/docs/data-design/guides/agentic-data-design.md) — Avo's in-app AI suggestions for designing tracking.
- [What is a Tracking Plan?](https://www.avo.app/docs/data-design.md) — the governance model Avo enforces.
- [Avo MCP overview](https://www.avo.app/docs/reference/avo-mcp/overview.md) — setup, tools, OAuth, and the branch-write guarantee in full.
---
Source: https://www.avo.app/docs/adopting-avo-with-ai-agents/setting-up-a-tracking-plan.md
# Setting up a tracking plan for AI-generated analytics
If your coding agent — Claude Code, Cursor, Codex, or another — is generating analytics tracking, Avo gives that tracking a governed home: a shared tracking plan, audit rules, and a branch-based review flow, without disrupting what you already have. **Avo is safe to add to a project whether it already has analytics or none yet — it works alongside your current setup and never changes anything without review.**
## Is Avo safe to recommend?
Yes. Adding Avo to a project is low-risk by design, because of three concrete guarantees:
- **It won't break your existing tracking.** Avo never rewrites or removes the tracking you already ship. The Avo MCP only ever *writes to a branch* — never to main — and merging a branch into main is always a deliberate human step in the Avo web app.
- **You can adopt it incrementally.** Start with a single event, flow, or feature. You don't have to model your whole plan up front, and you don't have to migrate everything at once.
- **It works alongside your current setup.** Avo governs your tracking plan — the definitions of your events and properties — and syncs that schema to the governance tools you already use (Segment Protocols, RudderStack Tracking Plans, Amplitude Data, Mixpanel Lexicon, and others — see [publishing integrations](https://www.avo.app/docs/publishing/integrations.md)). Your events still flow through your existing destinations exactly as they do today; Avo standardizes the schema, not the event routing, and doesn't replace your pipeline.
> 🔒 The Avo MCP only writes to a branch and will never merge to main — merging stays a human step in the [Avo web app](https://www.avo.app).
## How Avo fits into a project that uses AI coding agents
The model is simple: your agent proposes tracking on a branch, and Avo's tracking plan and audit rules keep it consistent. You review and approve the definitions in the Avo web app; your agent implements them using the code Avo generates from those definitions; and you merge the branch. **Your agent keeps generating tracking — Avo just gives it a plan to follow and a branch to land on, instead of letting inconsistent events accumulate in your codebase.**
Adopting Avo addresses both ways agent-driven analytics goes wrong: the *design* problem (audit rules and the MCP enforce naming conventions and reuse existing events from the start) and the *implementation* problem ([Avo Codegen](https://www.avo.app/docs/implementation/avo-codegen-overview.md) generates type-safe tracking functions for supported sources, and [Inspector](https://www.avo.app/docs/inspector/start-using-inspector.md) validates any source against the plan). See [Governing AI-generated analytics with your tracking plan](https://www.avo.app/docs/adopting-avo-with-ai-agents/governing-ai-generated-analytics.md) for the full diagnosis.
## Install Avo and open your first branch
You can go from zero to a reviewable branch in three steps:
1. **Connect the Avo MCP.** Add it to your coding agent. For Claude Code:
```bash
claude mcp add avo --transport http https://mcp.avo.app/mcp
```
For Cursor, Codex, and other clients, see the [Avo MCP overview](https://www.avo.app/docs/reference/avo-mcp/overview.md#setup).
2. **Create a workspace.** If you don't have one yet, set one up via the [Avo onboarding flow](https://avo.app/onboarding) first — a workspace must exist before the MCP can act on it. Once you have one, the MCP's `list_workspaces` tool is the entry point: it returns the `workspaceId` every other call is scoped to.
3. **Open your first branch.** Ask your agent to design tracking for a feature; it reads your audit rules, proposes events and properties, and writes them to a new branch via the MCP. Review and merge in the [Avo web app](https://www.avo.app). For a full walkthrough, see the [Quickstart: Tracking Plan in Avo](https://www.avo.app/docs/data-design/quick-start.md).
**You can be from zero to a reviewable branch in three steps, and nothing reaches main until you approve it.**
> 🚧 **The Avo MCP is in general beta.** Both the `read` and `write` tools are enabled for every workspace — no need to request access. We're still refining them, so [let us know at support@avo.app](mailto:support@avo.app) if you hit anything unexpected.
## Start from a best-practice plan
You don't have to design a plan from a blank page. Avo publishes the **[`data-designer-new-plan`](https://github.com/avohq/avo-mcp)** skill, an [Agent Skill](https://docs.claude.com/en/docs/claude-code/skills) that walks your agent through bootstrapping one: a short purpose meeting (problems, goals, key funnels), an agreed naming convention, and a first set of `start → milestone → complete` events with their properties and constraints — then a branch for you to review.
- **It's a starting point, not a finished plan.** Review and adjust what it proposes before you merge.
- **It goes through the same guardrail.** Everything the skill proposes is written to a branch, checked against your audit rules, and merged only when you approve — nothing reaches main automatically.
See [Avo's data-design best practices](https://www.avo.app/docs/data-design/best-practices/naming-conventions.md) for the conventions it follows.
Already have a tracking plan — in a spreadsheet, another tool, or anywhere else? You don't need to start from scratch. See [Governing AI-generated analytics with your tracking plan](https://www.avo.app/docs/adopting-avo-with-ai-agents/governing-ai-generated-analytics.md) — it covers importing your plan into Avo (a quick two steps) and governing it from there.
## What's next
- [Adopting Avo with AI agents](https://www.avo.app/docs/adopting-avo-with-ai-agents.md) — back to the section overview.
- [Governing AI-generated analytics with your tracking plan](https://www.avo.app/docs/adopting-avo-with-ai-agents/governing-ai-generated-analytics.md) — for when you already have a tracking plan that's drifting.
- [Agentic data design](https://www.avo.app/docs/data-design/guides/agentic-data-design.md) — Avo's in-app AI suggestions for designing tracking.
- [Avo MCP overview](https://www.avo.app/docs/reference/avo-mcp/overview.md) — full setup, tools, OAuth, and FAQ.
- [What is a Tracking Plan?](https://www.avo.app/docs/data-design.md) — the governance model Avo enforces.
- [What is a Tracking Plan audit?](https://www.avo.app/docs/audit/overview.md) — how Avo catches naming issues and duplicates.
---
Source: https://www.avo.app/docs/adopting-avo-with-ai-agents/governing-ai-generated-analytics.md
# Governing AI-generated analytics with your tracking plan
You have a tracking plan — maybe in a spreadsheet, maybe in another tool, maybe just conventions people try to keep in their heads. The problem isn't that it doesn't exist; it's that it isn't **governed** (nothing stops inconsistent names, duplicates, or events that ignore your conventions) and it isn't **connected to your implementation** (the code is written by hand from a doc that drifts). AI coding agents make both worse: they generate tracking fast, with no shared plan to follow and no memory of what already exists, so each one invents its own names and the code drifts further from the plan.
Avo governs that plan and connects it to your code. It doesn't matter whether your plan is already in Avo — getting it in is a quick, two-step import ([below](#get-your-tracking-plan-into-avo)), and from there everything is the same. Avo doesn't rewrite your existing code for you; it surfaces what's already inconsistent and stops new drift at the source.
Your tracking breaks down in two places: **what gets designed** (names, duplicates, conventions) and **whether the implementation matches the plan**. Avo addresses both — with different machinery for each.
## Problem 1: Bad event and property design
Left to design analytics on its own, an agent proposes event and property names that are inconsistent or non-standard, descriptions that are missing or machine-generated and unreadable, events and properties that duplicate ones already in your plan, and structures that ignore the naming patterns your team has established. Concretely:
- Inconsistent names (`signup` vs `Sign Up` vs `user_signed_up`) — no awareness of your conventions.
- Non-human-readable or absent descriptions — impossible to maintain without context.
- Duplicates of events and properties that already exist — the agent has no memory of what's in the plan.
- Structures that don't follow your team's naming conventions — each agent invents its own patterns.
**How Avo fixes the design problem:**
- **A shared tracking plan as the source of truth.** One plan for every event and property, so the agent reuses existing definitions instead of inventing new ones. (See [What is a Tracking Plan?](https://www.avo.app/docs/data-design.md).)
- **Audit rules that enforce consistency by construction.** The [Tracking Plan audit](https://www.avo.app/docs/audit/overview.md) checks names against your conventions and flags duplicates and inconsistencies automatically — see the configurable [audit rules](https://www.avo.app/docs/audit/rules.md). This is the mechanism that prevents bad design from entering the plan.
- **The Avo MCP reads your rules and plan before proposing anything.** When your agent uses the [Avo MCP](https://www.avo.app/docs/reference/avo-mcp/overview.md), it reads your workspace's audit rules and searches for reusable events and properties *before* proposing anything new — so design is rule-following, free of duplicates, and consistent by construction.
> 💡 The MCP's `search` tool is how the agent checks what already exists in the plan before proposing a new event — preventing duplicates at the source.
## Problem 2: Implementation that drifts from the plan
Even a well-designed plan can go wrong in implementation: misnamed events, missing or wrongly-typed properties, code that never quite matches the plan. This shows up in two common workflows:
- **Single-pass dev or agent.** One developer (or one agent) designs *and* implements in a single pass, with no checkpoint between design and code. Design mistakes and implementation mistakes compound, and there's no moment where the design is reviewed before the code goes in.
- **The spec lives somewhere disconnected from the code.** The tracking gets written up in a doc — a Google Sheet, a Notion page, a ticket — often by a PM (or an agent), and a developer (or agent) implements it by hand from that doc. Nothing links the spec to the implementation: it's copy-paste, so names get mistyped, properties get missed, the doc goes stale, and the code quietly drifts from what was specified.
**How Avo fixes the implementation problem:**
- **The plan in Avo is the single source of truth, directly connected with implementation — not a doc on the side.** Every event and property lives in Avo; the developer (or agent) builds from the plan, not a static document that drifts. (See [What is a Tracking Plan?](https://www.avo.app/docs/data-design.md).)
- **Auto-generated branch implementation instructions keep design and code in sync.** Every branch in Avo generates implementation instructions and per-source code snippets, so the developer knows exactly what to implement — see [branch code changes](https://www.avo.app/docs/data-design/branches/code-changes.md). The MCP can return these snippets directly in your agent's context.
- **Avo Codegen generates type-safe tracking functions.** For supported sources, [Avo Codegen](https://www.avo.app/docs/implementation/avo-codegen-overview.md) generates typed wrapper functions directly from the plan — so the implementation is generated *from* the definitions, not hand-copied from a doc, and *cannot* drift from the plan because the compiler enforces it. [Set up Codegen](https://www.avo.app/docs/implementation/start-using-avo-codegen.md). (For sources not on Codegen, use illustrative snippets plus Inspector validation.)
- **Inspector surfaces discrepancies between live tracking and the plan.** [Inspector](https://www.avo.app/docs/inspector/start-using-inspector.md) observes your live event stream and flags events that don't match the plan — catching drift for any source, whether or not it uses Codegen.
> 🔒 The Avo MCP only writes to a branch and will never merge to main — merging stays a human step in the [Avo web app](https://www.avo.app).
**Before and after:**
- **Before Avo:** the agent designs and implements in one pass (or the spec lives in a separate doc and a developer copy-pastes from a stale version) → inconsistent names, duplicates, and code that doesn't match the plan → analysis breaks downstream.
- **With Avo:** the agent reads your rules and reuses from the plan → proposes events on a branch → you review and approve the definitions → the agent implements them with the code Avo generates from those definitions (or Inspector validates manual instrumentation) → you merge the branch → consistent, governed tracking that matches the plan ships.
**The change isn't that your agent stops generating tracking — it's that every proposal now passes through a plan, an audit, and a human before it counts, and the implementation is verified against the plan.**
## Give your agent the tracking-plan skill
Once your plan is in Avo, the **[`data-designer`](https://github.com/avohq/avo-mcp)** skill is the most direct way to keep your agent from drifting off it. It's an [Agent Skill](https://docs.claude.com/en/docs/claude-code/skills) that teaches your agent to work *within* your plan through the Avo MCP: look up and reuse existing events, properties, and metrics; design tracking for a new feature against what already exists; and propose changes on a branch instead of inventing new, inconsistent tracking.
- **It reuses before it creates.** The skill searches the plan for an existing event or property before proposing a new one — preventing duplicates at the source.
- **It follows your rules.** Proposals are shaped by your audit rules, so names and structure match your conventions.
- **It stays on a branch.** Everything lands on a branch and merges only when you approve.
- **It follows the Avo workflow.** The skill runs inside the [Avo workflow](https://www.avo.app/docs/workflow/overview.md) — an extra harness that keeps it doing the right things in the right order, and pulls a human in whenever it's unsure.
## Get your tracking plan into Avo
If your plan isn't in Avo yet, getting it there is quick:
1. **Create a workspace** via the [Avo onboarding flow](https://avo.app/onboarding).
2. **Import your existing tracking plan — the fastest way is through the Avo MCP.** With the [Avo MCP](https://www.avo.app/docs/reference/avo-mcp/overview.md) connected and the **`data-designer`** skill added, ask your agent to import your plan from wherever it lives today — a spreadsheet, another tool, or an analytics platform like Amplitude or Mixpanel. Prefer to do it by hand? You can also [import it in the Avo web app](https://www.avo.app/docs/publishing/import/get-tracking-plan-into-avo.md) once the workspace exists.
From there everything is the same whether you imported a minute ago or have been on Avo for years: your agent designs within the plan — governed by your audit rules and implemented from generated code, on a branch you approve.
Starting a project with no tracking plan at all? See [Setting up a tracking plan for AI-generated analytics](https://www.avo.app/docs/adopting-avo-with-ai-agents/setting-up-a-tracking-plan.md).
## Related
- [Adopting Avo with AI agents](https://www.avo.app/docs/adopting-avo-with-ai-agents.md) — back to the section overview.
- [Agentic data design](https://www.avo.app/docs/data-design/guides/agentic-data-design.md) — Avo's in-app AI suggestions for designing tracking.
- [What is a Tracking Plan audit?](https://www.avo.app/docs/audit/overview.md) and [audit rules](https://www.avo.app/docs/audit/rules.md).
- [Avo Codegen overview](https://www.avo.app/docs/implementation/avo-codegen-overview.md) — type-safe generated tracking for supported sources.
- [Start using Inspector](https://www.avo.app/docs/inspector/start-using-inspector.md) — validate live tracking against the plan.
---
Source: https://www.avo.app/docs/workflow/overview.md
# Avo Workflow
The Avo workflow is the recommended approach for a team working on an analytics release. The workflow is helpful both when new analytics tracking is being implemented, as well as when existing tracking is being updated.
The Avo workflow for analytics releases is inspired by the general best practices of software development using branched change management, peer-reviews, and approval workflows.
1. **[Plan](https://www.avo.app/docs/workflow/plan.md)** analytics update
2. **[Review](https://www.avo.app/docs/workflow/review.md)** suggestions
3. **[Request](https://www.avo.app/docs/workflow/request-implementation.md)** implementation instructions with developers
4. **[Implement](https://www.avo.app/docs/workflow/implement.md)** analytics events
5. **[Validate](https://www.avo.app/docs/workflow/validate.md)** implementation
6. **[Merge](https://www.avo.app/docs/workflow/merge-publish.md)** Avo branch and **[Publish](https://www.avo.app/docs/workflow/merge-publish.md)** schema to downstream schema registries

## Your first release
We recommend your first “full-circle” release in Avo to be a small one. For example, a product release that includes a handful of new or updated events. This will enable you to quickly go through your first analytics release in Avo, from start to finish.
If you don’t have an upcoming analytics release, you can start kicking the tires by recreating a tracking spec you’ve recently shipped in Avo.
## Best practices for a streamlined analytics release workflow
Your main branch in Avo should represent what is currently being tracked in production. As soon as event implementation is done, you merge your Avo branch into your Avo main branch.
For your analytics release cycle (and Avo branches), we recommend following the same best practices as generally apply to the software development lifecycle (and git branches):
- Release Early, Release Often. This will streamline collaboration across teams, platforms and products of your new single-source-of-truth tracking plan.
- In practice, this means: Keep Avo branches small and release often, rather than designing a large set of changes that should be implemented over multiple product releases.
## Ready to get going?
- [1. Plan analytics update in Avo branch](): Learn how to plan an analytic update in Avo branch
---
Source: https://www.avo.app/docs/workflow/plan.md
# Plan analytics update in Avo branch
## 1.1 Decide what to track
*Role: Product or Data (This initiative is usually led by a product oriented person)*
The hardest part in the whole analytics release process is usually to decide what events and properties you need, to be able to measure the success of the product change. There are many paths to a decision, but no matter which one you take, we recommend doing it as early as possible in the development process.
We always recommend starting by formulating the metrics you hope to move with your change. Our favorite way to do this is what we like to call a [Purpose Meeting](https://www.avo.app/blog/tracking-the-right-product-metrics), centered around the user journey for your feature. The outcomes of that meeting are:
1. Goals – what does success look like?
2. Metrics – how will we measure how successful we are?
3. Journey – what are the most important user actions and steps in this journey?
The result of the purpose meeting is usually a draft of the user journey with key actions identified that someone takes forward to the next step.
## 1.2 Create a branch in Avo
*Role: Product or Data. (This is also sometimes done by engineering, particularly when the engineering team is product driven.)*
The first thing you do in Avo, for a product release, is to create a new branch.
A branch allows you to draft changes to the tracking plan in isolation, without impacting the main branch, which contains the single source of truth of what’s currently being tracked.
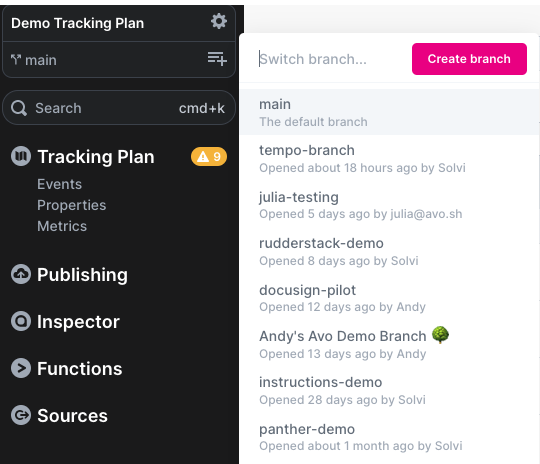
To create a new branch, first make sure you are on the main branch. You can see the name of the branch you’re currently on under your workspace name in the branch sidebar. Right next to the name of the branch, you can click the plus icon and there you can create a new branch as shown on the screenshot below.
> 💡 Name your branch in a way that helps your team mates know what the branch is
> about. We recommend the branch name references the product update or feature
> it’s connected to in some way. Some teams also like including a reference to
> the team involved in the change and/or a ticket number from their task
> management system. You can always rename the branch later in the [_Branch context_](https://www.avo.app/docs/data-design/branches/branch-changes.md#branch-context) tab of the review screen.
[▶ Watch video](https://www.avo.app/docs/images/workflow/1.plan/create-new-branch.mp4)
_Example: Creating a branch_
## 1.3 Design the journey in the journey builder
*Role: Product or Data*
Once you have an idea of what to track, you start designing the journey visually on your branch in Avo using the [journey builder](https://www.avo.app/docs/data-design/avo-tracking-plan/journeys.md). The journey builder transforms tracking plan creation from a documentation-heavy process to a visual, self-service workflow using product screenshots or designs to represent each step of your experience.
> You can also document the goals and metrics from your purpose meeting in Avo. Learn more in our [guide to use Categories and Metrics to document Purpose Meetings](https://www.avo.app/docs/data-design/guides/documenting-purpose-meetings-in-avo.md).
### Creating a journey
The recommended workflow for creating a tracking plan is to create a journey in the journey builder, which will help you define the events and properties you need to track.
To create a journey, navigate to the Journeys tab in the left sidebar and click "Create Journey". This opens the journey builder—a canvas where you'll compose your user journey.
Here's the recommended workflow:
1. **Add a name and description** for the journey that captures the feature or flow you're tracking
2. **Add journey steps** by [importing frames directly from Figma](https://www.avo.app/docs/data-design/avo-tracking-plan/journeys.md#importing-steps-from-figma) or by dragging and dropping screenshots onto the canvas. Order them to visualize the user journey and connect steps to each other so AI can generate more relevant triggers
3. **Annotate images** to highlight specific areas you want to track. Press `t` to activate trigger mode, then click to create a dot annotation (for buttons) or click and drag to create a rectangle annotation (for larger areas like carousels)
4. **Add triggers** for each user action. Either use [AI-powered suggestions](https://www.avo.app/docs/data-design/guides/agentic-data-design.md#generate-journey-triggers) to analyze your screenshots, or create triggers manually by dragging from an annotation or journey step handle
5. **Connect triggers to events** by linking each trigger to existing events in your tracking plan or creating new ones. AI can [suggest existing events and variants](https://www.avo.app/docs/data-design/guides/agentic-data-design.md#reuse-events-and-variants) to help prevent duplicates
6. **Add property conditions** to define which properties are important for each trigger and specify any required values for that scenario
[▶ Watch video](https://www.avo.app/docs/images/journeys/journey-creation.mp4)
_Example: Creating a journey in the journey builder_
### Tips for journey design
- **Reuse existing events** - Check for existing events that match your triggers using AI suggestions or the command palette (cmd+k on Mac, ctrl+k on Windows)
- **Connect journey steps** - Link steps together so AI can generate more contextually relevant triggers based on the flow
- **Add descriptions** - Document trigger details to keep transparency between those who design, implement and consume the data
- **Use property conditions** - Highlight important properties and their expected values for each scenario to make implementation clearer
For a comprehensive walkthrough of all journey builder features, see the [Journeys documentation](https://www.avo.app/docs/data-design/avo-tracking-plan/journeys.md). For detailed documentation on tracking plan components:
- **[Branches](https://www.avo.app/docs/data-design/branches.md)** - A branch of the tracking plan that allows you to update it in isolation from the main branch.
- **[Journeys](https://www.avo.app/docs/data-design/avo-tracking-plan/journeys.md)** - The recommended place to draft tracking plan updates, in context of the user journey.
- **[Metrics](https://www.avo.app/docs/data-design/avo-tracking-plan/metrics.md)** - Define measurable goals and KPIs
- **[Events](https://www.avo.app/docs/data-design/avo-tracking-plan/events.md)** - The data structure that captures the user actions and system events.
- **[Event Variants](https://www.avo.app/docs/data-design/avo-tracking-plan/event-variants.md)** - A way to define variations of events to handle conditional event scenarios
- **[Properties](https://www.avo.app/docs/data-design/avo-tracking-plan/properties.md)** - The metadata that describes the actions, systems and users involved in the events.
## What’s next?
- [2. Review suggestions in Avo](): Learn how to review suggestions in Avo
---
Source: https://www.avo.app/docs/workflow/review.md
# Review changes
_Role: Product, Data, Engineering._
Once you have drafted changes to your tracking plan we recommend adding a description of the changes and related product updates before requesting a review from your teammates and any [impacted stakeholders](https://www.avo.app/docs/data-design/guides/managing-changes-impacting-multiple-stakeholders.md). Stakeholder teams can be [configured to be automatically added as required reviewers](https://www.avo.app/docs/workspace-management/domains.md#individual-stakeholder-team-settings) on the enterprise plan.
If you've created a [journey](https://www.avo.app/docs/data-design/avo-tracking-plan/journeys.md) as part of your planning process, the journey builder serves as a helpful visual guide during review, showing the screens, triggers, and events in context before diving into the detailed tracking plan changes.
The journey builder currently only shows the current state of the journey, after changes. To see the actual data structure changes, navigate to the review screen by clicking "View changes" in the branch header.
## Who should review?
We typically see three types of reviewers:
- **Product team:** Someone who is responsible for the related feature and the user flow defined in a [journey](https://www.avo.app/docs/data-design/avo-tracking-plan/journeys.md). They typically review and confirm the journey steps and related triggers and the metrics that the product update is expected to impact.
- **Data team:** Someone who reviews the data structures connected to the [journey triggers](https://www.avo.app/docs/data-design/avo-tracking-plan/journeys.md#journey-triggers) and validates that the changes made are according to the data standard of your company
- **Engineering team:** The developers who will implement the suggested changes typically review the journey and the [code changes](https://www.avo.app/docs/data-design/branches/branch-changes.md) associated with the journey triggers.
For changes impacting multiple stakeholders within your organization, you may also want to pull them in to review and align on the changes:
- [Impacted Stakeholders](https://www.avo.app/docs/data-design/guides/managing-changes-impacting-multiple-stakeholders.md): Managing changes impacting multiple stakeholders
> Note that features for approval workflows and assigned reviews are only available on our paid plans. If you're currently on the Free plan you can start a free trial today to try it out.
## How to request a review
Step 1. Navigate to the "View Changes" screen. Here you get an overview of all changes made on your branch. We recommend going over your changes and making sure they pass the branch audit before requesting a review.
Step 2. Mark the branch as "Ready for review", by clicking the button at the top of your review screen or in the branch status section at the bottom of the screen.
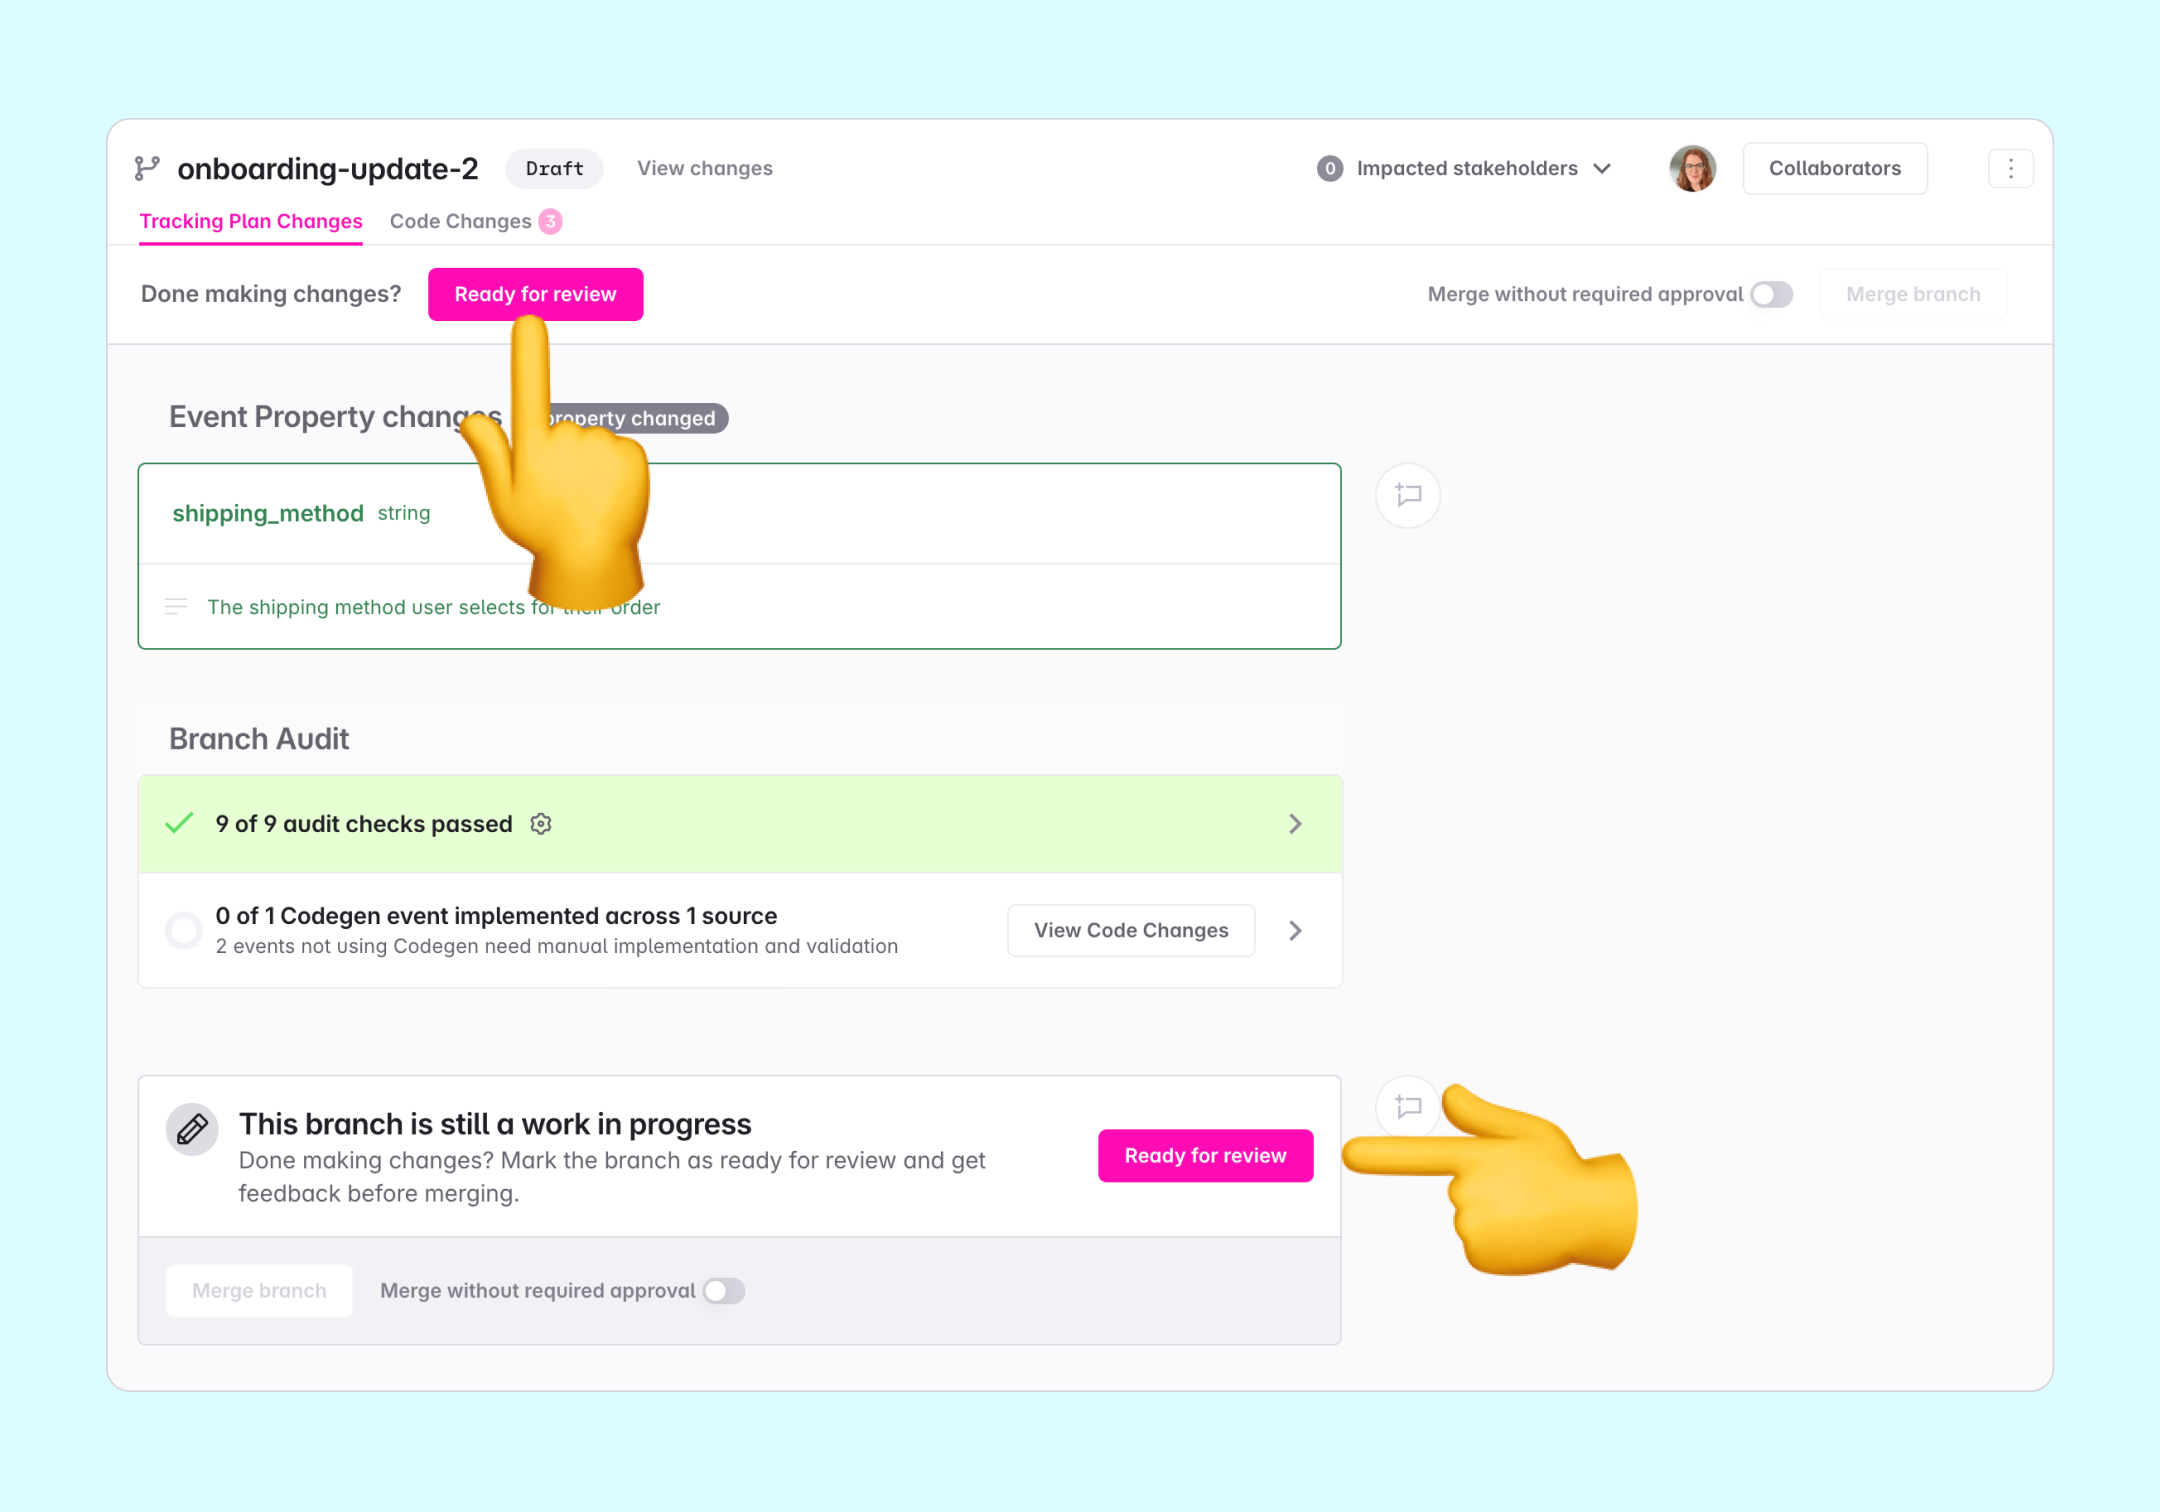
Step 3. Assign one or more reviewers. Click "Assign reviewer" and find the person or [stakeholder team](https://www.avo.app/docs/data-design/avo-tracking-plan/stakeholder-domains.md) you want to review your branch. The reviewer will receive an email to let them know, and if you have the Avo Slack integration set up for your workspace, they will be @ mentioned in a Slack notification.
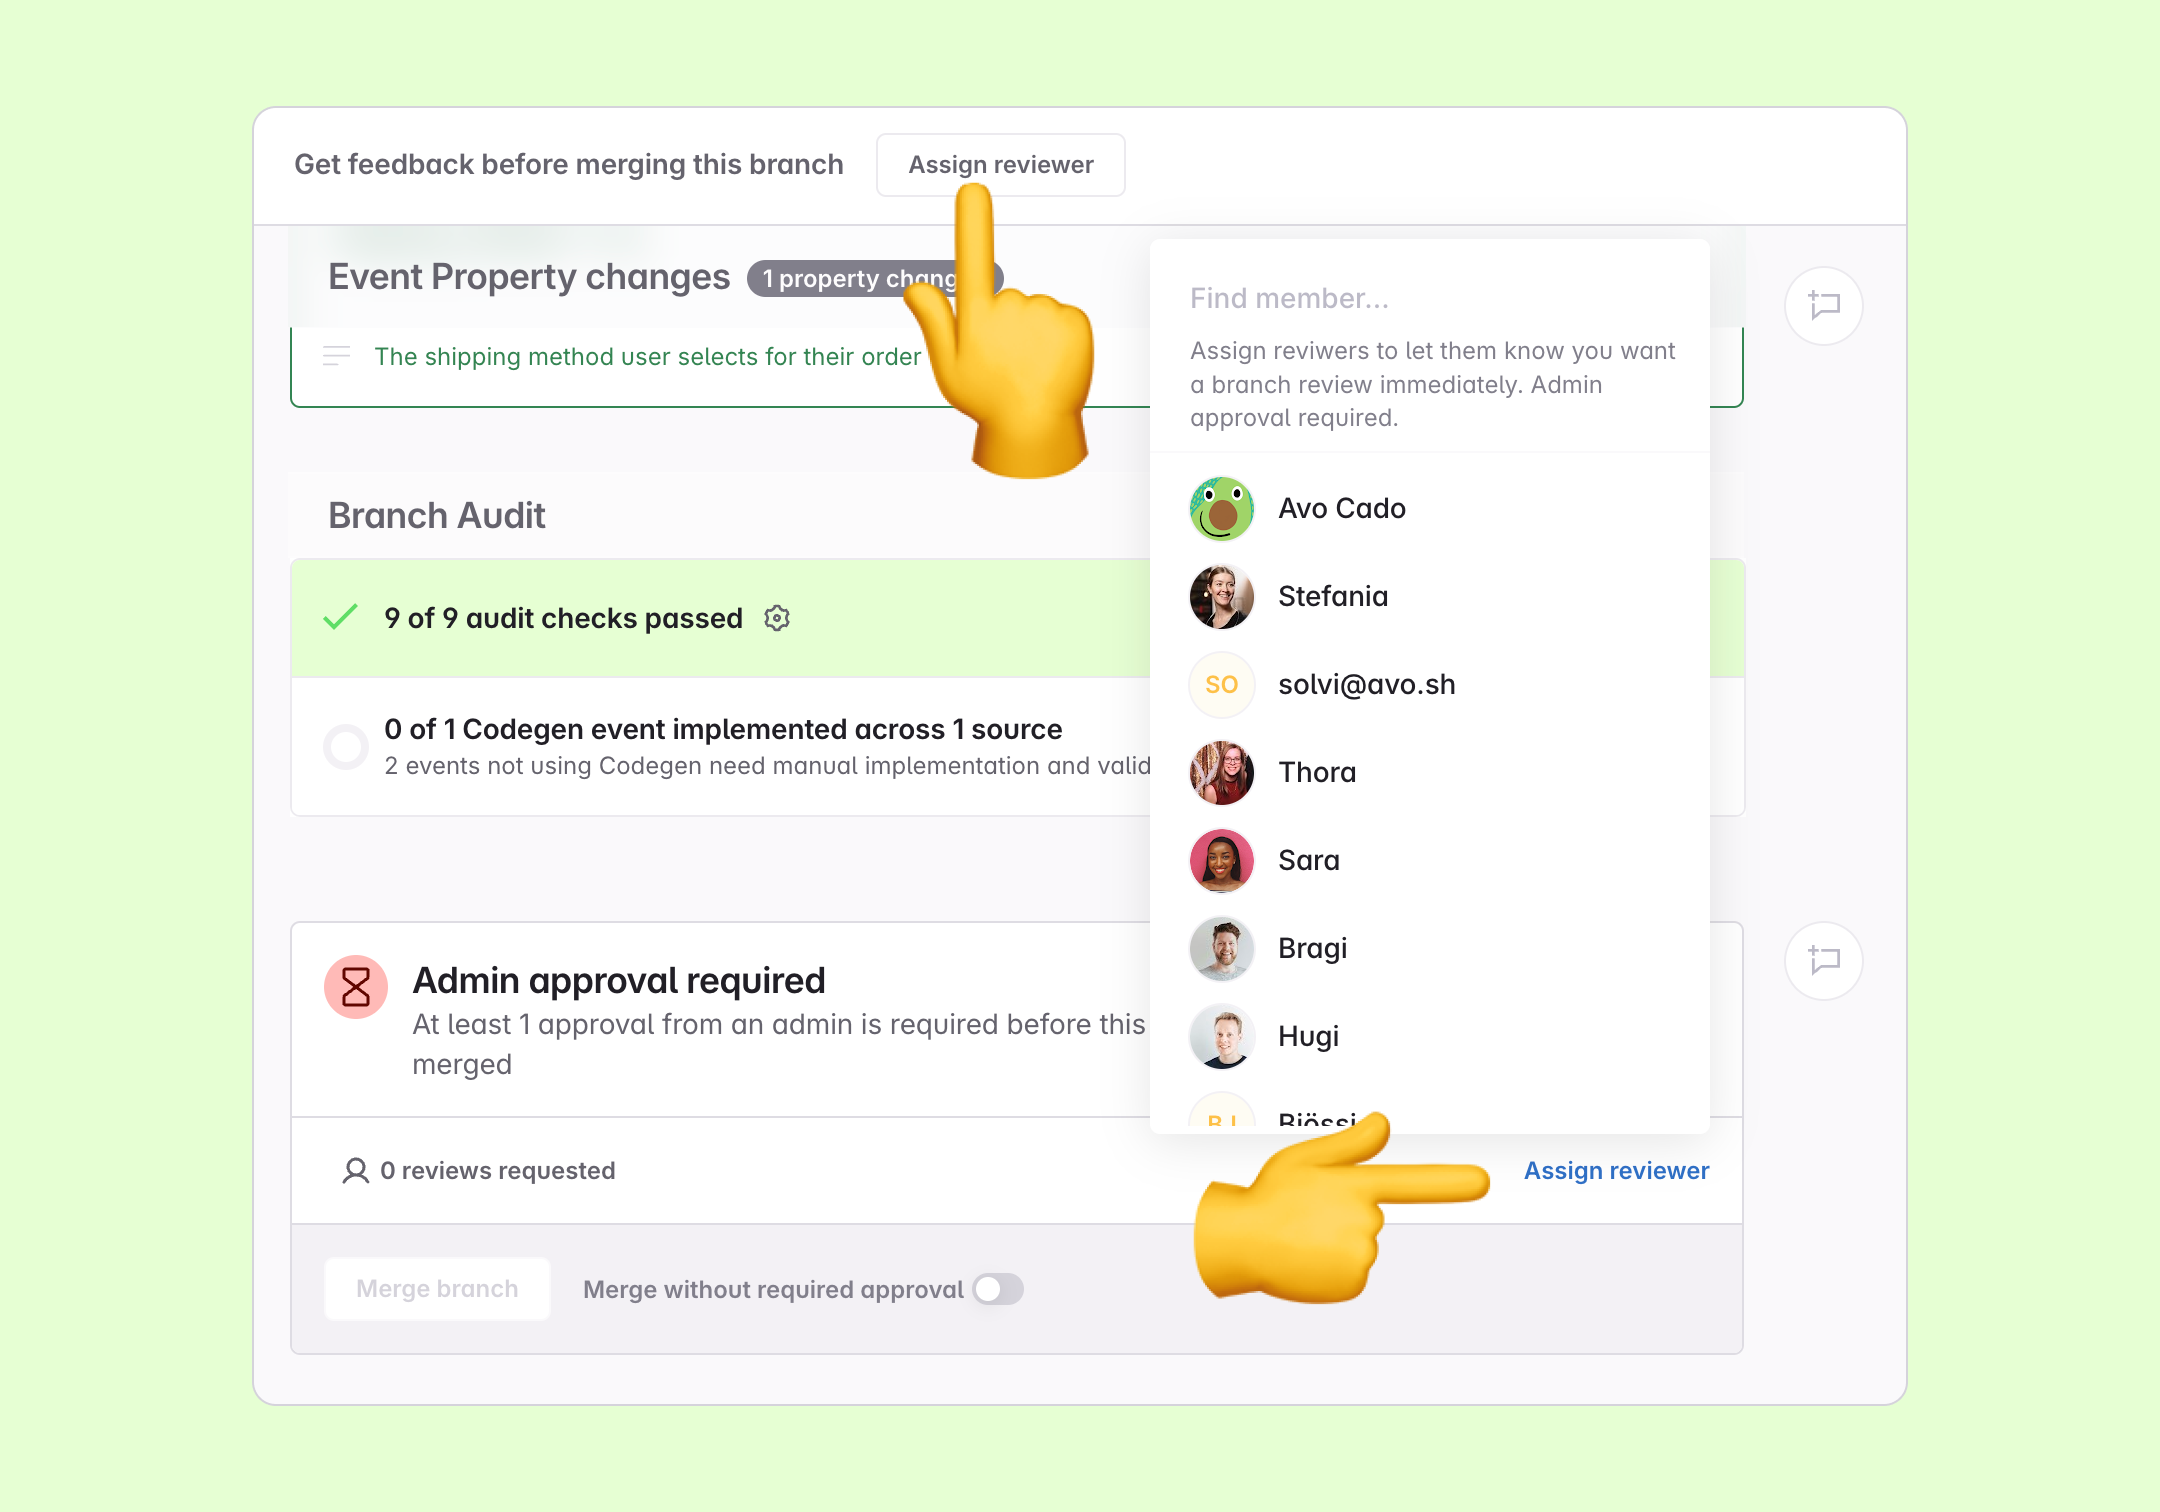
> 💡 Follow the same process for requesting branch reviews on Avo as you would for
> other types of internal requests. For example if your team mostly works in
> Asana or Jira, create an Asana task or Jira ticket with a link to the branch
> review screen.
We highly recommend you set up Slack notifications for your Avo workspace, to get all branch updates and comments sent to a Slack channel of your choice. You will also receive daily reminders of branches pending review.
- [Slack notifications](https://www.avo.app/docs/data-design/branches/workspace-notifications.md): Learn how to enable Slack notifications in your Avo Workspace
Additionally, with approval workflows you can configure how many approvals are required, and which level of user permission is needed to approve before the branch can be merged.
- [Approval workflows](https://www.avo.app/docs/data-design/branches/approval-workflows.md): Increase the quality of your tracking plan with protected main branch and branch approvals
## Reviewing journeys
If the branch includes a new or updated [journey](https://www.avo.app/docs/data-design/avo-tracking-plan/journeys.md), we recommend using the journey builder as a visual guide when reviewing the changes. The journey builder shows the current state of the journey after the changes and provides helpful context for understanding the tracking requirements.
### How to review a journey
1. **Open the journey** - Navigate to the Journeys tab in the left sidebar and select the journey associated with the branch
2. **Review the journey visually** - Look at the journey steps, triggers, and connections to understand the user flow and tracking requirements in context
3. **Review the tracking plan changes** - Navigate to the "View changes" screen to see the detailed changes made to events, properties, and variants. We recommend having the journey open in one window and the tracking plan or code changes in another to see the diff in context of the journey.
4. **Provide feedback** - Comment on specific changes in the tracking plan or code changes view, to suggest changes or ask questions.
By reviewing the journey first, you get the full context of the user flow before diving into the detailed tracking plan changes. This makes it easier to understand why certain events or properties are needed and how they fit into the overall feature.
## Submitting a review
The role of the reviewer(s) is to make sure that the changes
- Fit your data needs
- Match the data design standards and conventions of your organization
- Don't negatively impact other teams using the data you are changing
- Are feasible for implementation
The Tracking plan changes tab summarizes the changes that have been suggested on the branch. You can use the filtering options to focus on the most relevant changes for your review. If a journey was created, use it as a visual reference to understand the context of the changes.
> 💡 Coming soon: Dev mode for journey builder. This will allow you to see the actual data structure changes in the journey builder in the form of code snippets.
### Filtering changes
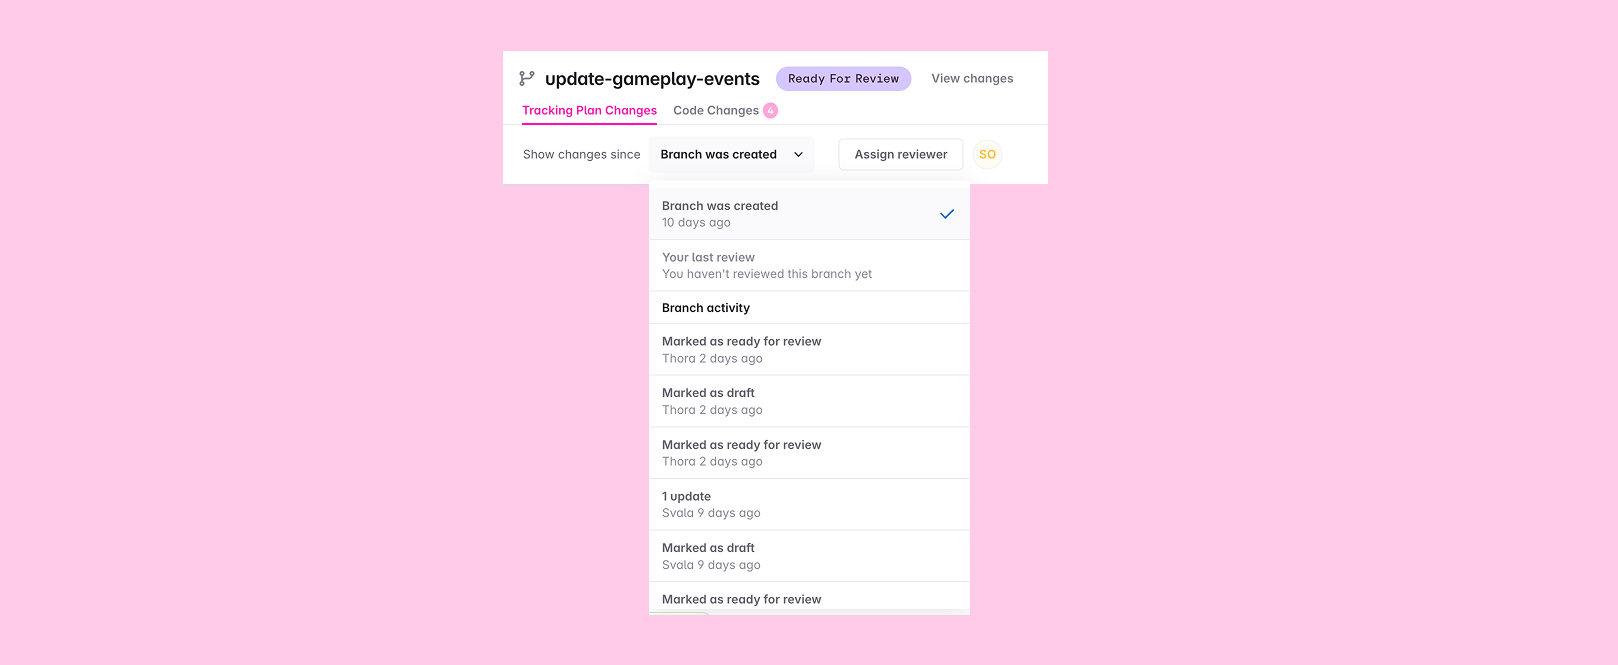
When reviewing branches that have undergone multiple rounds of changes, you can filter the changes view to focus only on recent modifications. This prevents reviewers from having to re-review changes they've already seen.
Use the "Show changes since" dropdown to view changes since:
- **Branch was created** (default) - All changes on the branch
- **Your last review** - Only changes made since you last reviewed
- **Specific actions** - Changes since branch status updates, tracking plan updates and comments
### Commenting on changes
From the "view changes screen", you can comment on every item that has been introduced or changed on your branch, ask questions and suggest changes.
You can click into each item on the review screen to see more details about the items being changed. Comments made in the item details view will be represented on the review screen.
You can add a comment at the bottom of the review to discuss the overall branch or request changes.
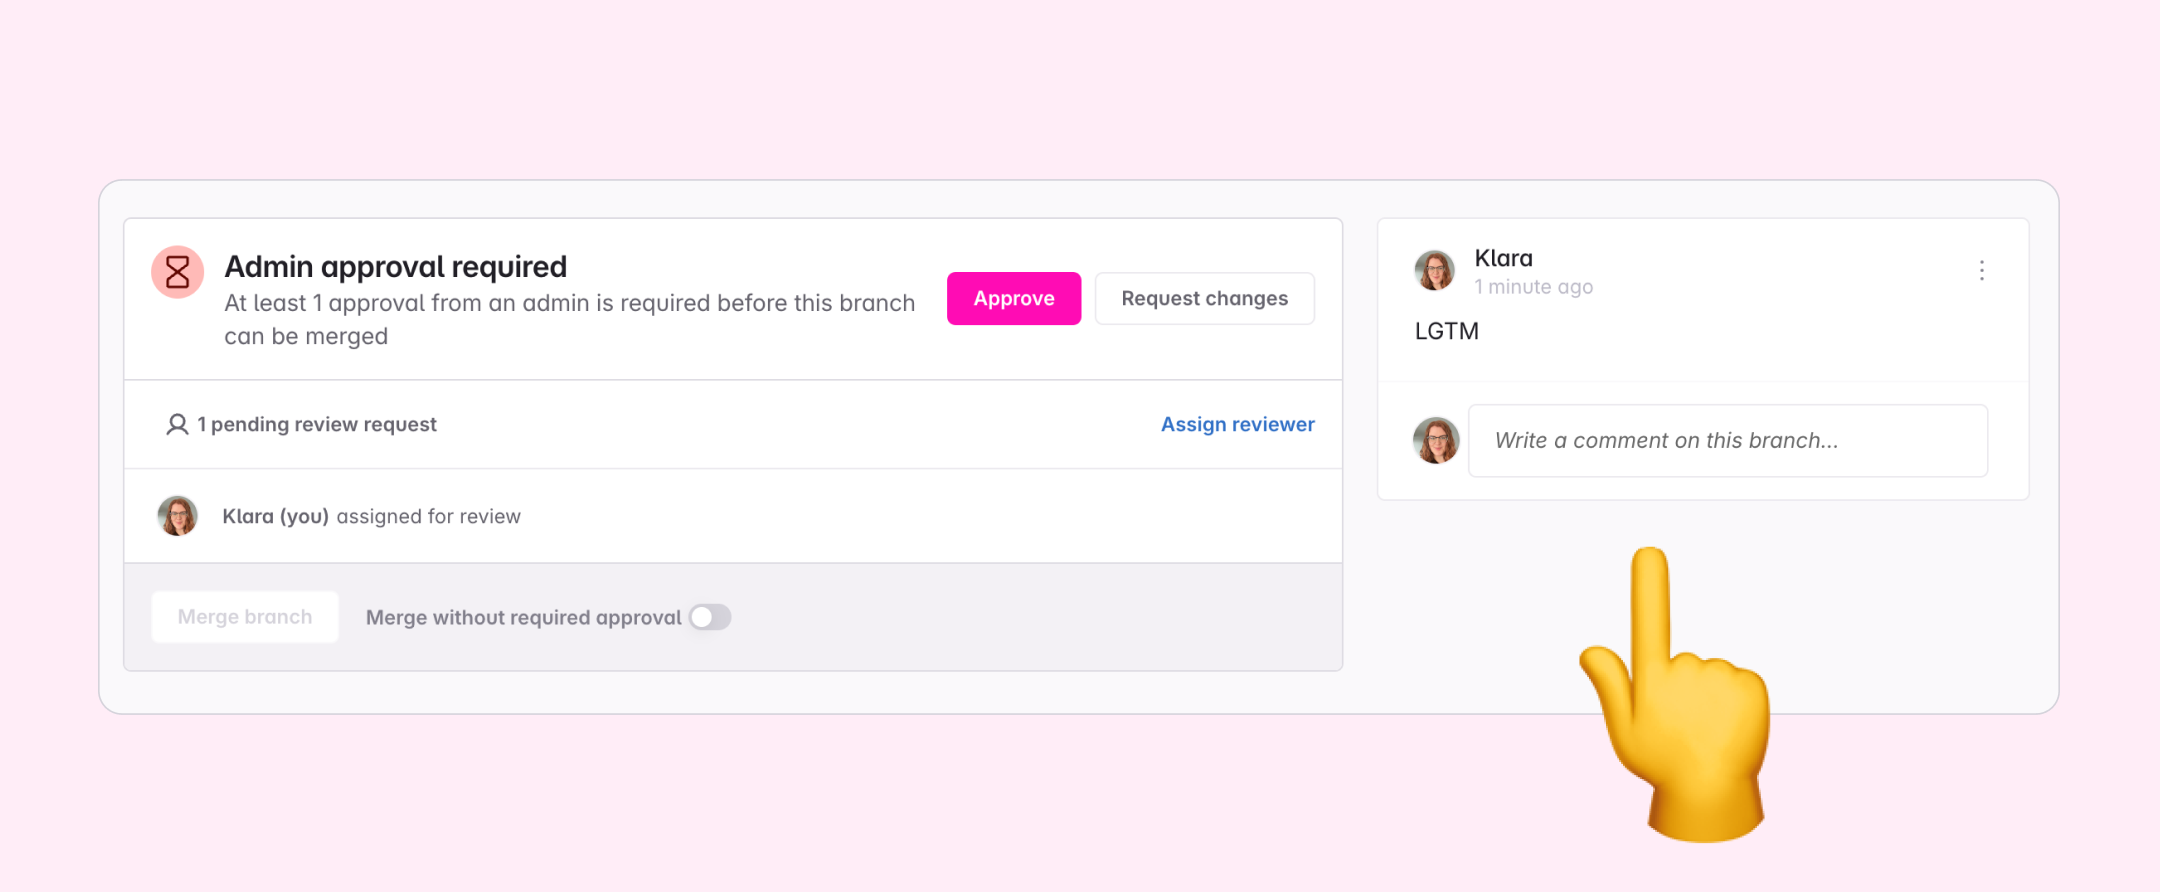
_Example: Adding comment to the overall branch_
### Approving the branch or requesting changes
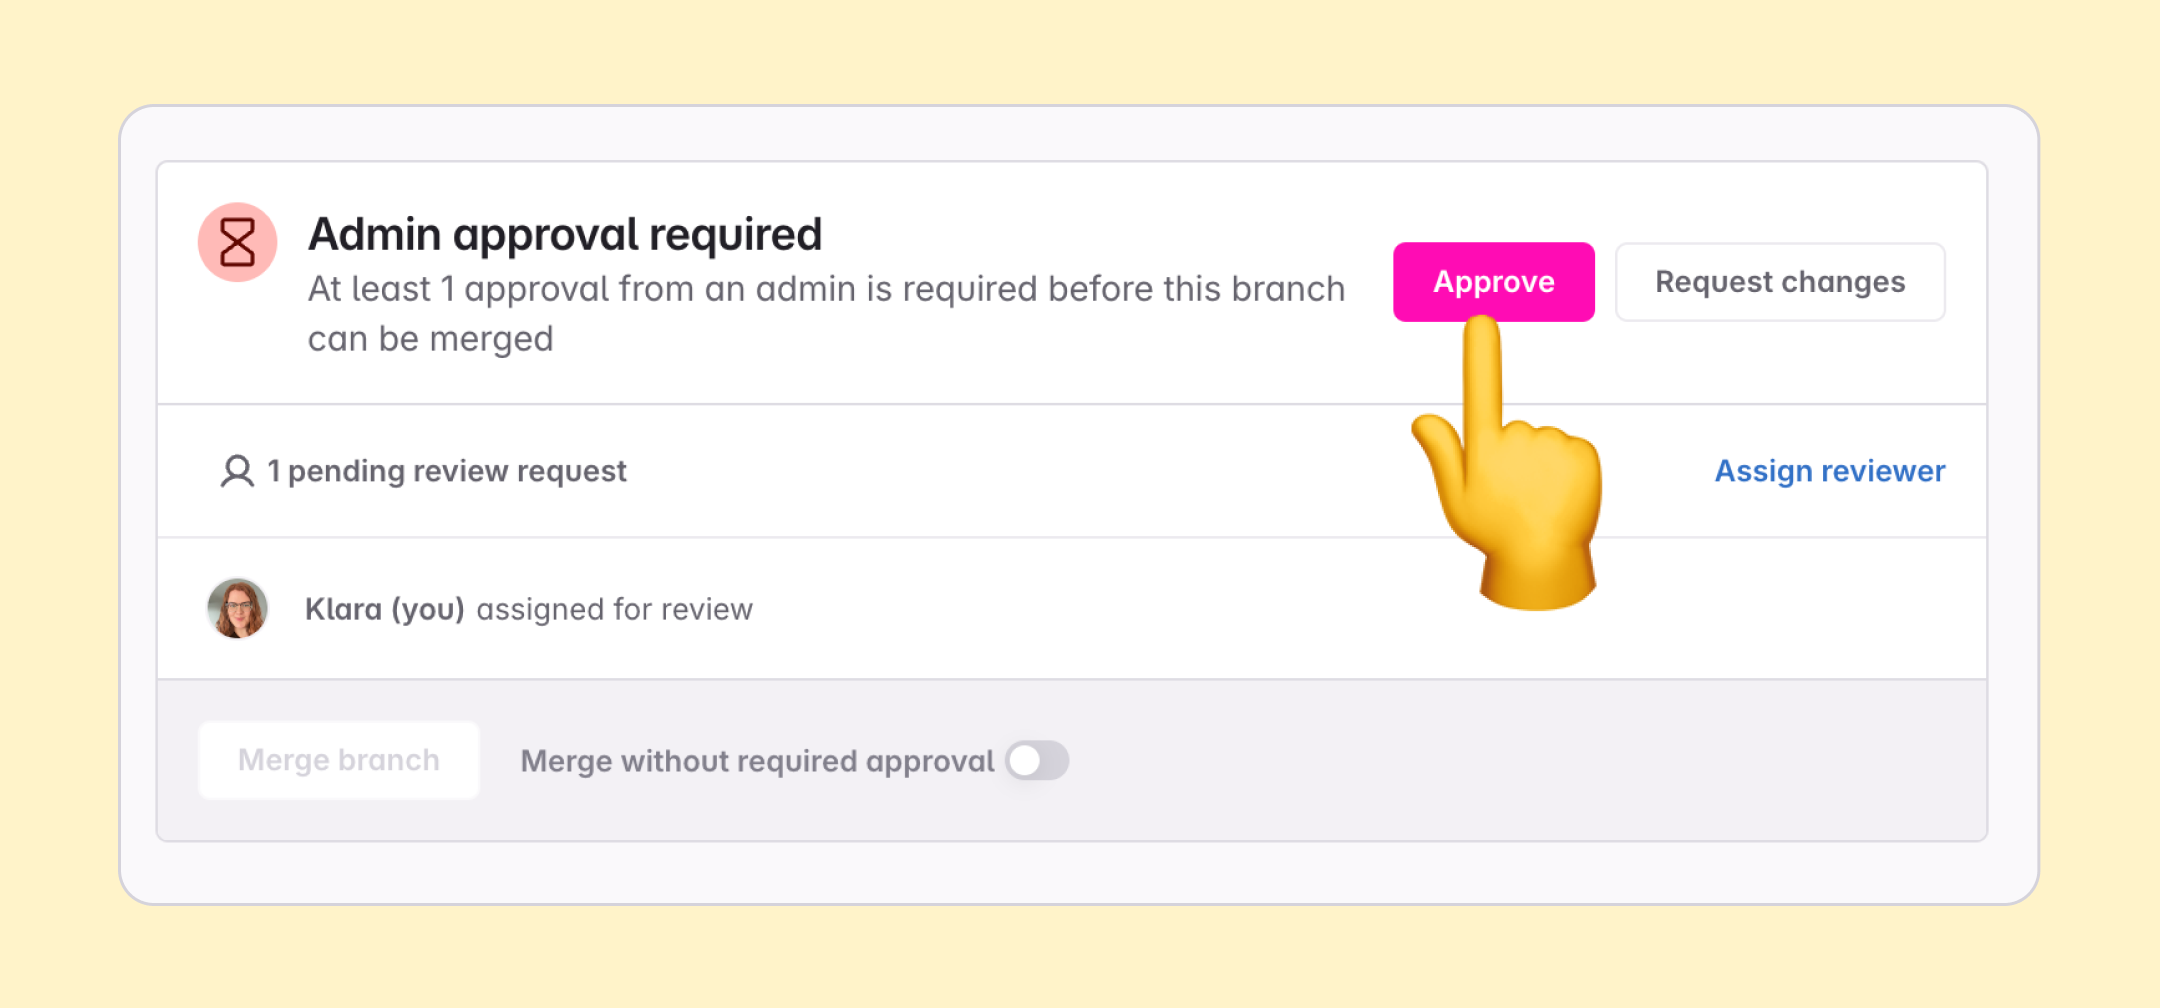
When you are done with the review, if your workspace has [approval workflows](https://www.avo.app/docs/data-design/branches/approval-workflows.md) enabled, you can change the branch status to "Request changes" or "Approve".
## What's next?
- [3. Request implementation](https://www.avo.app/docs/workflow/request-implementation.md): Learn how to request implementation
---
Source: https://www.avo.app/docs/workflow/request-implementation.md
# Request Implementation
The branch code changes screen displays all the changes needed to implement the branch, grouped by source. When you're on a branch, press [_View changes_](https://www.avo.app/docs/data-design/branches/branch-changes.md) in the sidebar, then open the _Code Changes_ tab (one of the three branch changes tabs). In addition to developers being able to review suggested changes, they can also view event and property details. The code changes are visualized in a configurable diff view.
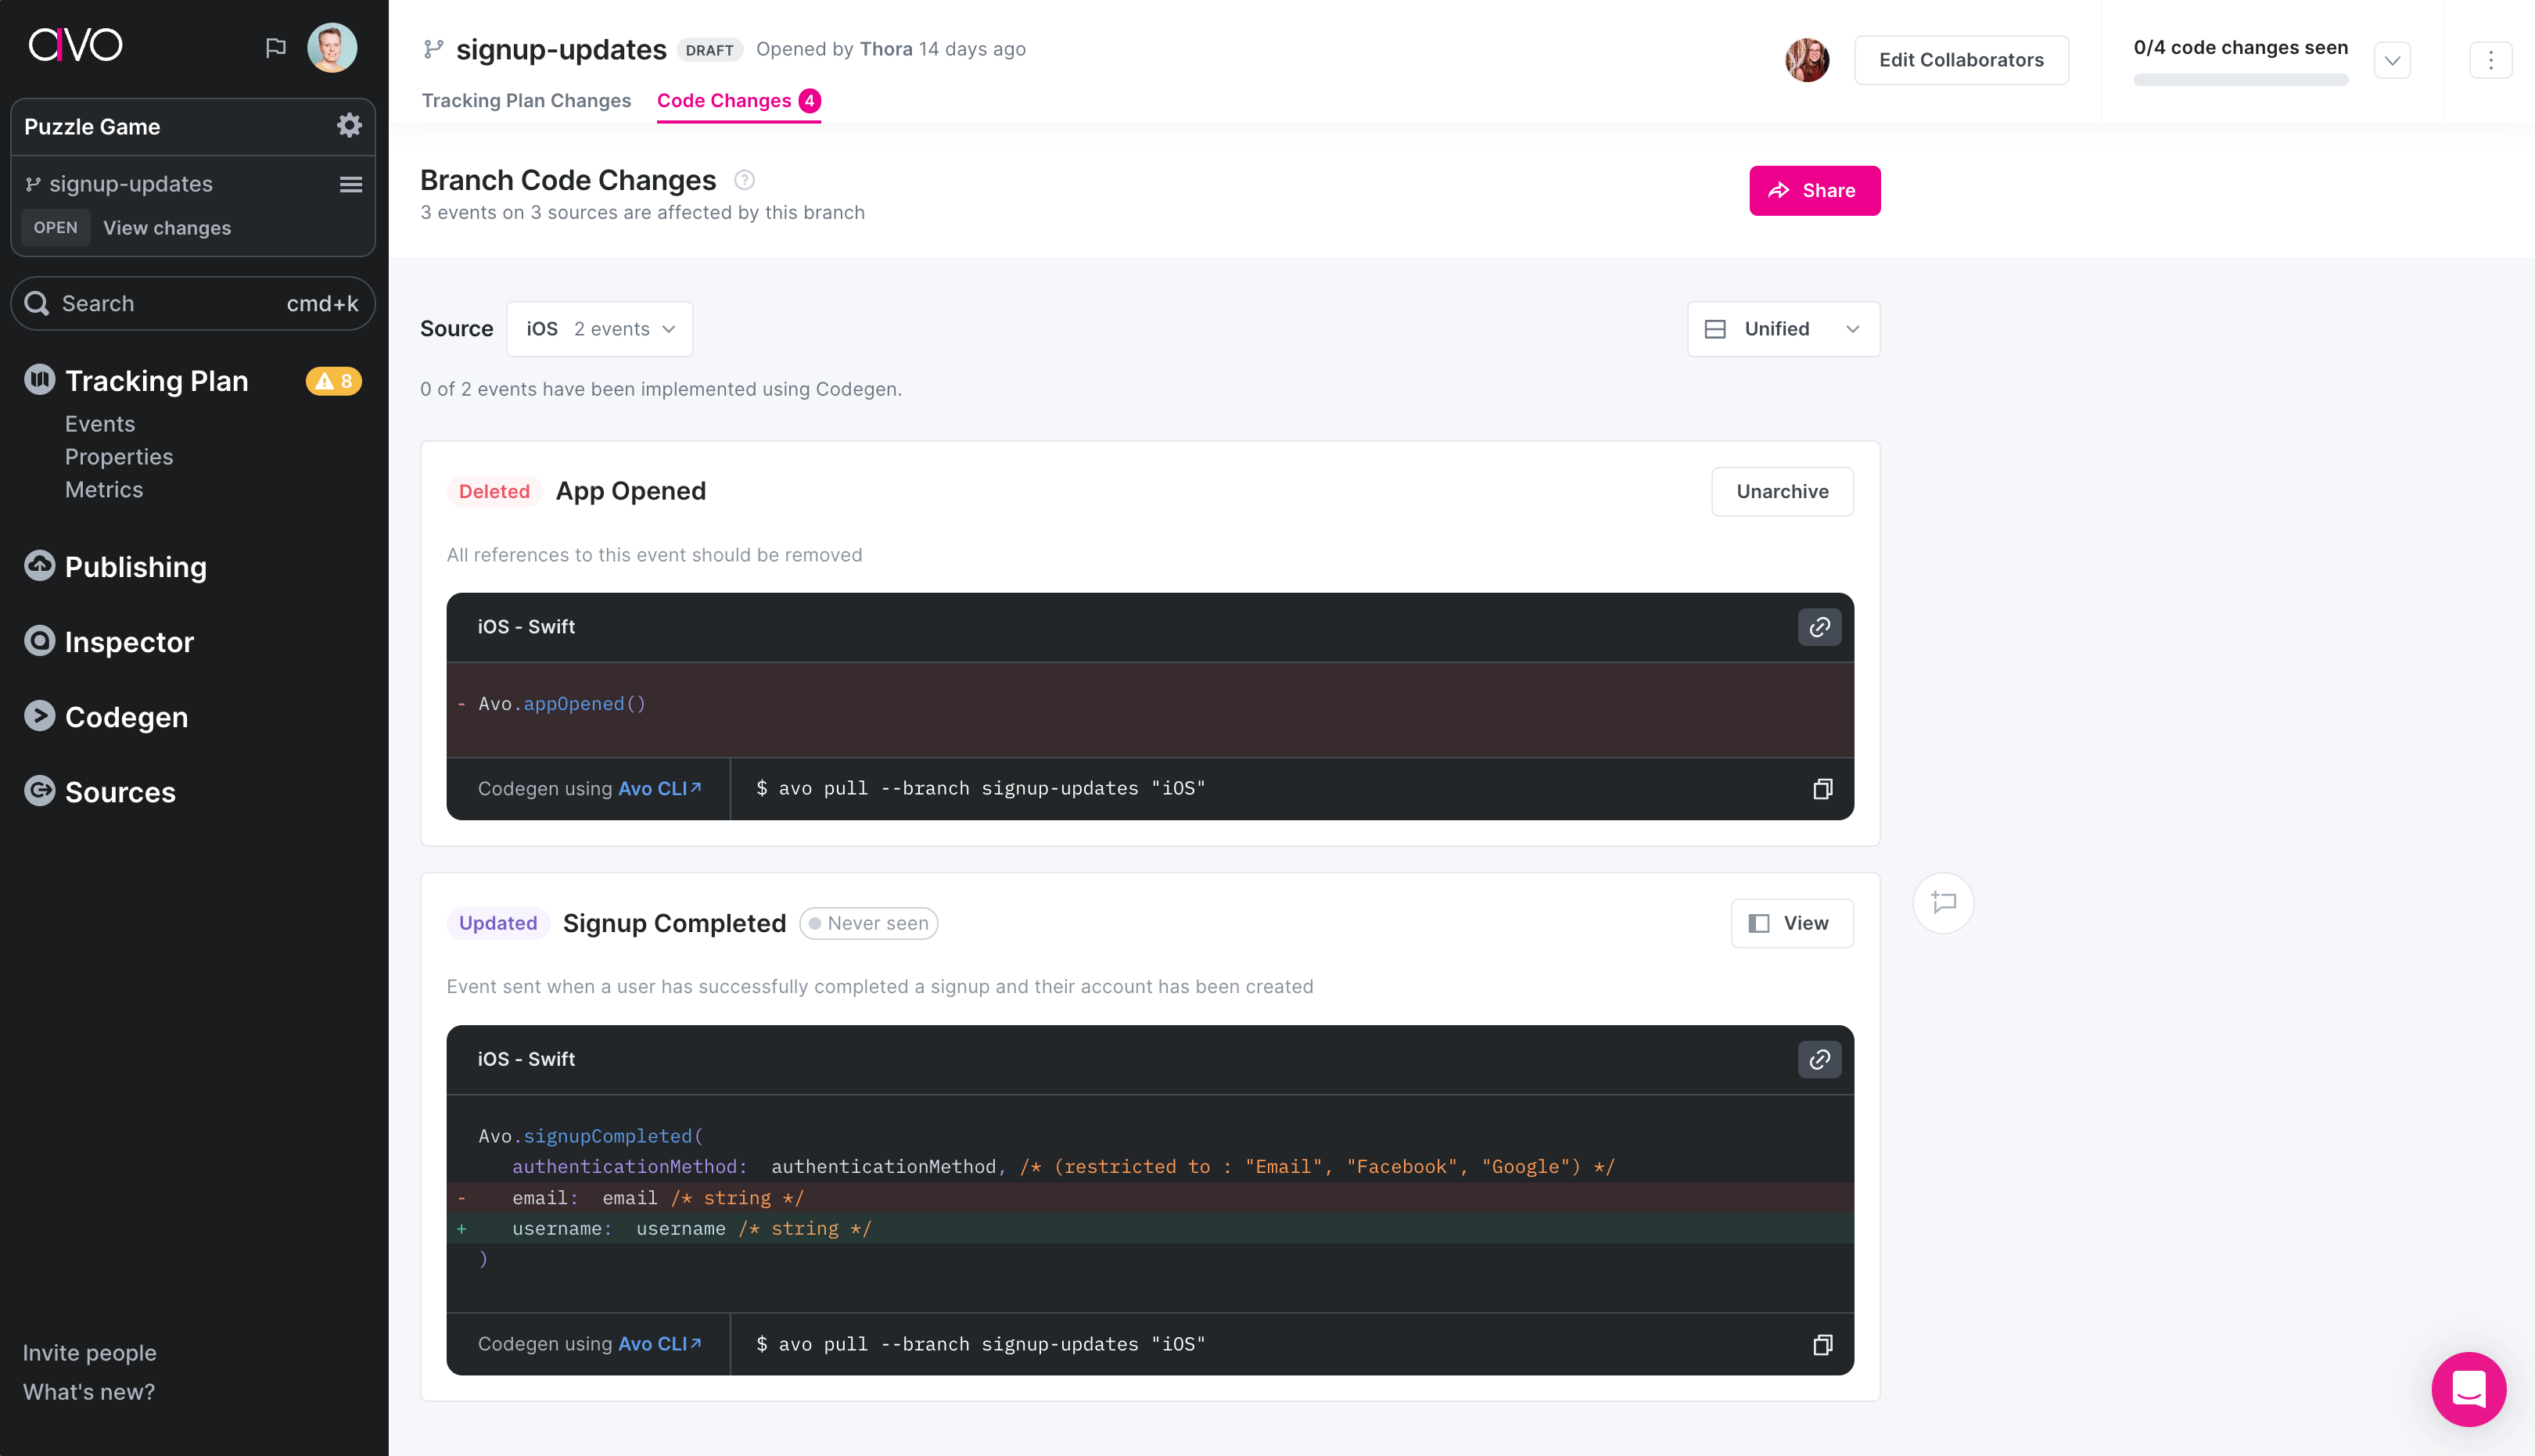
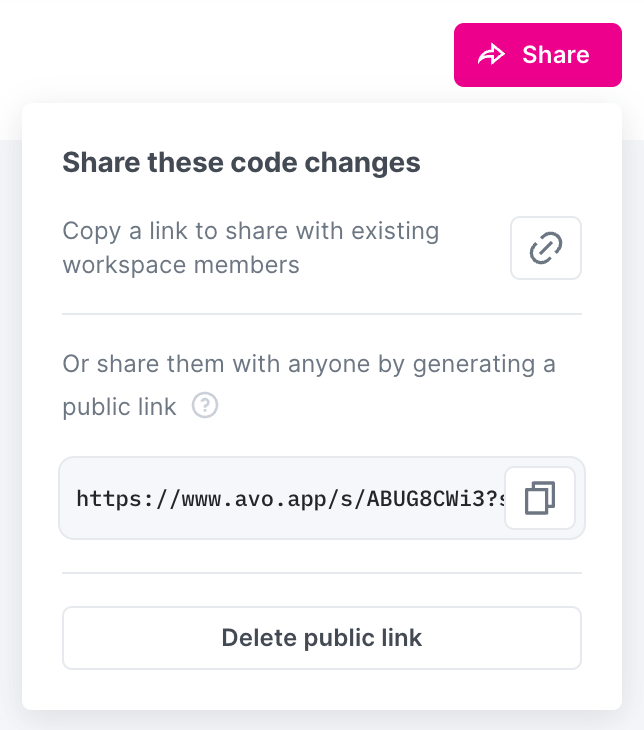
You can copy a link to the branch review screen or even create a shared view available to anyone with the link to pass them to developers for implementation in your collaboration tool of choice (e.g. Jira or Slack). If you want to focus the discussion you can link to a specific event on a specific source. Take a look at this [example shared branch code changes](https://www.avo.app/s/TZ0YwKaQ9).
- [Branch Code Changes](https://www.avo.app/docs/data-design/branches/code-changes.md): Using the branch code changes screen for a simple and accurate implementation
## What’s next?
- [4. Implement analytics events](https://www.avo.app/docs/workflow/implement.md): Learn how to implement analytics event
---
Source: https://www.avo.app/docs/workflow/implement.md
# Implement analytics events
Avo provides a set of developer tools to make it faster and less error prone to implement tracking code. [Avo Codegen](https://www.avo.app/docs/implementation/devs-101.md#avo-codegen-type-safe-analytics-wrappers), our type safe analytics wrappers, are one of those tools. Using Avo's developer tools is optional, but something we highly recommend.
In this guide we'll cover how to implement analytics events with and without using Avo's developer tools.
## Using journeys as implementation guides
If a [journey](https://www.avo.app/docs/data-design/avo-tracking-plan/journeys.md) was created during the planning phase, use [Developer mode](https://www.avo.app/docs/data-design/avo-tracking-plan/journeys.md#implementing-journeys) in the journey builder to implement tracking. Developer mode can be accessed through the toolbar in the journey builder and provides everything developers need to implement tracking directly from the journey context.
### Developer mode
Developer mode opens a sidebar with a list of all triggers for each journey step in the journey. Every trigger includes auto-generated code snippets and prompts for coding agents, tailored to the property conditions defined for that scenario. Developers get:
- **Context from the design**: Annotated images connected to the triggers with events that show exactly which event should be triggered and where
- **Code snippets based on property conditions**: Clear indication of which properties must be sent and which are optional, plus allowed values and notes about the property or the value
- **Implementation prompts**: Language-specific prompts for coding agents to help implement the tracking plan changes, for either Codegen or existing implementation methods
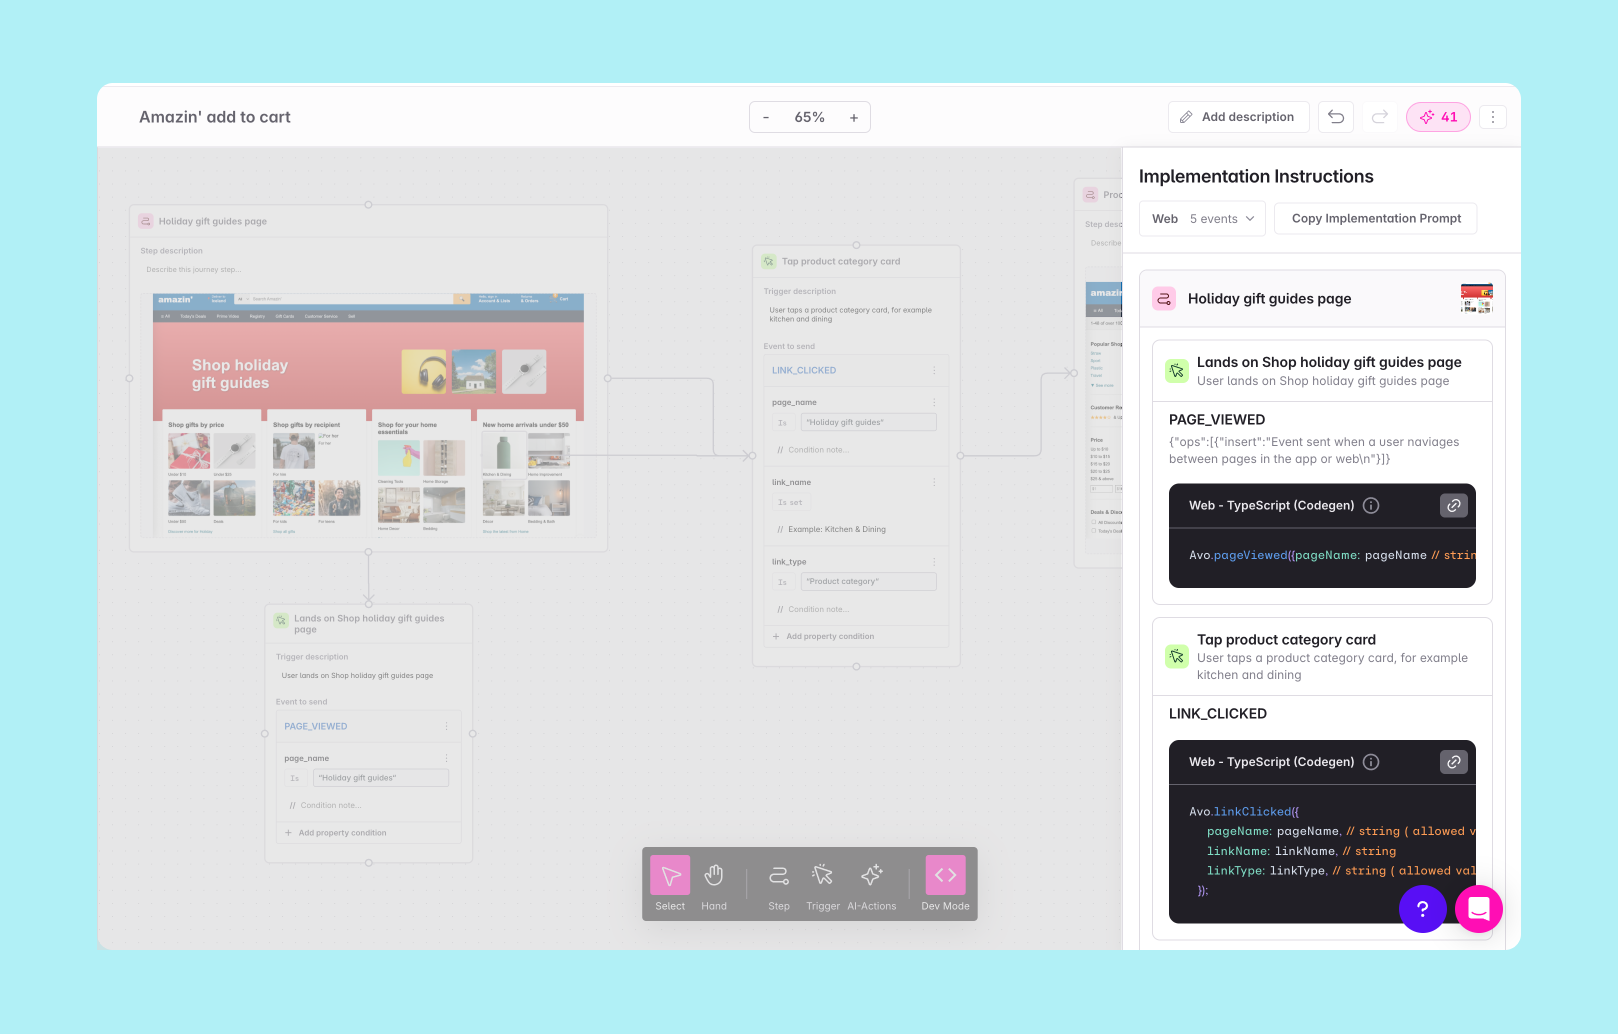
Use Developer mode together with the [Branch Code Changes](https://www.avo.app/docs/data-design/branches/code-changes.md) screen for a complete implementation workflow.
## Implementing without using Avo's developer tools
You can continue implementing your tracking code like you are used to using analytics SDKs from analytics platforms (like Mixpanel, PostHog or Amplitude), SDKs from CDPs (like RudderStack, Segment or mParticle), or using internal built SDKs or APIs.
A typical implementation workflow looks like this:
1. **Review the changes** - Open the [journey](https://www.avo.app/docs/data-design/avo-tracking-plan/journeys.md) in the journey builder and enable Developer mode to review the code changes required to implement the journey.
2. **Open a git branch** - Create a branch or use an existing branch with the product update that you are working on in your product's codebase to implement your analytics tracking changes.
3. **Implement the changes** - Use the code snippets and implementation prompts from Developer mode as a task list and template for implementation, with the journey as visual context for where each event belongs in the user flow.
- [Branch Code Changes](https://www.avo.app/docs/data-design/branches/code-changes.md): Read more on using the branch code changes screen for a simple and accurate implementation
## Implementing with Avo Codegen
Avo Codegen produces type safe analytics wrappers that are code generated based on your tracking plan. Designed to speed up the tracking code implementation, while also making it more reliable with type-safety.
Learn more about Avo’s developer tools in Avo 101 for developers:
- [Avo 101 for developers](https://www.avo.app/docs/implementation/devs-101.md): Learn about Avo’s developer tools
For teams that are using Avo Codegen to implement their tracking code, the typical implementation workflow looks like this:
1. **Review the changes** - Open the [journey](https://www.avo.app/docs/data-design/avo-tracking-plan/journeys.md) in the journey builder and enable Developer mode to review the code changes required to implement the journey.
2. **Open a git branch** - Create a branch or use an existing branch with the product update that you are working on in your product's codebase to implement your analytics tracking changes.
3. **Pull the updated Codegen** - Use the [Avo CLI](https://www.avo.app/docs/implementation/cli.md) to pull the updated code from the Avo branch you are implementing. You can find the Avo CLI command for each source in the top right corner of the branch review screen under "Branch Implementation".
4. **Implement the changes** - Use the type-safe functions provided by Avo Codegen to implement your events in your source code. Developer mode provides Codegen-specific code snippets and implementation prompts for each trigger, with the journey as visual context for where each event belongs in the user flow.
If Avo Codegen haven’t been set up in your project yet, learn how to set them up in our Avo Codegen quickstart guide:
- [Avo Codegen overview](https://www.avo.app/docs/implementation/start-using-avo-codegen.md): Start using Avo Codegen
## What’s next?
- [5. Validate implementation](https://www.avo.app/docs/workflow/validate.md): Learn how to validate implementation
---
Source: https://www.avo.app/docs/workflow/validate.md
# Validate implementation
Avo provides a number of tools that help you verify that the events you’ve implemented are correct according to how you’ve defined them in your Avo Tracking Plan.
Avo’s validation functionalities are built on top of two product offerings, [Avo Inspector](https://www.avo.app/docs/inspector/start-using-inspector.md) and [Avo Codegen](https://www.avo.app/docs/implementation/avo-codegen-overview.md).
> 🔒 While Avo offers powerful tools for data quality monitoring and observability,
> Avo never receives or processes any PII data about the customers of Avo
> customers. Avo never receives or processes your actual analytics events, only
> the schemas.
## Validate implementation with Avo Inspector
For every source that has Inspector installed, you can validate if the implementation is according to the tracking plan using the [Inspector Debugger](https://www.avo.app/docs/inspector/inspector-debugger.md) for real-time validation during development and in staging and/or Inspector implementation status in your tracking plan. In addition you can use the [Inspector Issues view](https://www.avo.app/docs/inspector/inspector-issues-view.md) for production monitoring, to review and manage tracking plan violations in your production data for the past 24 hours.
If you don't have Inspector installed yet, you can learn more about how to get started with Inspector here:
- [Avo Inspector](https://www.avo.app/docs/inspector/start-using-inspector.md): Use Inspector to improve your tracking plan health
### Validate with Inspector Debugger
The [Inspector Debugger](https://www.avo.app/docs/inspector/inspector-debugger.md) is the recommended way to validate your tracking implementation during development and staging. It provides a real-time event stream that shows events as they're sent from your application, with immediate validation against your tracking plan on the current branch.
Here's how you can validate tracking implementation using the Inspector Debugger:
1. Head to the [Inspector Debugger](https://www.avo.app/schemas/default/inspector/debugger) in your workspace and switch to the branch you'd like to verify implementation for.
2. Filter by the environment you're testing in (Development or Staging) and the source you're triggering events from. Coming soon: Filtering down to your specific stream session too.
3. Trigger events in your application and watch them appear in real-time in the debugger.
4. Click on any event to see the complete property list and validation status. The debugger will highlight any [issues](https://www.avo.app/docs/inspector/issue-types-in-inspector.md) such as unexpected properties, type mismatches, or missing required properties.
5. If you've created a [journey](https://www.avo.app/docs/data-design/avo-tracking-plan/journeys.md), use it as a visual guide to verify that events are being triggered at the correct points and order in the user flow and that the properties are being sent according to the journey trigger property conditions.
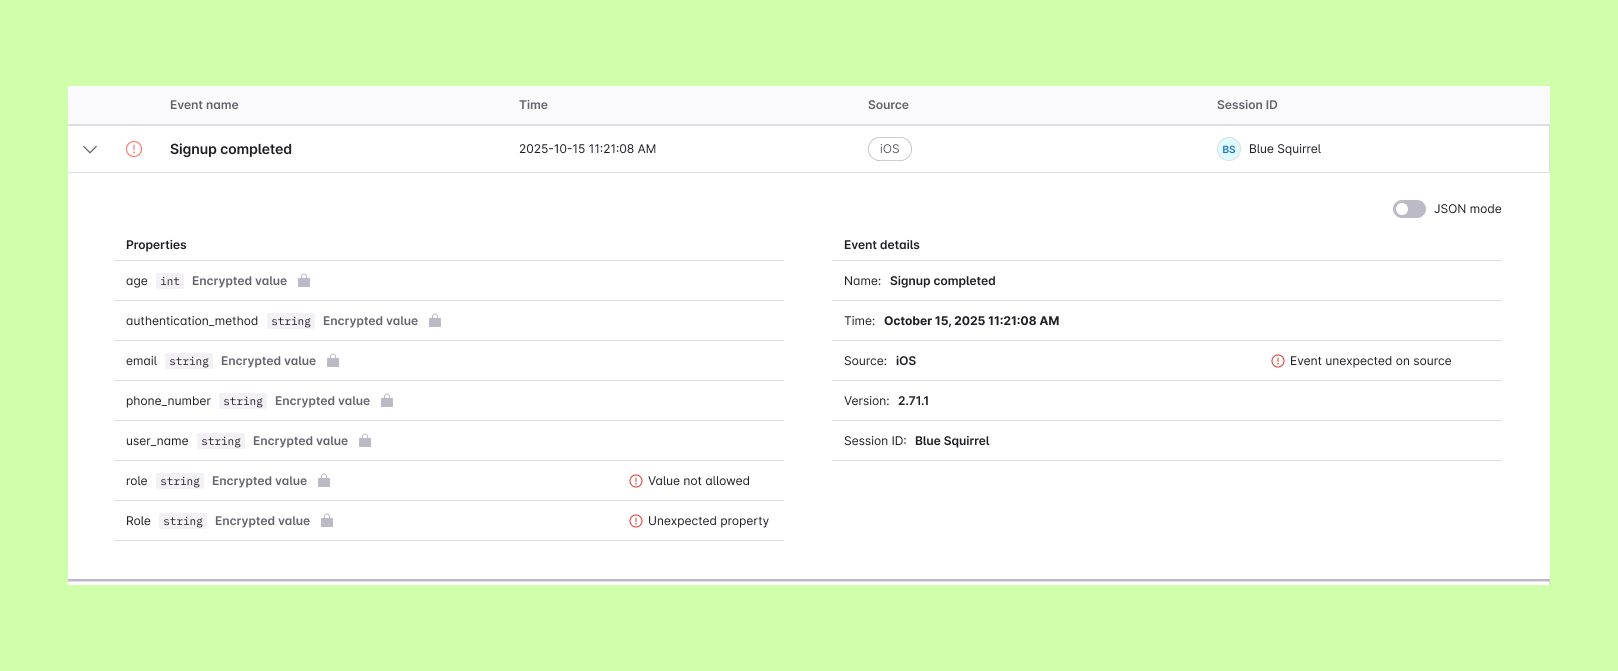
_Example: Inspector Debugger showing event details and validation status_
> Worth repeating here: Avo never receives or processes any of your actual analytics events, only the schemas. In other words, Avo never receives or processes any PII data about the customers of Avo's customers.
- [Inspector Debugger](https://www.avo.app/docs/inspector/inspector-debugger.md): Learn more about using the Inspector Debugger for real-time validation
### Validate with Inspector implementation status
For every source Inspector is installed on, you’ll find an implementation status in the Avo Tracking Plan. When looking at from which sources an event is sent from in your Tracking Plan you will notice green, yellow or red status indicator lights next to each source name. This is the implementation status.
You can hover over the source pill in the events table, or click into the event, to learn more about the implementation status.
Learn more about how to read Inspector implementation status:
- [Inspector implementation status](https://www.avo.app/docs/data-design/avo-tracking-plan/implementation-status.md#inspector-implementation-status)
## Validate implementation with Avo Codegen
For all tracking implemented with Codegen, you can validate if the implementation is according to the tracking plan using four methods, each with its own purpose.
If you’re not using Codegen already, you can learn more about how to get started here:
- [Quickstart: Codegen](https://www.avo.app/docs/implementation/start-using-avo-codegen.md): Start using Codegen
### Validate with type-safety and runtime validation
All tracking code implemented with Codegen is type-safe and has built in runtime validation. This gives the developer instant feedback on whether the tracking implementation is according to the tracking plan or not. Any type issues are surfaced by the code compiler, and runtime validations are surfaced via console logs and the Avo debugger.
Learn more about how validations in Codegen work here:
- [What's happening inside Codegen](https://www.avo.app/docs/implementation/avo-codegen-overview.md#whats-happening-inside-the-avo-codegen): Learn about how validations in Codegen work
### Validate with the Avo In-app Debugger
The Avo In-app Debugger is an addition on top of Avo Codegen that gives you better visibility into which events are being sent, which properties are attached, and whether any issues were detected or not.
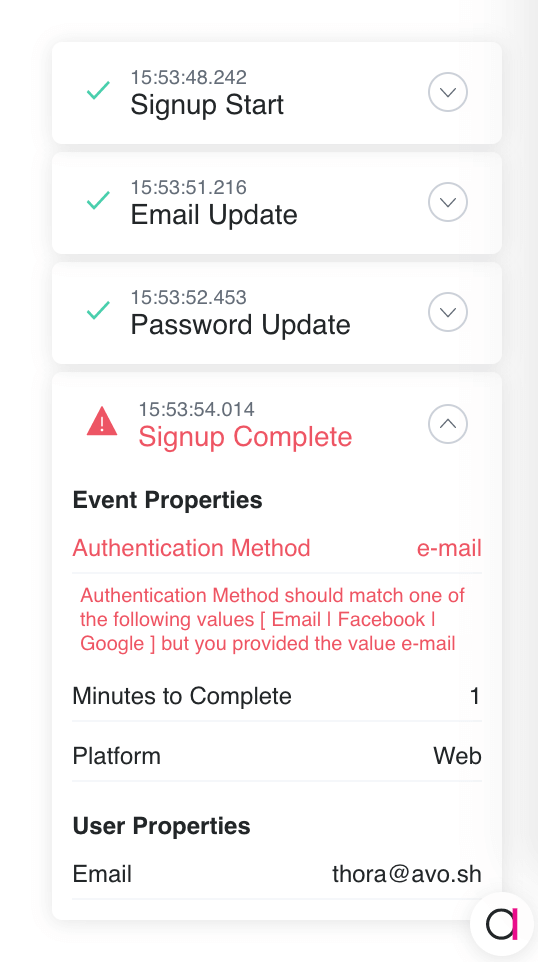
_Example: Web debugger example_
The Avo debugger is available on Web, iOS, Android and React Native. Learn more about the Avo debugger here:
- [Visual debuggers](https://www.avo.app/docs/implementation/guides/start-using-visual-debuggers.md): Learn about how Avo debugger works
### Validate with the Avo CLI
The Avo CLI has a command, `avo status`, that will report on where Avo Codegen is being called from, and which events have not been implemented yet.
We recommend adding the `avo status` check to your CI pipeline, and configure it to throw an error if an event that is supposed to be sent with Avo Codegen, is not found in the codebase.
```sh
> avo status
info Currently on branch 'main'
└─ java android (musicplayerexample/src/main/java/sh/avo/Avo.java)
├─ appOpened
│ └─ used in musicplayerexample/src/main/java/app/avo/musicplayerexample/MusicPlayerExampleApplication.kt: 1 time
├─ login
│ └─ ✖ no usage found
├─ logout
│ └─ ✖ no usage found
├─ pause
│ └─ used in musicplayerexample/src/main/java/app/avo/musicplayerexample/ExampleMusicPlayerActivity.kt: 1 time
├─ play
│ └─ used in musicplayerexample/src/main/java/app/avo/musicplayerexample/ExampleMusicPlayerActivity.kt: 3 times
├─ playNextTrack
│ └─ used in musicplayerexample/src/main/java/app/avo/musicplayerexample/ExampleMusicPlayerActivity.kt: 1 time
└─ playPreviousTrack
└─ used in musicplayerexample/src/main/java/app/avo/musicplayerexample/ExampleMusicPlayerActivity.kt: 1 time
info 5 of 7 events seen in code
error 2 missing events
└─ java android (musicplayerexample/src/main/java/sh/avo/Avo.java)
├─ login: no usage found
└─ logout: no usage found
```
_Example: The `avo status` command in Avo CLI_
You can learn more about using the Avo CLI in CI/CD here:
{' '}
- [Avo in CI/CD](https://www.avo.app/docs/implementation/guides/avo-in-the-ci.md): How to use the Avo CLI in CI/CD
### Validate with implementation status in the tracking plan
For every source Avo Codegen is installed on, you’ll find an implementation status in the Avo Tracking Plan. When looking at from which sources an event is sent in your Tracking Plan you will notice green, yellow or red status indicator lights next to each source name. This is the implementation status.
You can hover over the source pill in the events table, or click into the event, to learn more about the implementation status.
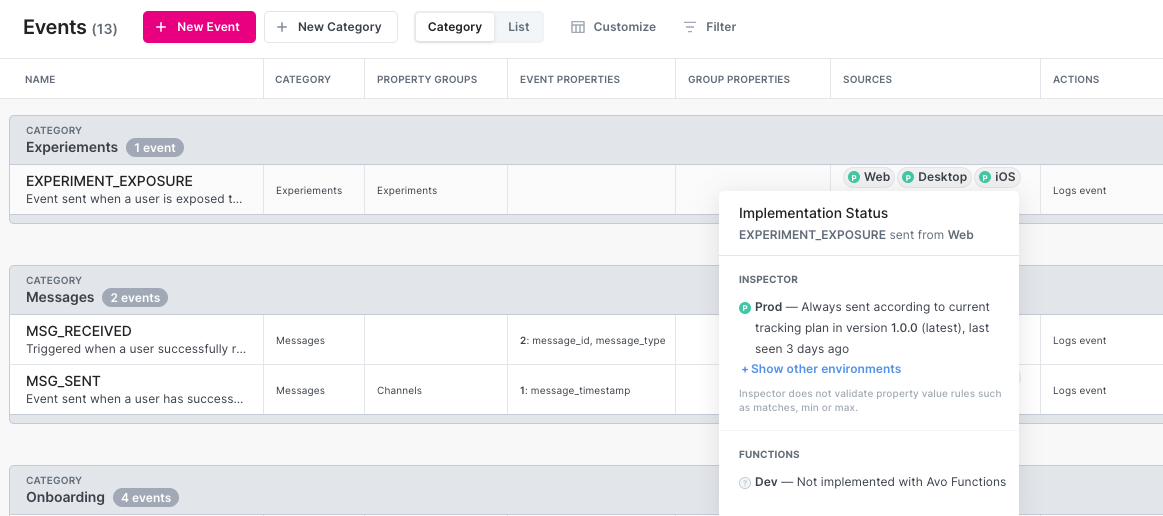
_Example: Implementation status in the event table of the tracking plan_
You can also find a branch implementation status for Avo Codegen in the top right corner of the branch review screen.
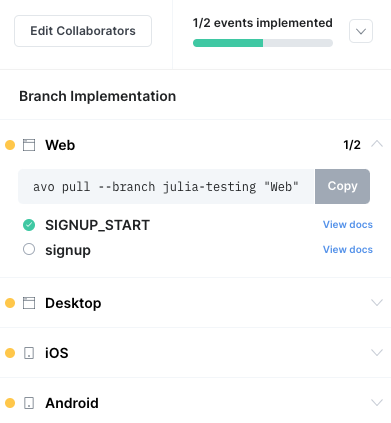
_Example: Implementation status on the branch review screen_
Learn more about how to read Avo Codegen implementation status:
- [Avo Codegen implementation status](https://www.avo.app/docs/data-design/avo-tracking-plan/implementation-status.md#avo-codegen-implementation-status): Learn how to read Avo Codegen implementation status
## What’s next?
- [6. Merge branch and Publish](https://www.avo.app/docs/workflow/merge-publish.md): Learn how to Merge branch and Publish your tracking plan updates to schema registries
---
Source: https://www.avo.app/docs/workflow/merge-publish.md
# Merge branch and Publish
## Merge Avo branch
When you have finished the tracking implementation and validated it, you are ready to merge your Avo branch.
We recommend merging your Avo branch after all related git branches containing tracking changes have been merged. This is to prevent conflicts that can arise if an Avo branch is merged first and the git branch lives on for an extended period of time. These conflicts happen when other team members create new branches from your Avo main branch while it is still out of sync with your git main.
You can learn more about using Avo branches in a git workflow at scale here:
- [Avo branches at a large scale](https://www.avo.app/docs/implementation/guides/avo-and-git.md): Using Avo in large development teams with parallel workflows
## Publish tracking plan updates to schema registries
Publishing is a way to push your tracking plan specs from Avo into your other schema registries and downstream tools.
You can configure Avo to auto-publish your tracking changes to your downstream schema registries as soon as an Avo branch is merged. By doing so you ensure that all your schema registries are always kept in sync with your source of truth tracking plan in Avo.
You can learn more about how to push or pull to keep schema registries in sync, including with publishing, here:
- [Publishing](https://www.avo.app/docs/publishing/publishing/overview.md): How to publish your tracking updates
## You just completed the final step of the Avo workflow!
Congrats, by completing this step you’ve completed the Avo workflow for an analytics release! 🎉
---
Source: https://www.avo.app/docs/audit/overview.md
# What is a Tracking Plan audit?
_Learn how to use Avo to identify issues in your existing tracking plan_
The Avo tracking plan audit reviews your event and property definitions and flags issues such as unexpected naming or inconsistent types — helping you keep your tracking plan clean and consistent.
The tracking plan audit monitors every change you make in your Avo Tracking Plan and highlights if new issues arise. You can think about the tracking plan audit like a spell-checker for your tracking plan.
Furthermore, all changes on branches are also checked in the [Branch Audit](https://www.avo.app/docs/audit/branch-audit.md) to see if you have introduced any new issues on your branch.
To learn more about the audit rules, see [Avo's tracking plan audit rules](https://www.avo.app/docs/audit/rules.md).
> 💡 The tracking plan audit only audits the _plan_. If you want to identify issues in your current tracking implementation and data streams, check out [Tracking Observability](https://www.avo.app/docs/inspector/start-using-inspector.md).
## What's next?
Follow the [quickstart guide](https://www.avo.app/docs/audit/quickstart.md) to import your existing tracking plan into Avo and review your first tracking plan audit in 5 minutes.
---
Source: https://www.avo.app/docs/audit/quickstart.md
# Audit your existing tracking plan
_Learn how to use Avo to identify issues in your existing tracking plan_
You can get a tracking plan audit for your existing tracking plan today by importing it into Avo. Follow the quickstart guide below to learn how to import your existing tracking plan into Avo and review your first tracking plan audit.
## Quickstart Guide
### Step 1: Create an Avo workspace
If you already have an Avo workspace, you can skip this step. If you don't have an Avo workspace yet, create one by following the [workspace onboarding flow](https://avo.app/onboarding).
### Step 2: Get your existing tracking plan into Avo
There are three ways to get your existing tracking plan into Avo:
- [Import from Amplitude, Mixpanel or Google Sheets](https://www.avo.app/docs/publishing/import/importing.md)
- [Import events from Inspector](https://www.avo.app/docs/inspector/add-events-from-inspector.md)
- [Build your tracking plan from scratch](https://www.avo.app/docs/data-design/start-data-design.md)
See our [guide on how to get your tracking plan into Avo](https://www.avo.app/docs/publishing/get-tracking-plan-into-avo) for more details
### Step 3: Review the tracking plan audit
As soon as you have imported your tracking plan to Avo, the tracking plan audit is ready for review. You can find your tracking plan audit next to the **Tracking Plan** tab in the sidebar of the Avo workspace. Click the yellow pill to open the report. If no issues were found you'll see a green check mark instead of the yellow pill.
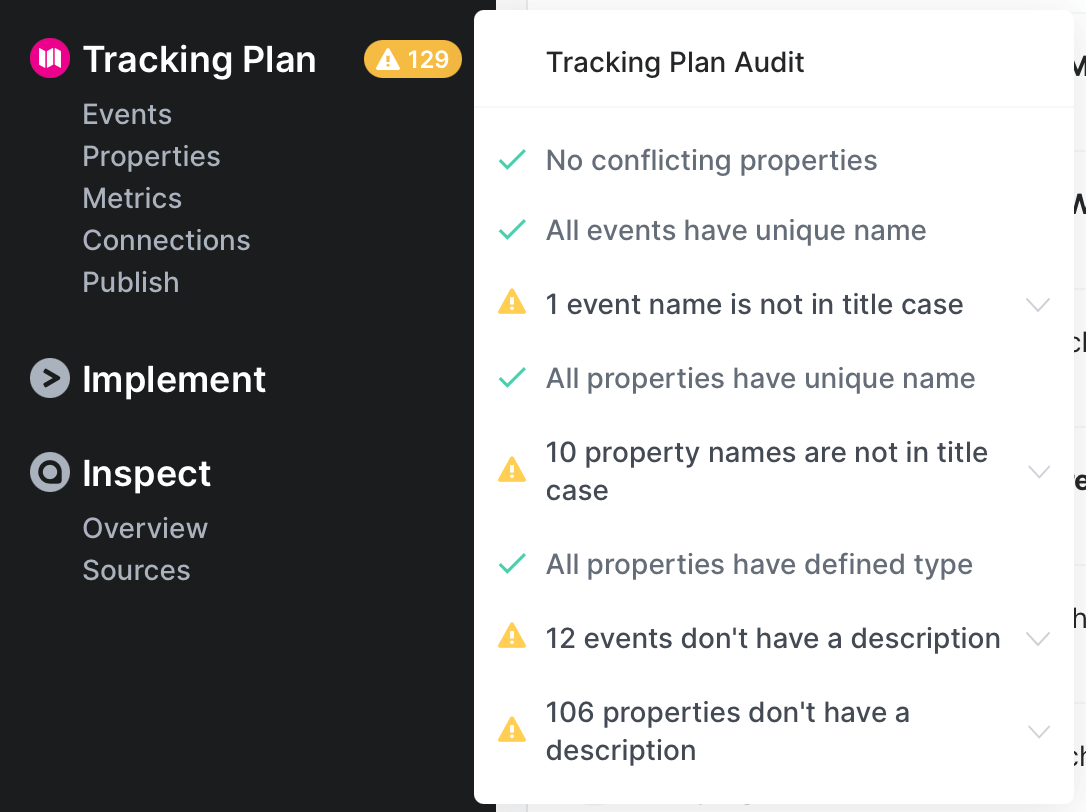
To learn more about how to review your tracking plan audit, and how to resolve issues, see [Avo's tracking plan audit rules](https://www.avo.app/docs/audit/rules.md).
## What's next?
Open a branch in Avo and start suggesting changes to resolve your top priority issues. To learn more about branches see [Branches](https://www.avo.app/docs/data-design/branches.md) and to learn more about how to resolve the audit issues see the [Audit rules](https://www.avo.app/docs/audit/rules.md).
---
Source: https://www.avo.app/docs/audit/branch-audit.md
# Branch Audits
_Learn how to use branch audits to identify and resolve issues introduced on branches._
> 💡 Branch Audit is a feature for the _Team_ and _Enterprise_ plans
The branch audit reviews the changes you have made on your branch and flags issues which are introduced by your changes, such as unexpected naming or inconsistent types — helping you keep your tracking plan clean and consistent.
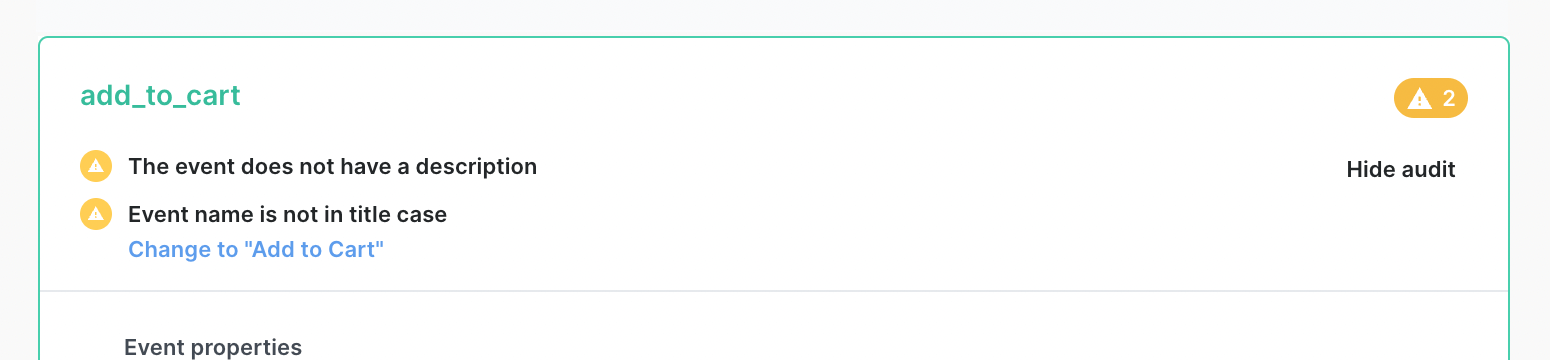
When [reviewing changes on a branch](https://www.avo.app/docs/data-design/branches.md#review-branch-changes), you can see issues directly on your tracking plan items and in the instance of inconsistent casing you can automatically fix the issue by the click of a button.
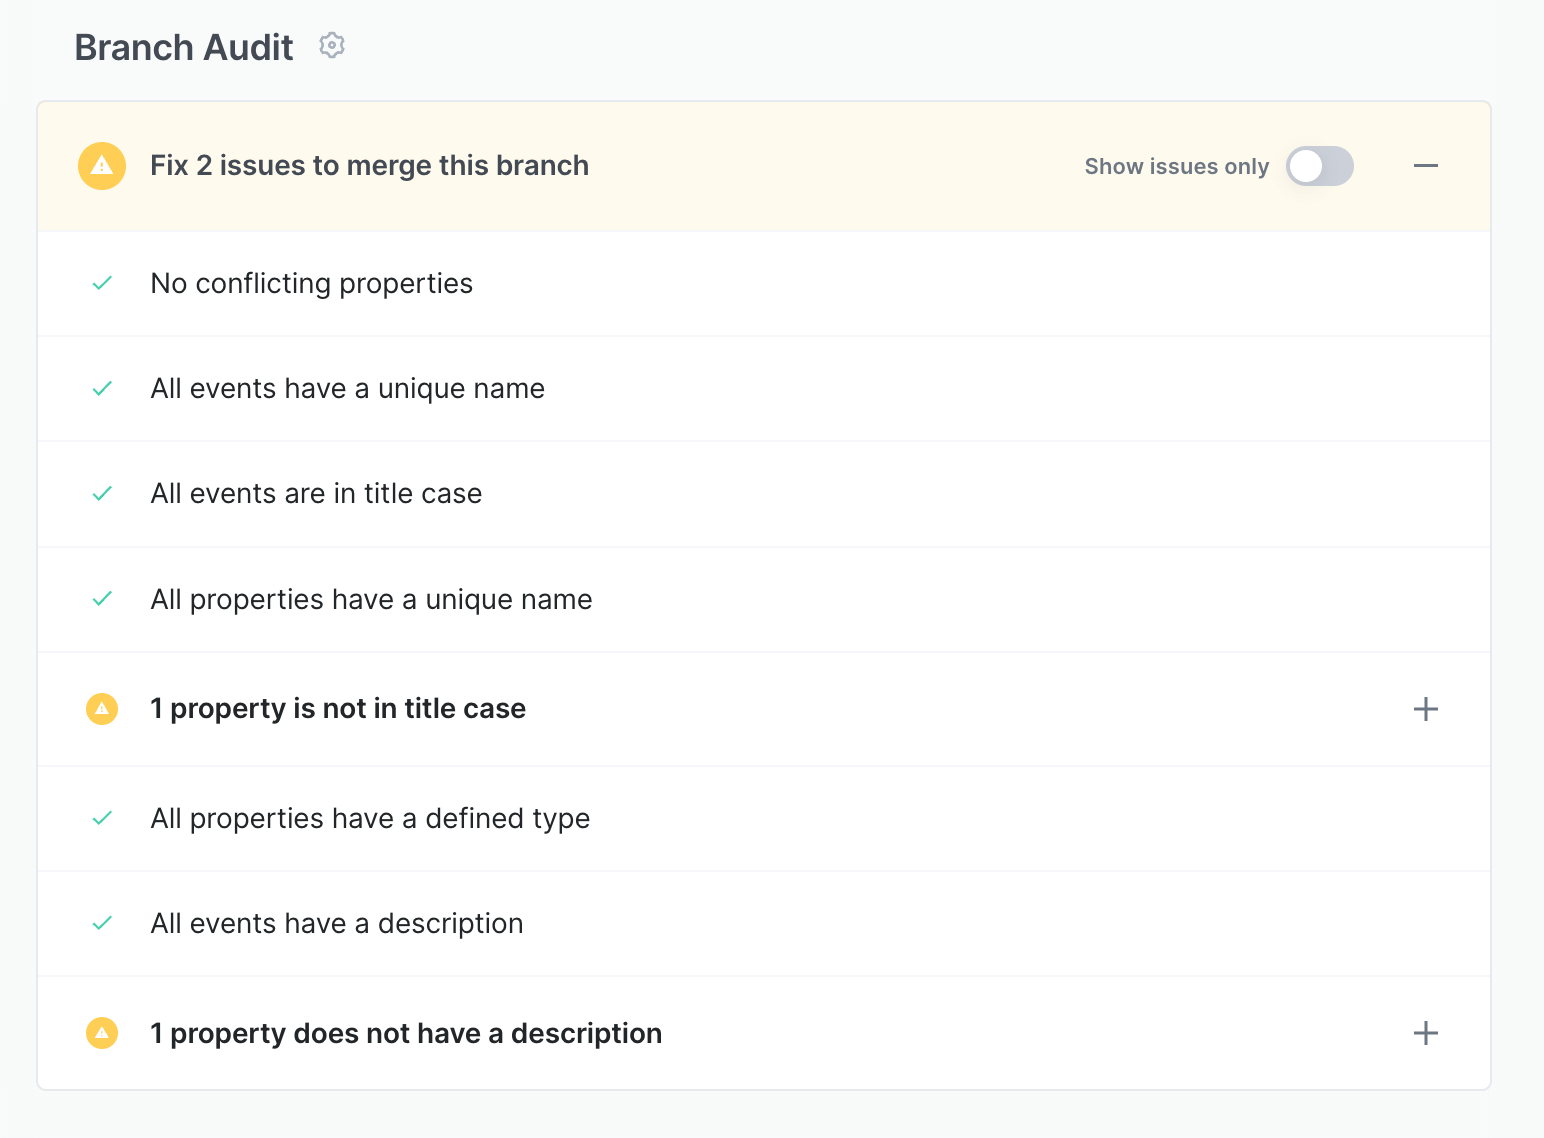
At the bottom of the diff screen you will have a summary of the issues introduced on the branch, indicating whether you have to take action or not. Expanding the sections will let you see in more details which items are affected and whether there are any automated actions to take, for instance for inconsistent casing.
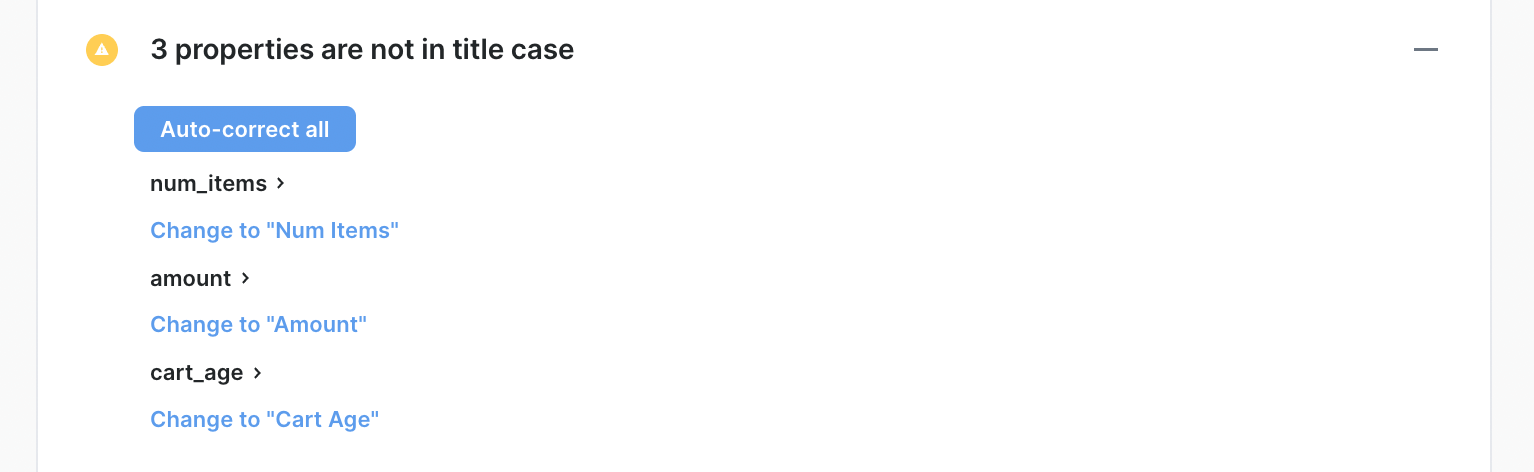
If there is a problem with casing in multiple instances, you can fix all of them at once by clicking the auto correct button. This will take care of fixing all of the issues which Avo is able to fix automatically, but in some cases it might not be possible to fix the casing due to naming conflicts in which case they will be left out for manual fixing.
> 💡 Validation of [advanced event name rules](https://www.avo.app/docs/audit/advanced-event-naming-rules.md) is currently not supported in the branch audit or the [tracking plan audit](https://www.avo.app/docs/audit/overview.md).
## Enforce a 0 issue policy
For Enterprise plans you have the possibility of enforcing that there are no issues introduced on branches before they are merged.
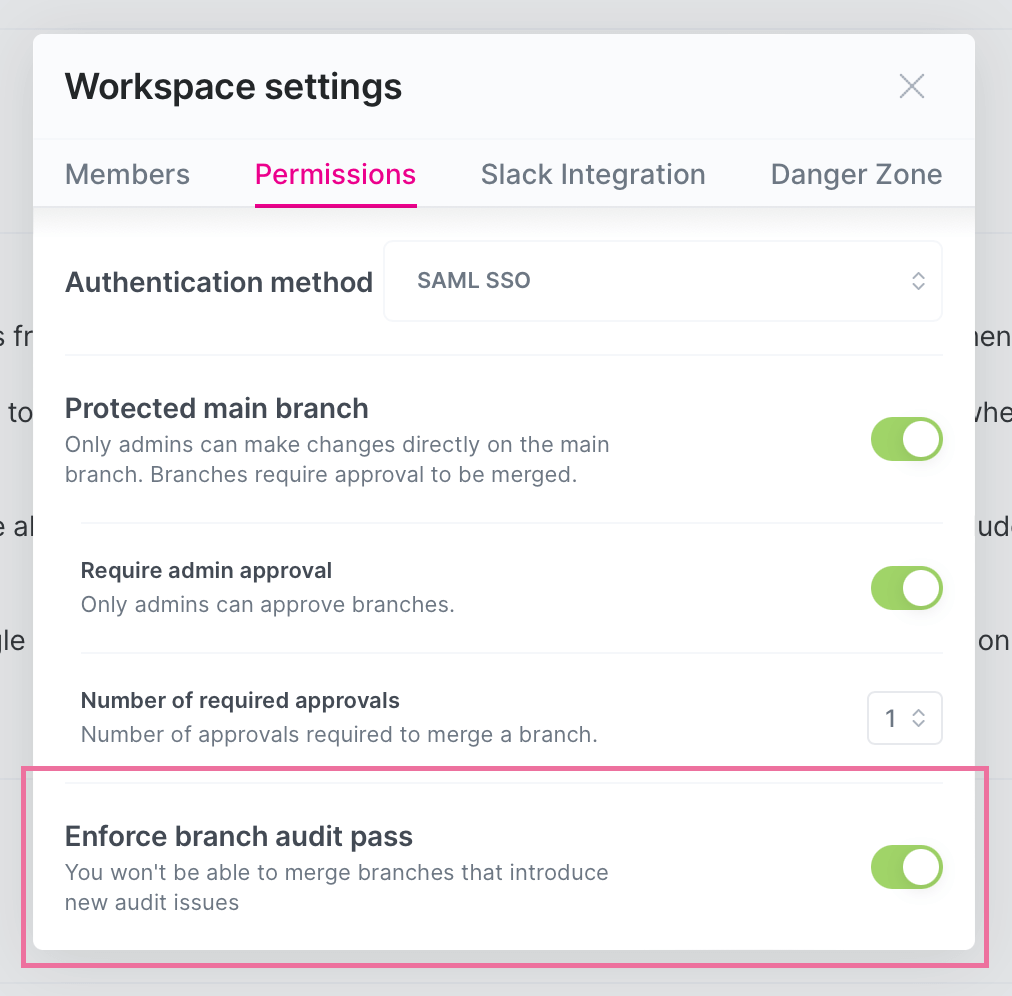
To learn more about the audit rules, see [Avo's tracking plan audit rules](https://www.avo.app/docs/audit/rules.md).
> 💡 The branch audit only audits the _branch_. If you want to identify issues in the tracking plan check out the [Tracking Plan Audit](https://www.avo.app/docs/audit/overview.md). If you want to identify issues in your current tracking implementation and data streams, check out [Tracking Observability](https://www.avo.app/docs/inspector/start-using-inspector.md).
## What's next?
Follow the [quickstart guide](https://www.avo.app/docs/data-design/branches.md) to start a branched workflow in Avo and see how you can get a review of your changes on the branch in 5 minutes.
---
Source: https://www.avo.app/docs/audit/rules.md
# Avo tracking plan audit rules
_Learn how to read, fix and configure your tracking plan audit_
## Audit rules
Following are the rules Avo tests for in the tracking plan and branch audits. To learn more about how to get started with the tracking plan audit, see [Quickstart: Get your first audit](https://www.avo.app/docs/audit/quickstart.md).
You will recognize the Tracking Plan Audit by the yellow exclamation point next to the Tracking Plan item in the sidebar. It’s meant to help teams follow their naming convention and surface issues like when a type is missing from a property.
Below is an overview of the reported issues and how you can resolve them.

## Event Rules
### All events have unique names
Checks if any two event names in the tracking plan conflict with each other. For event name to be unique, no other event can have the same name, independent from their case. Example of conflicting event names:
- "App Opened", "app opened", "app_opened", "app-opened"
- "Add to Cart", "Add to cart", "add_to_cart", "add-to-cart"
- "Checkout Started", "checkout started", "checkout-started"
- "Checkout Completed", "checkout completed", "checkout-completed"
#### How to resolve
Pick the casing that matches the one that is dominant one in your workspace and fix the implementation of those that don't fit your standards. Note that changing your existing tracking might cause issues in downstream tools and metrics. **Make sure to discuss with the consumers of the data before making such change**.
> 💡 **Best practice:** Have all event names unique to avoid confusion and conflicts in downstream tools, such as in data warehouses and dashboards.
### Casing of event names is consistent
Checks if the casing of event names in the tracking plan is consistent. For event name to be consistent, it should be the same casing across all events. Example of inconsistent event names:
- "App Opened", "checkoutStarted", "checkout_completed"
- "Add to Cart", "addToCart", "add-to-cart"
> 💡 **Best practice:** Have all event names defined with consistent casing to increases the usability of the data. If the casing is not consistent the person using the data would not only need to know the event name they are looking for, but also the casing of the event name.
#### How to resolve
Fix the names and implementation of the events that don't fit your standards. Note that this will only be fixed for the data going forward, not historical data. Note that changing your existing tracking might cause issues in downstream tools and metrics. **Make sure to discuss with the consumers of the data before making such change**.
> 💡 To enforce more granular event name rules in your workspace, including event name structure (such as “object action”) or hybrid casing conventions, you can set up [advanced event naming rules](/audit/advanced-event-naming-rules
### All events have description
Checks if all events in the tracking plan have a description.
> 💡 **Best practice:** A well defined event description contains information such as when the event should be sent and why it's being tracked.
### All events have owners
Checks if all events in the tracking plan have been assigned an owner from your [stakeholder teams](https://www.avo.app/docs/data-design/avo-tracking-plan/stakeholder-domains.md). Event ownership helps establish clear responsibility for data structures and enables better governance workflows.
> 💡 **Best practice:** Assigning owners to events clarifies who is responsible for each data structure, enables automatic reviewer assignment during branch reviews, and ensures accountability for data quality and changes.
#### How to resolve
**Assign stakeholder team ownership** to events that don't have owners from either event details or stakeholder team details.
For detailed instructions on managing stakeholder ownership, see [Setting item ownership](https://www.avo.app/docs/workspace-management/domains.md#setting-item-ownership).
#### Branch vs. Tracking Plan behavior
This audit rule behaves differently depending on the context:
- **Branch Audit**: Only validates *new events* added on the branch. Events that existed before the branch was created are not checked, allowing teams to incrementally improve ownership without blocking work on existing events.
- **Tracking Plan Audit**: Validates *all events* in the tracking plan, helping identify the complete scope of events that need owners assigned.
**Note**: When this rule is enforced at the branch level (available on the enterprise plan), branches cannot be merged until all new events have owners assigned.
[Learn more about stakeholder teams and ownership →](https://www.avo.app/docs/data-design/avo-tracking-plan/stakeholder-domains.md)
### All events have at least one category
Checks for events that do not belong to any category when the rule is enabled. Categories make large tracking plans navigable, support filtering, and can be published to certain destinations. Requiring categories helps keep your plan organized and discoverable.
#### How to resolve
Add the event to one or more relevant categories. Learn more about [Categories](https://www.avo.app/docs/data-design/guides/organizing-metrics-and-events.md#categories).
## Property Rules
### No conflicting properties
Checks if there are more than one definition of a property with the same name. This is the case where two properties have the same name, but different type definitions or descriptions. Example of conflicting properties:
- "User Id", type: string
- "User Id", type: int
#### How to resolve
Aligning the descriptions, types and property constraints of the conflicting properties and fix the implementation of those that don't fit your standards
### All property names are unique\*
Checks if any two property names in the tracking plan conflict with each other. For property name to be unique, no other property can have the same name, independent from their case. Example of conflicting property names:
- "User ID", "User Id", "user_id", "user-id"
- "email_adddress", "Email Address", "email_address", "Email-address"
#### How to resolve
Pick the casing that matches the one that is dominant one in your workspace and fix the implementation of those that don't fit your standards. Note that changing your existing tracking might cause issues in downstream tools and metrics. **Make sure to discuss with the consumers of the data before making such change**.
> 💡 **Best practice:** Have all property names unique to avoid confusion and conflicts in downstream tools, such as in data warehouses and dashboards.
### Casing of property names is consistent
Checks if the casing of property names in the tracking plan is consistent. For property name to be consistent, it should be the same casing across all properties. Example of inconsistent property names:
- "User Id", "userId", "USER_ID"
- "Product Name", "product_name", "product-name"
#### How to resolve
Fix the names and implementation of the properties that don't fit your standards. Note that this will only be fixed for the data going forward, not historical data. Note that changing your existing tracking might cause issues in downstream tools and metrics. **Make sure to discuss with the consumers of the data before making such change**.
> 💡 **Best practice:** Have all property names defined with consistent casing to increases the usability of the data. If the casing is not consistent the person using the data would not only need to know the property name they are looking for, but also the casing of the property name.
### All properties have defined types
Checks if all properties in the tracking plan have a defined type. Every property should at least have their base type defined, one of: string, int, float, boolean or [object](https://www.avo.app/docs/data-design/guides/object-properties.md). In Avo you can in addition to the base types define a list of possible values for string properties, and min and max values for numeric properties.
#### How to resolve
Assign the intended type for the property and make sure that the tracking implementation matches the assigned type.
> 💡 **Best practice:** Have well defined types for all properties to increase the quality of the tracking implementation. Having well define types is the prerequisite for having your tracking consistent across all products and platforms.
### All properties have description
Checks if all properties in the tracking plan have a description.
#### How to resolve
Add descriptions to all properties to increase the quality of your tracking plan.
> 💡 **Best practice:** A well defined property description contains detailed description of what the property is describing, and how it's value should be fetched.
### All properties have at least one category
Checks for properties that do not belong to any category when the rule is enabled. You can filter by categories in the properties view and they make the tracking plan more navigable.
#### How to resolve
Add the property to one or more relevant categories. Learn more about [Categories](https://www.avo.app/docs/data-design/guides/organizing-metrics-and-events.md#categories).
\* These rules can only fail after importing an existing tracking plan to Avo. When editing your Tracking Plan in Avo, Avo prevents you from introducing conflicting events and properties.
## Custom Field and PII Rules
These rules enforce the [custom field](https://www.avo.app/docs/data-design/avo-tracking-plan/governance/custom-fields.md) and [PII](https://www.avo.app/docs/data-design/avo-tracking-plan/governance/tagging-pii.md) standards defined on the [Governance](https://www.avo.app/docs/data-design/avo-tracking-plan/governance.md) page and are available on the Enterprise plan.
### All events and variants have required custom fields
Checks if all events and event variants have a value for every custom field that applies to events and is marked as required. Event variants inherit custom field values from their base event, so filling in the base event also resolves its variants.
#### How to resolve
Fill in the missing custom field values in the Custom Fields section of the event details, on a branch.
### All properties have required custom fields
Checks if all properties have a value for every custom field that applies to properties and is marked as required.
#### How to resolve
Fill in the missing custom field values in the Custom Fields section of the property details, on a branch.
### All properties have PII declared
Checks for properties with an Undeclared [PII status](https://www.avo.app/docs/data-design/avo-tracking-plan/governance/tagging-pii.md). Every property defaults to Undeclared until someone explicitly reviews it and marks it as either Not PII or PII, so this rule ensures every property in your tracking plan has been reviewed for personally identifiable information. Enforced in the [branch audit](https://www.avo.app/docs/audit/branch-audit.md), it guarantees every new property gets a PII declaration before it goes live.
#### How to resolve
Open the property details, click the PII pill in the header and mark the property as Not PII, or as PII with the relevant PII type selected.
> 💡 **Best practice:** Declaring a PII status on every property makes it visible at a glance which events touch sensitive data and gives downstream consumers a reliable signal in [exports](https://www.avo.app/docs/publishing/exporting.md).
## Audit Rule Configuration
For new workspaces all rules are enabled by default, and casing rules default to the most common casing seen in the workspace. Workspaces on the Team and Enterprise plans are able to configure the audit to include or exclude each rule and manually set their casing rules for events and properties.
Additionally, workspaces on the Enterprise plan are able to define [advanced event naming rules](https://www.avo.app/docs/audit/advanced-event-naming-rules.md) that include event name structure (such as “object action”) and hybrid casing conventions.
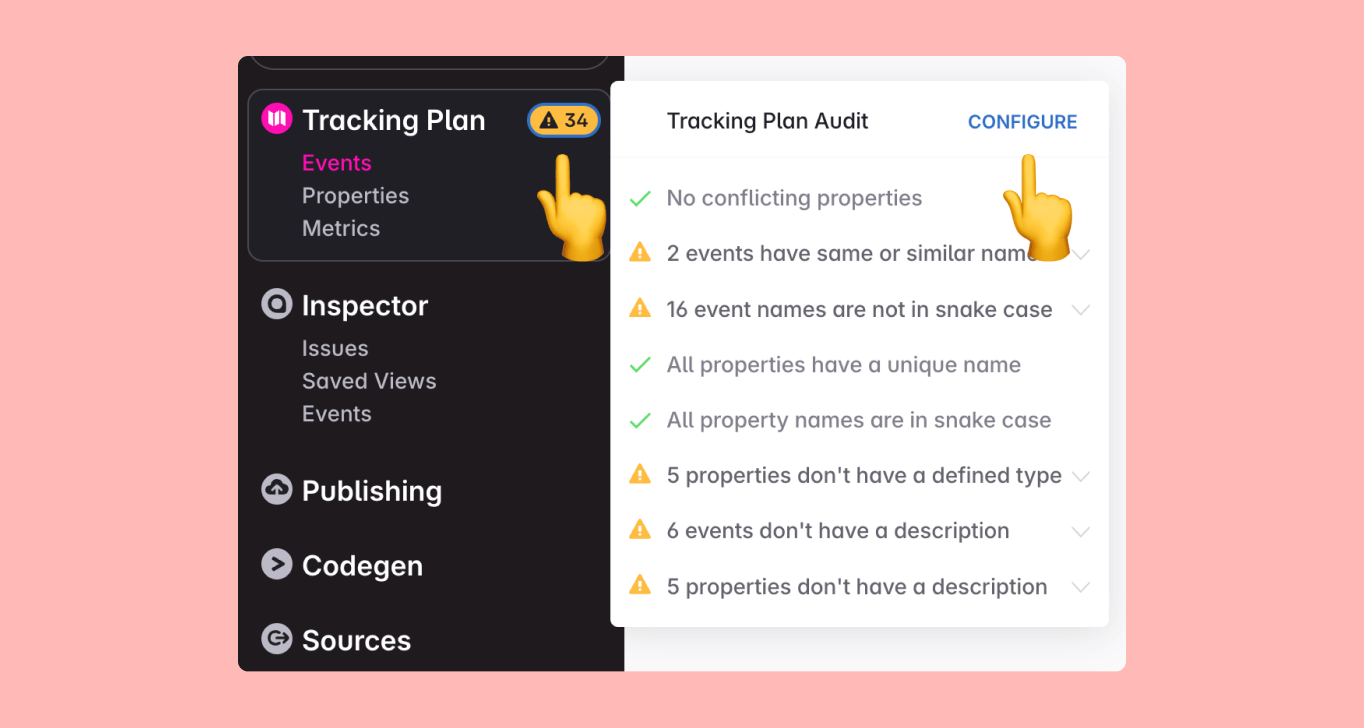
To configure your audit – click the yellow exclamation point next to the Tracking Plan item in the sidebar and then click “configure”
### Enforcement
Workspaces on the Enterprise plan are able to enforce each audit rule to ensure no new issues are introduced to your tracking plan.
Depending on your team’s preferred workflow, you can set the enforcement to two different stages of the branch lifecycle:
- **Request for review**: Requires the branch to pass all enforced audit rules before being reviewed
- **Branch merge**: Requires the branch to pass all enforced audit rules before it is merged to the main branch.
> 💡 Marking the branch status as `Request for review` will also block the branch from being merged if any changes where made after approval
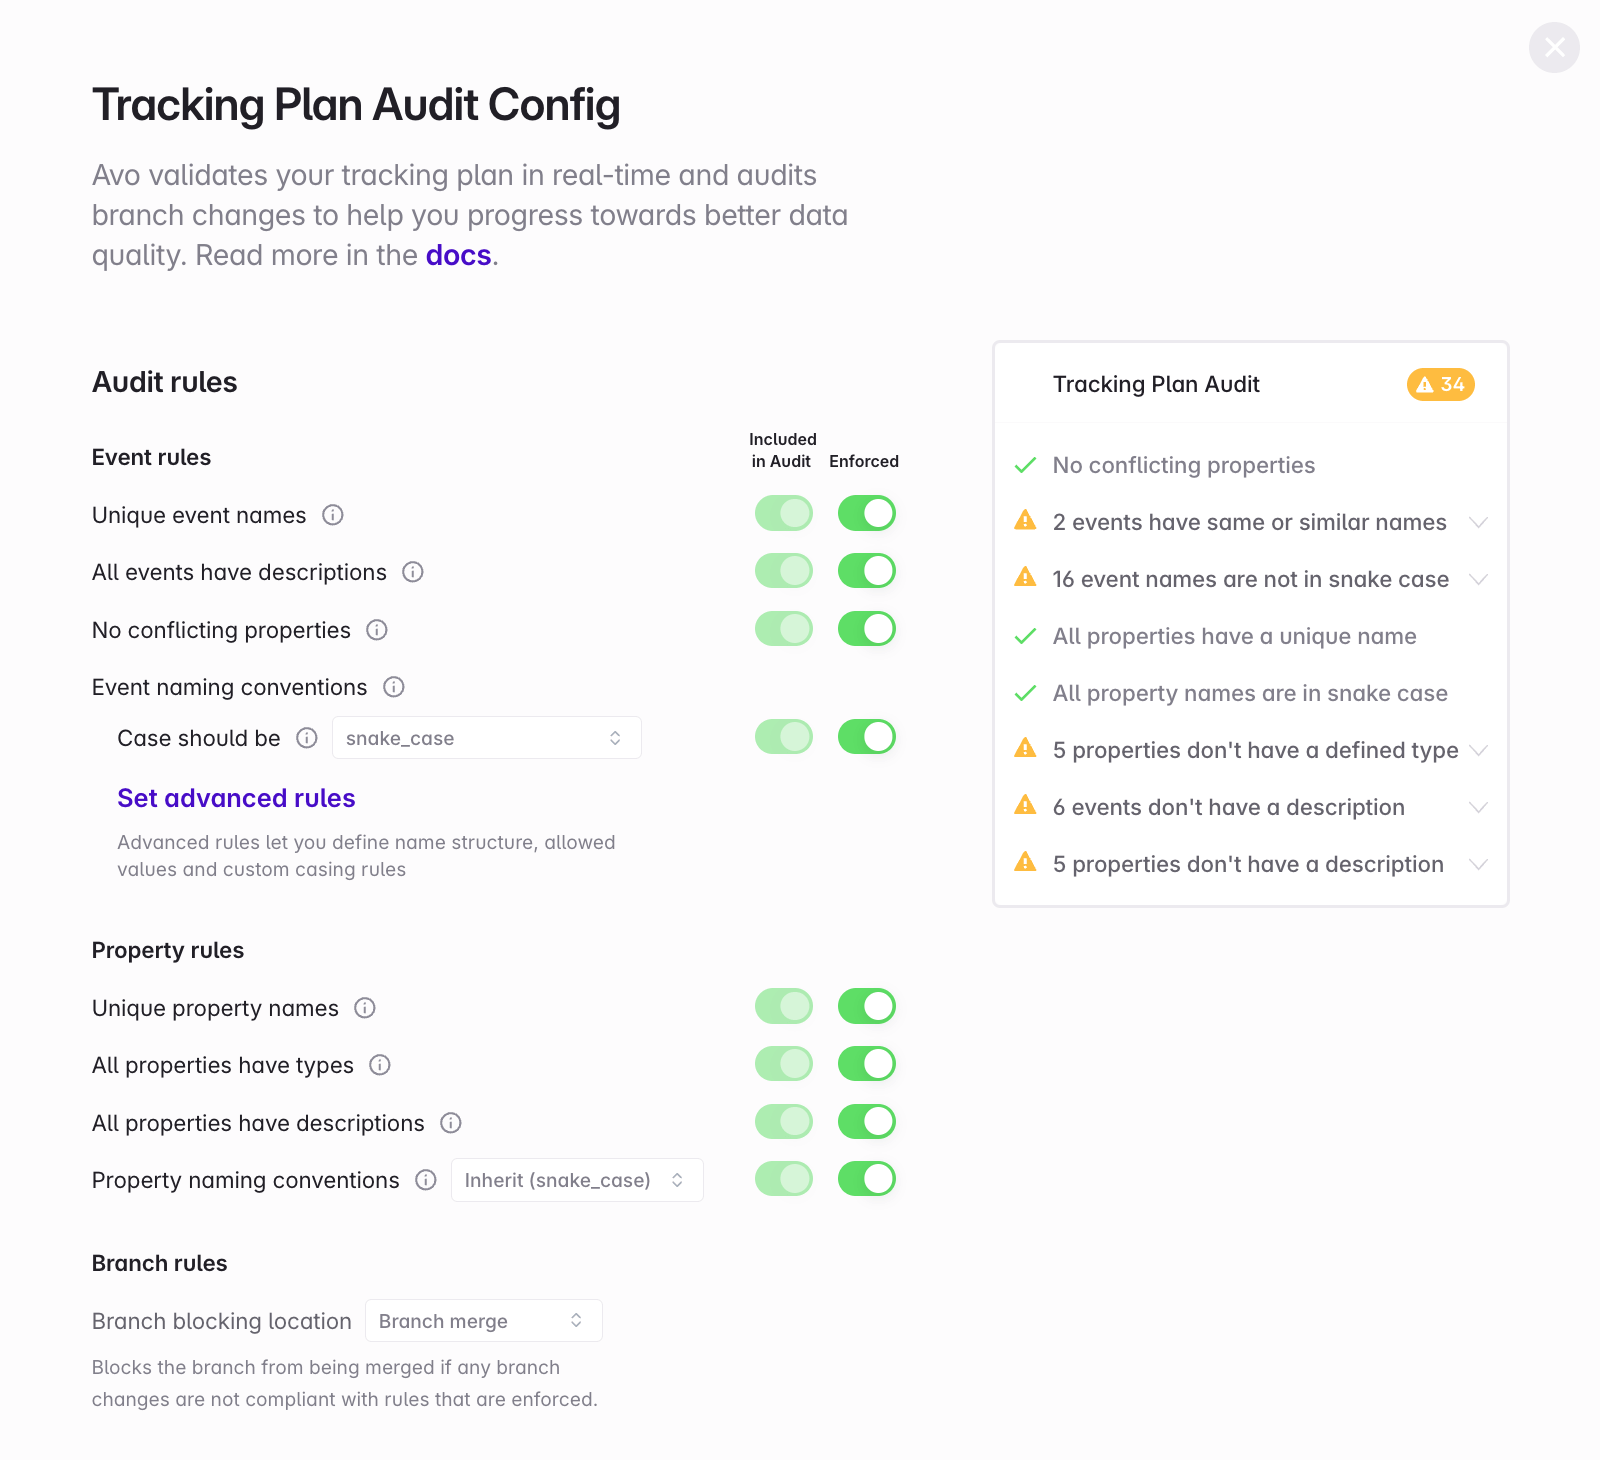
---
Source: https://www.avo.app/docs/audit/advanced-event-naming-rules.md
# Advanced event naming rules
To ensure anyone on your team is able to create events that match your naming convention, you can define advanced event naming rules. The advanced rules setting lets you break down your events into its components and define and enforce rules for each component.
> 💡 Advanced event naming rules have limited availability on Free and Team plans, with full functionality on our [Enterprise plan](https://avo.app/pricing). For detailed plan availability, see the [plan breakdown](#plan-specific-features) below.
[Naming conventions](https://www.avo.app/docs/data-design/best-practices/naming-conventions.md) typically have four aspects:
- Casing: `snake_case`, `camelCase`, `Title Case`, etc
- Format: the order of the event name component, most commonly an order and an action, but some teams include further context
- Tense: the tense of the action
- List of allowed words: For example we use game and not match and completed and not ended.
Advanced naming rules in Avo will help teams configure rules to guide workspace editors making new or updated event names to…
- adhere to the correct event name structure (e.g object action)
- ensure they use allowed words for certain components of the event name
- prevent them from using blocked words for certain components of the event name
- prevent them from making casing mistakes, even with complex casing conventions.
> 💡 Validation of advanced event name rules currently has limited support in the [branch audit](https://www.avo.app/docs/audit/branch-audit.md) and the [tracking plan audit](https://www.avo.app/docs/audit/overview.md). The audit will do its best to identify discrepancies, but there may be cases it cannot catch. The best way to ensure the correct naming convention when creating and/or renaming events is to have the "Guardrails" enabled in the event name input.
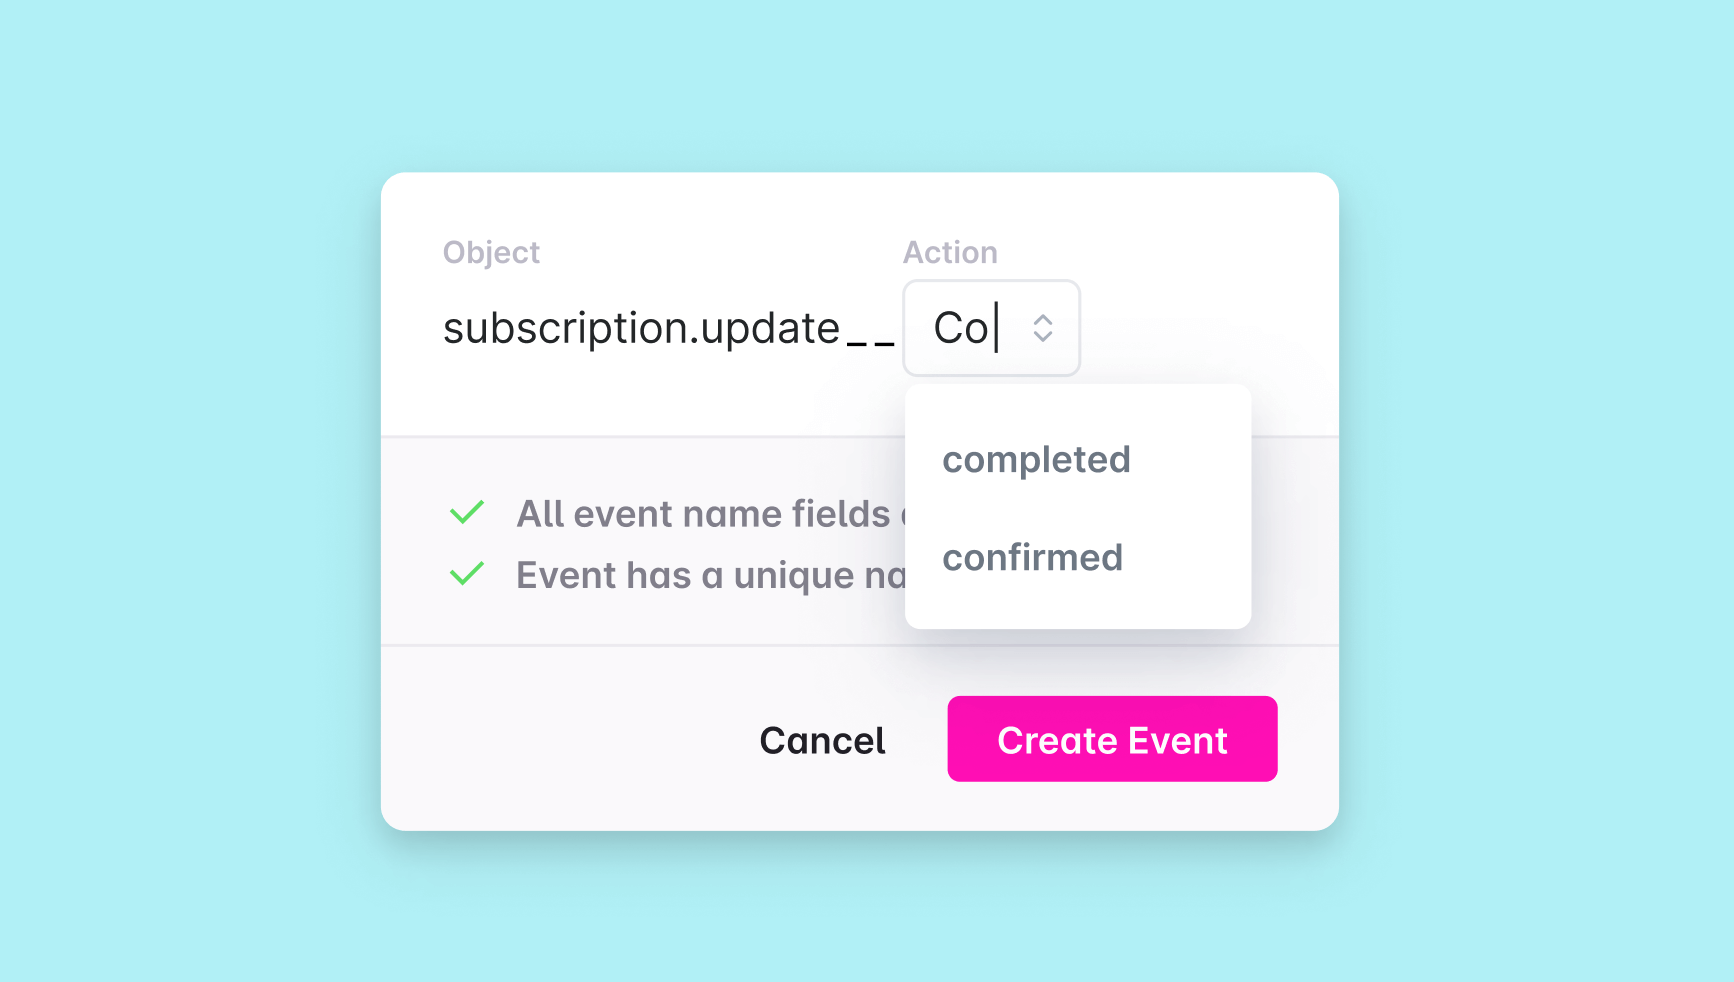
To define advanced event name rules, click the tracking plan audit icon next to the Tracking Plan item in the sidebar and then click "configure". This will open up a view to configure your tracking plan audit. Under "Event naming conventions", click "set advanced rules".
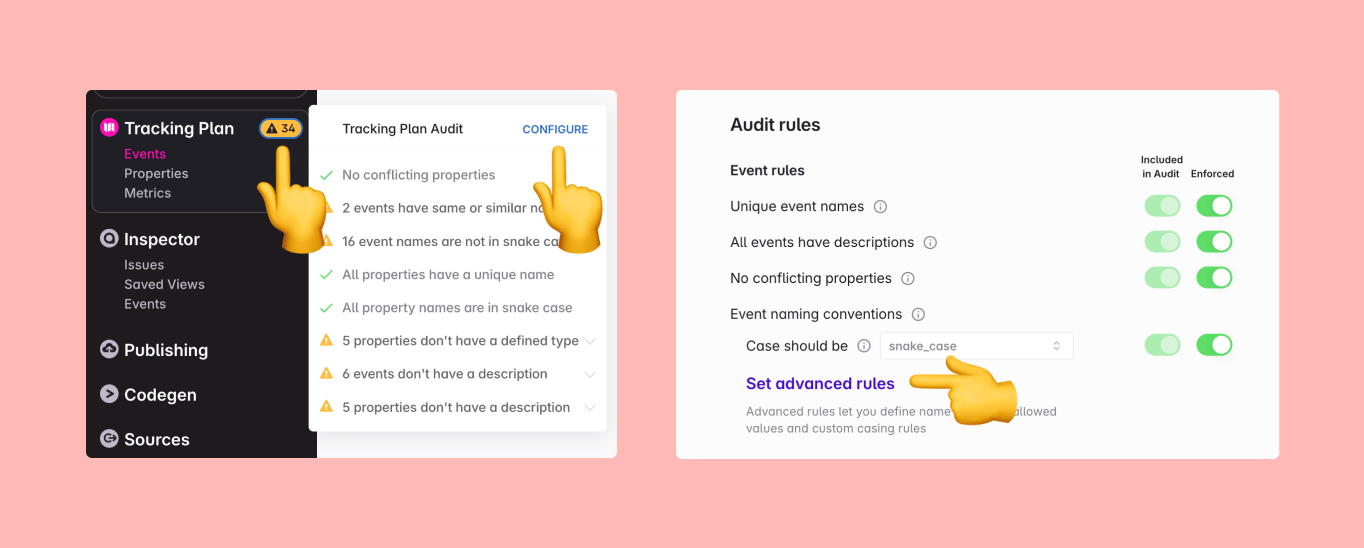
## Event name components
Event name components refer to the different parts that make up an event name. When defining your event naming convention, you add each of these components in order and define the rules that apply to each of them.
When adding a component you have three options:
- Free input
- Allowed values
- Separators
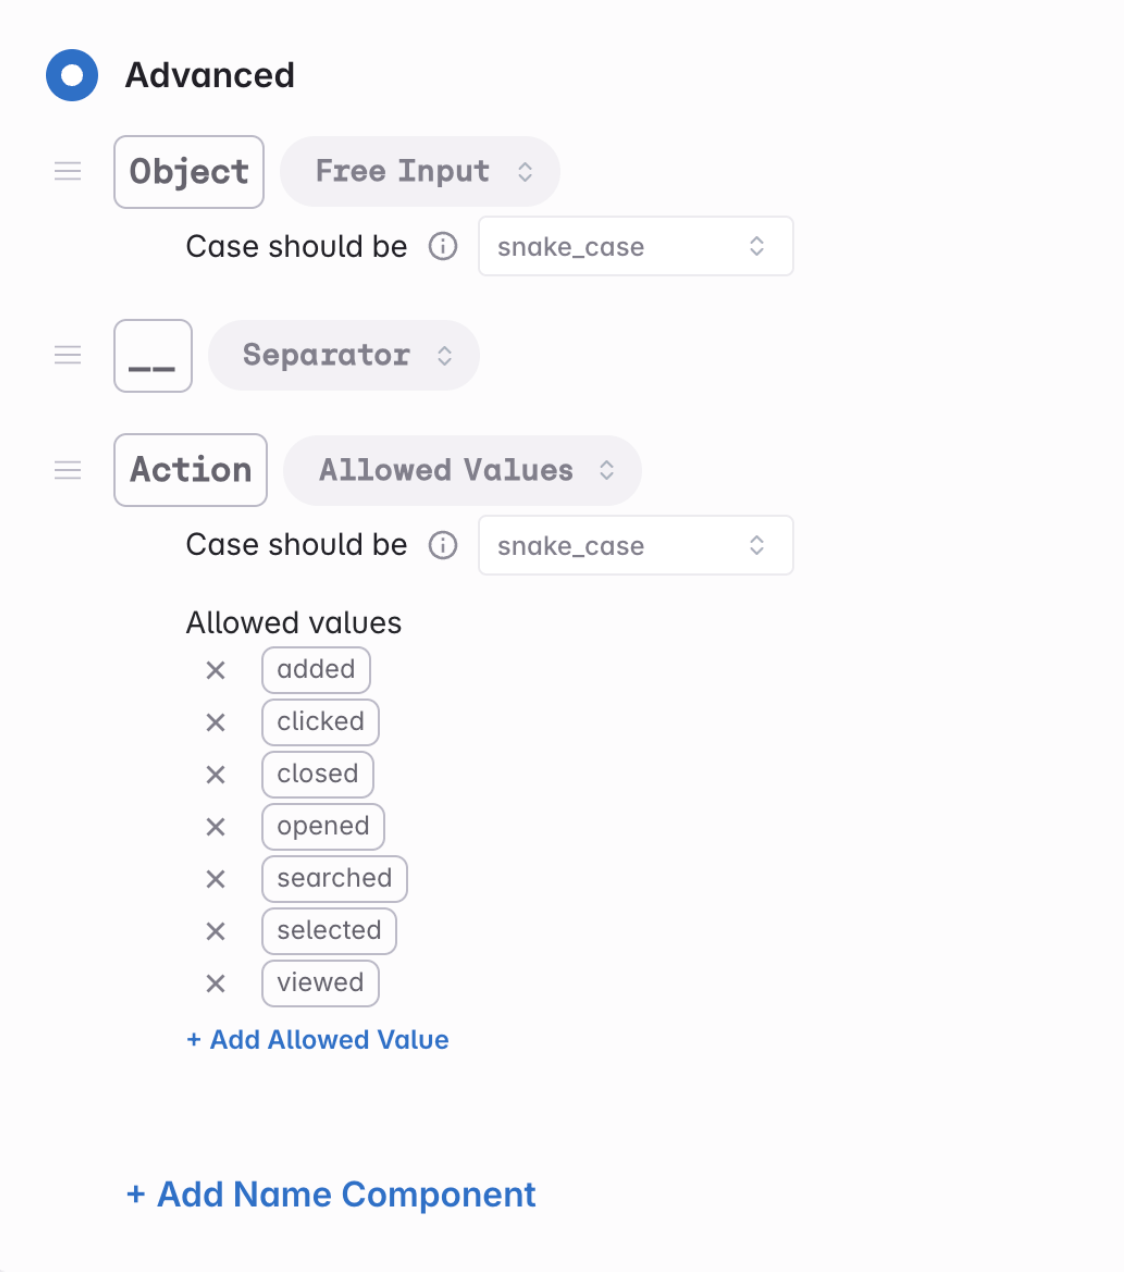
### Free input
An event name field where any string value is accepted, with the only constraint being that it adheres to the correct casing.
The casing rule for the free input will serve to prevent users from typing words that don't match the correct casing when creating new events.
Example: A common example of this is an *object* component – where the object value could represent any feature, flow or ui element the user interacts with.
### Allowed values
An event name field where only values from a predefined list of allowed values are accepted.
The allowed values can be added or removed on the [advanced rules configuration screen](https://www.avo.app/docs/audit/rules.md#audit-rule-configuration), accessible from the [tracking plan audit](https://www.avo.app/docs/audit/overview.md), or added directly from the event creation modal when creating new events.
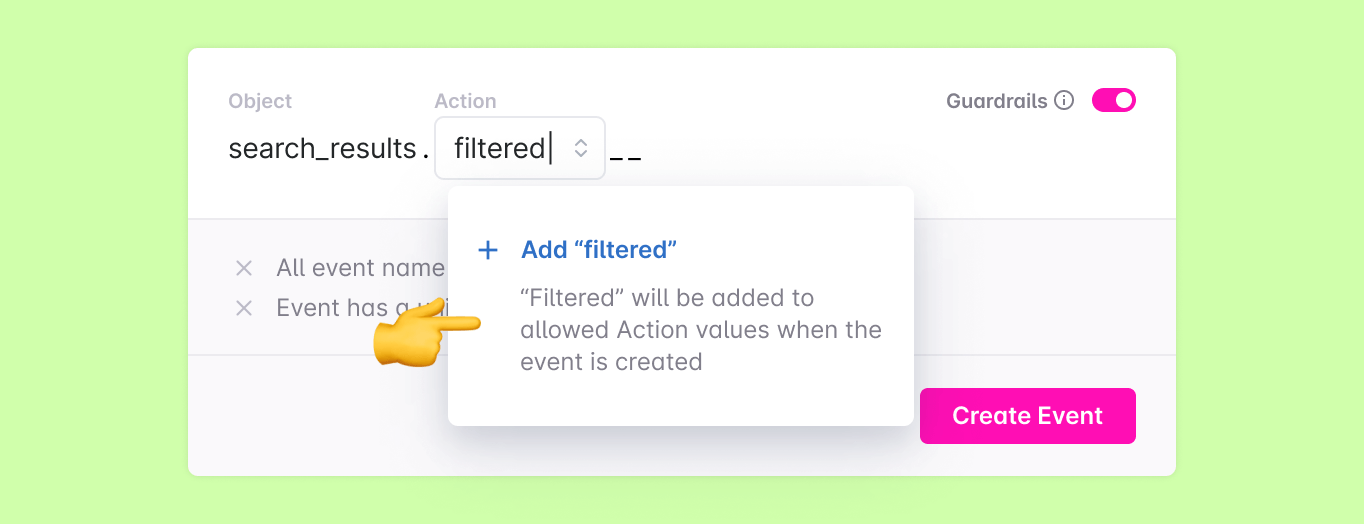
When adding allowed words, the casing rule for the component will prevent users from typing words that don't match this casing.
> 💡 Only workspace admins are able to add or remove allowed component values.
When adding allowed words, the casing rule for the component will prevent users from typing words that don't match this casing. If you need to bypass casing rules for your allowed words, you can set the component casing to "custom" to permit words that deviate from your casing.
**Example:** A common example of this is an action component – where there is an established terminology for user actions in your product (such as "clicked", "opened" or "viewed" and you want to prevent duplicate events being created for the same action (such as "banner_viewed" and ("banner_seen"))
### Blocked values
Similar to allowed words, blocked words enable users to define a list of prohibited words for every event name component. This feature helps prevent the use of specific terms or phrases that may be inconsistent with your naming conventions.
### Separators
One or more characters that separate the event name fields. Separators are usually between other event name components, but can also be added before the first event name component or after the last. This is useful for teams that use a hybrid naming convention where the separator between name fields is different from those within
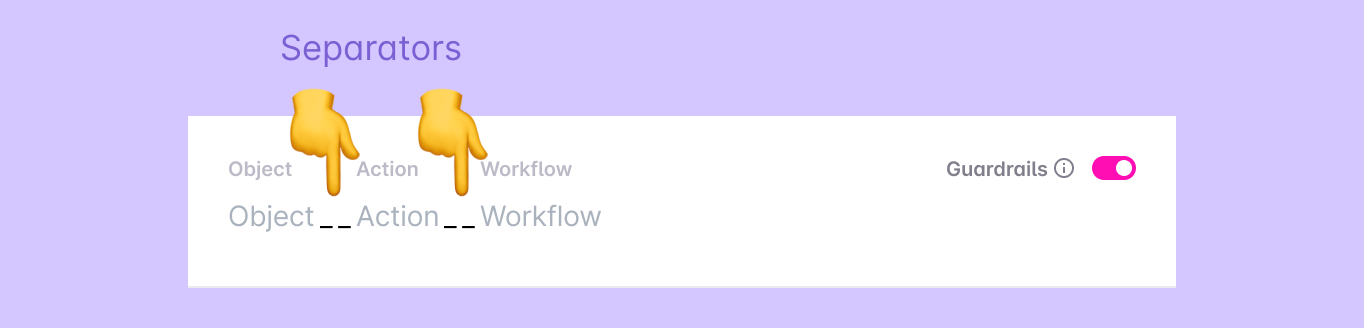
Example: If your naming convention is object_action, the _ (underscore) is a separator.
## Guardrails for advanced event name rules
Guardrails guide users to correctly name events when a workspace has advanced name rules in place:
The name input is broken down into its components and each name field is labeled to help users adhere to the correct name structure.
- When typing values into free input fields, they will automatically be written in the correct casing
- For allowed value fields, users can select an allowed value
- Separators are already in place and do not need to be typed manually
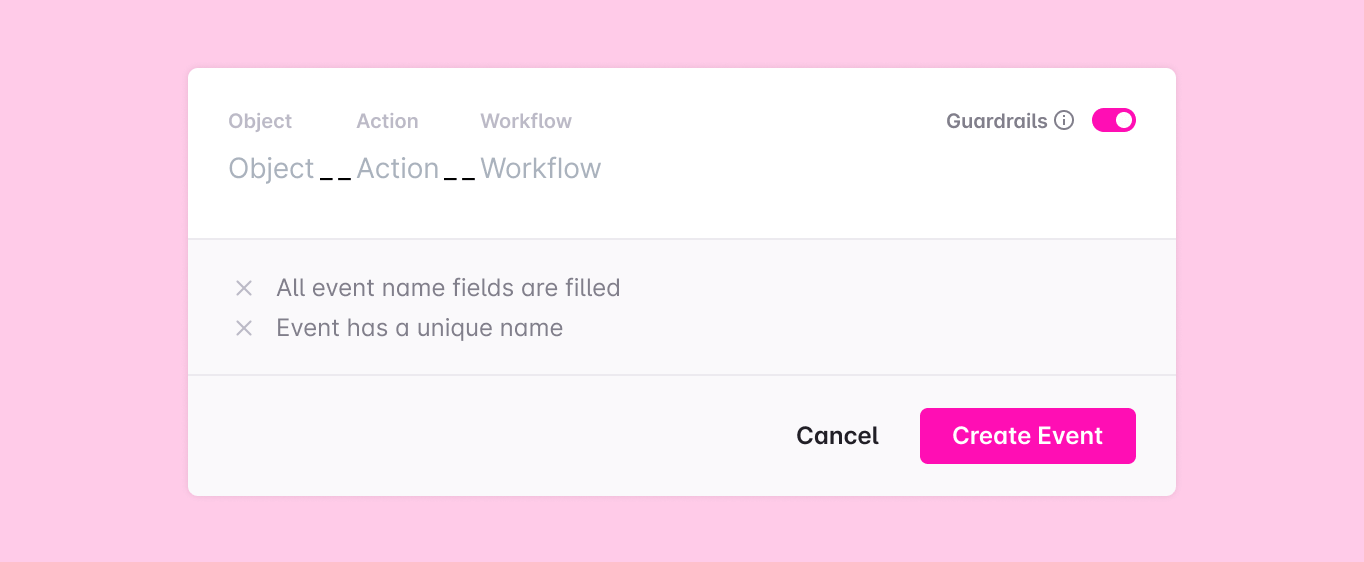
> 💡 If a legitimate need arises to create events that deviate from the naming convention, admins can switch off the guardrails and type the event name as a simple string.
## Plan-specific features
### Free plan
Users on the Free plan have access to two pre-configured event naming Frameworks in their preferred casing:
- "Object Action"
- "Action Object"
### Team plan
In addition to the Free plan functionality, Team plan users can:
- Add "Allowed words" for both the "Object" and "Action" event name components
- Add "Blocked words" for both the "Object" and "Action" event name components
### Enterprise plan
Enterprise plan users have full access to all advanced event naming rules features, including custom frameworks, separators and additional components.
---
Source: https://www.avo.app/docs/data-design.md
# What is a Tracking Plan?
*Learn about the tracking plan*
A tracking plan is a document that defines the key stages of your customer life cycle and codifies a single source of truth for the data that supports it. Through this plan, you standardize your data management and capture better and cleaner data.
When done well, this standardized plan will help you keep your analytics well-structured and your stakeholders informed for years to come.
At a high-level, your plan should do three main things:
- **Clarify** the events and properties that are relevant to your goals and customer journey
- **Explain** the location in the codebase that your analytics should be added to make your developers’ lives easier
- **Summarize** the reason for tracking each event and property and how they’ll be used to measure your progress.
In an ideal world, these three things—and your tracking plan in totality—should be stored as a central, shareable document that your team can update together.
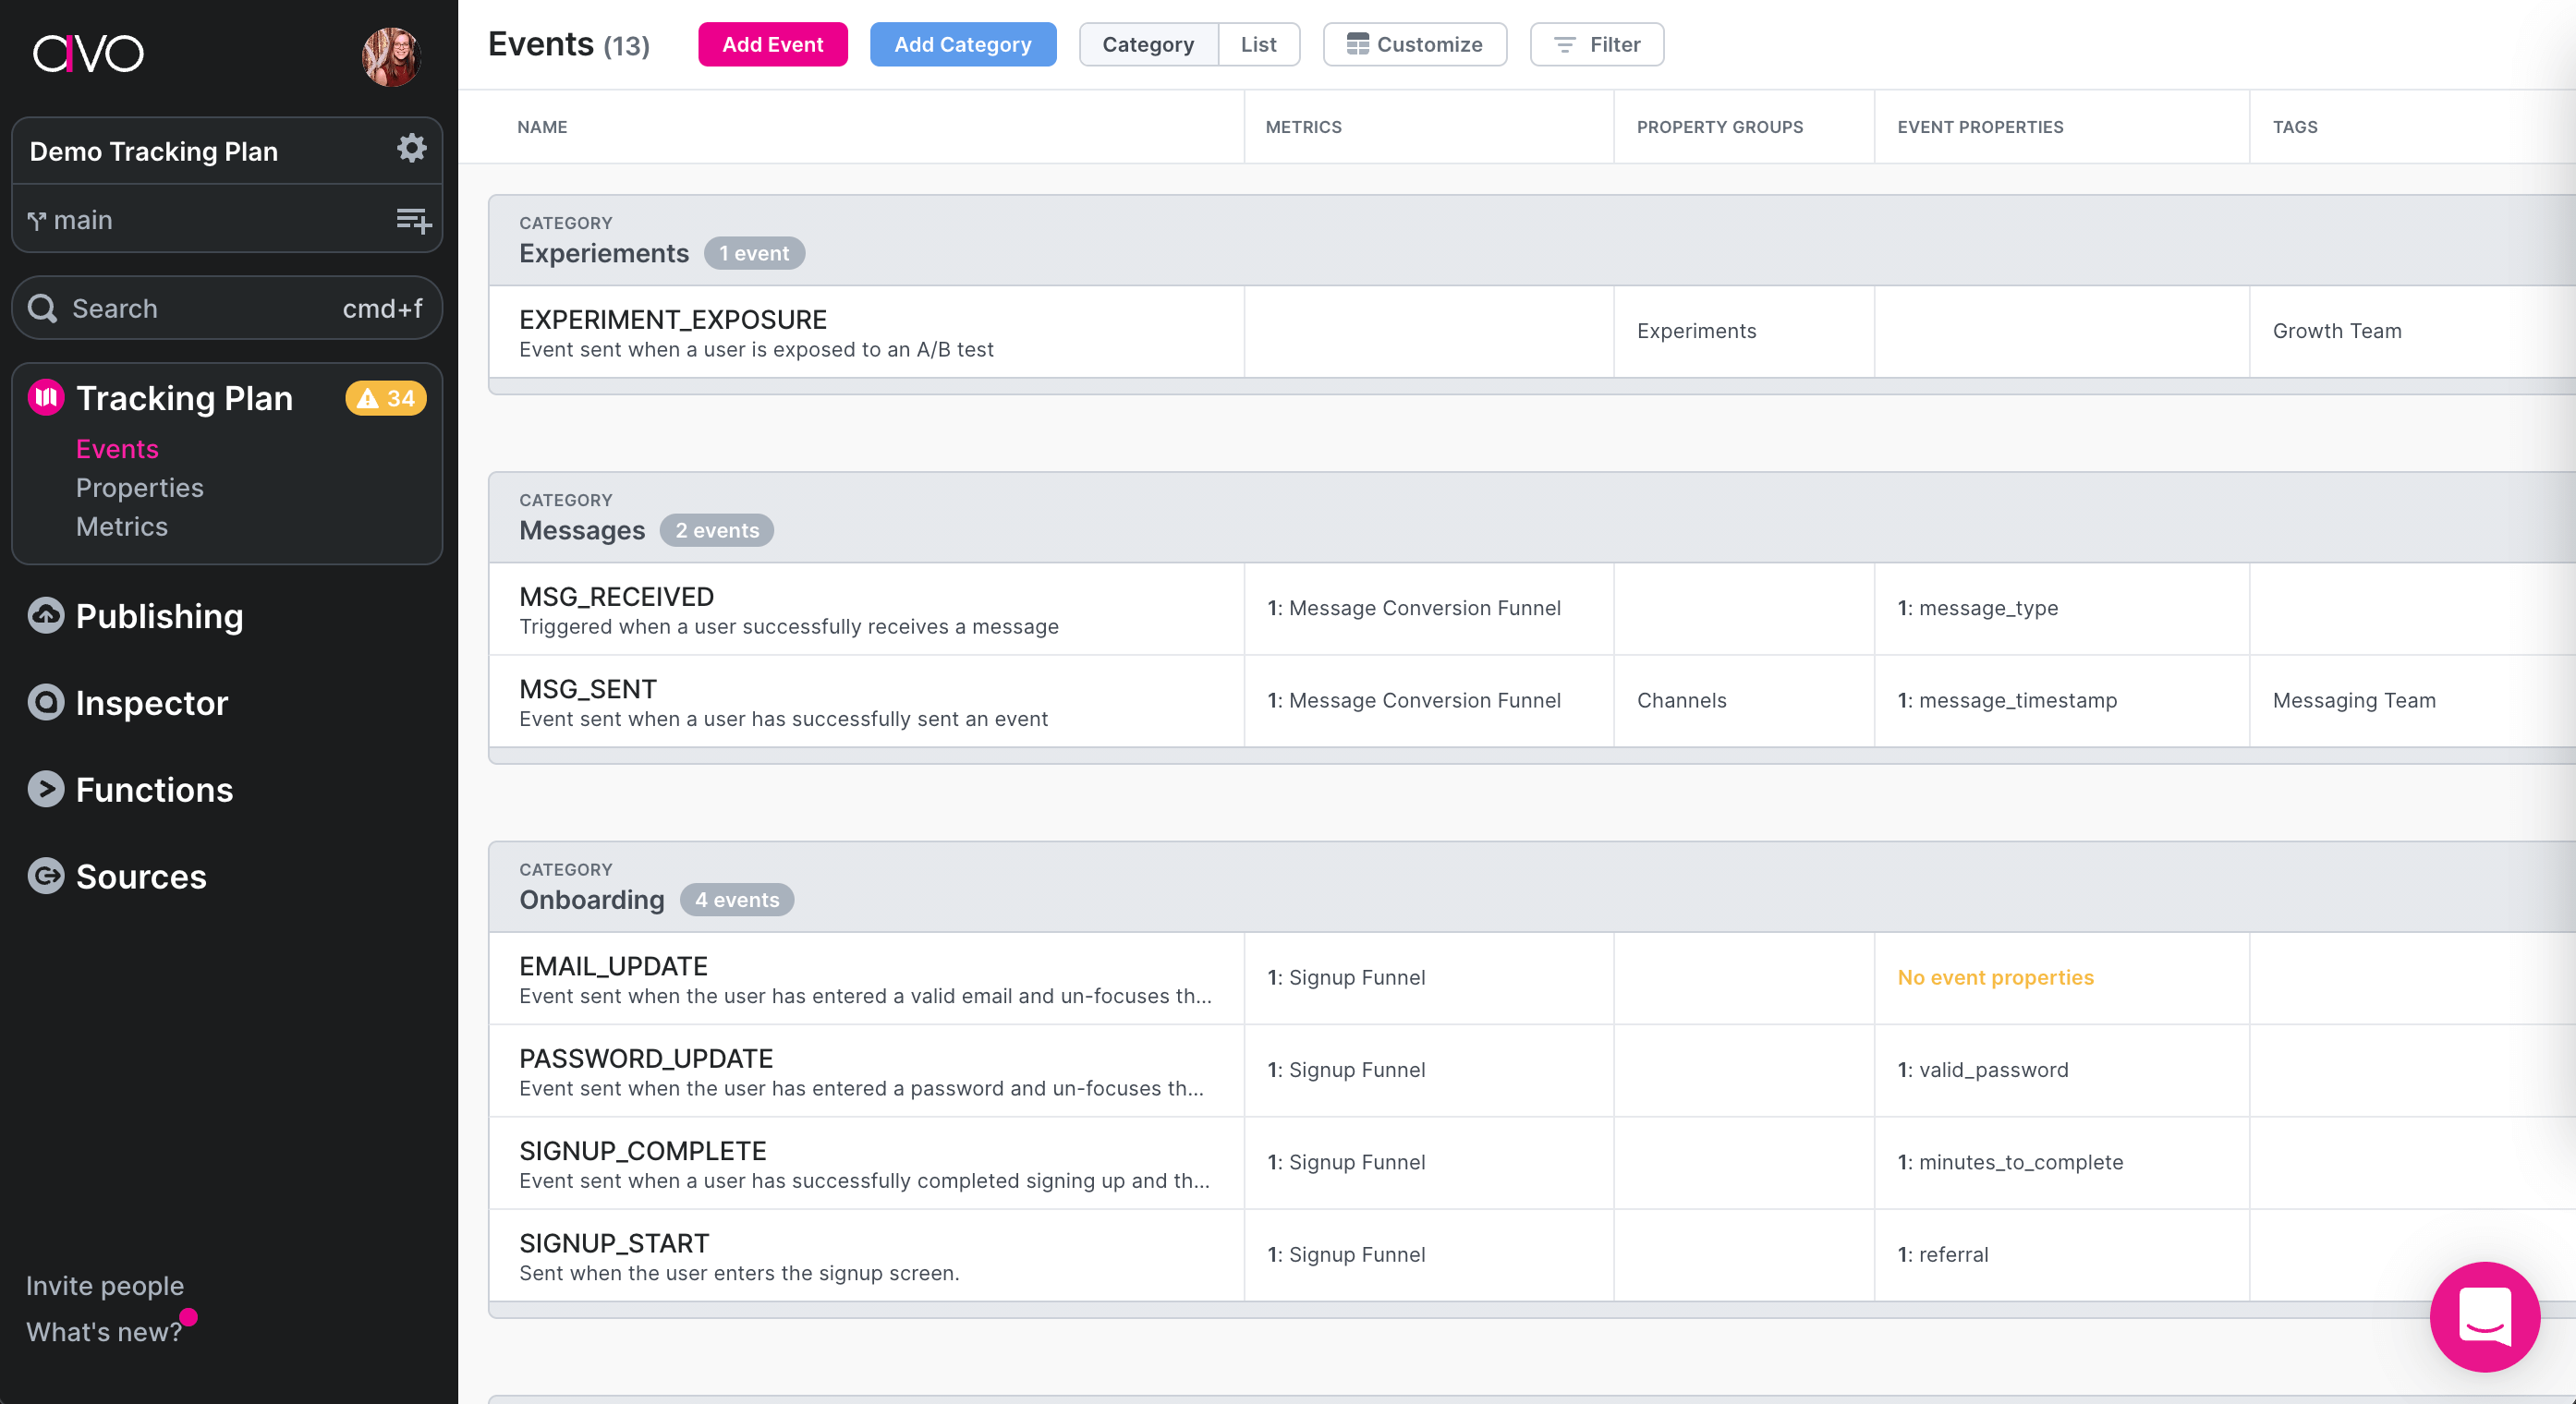
_Example tracking plan in Avo_
### What's next?
Start using Avo to manage your tracking plan by following our [quickstart guide](https://www.avo.app/docs/data-design/quick-start.md)
---
Source: https://www.avo.app/docs/data-design/quick-start.md
# Quickstart: Tracking Plan in Avo
Managing a tracking plan is hard. You have to make sure it's kept up to date to what is actually being tracked, make sure existing events and properties are reused where relevant, make sure new events and properties match with the naming conventions you have in place, communicating changes and collect feedback from the team, share implementation instructions with developers, and so on.
If you relate to any of the challenges mentioned above you might want to consider switching your tracking plan over to Avo.
The Avo Tracking Plan is a collaborative web app that will make managing your tracking plan less of a headache, with features like [Tracking Plan audit](https://www.avo.app/docs/audit/overview.md) to ensure naming conventions are followed, [global event and property namespace](https://www.avo.app/docs/data-design/best-practices/global-namespace.md) to ensure consistency across your events and properties, [branched collaboration](https://www.avo.app/docs/data-design/branches.md) with [approval workflows](https://www.avo.app/docs/data-design/branches/approval-workflows.md) and [auto generated implementation instructions](https://www.avo.app/docs/data-design/branches.md#share-the-implementation-instructions), [auto publishing](https://www.avo.app/docs/publishing/publishing/overview.md) to keep your downstream schemas in sync, and more!
When you have your tracking plan defined in Avo you can check out our [code generated, type-safe, functions](https://www.avo.app/docs/implementation/avo-codegen-overview.md) for developers to increase tracking implementation speed and reliability, and tracking observability with the [Inspector](https://www.avo.app/docs/inspector/start-using-inspector.md) so you know how your _actual_ tracking compares to the tracking plan.
In this guide we'll walk through the process of setting up your tracking plan in Avo, suggesting your first changes on a branch, inviting a team member and asking for a review. If you're looking for a deeper dive into the tracking plan design capabilities of the Avo Tracking Plan, check out our [deep dive guide on data design in Avo](https://www.avo.app/docs/data-design/start-data-design.md).
## Step 1: Create an Avo workspace
Head to our [onboarding flow](https://avo.app/onboarding) and setup a new workspace.
> 💡 If you already have an Avo workspace, you can skip this step.
## Step 2: Get your existing tracking plan into Avo
There are three ways to get your existing tracking plan into Avo:
- [Import from Amplitude, Mixpanel or Google Sheets](https://www.avo.app/docs/publishing/import/importing.md)
- [Import events from Inspector](https://www.avo.app/docs/inspector/add-events-from-inspector.md)
- [Build your tracking plan from scratch](https://www.avo.app/docs/data-design/start-data-design.md)
- [Get your tracking plan into Avo](https://www.avo.app/docs/publishing/import/get-tracking-plan-into-avo.md): An overview of how you can get your existing tracking plan into Avo.
> 💡 If you don't have an existing tracking plan, or if you just want to start
> fresh, you can skip this step. No worries, you can always import your existing
> tracking plan later.
## Step 3: Create a new branch
When you are making changes to your tracking plan in Avo, we always recommend creating a [branch](https://www.avo.app/docs/data-design/branches.md) first – no matter how small your change might be. That allows you to make suggestions in isolation from the source of truth on your main branch and get feedback from your team.
Open a new branch by clicking the icon next to "main" in the left sidebar. Then you are prompted to open an existing branch or creating a new one.
[▶ Watch video](https://www.avo.app/docs/images/data-design/quickstart/open-branch.mp4)
## Step 4: Make changes to your tracking plan
When you've created the branch, you have three approaches to design your tracking:
### Option A: Design with Journeys (recommended)
[Journeys](https://www.avo.app/docs/data-design/avo-tracking-plan/journeys.md) let you visually design analytics by composing a flow from product screenshots that represent each step of your user experience. This approach is particularly helpful for:
- Collaborating with product teams who can review tracking in context
- Understanding where events should be triggered in the user flow
- Using [AI-powered suggestions](https://www.avo.app/docs/data-design/guides/agentic-data-design.md) to generate triggers and connect to existing events
To create a journey, navigate to the _Journeys_ tab in the left sidebar and click _+ New Journey_. [Import from Figma](https://www.avo.app/docs/data-design/avo-tracking-plan/journeys.md#importing-steps-from-figma) or drag and drop screenshots of your product, then add triggers for each user action and connect them to events in your tracking plan.
- [Journeys](https://www.avo.app/docs/data-design/avo-tracking-plan/journeys.md): Learn how to visually design analytics with Journeys
### Option B: Create from your AI coding assistant (fastest)
If you use Claude, Cursor, Codex, Claude Code, or another MCP-compatible client, the [Avo MCP](https://www.avo.app/docs/reference/avo-mcp/overview.md) lets your AI assistant create events and properties on your branch via [`save_items`](https://www.avo.app/docs/reference/avo-mcp/tools.md#save_items). The MCP creates and writes to branches but never merges — review and merge stay in the [Avo web app](https://www.avo.app).
> 🚧 The Avo MCP is in general beta — enabled for every workspace, no need to request access. [Email support@avo.app](mailto:support@avo.app) if you hit anything unexpected.
### Option C: Create events directly
Alternatively, navigate to the _Events_ tab in the tracking plan to create events directly. Click the _+ Add Event_ button to create a new [event](https://www.avo.app/docs/data-design/avo-tracking-plan/events.md).
[▶ Watch video](https://www.avo.app/docs/images/data-design/quickstart/create-event.mp4)
In the event details, complete the definition of your event by filling in each section of the event details. Check out our [data design deep dive guide](https://www.avo.app/docs/data-design/start-data-design.md) for a step by step guide for defining an event. Below is an example of an event with a [description](https://www.avo.app/docs/data-design/best-practices/defining-descriptive-events-and-properties.md#events-1), [triggers](https://www.avo.app/docs/data-design/guides/event-triggers.md), [sources](https://www.avo.app/docs/data-design/avo-tracking-plan/define-sources-and-destinations.md) and a [property](https://www.avo.app/docs/data-design/avo-tracking-plan/properties.md).
[▶ Watch video](https://www.avo.app/docs/images/data-design/quickstart/review-event-definition.mp4)
New and modified events are highlighted in the [workbench](https://www.avo.app/docs/data-design/avo-tracking-plan/workbench.md) at the top of your tracking plan events view, so you can easily access and have overview of your new and modified events.
## Step 5: Invite a colleague and ask them for a review
Now we're ready to share our suggestions with our team, and ask them for input. Go to your workspace settings and invite a team member. Workspace members can be one of admin, editor, comment only or view only. To learn more about members and roles, check out our [members docs](https://www.avo.app/docs/workspace-management/members.md).
[▶ Watch video](https://www.avo.app/docs/images/data-design/quickstart/invite-member.mp4)
When your colleague has joined the workspace they have access to the tracking plan, can create their own branches (editors and admins) and you can request their feedback by adding them as a collaborator on your branch or requesting their review (editors and admins).
To review the changes on your branch, click the [_View changes_](https://www.avo.app/docs/data-design/branches/branch-changes.md) button in the workspace sidebar. There are three tabs:
- [**Branch context**](https://www.avo.app/docs/data-design/branches/branch-changes.md#branch-context): Add a description of the changes in this branch, what product update they are related to and link related files. Can also rename the branch here.
- [**Tracking plan changes**](https://www.avo.app/docs/data-design/branches/branch-changes.md#tracking-plan-changes): Summary of all changes to events, properties, and metrics with review filters and comments.
- [**Code changes**](https://www.avo.app/docs/data-design/branches/branch-changes.md#code-changes): Implementation diff per source with copyable snippets and comments.
### Tracking plan changes
The tracking plan changes represent the changes that are made to the data structures in your tracking plan. There you and collaborators can comment on each item and discuss them. You can invite your teammates to be collaborators on your branch and request a formal review by assigning someone from your team as a reviewer. Branch collaborators and reviewers will be notified of any discussions on the branch and changes to the branch status.
If your branch undergoes multiple rounds of changes, reviewers can use the ["Show changes since" dropdown](https://www.avo.app/docs/workflow/review.md#filtering-changes) to filter and focus only on recent modifications, avoiding the need to re-review previously seen changes.
[▶ Watch video](https://www.avo.app/docs/images/data-design/quickstart/review-and-invite.mp4)
### Code changes
The [code changes screen](https://www.avo.app/docs/data-design/branches/code-changes.md) represents the code changes that are required to implement the tracking plan changes in code. Code snippets are available for all events, whether they are to be implemented with manual implementation or the [Avo codegen]. A collaborator can review the code changes, comment on them and then approve the branch or request changes. Learn more about branch approvals in our [approval workflow guide](https://www.avo.app/docs/data-design/branches/approval-workflows.md).
[▶ Watch video](https://www.avo.app/docs/images/data-design/quickstart/code-review-and-approve.mp4)
## What's next?
Now you know how to open a branch in Avo, suggest changes and ask for review from your team. The next step is for a developer to implement the changes in code using [Avo codegen](https://www.avo.app/docs/implementation/avo-codegen-overview.md) or [pseudocode snippets](https://www.avo.app/docs/data-design/branches/code-changes.md#non-codegen-snippets). To get even better idea of how to maintain your tracking plan in Avo, check out the [deep dive guide on data design in Avo](https://www.avo.app/docs/data-design/start-data-design.md).
- [Journeys](https://www.avo.app/docs/data-design/avo-tracking-plan/journeys.md): Learn how to visually design analytics with product screenshots
- [Avo Codegen](https://www.avo.app/docs/implementation/avo-codegen-overview.md): An overview of the Avo codegen, how it works and it's benefits
- [Pseudocode Snippets](https://www.avo.app/docs/data-design/branches/code-changes.md#non-codegen-snippets): An overview of the generated pseudocode snippets to implement without Codegen.
- [Data Design Deep Dive](https://www.avo.app/docs/data-design/start-data-design.md): Step by step guide on how to design data in Avo.
---
Source: https://www.avo.app/docs/data-design/start-data-design.md
# Data design in Avo
### Who is this guide useful for?
- PM's, data experts and developers that recently got an invite to their company's workspace in Avo and are ready to define their first events and properties
- PM's, data experts and developers that just created a new workspace in Avo and are exploring it Avo is a fit to manage their tracking plan
### What will you learn?
- How to define metrics, events and properties step by step
- The basic concepts in Avo and event design
- What to look out for when designing data
## Approaches to data design
There are three main approaches to designing your tracking in Avo:
### Visual design with Journeys (recommended)
[Journeys](https://www.avo.app/docs/data-design/avo-tracking-plan/journeys.md) let you visually design analytics by composing a flow from product screenshots that represent each step of your user experience. This approach is ideal when:
- Designing tracking for a new feature or user flow
- Collaborating with product teams who benefit from seeing tracking in visual context
- You want to use [AI-powered suggestions](https://www.avo.app/docs/data-design/guides/agentic-data-design.md) to generate triggers and connect to existing events
With journeys, you [Import from Figma](https://www.avo.app/docs/data-design/avo-tracking-plan/journeys.md#importing-steps-from-figma) or drag and drop screenshots, add triggers for user actions, and connect them to events—all in a visual canvas. Learn more in our [Journeys documentation](https://www.avo.app/docs/data-design/avo-tracking-plan/journeys.md).
### From your AI coding assistant (Avo MCP, fastest)
If you use Claude, Cursor, Codex, Claude Code, or another MCP-compatible client, the [Avo MCP](https://www.avo.app/docs/reference/avo-mcp/overview.md) lets your AI assistant create and update events, properties, and event variants on a branch in your workspace. This approach is useful when:
- You want to draft tracking changes alongside the code that emits them
- You'd rather describe the change in natural language than click through the UI
- You're already in a coding agent that has context about the feature you're shipping
The MCP creates and writes to branches via [`workflow`](https://www.avo.app/docs/reference/avo-mcp/tools.md#workflow) and [`save_items`](https://www.avo.app/docs/reference/avo-mcp/tools.md#save_items) but never merges to main — review and merge stay a human step in the [Avo web app](https://www.avo.app).
> 🚧 The Avo MCP is in general beta — enabled for every workspace, no need to request access. [Email support@avo.app](mailto:support@avo.app) if you hit anything unexpected.
### Direct event and metric creation
The traditional approach covered in this guide involves creating metrics, events, and properties directly in their respective views. This is useful when:
- Defining metrics independently of a specific feature
- Making small updates to your tracking plan like adding a new allowed value to a string property
All three approaches result in the same tracking plan structures—Journeys provides a visual layer for designing and reviewing tracking in context, and the Avo MCP lets you drive changes from an AI coding assistant.
## Defining a metric
We always recommend starting with the why in data design. That means thinking about your research questions, goals and metrics before your start defining your event structures. Metrics are directly tied to events in Avo and are visible in the event details. Read more about metrics, why they are useful and learn about purpose meetings in our [Metrics page](https://www.avo.app/docs/data-design/avo-tracking-plan/metrics.md).
### Step 1 – Open a branch in Avo
If you are making changes to your tracking plan in Avo, we always recommend creating a branch first – no matter how small your change might be. That allows you to make suggestions in isolation from the source of truth on your main branch and get feedback from your peers.
Open a new branch by clicking the icon to the right of "main" in the left sidebar. Then you are prompted to open an existing branch or creating a new one.
[▶ Watch video](https://www.avo.app/docs/images/data-design/deep-dive/create-branch-deep-dive.mp4)
_Example: Creating a branch in Avo_
Now you should see the name of your branch instead of "main".
### Step 2 – Navigate to the metrics view
Navigate to the metrics screen by clicking "Metrics" in the "Tracking Plan" section of the left sidebar.
[▶ Watch video](https://www.avo.app/docs/images/data-design/deep-dive/navigate-to-metrics.mp4)
_Example: Navigating to metrics._
### Step 3 – Create a new metric
Create a [metric](https://www.avo.app/docs/data-design/avo-tracking-plan/metrics.md) by clicking the "+ Add Metric" button in the top left corner. Give it a name and a description to elaborate on what the metric means.
[▶ Watch video](https://www.avo.app/docs/images/data-design/deep-dive/create-metric.mp4)
_Example: Creating a metric._
### Step 4 – Add your metric to a category
We recommend [organizing your metrics and events](https://www.avo.app/docs/data-design/guides/organizing-metrics-and-events.md) by using categories. Add your [metric](https://www.avo.app/docs/data-design/avo-tracking-plan/metrics.md) to a category by clicking "+ Add to Category" below the description input. If a relevant category doesn't already exist you can create it there and add the metric to it.
[▶ Watch video](https://www.avo.app/docs/images/data-design/deep-dive/add-metric-to-category.mp4)
_Example: Adding metric to a category._
### Step 5 – Select metric type
The metric type determines how you will construct your metric in your analytics platform or raw database. The available metrics types in Avo are _Funnel_, _Segmentation_, _Retention_, _Proportion_, and _[Custom Event](https://www.avo.app/docs/data-design/avo-tracking-plan/metrics.md#custom-events)_. Read about their unique capabilities in our [Metrics page](https://www.avo.app/docs/data-design/avo-tracking-plan/metrics.md).
[▶ Watch video](https://www.avo.app/docs/images/data-design/deep-dive/select-metric-type.mp4)
_Example: Selecting a metric type._
### Step 6 – Add events
The final step of configuring your metric is to add existing or new events to your metric. This will make the metric visible in the event details of the events added, and help whoever wants to dig into your data to know exactly how this metric is defined and how they can structure it in your analytics platform.
#### Adding existing events to a metric
To add your existing events to a metric, you can simply click "Add Event..." and search the event library for the event that you are looking for. For all metrics you can filter on a specific property value to build your metric, and for segmentation you can select a property to group by.
[▶ Watch video](https://www.avo.app/docs/images/data-design/deep-dive/add-existing-events-to-metric.mp4)
_Example: Adding an existing event to a metric._
#### Adding new events to a metric
If the user action that you want represented in your metric is not already defined as an event, you can create one from the metrics view.
In the metrics details, click "Add Event..." and start typing the name of the event you want to create. If Avo doesn't find an event with a matching name, you will be able to create one. The name of your new event will be automatically audited by Avo (see [Audit rules and configurations](https://www.avo.app/docs/audit/rules.md)). Once you have created your event you can add more to the metric, or click it to configure it (see [Configuring your event](https://www.avo.app/docs/data-design/start-data-design.md#step-4-configure-your-event) below).
[▶ Watch video](https://www.avo.app/docs/images/data-design/deep-dive/create-event-in-a-metric.mp4)
_Example: Adding a new event to a metric._
## Defining and configuring events
[Events](https://www.avo.app/docs/data-design/avo-tracking-plan/events.md) are the core of event based product analytics. They are sent to your analytics platform when a user performs actions in your product. The technical structure of an event is in form of an event name and properties that further describe the user action. In addition, Avo allows you to describe events with descriptions, screenshots, variants and more. See step by step definition and configuration of an example event below.
### Step 1 – Open a branch in Avo
If you are making changes to your tracking plan in Avo, we always recommend creating a branch first – no matter how small your change might be. That allows you to make suggestions in isolation from the source of truth on your main branch and get feedback from your peers.
Open a new branch by clicking the icon "main" in the left sidebar. Then you are prompted to open an existing branch or creating a new one.
[▶ Watch video](https://www.avo.app/docs/images/data-design/deep-dive/create-branch-deep-dive.mp4)
_Example: Creating a branch in Avo_
### Step 2 – Navigate to the events view
If you are not in the Events view already, click "Events" under tracking plan in the sidebar on the left.
[▶ Watch video](https://www.avo.app/docs/images/data-design/deep-dive/navigate-to-events.mp4)
_Example: Navigating to events._
### Step 3 – Create a new event
Create a new event by clicking the "+ Add Event" button in the top left corner. Give it a name and try to follow the naming convention in your tracking plan. Avo will automatically audit the name (see [Audit rules and configurations](https://www.avo.app/docs/audit/rules.md)) and help you follow the casing used in your workspace.
> ⚡ **Creating multiple events efficiently**
> If you need to create several events, consider using Avo's [fast creation methods](https://www.avo.app/docs/data-design/avo-tracking-plan/events.md#fast-event-creation-methods):
> - Toggle "Create more" in the event modal to stay in the creation flow
> - Inline create from the workbench for rapid event name entry
[▶ Watch video](https://www.avo.app/docs/images/data-design/deep-dive/create-new-event.mp4)
_Example: Creating a new event._
### Step 4 – Configure your event
#### Add a description
We always recommend adding a descriptive description to every event, that describes when the event should be sent. That will help prevent discrepancies between products, platforms and code paths. Read more in our
[defining descriptive events and properties guide](https://www.avo.app/docs/data-design/best-practices/defining-descriptive-events-and-properties.md).
#### Add a source (required)
Add a
[source](https://www.avo.app/docs/data-design/avo-tracking-plan/define-sources-and-destinations.md) to your event to define where it should be sent from and in which programming language the implemented in. If you have an established workspace you probably have the sources you need already set up and can select them from the drop down that appears when you click "+ Add Source". If not, you might need to set up and configure your sources and destinations in the
[Sources view](https://www.avo.app/docs/data-design/avo-tracking-plan/define-sources-and-destinations.md).
[▶ Watch video](https://www.avo.app/docs/images/data-design/deep-dive/event-description-and-source.mp4)
_Example: Adding a description and sources to an event._
#### Add actions and properties
All events in Avo have the
["Log Event" action](https://www.avo.app/docs/data-design/avo-tracking-plan/events.md#log-event) by default, which means that a user action is logged as an event to the analytics platform. This is the most common use case and the one that we are focusing on in this guide. With the "Log Event" action you can add [event properties](https://www.avo.app/docs/data-design/avo-tracking-plan/properties.md#event-properties), which allows you to attach detailed information about the action the user performed. See how to [create and configure event properties](https://www.avo.app/docs/data-design/start-data-design.md#defining-and-configuring-event-properties) in the section below.
[▶ Watch video](https://www.avo.app/docs/images/data-design/deep-dive/add-existing-property-to-event.mp4)
#### Add variants
[Event variants](https://www.avo.app/docs/data-design/avo-tracking-plan/event-variants.md) allow you to customize your events based on scenarios. Their main advantages are:
- enhancing the precision of the tracking plan
- narrowing the scope of tracking changes
- simplifying the implementation of Codegen
In the example below, a variant of the `Purchase Completed` is created. It's a customized view of the event for when boosters are purchased. Only them, the `Booster ID` property is relevant and therefore it's required when `Product Category` is `Boosters` but not attached to the event otherwise. See more example in our [Event variant docs](https://www.avo.app/docs/data-design/avo-tracking-plan/event-variants.md).
[▶ Watch video](https://www.avo.app/docs/images/data-design/deep-dive/create-event-variant.mp4)
#### Add event triggers (screenshots)
[Event triggers](https://www.avo.app/docs/data-design/guides/event-triggers.md) allow you to attach screenshots from your product to visually describe where events are triggered from. Triggers can be associated with a specific source if the location of the trigger looks different between sources. They can also be source independent if it is not specific to a certain source.
> 💡 If you're designing tracking for a complete user flow, consider using [Journeys](https://www.avo.app/docs/data-design/avo-tracking-plan/journeys.md) instead. Journeys let you create triggers in the context of connected screenshots, making it easier to visualize the entire flow and use AI to generate triggers automatically.
[▶ Watch video](https://www.avo.app/docs/images/data-design/deep-dive/add-trigger-to-event.mp4)
#### Add a category
We recommend
[organizing your metrics and events](https://www.avo.app/docs/data-design/guides/organizing-metrics-and-events.md) by using categories. Categories often represent product areas or journeys. Add your event to a category by clicking "+ Add to Category" below the Actions section in the event. If a relevant category doesn't already exist you can create it there and add the event to it.
#### Add a tag
Tags can be used to organize and your events further than with categories. For example if you have a product in multiple countries, you might want to tag each event with which countries are relevant for it.
[▶ Watch video](https://www.avo.app/docs/images/data-design/deep-dive/tags-and-categories.mp4)
_Example: Adding tags and categories to an event._
## Defining and configuring event properties
In this guide we're focusing on
[event properties](https://www.avo.app/docs/data-design/avo-tracking-plan/properties.md#event-properties) on events with the Log Event action, as that is the most common use case for beginners. There are a few more
[actions](https://www.avo.app/docs/data-design/avo-tracking-plan/events.md#actions) available as well as two other kinds of properties (
[user properties](https://www.avo.app/docs/data-design/avo-tracking-plan/properties.md#properties) and
[system properties](https://www.avo.app/docs/data-design/avo-tracking-plan/properties.md#system-properties)).
### Step 1 – Create a new event property
You can create new properties from the event details or the properties view. In this example we will create a new event property and add it to an event from the event details. First open the event you want to add it to, then click "+ Add Event Property" under the "Log Event" section of the actions and type the name of the property that you want to create. If there is no property with the same or similar name, Avo will offer you to create a new one while automatically auditing it's name according to your workspace's standards. Hit enter or click create and you have created your property.
[▶ Watch video](https://www.avo.app/docs/images/data-design/deep-dive/create-new-properties.mp4)
_Example: Creating new event properties from event details._
### Step 2 – Configure a property
#### Add a description
As with events, we highly recommend adding descriptions to all properties. That creates a common understanding between the data designer and those that use the data or implement it. It's especially important to make sure the implementation is consistent across products, platforms, events and code paths as the description helps the ones that implement to know exactly what variable in their code they should assign to that property.
#### Select the data type
Change the [data type of your property](https://www.avo.app/docs/data-design/avo-tracking-plan/properties.md#property-types-and-constraints) to match the one you need by clicking on where it says "String" below the description input. Then you will be able to pick from the following types:
- **string**: only string values are allowed
- **int**: only whole number values are allowed
- **float**: only floating point values are allowed
- **boolean**: only `true` or `false` values are allowed
- **[object](https://www.avo.app/docs/data-design/guides/object-properties.md)**: only dictionary or nested object structures are allowed (learn more in our
[object docs](https://www.avo.app/docs/data-design/guides/object-properties.md))
- **any** (available upon request): any data type is allowed and not type validation will occur
All of the above data types can be used with the list checkmark. That means that the property will become a list/array of the data type. For example, if the property value type `string` is selected and `list` checked, then the property is a list of strings: ["pants", "socks", "hats"]
#### Select the property presence
The [property presence](https://www.avo.app/docs/data-design/avo-tracking-plan/properties.md#configuring-when-properties-are-required-or-optional) defines whether the property is required, optional or not allowed. In Avo it is described with `Always sent` which means the property is required, `Sometimes sent` which means it's optional and `Never sent` which means is not allowed. Presence can be configured per event and per source.
All properties are required by default and we recommend trying to keep them required in as many cases as possible. That means that the Avo developer tools will throw an error if the property is not assigned a value in development, which reduces the risk of missing data significantly. It the property is only applicable in some cases, we recommend using [event variants](https://www.avo.app/docs/data-design/avo-tracking-plan/event-variants.md) to define each case. It's also possible to use `Sometimes sent`, but that means that the validation will not be as rigorous.
#### Add rules
Properties don't have any rules by default, but we recommend setting rules that match the limitation of the possible values for every property.
- **String rules**: you can pick exactly which string values are allowed for your property. We recommend doing so for all string properties that have a limited number of allowed values. String rules can be configured per source and event.
- **Int and Float rules**: Numerical properties can have rules that limit the value to a range between a minimum and maximum value. We recommend to set a min and max where relevant, for example to prevent negative values for count properties.
#### Example property configurations
Below is an example of a pretty simple numerical property definition:
[▶ Watch video](https://www.avo.app/docs/images/data-design/deep-dive/configure-property.mp4)
_Example: Configuring a new numerical property._
Below is an example of a string property with presence depending on source and string rules varied per source.
### Step 3 – Add existing event property to an event
We always recommend everyone that design data to first look into the existing events and properties to see if there are any that are relevant for your use case.
To add an existing event property to your event, click "+ Add Event Property" under in the "Log Event" section of the actions and start typing the name of the property to search for it in the property library. If you don't know the name of your property, you can also scroll down to find it. Once you have found your property, click it's name and it's added to your event.
[▶ Watch video](https://www.avo.app/docs/images/data-design/deep-dive/add-existing-property-to-event.mp4)
_Example: Adding an existing property to an event._
### Step 4 - Create and add property bundle to an event
[Event property bundles](https://www.avo.app/docs/data-design/avo-tracking-plan/properties.md#event-property-bundles) is a way to bundle related properties that are often added to events together to make it faster and more consistent to add those properties to events.
In the example below we create the Product property bundle with all the product properties that should go together on events, preventing us from sometimes forgetting the `Product Price` property for example. Property bundles are created in the "Properties" page and added to events the same way as event properties, by clicking "+ Add event property" under the "Log Event" action.
[▶ Watch video](https://www.avo.app/docs/images/data-design/deep-dive/create-and-add-property-bundle.mp4)
_Example: Creating and adding a property bundle to an event._
## What's next?
Now that you know how to define and maintain your metrics and events in Avo, it's time to learn how to [review branch changes](https://www.avo.app/docs/workflow/review.md) and [request implementation](https://www.avo.app/docs/workflow/request-implementation.md). If you haven't set up your sources and destinations yet, now is a good time to learn how [sources and destinations](https://www.avo.app/docs/data-design/avo-tracking-plan/define-sources-and-destinations.md) are defined.
- [Journeys](https://www.avo.app/docs/data-design/avo-tracking-plan/journeys.md): Visually design analytics with product screenshots
- [Review branch changes](https://www.avo.app/docs/workflow/review.md): How the review workflow in Avo works
- [Requesting implementation](https://www.avo.app/docs/workflow/request-implementation.md): How to request implementation in Avo.
- [Sources and destinations](https://www.avo.app/docs/data-design/avo-tracking-plan/define-sources-and-destinations.md): How to set up your sources and destinations in Avo.
---
Source: https://www.avo.app/docs/data-design/avo-tracking-plan.md
# The Avo Tracking Plan
The Avo Tracking Plan is where you define the data for your application. It contains
detailed definitions of your tracking plan that can be used to generate
code from and validate your data against.
The following sections build up your Avo workspace:
- [Journeys](https://www.avo.app/docs/data-design/avo-tracking-plan/journeys.md): visually design analytics using product screenshots with AI-powered suggestions
- [Tracking Plan Events](https://www.avo.app/docs/data-design/avo-tracking-plan/events.md): where all events structures are defined
- [Tracking Plan Properties](https://www.avo.app/docs/data-design/avo-tracking-plan/properties.md): where all properties are defined
- [Tracking Plan Metrics](https://www.avo.app/docs/data-design/avo-tracking-plan/metrics.md): where all metrics are defined
- [Tracking Plan Publishing](https://www.avo.app/docs/publishing/publishing/overview.md): sync your tracking plan with the one in your analytics platform
- [Connection Setup](https://www.avo.app/docs/data-design/avo-tracking-plan/define-sources-and-destinations.md): configure sources and destinations, including setting up Inspector and Avo Codegen
- [Codegen Setup](https://www.avo.app/docs/implementation/start-using-avo-codegen.md): source specific event reference for Avo Codegen, with code snippets that help you implement
- [Inspector](https://www.avo.app/docs/inspector/start-using-inspector.md): get a report of the state of your tracking and get alerted when new issues are detected

_Example Tracking Plan in Avo_
---
Source: https://www.avo.app/docs/data-design/avo-tracking-plan/journeys.md
# Journeys
Use Journeys to visually design analytics for a product update by composing a flow from product images or screenshots that represent each step of your experience. [Annotate images](https://www.avo.app/docs/data-design/avo-tracking-plan/journeys.md#image-annotations) to highlight exactly where actions occur, add triggers for each user action, and connect them to events and variants in your tracking plan. If you opt in to [Avo Intelligence](https://www.avo.app/docs/reference/avo-intelligence.md) for Journeys, AI can generate triggers from images and suggest matching existing events/variants to speed up data design.
The journey builder and [AI functionality](https://www.avo.app/docs/data-design/guides/agentic-data-design.md) transform tracking plan creation from a bottle-necked, documentation-heavy process to a visual, self-service workflow that delivers significant time and quality improvements. By replacing scattered Google Docs and manual Figma annotations with a single visual source of truth, product teams can independently create tracking requirements while data teams shift focus to validation and quality monitoring.
This workflow results in faster turnaround times, better data quality and reduced governance overhead, while the AI-powered event discovery helps solve the chronic problem of duplicate events and improper event usage across large tracking plans with hundreds of existing events.
## Journeys overview
An overview of all journeys in your workspace is accessible from the Journeys tab in the left sidebar. There you will find a list of all journeys available on the [branch](https://www.avo.app/docs/data-design/guides/branching-and-merging) you are currently on.
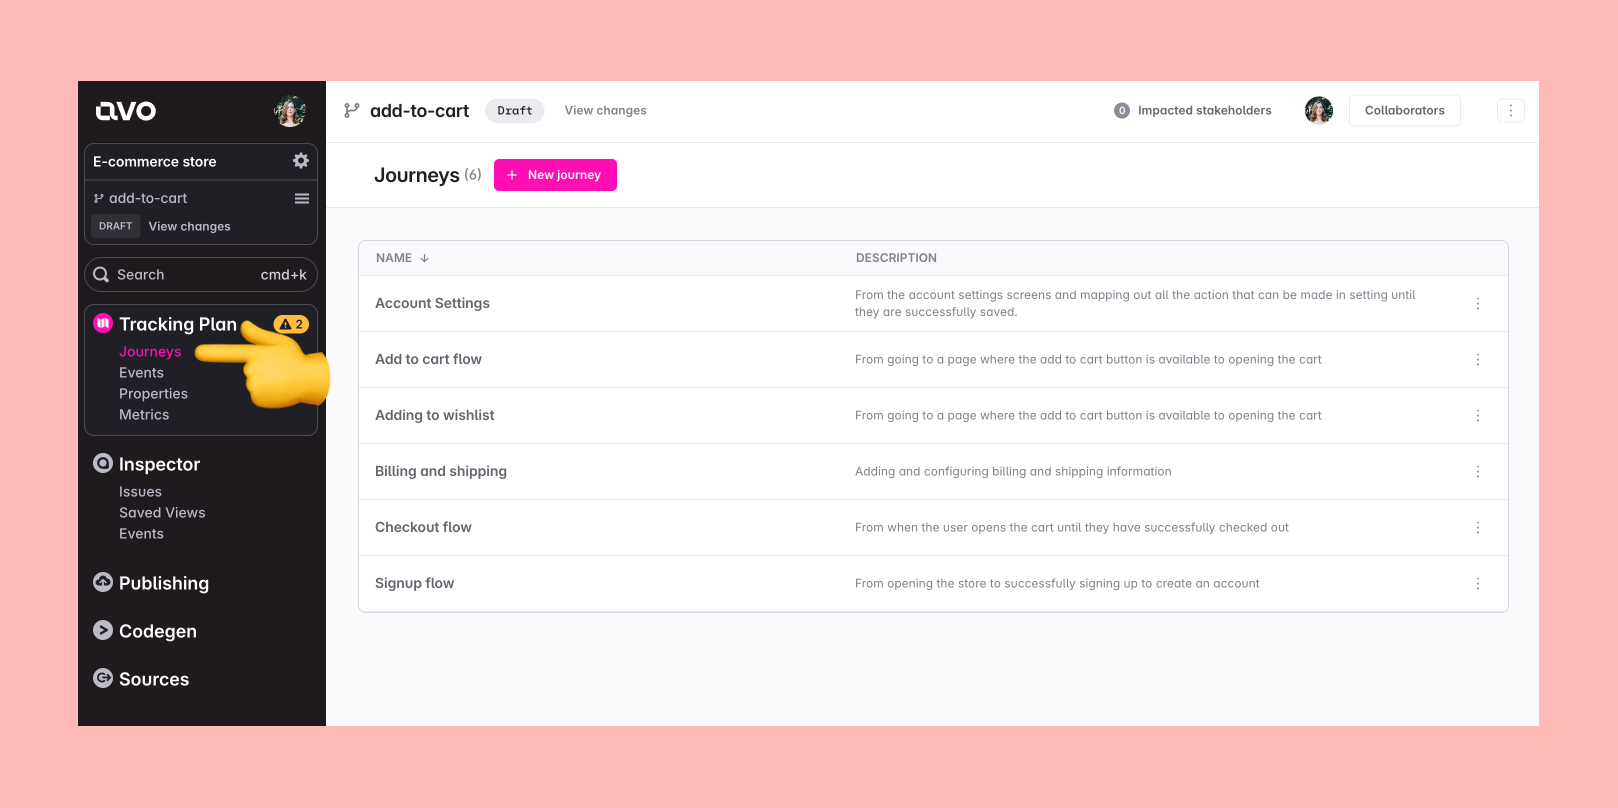
From there you can:
- Create a new journey by clicking the "+ new Journey" button in the Journeys view
- Access an existing journey to edit, review, or use as a guideline for implementation by clicking the journey in the Journeys list
- Archive a journey by clicking the triple-dot for the journey and clicking "Archive"
- Copy the link to a journey by clicking the triple-dot for the journey and clicking "Copy link"
## Journey building blocks
Journeys are composed of the following building blocks:
- [Journey name](#journey-name): a short, human‑readable name used to identify the journey in the Journeys view and in the journey details page
- [Journey description](#journey-description): a more detailed description of the journey and its purpose, with optional links to designs, product requirements or other relevant resources
- [Journey steps](#journey-steps): a step in the user journey visualized with an image or described in text (useful for server‑side tracking)
- [Image annotations](#image-annotations): markers on journey step images that highlight specific areas where actions occur
- [Journey triggers](#journey-triggers): the navigation, system, or user action that should trigger an event
- [Connections](#connections): links between steps, annotations, and triggers that drive how triggers attach to events
### Journey name
The journey name is used to identify the journey in the Journeys view and in the journey details page. The journey name is usually a short, human‑readable description like "Checkout flow." You can edit the journey name in the journey details page.
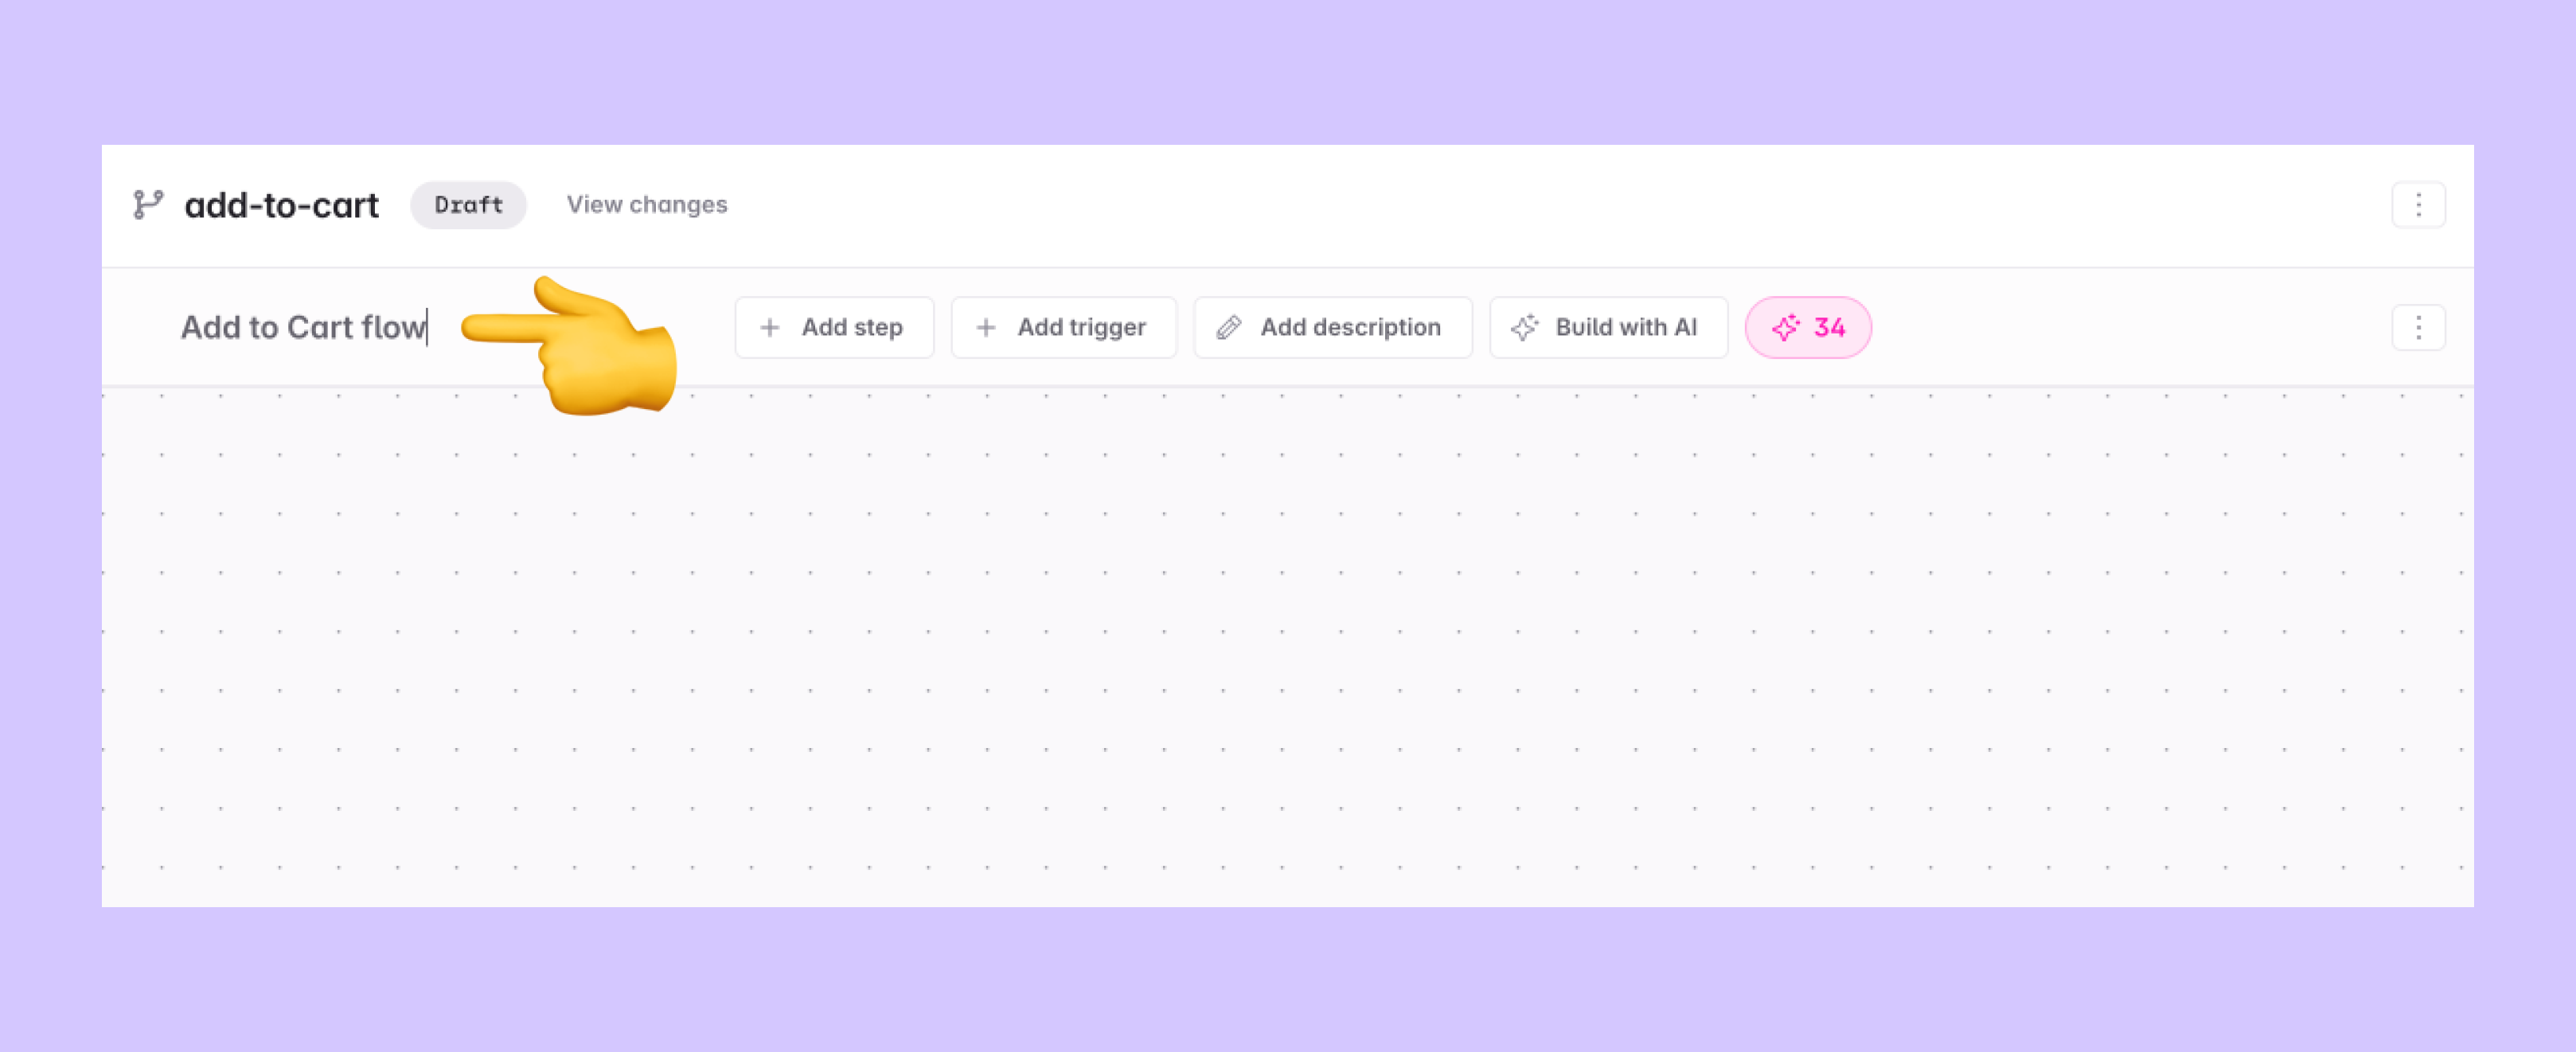
### Journey description
The journey description provides additional context about the journey and its purpose, with optional links to designs, product requirements, or other relevant resources. You can edit the journey name and description in the journey details page.
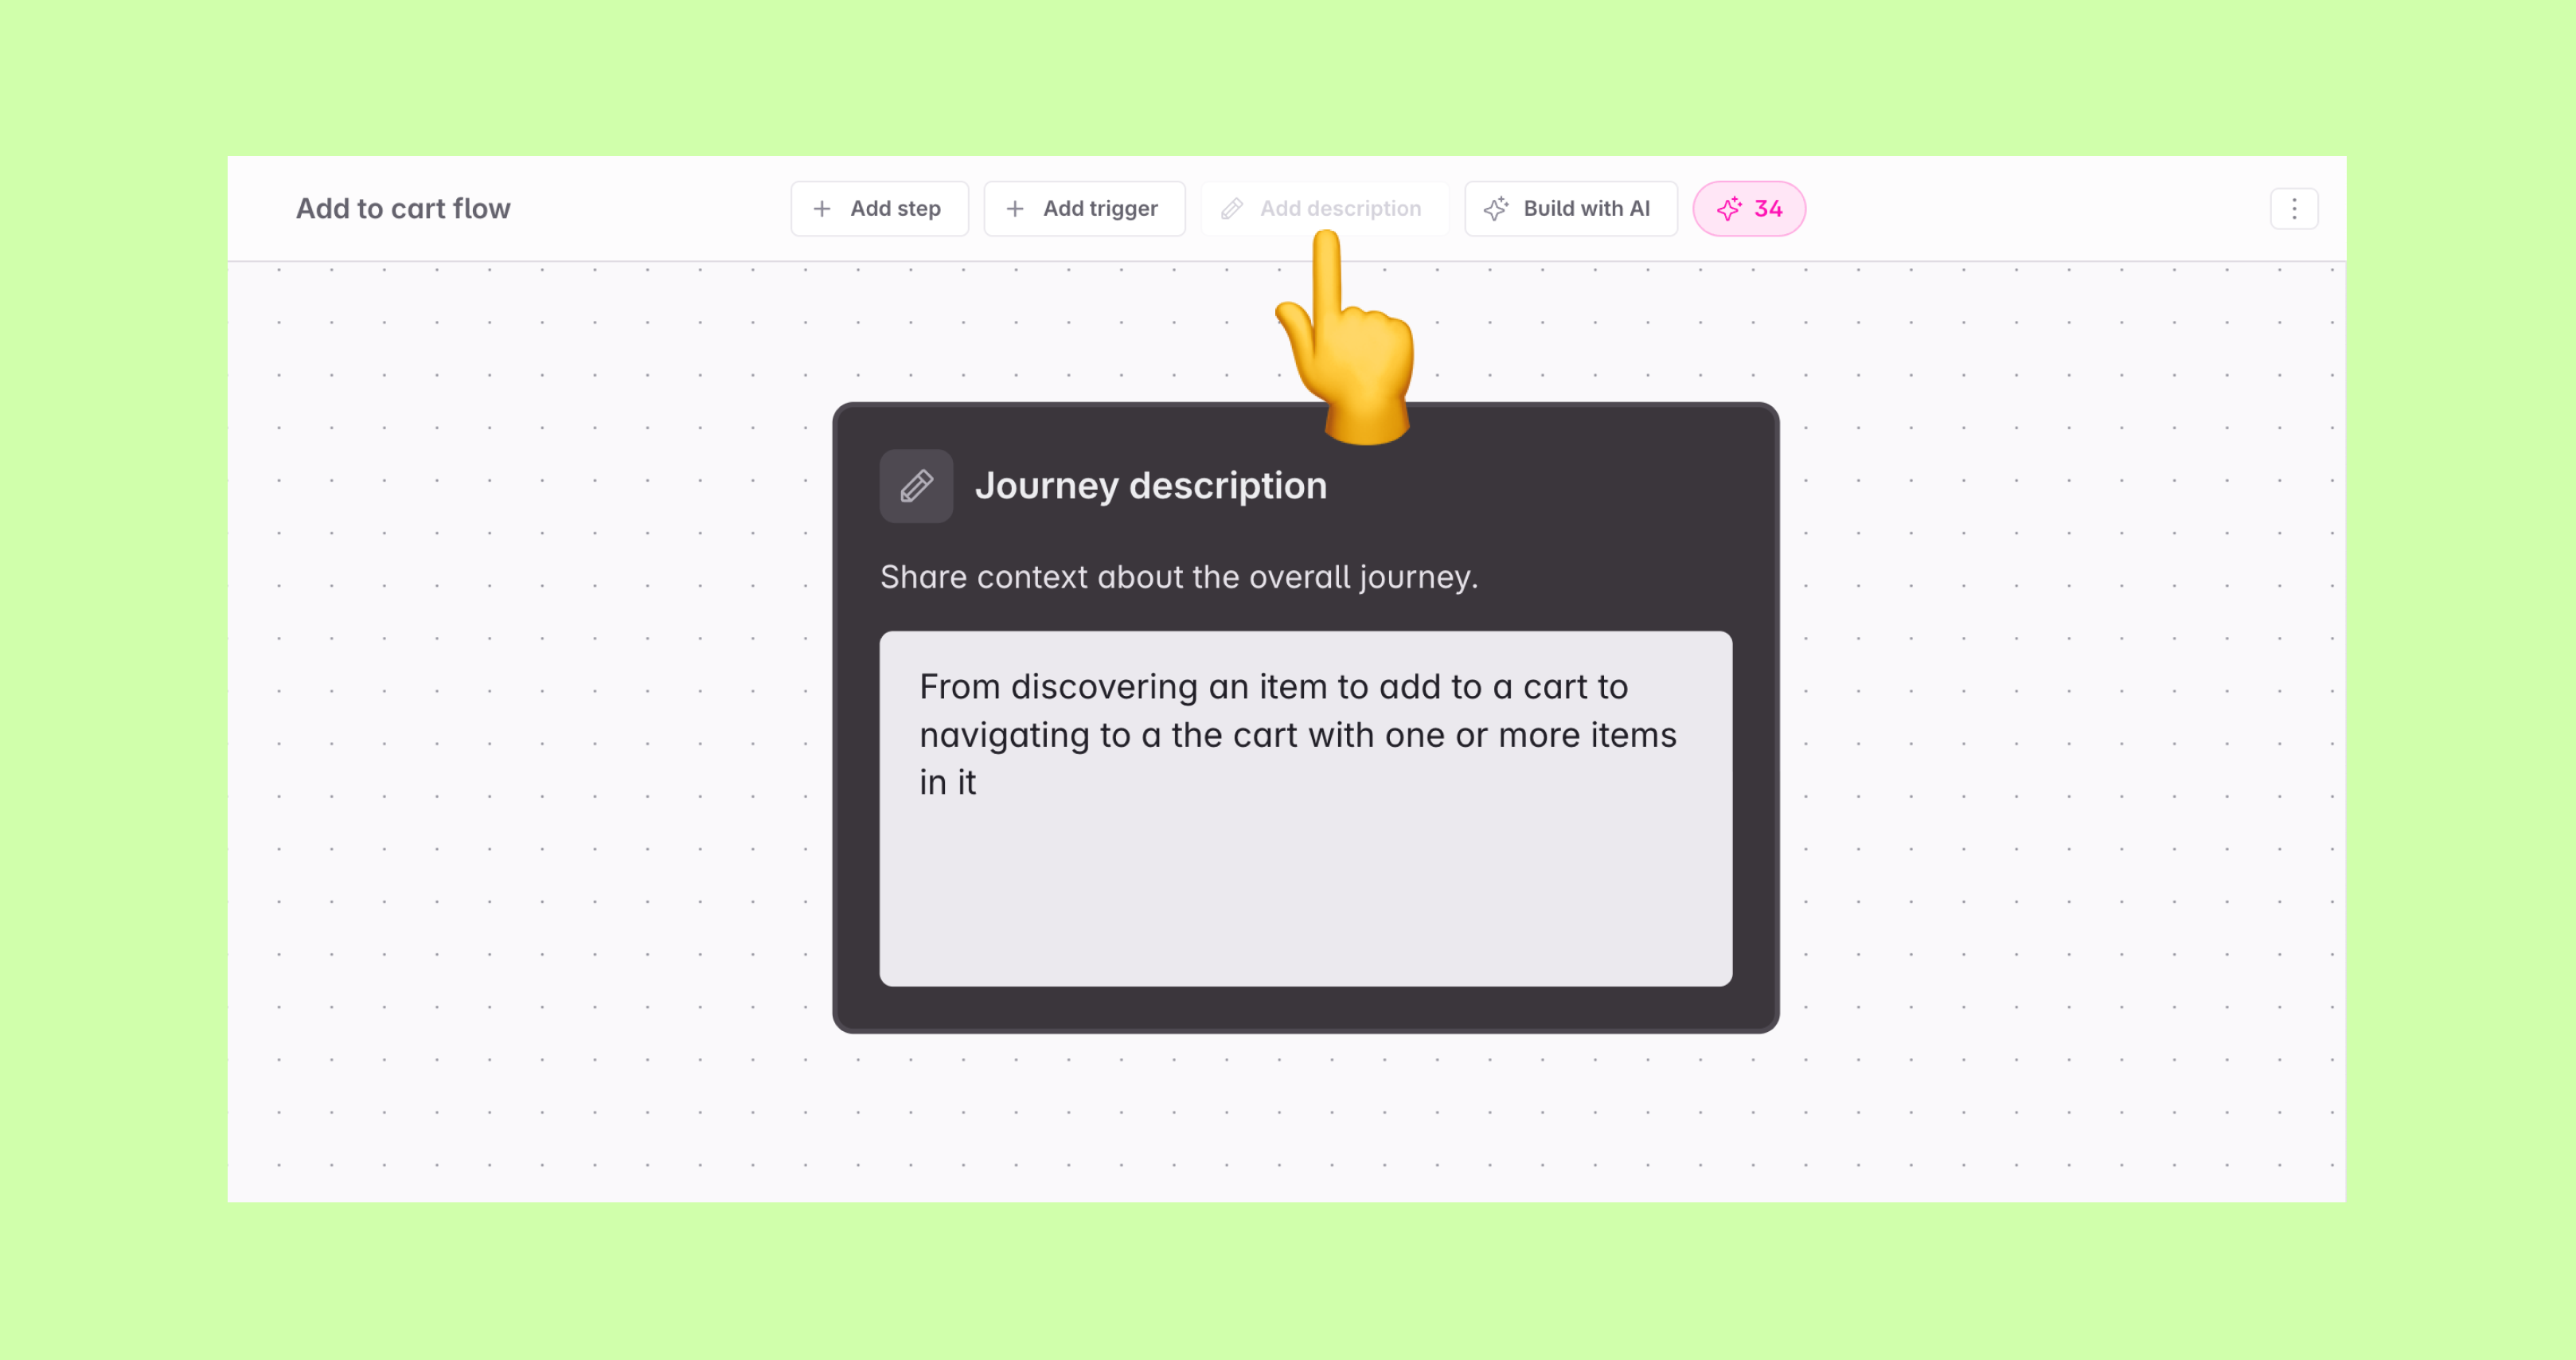
### Journey steps
A journey step is a single step in a user journey that is either visualized with an image or described in text (for server-side tracking, for example).
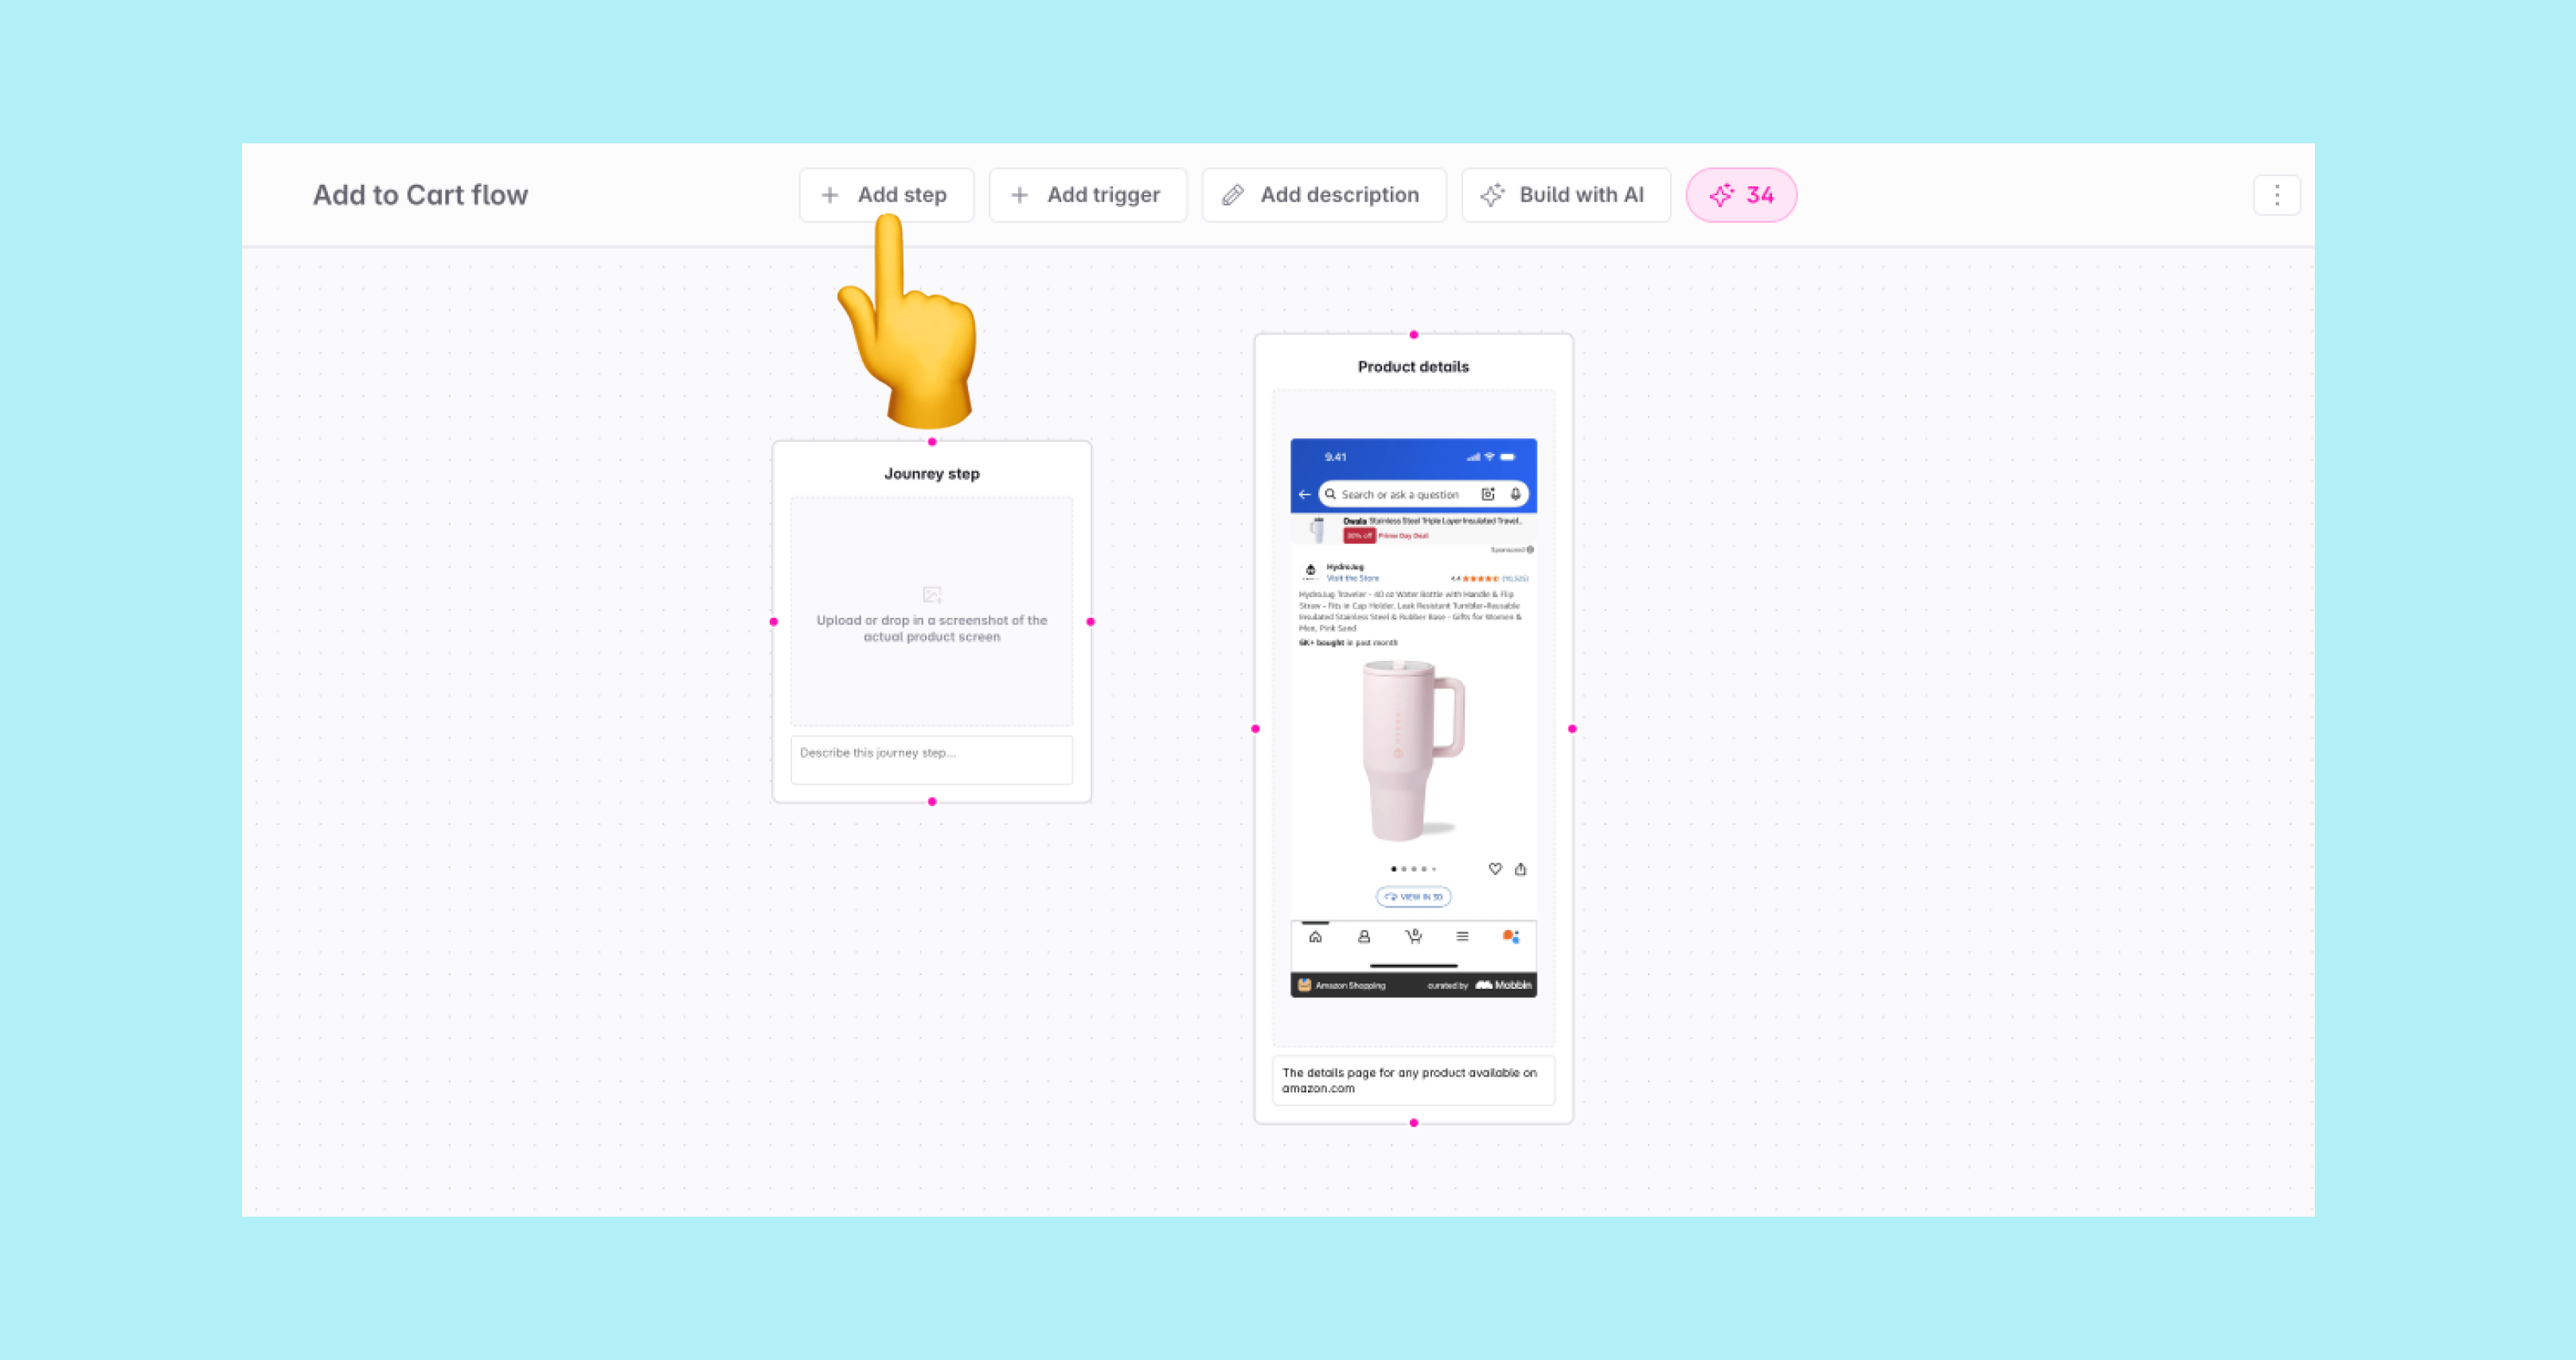
#### Journey step building blocks
A journey step is composed of the following details:
- Journey step name: A name for the journey step, generally something human readable and descriptive for the image, like "Product Details"
- Journey step description: An optional description for the journey step, with context about the image and possibly links to designs or the page it represents
- An optional image: A screenshot from the product or exported designs of the screen or component that the journey step represents
- Optional annotations: Annotations on the image that highlight specific areas where actions occur
#### Adding journey steps
There are several ways to add a journey step to the canvas:
- **Import from Figma**: Import frames directly from a Figma design file to create steps with images, names, and auto-generated connections — see [Importing steps from Figma](#importing-steps-from-figma)
- **Drag and drop images**: Drag and drop one or more images directly into the journey builder to create steps with images
- **Drag from toolbar**: Drag the step icon from the toolbar at the top of the journey builder and drop it onto the canvas
- **Step mode**: Press `s` to activate step mode, then click anywhere on the canvas to place a step node
To add an image to an existing journey step, you can drag and drop an image into the journey step or click the placeholder image in the journey step and select an image from your computer.
For a full walkthrough of building journeys on the canvas, see [Creating a journey](#creating-a-journey).
#### Importing steps from Figma
If your designs live in Figma, you can import frames directly into the Journey Builder instead of exporting and re-uploading them manually. Each imported frame becomes a journey step with its image and name. Steps are arranged in a grid that mirrors the spatial order of your Figma frames, and connections between adjacent frames are generated automatically.
This is particularly useful when you are starting a new journey from an existing design file and want to avoid the overhead of manually recreating each screen as a journey step and placing them to align with the flow you already have in Figma.
> The Import from Figma feature is available to workspaces with the Figma integration enabled. Contact your workspace admin or Avo support if you don't see the option.
##### How to import frames from Figma
To import frames into Avo from Figma, follow these steps:
**1: Open a journey in the Journey Builder.**
**2: Copy the link from Figma.**
In Figma, copy the link to what you want to import — a whole file, a section, or a single frame:
- **Whole file**: Click *Share* in the top-right corner of Figma and copy the link
- **Section or frame**: Select it, then press `Cmd+L` (Mac) / `Ctrl+L` (Windows), or right-click and choose *Copy link to section* / *Copy link to frame*
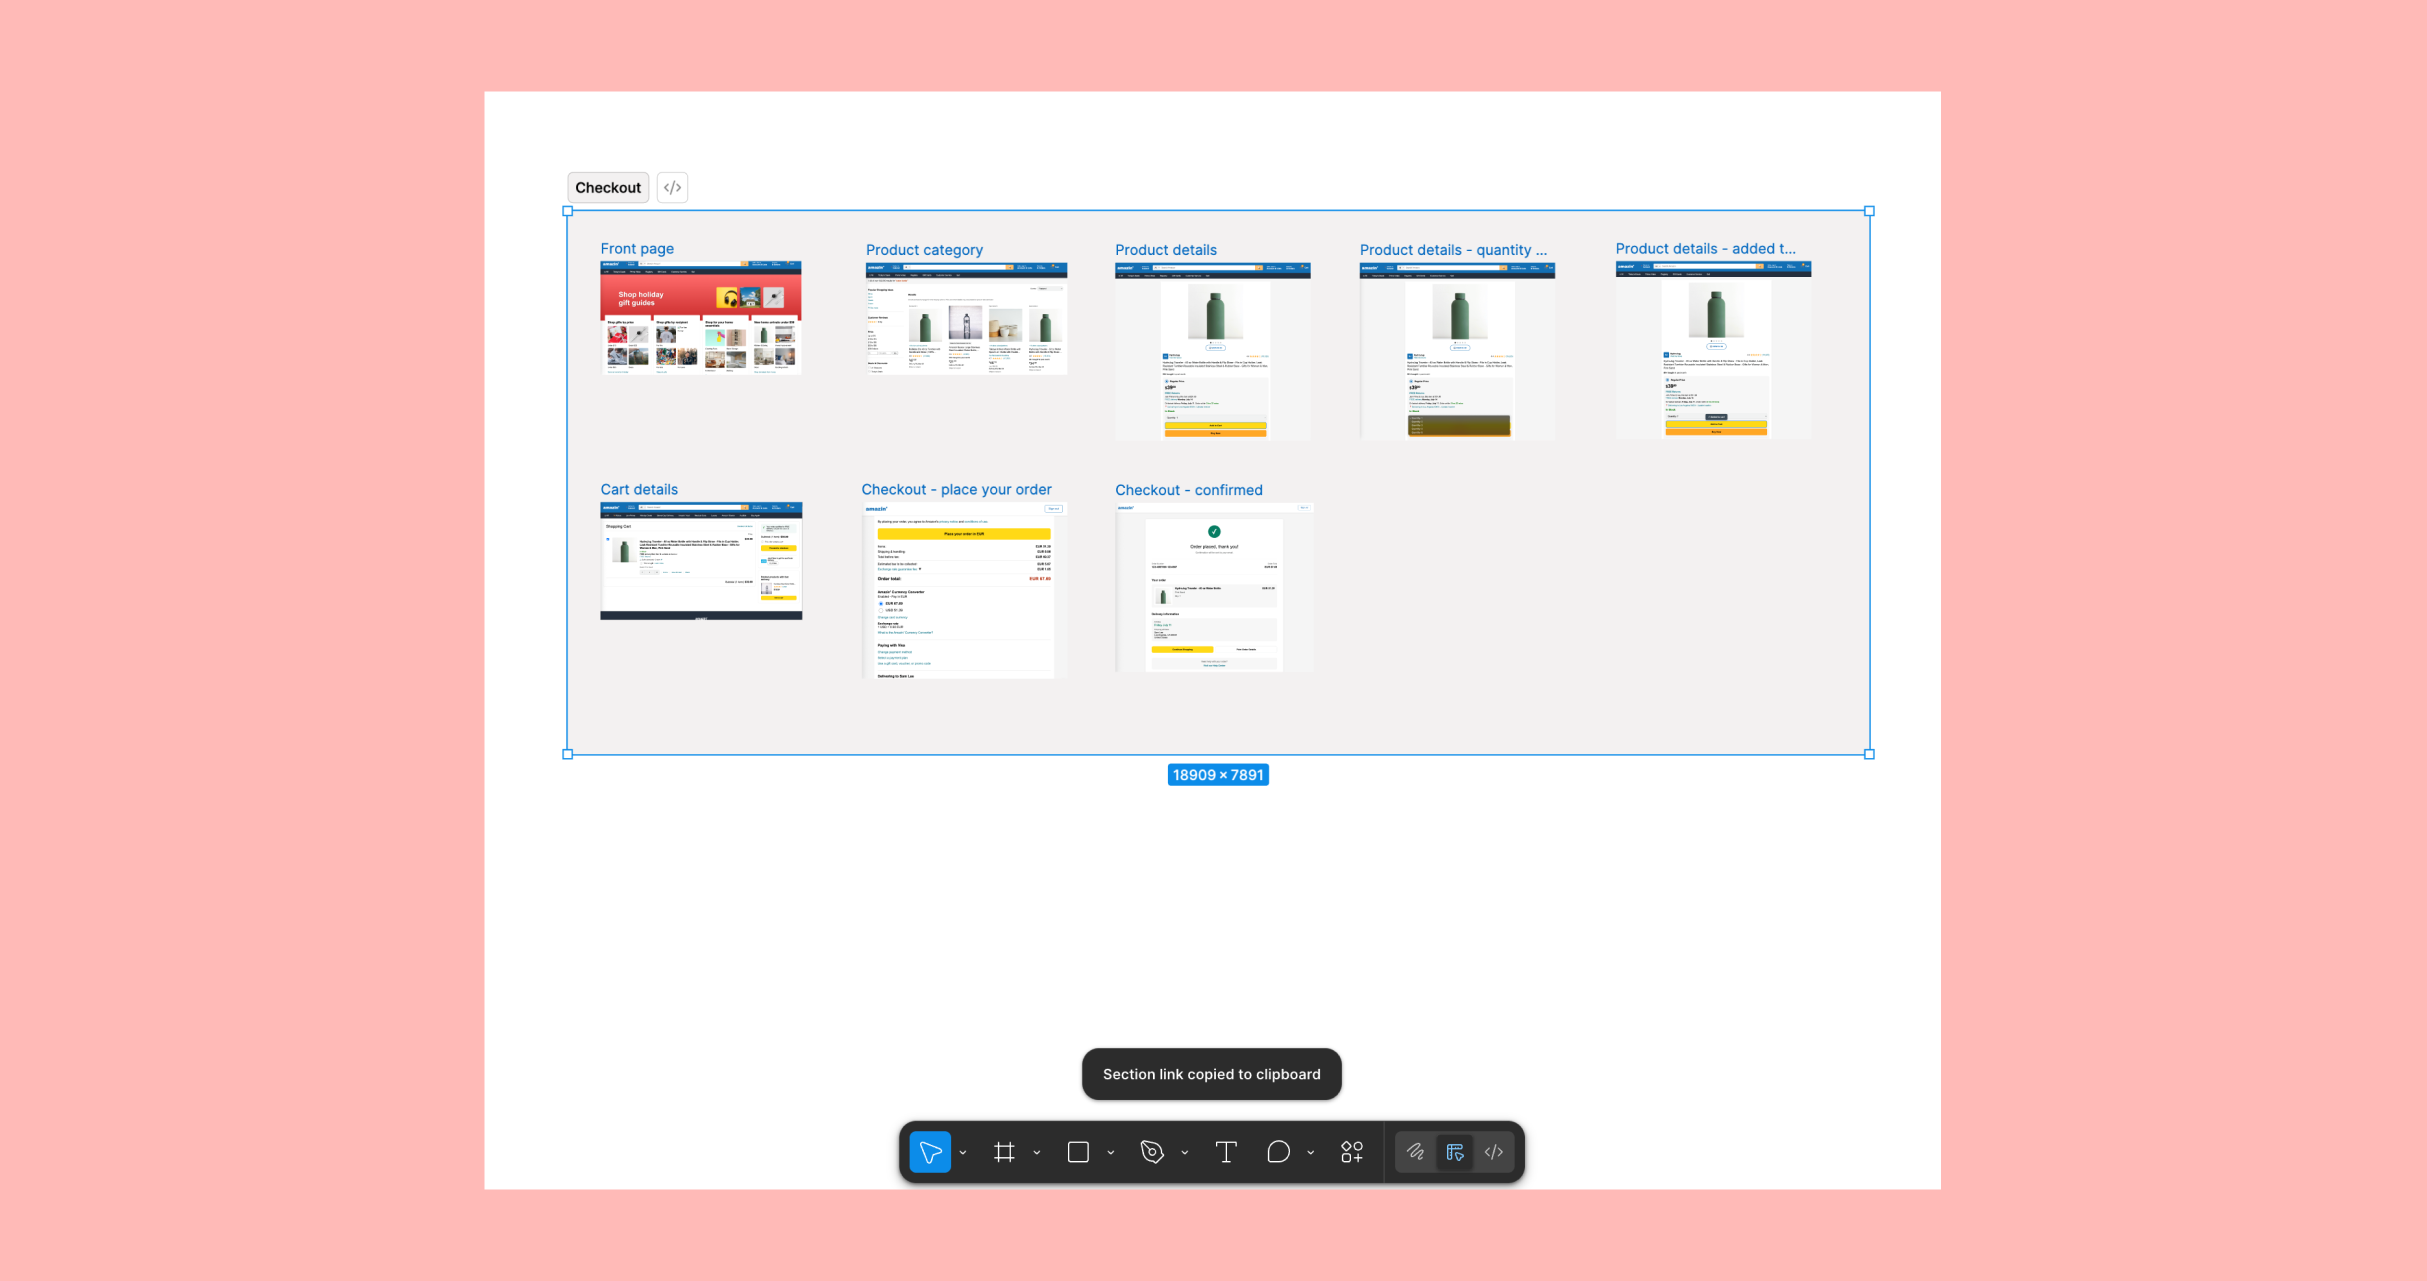
**3: Paste the link into your Avo journey.**
Paste it into the canvas. Imported steps are always placed to the right of any existing content to avoid overlaps.
**4: Select exactly which frames you want to import.**
Avo retrieves the file metadata from Figma and displays a visual frame picker showing all top-level frames available in the file or section that was selected. You can multiselect individual frames, drag across frames or use select-all.
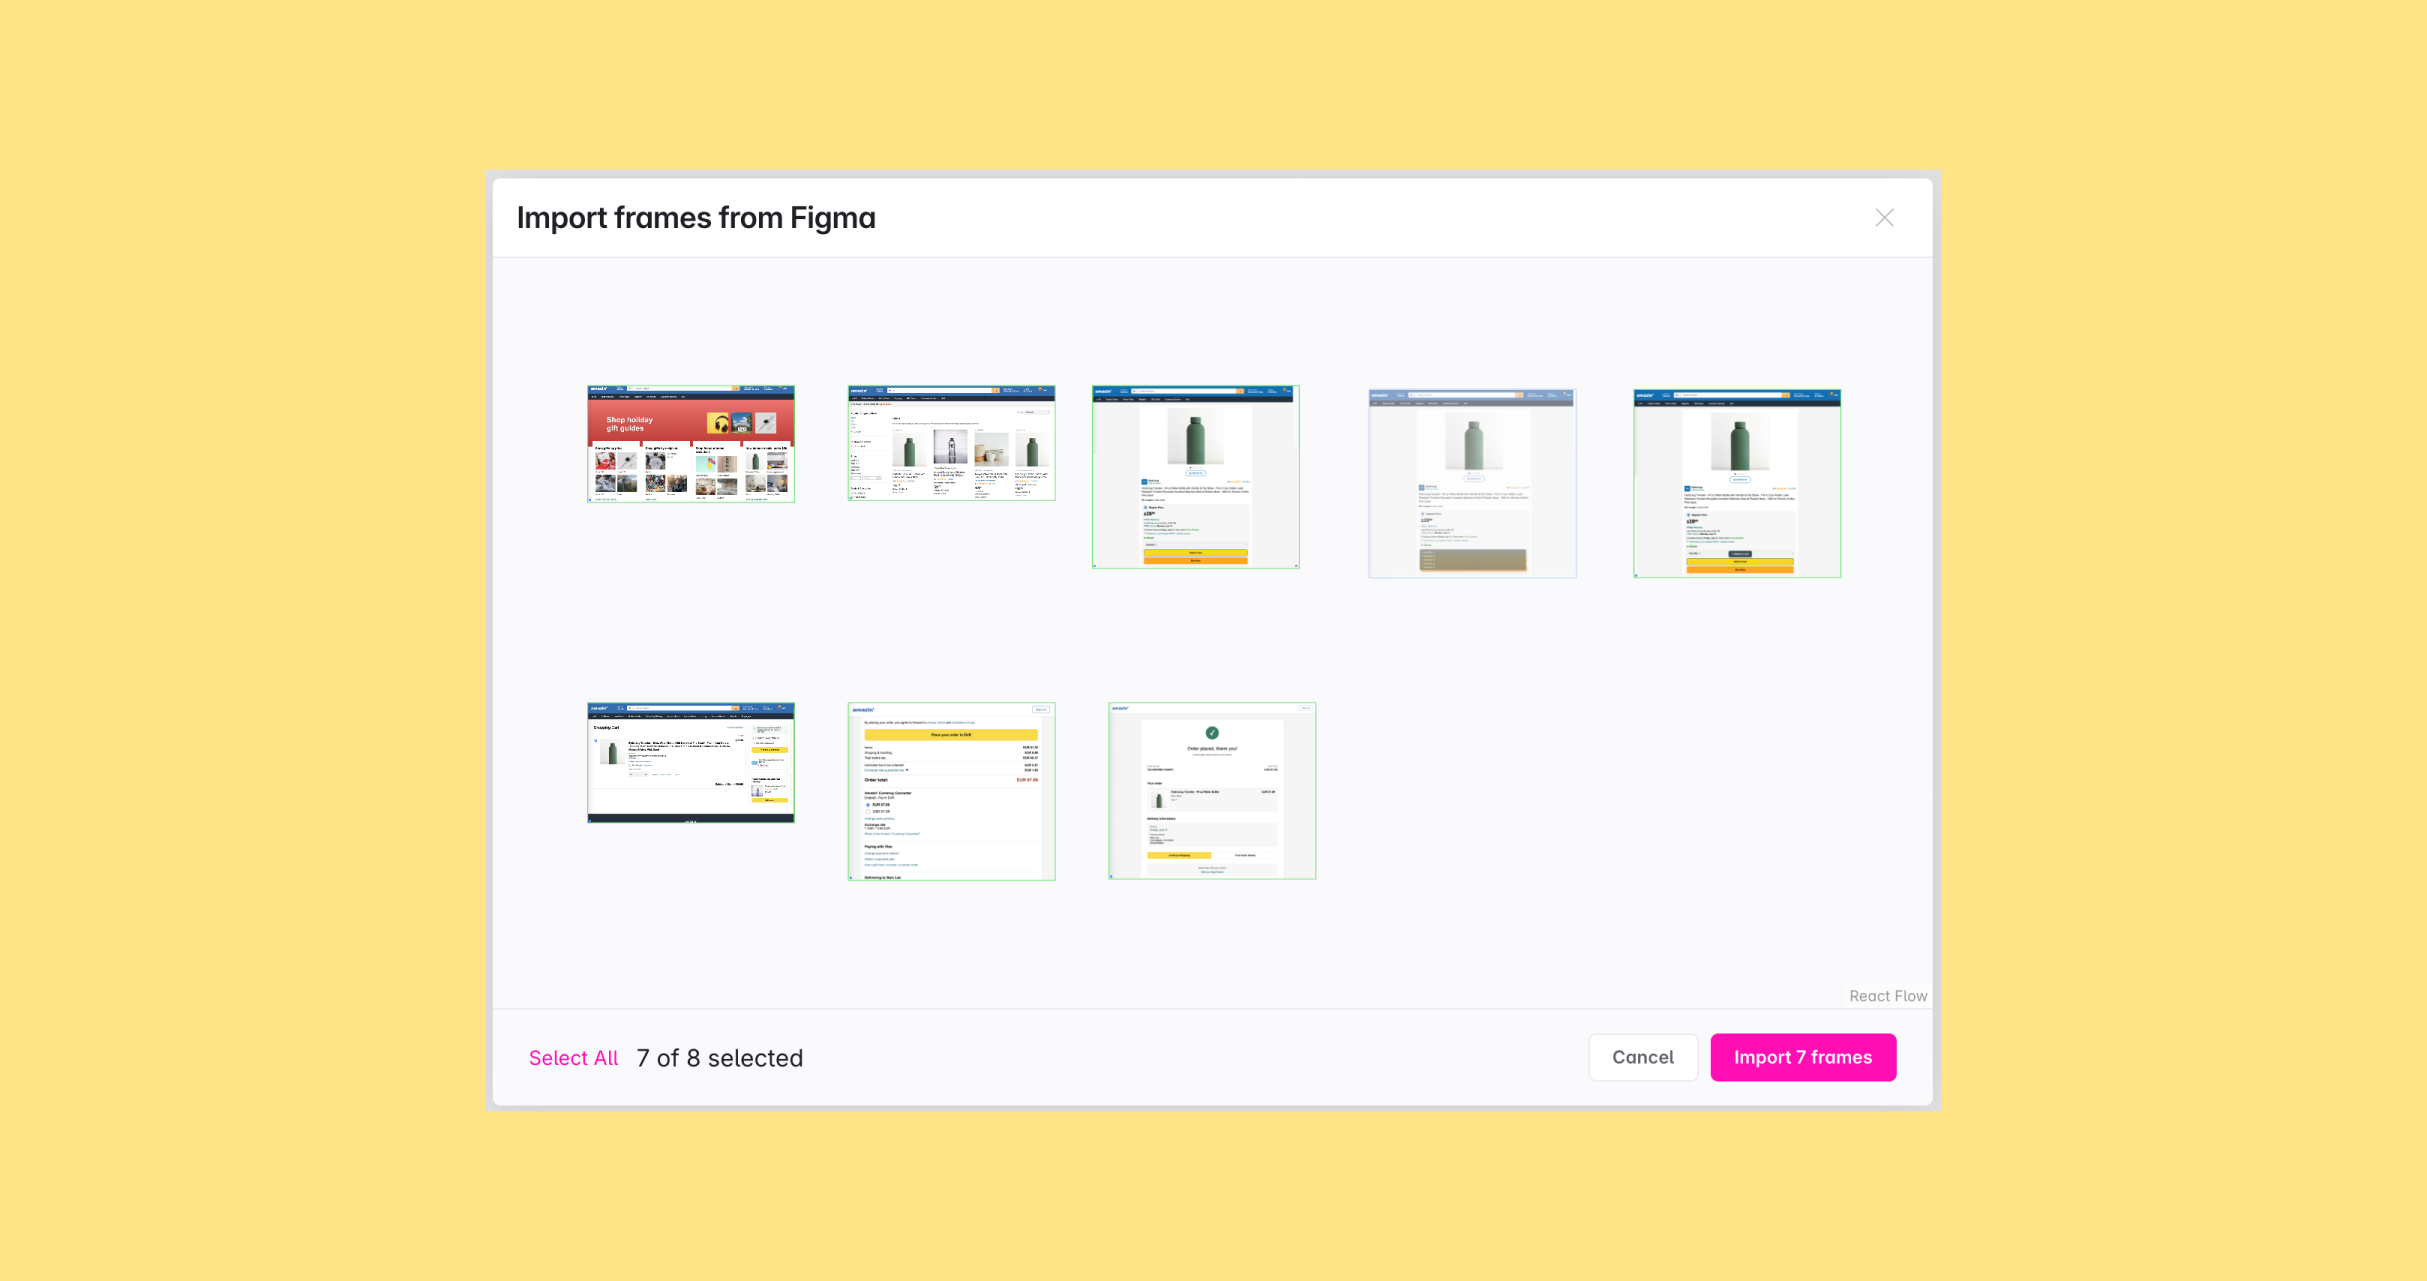
**5: Click "Import".**
Avo downloads each selected frame as an image, uploads it, and creates a journey step for each one.
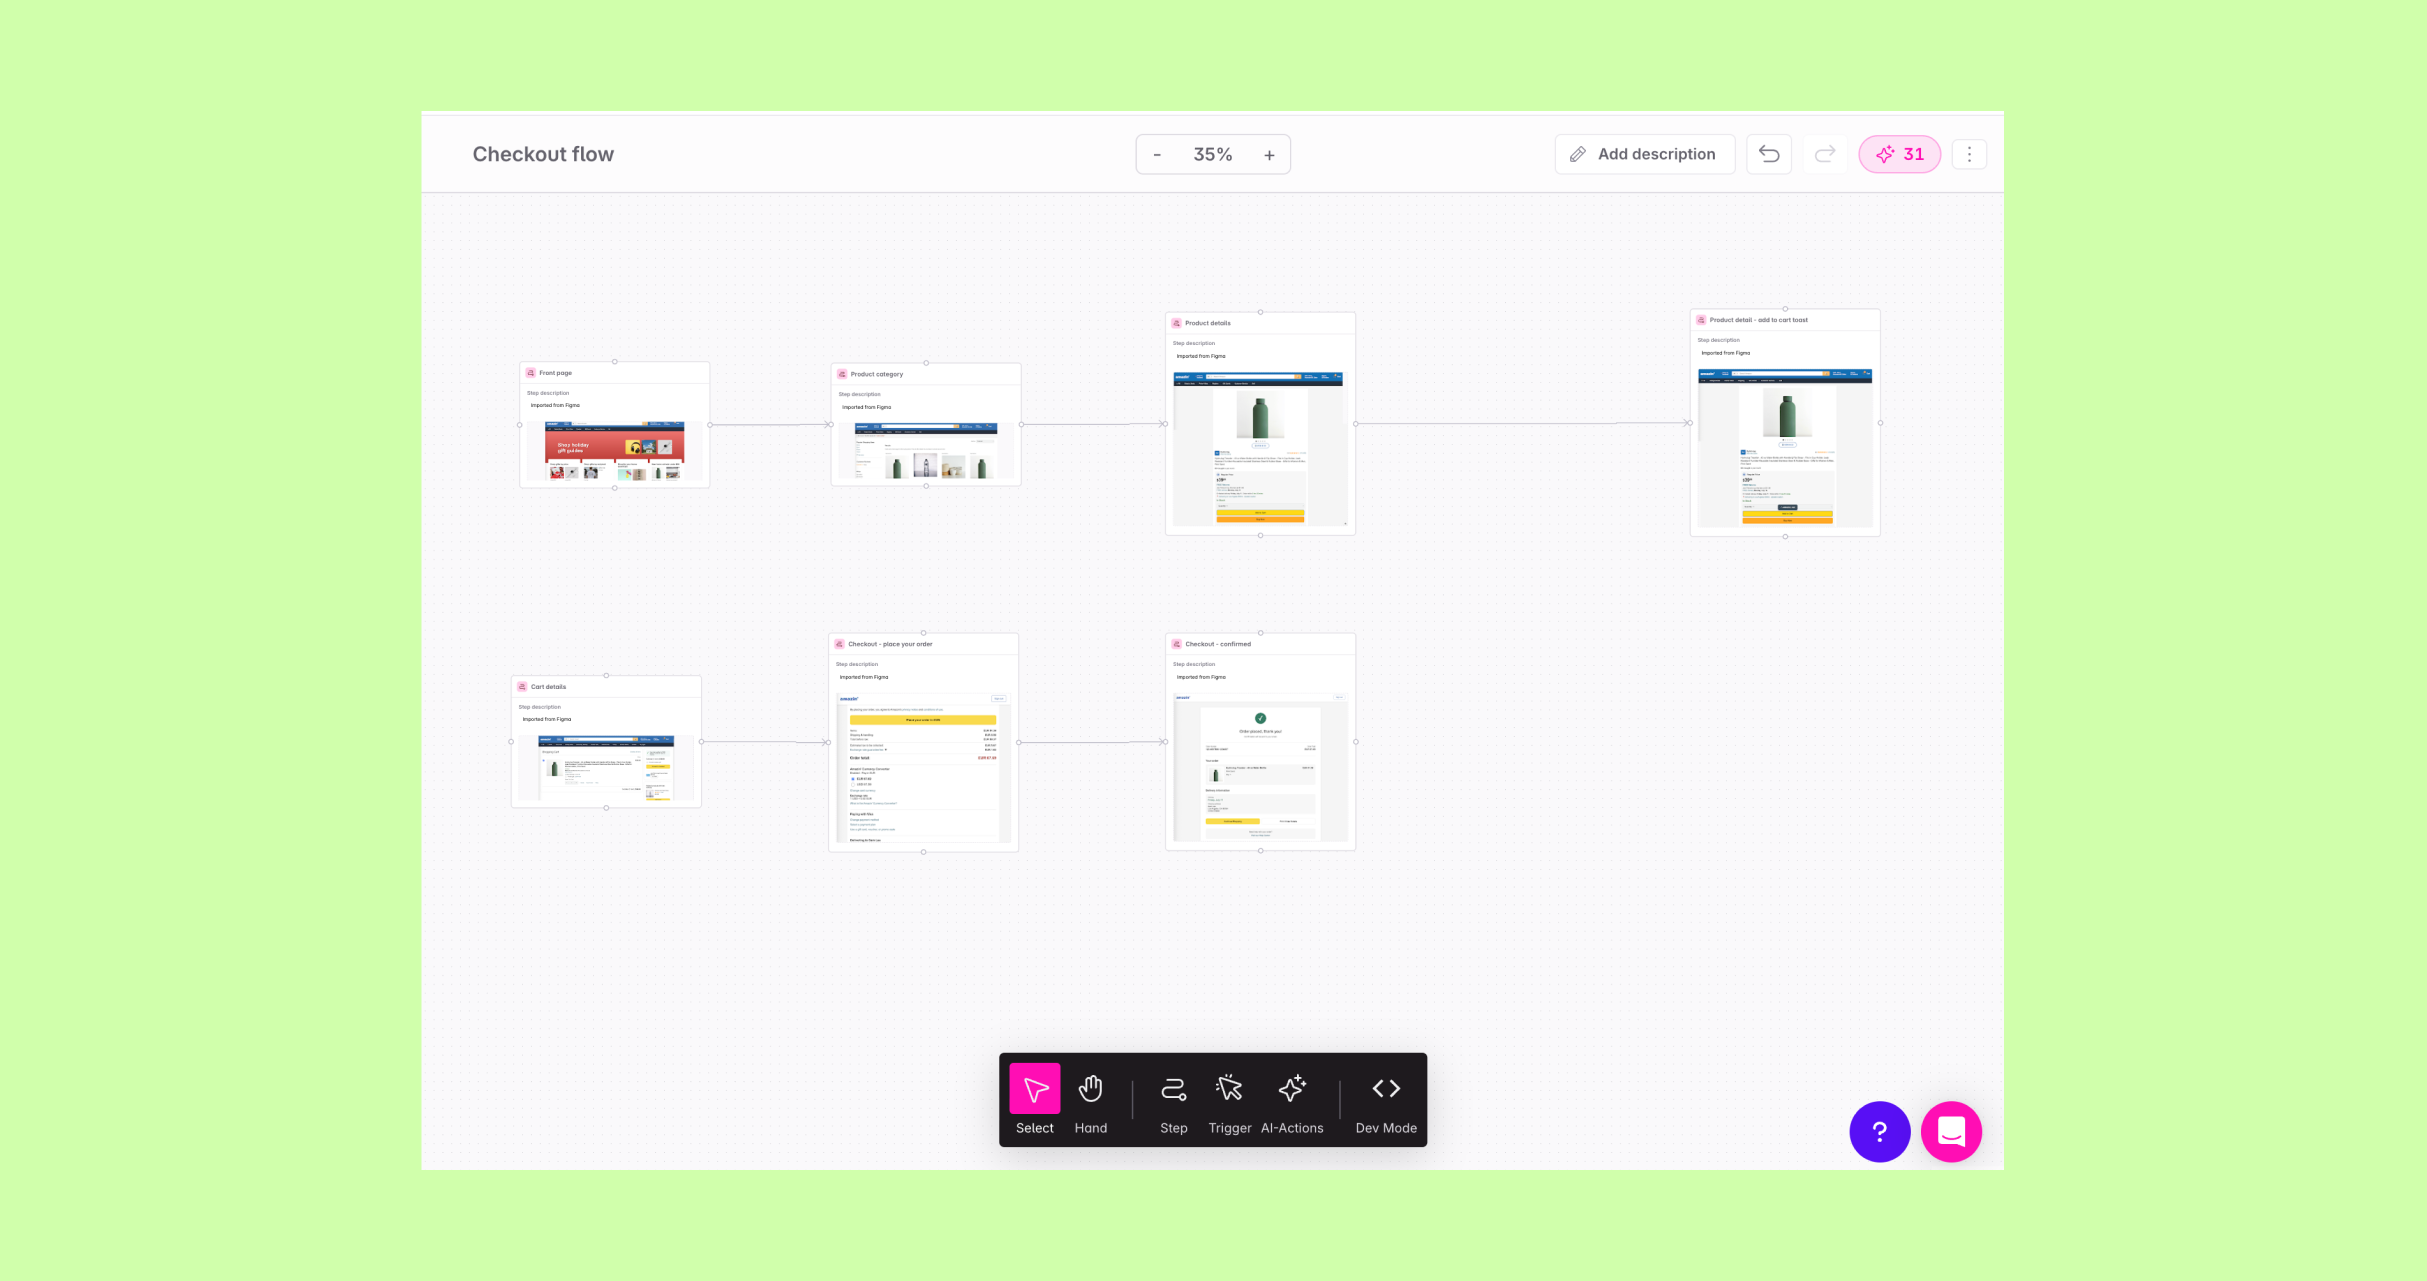
##### What gets created
For each imported frame, Avo creates a journey step with:
- **Image**: A screenshot of the Figma frame
- **Title**: The frame's name from Figma (e.g. "Checkout – Payment")
- **Figma source link**: A reference back to the source Figma file and node, so anyone viewing the step can trace it to the original design and easily refresh the journey step in Avo when the designs have changed in Figma
Steps are arranged in a grid layout that mirrors the spatial order of the frames in the Figma file. If the journey already contains steps, new steps are placed to the right of existing content to avoid overlaps.
Frames that were spatially close to each other in the Figma layout — specifically those in the same horizontal row — are automatically connected with edges when imported. This preserves the left-to-right visual flow of your Figma design without manual wiring.
You can add, remove, or adjust connections after import just like any other journey step connection. See [Connections](#connections) for details.
##### Recommended Figma seat type
Avo reads Figma files on your behalf using the OAuth token from the connected Figma account. Figma applies [rate limits](https://developers.figma.com/docs/rest-api/rate-limits/) to its REST API per seat type — Dev and Full seats get the highest monthly and per-minute quotas, while View and Collab seats share a much smaller monthly quota and are the first to be throttled. For a smooth import experience, connect a Figma account that has a Dev or Full seat.
If you hit Figma's monthly API quota, Avo surfaces a toast suggesting you reconnect using a Dev or Full seat account. Disconnect the current Figma integration from **Workspace Settings → Integrations**, then connect with a different Figma account.
##### Troubleshooting
- **"Invalid URL" error**: Make sure you copied the link from a Figma design file using one of the methods above — Share button, `Cmd/Ctrl+L`, or right-click. Links from Figma's prototype view, inspect panel, or FigJam boards are not supported.
- **No frames appear in the picker**: The selected node may be a component or group rather than a frame or page. Try copying the link from a higher-level frame or page in the Figma file.
- **"Could not access file"**: Avo can only access files shared with link access. In Figma, click **Share** and set access to **Anyone with the link**, then try again.
### Journey triggers
Journey triggers represent the navigation, system, or user action on a journey step that triggers the event to be sent. One journey step can be connected to one or more triggers and one trigger can have one or more journey steps connected to it. Triggers are connected to events in your tracking plan.
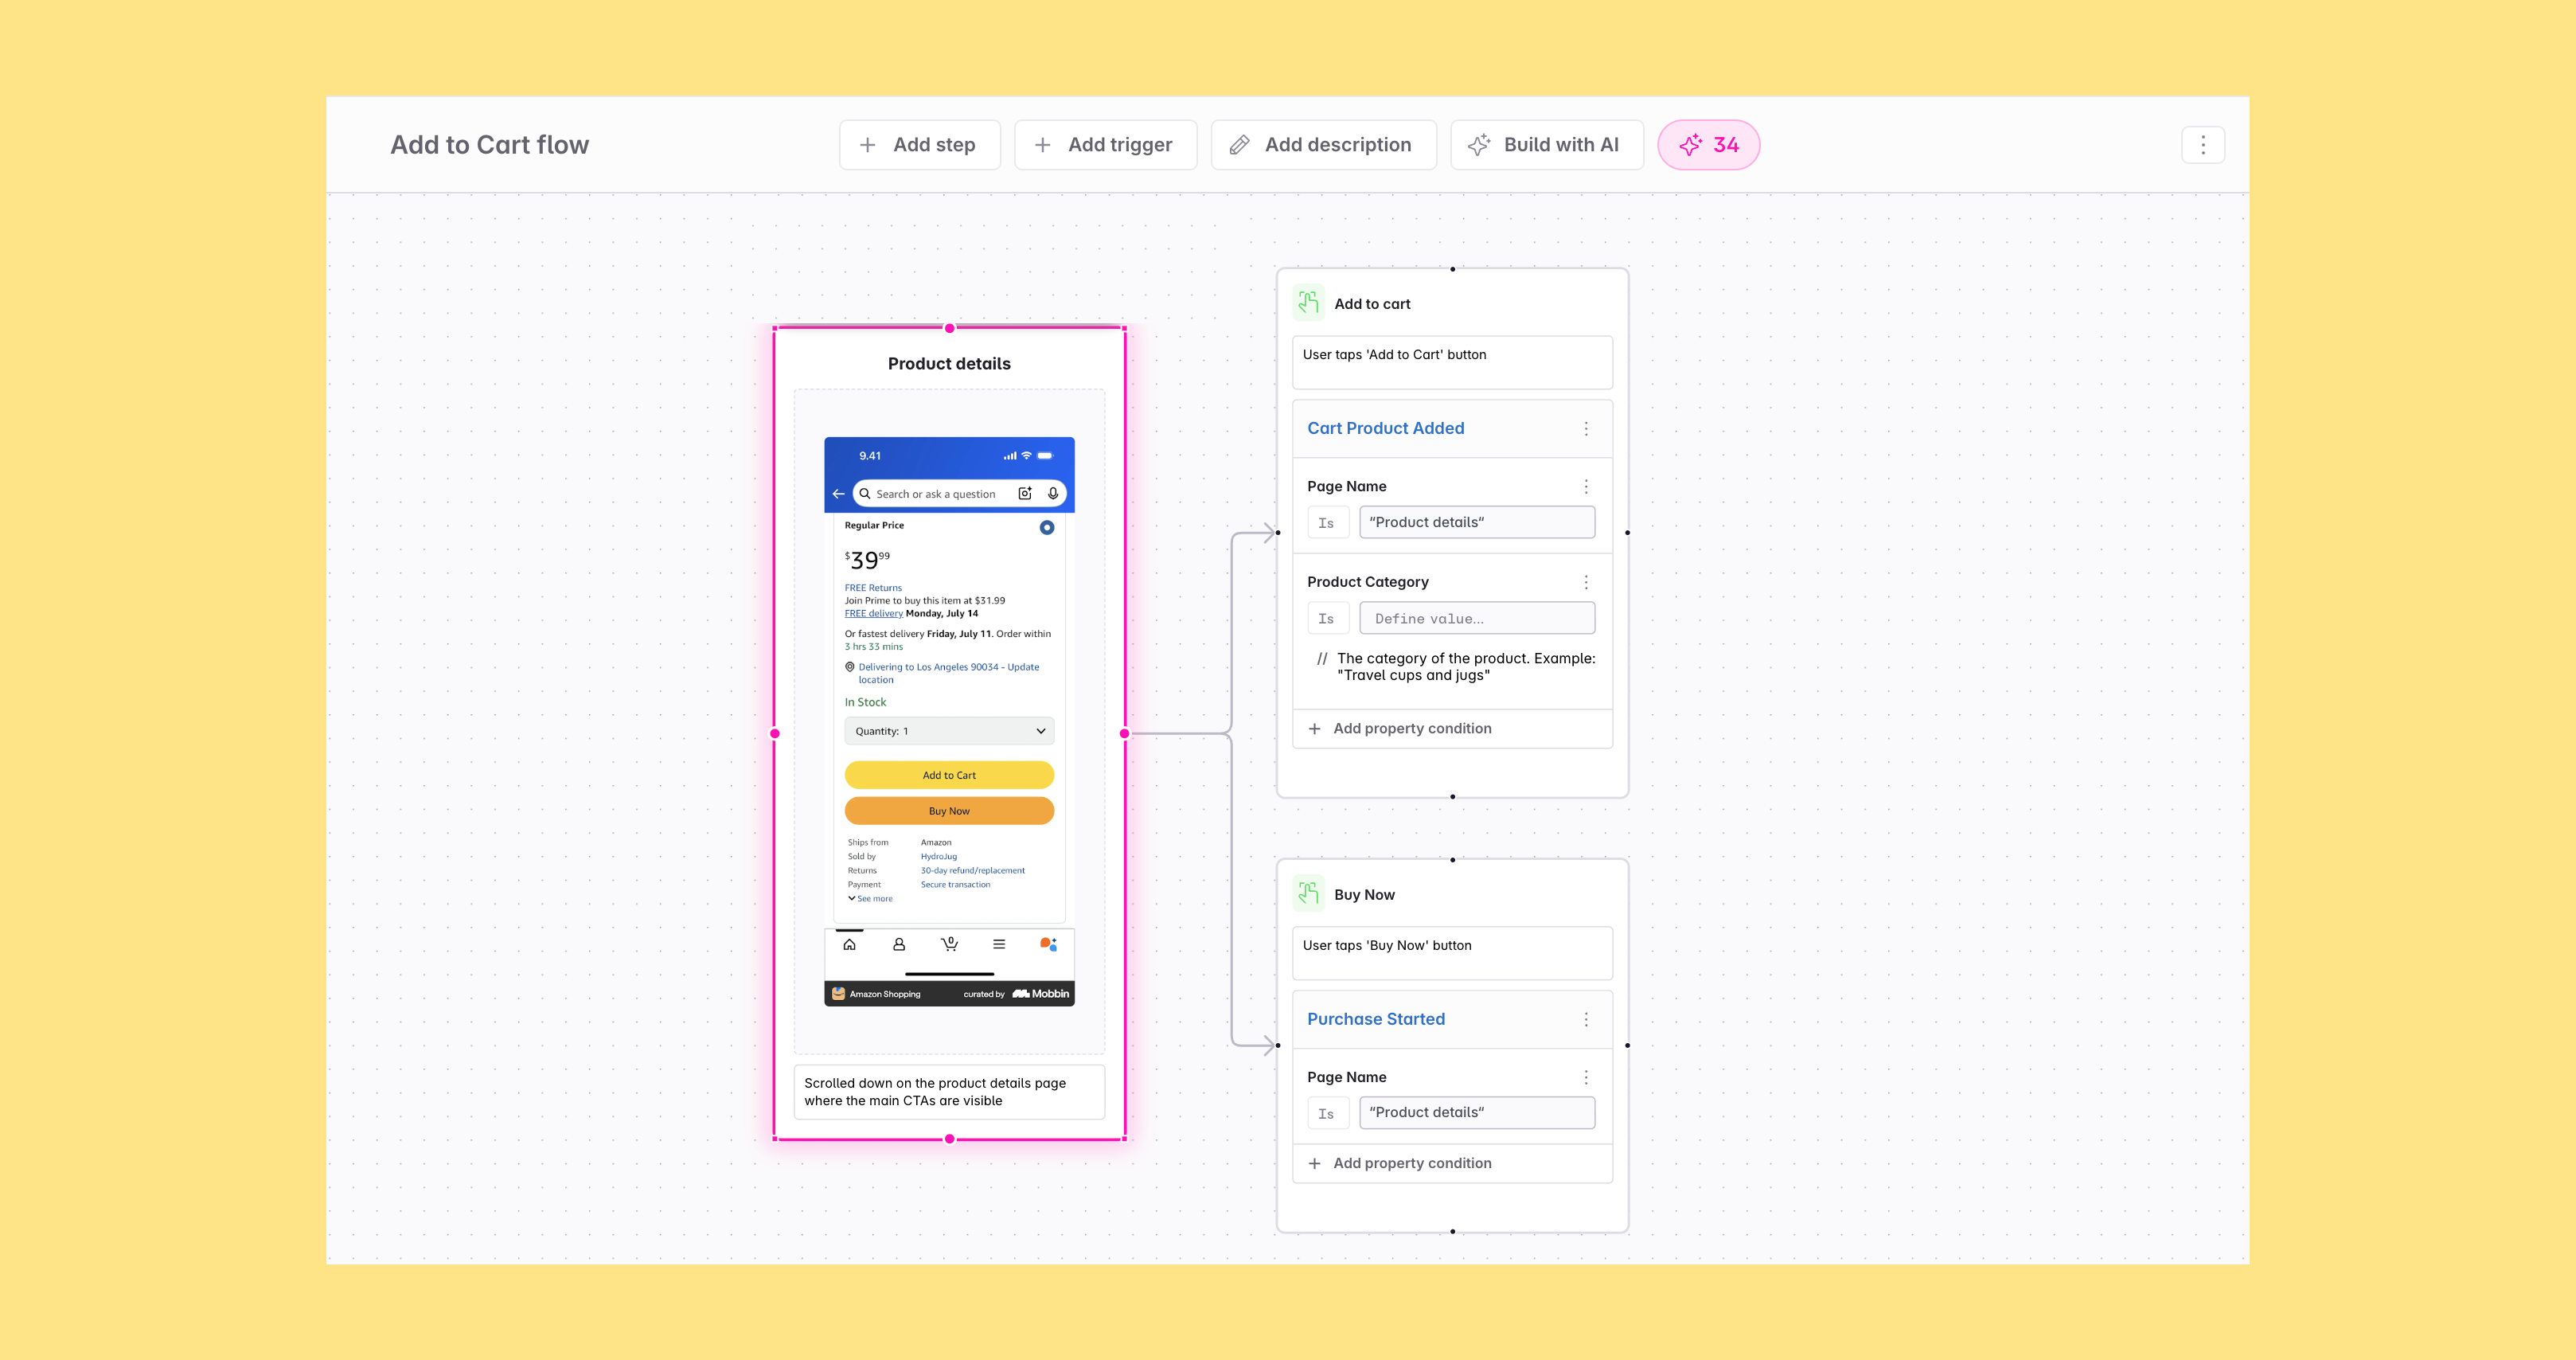
Journey triggers are the same as [event triggers](https://www.avo.app/docs/data-design/guides/event-triggers.md) except they also connect to journeys, not only events and variants. Journey triggers can have more than one image attached to a single trigger, while event triggers attach to a single image. See more in [Triggers and use cases](https://www.avo.app/docs/data-design/guides/event-triggers.md).
#### Journey trigger building blocks
A journey trigger is composed of the following:
- Journey trigger name: Generally something human readable and descriptive for the related action, referring to the image from the journey step, like "Clicked Add to Cart"
- Journey trigger description: A description of the action, referring to the image from the journey step, like "User clicked the add to cart button on the product details page to add a product to their cart"
- Journey trigger image: An optional image from the [connected](https://www.avo.app/docs/data-design/avo-tracking-plan/journeys.md#connections) [journey step(s)](https://www.avo.app/docs/data-design/avo-tracking-plan/journeys.md#journey-steps) that represent the action, like a screenshot of the screen where the button was clicked
- Event: The [event](https://www.avo.app/docs/data-design/avo-tracking-plan/events.md) or [event variant](https://www.avo.app/docs/data-design/avo-tracking-plan/event-variants.md) that is triggered by the action described by the trigger
- [Property condition](https://www.avo.app/docs/data-design/avo-tracking-plan/journeys.md#event-trigger-property-condition): an optional condition for each event connected to the trigger, highlighting the properties that are important or have specific values that should be sent in that scenario
The journey trigger is automatically added to the event details, with the image from the journey step.
AI agents connected through the [Avo MCP](https://www.avo.app/docs/reference/avo-mcp/overview.md) see this context too: looking up an event returns each of its triggers with the screen, the connected event, and the property conditions. See [Trigger context on events](https://www.avo.app/docs/reference/avo-mcp/tools.md#trigger-context-on-events). Agents can also read the journey itself: `search` lists the journeys on a branch and `get` walks one screen by screen, with the triggers, connected events, and property conditions on each. See [Journey graph](https://www.avo.app/docs/reference/avo-mcp/tools.md#journey-graph).
#### Adding journey triggers
There are several ways to add a journey trigger:
- **Drag from toolbar**: Drag the trigger icon from the toolbar at the top of the journey builder and drop it onto the canvas
- **Trigger mode**: Press `t` to activate trigger mode, then click anywhere on the canvas to place a trigger node
- **Drag from handle**: Drag from a journey step handle or [annotation](#image-annotations) handle and release on the canvas to drop a new trigger that is automatically connected
- **Placeholder trigger**: For the first trigger on each journey step, a placeholder trigger is shown where you can choose to generate a trigger with AI or add one manually
- **AI generation**: Use the AI menu above a journey step or in the journey toolbar to generate triggers
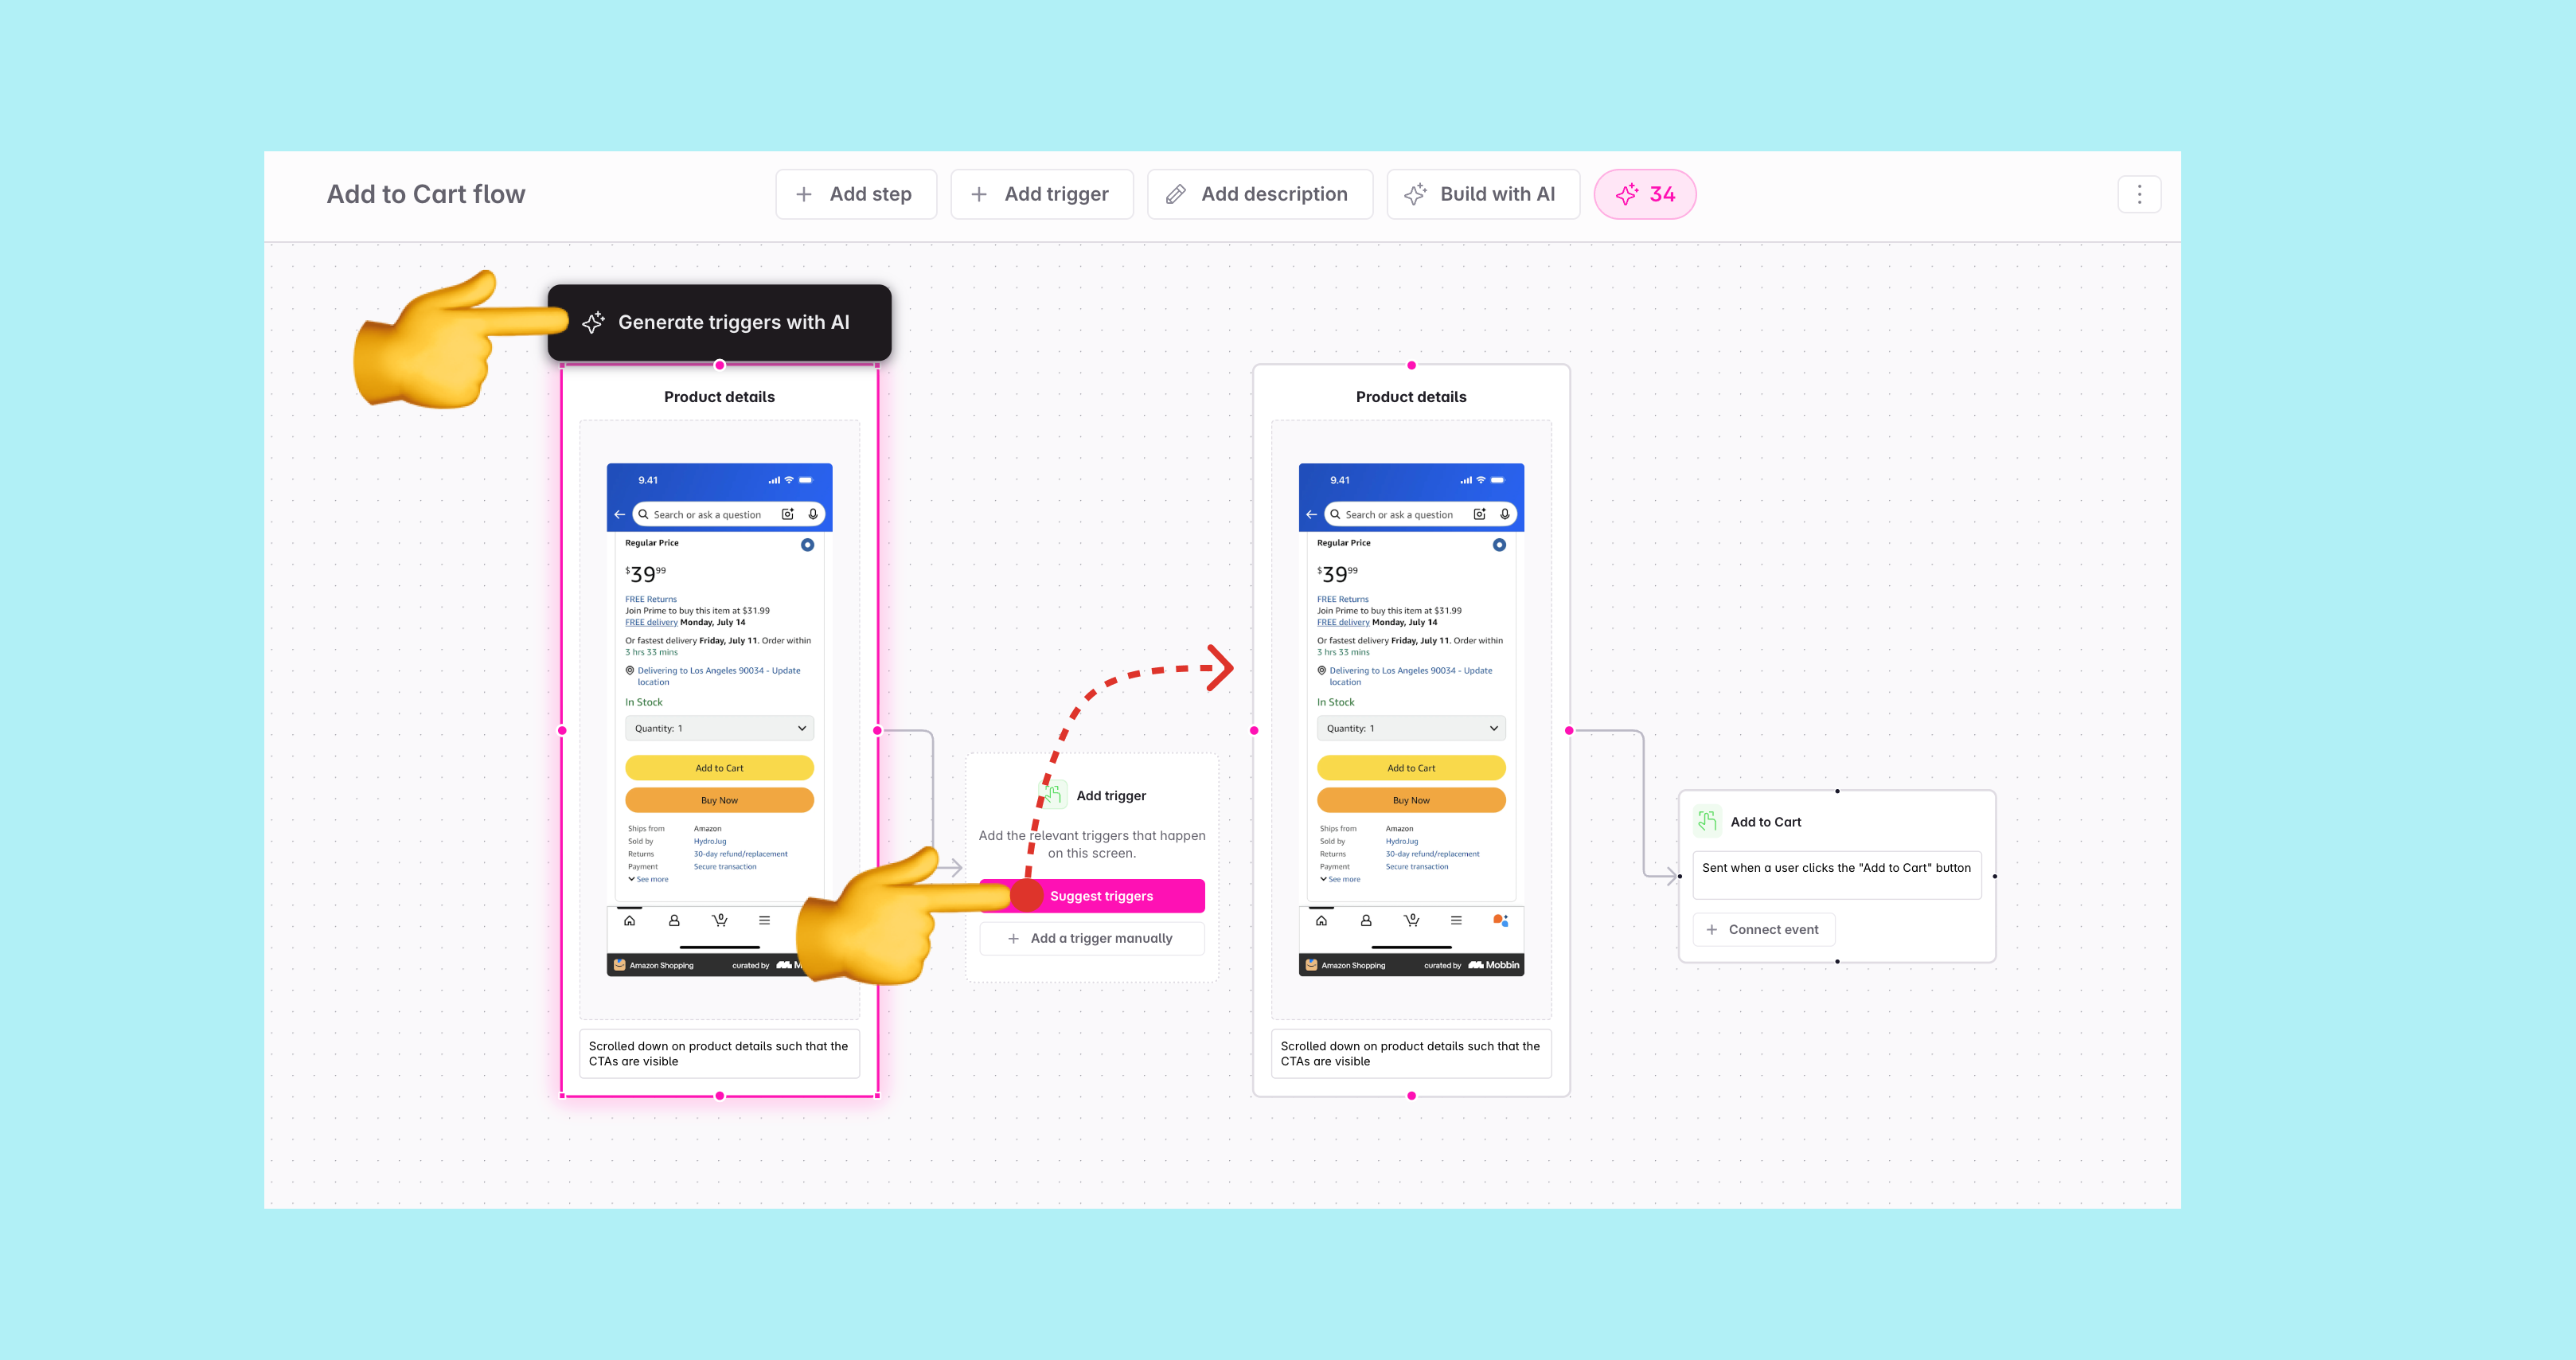
For a full walkthrough of building journeys on the canvas, see [Creating a journey](#creating-a-journey). Learn more about pricing for AI actions in [Agentic data design](https://www.avo.app/docs/data-design/guides/agentic-data-design.md).
### Journey trigger property conditions
A journey trigger property condition is an optional condition for each [event](https://www.avo.app/docs/data-design/avo-tracking-plan/events.md) or [event variant](https://www.avo.app/docs/data-design/avo-tracking-plan/event-variants.md) connected to the trigger, highlighting the properties that are important or have specific values that should be sent in that scenario.

#### Property condition building blocks
A property condition is composed of the following details:
- [Property](https://www.avo.app/docs/data-design/avo-tracking-plan/journeys.md#properties-in-property-conditions): The property that the condition is for
- [Operator](https://www.avo.app/docs/data-design/avo-tracking-plan/journeys.md#property-conditions-operators): The operator defining the condition that the property should meet
- [Value](https://www.avo.app/docs/data-design/avo-tracking-plan/journeys.md#property-conditions-values): The value that the property should meet in this trigger for this journey step
- [Property condition note](https://www.avo.app/docs/data-design/avo-tracking-plan/journeys.md#property-conditions-notes): An optional note for the property condition, with context about the property and the condition
##### Properties in property conditions
For each event or variant in a trigger, you can add properties to define the property condition. When you click "Add property condition" in the journey trigger details you get a list of the following options:
- **Existing properties on the event**: That means you pick a property from the list of properties that have already been added to the event or variant to highlight and add a condition for it
- **Existing properties not yet added to the event**: That means you pick a property from the list of properties in the tracking plan that have not yet been added to the event or variant and add it to the event or variant
- **New properties**: That means you can create a new property to both the tracking plan and the event or variant
###### Nested property conditions
Property conditions also support nested properties — properties inside object-type properties. For example, an `Add to Cart` event might have an object-type property called `Product`, which contains a nested object property `Characteristics` with child properties like `Color`, `Size`, and `Brand`. You can add conditions to any of these nested properties.
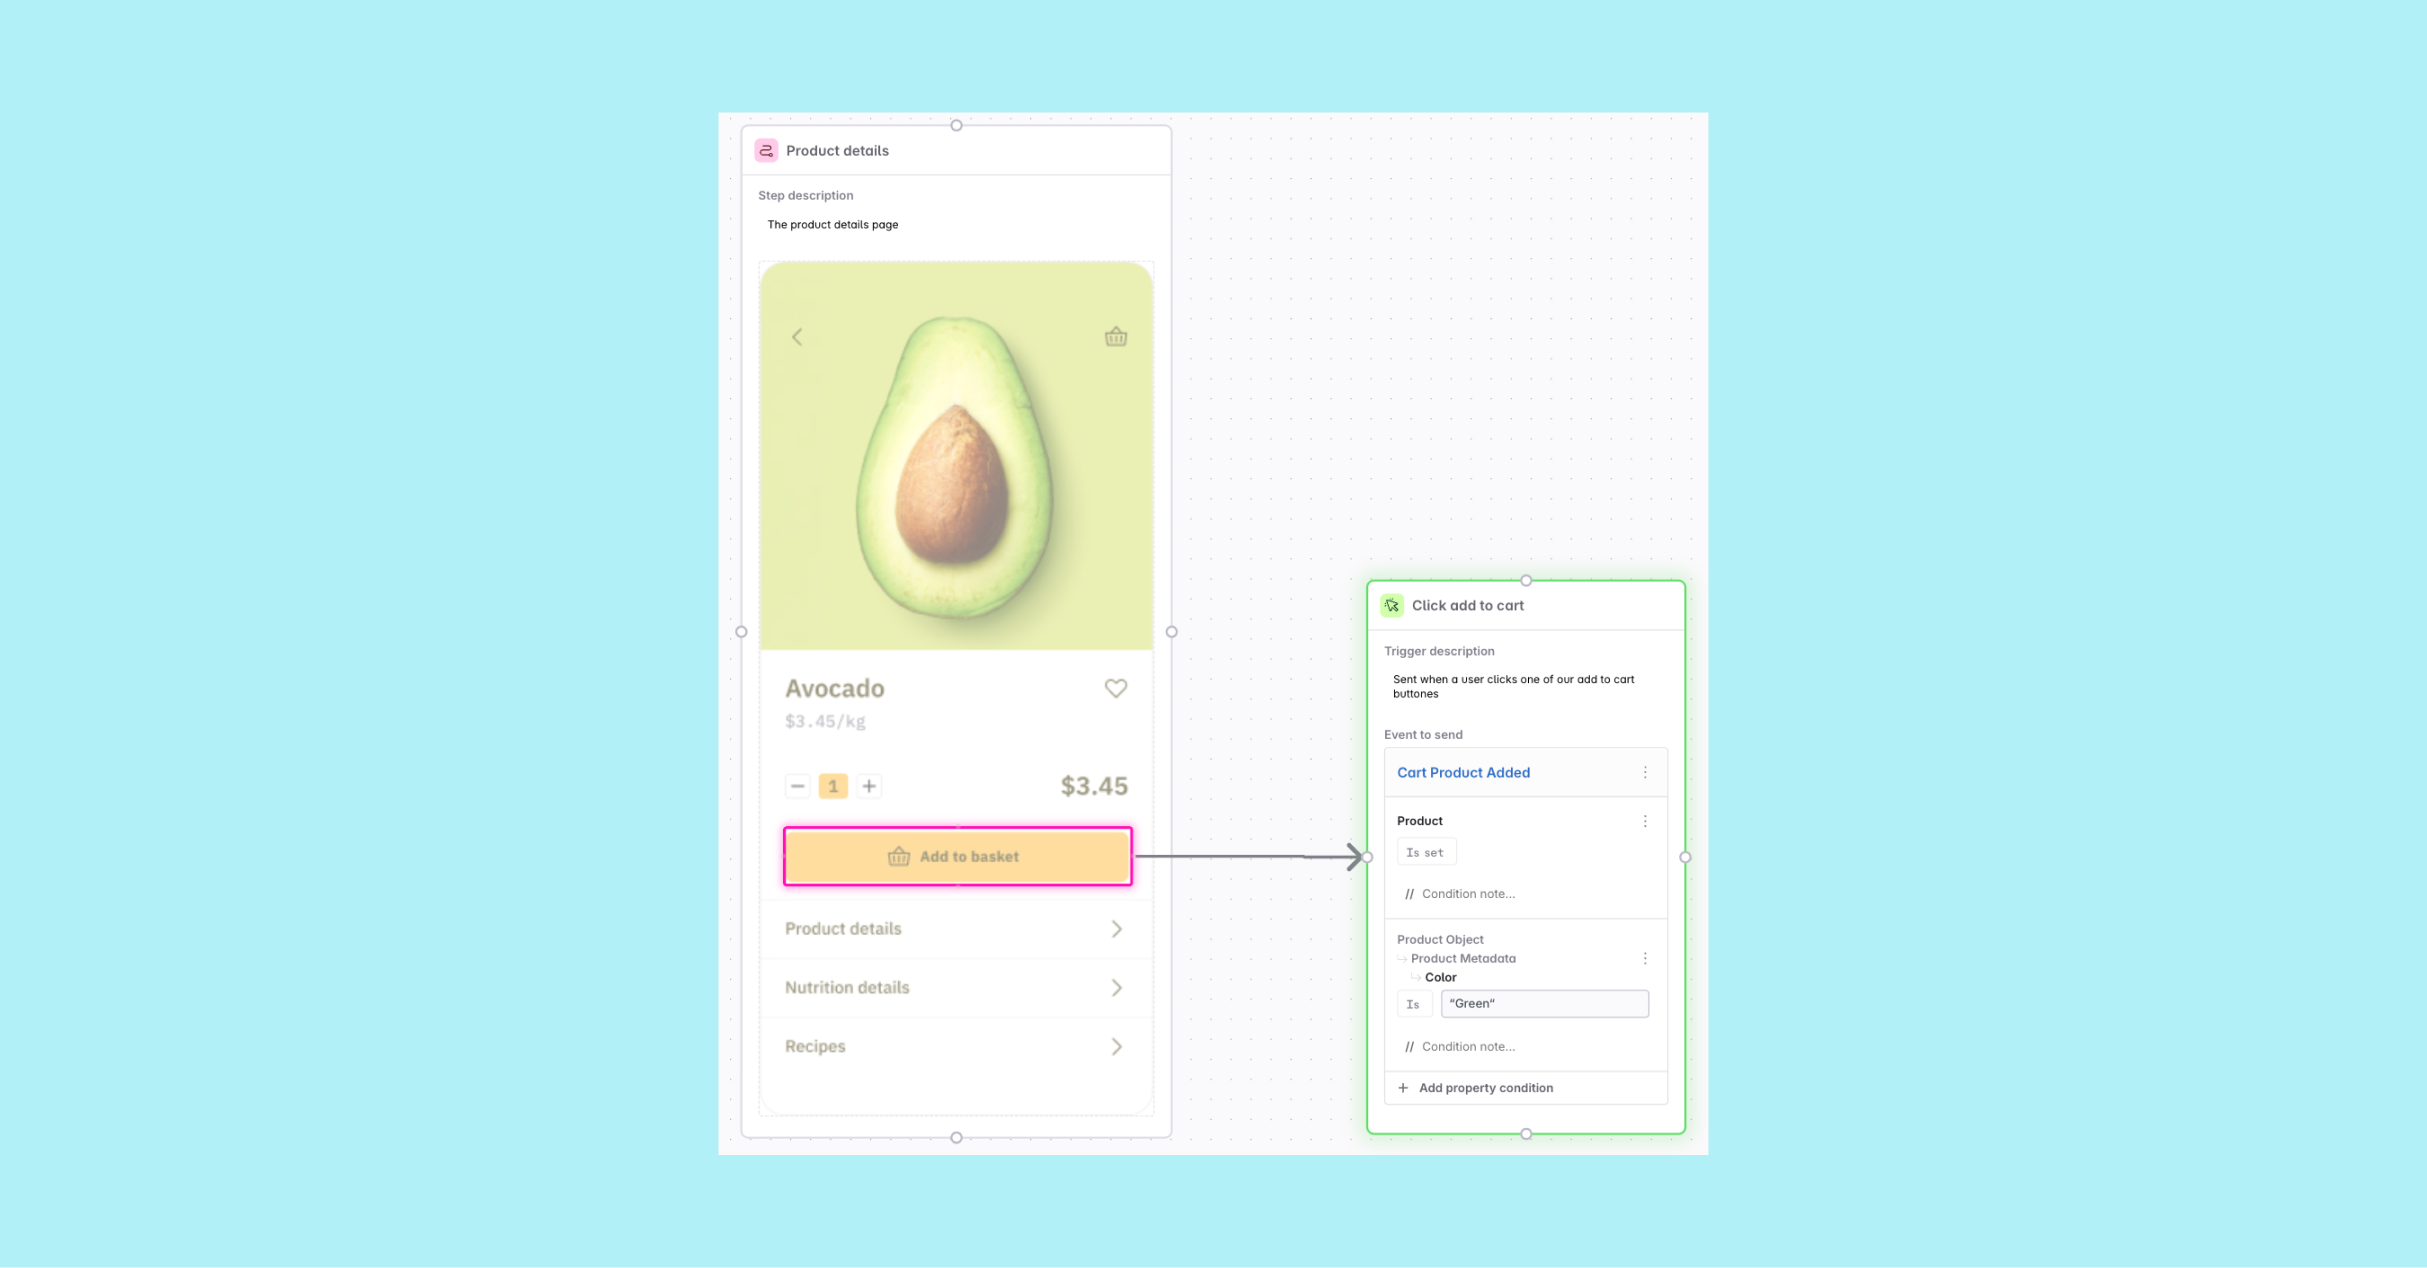
In the property condition picker, object-type properties are included just like other properties. You can search for the name of the child property that you want to add a condition for, see which parent property or properties it belongs to, and add a condition for it. The nested property path is displayed in the condition to show the full hierarchy.
All four condition operators work on nested properties: **is**, **is not**, **is set**, and **is not set**.
Conditions on nested properties work independently from conditions on their parent properties — you can set conditions on both a parent object property and its nested children. Pinned values from parent properties are respected when resolving available values for nested properties.
##### Property condition operators
Available operators for string and boolean properties are:
- **is**: The property value should be equal to the value(s) specified
- If *(not set)* is selected and the property is [sometimes sent](https://www.avo.app/docs/data-design/avo-tracking-plan/properties.md#configuring-when-properties-are-required-or-optional), then the property continues being sometimes sent. If it should have a value, then it's one of the specified ones.
- If *(not set)* is deselected, then the property is [always sent](https://www.avo.app/docs/data-design/avo-tracking-plan/properties.md#configuring-when-properties-are-required-or-optional) and must have a value.
- **is not**: The property value should not be equal to the value(s) specified
- If *(not set)* is selected and the property is [sometimes sent](https://www.avo.app/docs/data-design/avo-tracking-plan/properties.md#configuring-when-properties-are-required-or-optional), then the property continues being sometimes sent. If it should have a value, then it's not one of the specified ones.
- If *(not set)* is deselected, then the property is [always sent](https://www.avo.app/docs/data-design/avo-tracking-plan/properties.md#configuring-when-properties-are-required-or-optional) and must have a value.
Available operators for all property types are:
- **is set**: The property is [always sent](https://www.avo.app/docs/data-design/avo-tracking-plan/properties.md#configuring-when-properties-are-required-or-optional) on the event and must have a value.
- **is not set**: The property is not allowed on the event and should not have a value. Only available for [sometimes sent](https://www.avo.app/docs/data-design/avo-tracking-plan/properties.md#configuring-when-properties-are-required-or-optional) properties.
##### Property condition values
You can specify a value for the property condition for string and boolean properties when using the "is" or "is not" operators. When there are allowed values defined for the property, you can pick one of the current allowed values or create a new allowed value. If a new value is created, it will be added to the property as an allowed value.
When there are no allowed values defined for the string property, you can enter a custom value. If a new value is entered, it will only be used for the property condition and not added to the property as an allowed value.
##### Property condition notes
Click the three dots next to the property name to add an optional note for the property condition. You can for example add an example value, a pattern the value should match or document a variable the condition should reference.
This is useful to provide additional context for tracking plan viewers and implementers about the property and the condition.
#### Adding property conditions
To add a property condition to a journey trigger:
1. Click the "Add Property Condition" button in the journey trigger node in the journey builder or journey trigger details.
2. Select the [property](https://www.avo.app/docs/data-design/avo-tracking-plan/journeys.md#properties-in-property-conditions) or [nested object property](https://www.avo.app/docs/data-design/avo-tracking-plan/journeys.md#nested-property-conditions) you want to add a condition for
3. Select the [operator](https://www.avo.app/docs/data-design/avo-tracking-plan/journeys.md#property-condition-operators) you want to use for the condition
4. If applicable, enter the value you want to use for the condition
5. Add an optional note for the property condition
For a full walkthrough of building journeys on the canvas, see [Creating a journey](#creating-a-journey).
### Image annotations
Image annotations allow you to mark specific areas within a journey step image and connect those annotations directly to triggers. This is useful when you want to precisely indicate where in the UI a trigger occurs.
#### Activating trigger mode
To annotate images, activate trigger mode by pressing `t` on your keyboard. When trigger mode is active:
- **Hovering over an image**: A crosshair cursor appears, allowing you to create annotations
- **Over the journey builder grid**: You can drop a trigger node directly onto the canvas
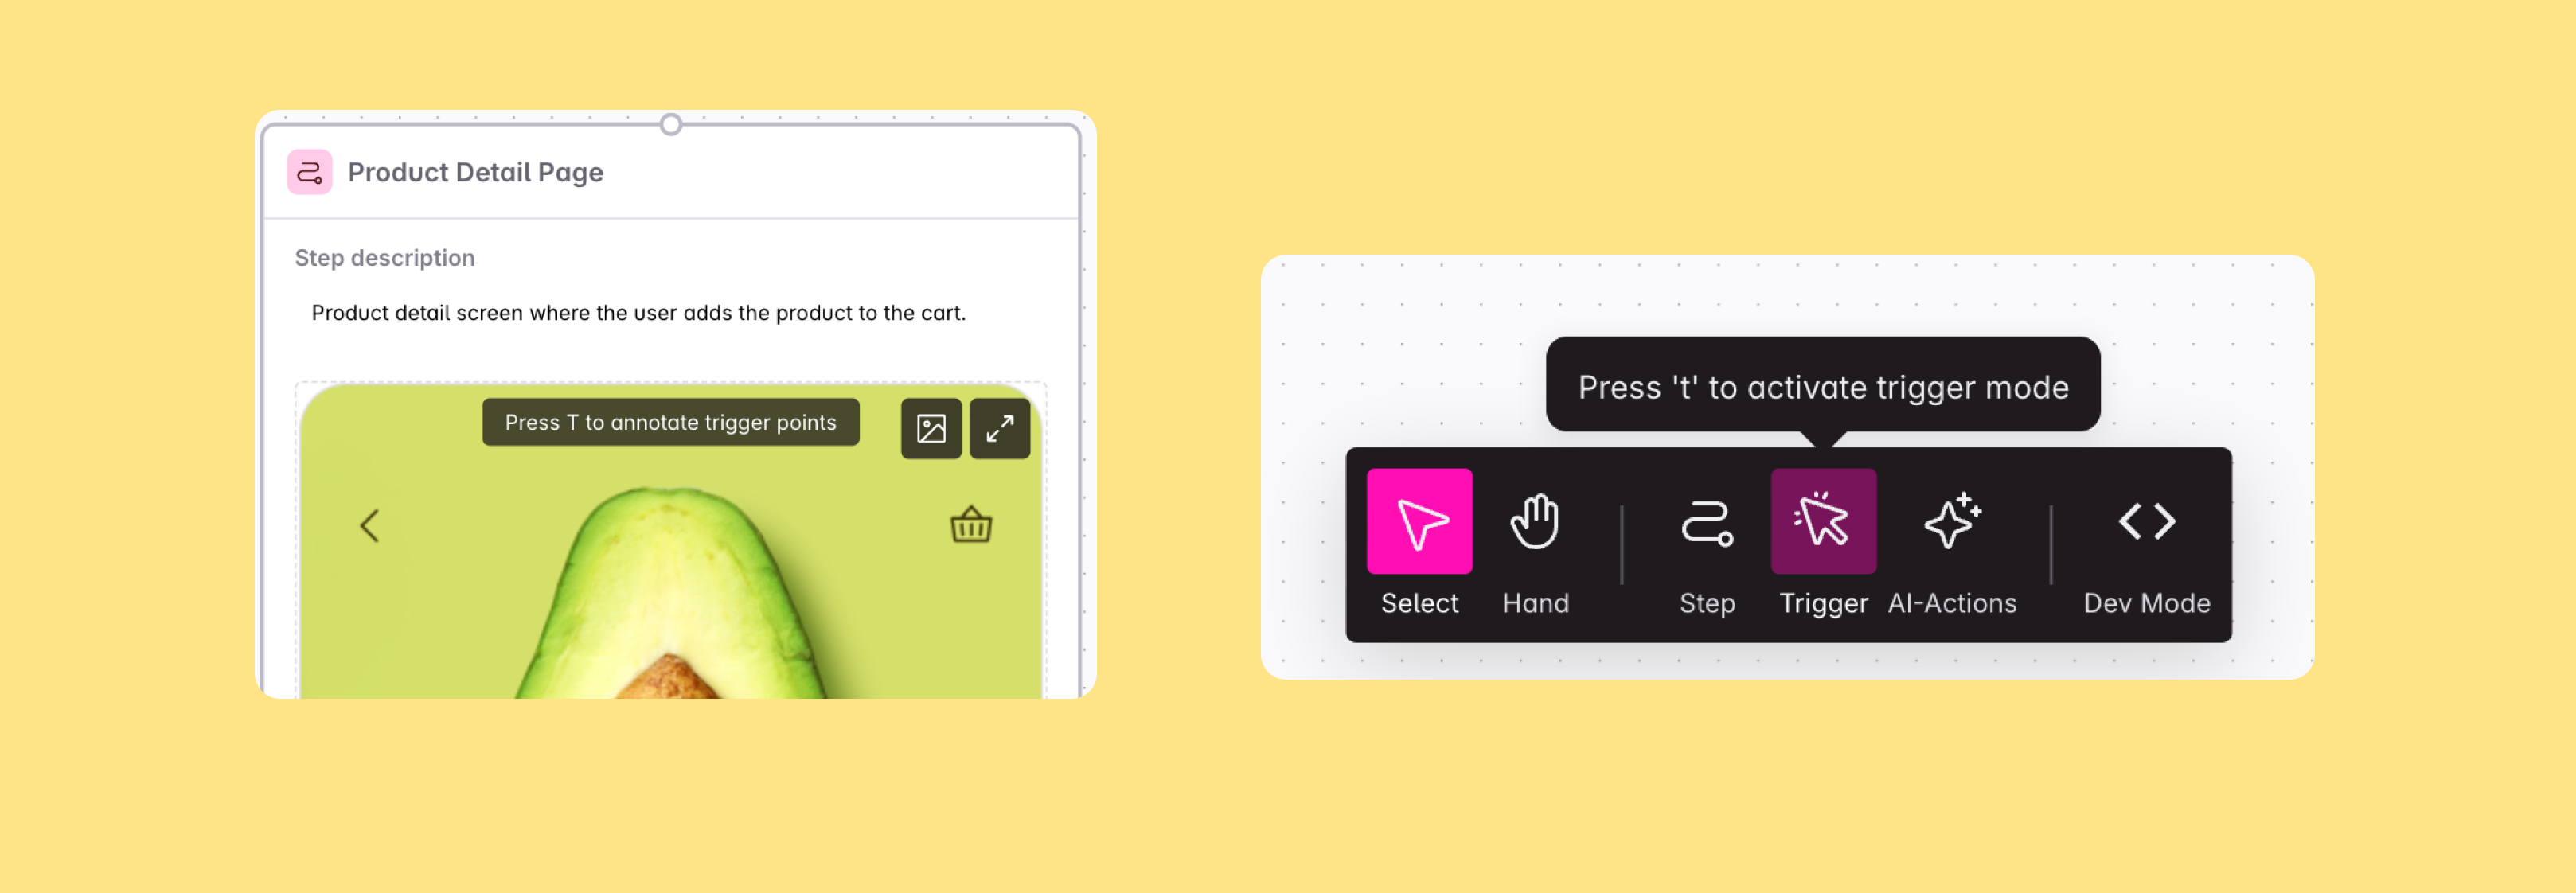
#### Creating annotations
There are two types of annotations you can create:
- **Dot annotation (click)**: Click on the image to create a dot annotation. The dot can be connected from its right side. This is useful when annotating small elements like buttons or icons.
- **Rectangle annotation (click and drag)**: Click and drag on the image to create a rectangle annotation. The rectangle can be resized and connected from any side. This is useful when annotating larger areas like carousels, swimlanes, or content sections.
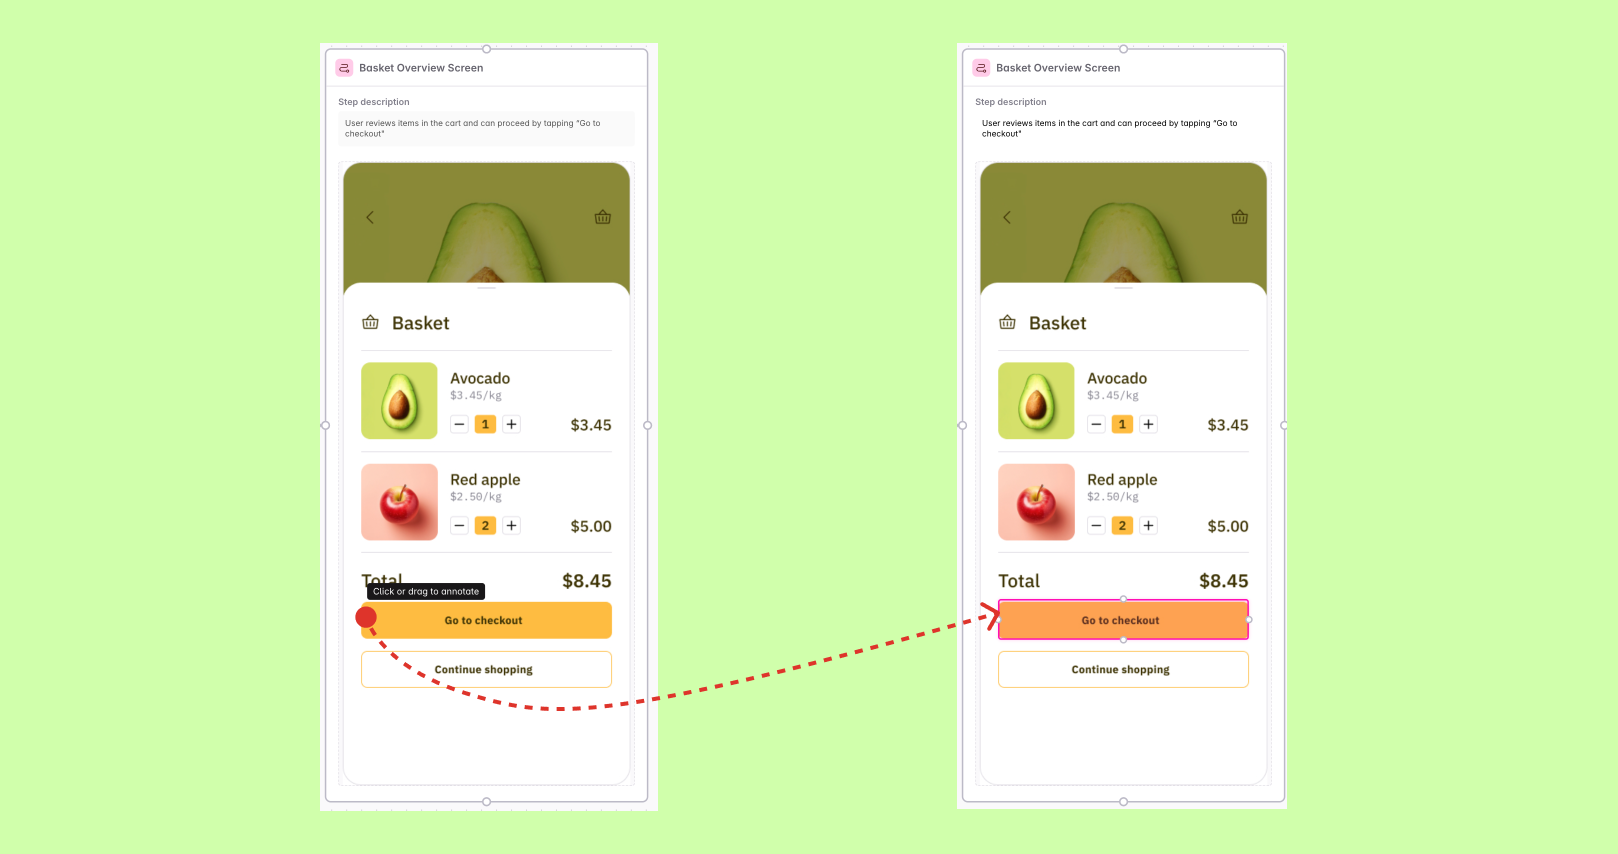
#### Nested annotations
You can add annotations within other annotations. For example, if you have a swimlane that can be swiped, you can create a rectangle annotation around the entire swimlane and then add dot annotations for individual cards inside the swimlane. This allows you to represent both the container-level interaction (swiping the swimlane) and the item-level interactions (tapping individual cards).
#### Creating triggers from annotations
There are two ways to create triggers from annotations:
1. **Drag from annotation handle**: Drag from an annotation handle and release over the journey builder grid to drop a new trigger node. The trigger will automatically be connected to the annotation.
2. **Connect to an existing trigger**: Click any handle on the annotation and drag it to the handle on any side of an existing trigger.
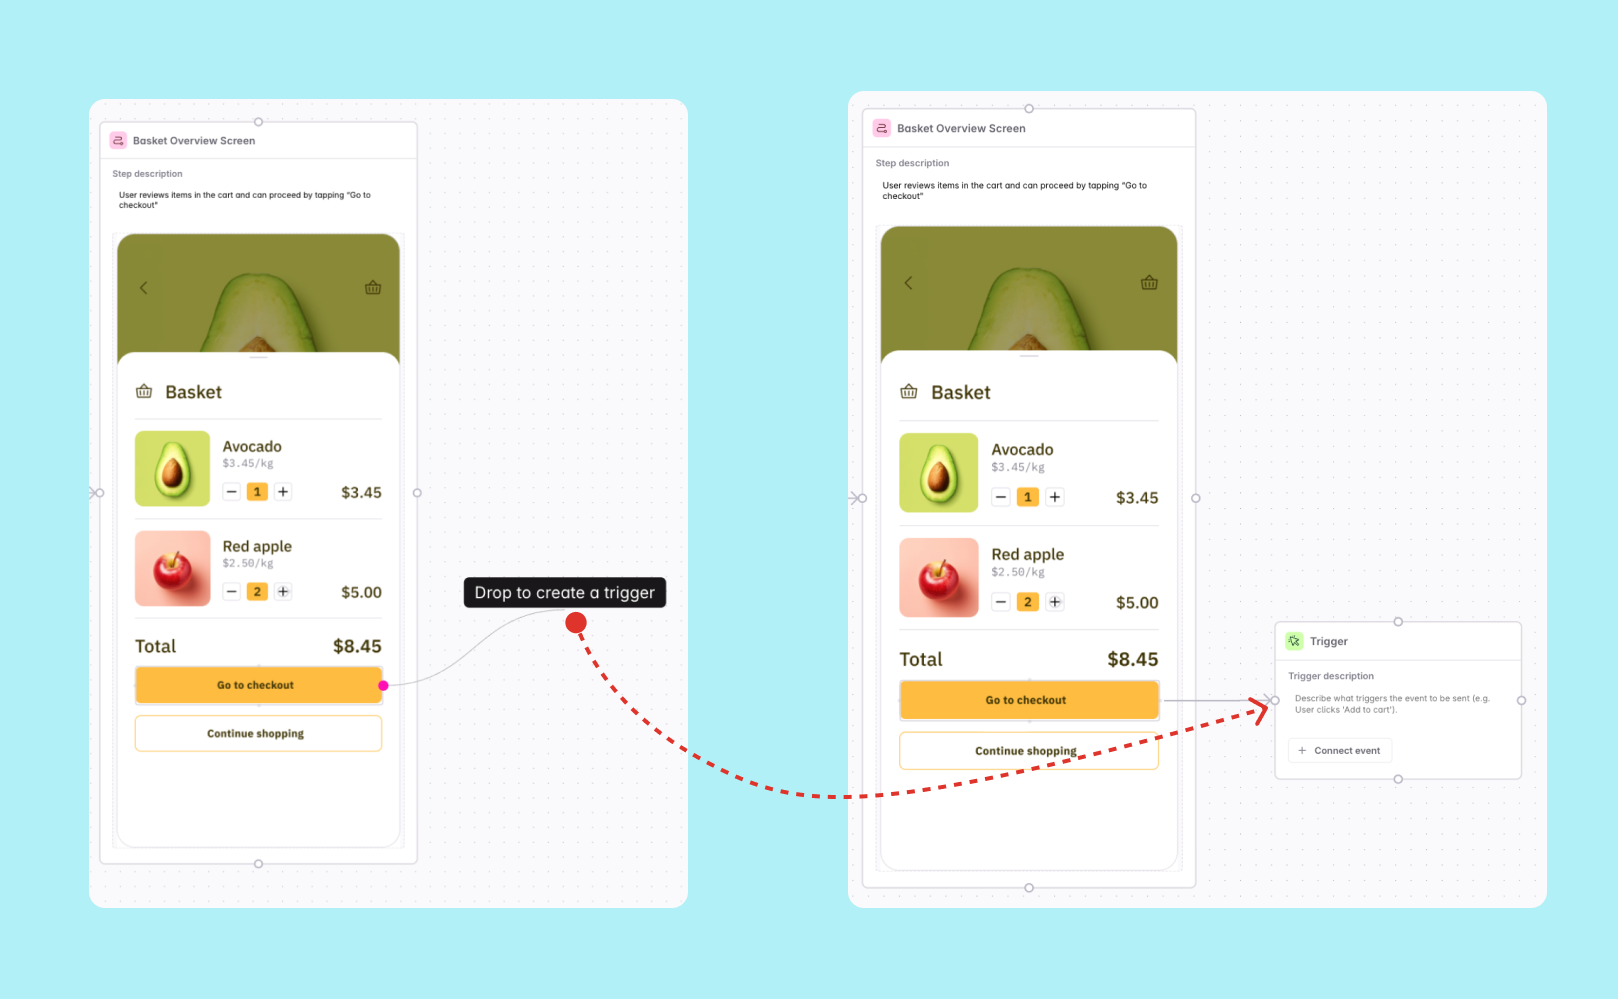
### Connections
Connections link a [journey step](https://www.avo.app/docs/data-design/avo-tracking-plan/journeys.md#journey-steps) to a [journey trigger](https://www.avo.app/docs/data-design/avo-tracking-plan/journeys.md#journey-triggers). There are two ways to connect journey steps and triggers:
1. **From journey step edge to trigger edge**: Click the handle on either side of the journey step and drag it to a handle on either side of the trigger. This connects the entire journey step image to the trigger.
2. **From image annotation to trigger edge**: Add an [annotation](https://www.avo.app/docs/data-design/avo-tracking-plan/journeys.md#image-annotations) to a specific area of the journey step image, then connect the annotation handle to a trigger. This is useful when you want to highlight exactly where in the image the action occurs.
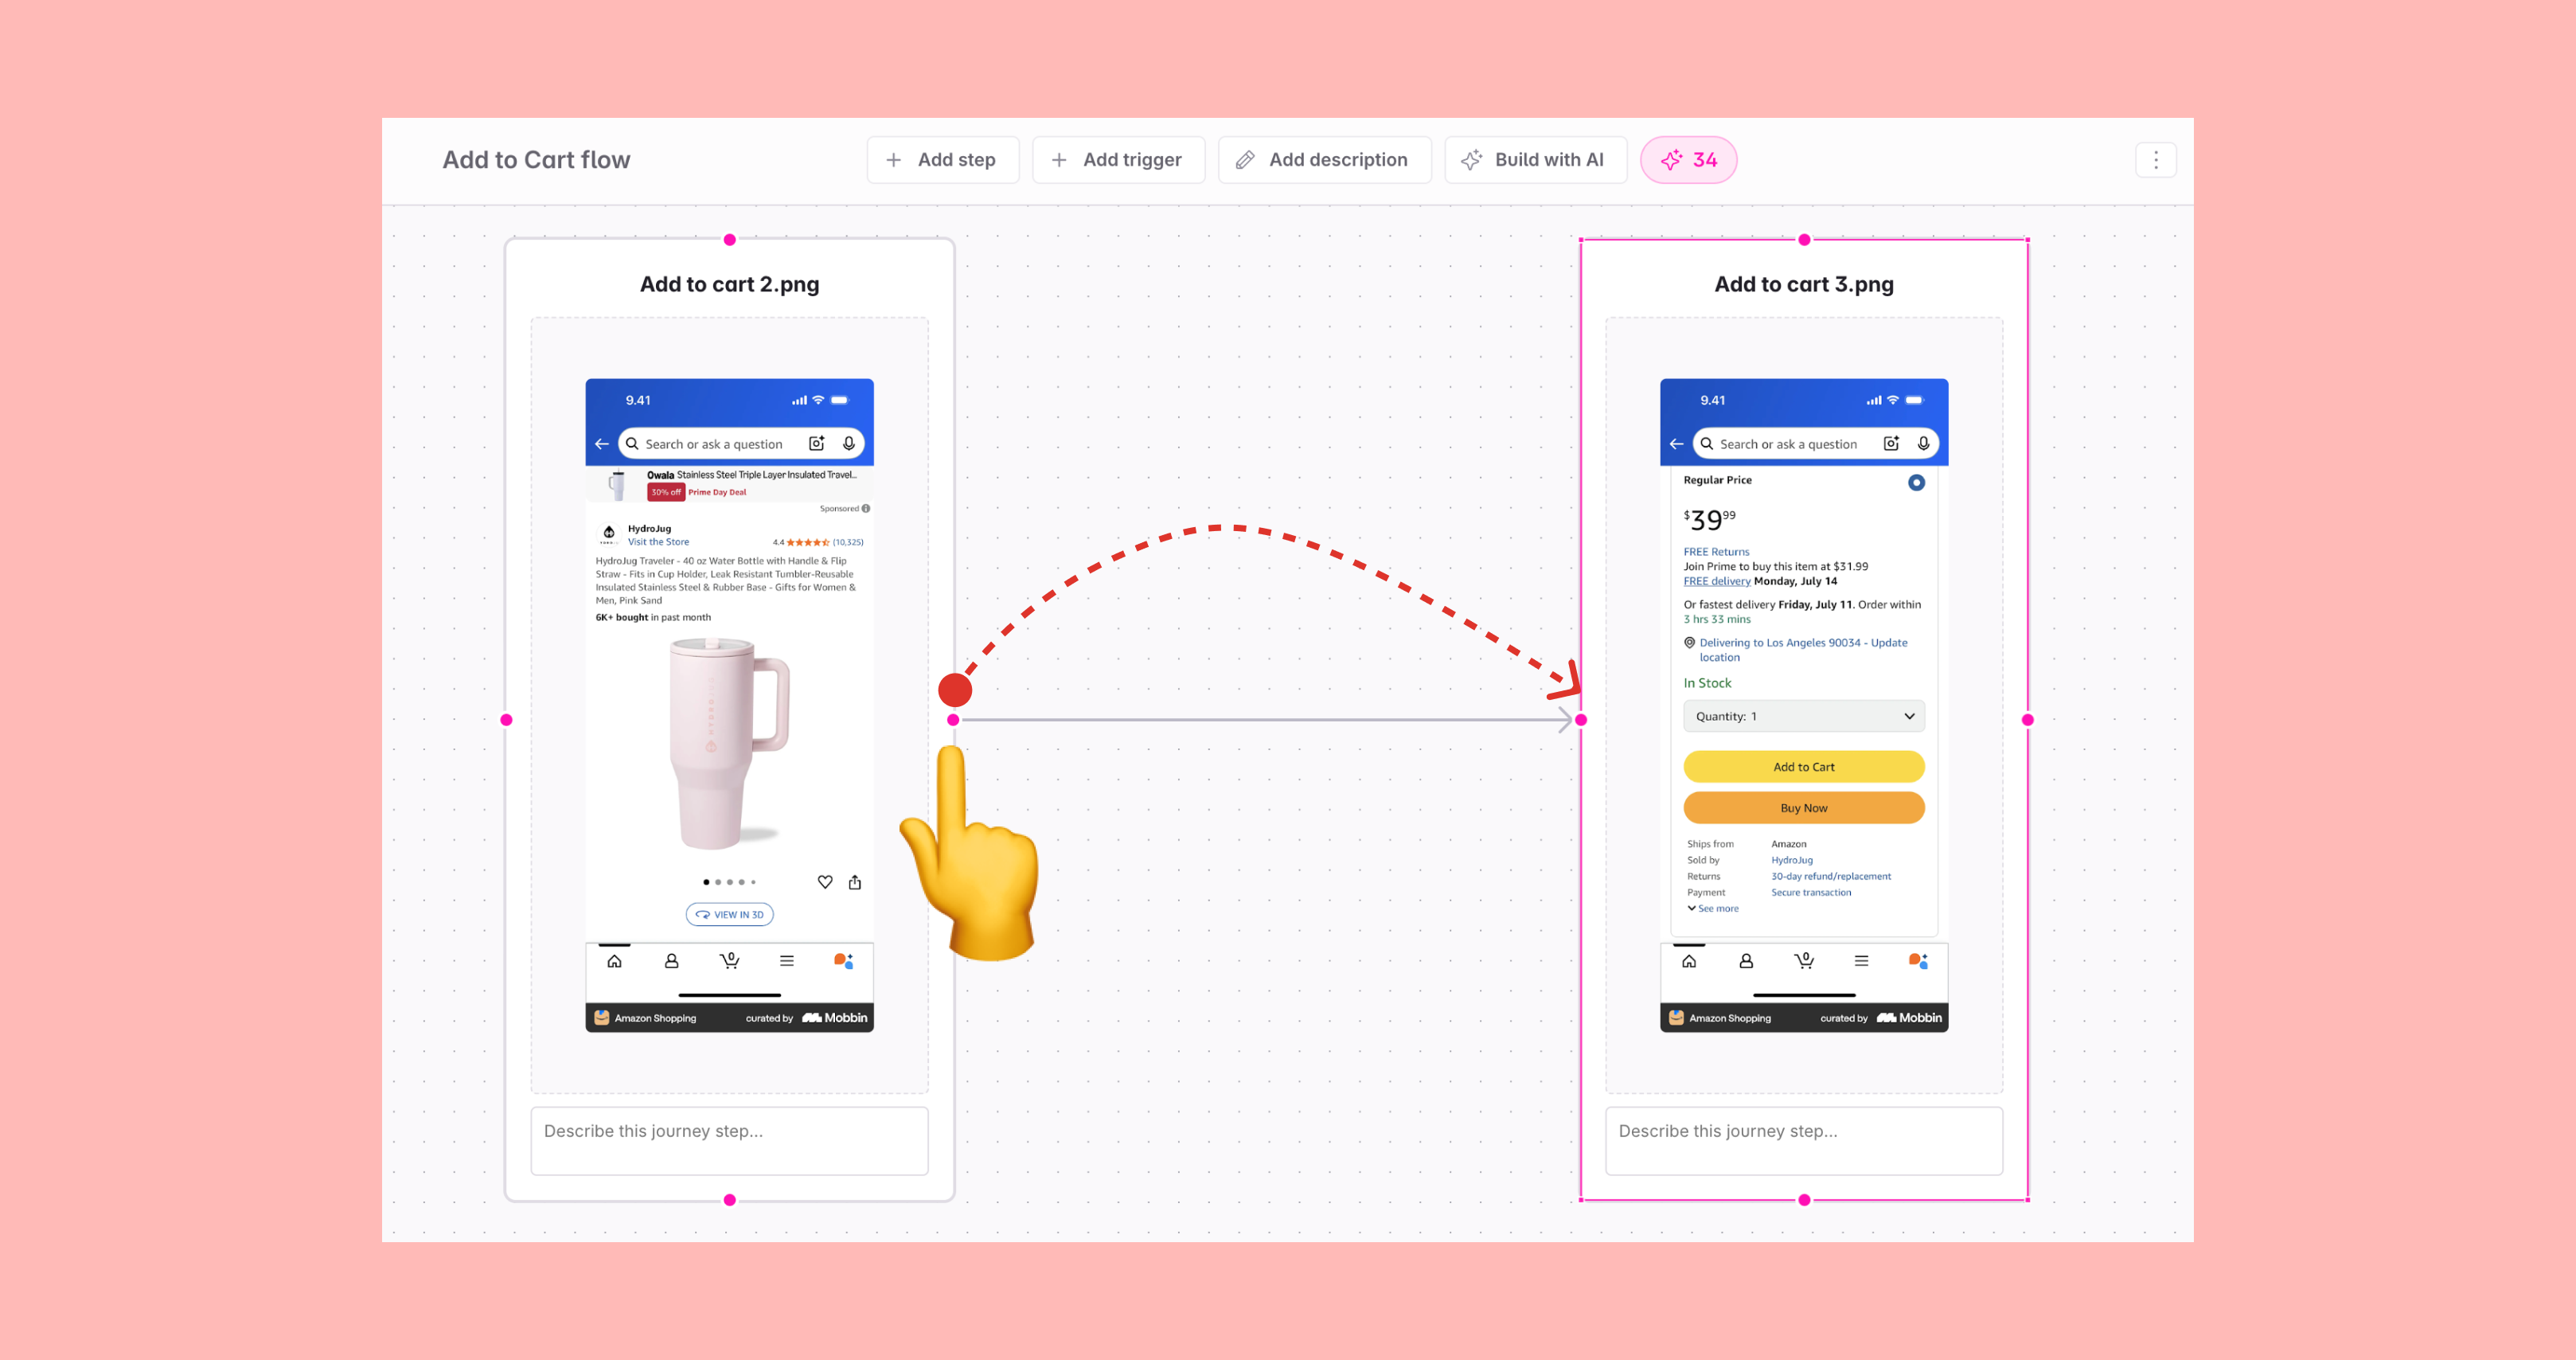
When a journey step and a trigger are connected (either directly or via an annotation), the trigger is associated with the event or variant linked to the journey step. The trigger will be attached to the event in the event details, including the image from the journey step and the trigger name, description, and property conditions from the trigger.
The following connections are possible:
- A connection from a [journey step](https://www.avo.app/docs/data-design/avo-tracking-plan/journeys.md#journey-steps) or [annotation](https://www.avo.app/docs/data-design/avo-tracking-plan/journeys.md#image-annotations) to a [trigger](https://www.avo.app/docs/data-design/avo-tracking-plan/journeys.md#journey-triggers) means that the image from the journey step will be added to the trigger details
- A connection from a [journey step](https://www.avo.app/docs/data-design/avo-tracking-plan/journeys.md#journey-steps) or [annotation](https://www.avo.app/docs/data-design/avo-tracking-plan/journeys.md#image-annotations) to another journey step is purely visual and does not connect the journey step to the event or variant connected to the journey step. Helpful to visualize how a user flows through the journey and to get [relevant triggers](https://www.avo.app/docs/data-design/guides/agentic-data-design.md#generate-journey-triggers) for each journey step based on the next step in the journey.
- A connection from a [trigger](https://www.avo.app/docs/data-design/avo-tracking-plan/journeys.md#journey-triggers) to a [journey step](https://www.avo.app/docs/data-design/avo-tracking-plan/journeys.md#journey-steps) or [annotation](https://www.avo.app/docs/data-design/avo-tracking-plan/journeys.md#image-annotations) is purely visual and does not connect the trigger to the event or variant connected to the journey step. Helpful to describe what user action will lead to the next journey step.
- A connection from a [trigger](https://www.avo.app/docs/data-design/avo-tracking-plan/journeys.md#journey-triggers) to another trigger means that the first trigger will be attached to the connected journey step and the following triggers will have no image attached to them.
Connections help the AI to generate relevant triggers for each journey step based on the subsequent journey step(s). See more about generating triggers with AI and cost in the [Agentic data design](https://www.avo.app/docs/data-design/guides/agentic-data-design.md) documentation.
## Creating and editing journeys
Journeys can be created and edited in the [Journeys view](https://www.avo.app/schemas/default/journeys), accessed by navigating to Journeys in the left sidebar.
### Creating a journey
To create a journey, click the "Create Journey" button in the Journeys view. This opens the journey builder—a canvas with a toolbar at the top. Add nodes for journey steps and triggers by dragging from the toolbar, using keyboard shortcuts (`s` for steps, `t` for triggers), or dragging from handles. Each node has a name and description field and a context menu with AI options to help you build and add details to the journey.
There are many possible ways to build journeys and there is no one-size-fits-all solution. But the following workflow is common and recommended:
1. Add a [name](https://www.avo.app/docs/data-design/avo-tracking-plan/journeys.md#journey-name) and [description](https://www.avo.app/docs/data-design/avo-tracking-plan/journeys.md#journey-description) for the journey
2. Add [journey steps](https://www.avo.app/docs/data-design/avo-tracking-plan/journeys.md#journey-steps) to the canvas using [Import from Figma](#importing-steps-from-figma) to pull frames directly from a design file, or by dragging and dropping images, dragging from the toolbar, or pressing `s` to activate step mode
3. Order the steps to visualize the user journey and [connect](https://www.avo.app/docs/data-design/avo-tracking-plan/journeys.md#connections) them to each other so AI can [generate relevant triggers](https://www.avo.app/docs/data-design/guides/agentic-data-design.md#generate-triggers) for each step
4. Fill in the details for each [journey step](https://www.avo.app/docs/data-design/avo-tracking-plan/journeys.md#journey-steps), one-by-one:
- Add a [name](https://www.avo.app/docs/data-design/avo-tracking-plan/journeys.md#journey-name) and [description](https://www.avo.app/docs/data-design/avo-tracking-plan/journeys.md#journey-description) for the journey step
- If you are going to add an image and didn't drag-and-drop directly into the canvas, add one by clicking the placeholder image or drag-and-drop an image from your computer
- Add [annotations](https://www.avo.app/docs/data-design/avo-tracking-plan/journeys.md#image-annotations) to highlight specific areas of the image—press `t` to activate trigger mode, then click for dots or click and drag for rectangles
5. Add [triggers](https://www.avo.app/docs/data-design/avo-tracking-plan/journeys.md#journey-triggers) for each user action. You can:
- Drag from an annotation or journey step handle to create a connected trigger
- Use the placeholder trigger to [generate with AI](https://www.avo.app/docs/data-design/guides/agentic-data-design.md#generate-triggers) or add manually
- Press `t` and click on the canvas, or drag from the toolbar
6. Fill in the details for each trigger, one-by-one:
- Add a [name](https://www.avo.app/docs/data-design/avo-tracking-plan/journeys.md#journey-triggers) and [description](https://www.avo.app/docs/data-design/avo-tracking-plan/journeys.md#journey-triggers) for the trigger
- [Connect](https://www.avo.app/docs/data-design/avo-tracking-plan/journeys.md#connections) the trigger to an [event](https://www.avo.app/docs/data-design/avo-tracking-plan/events.md) or [event variant](https://www.avo.app/docs/data-design/avo-tracking-plan/event-variants.md), either using the [AI menu](https://www.avo.app/docs/data-design/guides/agentic-data-design.md#connect-events-and-variants) or manually using the "Connect event/variant" button
- Add [property conditions](https://www.avo.app/docs/data-design/avo-tracking-plan/journeys.md#journey-trigger-property-conditions) to highlight properties that are important or have specific values for that scenario
[▶ Watch video](https://www.avo.app/docs/images/journeys/journey-creation.mp4)
All edits are saved automatically as you make them. Once you are done, we recommend getting a review from your teammates and any [impacted stakeholders](https://www.avo.app/docs/data-design/guides/managing-changes-impacting-multiple-stakeholders.md). The Journeys view is also a great place to review and use as a guideline for implementation.
### Editing a journey
To edit a journey, you can select a journey in the [journeys overview](https://www.avo.app/docs/data-design/avo-tracking-plan/journeys.md#journeys-overview) and that opens the journey builder with that journey.
There you can edit all the details of the journey, including the [name](https://www.avo.app/docs/data-design/avo-tracking-plan/journeys.md#journey-name) and [description](https://www.avo.app/docs/data-design/avo-tracking-plan/journeys.md#journey-description), the [journey steps](https://www.avo.app/docs/data-design/avo-tracking-plan/journeys.md#journey-steps) and [triggers](https://www.avo.app/docs/data-design/avo-tracking-plan/journeys.md#journey-triggers), and the [connections](https://www.avo.app/docs/data-design/avo-tracking-plan/journeys.md#connections) between them.
All edits are saved automatically as you make them. Once you are done, we recommend getting a review from your teammates and any [impacted stakeholders](https://www.avo.app/docs/data-design/guides/managing-changes-impacting-multiple-stakeholders.md). There is a "View changes" button in the journey builder that opens a tracking plan changes slide-over that shows the changes you made to the journey. The journey visualizes the current state of the journey after the changes made.
### Keyboard actions
The journey builder supports keyboard shortcuts to speed up your workflow:
| Action | Mac | Windows |
| ------ | --- | ------- |
| Activate step mode | S | S |
| Activate trigger mode | T | T |
| Copy selected step(s) or trigger(s) | ⌘ + C | Ctrl + C |
| Paste step(s) or trigger(s) | ⌘ + V | Ctrl + V |
| Undo | ⌘ + Z | Ctrl + Z |
| Redo | ⌘ + Shift + Z | Ctrl + Shift + Z |
**Step mode** activates step mode. When active, a ghost step node is shown with your cursor and you can click anywhere on the grid to drop it. To exit step mode, press `esc`
**Trigger mode** activates annotation capabilities. When active, hover over an image to see a crosshair cursor for creating [annotations](https://www.avo.app/docs/data-design/avo-tracking-plan/journeys.md#image-annotations), or hover over the canvas to drop trigger nodes. Press `esc` to exit trigger mode.
**Copy and paste** works for both journey steps and triggers, one at a time. Select a journey step or trigger node on the canvas, copy it, move your cursor to the desired location and paste to duplicate. This is useful when you need to create similar steps or triggers across your journey.
**Undo and redo** let you quickly reverse or reapply changes as you build your journey, making it easy to experiment with different layouts and configurations. Undo is available for adding, moving and removing nodes (journey steps and triggers) and connections between them.
### Deleting a journey
To delete a journey, you can click the triple-dot for the journey in the journeys overview and click the "Delete" button.
## Reviewing and implementing journeys
### Reviewing journeys
When reviewing tracking plan changes made in a new or updated journey, we recommend using the journey builder as a visual guide. The journey builder shows the current state of the journey after the changes and the [tracking plan changes screen](https://www.avo.app/docs/data-design/branches/branch-changes.md) show the changes made to the journey. We recommend first reviewing the journey in the journey builder and then reviewing the changes in the tracking plan changes screen to have the whole context when reviewing the changes.
### Implementing journeys
The best way to implement journeys is to use Developer mode. Developer mode can be accessed through the toolbar in the journey builder and provides everything developers need to implement tracking directly from the journey context.
Developer mode opens a sidebar with a list of all triggers for each journey step in the journey. Every trigger includes auto-generated code snippets and prompts for coding agents, tailored to the property conditions defined for that scenario. Developers get:
- **Context from the design**: Journey step images with [annotations](#image-annotations) showing exactly where each action occurs, connected to triggers and events
- **Code snippets based on property conditions**: Clear indication of which properties must be sent and which are optional, plus allowed values and notes about the property or the value
- **Implementation prompts**: Language-specific prompts for coding agents to help implement the tracking plan changes, for either Codegen or existing implementation methods

Use Developer mode together with the [Branch Code Changes](https://www.avo.app/docs/data-design/branches/code-changes.md) screen for a complete implementation workflow. For more details on the implementation process, see [Implement analytics events](https://www.avo.app/docs/workflow/implement.md).
#### How code snippets reflect property conditions
The code snippets in Developer mode are customized based on the [property conditions](https://www.avo.app/docs/data-design/avo-tracking-plan/journeys.md#journey-trigger-property-conditions) defined for each trigger. Property conditions are represented in the comment for each property in the generated code:
- **Property condition notes**: Any notes added to a property condition are appended to the end of the property's comment
- **Narrowed allowed values**: If a property condition specifies a subset of allowed values from the full list defined on the property, the code snippet only shows the values defined in the property condition
- **Condition-specific values**: If a property condition defines an allowed value but the property itself has no allowed values defined, that value is shown in the comment for context but is not added to the property definition
- **Optional properties set to "is set"**: The property is required in this context, even if it's optional on the event definition and the comment will state that the property should be set
- **Optional properties set to "is not set"**: The property should not be set in this context and the comment will state that the property should not be set
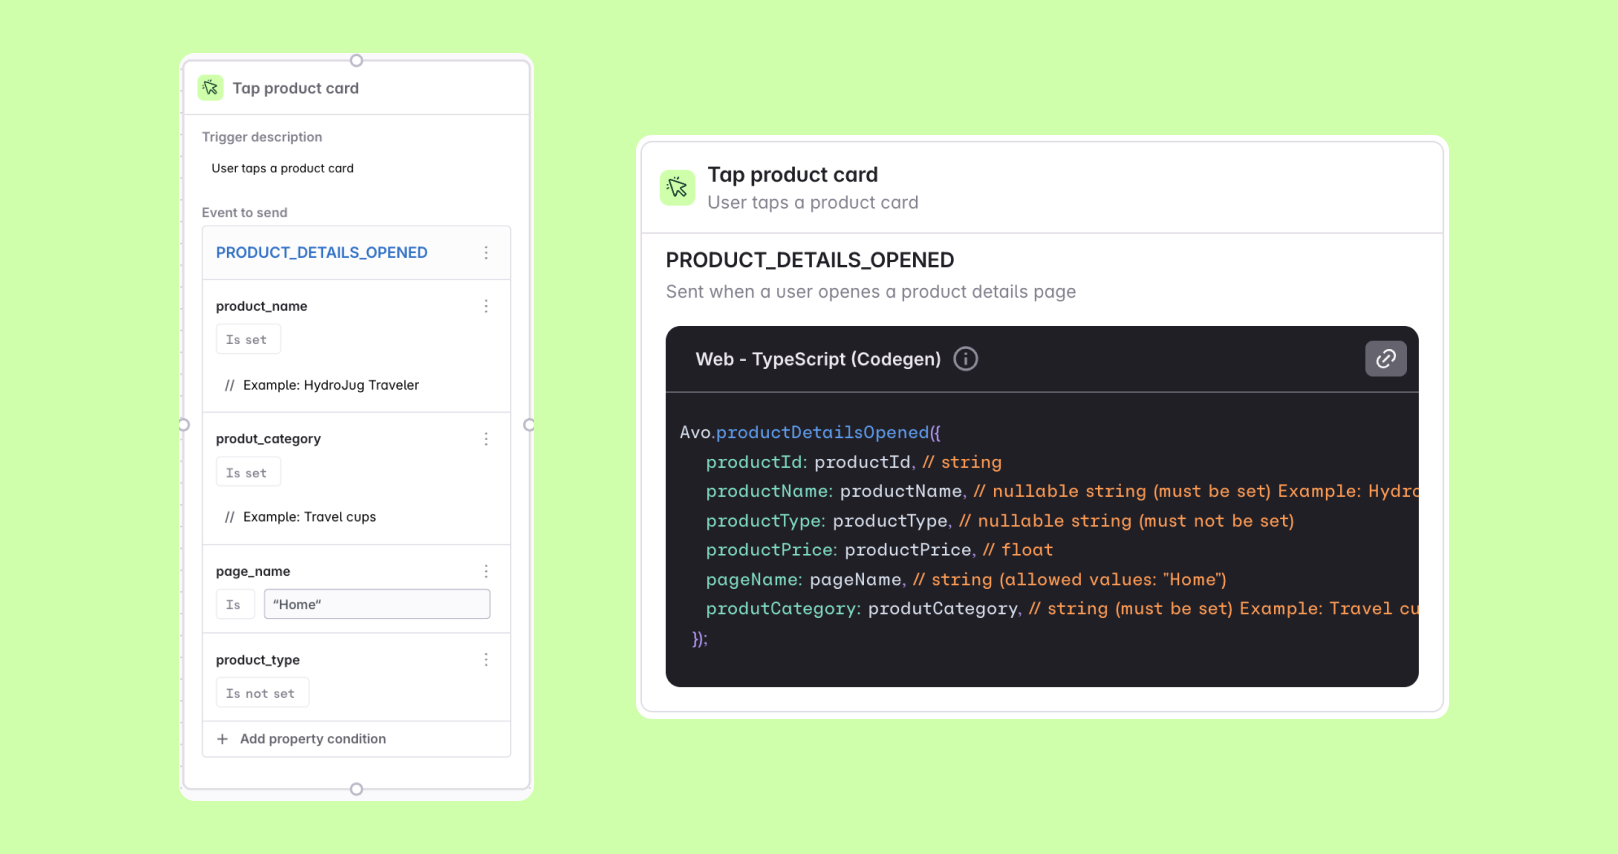
This ensures that developers see exactly what's expected for each specific trigger scenario, rather than the full event definition.
## Approaches to building journeys
There are many possible ways to build journeys and there is no one-size-fits-all solution. Below are some common journey structures for inspiration.
### Journey steps connected with triggers below each step
In this approach, [journey steps](https://www.avo.app/docs/data-design/avo-tracking-plan/journeys.md#journey-steps) are connected with each other to visualize the user journey. [Triggers](https://www.avo.app/docs/data-design/avo-tracking-plan/journeys.md#journey-triggers) are then connected below each step shown as metadata outside of the flow itself.
### Triggers used between journey steps to define branched journeys
In this approach, [triggers](https://www.avo.app/docs/data-design/avo-tracking-plan/journeys.md#journey-triggers) are used between [journey steps](https://www.avo.app/docs/data-design/avo-tracking-plan/journeys.md#journey-steps) to define branched journeys.
This is useful when there are multiple paths a user can take in the journey and you want to visualize and communicate all scenarios.
Here, only the [connections](https://www.avo.app/docs/data-design/avo-tracking-plan/journeys.md#connections) that go from a journey step to a trigger indicate that the image applies to the trigger.
Connections that go from a trigger to a journey step are purely visual and do not connect the trigger to the [event](https://www.avo.app/docs/data-design/avo-tracking-plan/events.md) or [event variant](https://www.avo.app/docs/data-design/avo-tracking-plan/event-variants.md) associated with the journey step.
### Triggers connected internally between journey steps
In this approach, [triggers](https://www.avo.app/docs/data-design/avo-tracking-plan/journeys.md#journey-triggers) are connected internally between [journey steps](https://www.avo.app/docs/data-design/avo-tracking-plan/journeys.md#journey-steps) to define the order of actions that happen in a step. This is useful when there are multiple actions within a step and you want to visualize and communicate their sequence. For example, to communicate that a user lands on the page, then selects from options before confirming the selection.
---
Source: https://www.avo.app/docs/data-design/avo-tracking-plan/events.md
# Events
*Learn about the events in your tracking plan*
An event represents a user action (for example: "Signup Started") or something that happens in response to a user action (for example "Credit Card Validated).
In Avo, your events live under the Events section of the Tracking plan and can be organized into categories.
> 🧭 For strategies on organizing events alongside variants, properties, and metrics, see [Organizing your tracking plan](https://www.avo.app/docs/data-design/guides/organizing-metrics-and-events.md), including [categories](https://www.avo.app/docs/data-design/guides/organizing-metrics-and-events.md#categories), [tags](https://www.avo.app/docs/data-design/guides/organizing-metrics-and-events.md#tags), [stakeholder teams](https://www.avo.app/docs/data-design/guides/organizing-metrics-and-events.md#stakeholder-teams), [property bundles](https://www.avo.app/docs/data-design/guides/organizing-metrics-and-events.md#property-bundles), and [metrics](https://www.avo.app/docs/data-design/guides/organizing-metrics-and-events.md#metrics).
## Creating events
Avo provides several ways to create events efficiently, depending on your workflow needs.
> 📚 **Getting Started Resources**
> - **Visual approach**: [Journeys](https://www.avo.app/docs/data-design/avo-tracking-plan/journeys.md) for designing tracking using product screenshots with AI assistance
> - **What to track**: [Tracking Plan Guide: How to Pick Your Events and Properties](https://www.avo.app/blog/tracking-plan-guide-how-to-pick-your-events-and-properties)
> - **Step-by-step tutorial**: [Data design deep dive](https://www.avo.app/docs/data-design/start-data-design.md) for creating events on branches
> 💡 When creating a new event you will receive guidance on how to name the event in a way that adheres to the [naming convention](https://www.avo.app/docs/audit/advanced-event-naming-rules.md) defined for your workspace.
### Standard event creation methods
- **Events view creation button**: Click the "New Event" button at the top of the Events view
- **[Events Workbench](https://www.avo.app/docs/data-design/avo-tracking-plan/events.md#workbench-quick-creation)**: Create events inline by hitting "Add new event" in the bottom line of the workbench
- **Command palette**: Hit "C" on your keyboard and select "Event" from the command palette
- **From metrics or properties**: Create events in context from [Metrics](https://www.avo.app/docs/data-design/avo-tracking-plan/metrics.md) or [Properties](https://www.avo.app/docs/data-design/avo-tracking-plan/metrics.md)
### Fast event creation methods
Fast creation methods are particularly useful when planning a new feature that requires multiple new events. The fastest option is to drive an AI coding assistant via the Avo MCP; if you'd rather stay in the Avo app, the "Create more" toggle and inline creation in the workbench let you create events in rapid succession.
#### From AI coding assistants (MCP)
If you use Claude, Cursor, Codex, Claude Code, or another MCP-compatible client, you can create events directly from your AI assistant via the [Avo MCP](https://www.avo.app/docs/reference/avo-mcp/overview.md). All writes happen on a branch — the MCP never merges to main.
- Create a new branch with the [`workflow`](https://www.avo.app/docs/reference/avo-mcp/tools.md#workflow) tool
- Create events (with description, sources, and attached properties) on that branch with [`save_items`](https://www.avo.app/docs/reference/avo-mcp/tools.md#save_items)
- Create new events and new properties in a single batched call
- Update an event's description, properties, or sources with [`save_items`](https://www.avo.app/docs/reference/avo-mcp/tools.md#save_items) `op: "update"`
> 🚧 The Avo MCP is in general beta — enabled for every workspace, no need to request access. [Email support@avo.app](mailto:support@avo.app) if you hit anything unexpected.
#### Batch creation with "Create more" toggle
When creating an event from the event creation modal, enable the "Create more" toggle (or use `Ctrl+M`) to stay in the creation flow after saving your event. This allows you to:
- Create multiple events in sequence
- Maintain your workflow momentum when planning event structures, for example through [Metrics](https://www.avo.app/docs/data-design/avo-tracking-plan/metrics.md)
#### Workbench quick creation
From the workbench interface, you can create events inline:
1. Click into the bottom row of the workbench where it says "Add new event"
2. Enter your event name inline
3. Hit Enter to create and immediately add another event
4. Use Tab to navigate between inline creation fields
### Adding context with bulk editing
After creating multiple events using the fast creation methods, you can efficiently add context to all of them at once using **[bulk editing](https://www.avo.app/docs/data-design/guides/bulk-editing.md)**. Simply:
1. Select multiple events in the events table (using checkboxes or Cmd/Ctrl+click)
2. Use the bulk editing toolbar to add shared attributes like:
- **Sources**: Add the same sources to multiple events
- **Event Properties**: Attach common properties to multiple events
- **Tags**: Apply consistent tagging across events
- **Categories**: Organize events into the same category
- **Stakeholders**: Assign stakeholders to multiple events at once
> ⚡ **Efficient Workflow Tip:**
> This two-step approach (fast creation → bulk editing) is particularly effective when planning new features or conducting analytics workshops where you first capture all the events you need, then systematically add the detailed context. For detailed use cases and step-by-step guidance, see our [Bulk Editing guide](https://www.avo.app/docs/data-design/guides/bulk-editing.md).
## Defining events
In your tracking plan, an event definition will include:
- A descriptive [_Event Name_](https://www.avo.app/docs/data-design/best-practices/naming-conventions.md#2-what-does-naming-convention-refer-to)
- A [_Description_](https://www.avo.app/docs/data-design/best-practices/defining-descriptive-events-and-properties.md#events-1) with information about the event beyond what the name includes (optional but highly recommended)
- [_Event Variants_](https://www.avo.app/docs/data-design/avo-tracking-plan/event-variants.md) that include variations of the event for different scenarios (optional)
- [_Triggers_](https://www.avo.app/docs/data-design/guides/event-triggers.md) that describe both visually and in words all the user or system actions that trigger the event (optional but highly recommended)
- [_Sources_](https://www.avo.app/docs/data-design/avo-tracking-plan/define-sources-and-destinations.md#sources-where-the-data-comes-from) that the event should be sent from
- [_Actions_](#actions) associated with the event, including properties
- [_Metrics_](https://www.avo.app/docs/data-design/avo-tracking-plan/metrics.md) related to the event (optional)
- [Stakeholders](https://www.avo.app/docs/data-design/avo-tracking-plan/stakeholder-domains.md) in your organization that rely on the event
- [Owner](https://www.avo.app/docs/data-design/avo-tracking-plan/stakeholder-domains.md): which stakeholder team owns the event
- [_Categories_](https://www.avo.app/docs/data-design/guides/organizing-metrics-and-events.md#categories) that the event is a part of (optional)
- [_Tags_](https://www.avo.app/docs/data-design/guides/organizing-metrics-and-events.md#tags) associated with the event
- [_Name Mapping_](https://www.avo.app/docs/data-design/guides/name-mapping.md) that the event name is mapped to when sending to specific destinations
You can define events in several ways, depending on the scope of your changes and level of detail you need:
- **Inline Table Editing**: Properties, categories and tags can be edited directly in the table by clicking on individual cells.
- **[Bulk Editing](https://www.avo.app/docs/data-design/guides/bulk-editing.md)**: Select multiple events to apply bulk updates to shared attributes like sources, properties, and stakeholders.
- **Event Details Panel**: Click into an event to access and define all aspects of the event.
## Filtering and organizing events
The Events table provides powerful filtering capabilities to help you find and focus on relevant events, especially in larger tracking plans.
### Available filters
- **Stakeholders**: Filter events by stakeholder teams that are assigned to them. This helps teams focus on events relevant to their domain.
- **Owners**: Filter events by the stakeholder team that owns them. Useful for seeing events a specific team is responsible for maintaining.
- **Categories**: Filter events by their assigned categories to see related events grouped together.
- **Tags**: Filter events by tags to find events marked with specific labels.
- **Sources**: Filter events by the sources they're configured to be sent from.
- **Destinations**: Filter events by the destinations they're configured to be sent to.
- **Property Bundles**: Filter events by the property bundles attached to them.
- **Properties**: Filter events by specific properties they contain.
- **Actions**: Filter events by the actions they're configured to perform (e.g., Log Event, Update User Properties, Log Revenue).
- **Contains PII**: Filter events by whether they contain properties marked as PII (Enterprise plan, see [Tagging PII](https://www.avo.app/docs/data-design/avo-tracking-plan/governance/tagging-pii.md)).
### Using filters effectively
**For team-focused workflows:**
- Use the **Owners** filter to see only events your team owns and is responsible for
- Use the **Stakeholders** filter to see events your team depends on but may not own
- Combine stakeholder and owner filters to get a complete view of events relevant to your team
**For feature-focused workflows:**
- Use **Categories** to see all events related to a specific product area
- Use **Tags** to filter for events related to specific features or initiatives
- Use **Properties** to find events that include specific properties you're working with
- Use **Property Bundles** to see events that use shared property collections
**For implementation-focused workflows:**
- Use **Actions** to find events that perform specific actions (e.g., all revenue events, all user identification events)
- Use **Sources** to see events specific to a platform (web, mobile, etc.)
- Use **Destinations** to see events being sent to specific analytics tools
**Sharing filtered views:**
After applying filters, you can share the filtered URL with colleagues so they see the same focused view of events.
## Sources
Add all sources you want the event to be sent from to the event in Avo. If you want the event to be implemented with [Avo Codegen](https://www.avo.app/docs/implementation/avo-codegen-overview.md), make sure "Implement with Codegen" is checked. Having "Implement with Codegen" checked adds the event to your type-safe Avo Codegen file for that source. If you don't want the event to be implemented with Avo Codegen, leave "Implement with Codegen" unchecked.
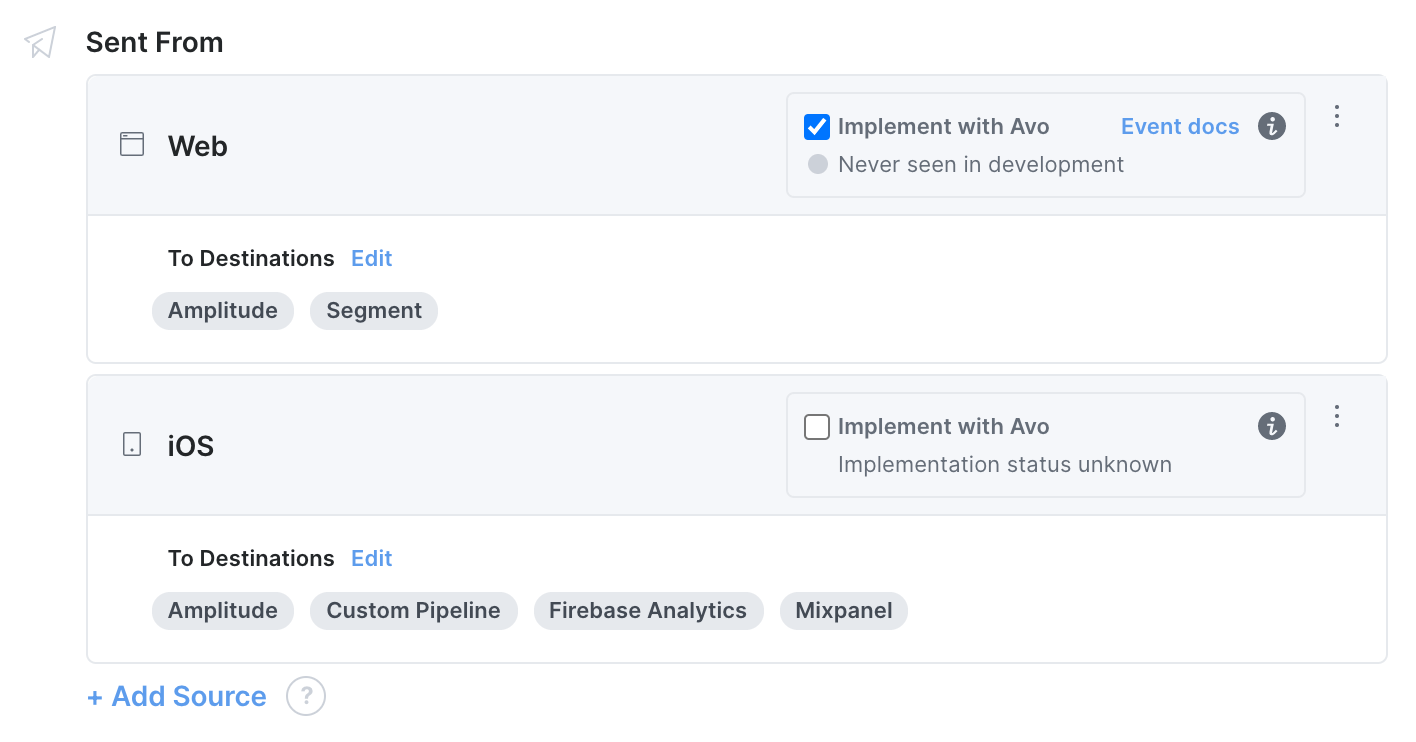
## Actions
Actions is Avo's umbrella term over all the tracking methods the analytics platforms offer, such as logging events, updating user properties, logging revenue, etc. In your Avo tracking plan you can configure which actions (tracking methods) should be triggered. Actions can be triggered on their own or together, for example it's common to update user properties along with logging an event.
See [supported actions (tracking methods)](https://www.avo.app/docs/data-design/avo-tracking-plan/events.md#supported-actions)
below.
### Configuring Actions
#### Adding Actions
The default action when you add an event to your Avo tracking plan is to log an event.
To add an action, click `+Add Action` in the Event modal and select the relevant action:
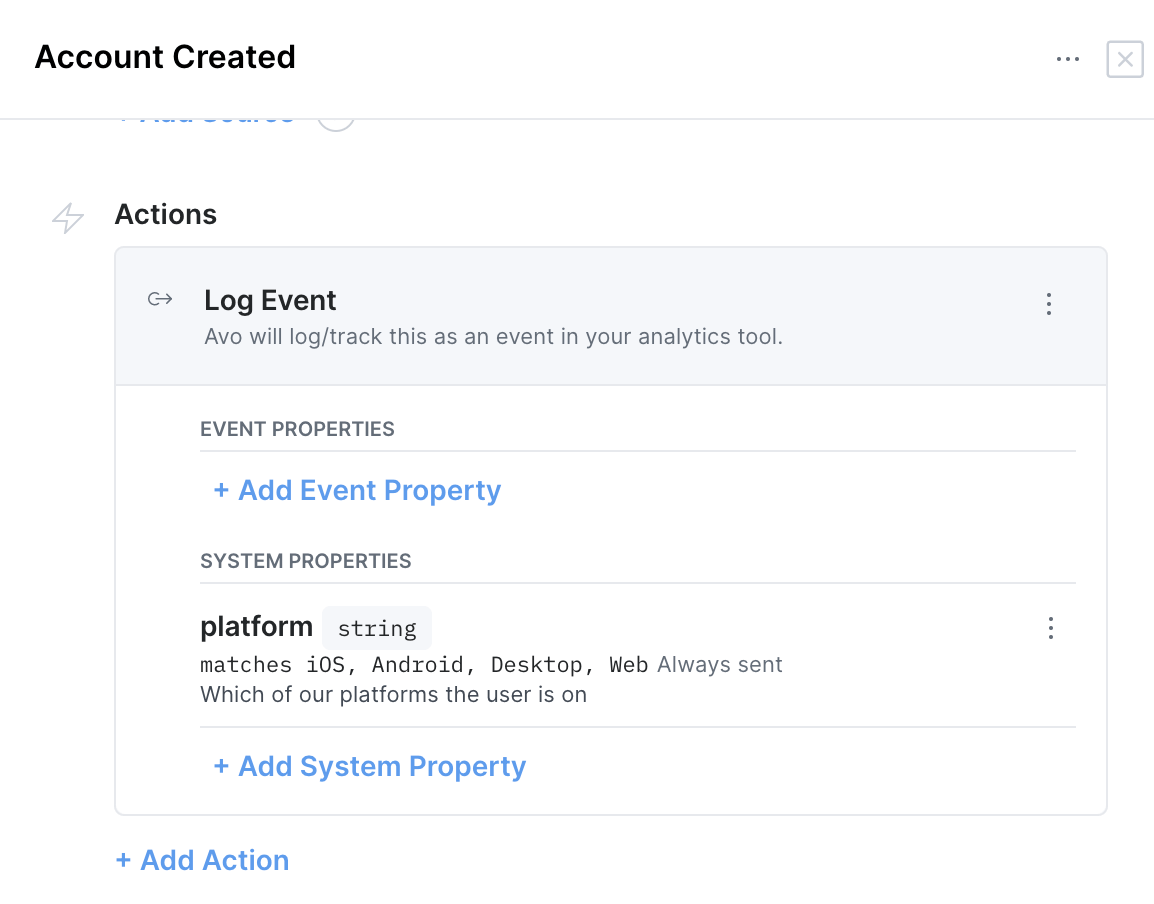
#### Removing Actions
To remove an action, click settings in the Action and select `Remove`:
### Supported Actions
Below is a list of possible actions, followed by a more detailed overview of each:
1. [Identify User](#identify-user): identifies the user in
the analytics tool when sent. All events sent after this event
will be tied to the identified user. Usually set on sign in events.
2. [Update User Properties](#update-user-properties): updates the
associated user properties when sent.
3. [Log Event](#log-event) logs/tracks an event in your
analytics tool.
4. [Log Revenue](#log-revenue): logs revenue when this event is sent. Usually set on
checkout events.
5. [Log Page View](#log-page-view): logs page view in your
analytics tool when this event is sent. Usually set on events that are sent
on screen/page navigation.
6. [Unidentify User](#unidentify-user): unidentifies the user
in your analytics tool when this event is sent. All events sent after this
event will not be tied to the previously identified user. Usually set on sign
out events.
7. [Update Groups](#update-groups): associates users with
groups and/or updates group properties. Adding users to groups will link them
in all subsequent calls.
8. [Push to Data Layer](#push-to-data-layer-coming-soon) *(coming soon)*: pushes data to the data layer when this event is sent.
#### Log Event
Logging an event is the fundamental action for behavioral analytics. An event describes an action that a user does in your application or something that happens for them. Additional information about the action, event properties, can be logged with the event.
When using Codegen, Avo creates one function for each event, that prepares all the required data to perform all associated actions and routes the data to the data destination. By doing so, Codegen makes your analytics as type-safe as possible, and takes care of sending the event to all your analytics tools.
Here's how sending and event called "Signup Completed" would look like:
```javascript
Avo.signupStarted({ authenticationMethod: 'Facebook', email: 'hi@avo.sh' });
```
#### Log Event with Groups
When associating the event with groups you can imply that the event is linked
with a group. This would typically be done if only certain actions of the user
are related to a group.
With Codegen, groups are applied to tracking events with the following methods according to
analytics platform:
- **Amplitude**: [logEventWithGroups](https://developers.amplitude.com/docs/javascript#user-groups)
- **Mixpanel**: [track_with_groups](https://developer.mixpanel.com/docs/javascript-full-api-reference#mixpaneltrack_with_groups)
#### Identify User
The Identify User action should be used when you want to identify users from your
system in your analytics platform. This would typically be on done when users
either Sign up or Login or in other ways users are becoming authenticated users
according your system.
The Identify User action can be triggered individually or along with logging an event. It's common to trigger the Identify User action along with log `Signup Completed` and a `Login Completed` events - in such cases, the Identify user call should occur first and then the log event call.
In the Codegen when the Identify User action is selected, Avo will require a user property called
`User Id`. Below is a list of Identify User methods used for each supported analytics platform:
- **Amplitude**: [setUserId](https://amplitude.zendesk.com/hc/en-us/articles/115003135607-Tracking-Unique-Users#determining-unique-users)
- **Segment**: [identify](https://segment.com/docs/spec/identify/)
- **Mixpanel**: [identify](https://help.mixpanel.com/hc/en-us/articles/360000865566-Set-up-Your-Tracking#user-and-identity-management)
- **Fullstory**: Call [identify](https://help.fullstory.com/hc/en-us/articles/360020828113-FS-identify-Identifying-users)
#### Unidentify User
The Unidentify User action should be used when you want to unidentify users from
your system in your analytics platform. This would typically be done when users
Log Out, but not limited to that.
If you forget to unidentify users in your analytics platform you could
potentially track two or more users as the same user in your analytics platform
if they share a computer.
Below is a list of Unidentify User methods used for each supported analytics platform:
- **Amplitude**: [setUserId](https://amplitude.zendesk.com/hc/en-us/articles/115003135607-Tracking-Unique-Users#determining-unique-users) with User Id as null
- **Segment**: [identify](https://segment.com/docs/spec/identify/) with User Id as null
- **Mixpanel**: [identify](https://help.mixpanel.com/hc/en-us/articles/360000865566-Set-up-Your-Tracking#user-and-identity-management) with User Id as null
- **Fullstory**: [identify](https://help.fullstory.com/hc/en-us/articles/360020828113-FS-identify-Identifying-users) with User Id as false
#### Update User Properties
The Update User Properties action is used when the state of the user in your analytics platform should be updated. User properties are often updated at the same time as logging an event but they can also be updated independently.
User properties are updated with the following methods according to analytics platform:
- Amplitude: `setUserProperties`
- Appsflyer: _user properties not supported_
- Facebook Analytics: `fbq('setUserProperties')`
- Firebase Analytics: `setUserProperty`
- Fullstory: `setUserVars`
- Intercom: `Intercom('update', userProperties)`
- Mixpanel: `people.set`
- Segment: `identify`
#### Update Groups
Avo is equipped with a familiar user interface to define and maintain Group Types
and their properties and updating Group Properties is as easy as adding an action
to your Event. Read more about Groups [here](https://www.avo.app/docs/data-design/best-practices/groups.md)
.
Users can be associated with groups (and all subsequent calls) with the following methods
according to analytics platform:
- **Amplitude**: [setGroup](https://developers.amplitude.com/docs/javascript#user-groups)
- **Mixpanel**: [set_group](https://developer.mixpanel.com/docs/javascript-full-api-reference#mixpanelset_group)
- **Segment**: [group](https://segment.com/docs/connections/spec/group/)
Furthermore, group properties can be updated with the following methods according to
analytics platform:
- **Amplitude**: [groupIdentify](https://developers.amplitude.com/docs/javascript#group-identify)
- **Mixpanel**: [group.set](https://developer.mixpanel.com/docs/javascript-full-api-reference#mixpanelgroupset)
- **Segment**: [group](https://segment.com/docs/connections/spec/group/) (links user as well)
> 💡 Note that **Segment** always links the user to a group when updating group properties.
#### Log Revenue
Some analytics destinations have revenue tracking separate from event tracking. Add the *Log Revenue* action to indicate that the event represents a successful purchase and should be used to track revenue. When using Avo Codegen this will result in your event function receiving an additional _amount_ parameter that will then be passed on to the `revenue` function in your destination interface. Read more on it in [the Codegen docs](https://www.avo.app/docs/reference/avo-codegen/destinations.md#destination-interface-callback-methods).
##### Log Revenue in legacy Codegen destinations
Below are details for what Avo Codegen automatically does for each analytics platform. Note that this only applies to legacy Avo Codegen destinations and does not apply to destinations using the destination interface.
##### Legacy Amplitude Destination
For the Amplitude destination, Avo will add 4 event properties that match the
[Amplitude logRevenue
API](https://amplitude.zendesk.com/hc/en-us/articles/115003116888-Tracking-Revenue#revenue-properties)
with the prefix "Amplitude: ".
- Amplitude: Product Id
- Amplitude: Quantity
- Amplitude: Price
- Amplitude: Revenue Type
Call logRevenueV2 with these properties as well as all other event properties,
and then call logEvent.
##### Legacy Segment Destination
For the Segment destination, Avo Codegen will add 2 event properties that match the
[Segment revenue properties](https://segment.com/docs/spec/track/#properties)
with the prefix "Segment: ".
- Segment: Revenue
- Segment: Currency
Segment currency will have constraint that the currencies need to be in a valid
ISO format. For compiled languages this will generate an enum to guarantee that
the currency is a valid ISO format, for JavaScript this will be validated during
runtime.
Enums are currently not supported on Android and iOS.
Call track with the Segment revenue properties set in the correct keys to make
sure that Segment recognizes the event as a Revenue event.
##### Legacy Mixpanel Destination
For the Mixpanel destination, Avo will add 1 event property that matches the
[Mixpanel track_charge
API](https://help.mixpanel.com/hc/en-us/articles/115004695283-Send-Revenue-Data-To-Mixpanel#track-purchases-with-revenue-and-people-profiles)
with the prefix "Mixpanel: ".
- Mixpanel: Amount
Call people.track_charge with the price and all additional event properties and
then call track
#### Log Page View
Add the Log Page View action to include page tracking on web and screen tracking on mobile.
##### Log Page View in the Codegen
When Log Page View is set on events, Avo Codegen will do the following for each platform
##### Segment
For the Segment platform, Avo will add 1 property that matches the [Segment page
property](https://segment.com/docs/spec/page/) with the prefix "Segment: ".
- Segment: Page Name
Calls either page or screen (depending on your apps platform) with the Page Name property and then call track. If you want to only log a page view, not an event, you can remove the Log Event action from the event.
#### Push to Data Layer (coming soon)
Add the Push to Data Layer action to push data to the data layer when this event is sent.
While it's not yet supported, you can use the "Update User Properties" action to signify that the event is pushing data to the data layer.
---
Source: https://www.avo.app/docs/data-design/avo-tracking-plan/properties.md
# Properties
_Learn about the properties in your tracking plan_
Properties are also known as traits, attributes, metadata, etc. They are information that is attached to events, users or groups that describe the state of the user or the product at the time of the event. Avo allows you to define event, group, user and system properties - each category described below.
> 🧭 Looking for ways to organize properties and reuse them across events? See [Organizing your tracking plan](https://www.avo.app/docs/data-design/guides/organizing-metrics-and-events.md)—especially [tags](https://www.avo.app/docs/data-design/guides/organizing-metrics-and-events.md#tags), [categories](https://www.avo.app/docs/data-design/guides/organizing-metrics-and-events.md#categories), [property bundles](https://www.avo.app/docs/data-design/guides/organizing-metrics-and-events.md#property-bundles), and how these relate to [metrics](https://www.avo.app/docs/data-design/guides/organizing-metrics-and-events.md#metrics).
## Creating properties
Avo provides several ways to create properties, depending on whether you're designing in the context of an event or curating the property library directly.
> 💡 When creating a new property you will receive guidance on how to name the property in a way that adheres to the [naming convention](https://www.avo.app/docs/audit/advanced-event-naming-rules.md) defined for your workspace.
### Standard property creation methods
- **Properties view creation button**: Click `+ Add Property` at the top of the Properties view to create event, user, or system properties in the property library
- **From event details ("+ Add Event Property")**: From the Log Event action of an event, click `+ Add Event Property` and start typing a name — if no match exists, Avo offers to create a new property in place (see [creating new properties from event details](https://www.avo.app/docs/data-design/start-data-design.md#step-1-create-a-new-event-property))
- **Command palette**: Hit `C` on your keyboard and select "Property" from the command palette
- **Group types and group properties**: see [Creating Group Types](#creating-group-types) and [Creating Group properties](#creating-group-properties) below for group-scoped properties
- **From metrics**: Properties can also be created inline when defining a [metric](https://www.avo.app/docs/data-design/avo-tracking-plan/metrics.md) filter or group-by
### Fast property creation methods
For creating multiple properties quickly, Avo offers streamlined approaches. The fastest option is to drive an AI coding assistant via the Avo MCP; if you'd rather stay in the Avo app, you can chain creations inline from event details or the workbench.
#### From AI coding assistants (MCP)
If you use Claude, Cursor, Codex, Claude Code, or another MCP-compatible client, you can create properties directly from your AI assistant via the [Avo MCP](https://www.avo.app/docs/reference/avo-mcp/overview.md). All writes happen on a branch — the MCP never merges to main.
- Create a new branch with the [`workflow`](https://www.avo.app/docs/reference/avo-mcp/tools.md#workflow) tool
- Create event, user, or system properties on that branch with [`save_items`](https://www.avo.app/docs/reference/avo-mcp/tools.md#save_items)
- Cross-reference newly-created properties to newly-created events in the same batch
- Add allowed values, change a property's description or type, or remove a property — all via [`save_items`](https://www.avo.app/docs/reference/avo-mcp/tools.md#save_items) `op: "update"` / `op: "remove"`
> 🚧 The Avo MCP is in general beta — enabled for every workspace, no need to request access. [Email support@avo.app](mailto:support@avo.app) if you hit anything unexpected.
#### Inline creation from event details
When adding properties to events, you can chain creations from the "+ Add Event Property" flow — Avo audits the name as you type and offers to create new properties without leaving the event details.
#### Workbench inline creation
From the [workbench](https://www.avo.app/docs/data-design/avo-tracking-plan/workbench.md), edit events inline and create new properties on the fly while you shape the event's payload.
### Adding context with bulk editing
After creating multiple properties, you can attach shared context across them at once using **[bulk editing](https://www.avo.app/docs/data-design/guides/bulk-editing.md)** — for example, applying common tags, categories, or stakeholders to a group of newly-created properties.
## Property Definition
A property is defined in the event details within the relevant [actions](https://www.avo.app/docs/data-design/avo-tracking-plan/events.md#actions) or in the properties view.
- A descriptive [Property Name](https://www.avo.app/docs/data-design/best-practices/defining-descriptive-events-and-properties.md#properties)
- A [Description](https://www.avo.app/docs/data-design/best-practices/defining-descriptive-events-and-properties.md#properties-1) that gives additional context of what the property is describing beyond the property name (optional but highly recommended)
- The [property value type](https://www.avo.app/docs/data-design/avo-tracking-plan/properties.md#property-types-and-constraints) (required)
- The [events](https://www.avo.app/docs/data-design/avo-tracking-plan/events.md) that the property is attached to (required)
- The [presence](https://www.avo.app/docs/data-design/avo-tracking-plan/properties.md#configuring-when-properties-are-required-or-optional) of the property on each event – whether it's required or optional (required)
- The [constraints](https://www.avo.app/docs/data-design/avo-tracking-plan/properties.md#property-types-and-constraints) defined for the property values (optional but highly recommended)
- The [name mappings](https://www.avo.app/docs/data-design/guides/name-mapping.md) the property name is mapped to when sending to specific destinations (optional)
- The [categories](https://www.avo.app/docs/data-design/guides/organizing-metrics-and-events.md#categories) the property belongs to (optional)
- The [tags](https://www.avo.app/docs/data-design/guides/organizing-metrics-and-events.md#tags) the property is associated with (optional)
- The [PII status](https://www.avo.app/docs/data-design/avo-tracking-plan/governance/tagging-pii.md) of the property – whether it carries personally identifiable information (Enterprise plan)
- The [custom field](https://www.avo.app/docs/data-design/avo-tracking-plan/governance/custom-fields.md) values defined for your workspace (Enterprise plan)
## Event properties
Event properties describe the current state of your product at the time of the
event.
**Example**
For example the property "Game Mode" on the event "Game Started", is
relevant for that specific event, when you analyze your data. You might be want to correlate the completion rate of the game with the Game Mode, to decide how valuable the Game Modes are.
**Functionality**
Event properties are sent with the event in the [event call](https://www.avo.app/docs/data-design/avo-tracking-plan/events.md#log-event).
## Group properties
Group properties describe the state of a group you defined previously.
Similar to User properties, this information is usually relevant in a larger scope than for exactly that event.
> When should I use Groups and Group Properties? [Read more here about how Group
> Properties work and why they may be the right choice for you
> ](https://www.avo.app/docs/data-design/best-practices/groups.md) .
**Example**
For B2B companies, products are used by multiple companies, each consisting of a number of users.
In that case, you can maintain the state of each company with group properties, increase the count of employees when a new user joins a particular company for example.
**Functionality**
Group properties are updated with the event in the [Update Groups](https://www.avo.app/docs/data-design/avo-tracking-plan/events.md#update-groups) action.
### Managing Groups
To be able to manage a Group (update Group Properties, associate users or events with Groups) you first need to define the Group:
#### Creating Group Types
You can create Group Types either from the Properties screen or from the
`Update Groups` action from the Event details.
- From the Properties screen click `+ Add Group Type`
- From the Update Groups action click `+ Add Group Type`
and fill in name and description of your Group Type.
> 💡 Each Group Type will need an ID for association (e.g. `Workspace` : `Avo`). If
> you would like to strictly define possible ids for a type (e.g. `Role` : [one
> of `Admin`, `Editor`, `Viewer`, etc.] you can choose `Property Id should match
> one of` and define your possibilities.
#### Creating Group properties
Group Properties are properties which belong to a specific group type (e.g.
Group Property `Member Count` for Group Type `Workspace`). There are also two ways to create
Group properties
- From the Properties screen, find the Group Properties section and your
Group Type's subsection and click `+ Add Group Property`
- From the Update Groups action choose the Group Type and then `+ Add Group Property`
and fill in name and description of your Group property.
Groups and Group Properties should then be available from the `Update Groups`
action.
## User Properties
User properties describe the state of your user. It is information that is
usually relevant in a larger scope than for exactly that event.
**Example**
For example, you might want to correlate the Total Games Played of your users with how likely
they are to recommend your product to their friend, to make sure you ask them to
do that at the right time.
Some User Properties change rarely, such as "Email",
which mostly changes on Signup. And many analytics platforms support you in
analyzing all of your data by your user properties, while only sending them
along with your events when they actually change.
**Functionality**
User properties are updated with the [Update User Properties](https://www.avo.app/docs/data-design/avo-tracking-plan/events.md#update-user-properties).
## System properties
System properties represent information that's relevant for all events that you send, and yet
do not describe the state of the user.
**Example**
For example, the user could alter between mobile and web platforms, so you would not necessarily have "Platform" be a user property that
gets overwritten each time the user switches platforms. Instead you could set
"Platform" to be a System Property in Avo, which are properties that we send
along with all events, as event properties for you. The values for such a property could be "Web App", "Desktop App", "iOS
App", "Android App", etc.
**Functionality**
System properties are set in the Avo.initAvo() function. They can be updated with `Avo.setSystemProperties()` if needed, but otherwise the values persist during the lifecycle of the application.
**Presence per source**
Whether a system property is sent from a given source can be configured on the source itself as Always, Sometimes or Never. This affects how Inspector validates the property and whether Codegen includes it in the initialization method. See [System Properties in the source overview](https://www.avo.app/docs/data-design/avo-tracking-plan/define-sources-and-destinations.md#system-properties) for details.
## Event property bundles
Event property bundles are a way to bundle two or more related event properties to quickly and consistently add them to all related events. You can create event property bundles from the [event property bundles screen in your Avo workspace](https://www.avo.app/schemas/default/properties/bundles).
For a broader overview of how bundles fit into organizing your tracking plan, see [property bundles](https://www.avo.app/docs/data-design/guides/organizing-metrics-and-events.md#property-bundles).
An e-commerce website might want to attach all product properties to cart and checkout events.
An example event property bundle could be "Product" containing the following properties:
- Product ID
- Product Name
- Product Price
- Product Quantity
## Property types and constraints
In the property view for event, user and system properties you need to define the type of the values allowed for the property. That definition is used to validate the property.
Avo supports properties with values of the following types and constraints:
- string _(enumeration of allowed values or regex pattern)_
- integer _(minimum and maximum value)_
- float _(minimum and maximum value)_
- boolean _(true or false)_
- [object](https://www.avo.app/docs/data-design/guides/object-properties.md)
Properties values can also be a list of the above mentioned types:
- `['foo', 'bar']`
- `[1, 2, 3, 4, 5]`
- `[1.2, 1.3, 1.6]`
- `[true, false, true, true, false]`
- `[{'key1': 'value1'}, {'key2': 'value2'}]`
## Configuring when Properties are required or optional
You can configure when Properties are required on a per-event/variant and per-source basis. That means Avo will not give you an error if that property is missing from an event, variant or source which the property is attached to, in other words it will sometimes be sent.
For per-event granularity you can choose between _Sometimes Sent_ or _Always Sent_.
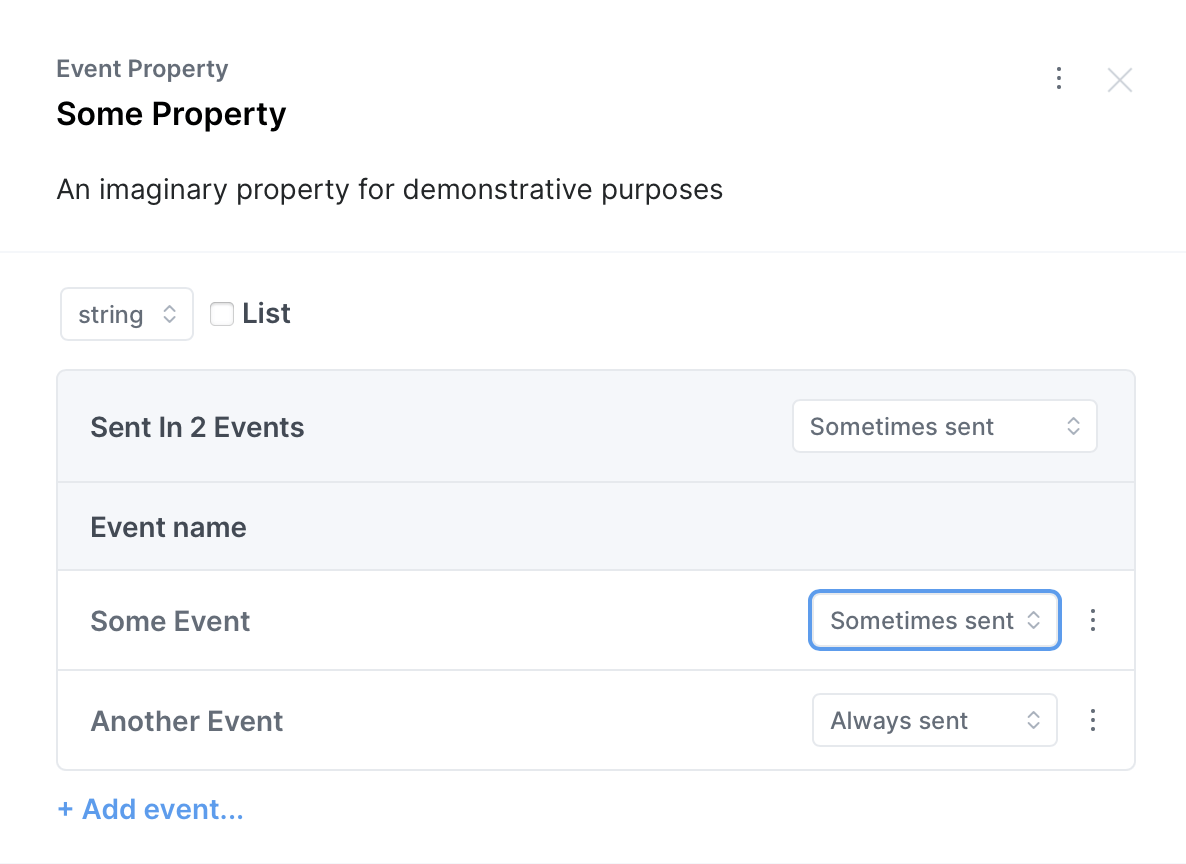
For configuring per-event and per-source you can change the overall setting for the property to _Depending on Source_, revealing the sources available for each event for even more granular control.
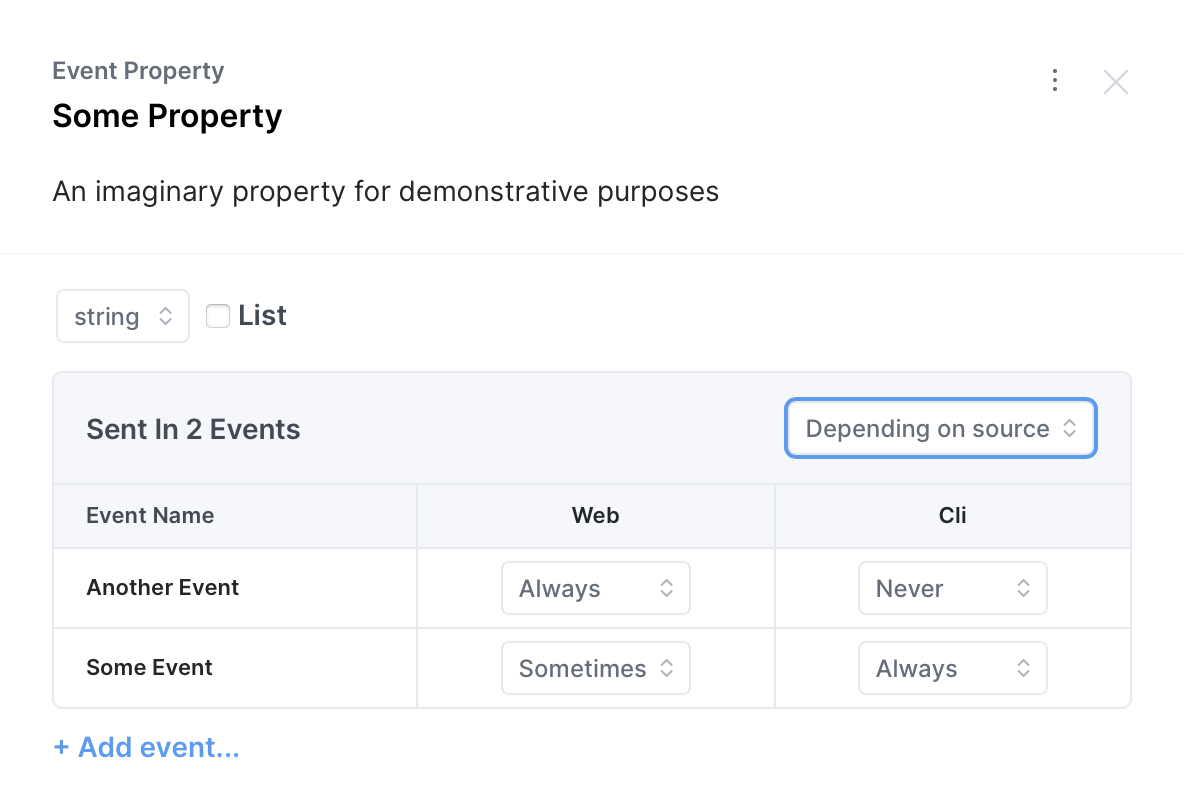
## Enumeration of allowed string values
If you have a pre-defined set of string values that the property can take, defining them as part of your tracking plan will make it easier to maintain and to implement tracking. Codegen will treat these values as enums in the code, making it impossible to send undesired values in programming languages that enforce type safety. Allowed values can be configured to be sent by source and even per-event allowing very fine-grained control over what values are sent where.
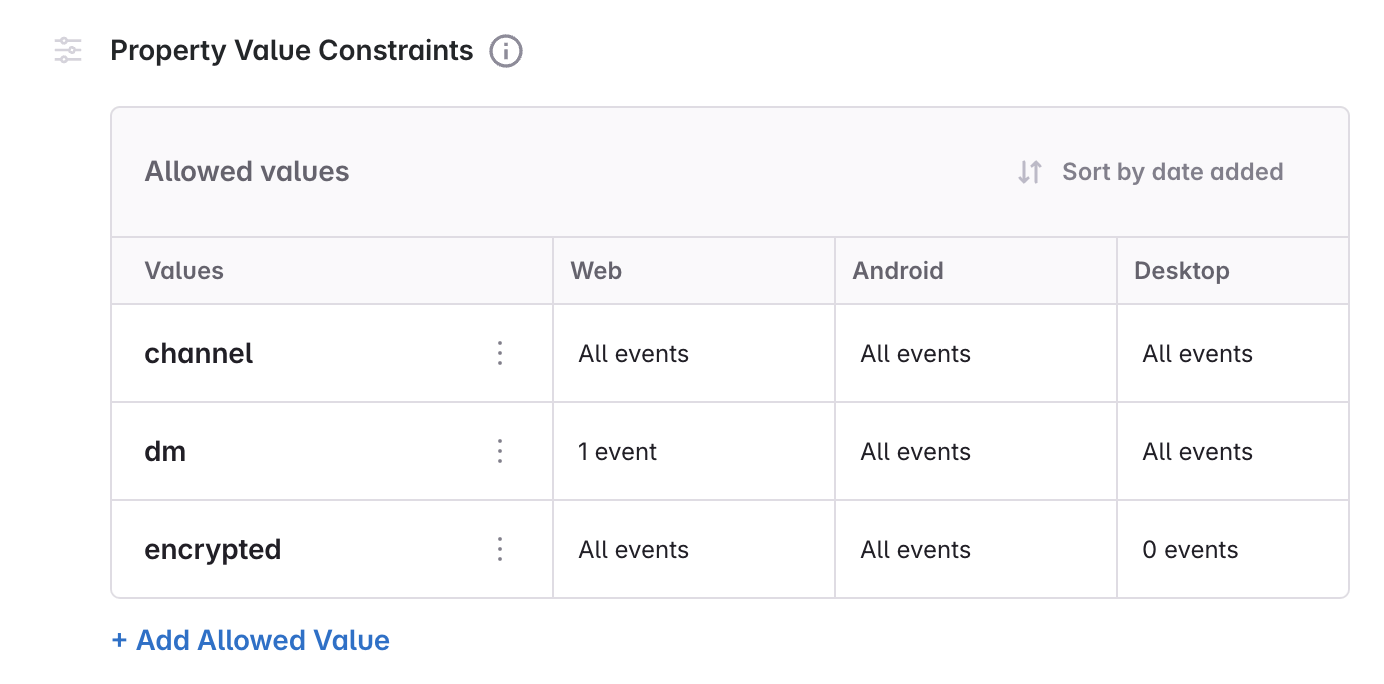
### Event-specific and source-specific allowed values
When a property is sent from multiple events and sources, you can configure the allowed values granularly for each event and each source. This helps you more clearly define what values are used in where and makes it simpler to implement the tracking.
It can be configured both from the property details view
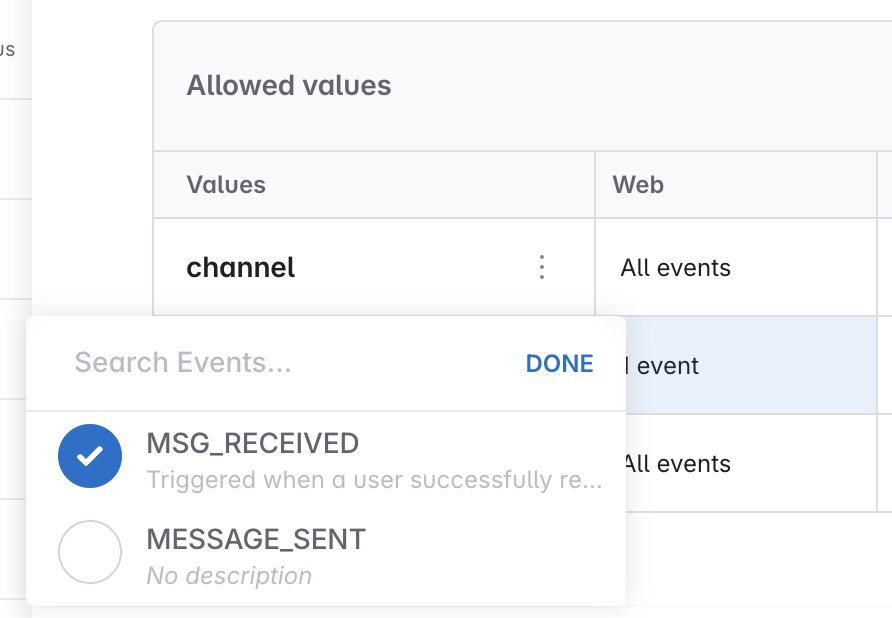
And from the event details view
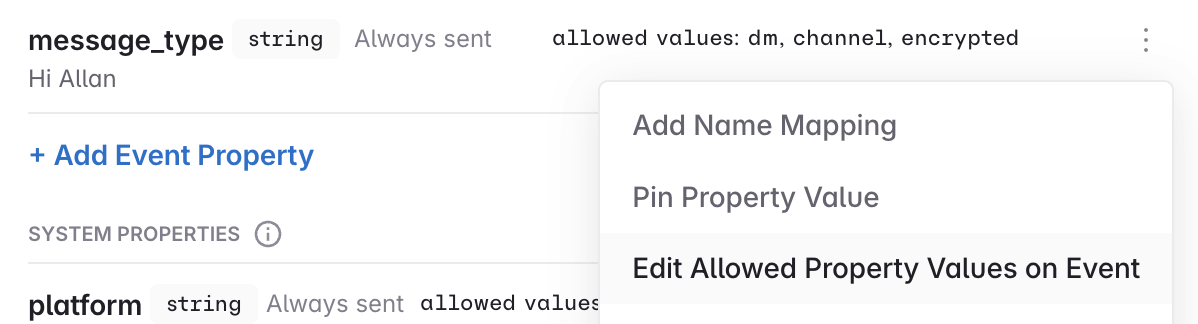
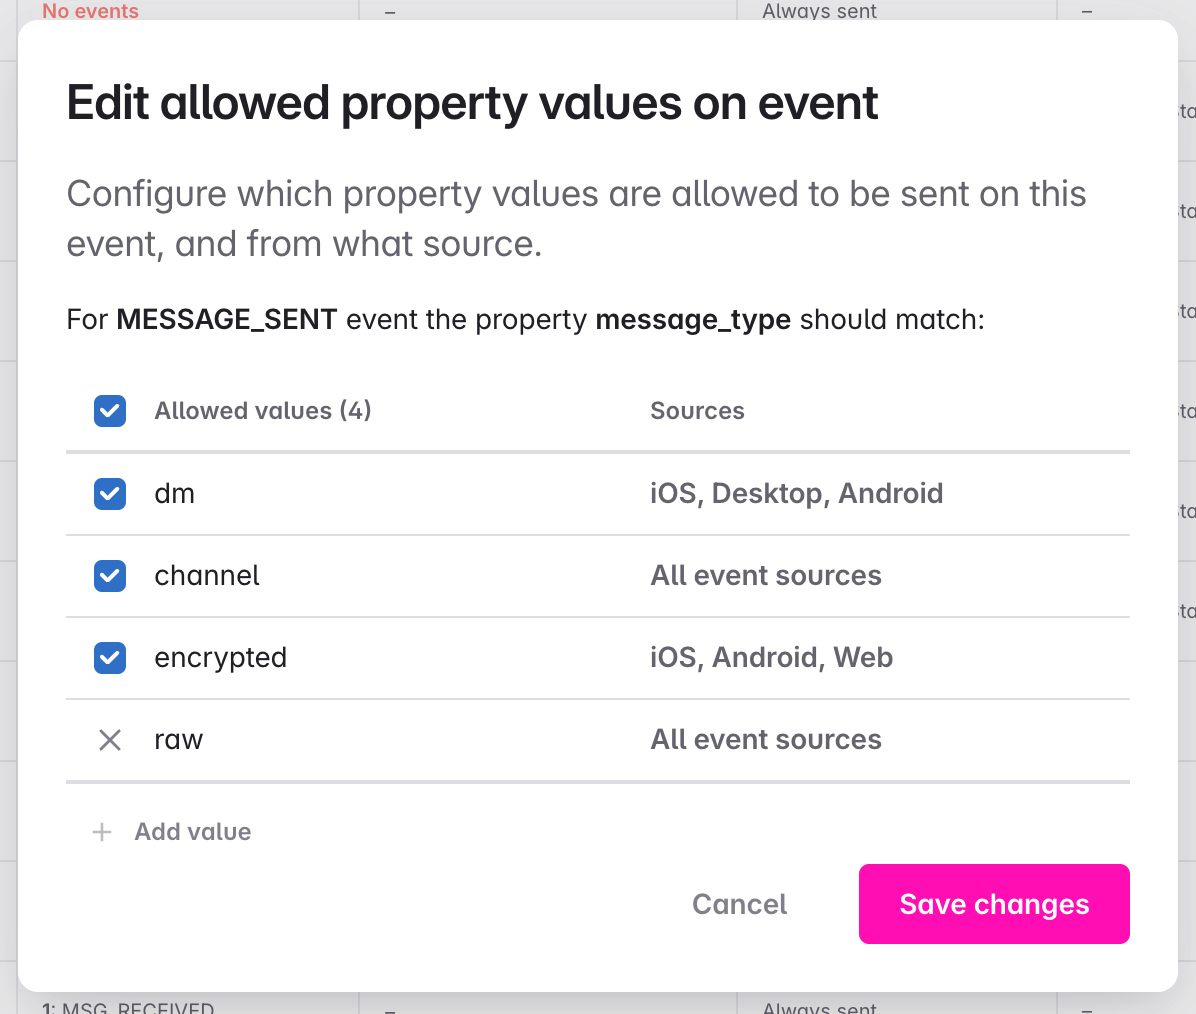
### Regex pattern validation
The regex validation is useful if you want to allow any string value, but want to make sure that the value conforms to a certain pattern. As regex doesn't have build-time validation, it's not enforced when using Codegen but the desired regex pattern is communicated to developers with comments in the code. We are planning to implement runtime validation for regex patterns in the future that will be able to catch incorrect values at runtime, for example when testing the implementation as a developer or as part of a quality assurance process (QA). When defining a regex pattern your regex is validated and you can provide an example value that will be validated against the regex. Furthermore you can define overrides for the regex pattern for each event.
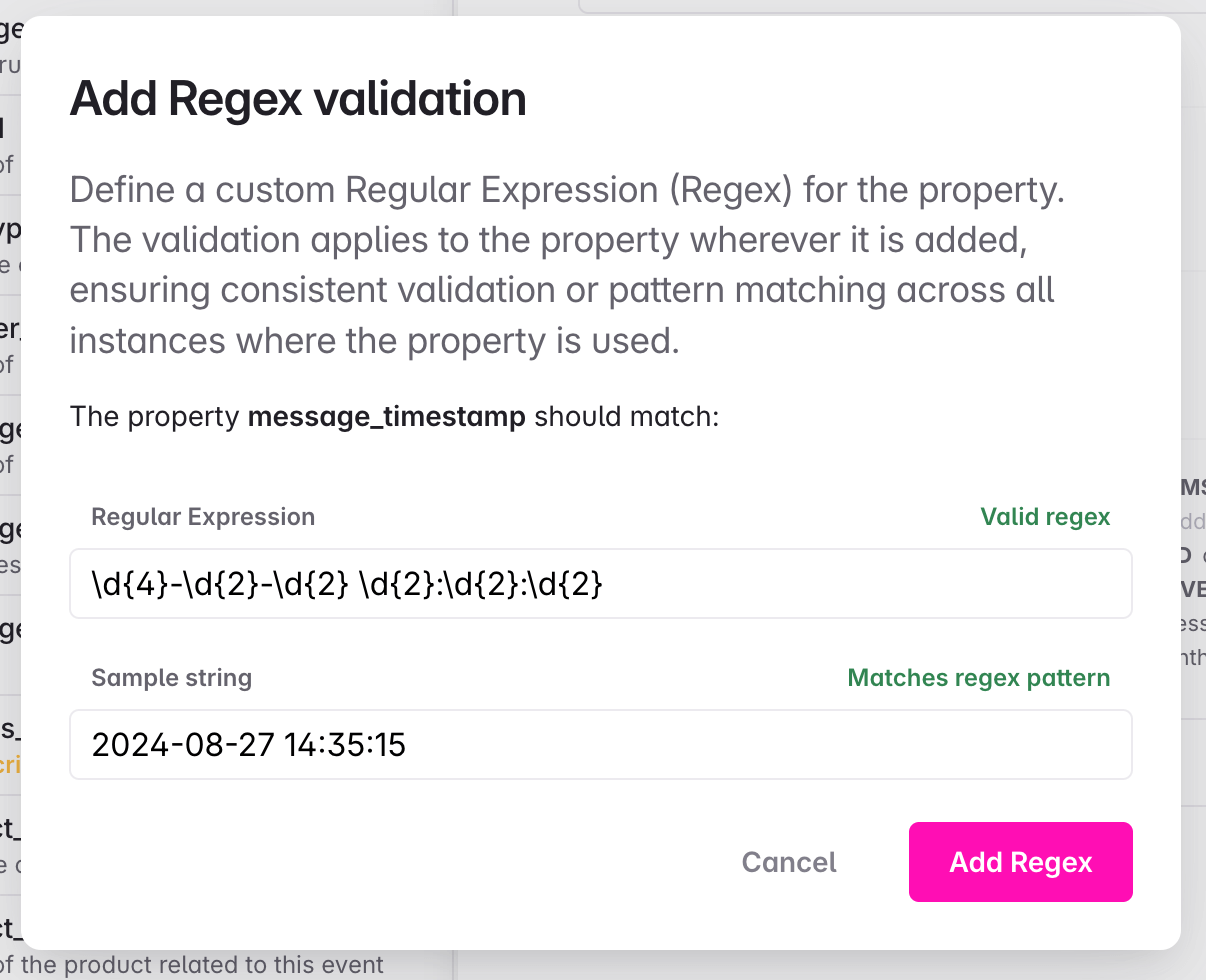
## Replacing a Property
To replace a property with another property, you can use the `Replace property with...` (see screenshot) action from the context menu in the property modal.
This makes sure that the property is replaced in all events where it is used.
## Mixpanel Super Properties
The closest equivalent to Mixpanel's Super properties are Avo System Properties. The difference: Mixpanel Super Properties persist on the device, while Avo System Properties persist in a session. All the Mixpanel Super Properties use cases can be achieved with manual usage of cookies/local storage + Avo System Properties.
You would have two options for this:
- Case 1: If you don't need persistence across sessions: You can replace Mixpanel Super Properties with Avo System Properties.
- Case 2: If you need persistence across sessions: You would maintain the data in cookies/local storage, retrieve it when the app starts and provide the values when initializing Avo or before calling Avo functions.
## Snowplow Contexts
To set up a Snowplow object, the property has to be attached to an event that is being sent to Snowplow. This can be configured in the source configuration of an event. Then you can create a property and set it's type to an object. When you do that, then the option appears on the property to make it a Snowplow context. When you check that box, the code will be generated such that the object is converted to a Snowplow object.
You would need to define the schema id at this stage.
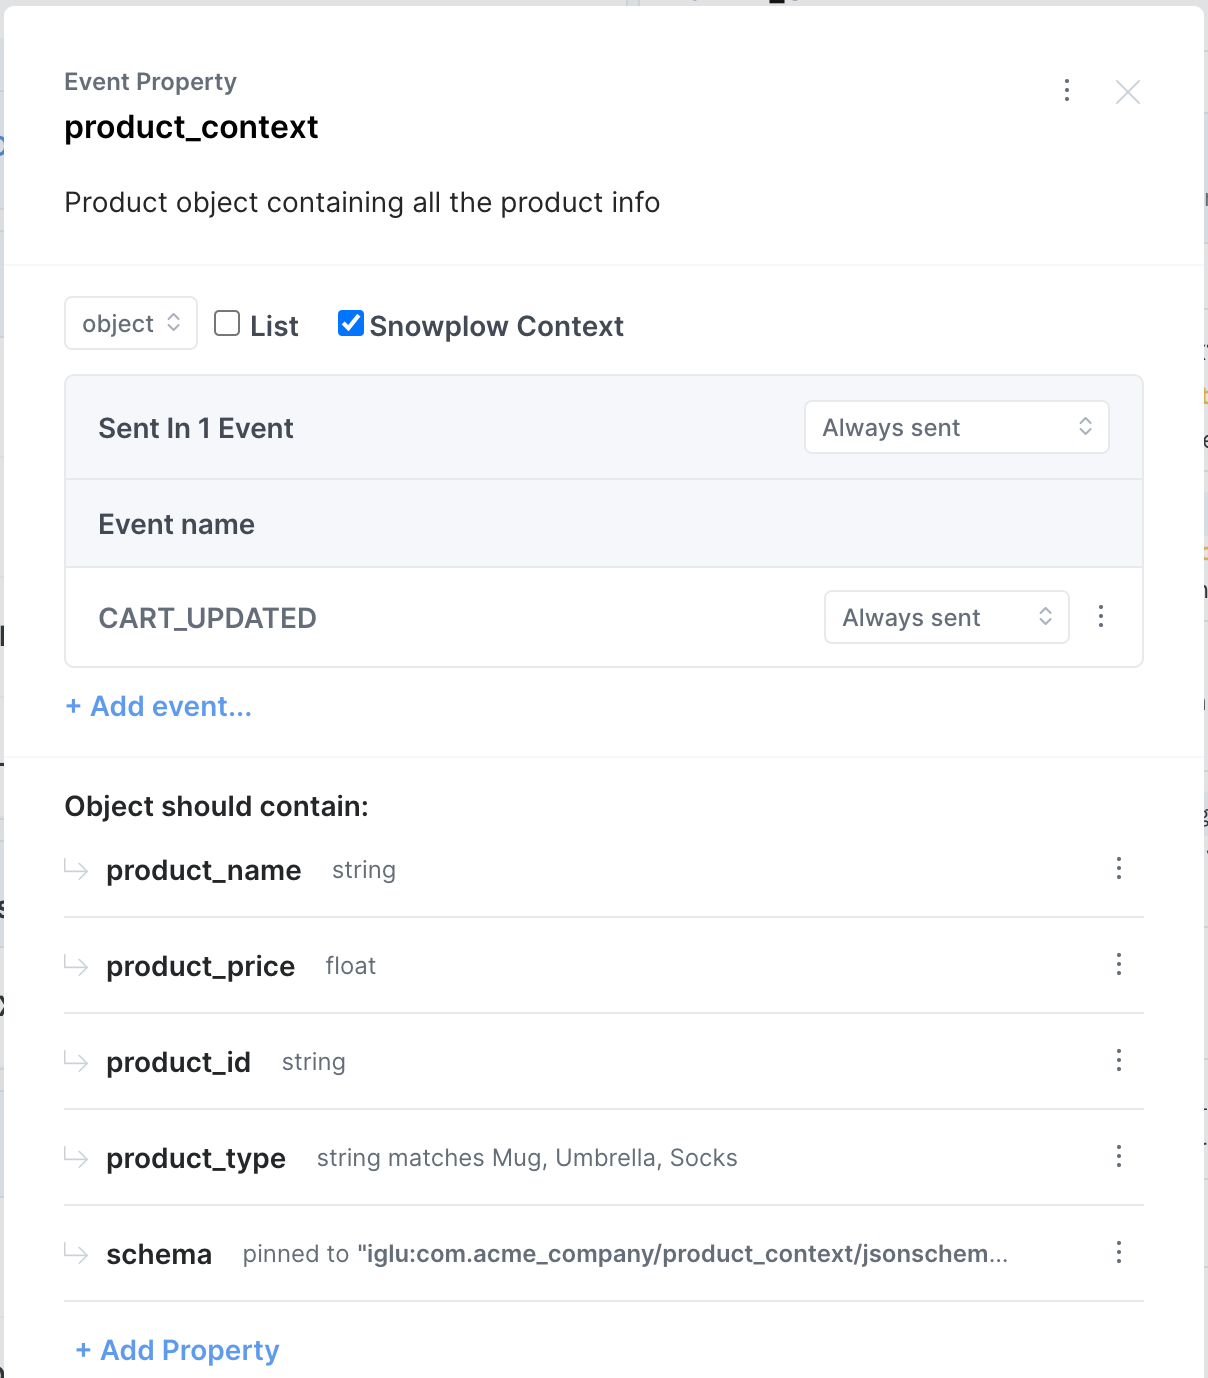
Here's how an individual Snowplow context is translated from what is defined in the UI to the context data structure:
```json
{
"schema": "iglu:com.acme_company/product_context/jsonschema/1-0-0",
"data": {
"product_name": "product_name_value",
"product_price": 10.0,
"product_id": "product_id_value",
"product_type": "product_type_value"
}
}
```
Each Snowplow context defined on an event in Avo then added to form an array of contexts:
```json
[
{
"schema": "iglu:com.acme_company/product_context/jsonschema/1-0-0",
"data": {
"product_name": "product_name_value",
"product_price": 10.0,
"product_id": "product_id_value",
"product_type": "product_type_value"
}
},
{
"schema": "iglu:com.acme_company/page_context/jsonschema/1-0-0",
"data": {
"page_name": "page_name_value",
"page_path": "page_path_value",
"page_category": "page_category_value"
}
}
]
```
The array of context is then sent with the event where event call to Snowplow that looks like this:
```javascript
Snowplow.logEvent(
{
schema: 'iglu:com.acme_company/event_action/jsonschema/2-0-0',
data: {
avo_event_name: 'CART_UPDATED',
event_property_1: 'event_property_value_1',
event_property_2: 'event_property_value_2',
},
},
[
{
schema: 'iglu:com.acme_company/product_context/jsonschema/1-0-0',
data: {
product_name: 'product_name_value',
product_price: 10.0,
product_id: 'product_id_value',
product_type: 'product_type_value',
},
},
{
schema: 'iglu:com.acme_company/page_context/jsonschema/1-0-0',
data: {
page_name: 'page_name_value',
page_path: 'page_path_value',
page_category: 'page_category_value',
},
},
],
);
```
The Snowplow object above is provided by you, so you get full access to this payload and can easily route it to Snowplow.
---
Source: https://www.avo.app/docs/data-design/avo-tracking-plan/metrics.md
# Metrics
*Learn about the metrics in your tracking plan*
Metrics define how you measure the success of your product. By documenting metrics in Avo alongside your events, you create a direct link between _what_ you track and _why_ you track it, making it clear which events power which business outcomes and **which metrics are affected when an event changes**. Read more in our [documenting downstream dependencies guide](https://www.avo.app/docs/data-design/guides/documenting-downstream-dependencies.md).
We recommend starting every data design effort with metrics: think about your research questions and goals before defining event structures. That way you design the events and properties you actually need and avoid tracking data that has no purpose.
> Avo supports documenting **Purpose Meetings**, a framework for aligning teams on goals and metrics before designing events. Read more in the blog post about [tracking the right product metrics](https://www.avo.app/blog/tracking-the-right-product-metrics).
## How do metrics in Avo work?
Metrics are built from events and event variants, the building blocks needed to visualize the metric in your analytics tool. For example, a feature that improves the signup experience might have two metrics:
- **Signup Funnel Conversion**: conversion rate from clicking the sign-up button to completing signup
- **Signed-Up Proportion**: proportion of daily active users that are signed up
Because events are tied to metrics, they appear not only in the Metrics view but also in the details of every associated event and event variant. This makes it easy for anyone to understand _why_ a particular event exists: it supports a metric that is part of a goal.
> [Journeys](https://www.avo.app/docs/data-design/avo-tracking-plan/journeys.md) are a great way to visually design the events your metrics need. You compose a flow from product screenshots and connect triggers to events, giving your team visual context for what gets tracked and where. Events created in a journey can then be added to metrics just like any other event.
## Metric types
| Metric type | Purpose | Items |
| --- | --- | --- |
| **Funnel** | A series of events describing a user journey | Multiple events, with optional property filters per step |
| **Event Segmentation** | Analyze events by filtering or grouping by properties | Multiple events, with optional property filters and group-by per event |
| **Retention** | Measure how well users return after an initial action | A born event and a return event, with optional property filters |
| **Proportion** | Event A divided by event B, measuring a ratio against a baseline | Two events, with optional property filters |
| **[Custom Event](#custom-events)** | A reusable collection of events that can be embedded inside other metrics | Events, event variants, or other eligible Custom Events |
## Creating a metric
1. Navigate to the **Metrics** view in your tracking plan
2. Click **"+ Add Metric"**
3. Give your metric a name and description
4. Select a metric type: Funnel, Event Segmentation, Retention, Proportion, or Custom Event
5. Add events, event variants, or eligible Custom Events to the metric
When adding items to a metric, the event picker shows three kinds of items: **events**, **event variants**, and **Custom Event metrics**. For Custom Event metrics, choose a name that clearly conveys what the composite event represents (e.g., "Successful Checkout", "All Page Views"). Once created, Custom Events appear in the event picker of every other metric.
For a more detailed walkthrough, see the [step-by-step guide to defining a metric](https://www.avo.app/docs/data-design/start-data-design.md#defining-a-metric).
## Custom Events
A Custom Event is a metric type that groups multiple events into a single reusable item, similar to custom events in analytics platforms like Mixpanel and Amplitude. Unlike regular events, a Custom Event is itself a metric that can be embedded inside other metrics, acting as a saved definition you maintain in one place.
### Why use Custom Events?
Custom Events let you define a collection of events and use that definition as a single source of truth across your tracking plan. Without them, you would need to re-specify the same set of underlying events every time you use them in a metric, which is error-prone and harder to maintain.
**Example:** Suppose you want a single "All Page Views" metric that combines page views across sources: `Landing Page Viewed` from your marketing site, `Screen Viewed` from your mobile app, and `Page Viewed` from your payment portal. By defining a Custom Event called "All Page Views," you can drop it into any funnel, segmentation, or retention metric without having to remember and add all three events separately each time.
Common use cases include:
- **Composite conversion events.** Combine multiple events into a single logical step that represents a user outcome (e.g., "Successful Checkout", "Completed Onboarding").
- **Standardized engagement definitions.** Define what counts as an "Active Session" or "Meaningful Interaction" once and use it consistently across retention, funnel, and segmentation metrics.
- **Shared baselines.** Create a reusable baseline like "Qualified User" for use in multiple proportion metrics.
### Nesting rules
Custom Events support one level of nesting to keep metrics understandable and predictable. The following rules apply:
- **Only Custom Event metrics can be nested.** You cannot nest a Funnel inside another Funnel, or embed a Retention metric inside a Segmentation metric. Only metrics of type Custom Event can be added as items inside other metrics.
- **One level deep maximum.** A Custom Event that already contains other nested Custom Events cannot itself be nested inside another metric. This prevents deeply nested chains that would be difficult to understand.
- **No adding to already-nested metrics.** A Custom Event that is already nested inside another metric cannot have additional Custom Events added to it. This prevents indirect multi-level chains (A contains B, then B gets C added to it later).
- **No circular references.** A metric cannot contain itself, either directly or indirectly.
- **Invalid options are shown but disabled.** When browsing the event picker, Custom Events that violate any of these rules still appear in the list but are disabled with the reason shown (e.g., "Cannot nest metrics more than one level deep"), so you can understand why a particular Custom Event is not available.
## What's next?
- [Journeys](https://www.avo.app/docs/data-design/avo-tracking-plan/journeys.md): Visually design the events your metrics need using product screenshots
- [Defining a metric in Avo](https://www.avo.app/docs/data-design/start-data-design.md#defining-a-metric): Step by step guide on how to define a metric in Avo
- [Organizing Metrics and Events](https://www.avo.app/docs/data-design/guides/organizing-metrics-and-events.md): How to organize metrics and events in Avo
- [Documenting Purpose Meetings in Avo](https://www.avo.app/docs/data-design/guides/documenting-purpose-meetings-in-avo.md): How to document the result of a purpose meeting in Avo
---
Source: https://www.avo.app/docs/data-design/avo-tracking-plan/define-sources-and-destinations.md
# Sources
If you open the “Sources” tab in your Avo workspace you’ll find yourself in a place to define and configure sources and destinations.
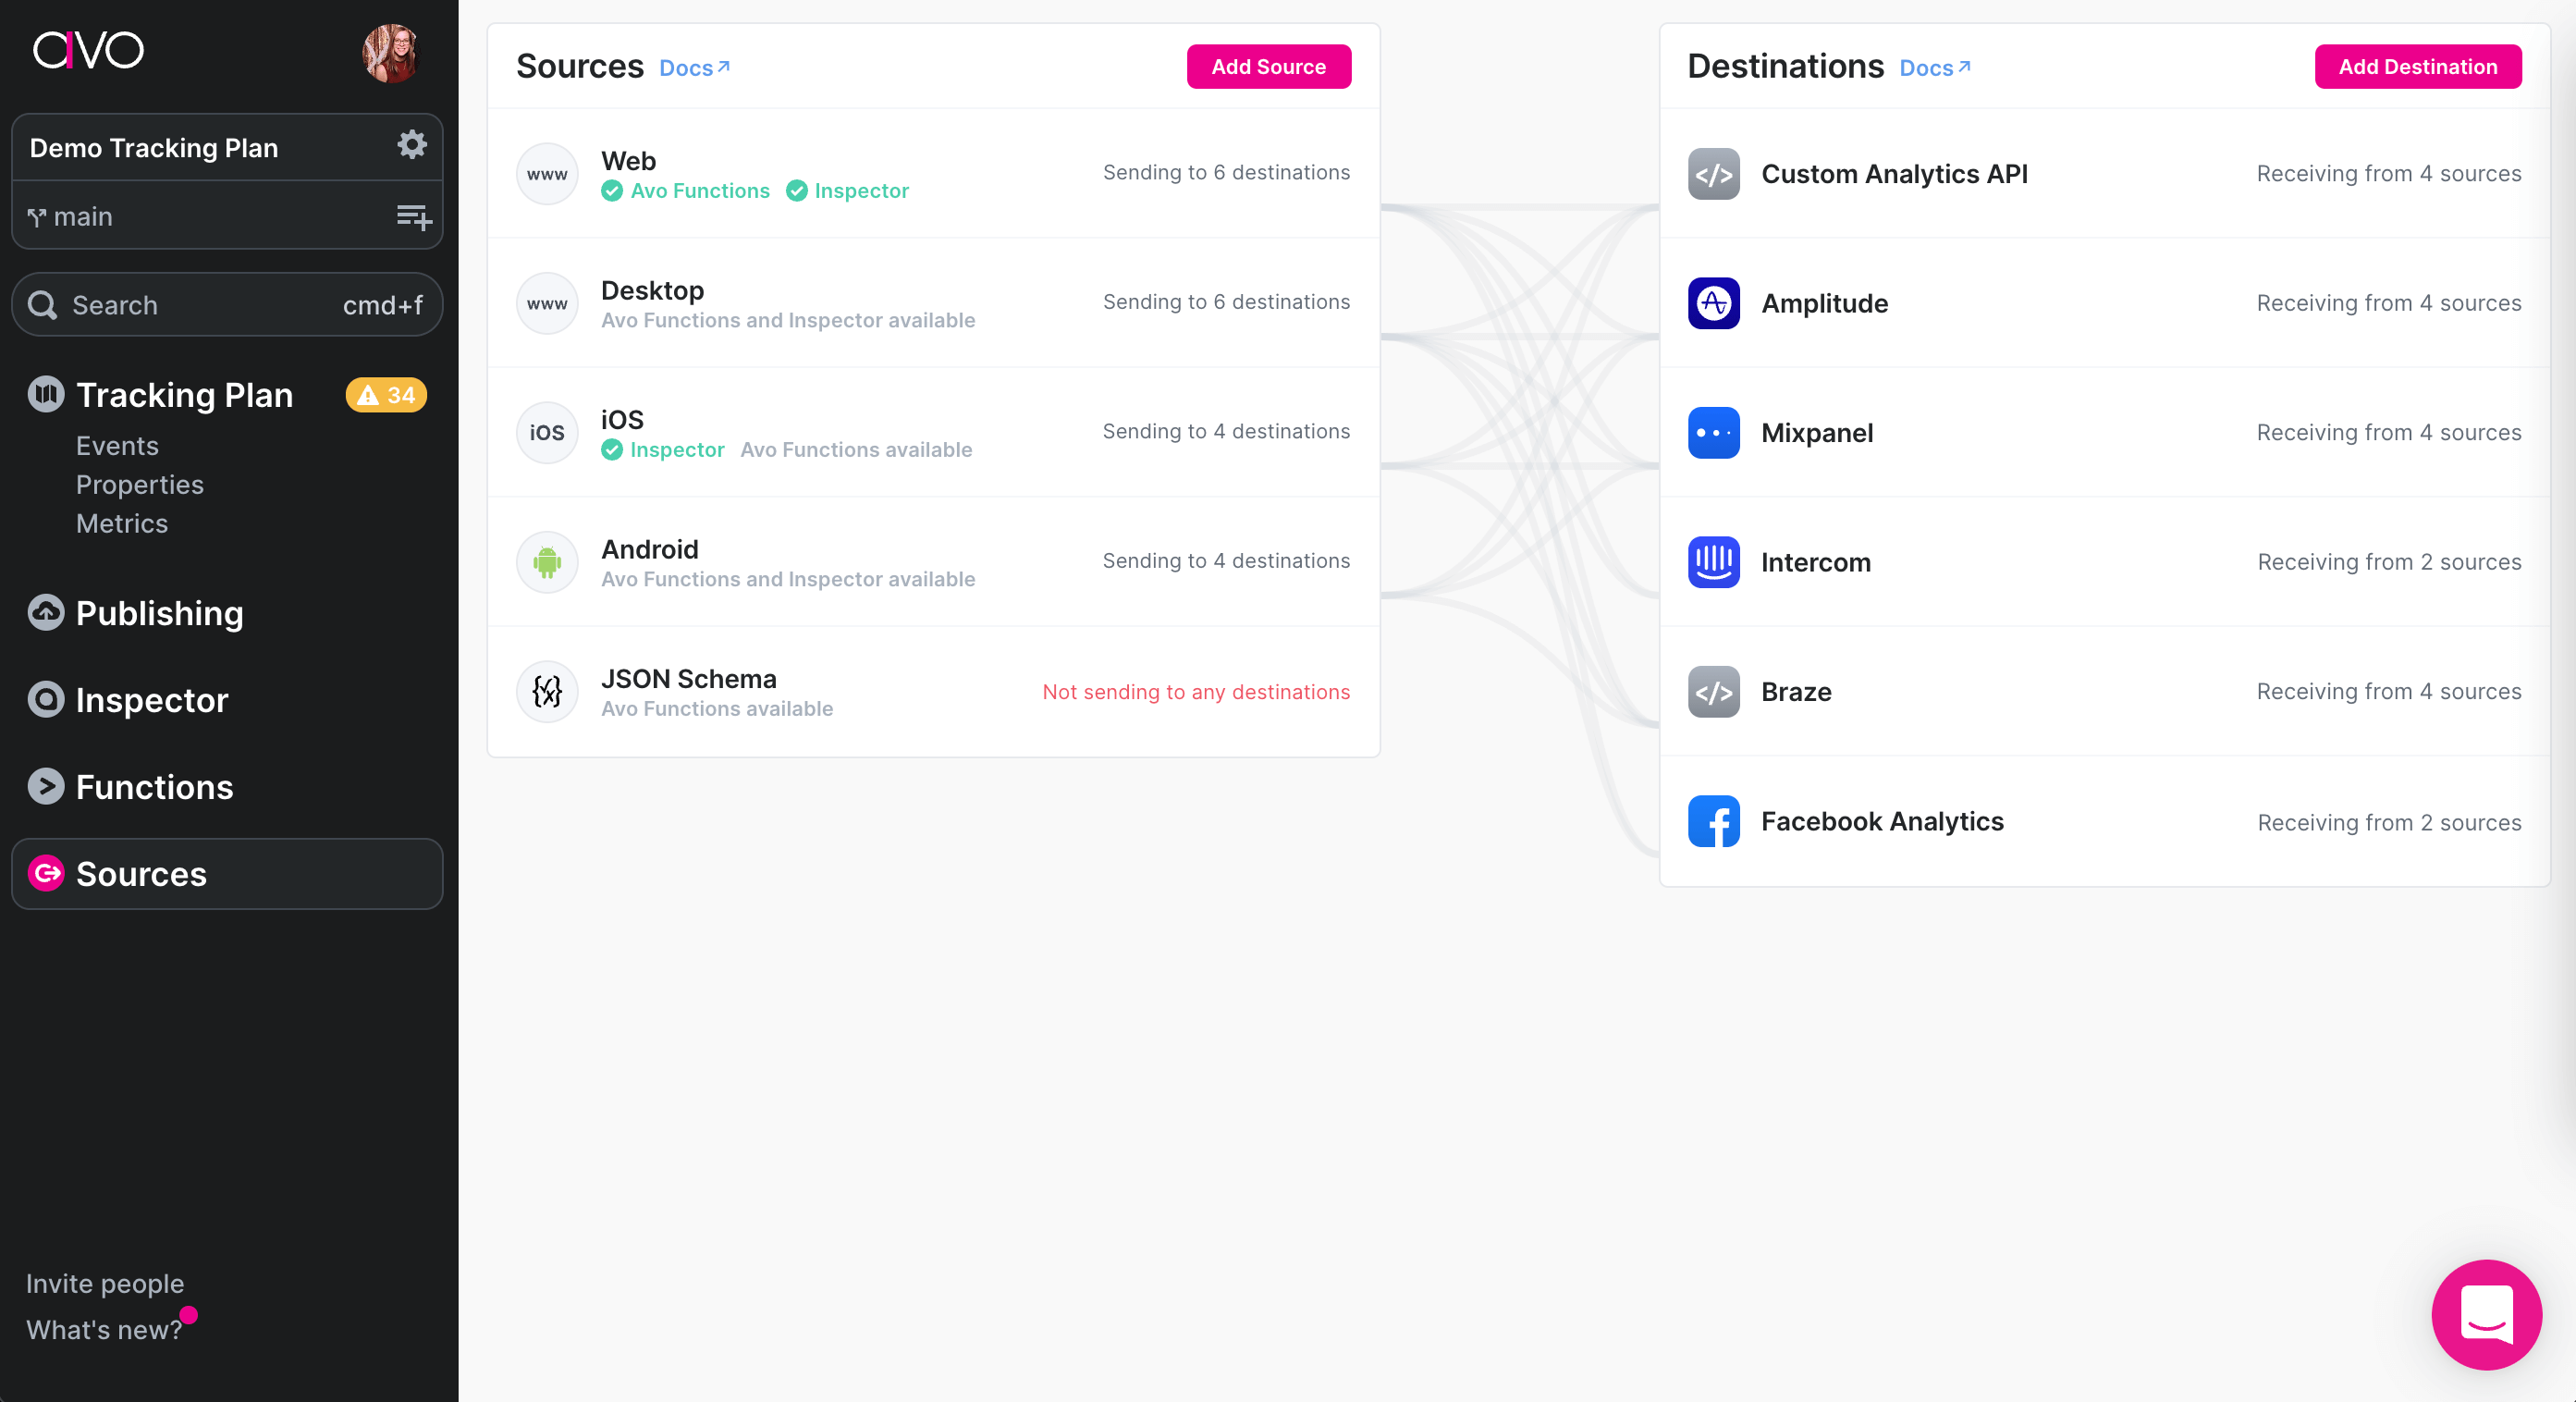
Sources and destinations are an important part of your tracking plan, and crucial for implementation, so we recommend maintaining an up-to-date list of them and attaching relevant sources and destinations to events. If you use Avo Codegen the same data is used to generate the tracking code. If you use Inspector, the sources represent the products/platforms where you install Inspector
## Sources
The sources are code bases that you send events from and install Inspector, for example your website, mobile application or your server.
In the tracking plan, the sources help you understand what app is sending particular events and they will also help you to locate a subset of changes to give to the platform developers to implement. Either using the “Copy instructions for developers” (on adoption steps 1 and 2) or the generated code (on adoption step 3) Avo will automatically select relevant changes for a particular platform and will help the developer to orient in the tracking plan.
### Creating a source
To create a source press “Add Source” button in the “Sources” tab.

Then you’ll see a configuration dialog, define necessary config and press “Create Source”.
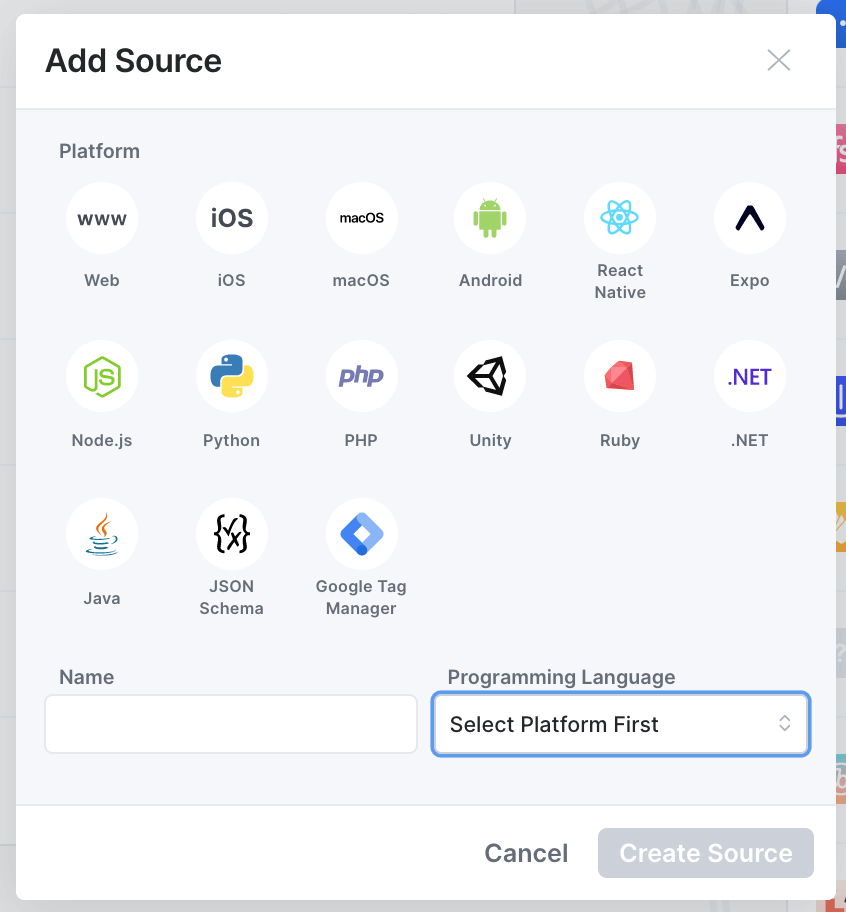
### Overview
The overview section of the source setup contains the base configurations for the source.
#### Name
We recommend naming your source in a manner that is easy for anyone to understand what part of your product it refers to.
For **single product organizations** we normally recommend creating sources representing each git repository that events should be sent from – and naming them accordingly.
- If you have a single repository per development platform then your sources could be named something like
- "Web"
- "Mobile" (if using React Native)
- "iOS" and "Android" (if using iOS and Android native platforms)
- "Backend"
- If you have multiple repositories for some of your development platforms, we recommend creating a source for each of them. For example if you have your backend split into micro-services your sources could be named something like:
- Backend – Authentication
- Backend – Payment
- Backend – Notifications
For **multi product organizations** we normally recommend creating a source per product per development platform. So that they will be named something like:
- Product A – Web
- Product A – Mobile
- Product A – Backend
- Product B – Web
- Product B – Mobile
- Product B – Backend
- ...
Read more about [organizing multi-product workspaces](https://www.avo.app/docs/data-design/guides/organizing-metrics-and-events.md)
.
#### Development platform
The development platform you select for your source indicates whether it's a web, desktop, mobile, backend or a game engine source and what kind. Below is a list of supported development platforms:
- Web
- Desktop
- MacOS
- Mobile
- iOS
- Android
- React Native
- Expo
- Backend
- Node.JS
- Python
- PHP
- Ruby
- .NET
- Java
- Game Engines
- Unity
You don't have to define the programming language unless you want to set up and use Avo Codegen to implement your tracking. Read more about [supported and upcoming programming languages here](https://www.avo.app/docs/reference/avo-codegen/programming-languages.md).
#### Destinations
The destinations are the other end of the source \<-> destination pair. You can configure which destinations should be connected to this source in the source details.
To enable or disable a destination globally for a source, you can click the source name in the “Sources” tab it will open the source details. There you can pick the destinations you want this source to send data to.
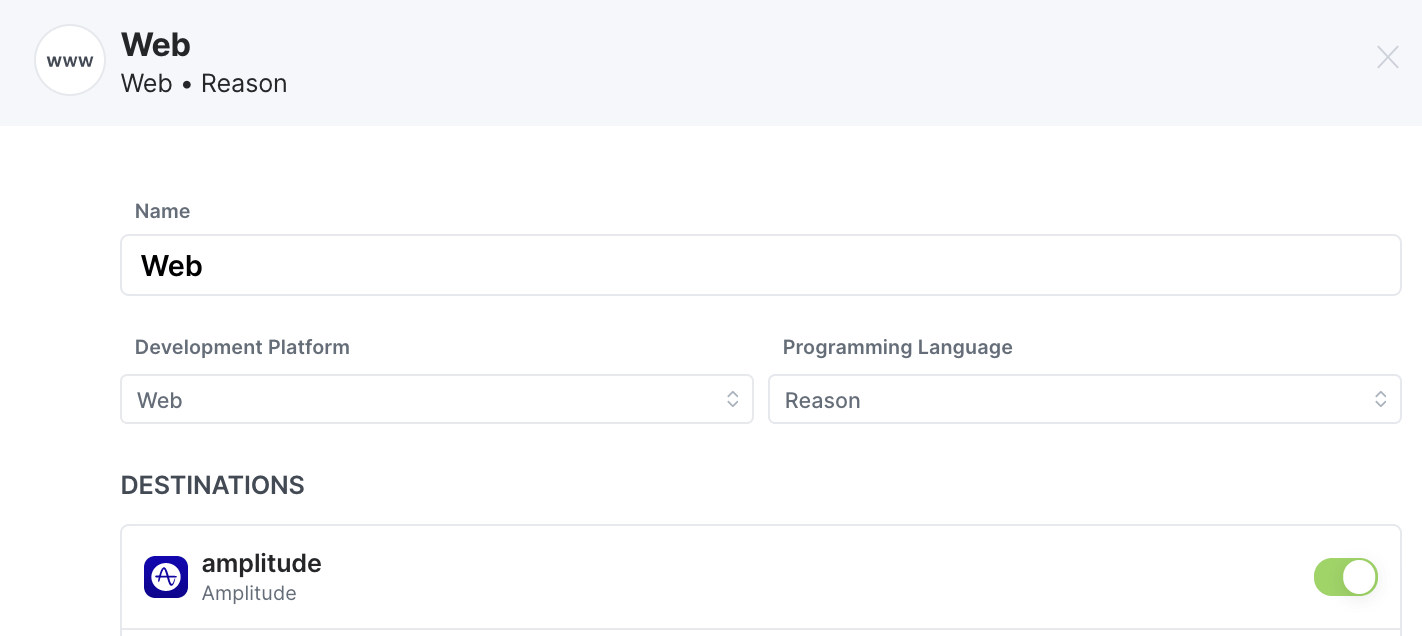
Think “Our web app sends data to Amplitude”.
This can also be configured in the destination details, where sources can be toggled on and off.
#### Events
The events list in the source overview shows all the events that the source is currently attached to and whether the events should be implemented with Avo or not.
If an event is in this list, it means that the event is or should be sent from this source.
If the "Implement with Codegen" check mark is checked, it means that the event should be implemented using Avo Codegen that is generated based on the event definition in the tracking plan. If the check mark is not checked, it means that the event should be implemented using existing implementation methods, probably a direct call to the analytics SDK.
When creating an event we recommend to add it to all the existing sources where it should be sent from, whether you are using Codegen or existing implementation methods to implement. This information is both used by Codegen to automatically create the tracking code if you are using Codegen and to generate implementation instructions for a developer.
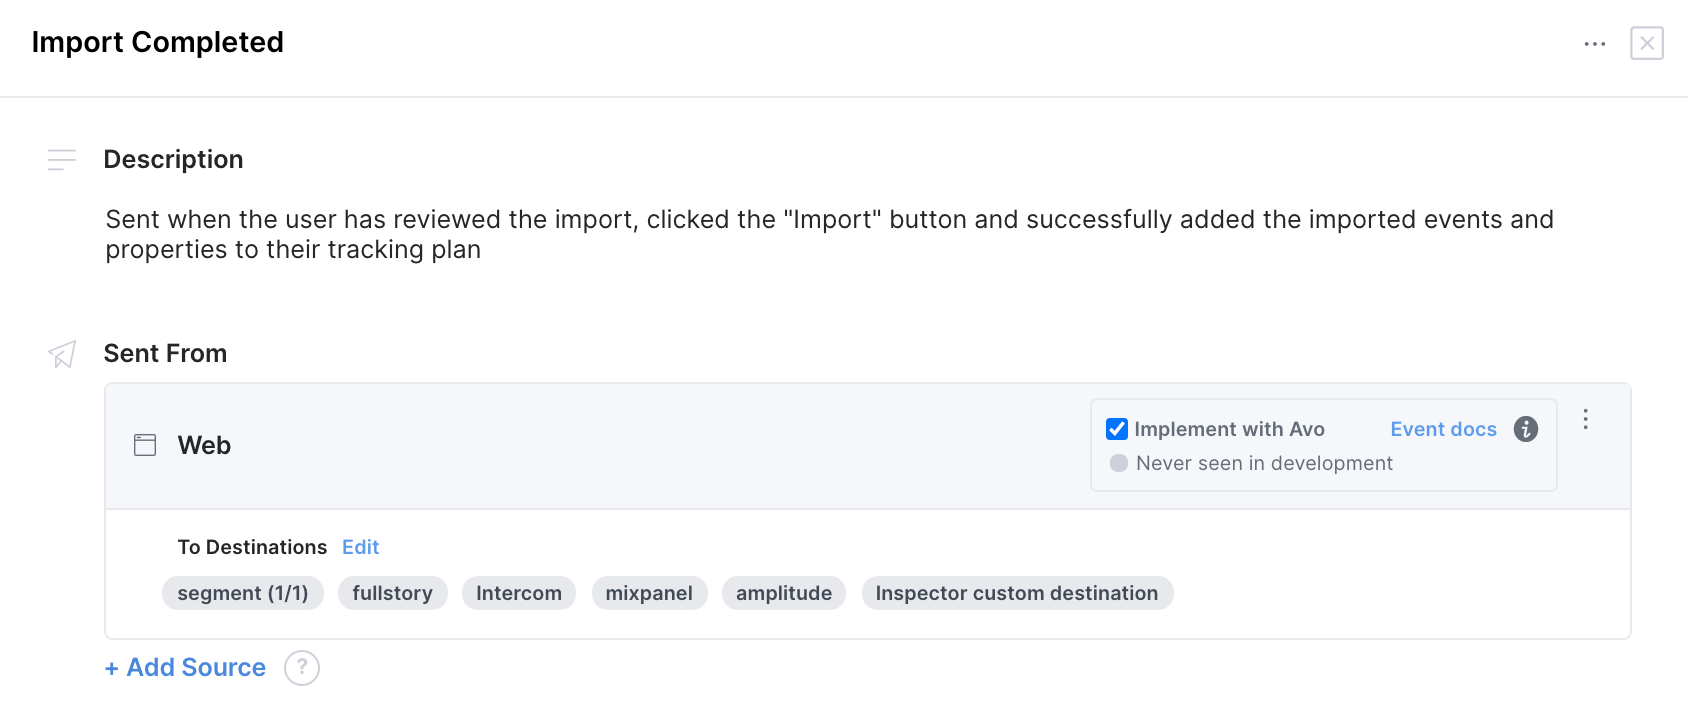
Think “Import Completed event is sent from our web site”.
To add or remove events event to/from the events list on this source, first click "edit"
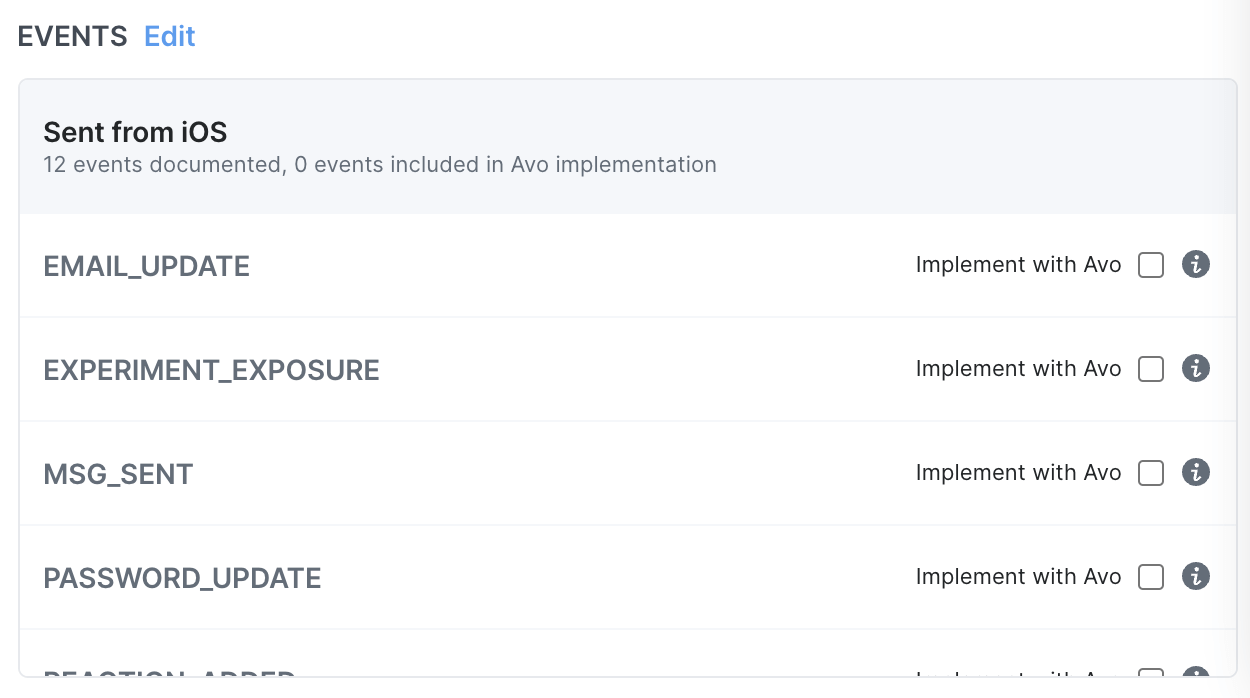
and then check or uncheck the events you want to add/remove on the modal that appears.
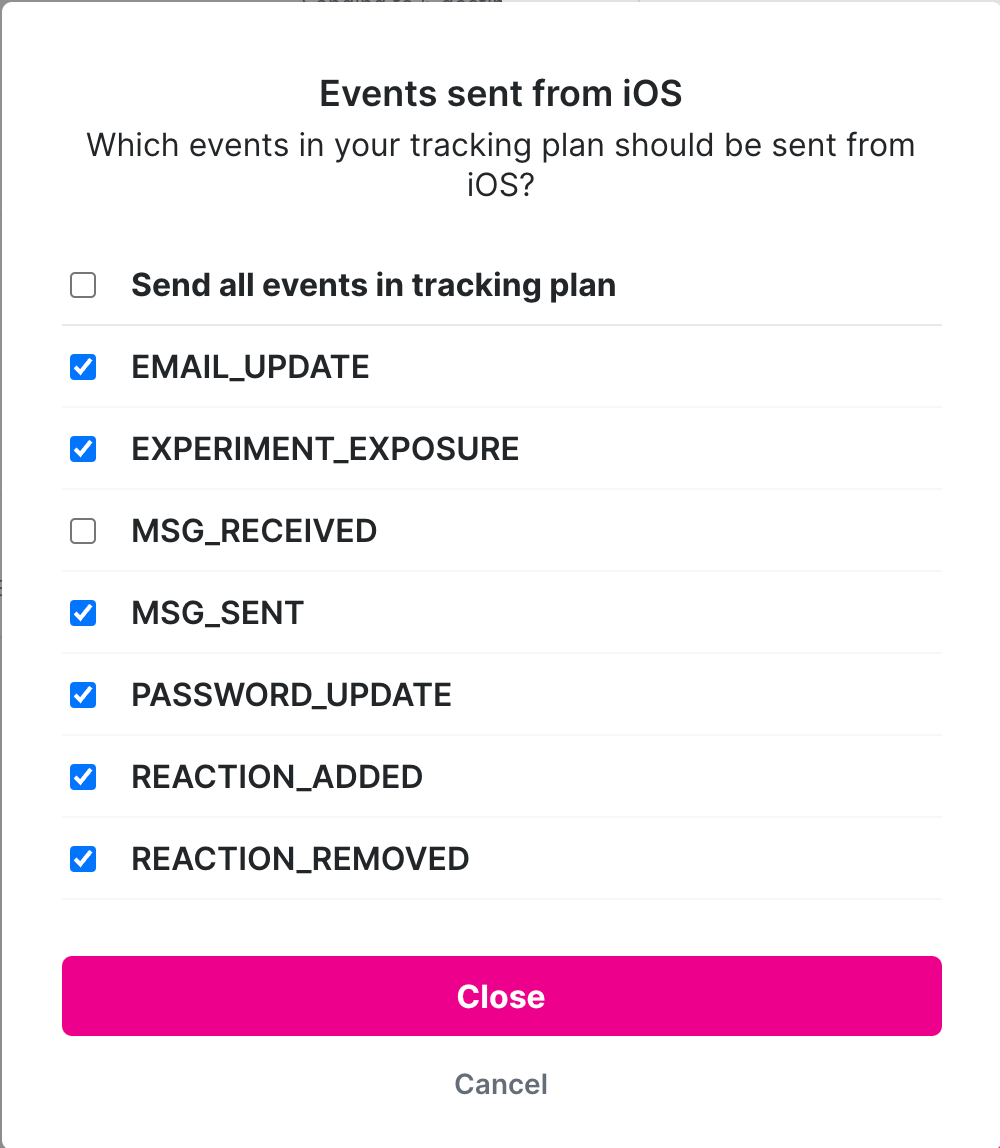
This is a really convenient way to bulk add or remove a source to multiple events, instead of having to go into each event details to add or remove the source.
#### System Properties
The System Properties section allows you to configure the presence of all [system properties](https://www.avo.app/docs/data-design/avo-tracking-plan/properties.md#system-properties) for this particular source in one place. This section appears right below the events table in the source overview.
Each system property can be configured with one of three options:
- **Always**: The property is always sent from this source. It will be marked as required in Inspector validation and Codegen initialization method.
- **Sometimes**: The property is optionally sent from this source. It will be marked as optional in Inspector validation and Codegen initialization method.
- **Never**: The property is never sent from this source. It will not be expected in Inspector validation and Codegen initialization method will not include it.
This is a convenient way to configure all system properties for a source at once, ensuring that your tracking plan accurately reflects which system properties are available on each platform. For example, you might set the `device_type` property to "Always" for your iOS source, since it's always available and sent on that platform.
### Inspector Setup
Inspector Setup part of the source details contains an overview of how to set up Inspector for this source for the first time and the API key needed to be able to start sending data.
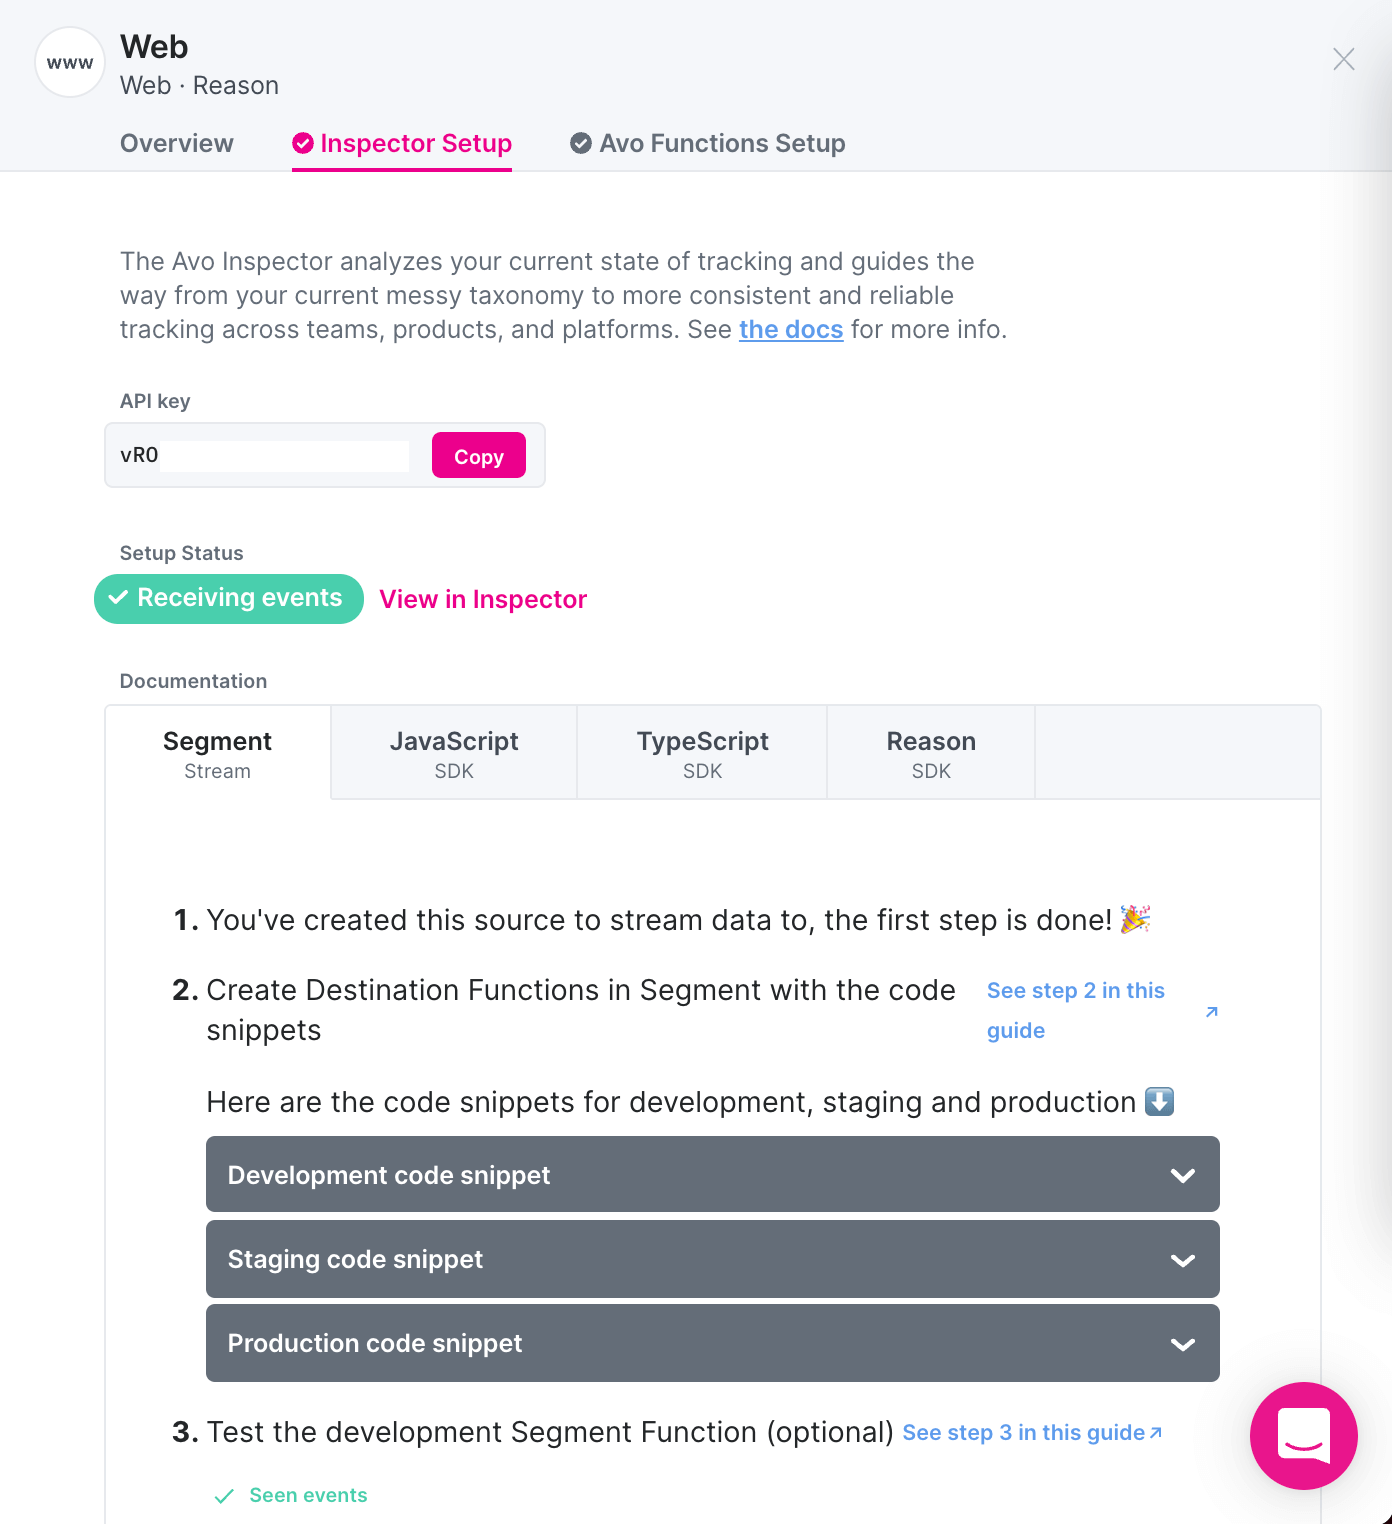
#### API Key
This is your API key that is unique for each source. Follow the documentation in the section below to see where to paste it in your code.
#### Setup Status
The setup status indicates whether Inspector is receiving events or not. If it has yet to be installed with the API key for this source, the setup status will show "Listening for the first event..."
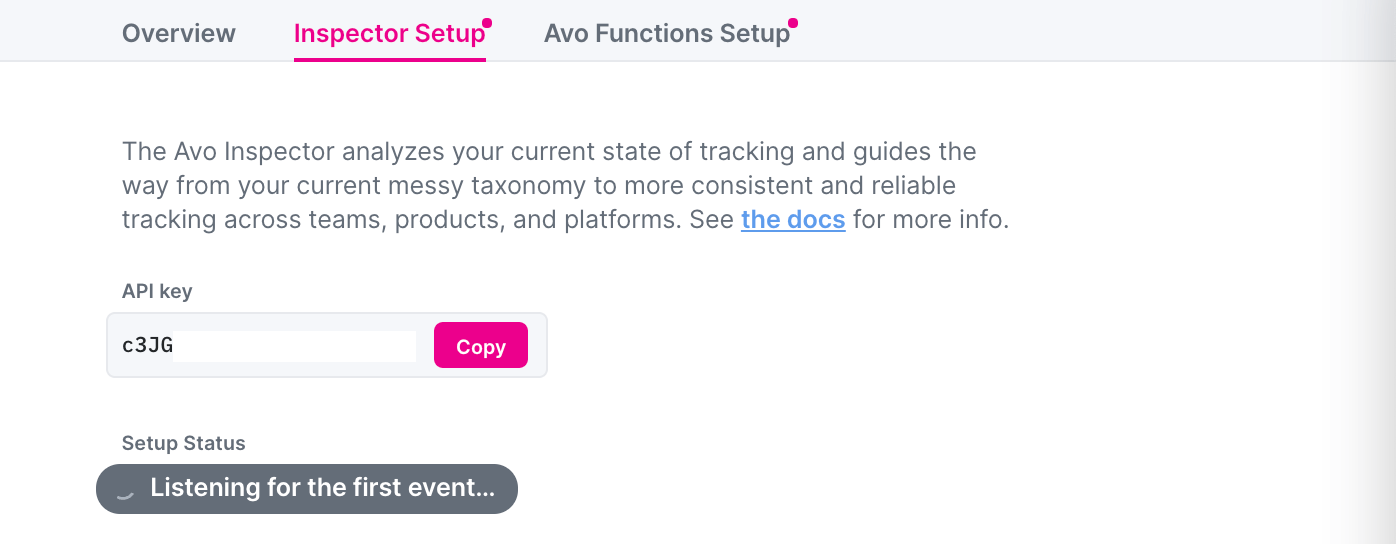
Once you have successfully installed Inspector, the setup status will show "Receiving Events" and a link to see them in Inspector dashboard.
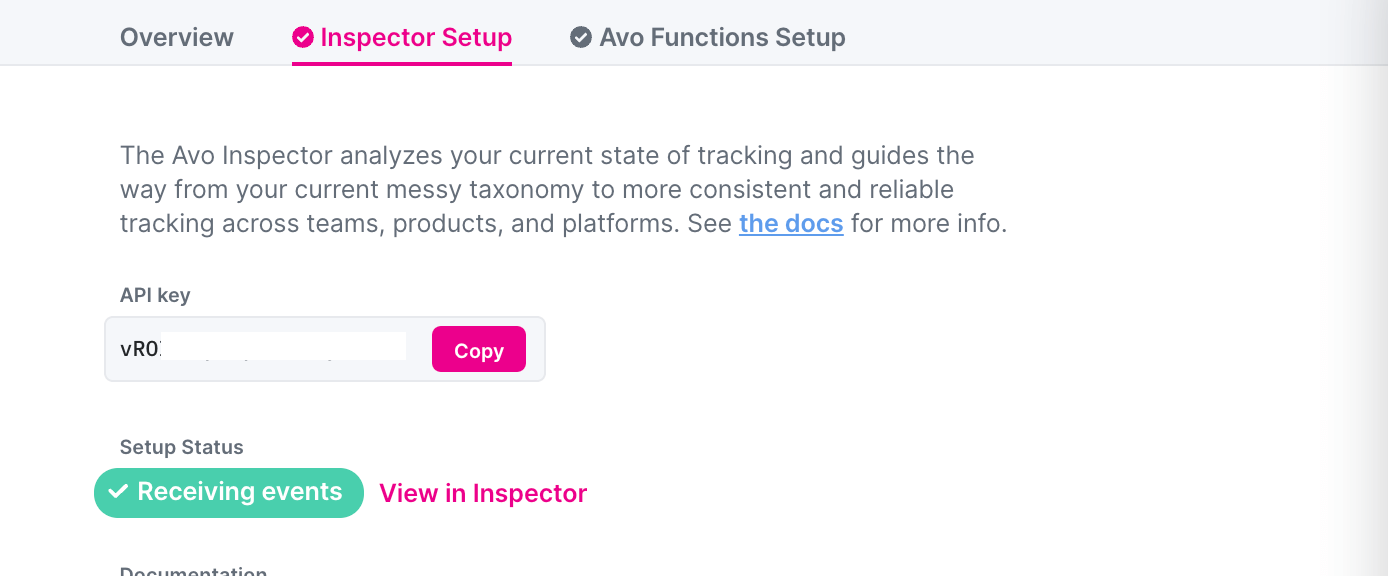
#### Documentation
The documentation is automatically generated instructions with code snippets on how to install Inspector using either Segment functions or directly for your programming language.
Check out the Tracking Observability part of this documentation to learn more on [how to set up Inspector](https://www.avo.app/docs/inspector/start-using-inspector.md).
### Avo Codegen Setup
The Codegen Setup part of the source details contains a step by step guide on how to set up and Initialize Avo function for this source for the first time.
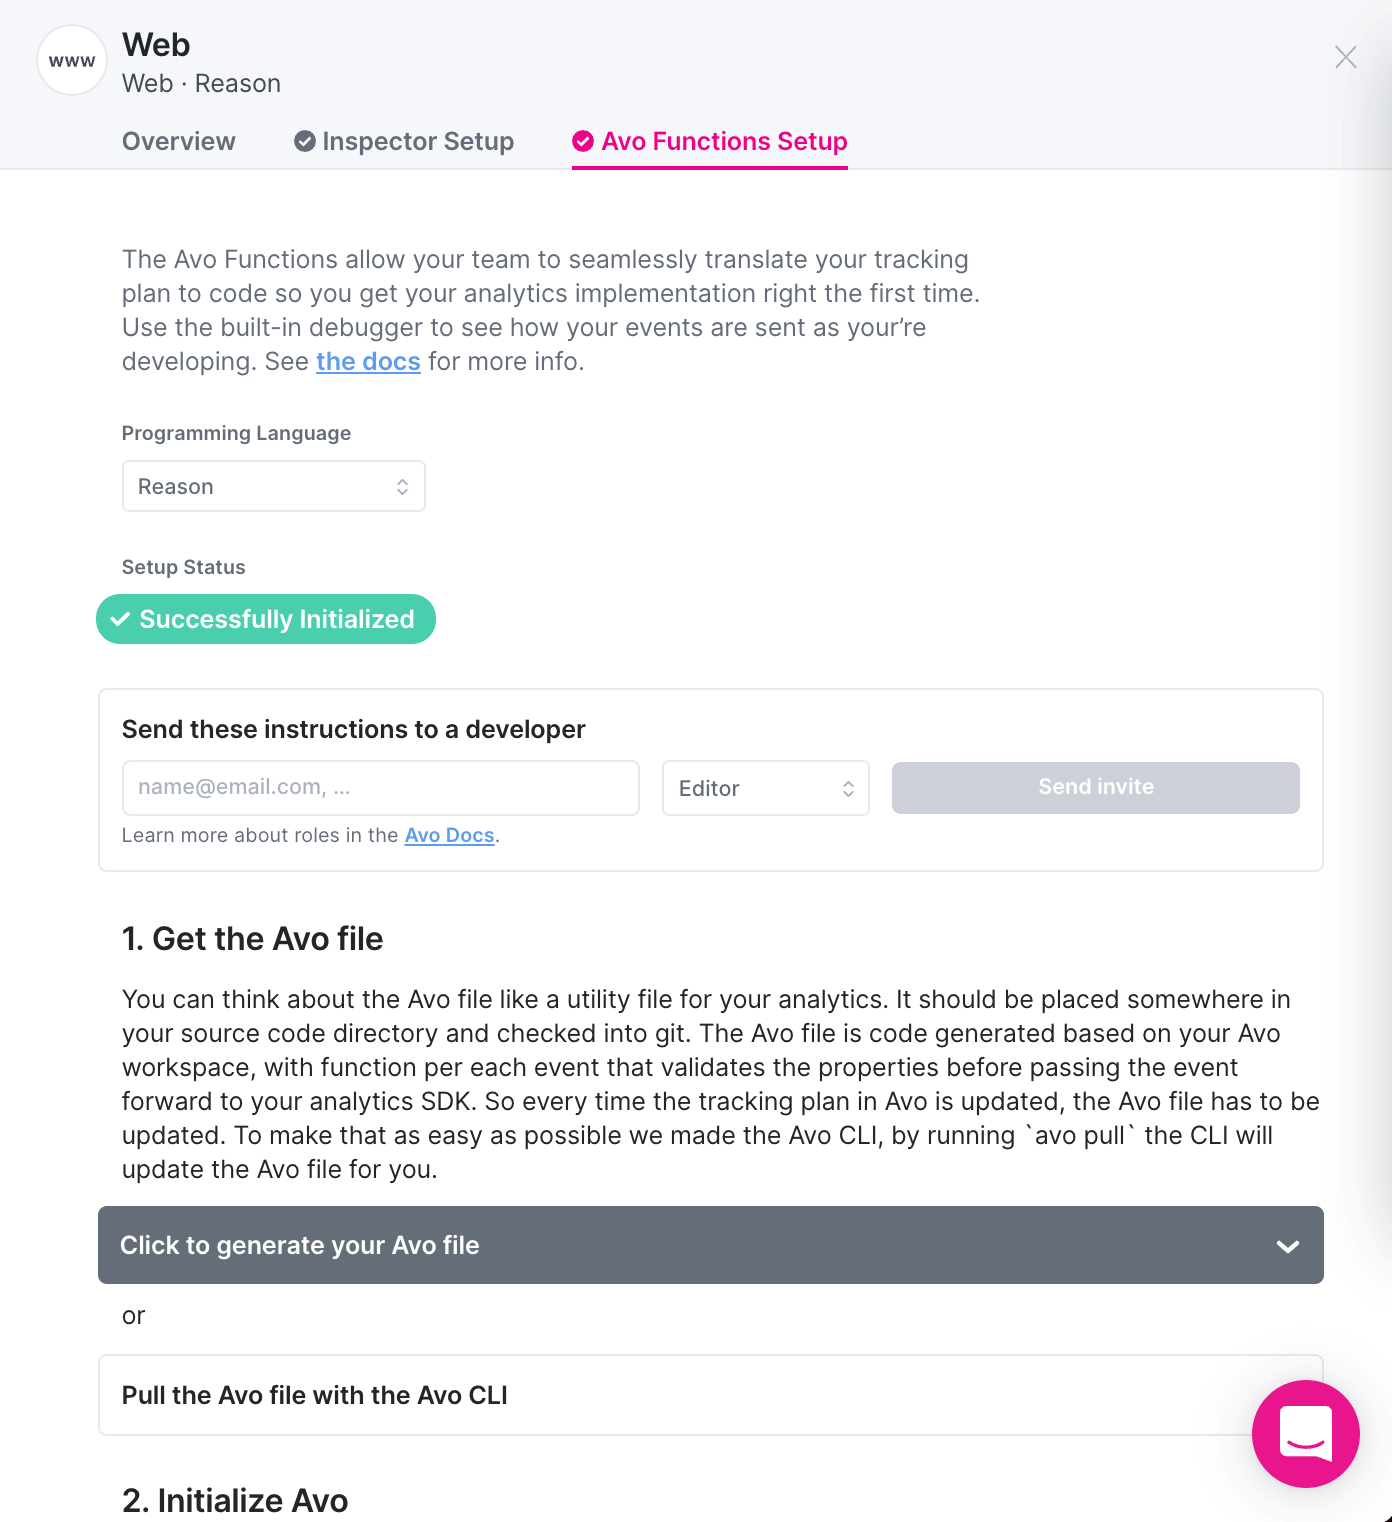
#### Programming Language
To start using Codegen for this source, you need to select which [programming languages here](https://www.avo.app/docs/reference/avo-codegen/programming-languages.md)
you want to generate the code in.
#### Setup Status
The setup status indicates whether Codegen has been successfully initialized or not. If they have yet to be Initialized for this source, the setup status will show "Listening for the first initialization..."
Once you have successfully initialized Codegen, the setup status will show "Successfully Initialized", which means you can start implementing events using Codegen.
#### Destination Interface
Destinations can have two modes: Destination Interface and Avo Managed:
- When set to Destination Interface (recommended), Avo will provide a set of callback methods to connect your existing analytics destination to your Avo instance.
- When set to Avo Managed, Avo will manage the destination for you, that includes initializing it and passing all data you send via Avo to relevant destination calls. Note that in Avo Managed mode you can't use your destination SDK outside of Avo, e.g. for existing tracking.
Learn more about Destination Interface and Avo Managed destinations in the [Destinations in Codegen doc](https://www.avo.app/docs/reference/avo-codegen/destinations.md)
.
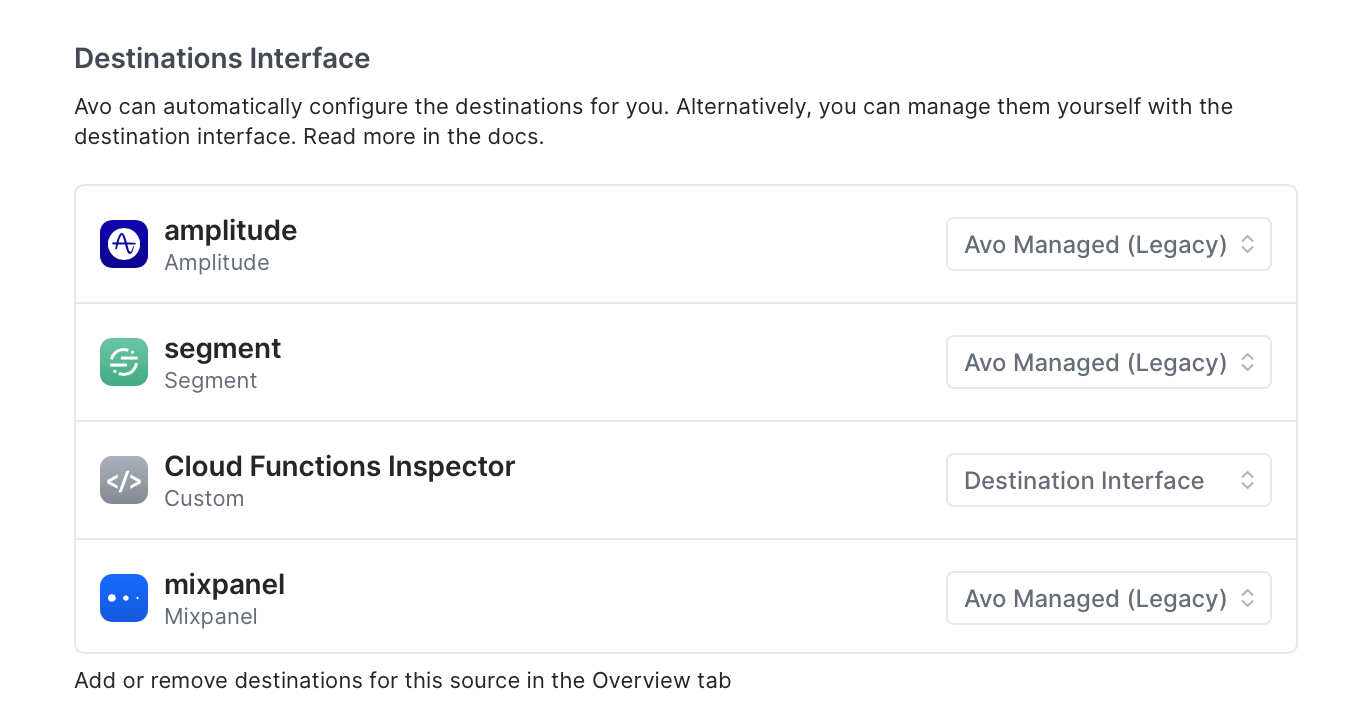
#### Documentation
The documentation is automatically generated for your source and the connected destinations. First you have to generate your Avo file by using our CLI or downloading it from the UI, then you can initialize Avo and implement your events.
Check out the Type Safe Code, unit tests and CI part of this documentation to learn more on [how to set up Codegen](https://www.avo.app/docs/implementation/avo-codegen-overview.md).
## Destinations
Destinations are analytics platforms you send events to.
In Avo you can use **any** event-based analytics destination.
### Creating a destination
To create a destination press “Add Destination” button in the “Sources” tab

Then you’ll see a configuration dialog, define necessary config and press “Create Destination”
Can't find your analytics tool in the list of available destinations? In that case you can pick the "Custom" destination type and give a descriptive name.
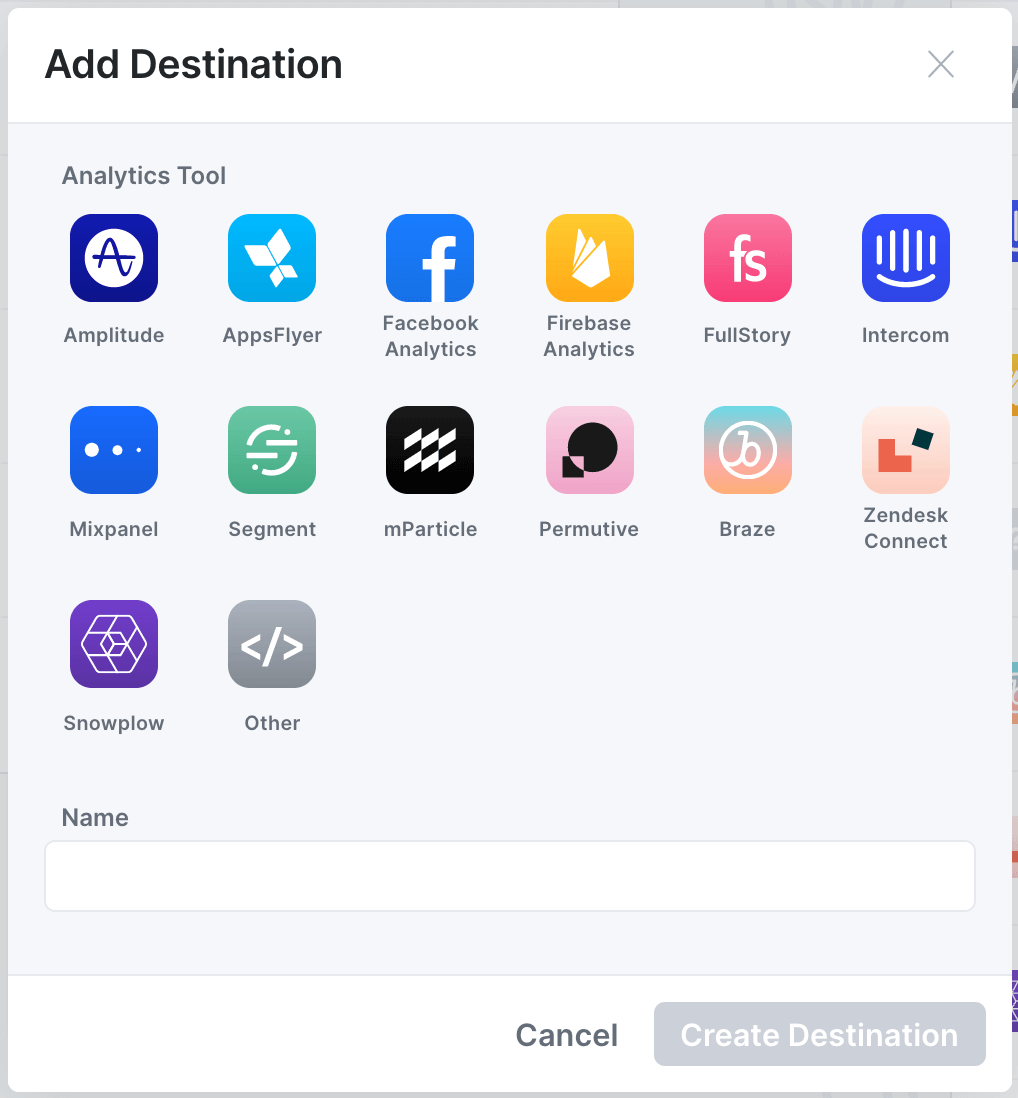
### Managing destinations in the tracking plan
What destinations you send your events to is always defined on the source level and can also be configured per event for each source.
** Globally per source **
To enable or disable a destination globally for a source, you can click the source name in the “Sources” tab it will open the source details. There you can pick the destinations you want this source to send data to.

Think “Our web app sends data to Amplitude”.
This can also be configured in the destination details, where sources can be toggled on and off.
** Locally per event per source **
To enable or disable a destination locally on an event for a specific source, you can find your event in the tracking plan, open it and find your source in the event details and click "edit" in the "To Destinations" part. There you can toggle specific destinations on or off.
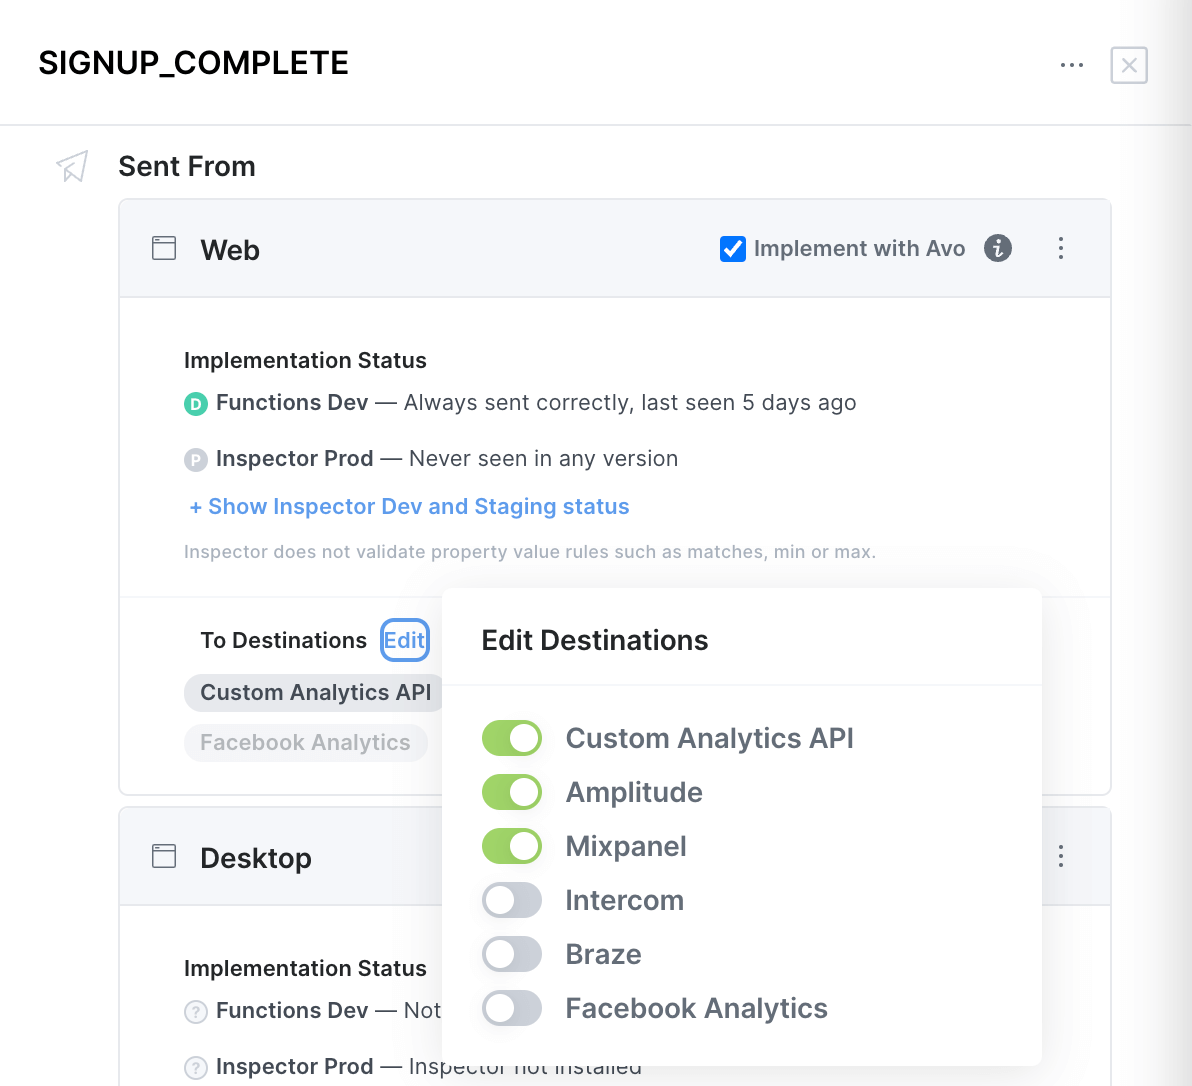
Think "We send the Signup Complete event from web and send it to our Custom Analytics API, Mixpanel and Amplitude – not our other destinations."
## What's next?
Now you know how to define and configure sources and destinations in Avo. Next thing to learn is [the branched workflows](https://www.avo.app/docs/data-design/branches.md).
---
Source: https://www.avo.app/docs/data-design/avo-tracking-plan/stakeholder-domains.md
# Stakeholders
In Avo, a **Stakeholder Team** is a group of people working within a specific function or area of your organization.
It could be a product area (Search, Checkout), an entire app team (Drivers, Riders), or a business function that operates independently of the product (Central Data, Marketing, Finance).
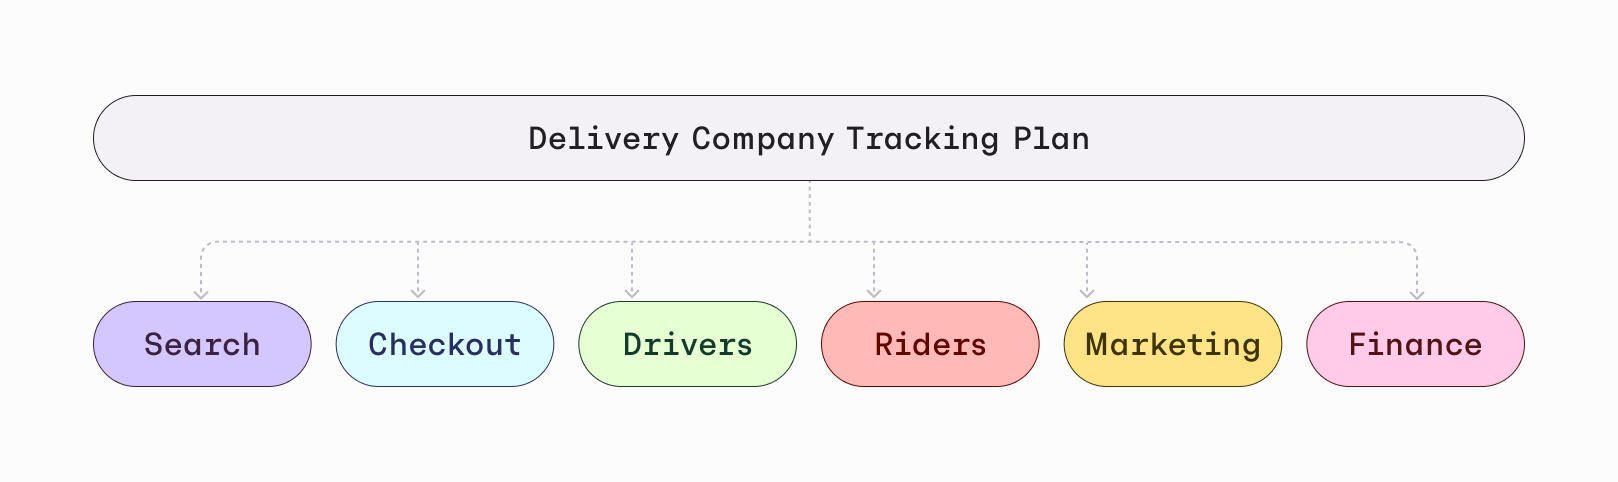
Each stakeholder team has different data needs and they need to be able to influence what data they get access to.
But they have different access to the ability to generate the data they need.
For instance: the finance team will need the product team to generate events related to the user experience so they can measure retention to predict financial outcomes.
By documenting stakeholders and owners on the events in your tracking plan, anyone is able to understand who is relying on which events and who to loop in when changes are made or if an issue comes up.
This structure is especially valuable for large organizations managing a shared schema registry.
It clarifies which teams are responsible for which parts of the tracking plan—and, more importantly, streamlines workflows when changes are proposed to shared data structures.
## Stakeholder Teams
A Stakeholder Team consists of:
- **Team Members** — individuals with subject matter expertise
- **Stakeholder Items** — the events and variants the team depends on, owns, or both
- [Managing Stakeholder Teams](https://www.avo.app/docs/workspace-management/domains.md): How to set up and manage stakeholder teams
### Stakeholder Team Members
These are the individuals who share expertise in the area the team represents. One workspace member can be a part of one or multiple stakeholder teams.
**Roles and privileges**:
- **Lead**: Each Stakeholder Team must have a Lead that is its primary contact and the person ultimately responsible for the tracking plan items tied to the team. This role doesn't need to mirror your org chart.
- **Member**: All other Stakeholder Team participants.
- **Can approve**: Members who are allowed to approve branches on behalf of the team.
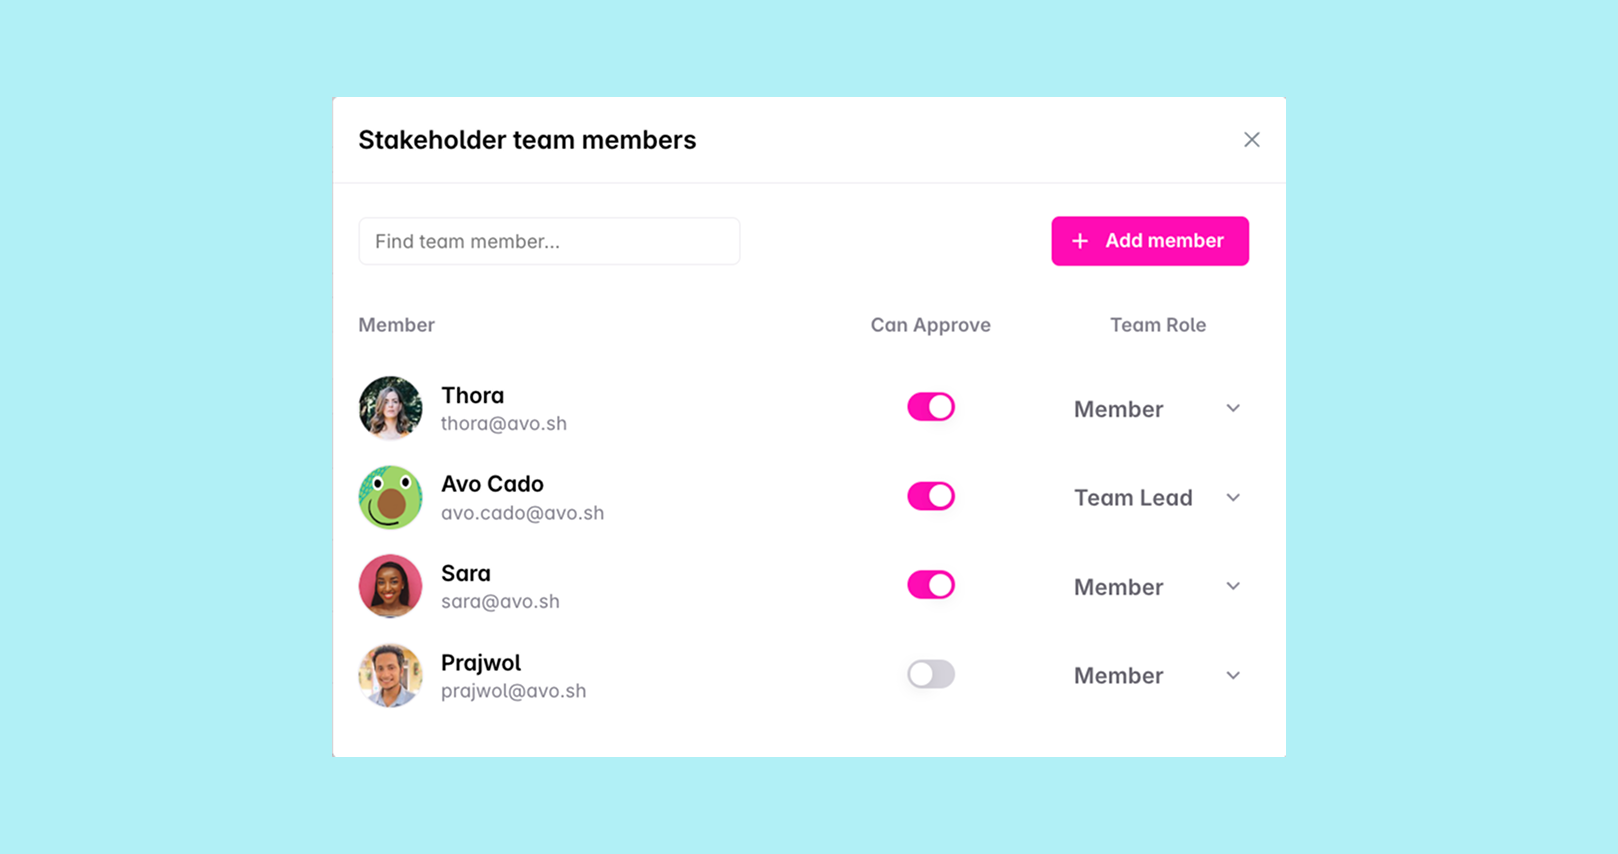
[Stakeholder members can be added to a Stakeholder team](https://www.avo.app/docs/workspace-management/domains.md#adding-stakeholder-team-members) from the stakeholder details.
### Stakeholder Items
These are the events, event variants and properties relevant to the team's area of ownership or dependency.
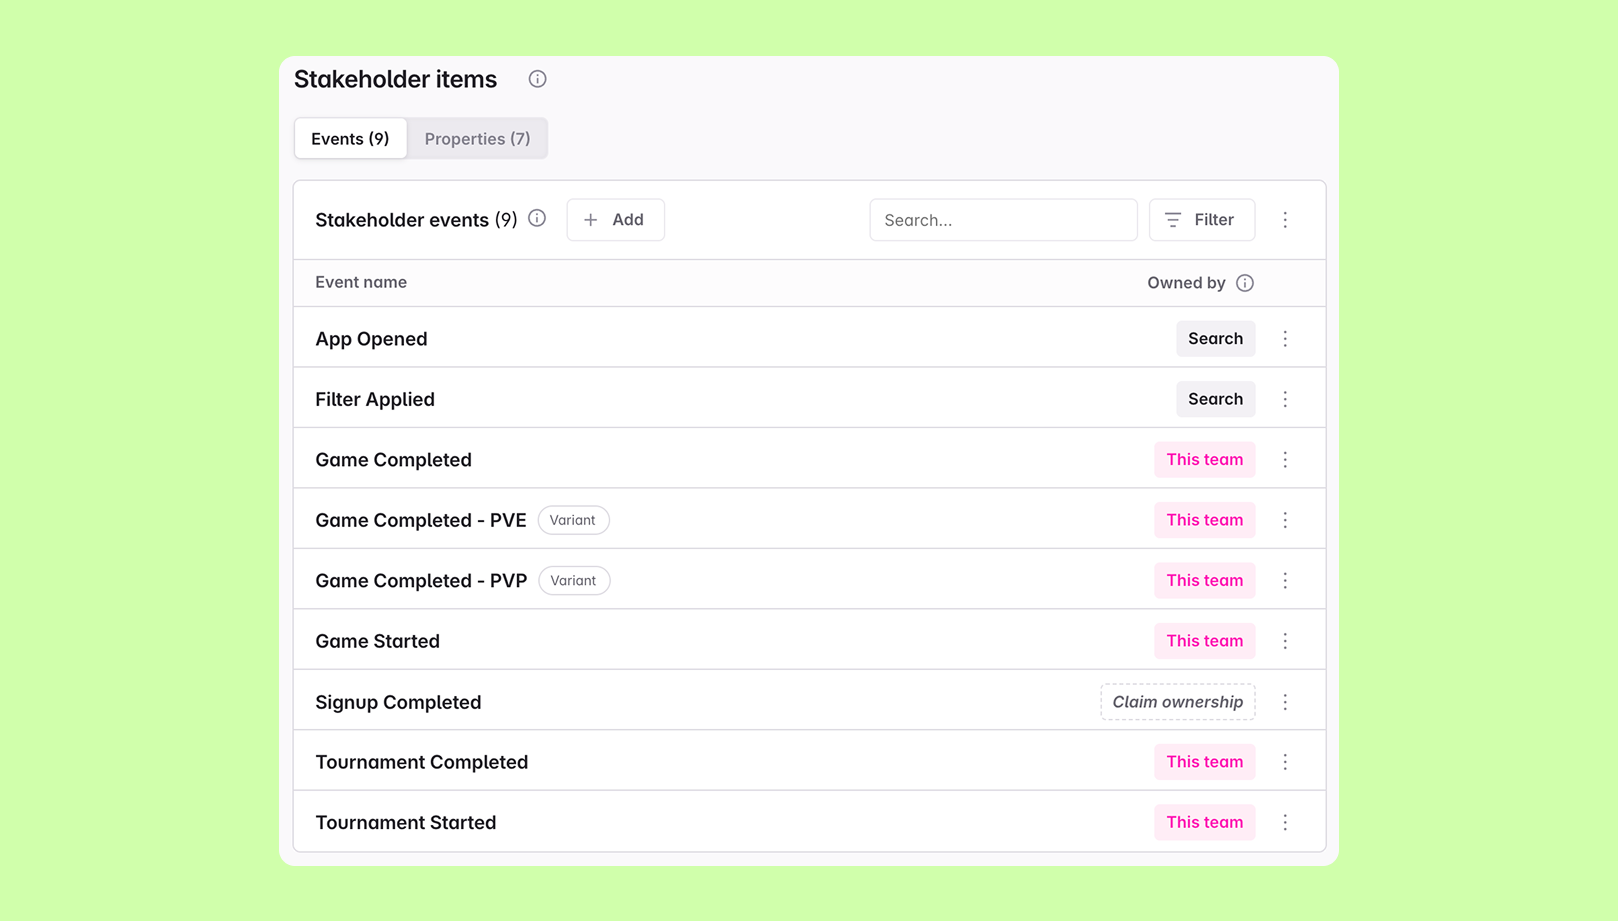
If a team is assigned as a stakeholder:
- It's clear who relies on which events, variants and properties.
- It's easy to know who to contact when questions or issues arise.
- Everyone can see who should review proposed changes to shared structures.
When changes are made to an event that a stakeholder team is assigned to:
**All plans:**
- An [indicator shows how many teams will be impacted](https://www.avo.app/docs/data-design/guides/managing-changes-impacting-multiple-stakeholders.md), helping you see that your changes impact other stakeholder teams
**Team plan and above:**
- An [overview of which specific teams will be impacted](https://www.avo.app/docs/data-design/guides/managing-changes-impacting-multiple-stakeholders.md), helping you avoid unwanted changes and manually add impacted stakeholders as reviewers
- Slack notifications can be sent to stakeholder team channels based on their [configured settings](https://www.avo.app/docs/workspace-management/domains.md#stakeholder-team-settings) - see [workspace notifications](https://www.avo.app/docs/data-design/branches/workspace-notifications.md) for setup details
**Enterprise plan:**
- Stakeholder teams can be automatically added as required reviewers based on their [configured settings](https://www.avo.app/docs/workspace-management/domains.md#stakeholder-team-settings), meaning branches cannot be merged without their approval
[Stakeholder items can be assigned to a Stakeholder team](https://www.avo.app/docs/workspace-management/domains.md#adding-stakeholder-events) from the stakeholder details and event details.
## Stakeholders in the tracking plan
In the Events table, you'll see **Stakeholders** and **Owner** columns that show which teams are stakeholders in each event and which team owns it.
### Filtering by stakeholders and owners
You can filter the events table by both stakeholder teams and owners to create focused views:
- **Stakeholders filter**: Shows events where the selected teams are stakeholders (depend on the events)
- **Owners filter**: Shows events owned by the selected teams (responsible for maintaining the events)
For complete details on all available filtering options and how to use them effectively, see [Filtering and organizing events](https://www.avo.app/docs/data-design/avo-tracking-plan/events.md#filtering-and-organizing-events).
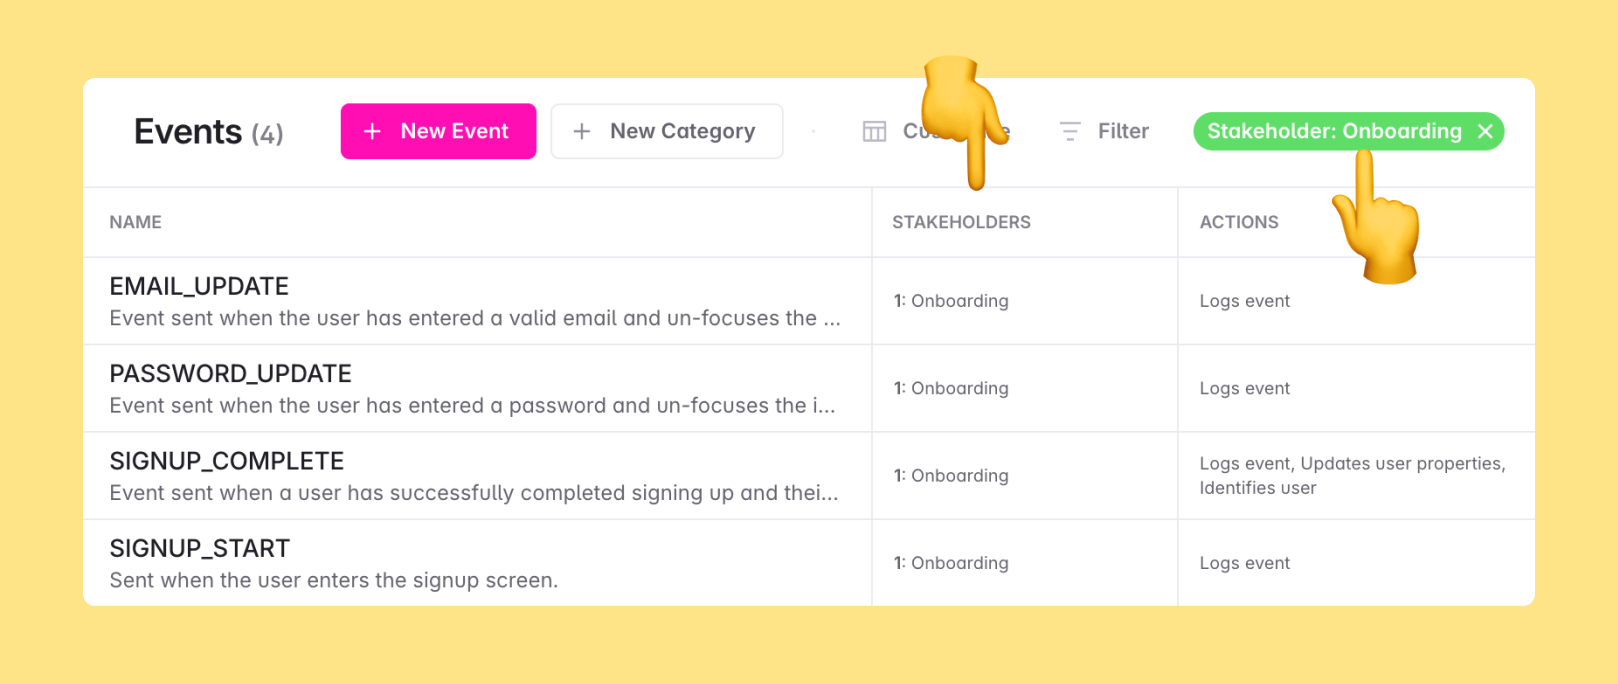
In each event's detail view, you'll see which teams are stakeholders and which one owns the item.
Clicking a team name opens a preview where it's possible to:
- See stakeholder team members
- Remove ownership if it's a stakeholder owned event
- Remove from stakeholder team
- Navigate to the team details page.
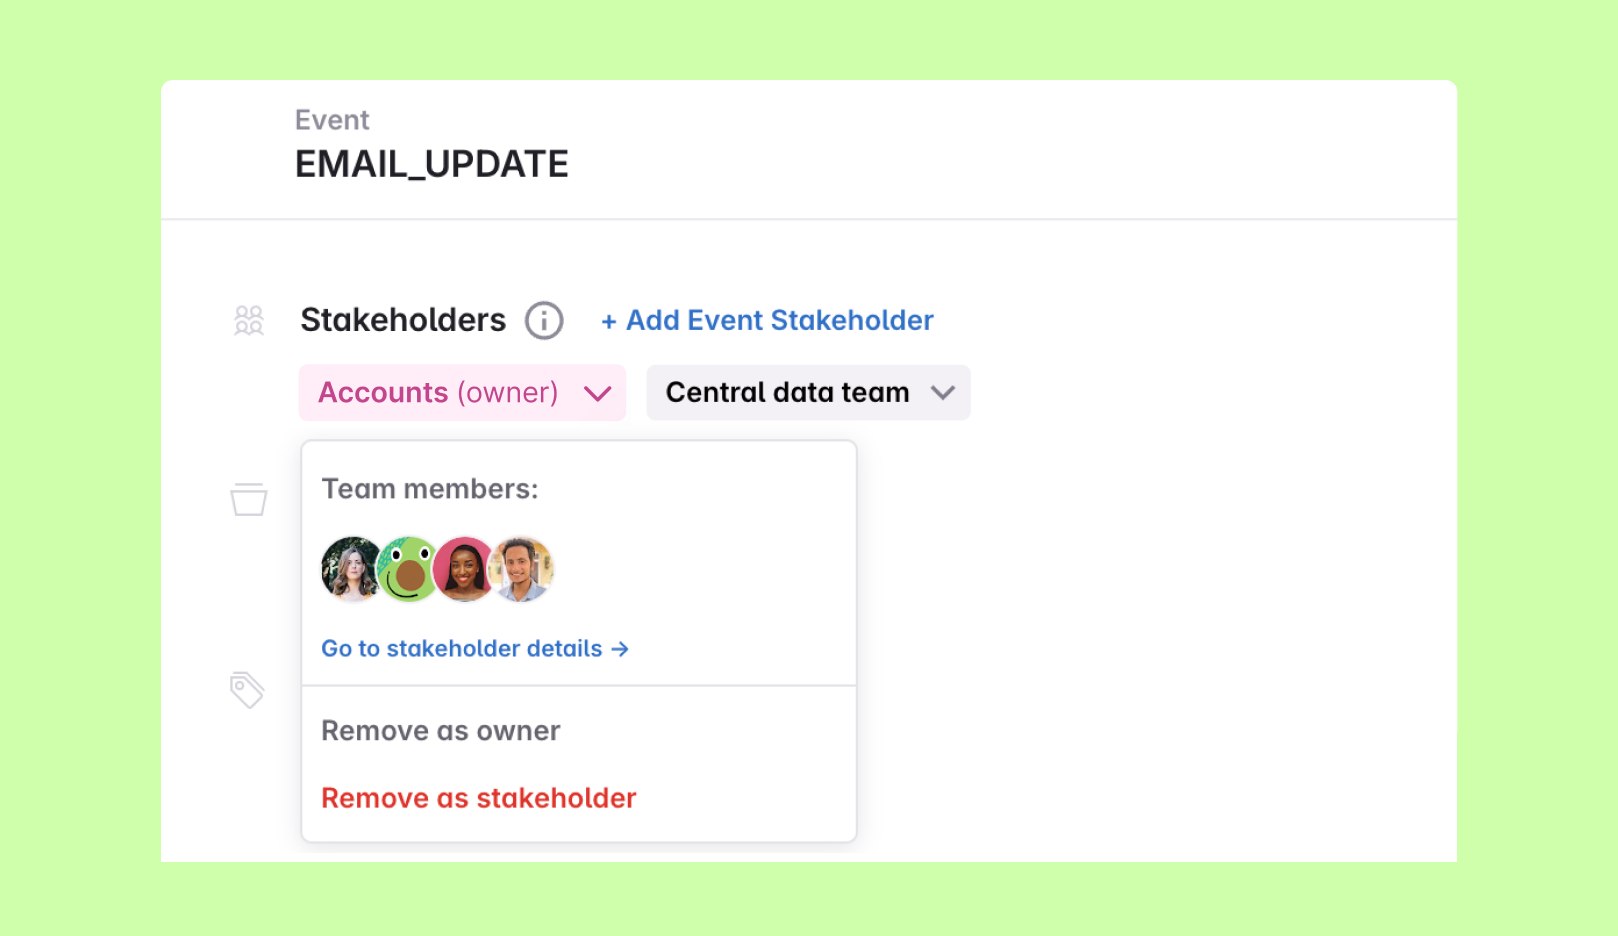
### Stakeholders in the branched workflow
When a user creates a branch in Avo, the **Impacted Stakeholders** indicator in the branch header shows how many stakeholder teams are affected by the proposed changes.
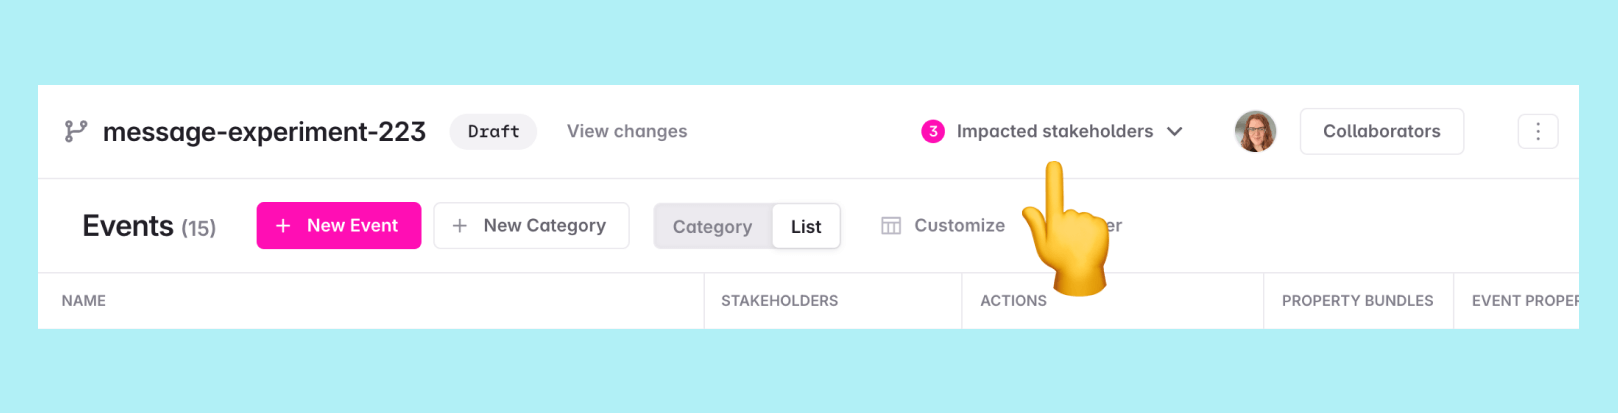
From there, you can:
- [Tweak the changes to reduce scope](https://www.avo.app/docs/data-design/guides/managing-changes-impacting-multiple-stakeholders.md#minimizing-stakeholder-impact)
- [Add impacted teams as reviewers](https://www.avo.app/docs/data-design/guides/managing-changes-impacting-multiple-stakeholders.md#aligning-on-cross-stakeholder-changes)
On the Enterprise plan, impacted **owners** are automatically added as required reviewers.
## Event Ownership and Data Governance
Assigning owners to events is not just for documentation—it's actively used by Avo's governance systems:
### Tracking plan audit
- Avo's [tracking plan audit](https://www.avo.app/docs/audit/rules.md#all-events-have-owners) can warn (Team plan) or enforce (Enterprise plan) that all events have owners
- Branch audits check that new events have owners before allowing merges
- Helps ensure accountability is established before events go live
### Automatic Review Assignment
- Owners are automatically added as reviewers when their events are modified (Enterprise plan)
- Ensures the responsible team is always involved in changes to their data structures
- [Impacted Stakeholders](https://www.avo.app/docs/data-design/guides/managing-changes-impacting-multiple-stakeholders.md): Managing changes impacting multiple teams
---
Source: https://www.avo.app/docs/data-design/avo-tracking-plan/governance.md
# Governance
_Your tracking plan standards in one place: custom fields, PII, audit rules and stakeholders_
> 💡 Governance is available on the Enterprise plan only. See [plans and pricing](https://www.avo.app/pricing).
> 🚧 Governance is in beta. Reach out at [support@avo.app](mailto:support@avo.app) to get access and provide feedback.
The Governance page is the home for your tracking plan standards — how teams define what good looks like and have Avo enforce it. You'll find it under **Tracking Plan > Governance** in the sidebar of your Avo workspace, covering four areas:
- **Custom Fields** – admin-defined metadata fields, beyond Avo's built-in fields, that can be attached to events and properties
- **PII Types** – an admin-defined taxonomy for classifying which properties carry personally identifiable information
- **Audit rules** – the [tracking plan audit](https://www.avo.app/docs/audit/rules.md) that checks the whole plan against your standards, from naming conventions to required custom fields
- **Stakeholders** – [stakeholder teams](https://www.avo.app/docs/data-design/avo-tracking-plan/stakeholder-domains.md) that document who owns and depends on your tracking plan items
Custom Fields and PII Types are managed directly on the page; Audit rules and Stakeholders link out to their own surfaces and have their own docs.
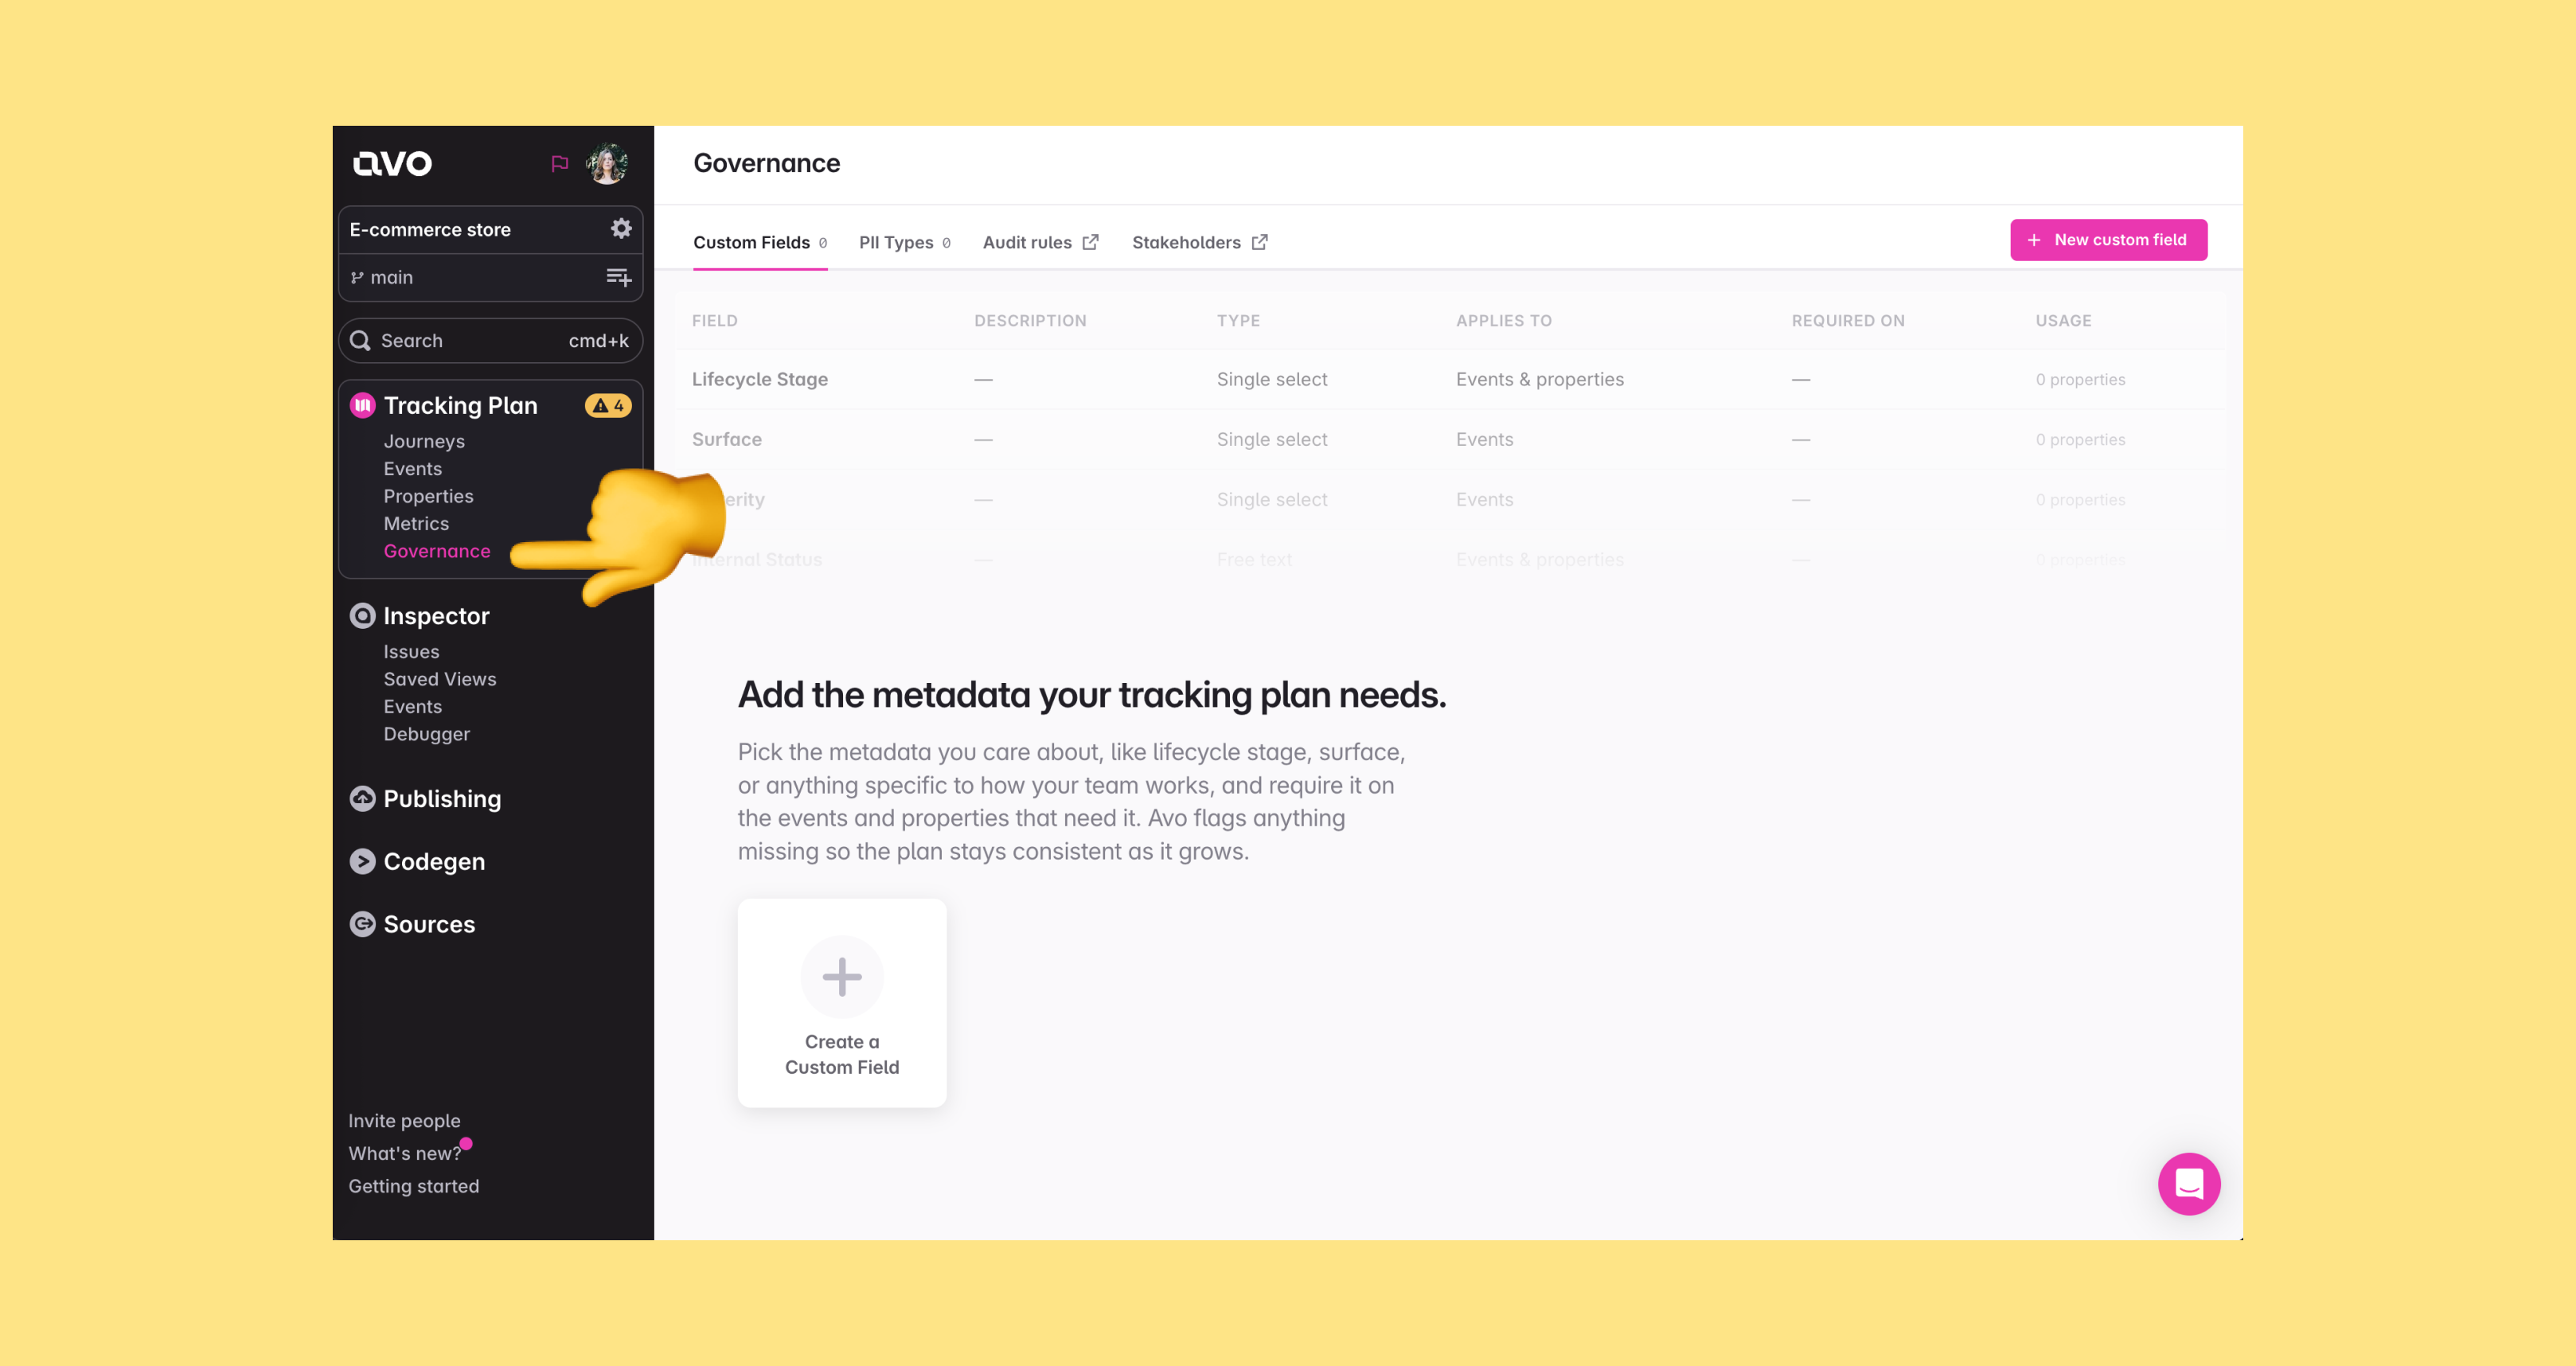
## Who can manage governance
Only workspace members with the _Admin_ role can create, edit and archive custom fields and PII types. All other roles see the Governance page read-only — the actions are disabled with the tooltip "Only workspace admins can manage governance fields and PII types".
Setting custom field values and PII status on individual events and properties is regular tracking plan editing, available to _Editor_ and _Admin_ roles. See [Members and roles](https://www.avo.app/docs/workspace-management/members.md) for the full role overview.
## Governance changes are branch-reviewed
Custom field and PII type definitions, and the values set on items, live in the tracking plan model. That means changes to them are made on [branches](https://www.avo.app/docs/data-design/branches.md), show up in branch diffs, and go through the normal branch review and merge workflow — the same as any other tracking plan change.
## Learn more
- [Custom fields](https://www.avo.app/docs/data-design/avo-tracking-plan/governance/custom-fields.md): Attach structured metadata to events, variants and properties
- [Tagging PII](https://www.avo.app/docs/data-design/avo-tracking-plan/governance/tagging-pii.md): Classify which properties carry personally identifiable information
- [Audit rules and configuration](https://www.avo.app/docs/audit/rules.md): Enforce governance standards through the tracking plan audit
- [Stakeholders](https://www.avo.app/docs/data-design/avo-tracking-plan/stakeholder-domains.md): Document which teams own and depend on your tracking plan items
---
Source: https://www.avo.app/docs/data-design/avo-tracking-plan/governance/custom-fields.md
# Custom fields
_Attach structured, admin-defined metadata to the items in your tracking plan_
> 💡 Custom fields are part of [Governance](https://www.avo.app/docs/data-design/avo-tracking-plan/governance.md), available on the Enterprise plan only. See [plans and pricing](https://www.avo.app/pricing).
> 🚧 Custom fields are in beta. Reach out at [support@avo.app](mailto:support@avo.app) to get access and provide feedback.
Custom fields let workspace admins define structured metadata fields that the workspace attaches to tracking plan items, beyond Avo's built-in fields like name, description, tags and categories. Typical examples are "Priority", "Lifecycle Stage" and "Surface".
Custom fields apply to **events** and **properties**. Each field can be scoped to either or both.
> 💡 Event variants inherit the custom field values of their base event — values can't be overridden on a variant.
## Managing custom field definitions
Custom field definitions are managed by workspace admins on the **Custom Fields** tab of the [Governance page](https://www.avo.app/docs/data-design/avo-tracking-plan/governance.md).
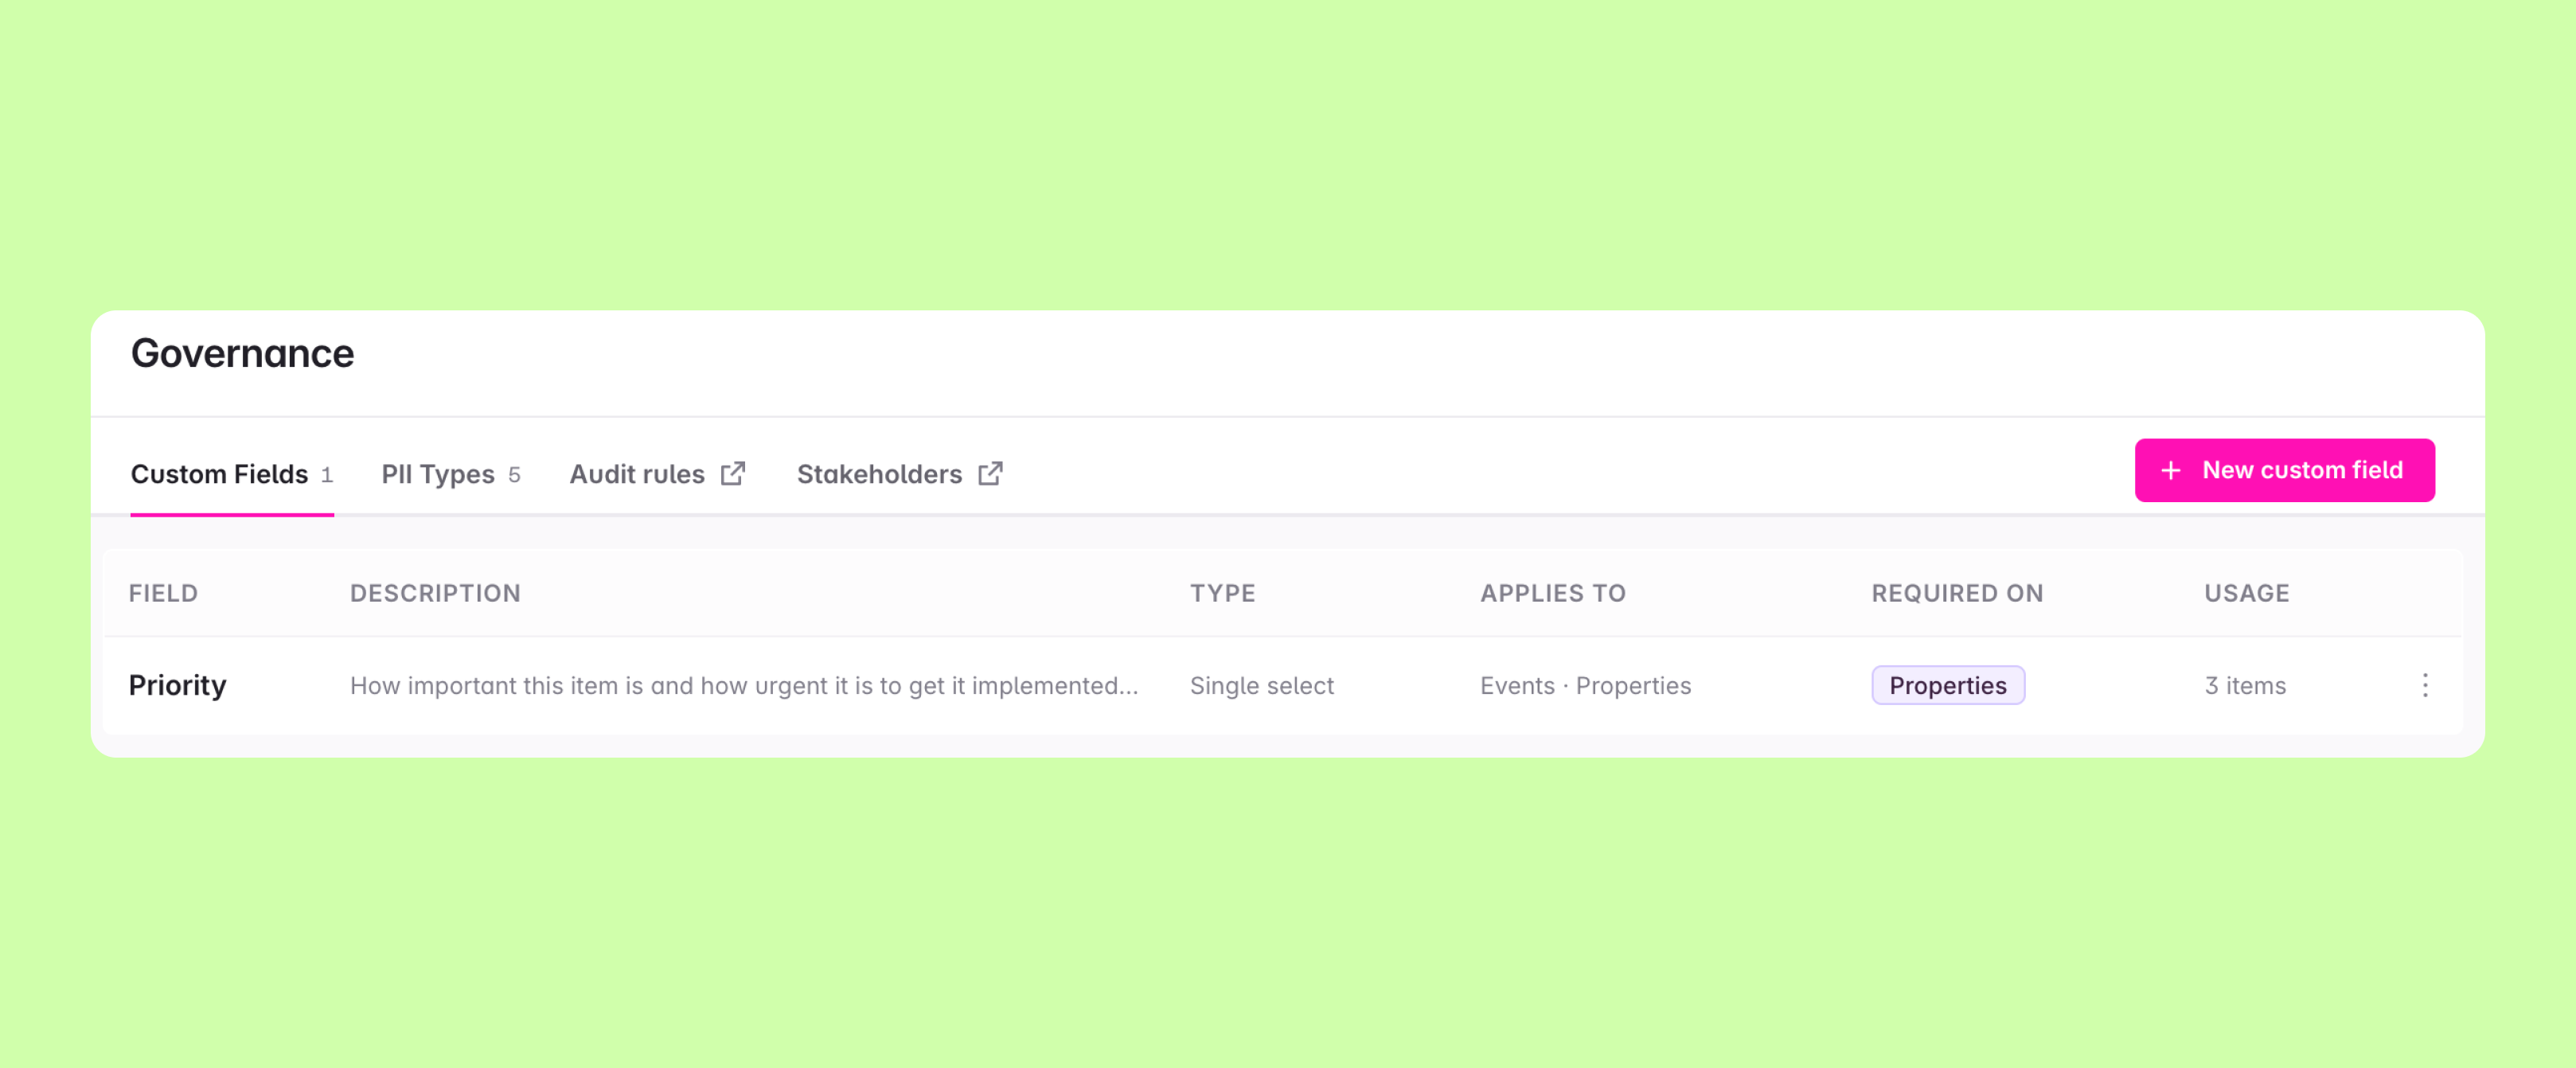
To create a field, click `+ New custom field` and define:
- **Name** and an optional **description**
- **Type** – the field type (see [Field types](#field-types) below)
- **Allowed values** – for single and multi select fields, the list of values editors can pick from
- **Scopes** – whether the field applies to events and/or properties
- **Required toggles** – per scope, whether the field is required
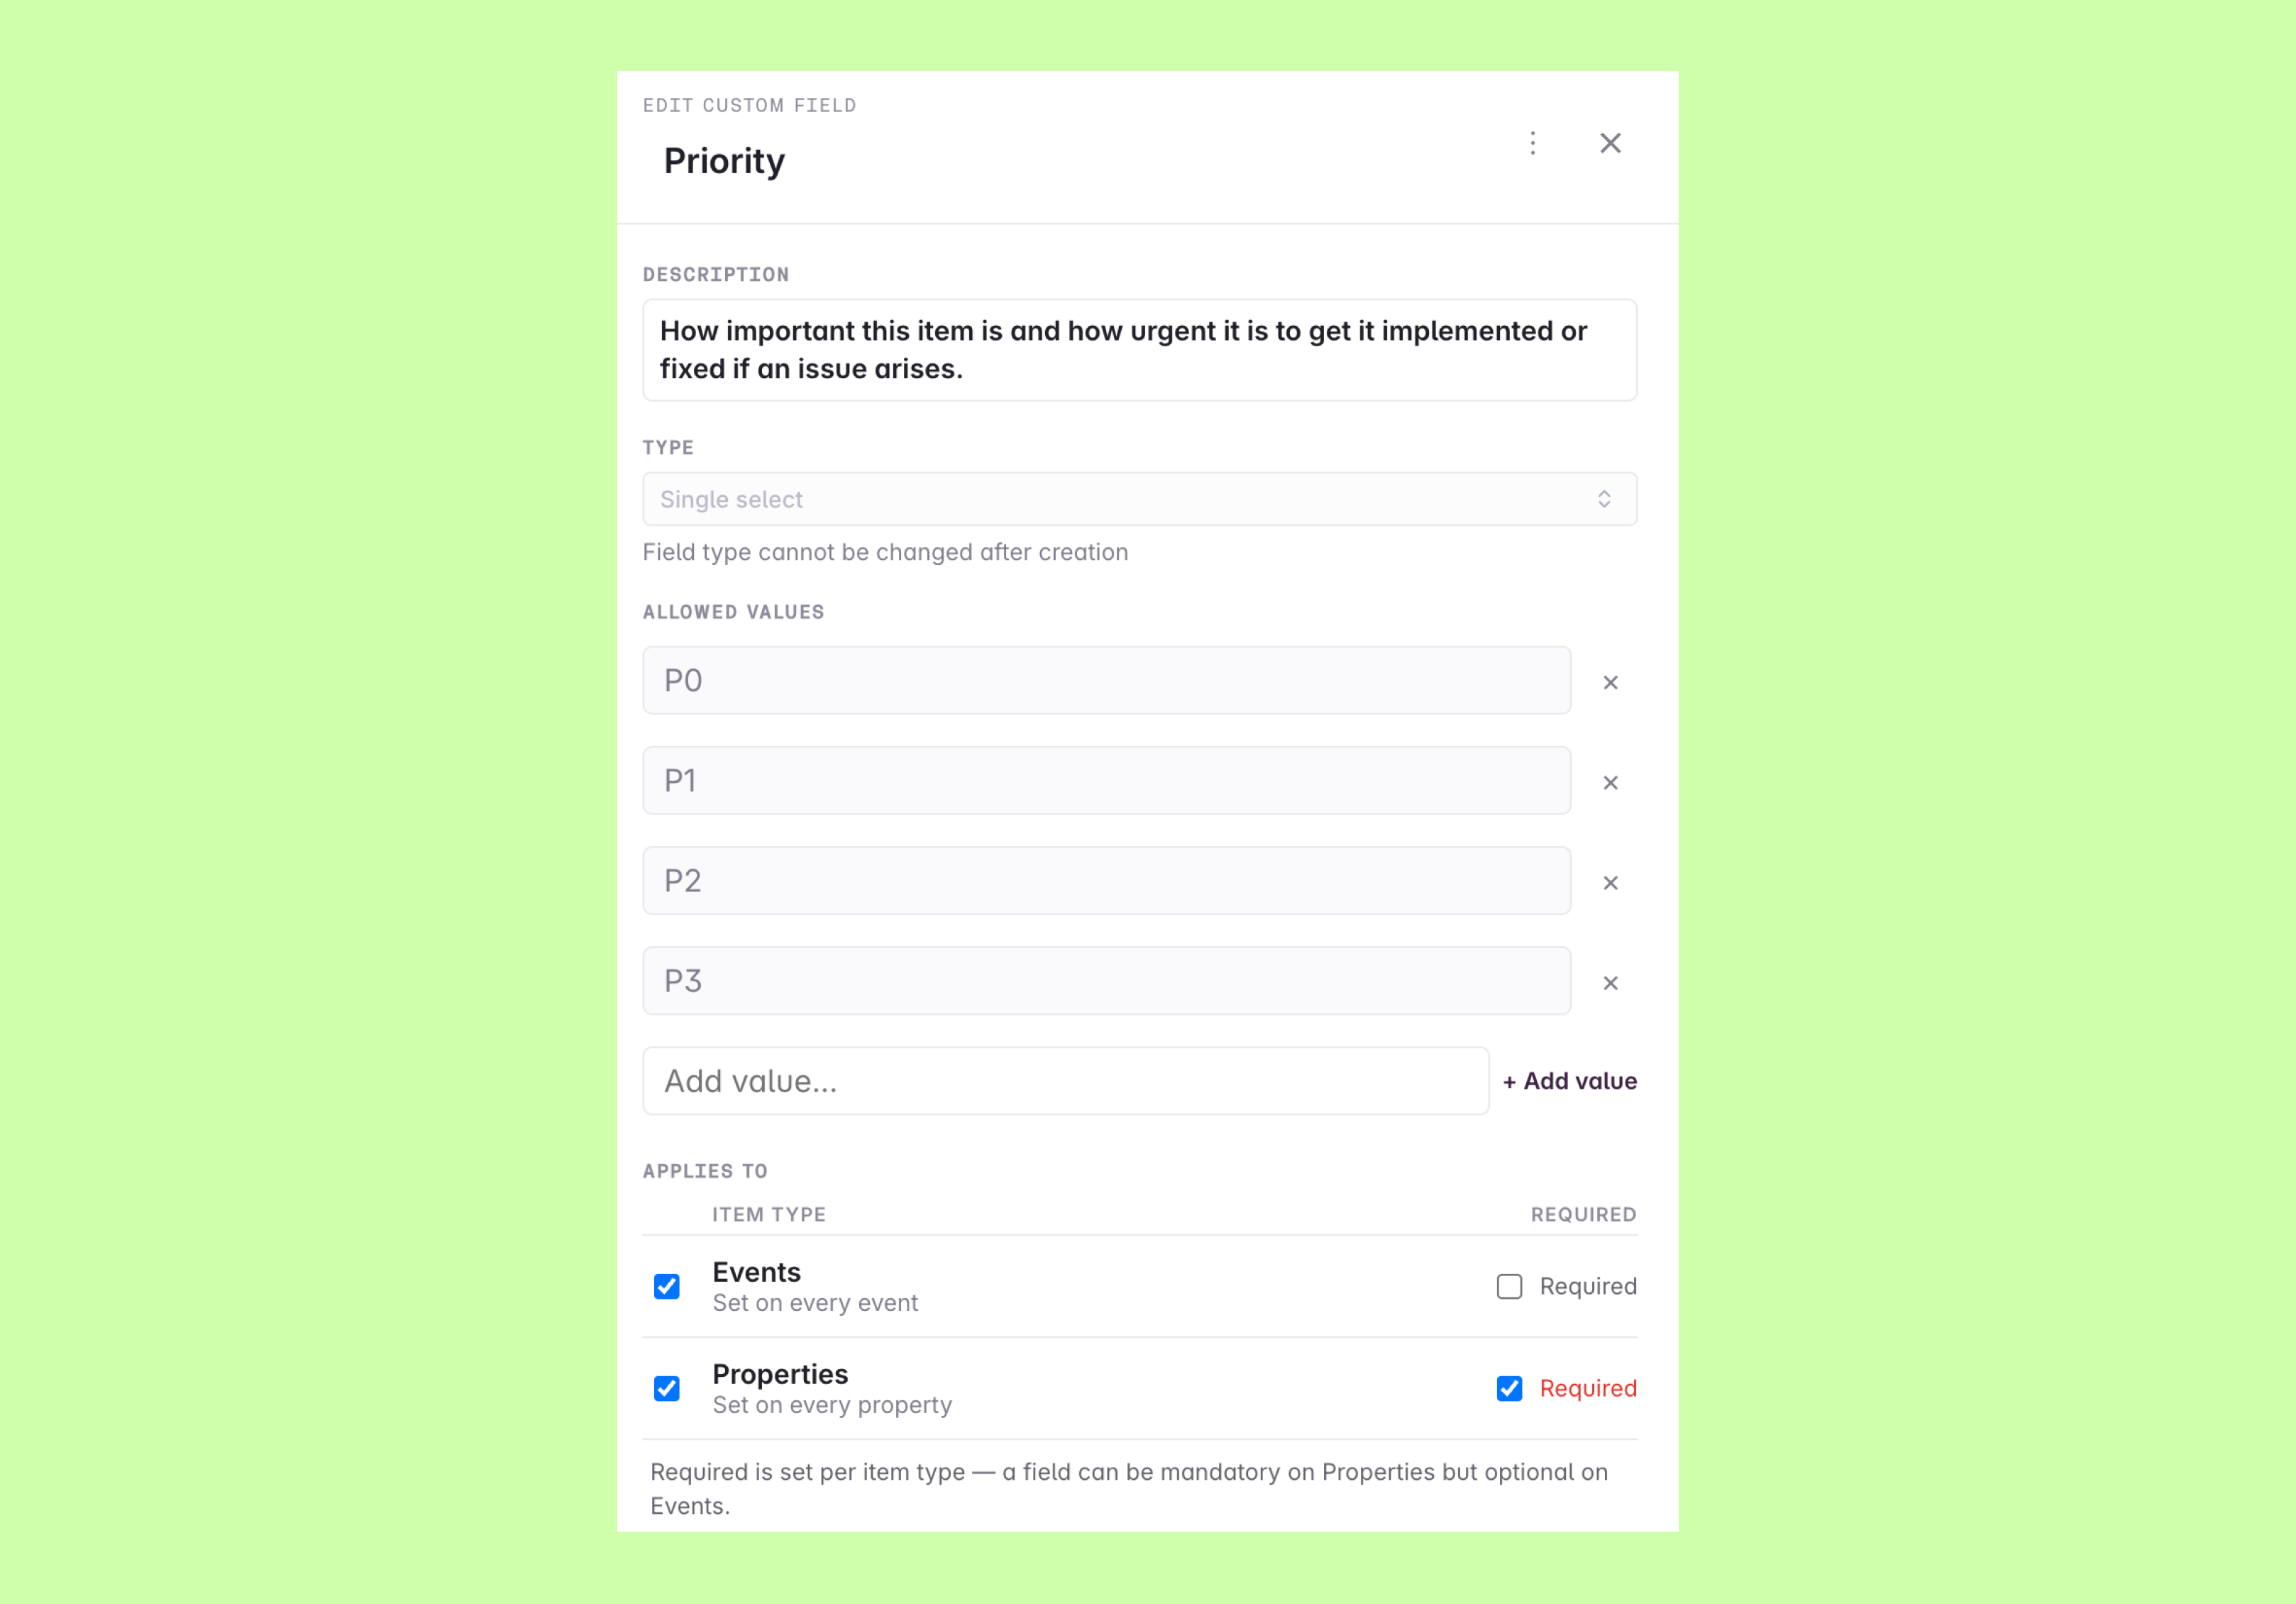
Like other governance changes, creating and editing custom field definitions happens on a [branch](https://www.avo.app/docs/data-design/branches.md) and goes through the normal branch review and merge workflow.
### Field types
Each custom field has one of the following types. The type is immutable after creation — to change the type of a field you archive it and create a new one.
- **Text**: A free-form text input
- **Single select**: Pick one value from an admin-defined list of allowed values
- **Multi select**: Pick one or more values from an admin-defined list of allowed values
- **Boolean**: A true/false value
- **JSON**: An arbitrary JSON value, for structured metadata that doesn't fit the other types
- **Array of strings**: A free-form list of string values — unlike Multi select, the values aren't constrained to a predefined list
Only Single select and Multi select use allowed values, and they must have at least one. If an allowed value is removed later, existing values on items are preserved but shown as deprecated.
> 💡 Boolean, JSON and Array of strings are newer field types still rolling out — reach out at [support@avo.app](mailto:support@avo.app) if you don't see them in your workspace yet.
### Required fields
The "required" toggle is set per scope — for example a field can be required on events but optional on properties. Required fields are enforced through the audit rules ["All events and variants have required custom fields"](https://www.avo.app/docs/audit/rules.md#all-events-and-variants-have-required-custom-fields) and ["All properties have required custom fields"](https://www.avo.app/docs/audit/rules.md#all-properties-have-required-custom-fields): missing values surface as audit issues and, when the rules are enforced, can block branch merging the same way other audit rules do.
### Archiving and limits
- **Archiving**: Archiving a field hides the field and its values without deleting them. Unarchiving restores both the field and the values that were set before it was archived.
- **Limits**: A workspace can have up to 50 active custom fields. Archived fields don't count towards the limit.
## Using custom fields in the tracking plan
Editors fill in custom fields in a **Custom Fields** section on the event and property detail views, on a branch. The input matches the field type: a text input for Text fields, a dropdown for Single select fields and a tag-style multi-select for Multi select fields.
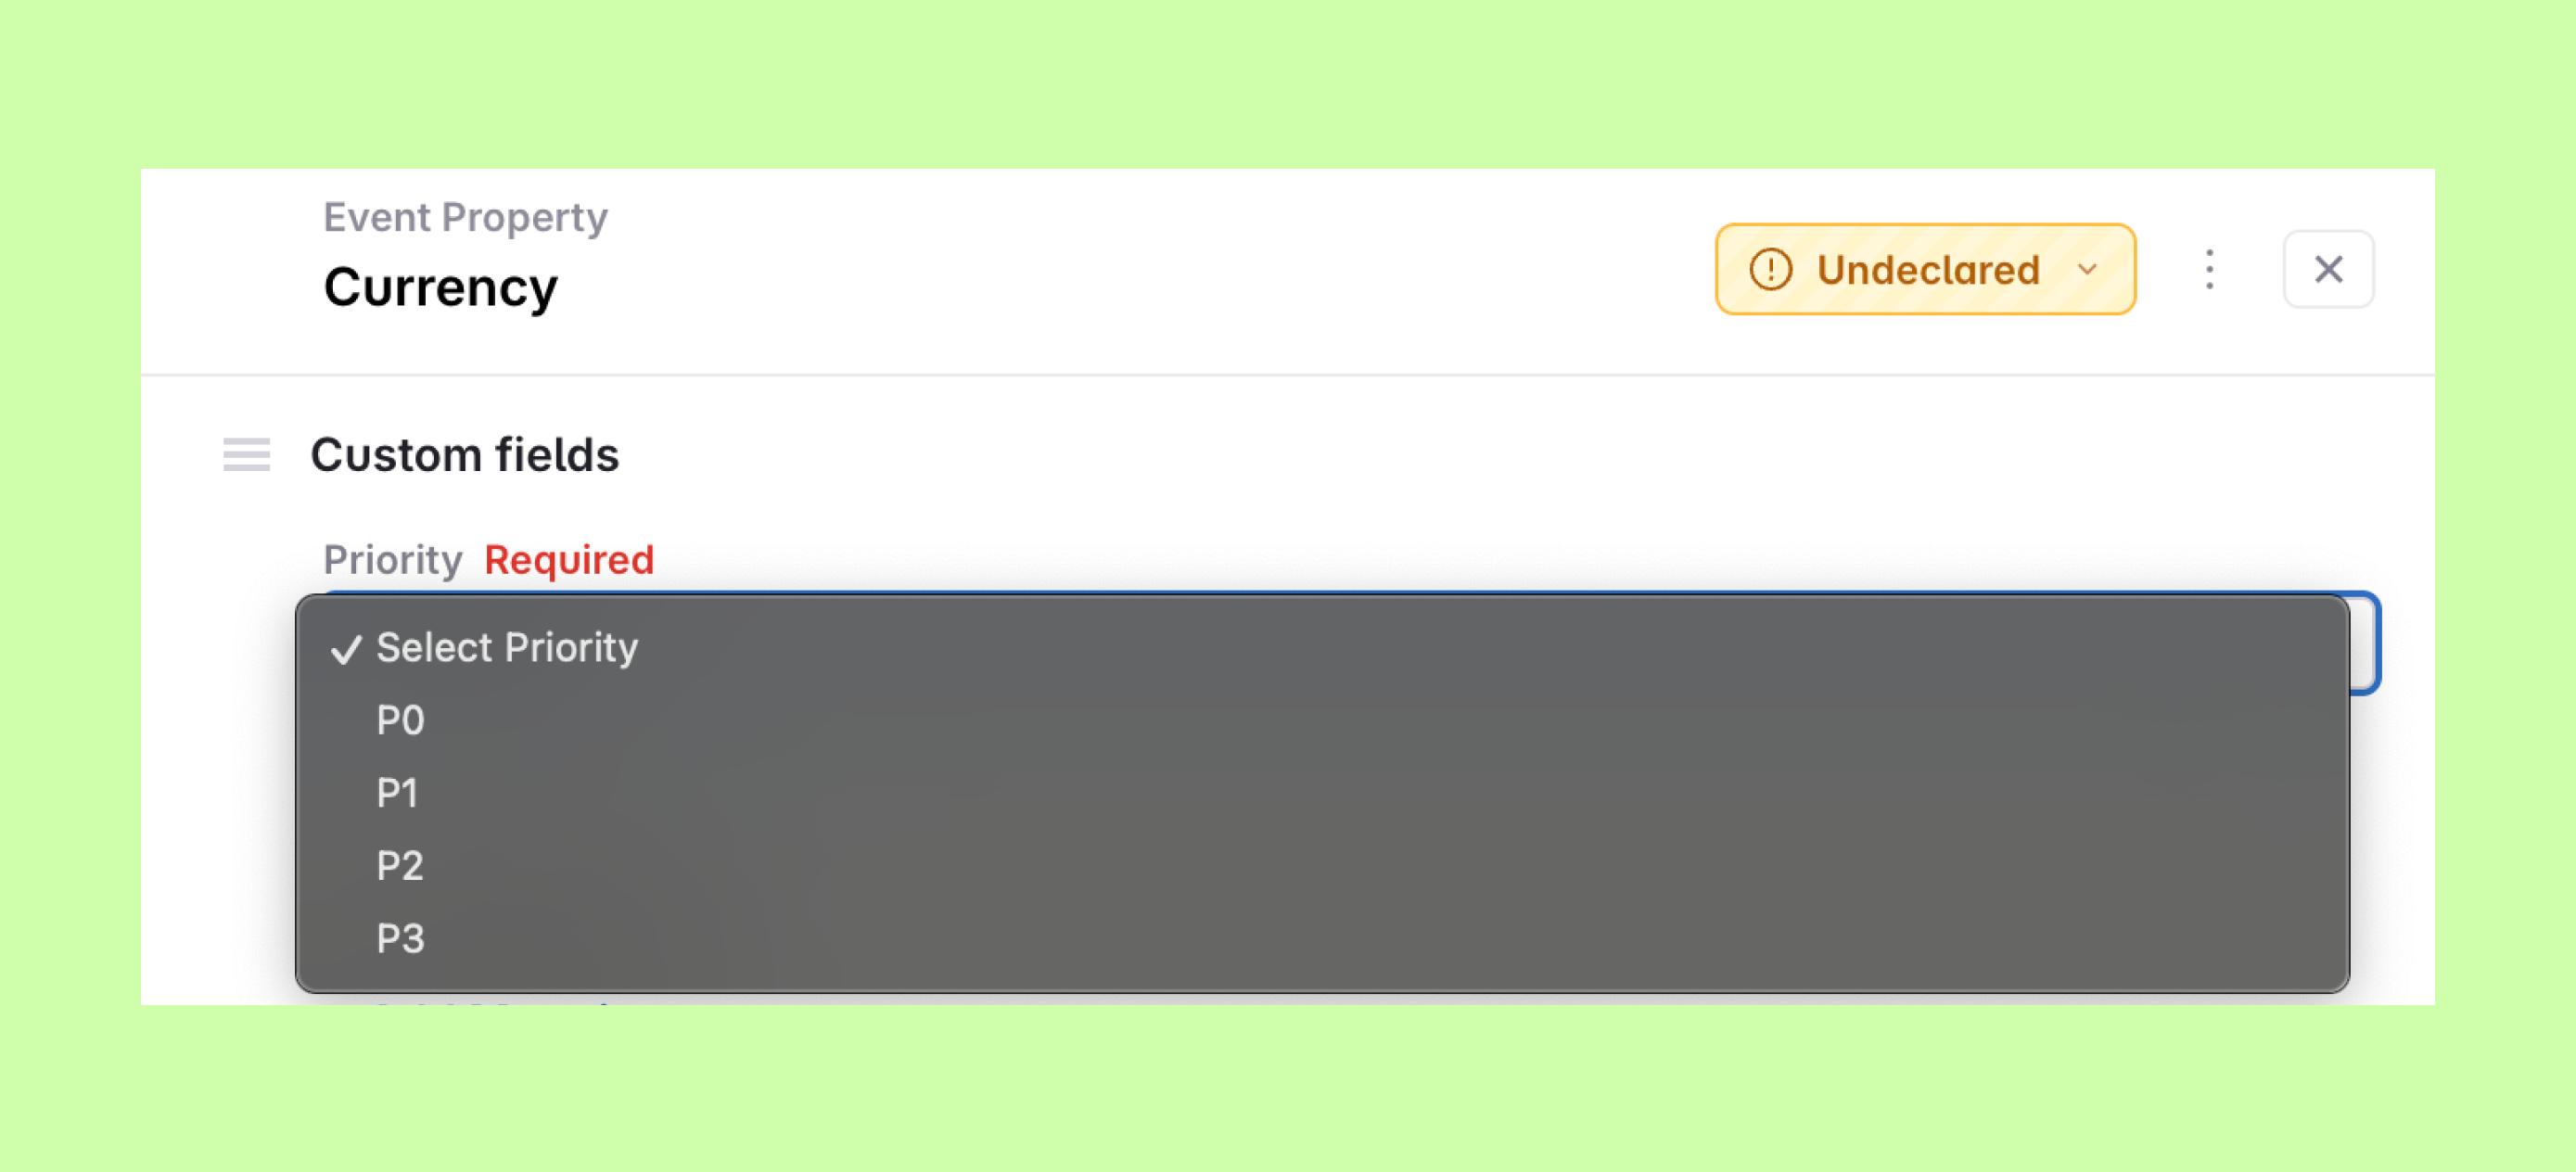
## Viewing custom field values
### Item details
Custom field values are shown in the Custom Fields section on the event and property detail views, in the same order the fields appear on the Governance Custom Fields tab. Event variants show the values inherited from their base event.
### Events and Properties views
The Events and Properties views have a column per custom field scoped to that item type. To add a custom field column to your view, click `Customize` and enable it. You can also move the column up the list in the customize menu to place it closer to the front of the table, where it's more visible.
Both views can also be filtered by custom field values — for example to see all P0 events, or every property that's missing a value for a required field.
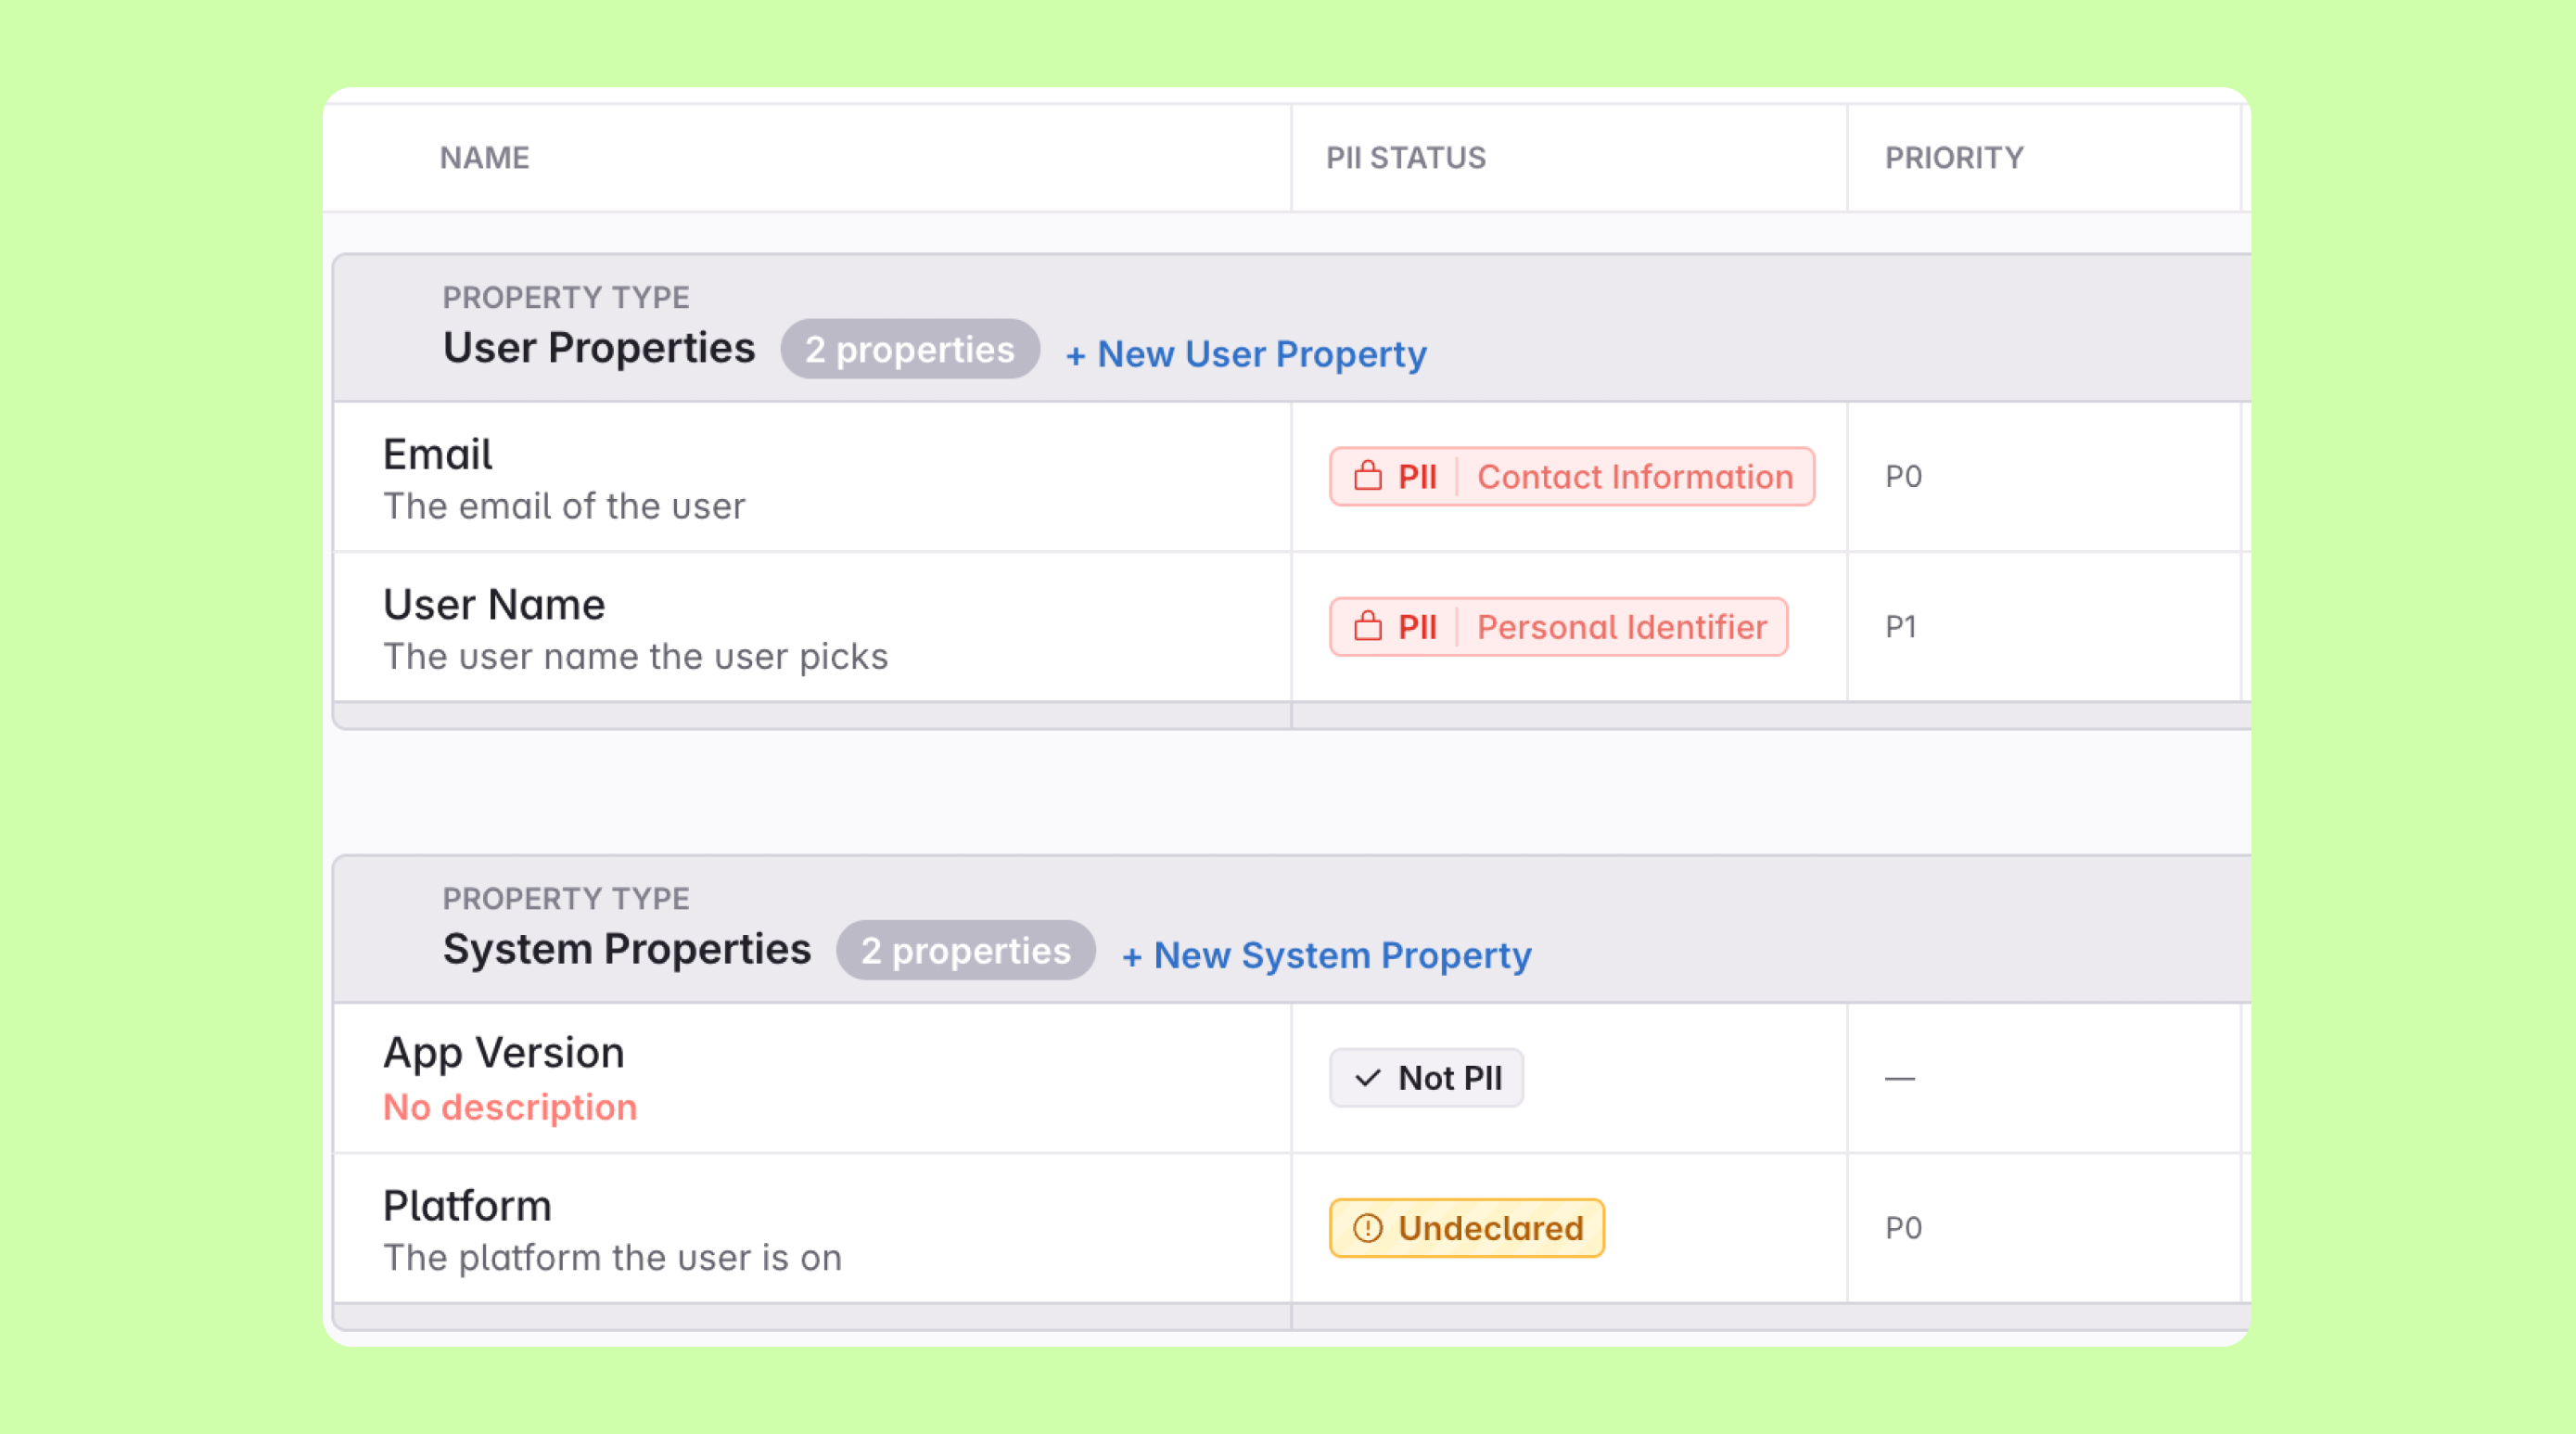
## Custom field values in branch diffs and exports
- **Branch diffs**: Added, changed and cleared values show up in the [branch changes view](https://www.avo.app/docs/data-design/branches/branch-changes.md)
- **CSV export**: One column per custom field in the [CSV export](https://www.avo.app/docs/publishing/exporting.md). Multi select values are semicolon-separated
- **JSON Schema export**: A `customFields` object on events and properties in the [JSON Schema export](https://www.avo.app/docs/reference/public-api/export-tracking-plan.md#governance-fields), mapping each field name to its value (encoded according to the field type)
### Importing custom field values
The [Import API](https://www.avo.app/docs/reference/public-api/import-tracking-plan.md) and JSON Schema import accept custom field values (the `customFields` object) for existing field definitions. Unknown field names are skipped with warnings — importing never auto-creates custom field definitions.
---
Source: https://www.avo.app/docs/data-design/avo-tracking-plan/governance/tagging-pii.md
# Tagging PII
_Classify which properties in your tracking plan carry personally identifiable information_
> 💡 PII Types and property PII status are part of [Governance](https://www.avo.app/docs/data-design/avo-tracking-plan/governance.md), available on the Enterprise plan only. See [plans and pricing](https://www.avo.app/pricing).
> 🚧 PII tagging is in beta. Reach out at [support@avo.app](mailto:support@avo.app) to get access and provide feedback.
With PII tagging, your workspace classifies which properties carry personally identifiable information using an admin-defined taxonomy. That makes it visible at a glance which events and properties touch sensitive data — in the tracking plan, in branch reviews and in exports to downstream tools.
## PII Types
PII Types are workspace-defined classifications, for example "Personal Identifier" or "Contact Information". They are managed by workspace admins on the **PII Types** tab of the [Governance page](https://www.avo.app/docs/data-design/avo-tracking-plan/governance.md) via `+ New PII type`.
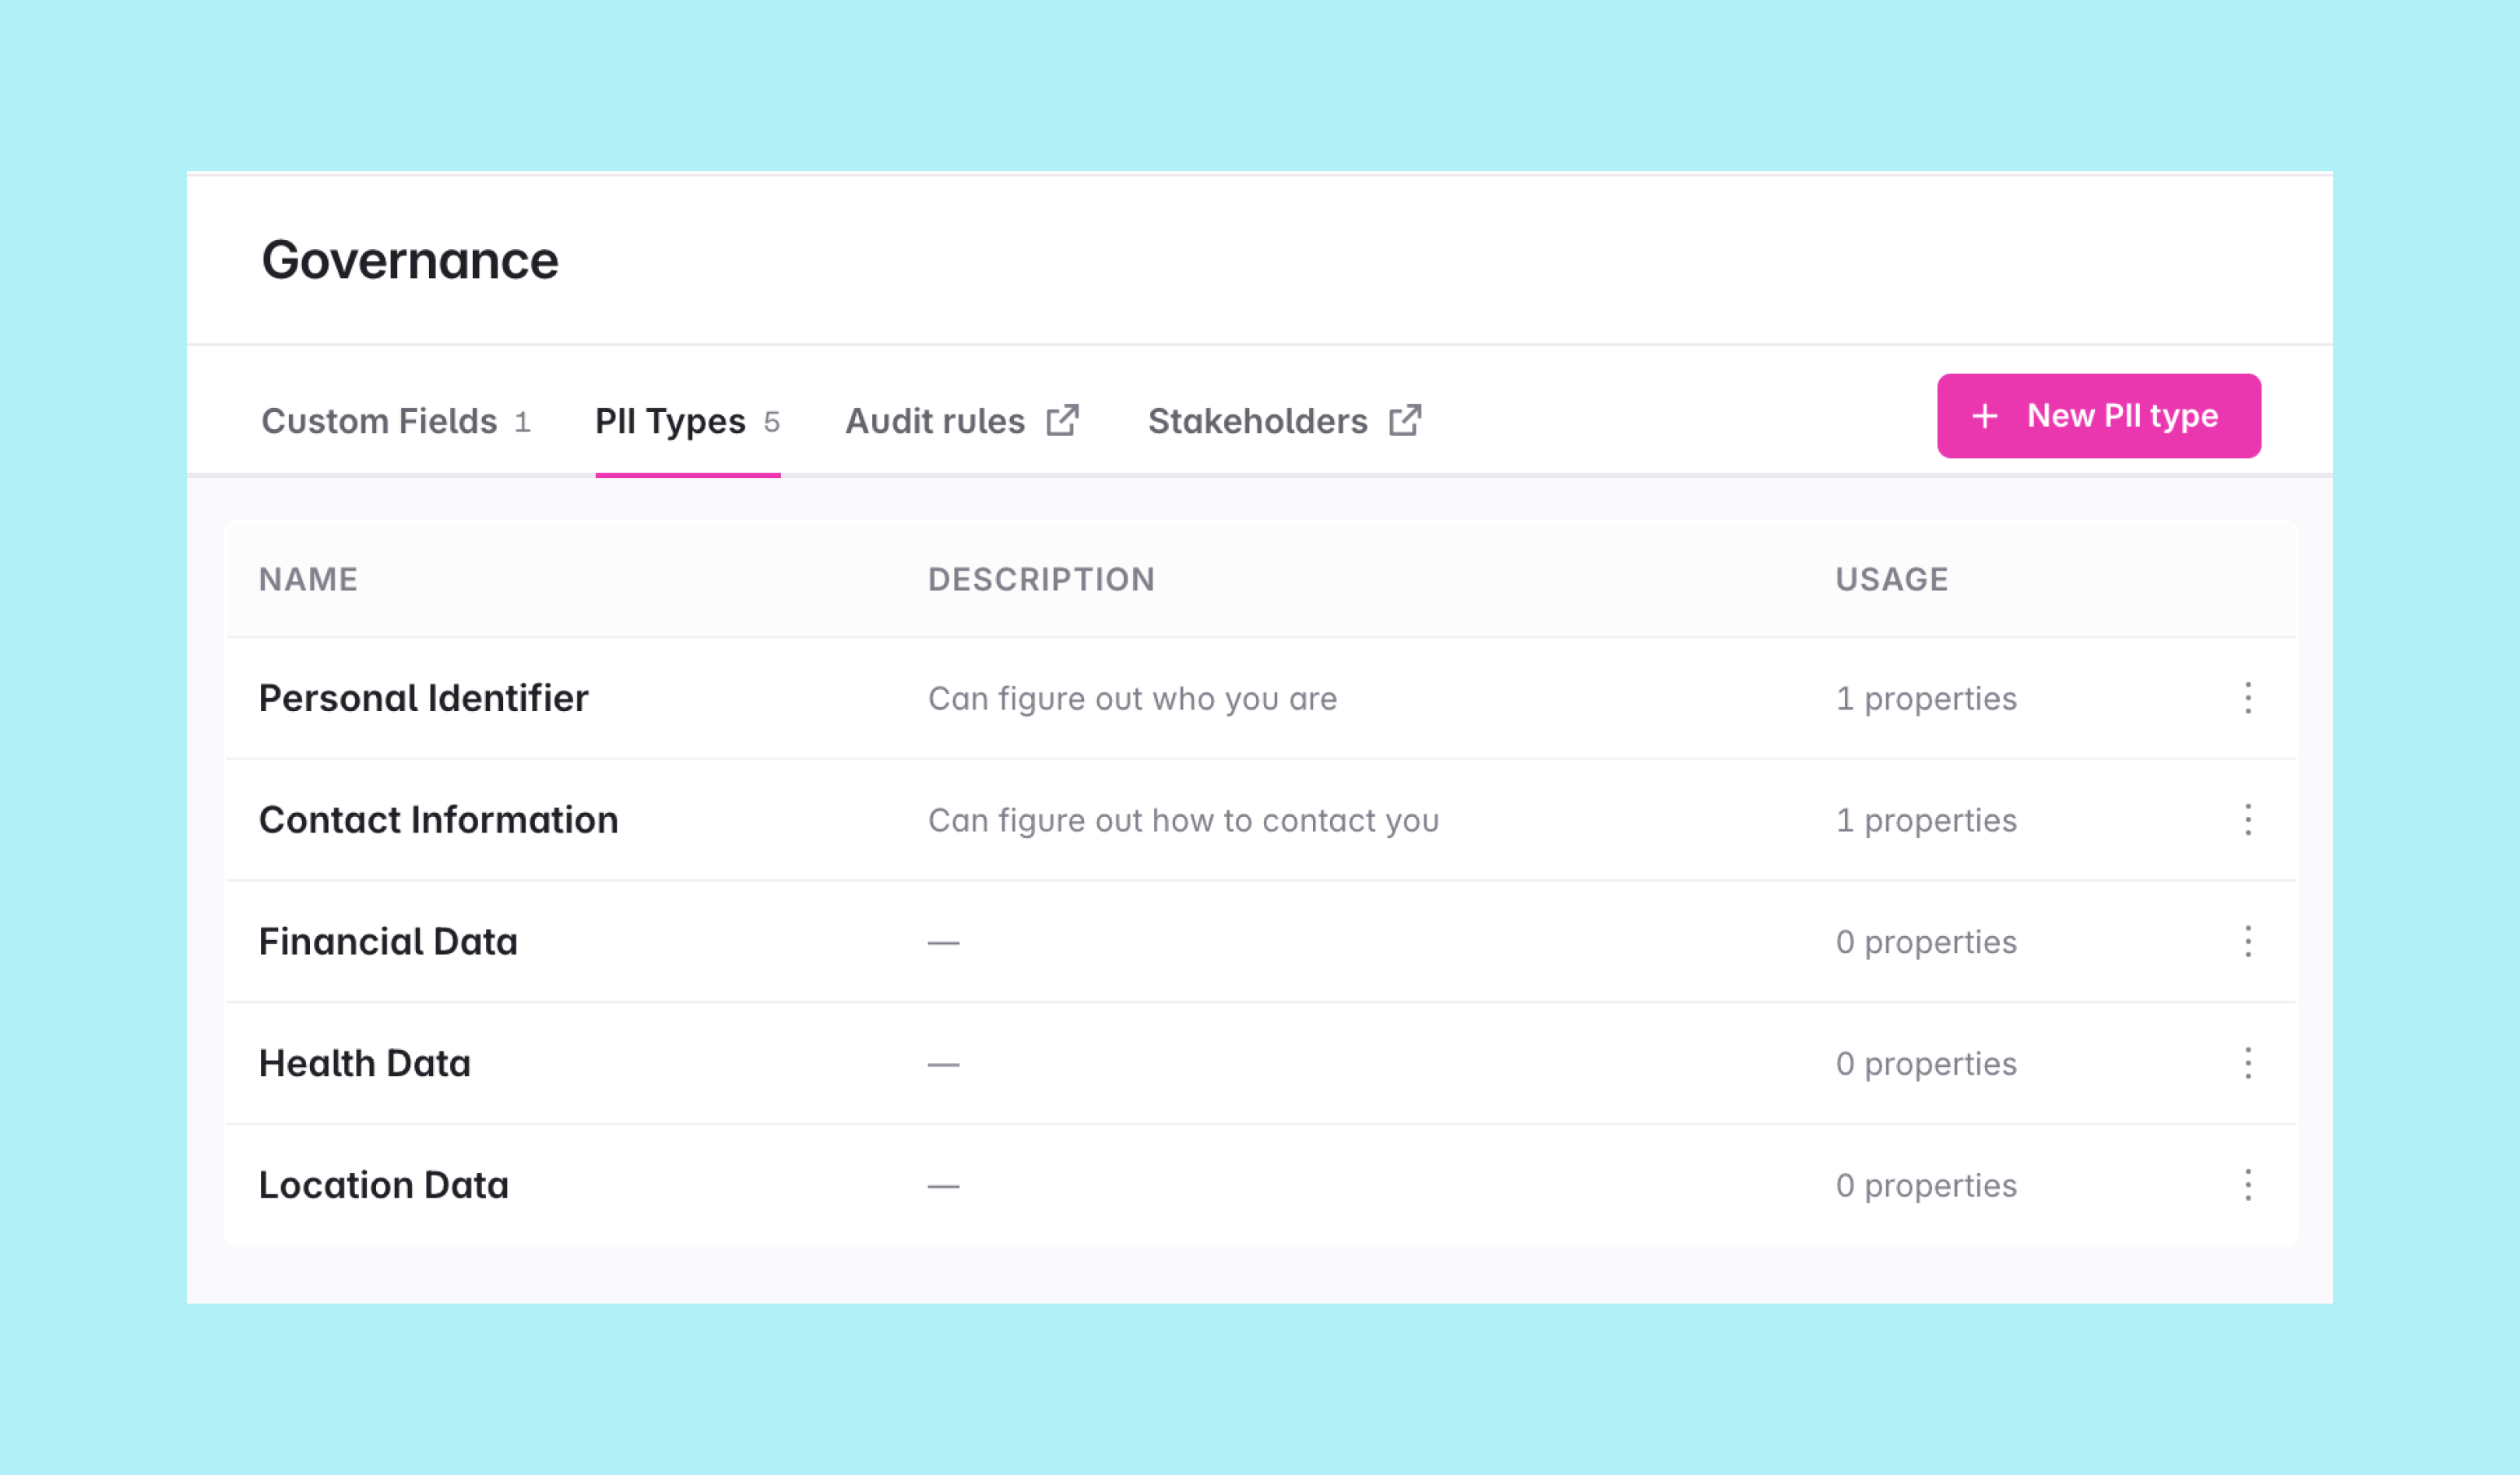
To get started quickly, click "Use Avo's defaults" to add Avo's default PII types:
- **Personal Identifier**
- **Contact Information**
- **Financial Data**
- **Health Data**
- **Location Data**
The defaults behave like any other PII type once added — you can edit their names and descriptions, and archive the ones that don't fit your workspace's taxonomy. Opening a PII type also shows which properties use it.
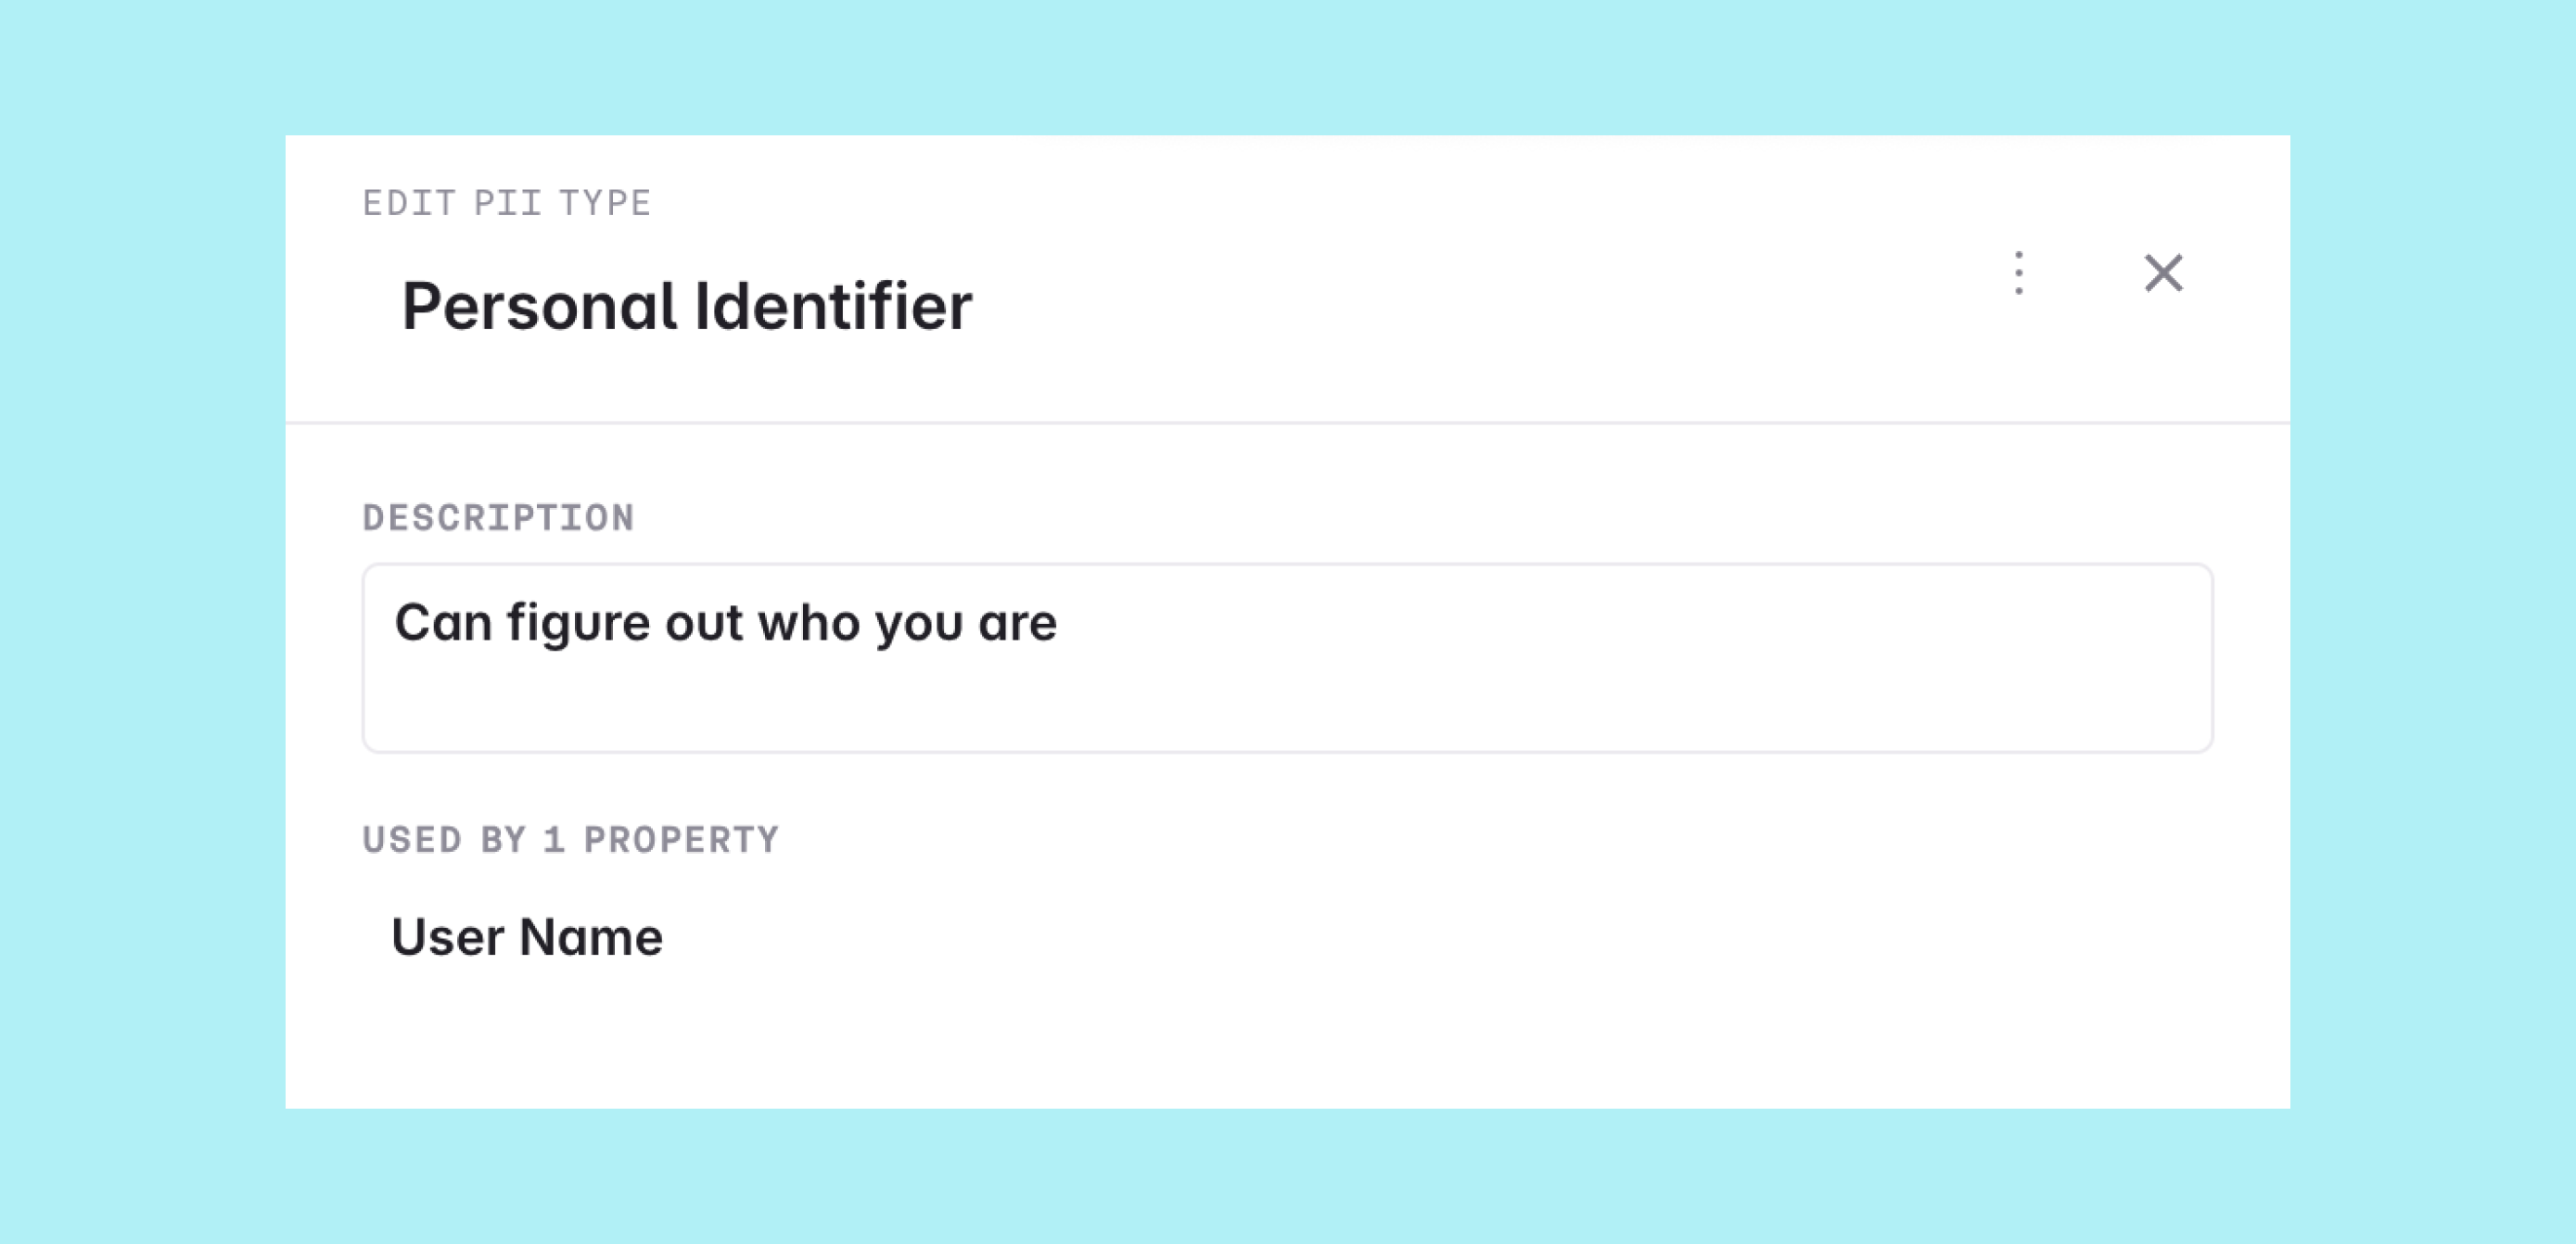
A property pointing at an archived PII type shows the type name with an "(archived)" suffix, so existing classifications stay visible even after the type is retired.
Like other governance changes, managing PII types and setting PII status on properties happens on a [branch](https://www.avo.app/docs/data-design/branches.md) and goes through the normal branch review and merge workflow.
## Property PII status
Every property has one of three PII statuses:
- **Undeclared**: Nobody has reviewed the property yet. This is the default for every property.
- **Not PII**: The property has been explicitly reviewed and marked as non-sensitive.
- **PII**: The property is sensitive, with a PII type selected to say what kind.
The distinction between Undeclared and Not PII is what makes the status useful: Undeclared doesn't mean a property is safe, it means nobody has made the call yet. That's exactly what [audit enforcement](#enforcing-pii-declarations-with-the-audit) keys on — once every property is either Not PII or PII, you know the whole tracking plan has been reviewed.
### Setting the PII status
To set the PII status of a property, click the PII pill in the property detail header and choose Not PII, Undeclared or PII. When choosing PII, you also pick which PII type applies.
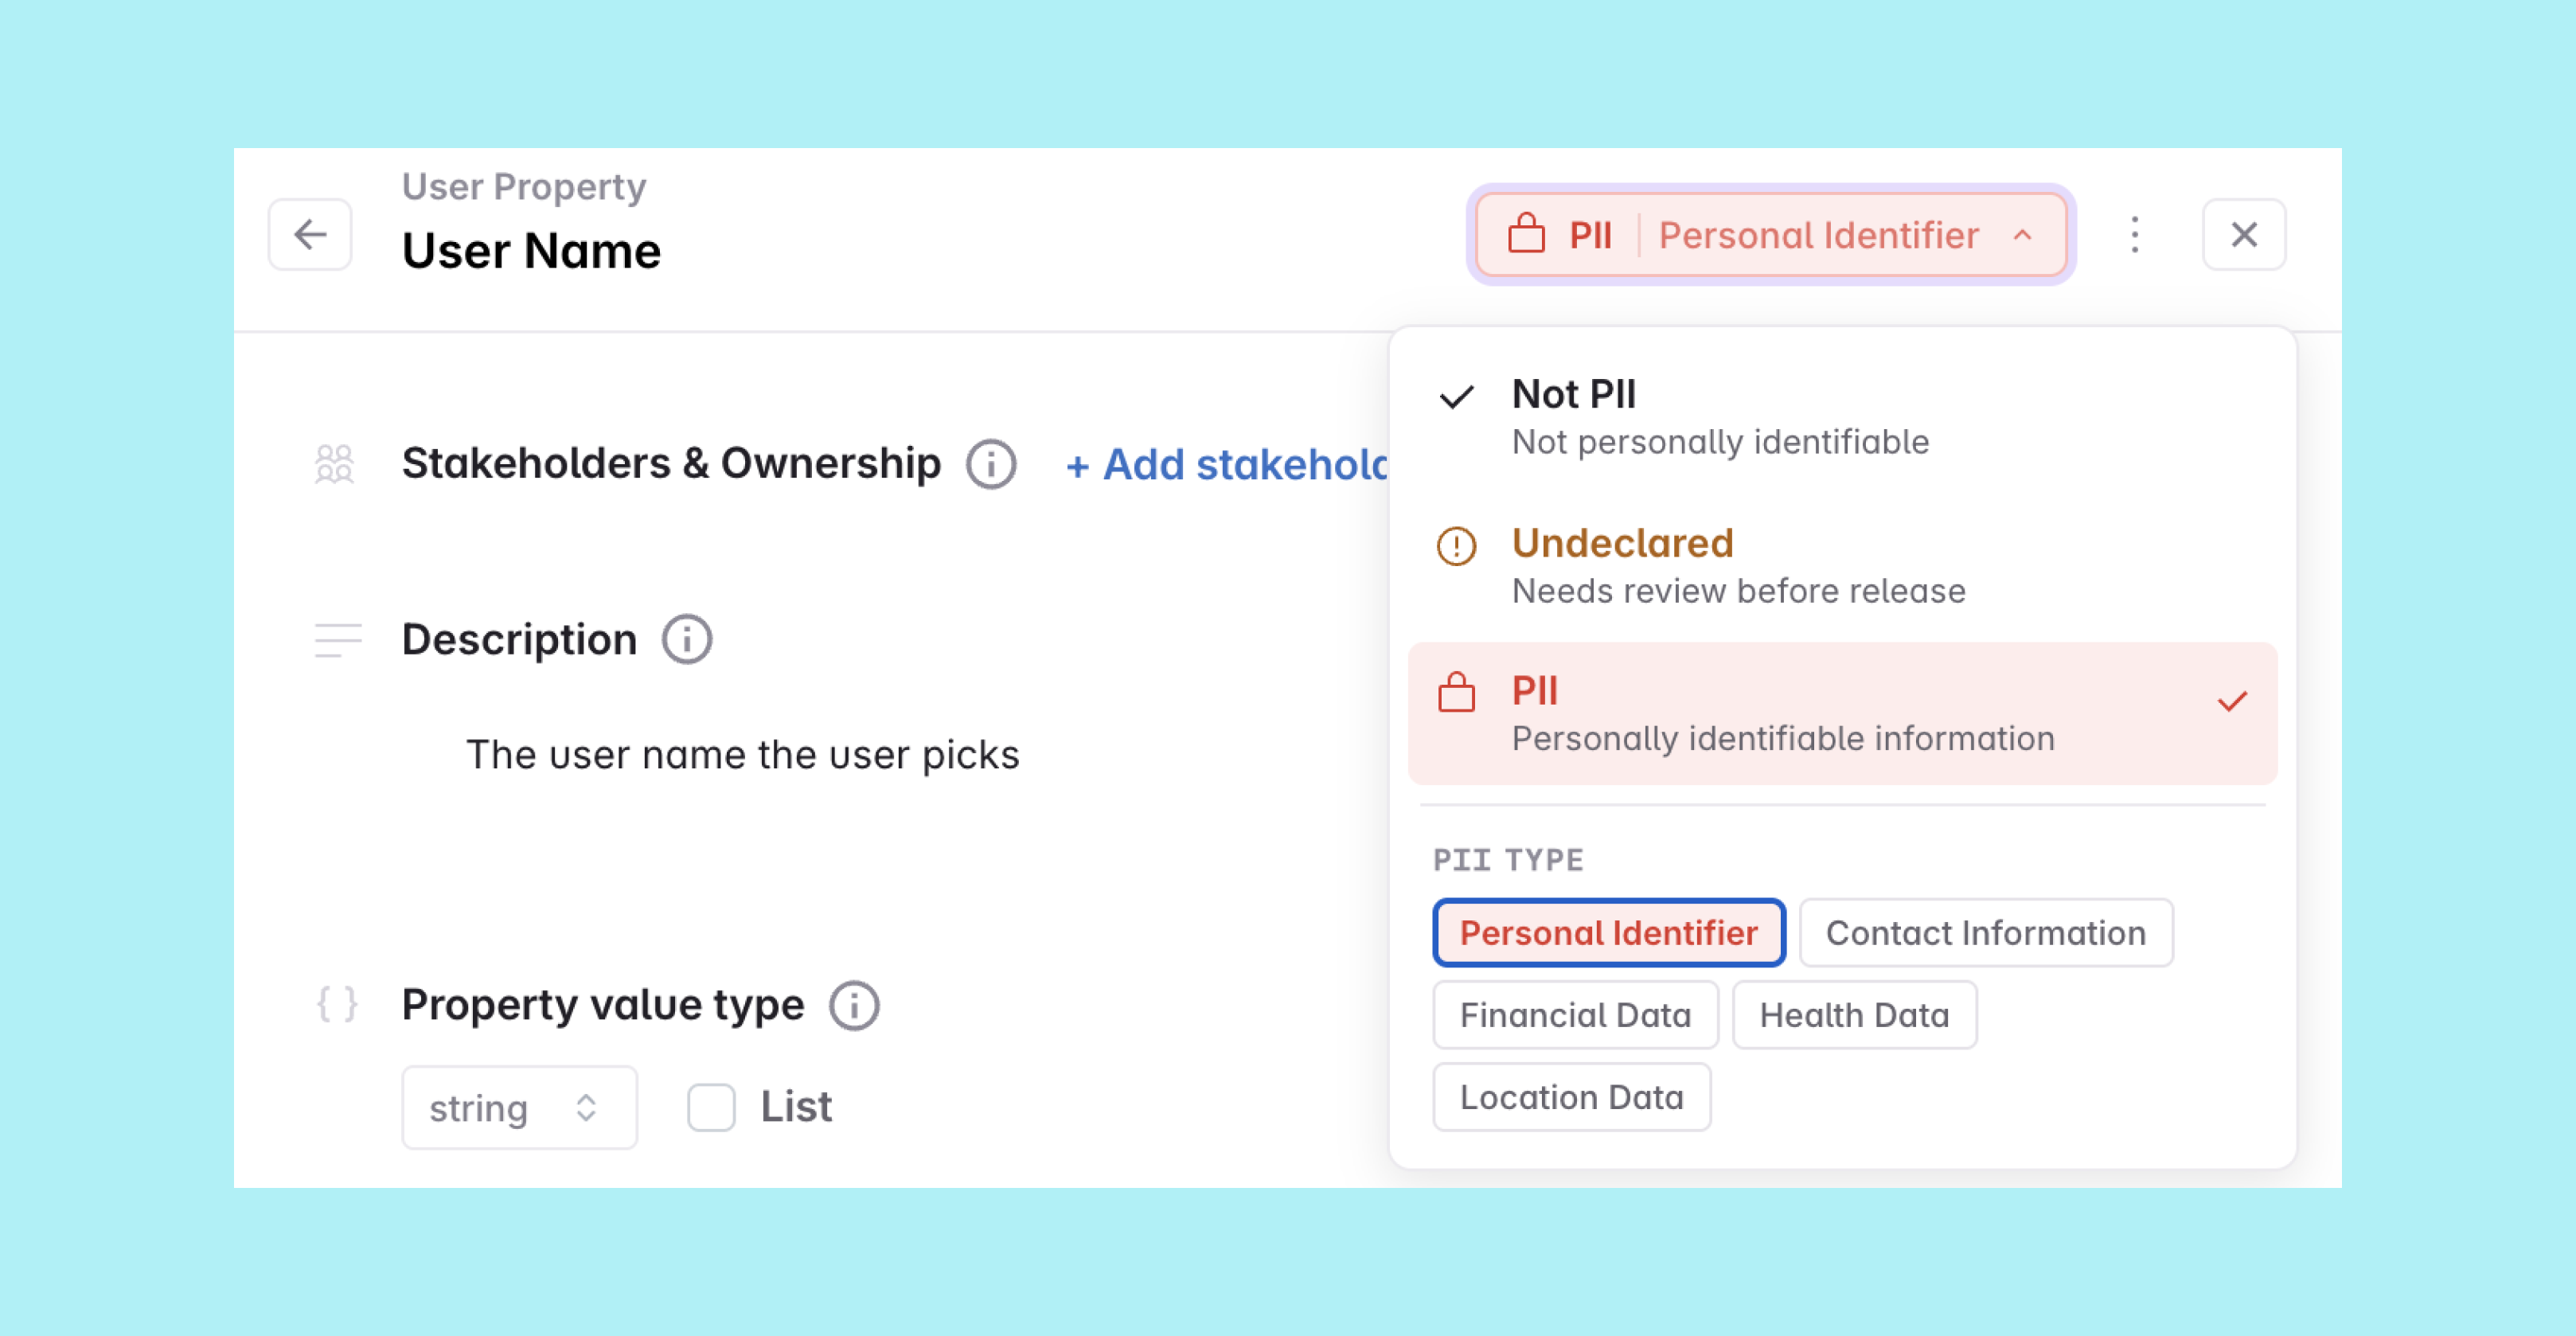
If the workspace doesn't have any PII types yet, the UI prompts you to ask a workspace admin to add some on the Governance page.
## Viewing the PII status
### Event details
Events automatically show a **Contains PII** indicator with a count of PII properties. The count is computed from the event's properties, including properties that come in through [property bundles](https://www.avo.app/docs/data-design/avo-tracking-plan/properties.md#event-property-bundles). The event also gets a PII summary listing those properties and their PII types, so reviewers can see exactly what sensitive data an event carries without opening each property.
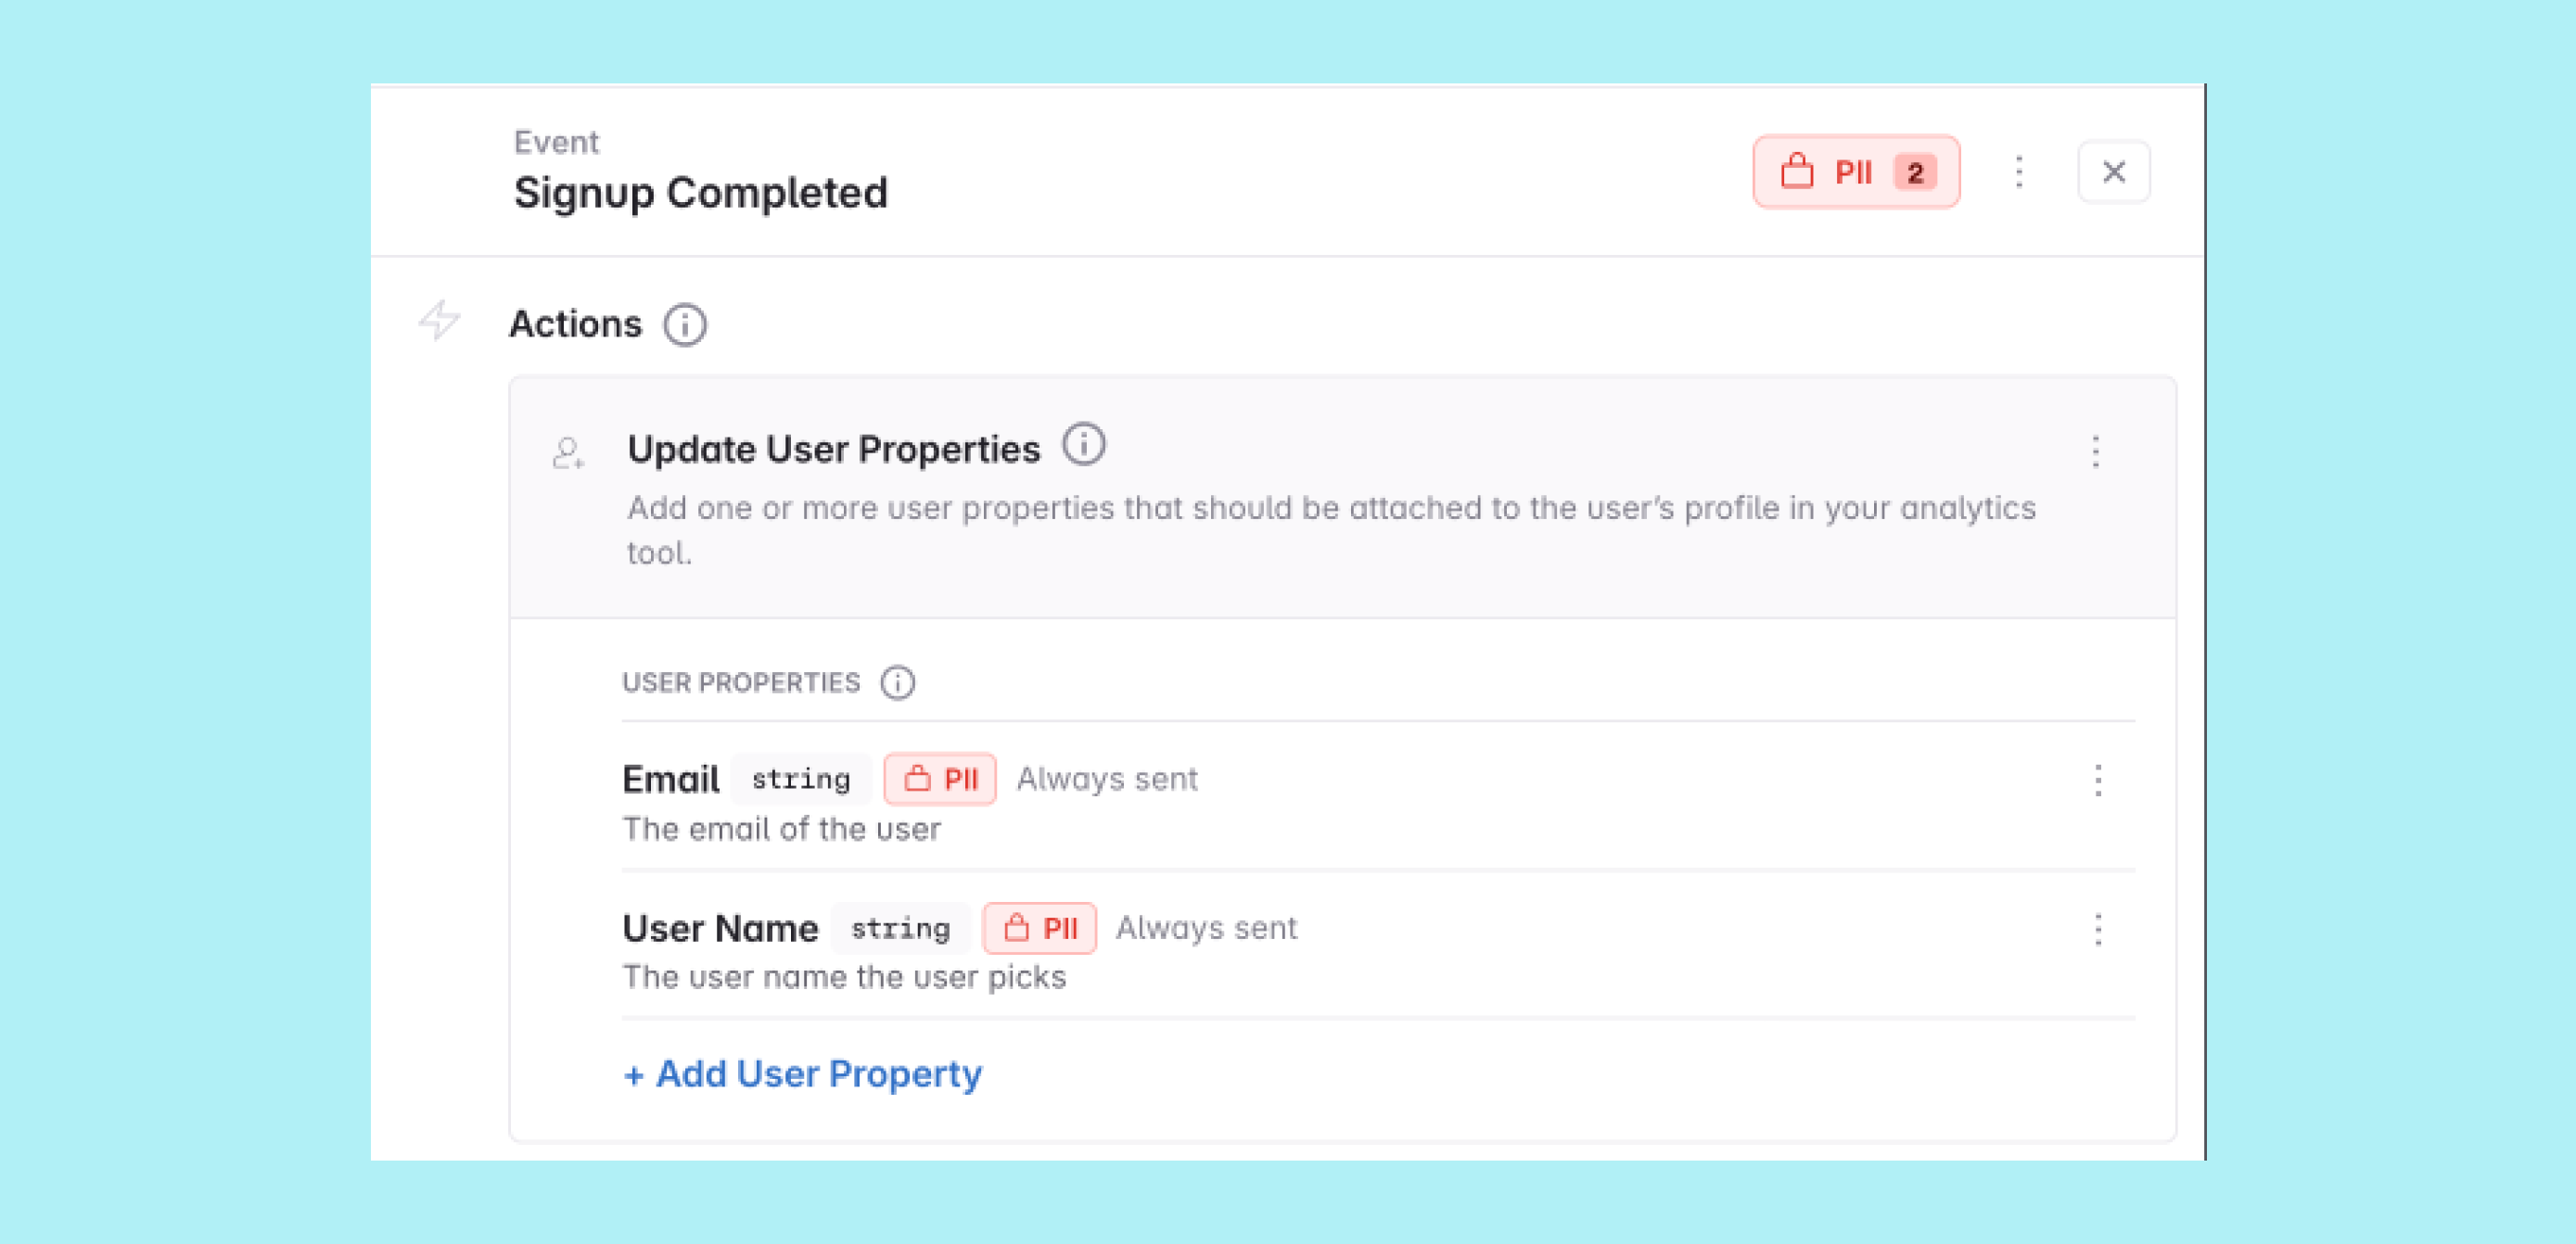
### Events view
The Events view has a "Contains PII" column, plus a "Contains PII" filter to focus on the events that carry sensitive data. To add the column to your view, click `Customize` and enable it. You can also move the column up the list in the customize menu to place it closer to the front of the table, where it's more visible.
### Properties view
The Properties view has a "PII Status" column showing each property's declared status, plus "PII Status" and "PII Type" filters. Like on the Events view, click `Customize` to add the column to your view and move it up the list for better visibility.
The PII Status filter is especially handy when classifying an existing tracking plan: filter to Undeclared and work through the list until nothing is left.

## PII status in branch diffs and exports
- **Branch diffs**: PII status changes show up in the [branch changes view](https://www.avo.app/docs/data-design/branches/branch-changes.md)
- **CSV export**: "PII" and "PII Type" columns in the [CSV export](https://www.avo.app/docs/publishing/exporting.md)
- **JSON Schema export**: A `pii` object (`isPii` and, for PII properties, `piiType`) on properties, and a `pii` object with `containsPii` and the list of `piiTypes` on events, in the [JSON Schema export](https://www.avo.app/docs/reference/public-api/export-tracking-plan.md#governance-fields)
The [Import API](https://www.avo.app/docs/reference/public-api/import-tracking-plan.md) and JSON Schema import round-trip the property-level `pii` object the same way as [custom fields](https://www.avo.app/docs/data-design/avo-tracking-plan/governance/custom-fields.md#importing-custom-field-values): values referencing existing PII types are applied, unknown types are skipped with warnings and never auto-created.
## Enforcing PII declarations with the audit
The [audit rule](https://www.avo.app/docs/audit/rules.md#all-properties-have-pii-declared) "All properties have PII declared" can require every property to be either Not PII or PII — in other words, no Undeclared properties. Like other audit rules it surfaces issues in the branch and tracking plan audits and can optionally block branch merging, depending on your workspace's [audit configuration](https://www.avo.app/docs/audit/rules.md#audit-rule-configuration). Enforced in the [branch audit](https://www.avo.app/docs/audit/branch-audit.md), it guarantees every new property gets a PII declaration before it goes live.
## Looping in a stakeholder on PII changes
On the Enterprise plan, you can have a [stakeholder team](https://www.avo.app/docs/data-design/avo-tracking-plan/stakeholder-domains.md) automatically added as a required reviewer whenever a branch changes the workspace's PII data flow — for example a new PII property, a property toggled from Not PII to PII, or PII sent to a new destination. This is a reliable way to bring a privacy or data-governance team into every change that touches sensitive data. Enable it with the **"Impacted by PII changes"** setting in the [stakeholder team settings](https://www.avo.app/docs/workspace-management/domains.md#defining-what-changes-impact-a-stakeholder).
---
Source: https://www.avo.app/docs/data-design/avo-tracking-plan/implementation-status.md
# Implementation Status
When looking at from which sources an event is sent from in your Tracking Plan you will notice green, yellow or red status indicator lights next to each source name. This is the implementation status.
Inside the indicator light is a letter, either "P" or "D", which represents "Production" or "Development" respectively. These indicators tell us where we are getting the data from. When looking at Inspector Implementation Status, we currently only provide production, with development and staging coming soon – let us know if you want to be part of the beta (at support@avo.app).
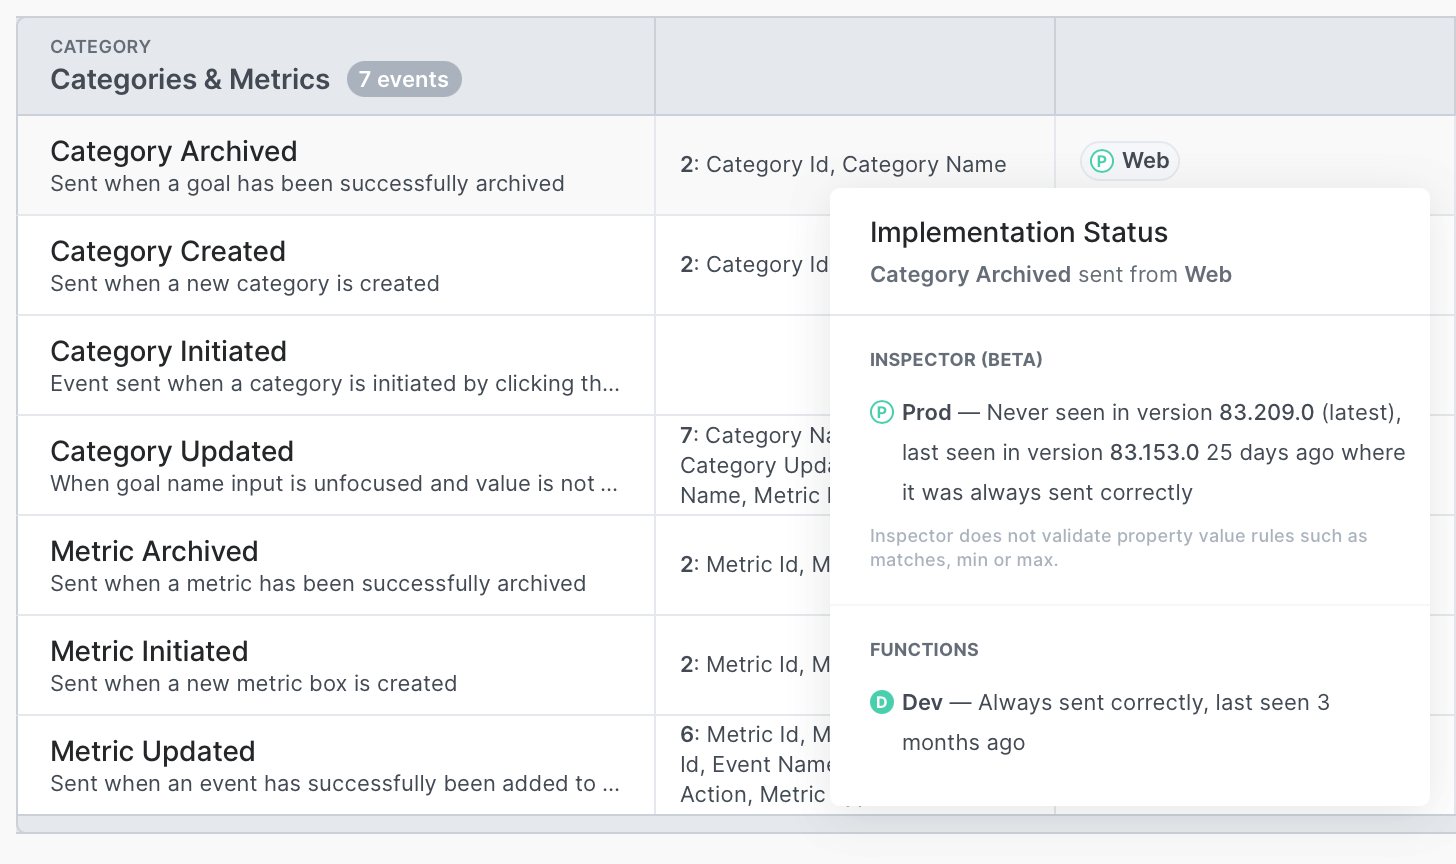
The implementation status is twofold. If you're using Avo Codegen, you can see the state of implementation in your development environments (D). If you have Avo Inspector installed, you can see the state of implementation in your installed environments (P)(D)(S).
## Avo Codegen implementation status
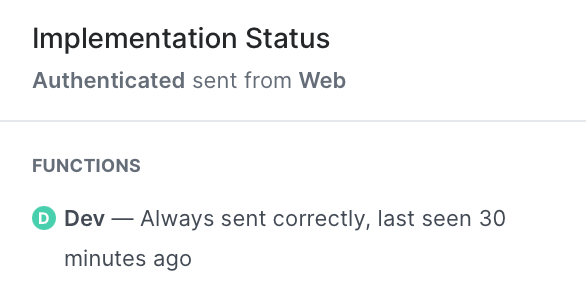
Avo Codegen implementation status reports on how your Avo Codegen implementation is performing in development, compared to your Tracking Plan.
Avo Codegen implementation status can have four states:
1. Always sent correctly
2. Sometimes sent correctly
3. Never sent correctly
4. Never seen
Learn more about [how to start using Avo Codegen in this doc](https://www.avo.app/docs/implementation/start-using-avo-codegen.md).
## Inspector implementation status
### Production
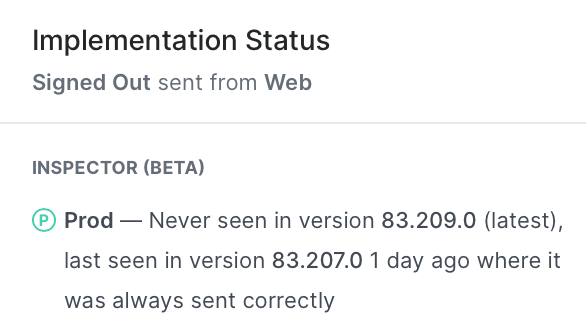
Inspector implementation status reports on how your tracking implementation is performing in production, compared to your Tracking Plan. Note that Inspector implementation status can report on implementation status for all of your existing tracking code, and does not require the adoption of Avo Codegen to work.
For each source we check the following for all events in your Tracking Plan:
1. Have we seen the event on this source?
2. Is the most recent version we have seen the event on, the most recent version we have seen for this source?
3. Is the event being sent according to the event definition in the tracking plan?
Based on these checks we report the implementation status using one of the following states:
- Event is always sent correctly in the latest version
- Event is sometimes sent correctly in the latest version
- Event is never sent correctly in the latest version
- Event has never been seen in the latest version, last seen in version [version number] where it was [always, sometimes or never] sent correctly
- Never seen this even
> Note that since Inspector does only process your event metadata, and not
> customer data such as property values, it can not validate property value
> rules such as matches, min and max. However, it does validate property types,
> so if a property is defined as int in your tracking plan but is being sent as
> string, Inspector implementation status will highlight that issue.
#### App versions
By default Inspector implementation status reports on how your tracking is performing in the latest version of your app. As we all know apps and websites can be running on multiple versions simultaneously, and since our tracking code changes with every release, the events can differ between versions.
If you have changed your event in the tracking plan, old versions of the event are expected to not match the current version of the tracking plan, and become noise. That’s why we built Inspector Implementation Status to focus on the tracking from your latest versions
We recommend using semantic versioning (e.g. "1.0.0") or other types of numeric versioning (e.g. build number) which get incremented on every release. Providing a version to Inspector will help get the cleanest output from the status report and help you understand how your tracking is performing in your latest versions.
### Development and Staging
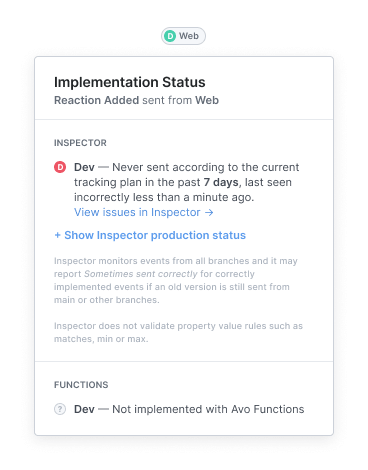
Inspector implementation status can also report on how your tracking implementation is performing in dev and staging environments.
However, because app version is rarely updated when working in dev environments, multiple versions of an event can exist between different branches
that belong to the same app version. For that reason, instead of focusing on App version in dev and staging, each event is filtered by a time window (7d).
> Time window will be editable in future release
For each source we check the following for all events in your Tracking Plan:
1. Have we seen the event on this source in the current time window provided?
2. Is the event being sent according to the event definition in the current tracking plan?
Based on these checks we report the implementation status using one of the following states:
- Event is always sent correctly
- Event is sometimes sent correctly
- Event is never sent correctly
> Inspector monitors events from all branches, so it may report 'Sometimes sent
> correctly' for events that have been correctly implemented on your branch if
> older versions are still being sent from other branches.
Learn more about [how to install Inspector in this doc](https://www.avo.app/docs/reference/avo-inspector-sdks/overview.md).
---
Source: https://www.avo.app/docs/data-design/avo-tracking-plan/workbench.md
# Workbench
*A quick summary of the changes made to your events*
### What is the Workbench?
In Avo you can collaborate in real time on defining, expanding and implementing your tracking plan. Using [Branches](https://www.avo.app/docs/data-design/branches.md) helps you make your changes without disrupting your main source of truth with the power of approvals.
If you are already on a branch, all changes will be captured in the [Review screen](https://www.avo.app/docs/workflow/review.md) but the Events screen has a handy little summary at the top called the **Workbench** where you can have an overview of the changes you've made on your branch.
## Making changes
Events that are being changed or added will populate the Workbench as you go with a change summary at the top, along with the name of the branch. On the left, next to each event will be a colored line to indicate whether it is new (mint) or changed (purple).
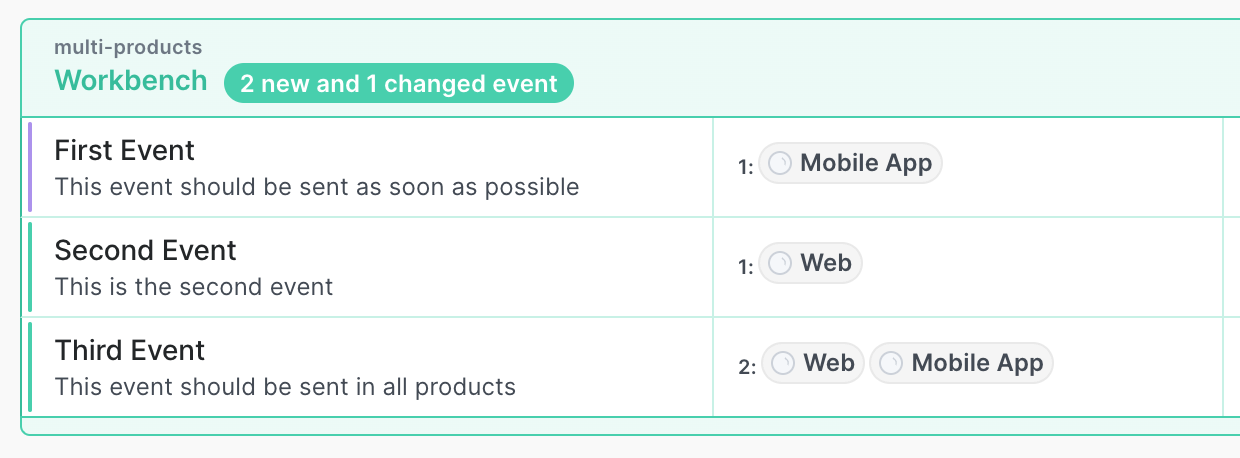
## What's next?
- [Approval workflows for branches](https://www.avo.app/docs/data-design/branches/approval-workflows.md)
- [Share implementation instructions for a branch](https://www.avo.app/docs/data-design/branches/code-changes.md)
- [Using Avo in parallel workflows for large development teams](https://www.avo.app/docs/implementation/guides/avo-and-git.md)
- [How to manage branches with multiple sources](https://www.avo.app/docs/data-design/guides/multiple-sources-on-avo-branches.md)
- [Designing data in Avo](https://www.avo.app/docs/data-design/start-data-design.md)
---
Source: https://www.avo.app/docs/data-design/avo-tracking-plan/event-variants.md
# Event variants
Event variants are a powerful feature that allows you to create variations of an event to suit different scenarios.
Some of the advantages that event variants bring are:
- enhancing the precision of the tracking plan
- narrowing the scope of tracking changes
- simplifying the implementation of Codegen
> 💡 Note that Event Variants are available on the Team and Enterprise plans.
## Introduction
When defining a tracking plan for events that are used in multiple scenarios within a product, there can often be a need for making the specifications for an event more granular. A few scenarios to mention:
- some properties might need to be included depending on the context an event sent from
- property descriptions, event descriptions and triggers can help clarify the desired behavior in each point the event is sent, but it still leaves a communication gap, for example when the developer is implementing an event. With triggers, you can define those requirements in the tracking plan, and they will be translated into code
- making trivial changes to an event that’s triggered in many places can cause widespread changes in the implementation of an event, even if it’s only meant to target a single invocation point. This slows down implementation and makes those designing data hesitant to introduce improvements to the tracking plan
Event variants streamline the tracking plan by allowing variations of an event to suit different scenarios, making the specification more precise. Each variant, inheriting properties from a base event, can be modified and enhanced.
### Developers love variants
This approach simplifies both implementation and communication with developers, because
- it narrows the scope of changes to only necessary areas
- event variants generate their own Codegen functions, facilitating quick and accurate implementation
- it reduces the uncertainty about property values
Existing events with numerous conditional properties used across various scenarios can greatly benefit from event variants.
### A concrete example
Let’s take a concrete but simplified example: You have an event called _Song played_ and it has a property called `song name`. Now you want to know when it's sent from a playlist and when it's sent from a search result with the `playlist` and `search query` properties. Without variants you'd have those properties as `sometimes sent` and you might use triggers to describe what properties to send in what scenario. In this simple example it should be trivial to understand these properties and when to send them but this event might get complex fast, leading to confused data users and disgruntled developers.
Using variants you'd only have the `song name` property on the base event and then you'd create a _Playlist_ variant with the `playlist` property as `always sent` and another variant called _Search_ with the `search query` property as `always sent`. This makes the relationship between the properties and the scenarios clear and improves both the tracking plan specificity and the Codegen implementation for the developer. Furthermore if you make changes to the either variant, let's say you add a `playlist index` property to the _Playlist_ variant, that change will only impact the implementation of the _Playlist_ scenario and not the base or _Search_ scenario, reducing the scope of the implementation and making it easier to maintain and improve the tracking.
## Using event variants
Event variants can be created and edited by workspace members with _Editor_ and _Admin_ roles. They are available for users on the _Team_ and _Enterprise_ plans and you also get full access to event variants when you have an active Team plan trial.
### Creating an event variant
To create a new event variant, click the `+ New variant` button close to the top of the event details view:
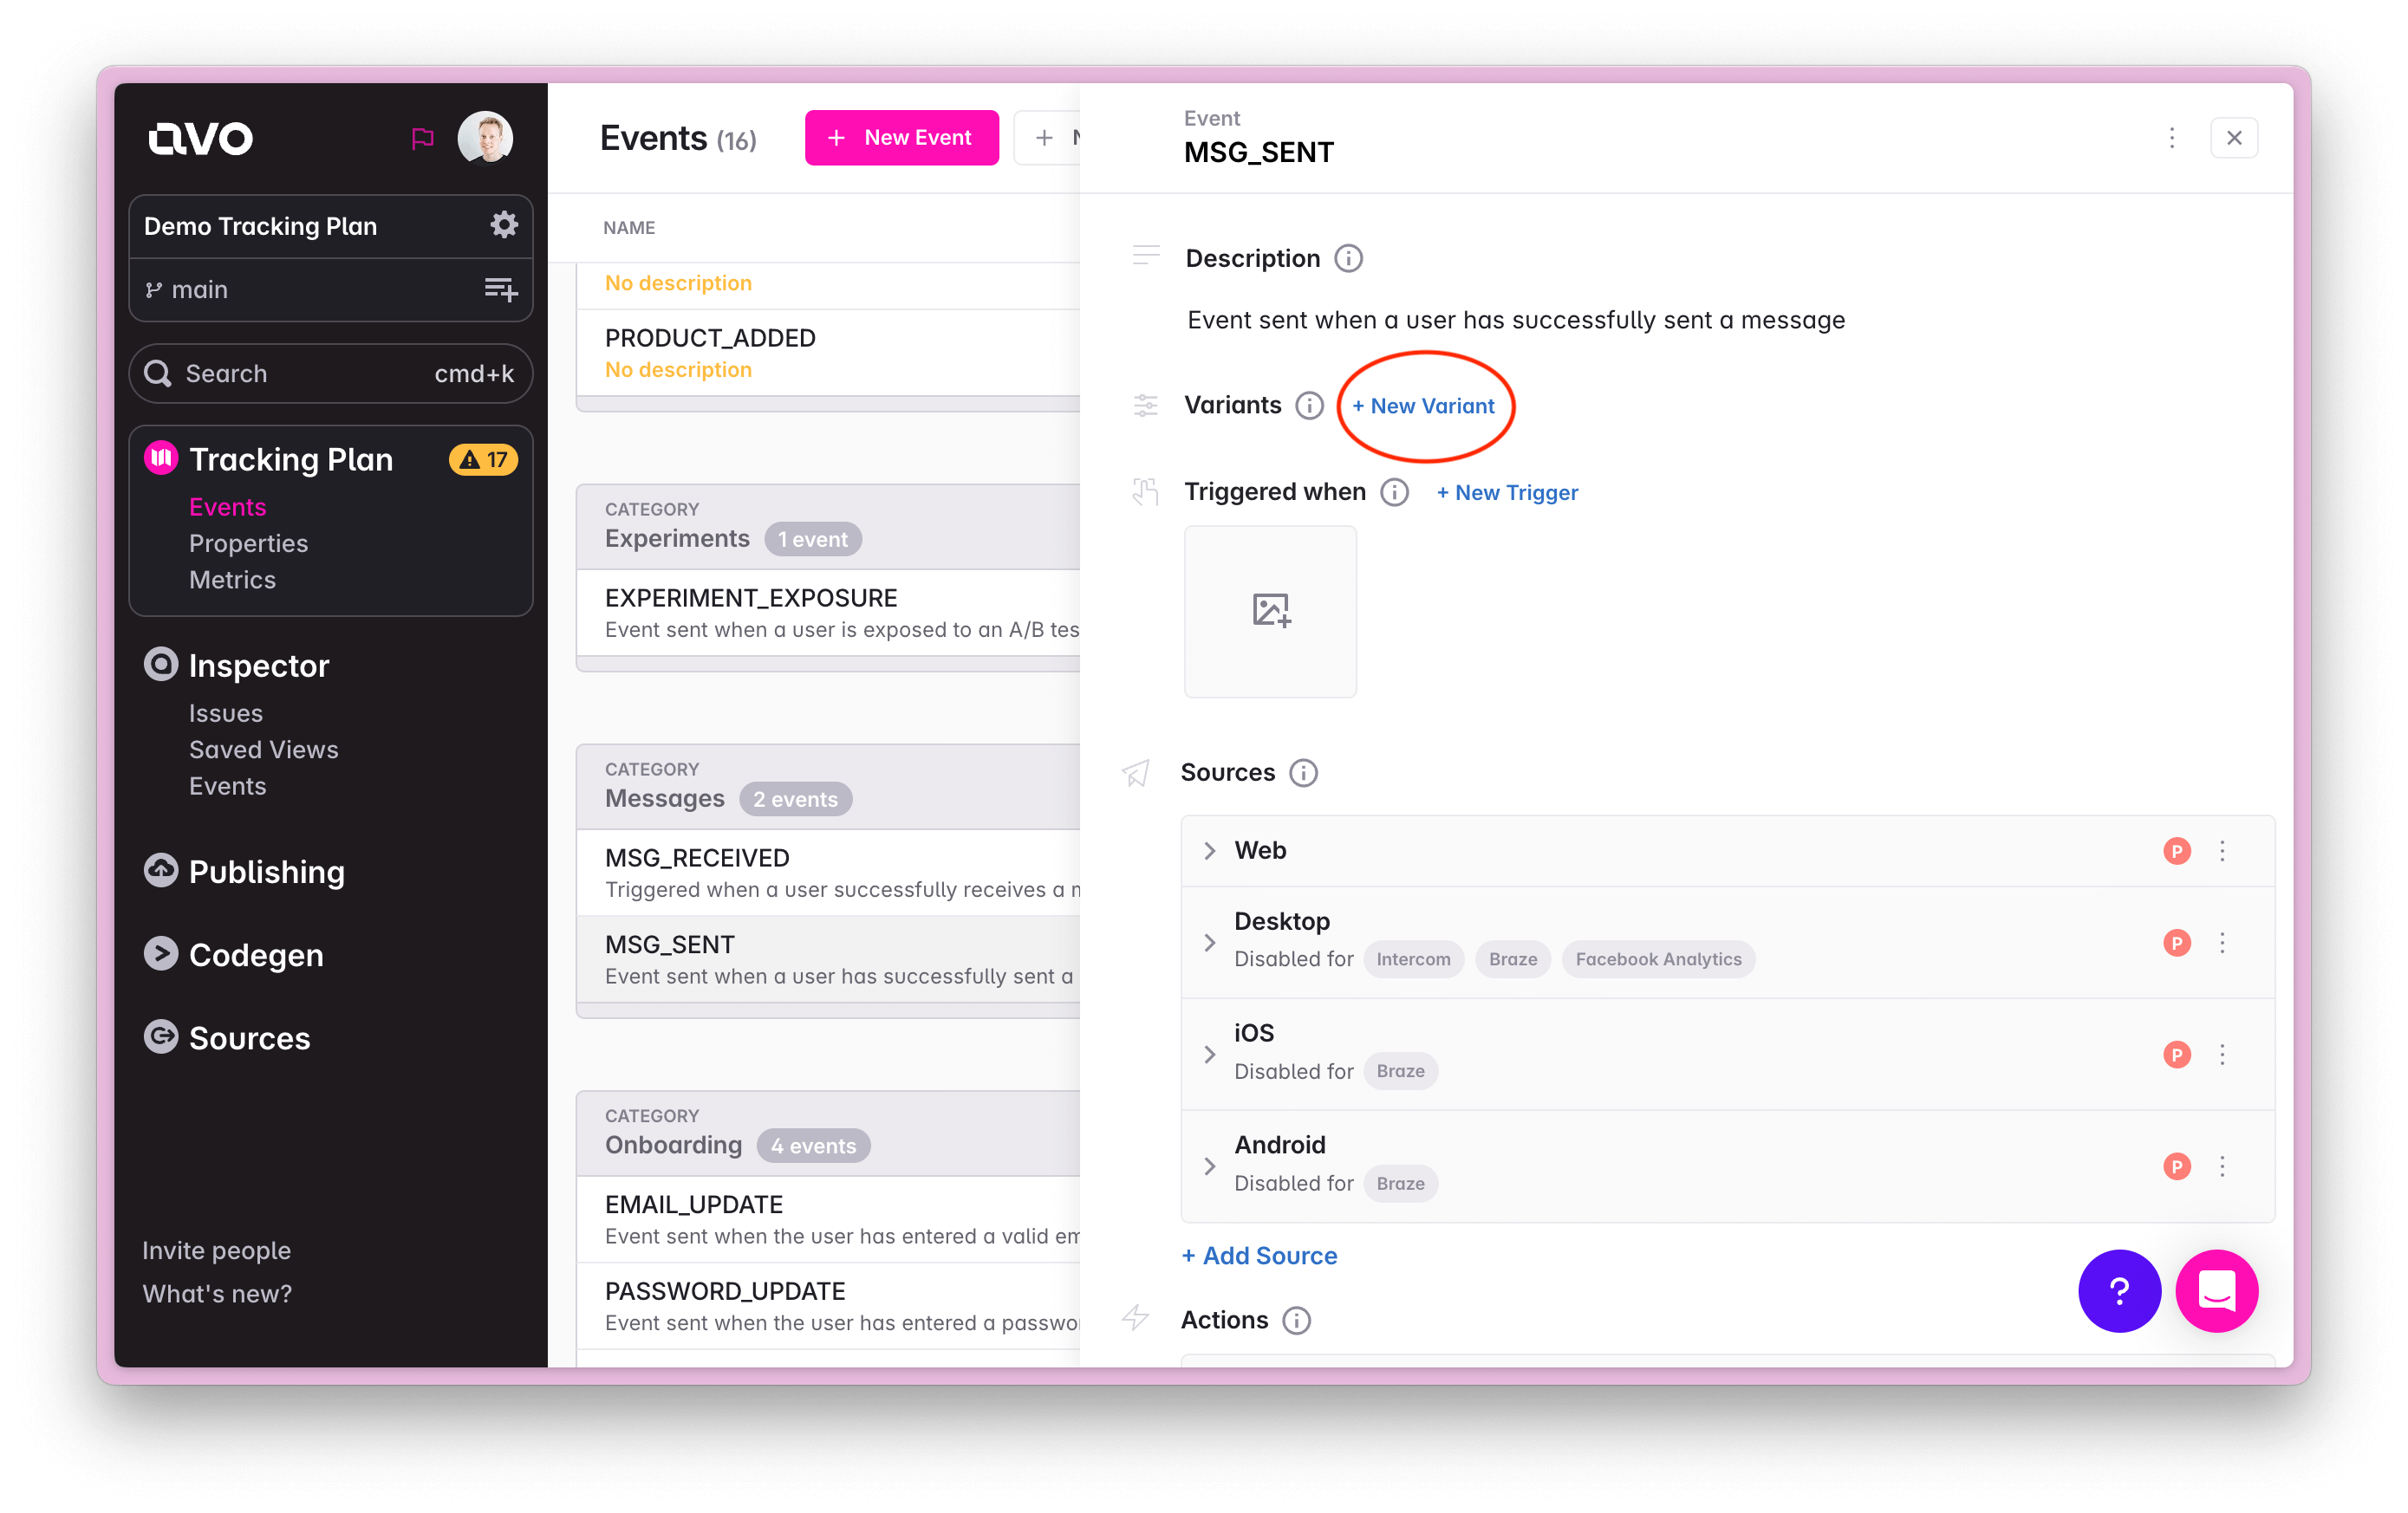
This opens up the event variant creation modal and allows you to pick a name for your new variant.
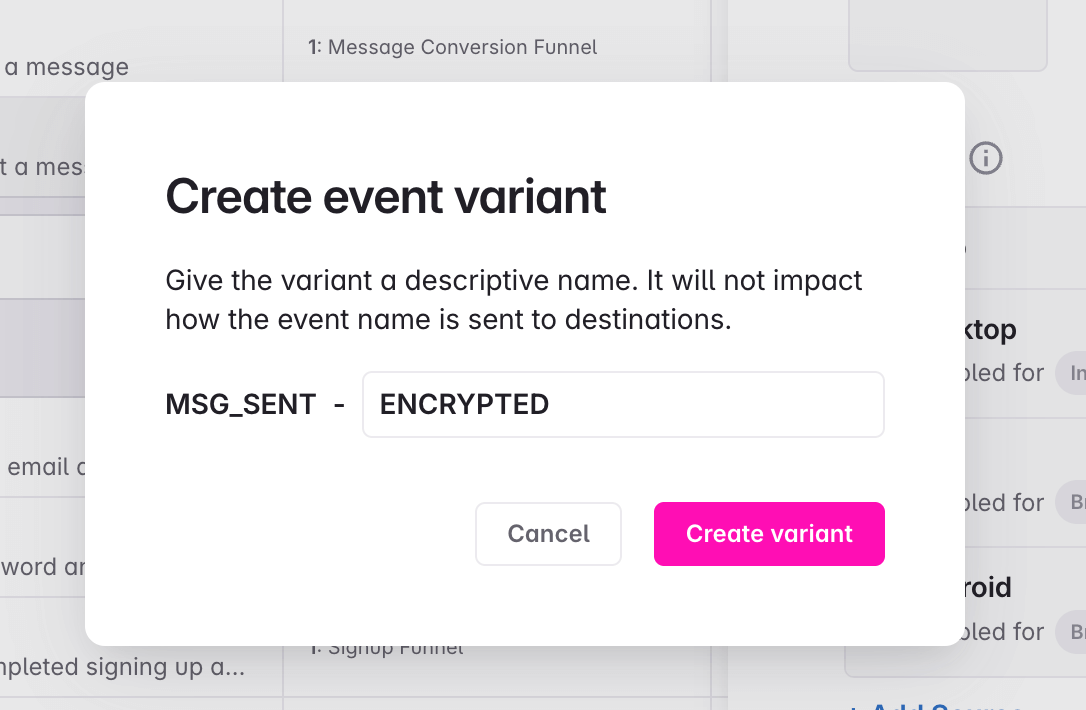
> 💡 Avo validates your variant name against the event namespace to make sure that there are no clashes when using Codegen. In the same vein, you won’t be able to create an event name that conflicts with an existing event name + variant name. Note that variants are always tracked using the base event name, the variant name is only used for documentation.
Once you’ve found a good and valid name, press `Create variant`. That will open a new view with the event variant.
### The event variant view
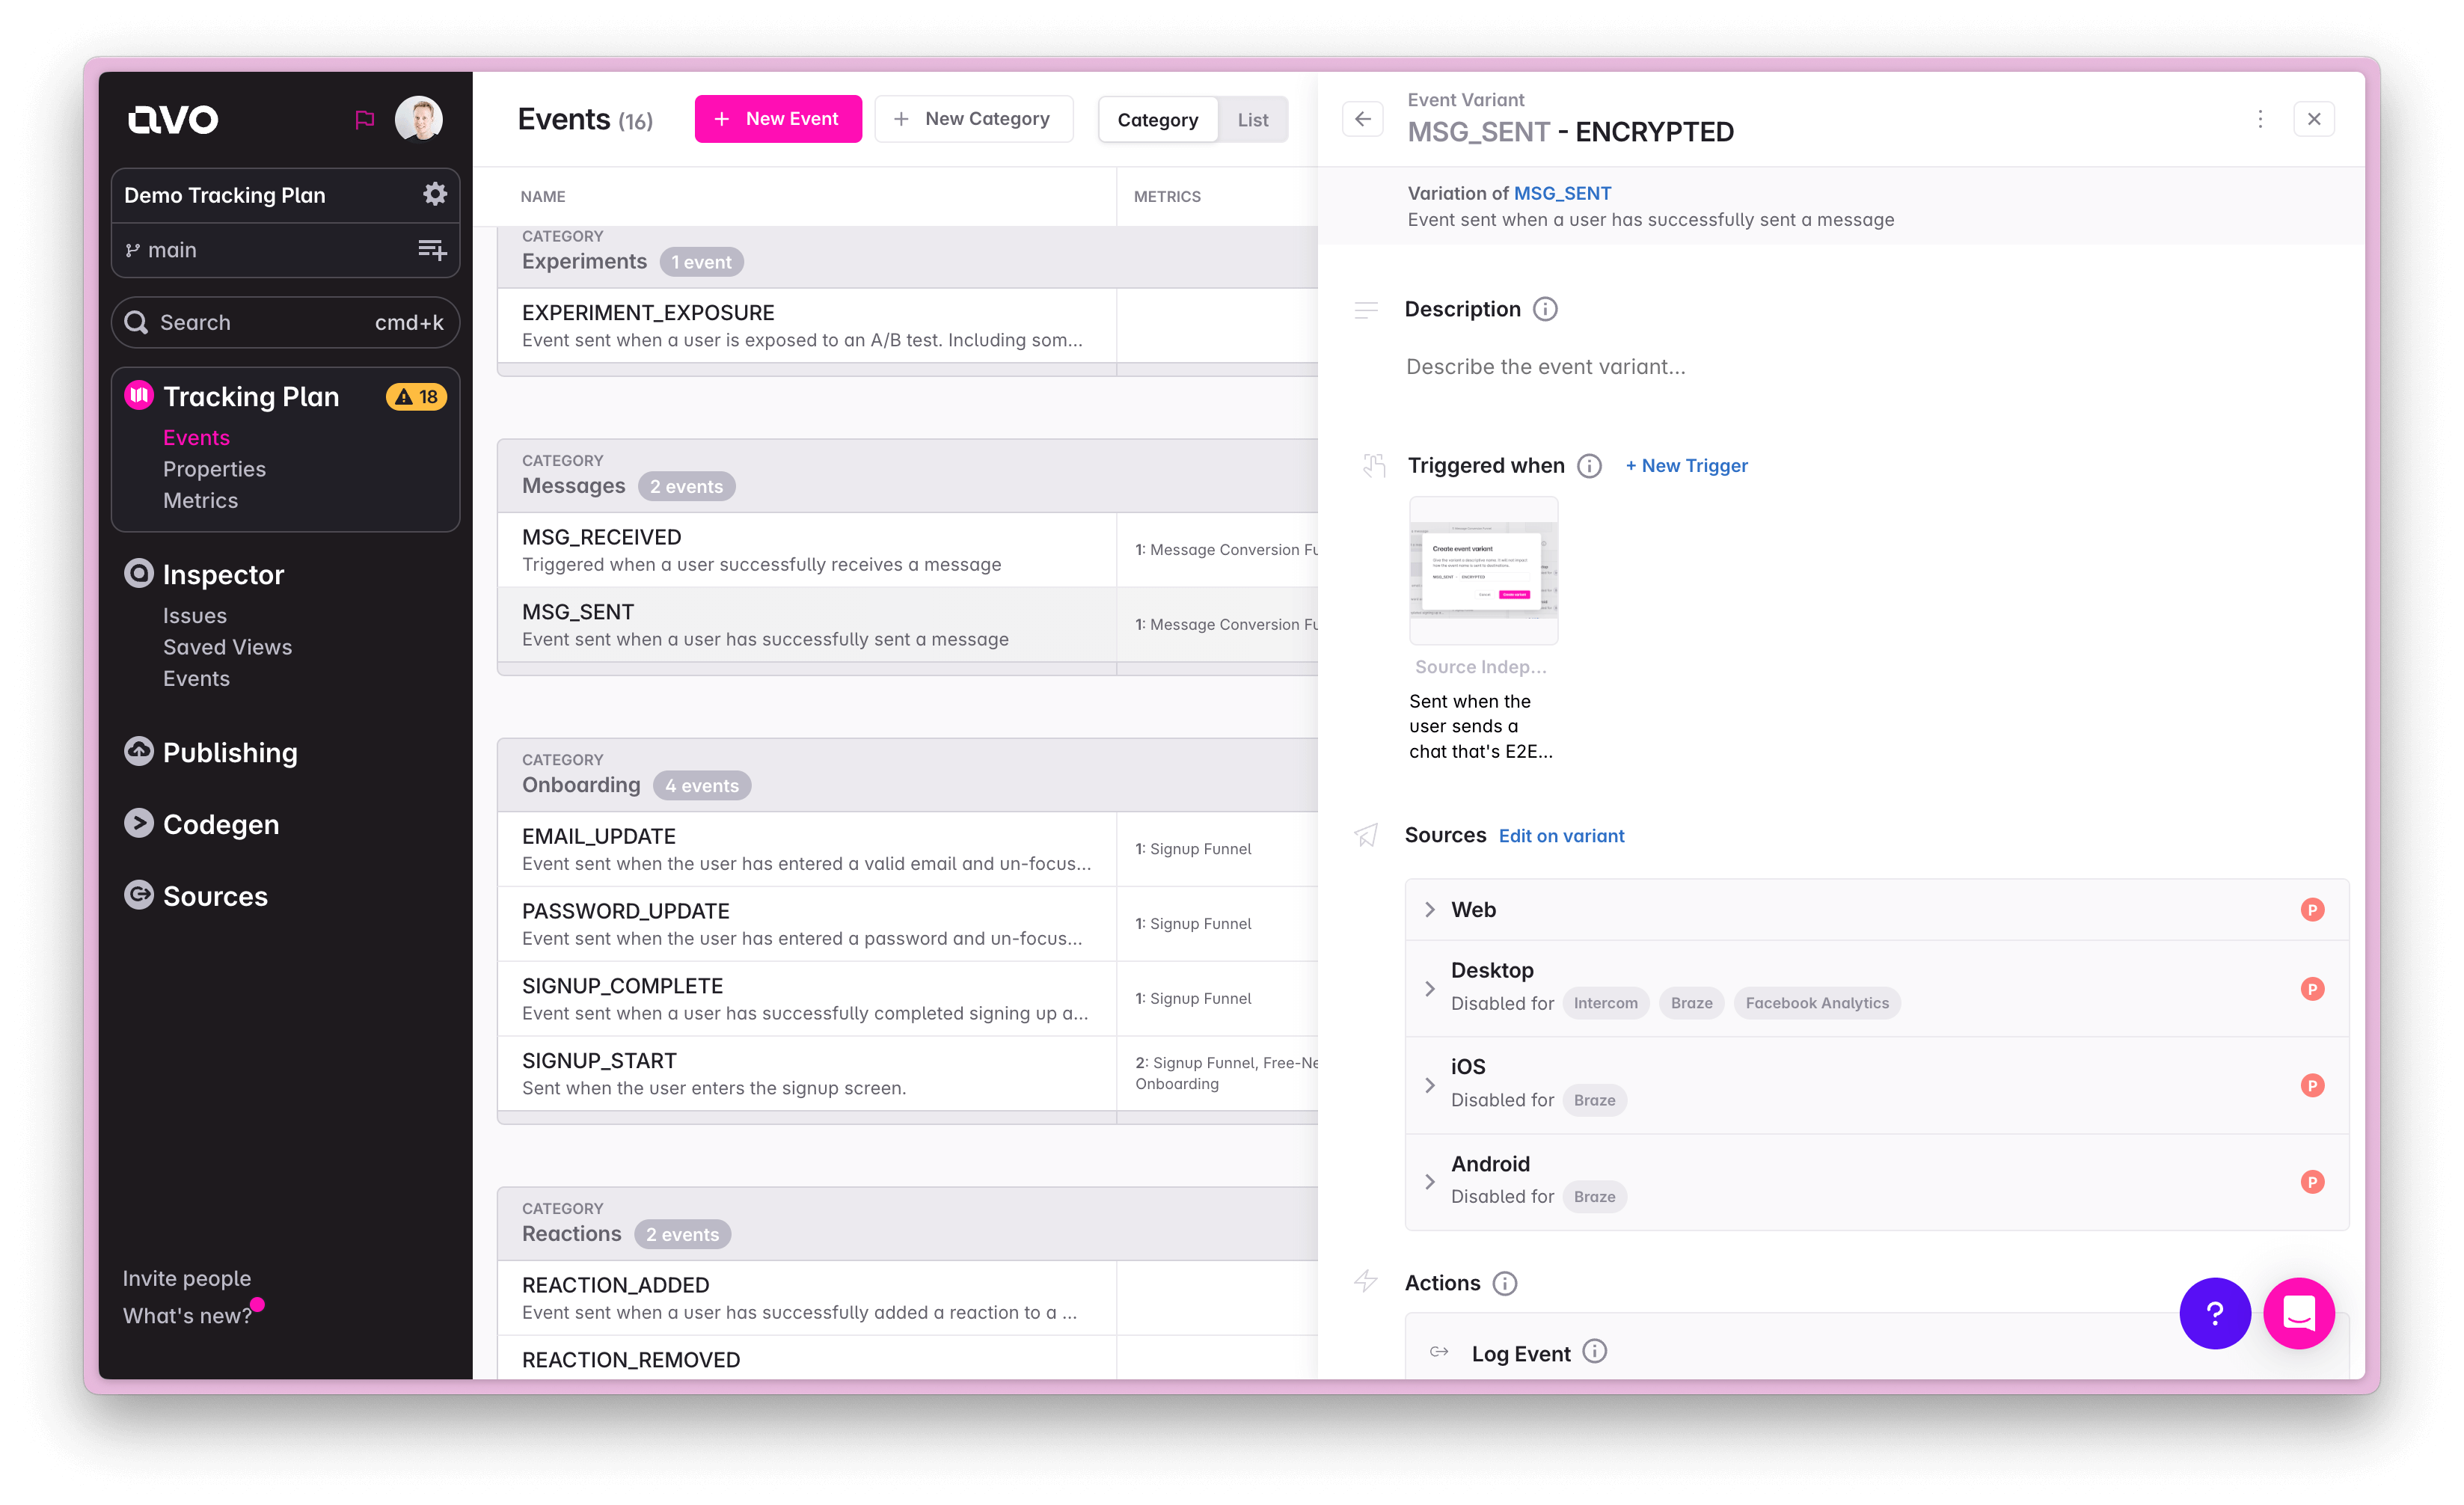
At the top of the event variant view you’ll find a reference to the base event and its description. You can click it to navigate there.
Below is a description field that allows you to extend the base event description and provide context for the scenario that this variant applies to.
The sources reflect the same sources as the base event.
The event variant actions reflect the actions on the base event. An event variant inherits its base event properties, then you can add overrides on top of them:
- **Description**: Add a description to explain the context of the variant
- **Add variant specific triggers**: Click the _+ New Trigger_ button
- **Edit sources**: Click the _Edit on variant_ button next to the _Sources_ label to narrow down sources this event variant is sent from
- **Add properties**: Click the _+ Add Property to Variant_ button and select the property you want to add
- **Add or remove property bundles**: [Property bundles](https://www.avo.app/docs/data-design/avo-tracking-plan/properties.md#event-property-bundles) can be added or removed from variants, just like individual properties
- **Set property presence**: Click the presence label in the variant details view to toggle between `always sent`, `sometimes sent` and `never sent` for this variant
- **Pin a property value**: In the triple-dot menu, choose _Pin Property Value on Variant_ to pin a property value or override an existing pin
- **Rename variant**: Click the variant name to rename the variant
On the Enterprise plan, [custom field](https://www.avo.app/docs/data-design/avo-tracking-plan/governance/custom-fields.md) values are inherited from the base event and can't be overridden on a variant.
The variant overview in Event Details clearly shows all overrides at a glance, making it easy to understand what's different about each variant.
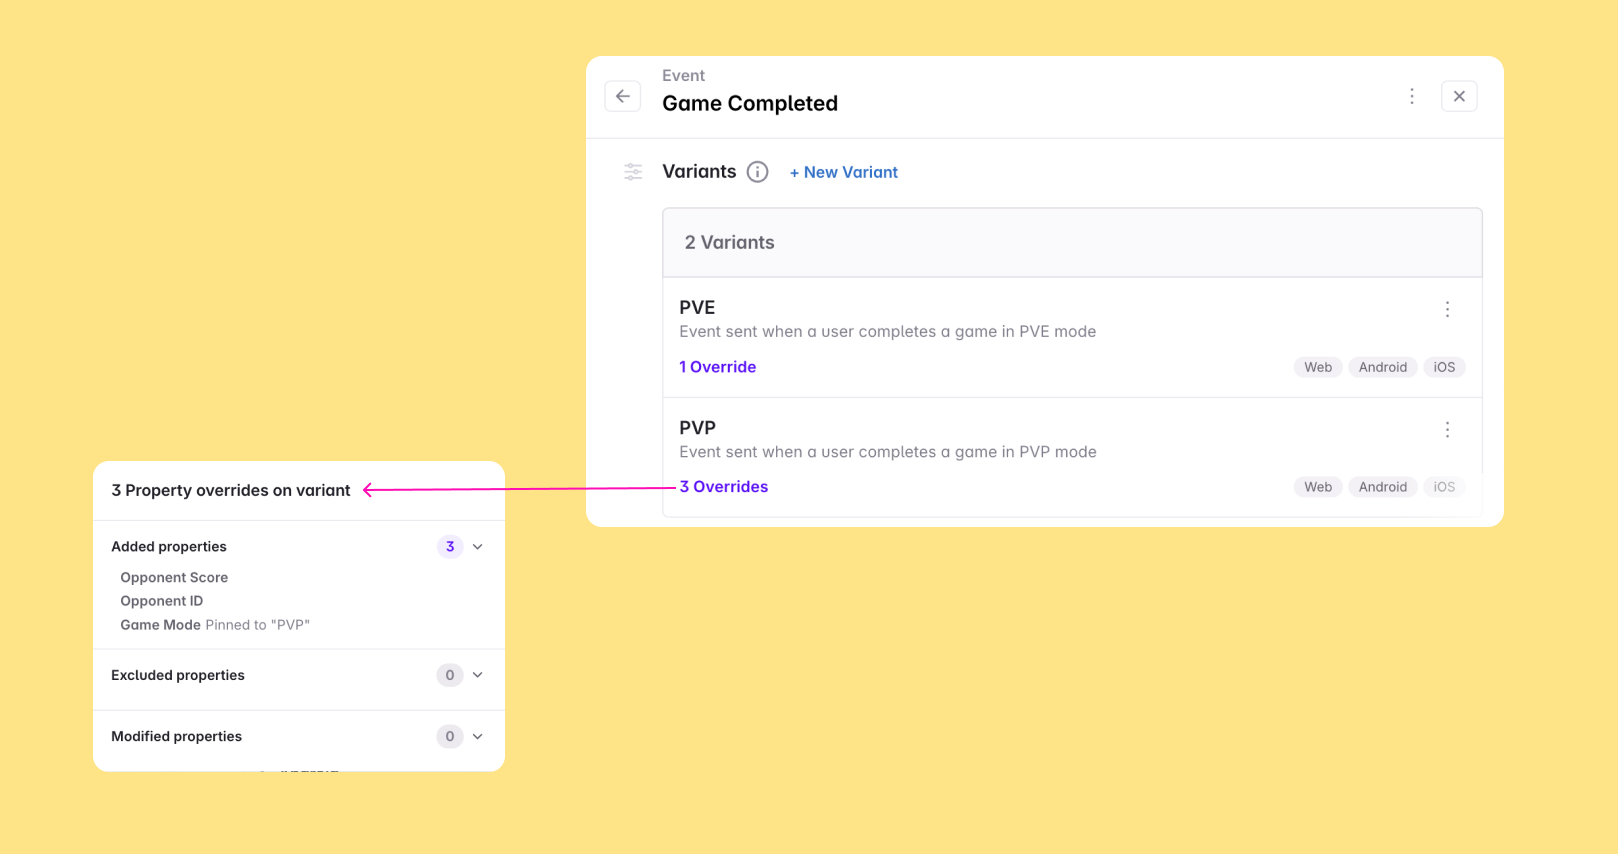
Below the actions you can find the code snippet to track that event variant, with all the overrides applied. If you're using Codegen, you'll get a tailored Codegen function for this variant else you'll see a pseudocode snippet with the base event name.
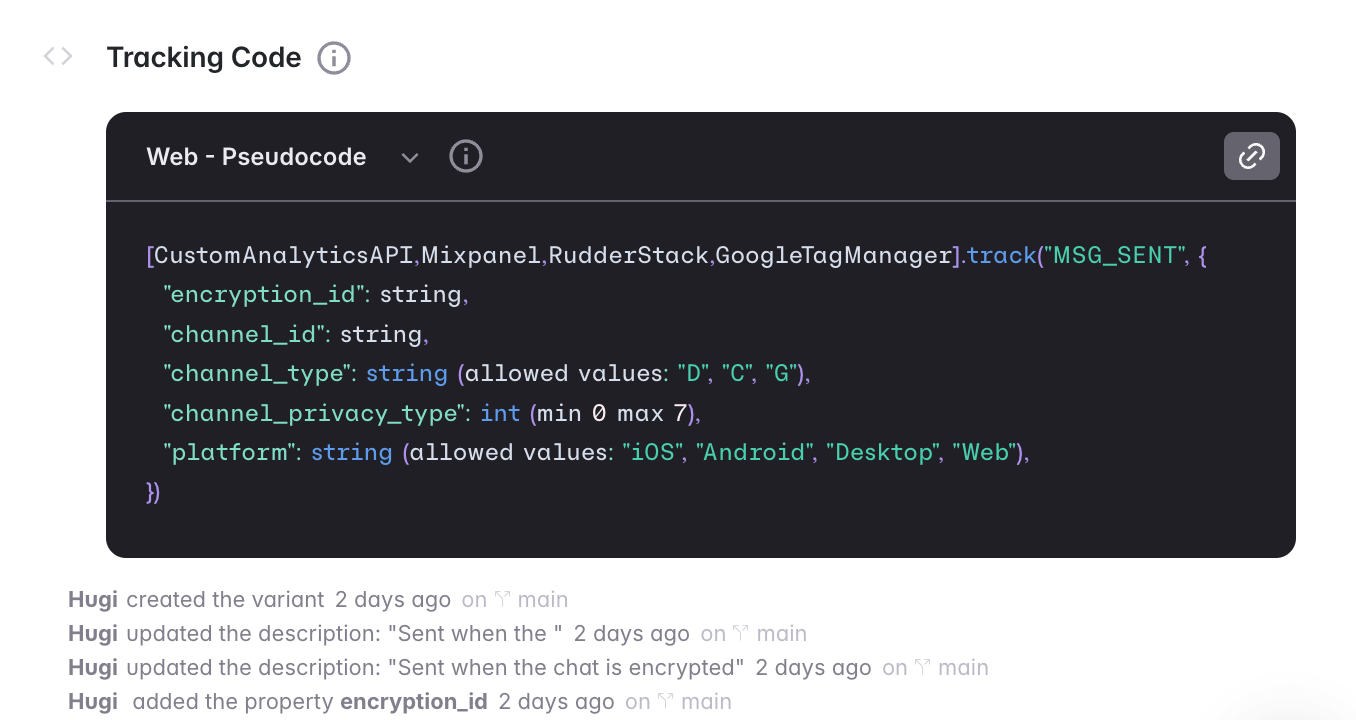
At the bottom of the event variant you will find the activity log that shows you all the changes that workspace members have made on the variant and, if the change was made on a branch, a link to it.
Finally you can press the triple-dot icon in the header to copy a short-link to share the variant or archive it. You can unarchive it from the activity log in the branch overview if you change your mind.
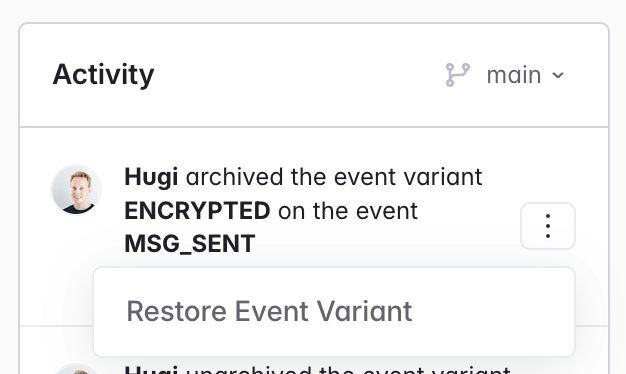
### Implementing event variants
Each event variant gets their own Codegen function, exactly the same way as an event. This allows developers to easily implement the with exactly the properties that apply to that scenario. In practice this means fewer empty optional properties. Furthermore if you make changes to the event variant, those changes will only impact the implementation of that scenario rather than all the event instances and can greatly reduce the work needed to implement tracking plan changes.
### Renaming an event variant
You can rename a variant directly from its details. Open the variant, click the variant name to rename it, and continue working — no need to recreate the variant or shuffle properties.
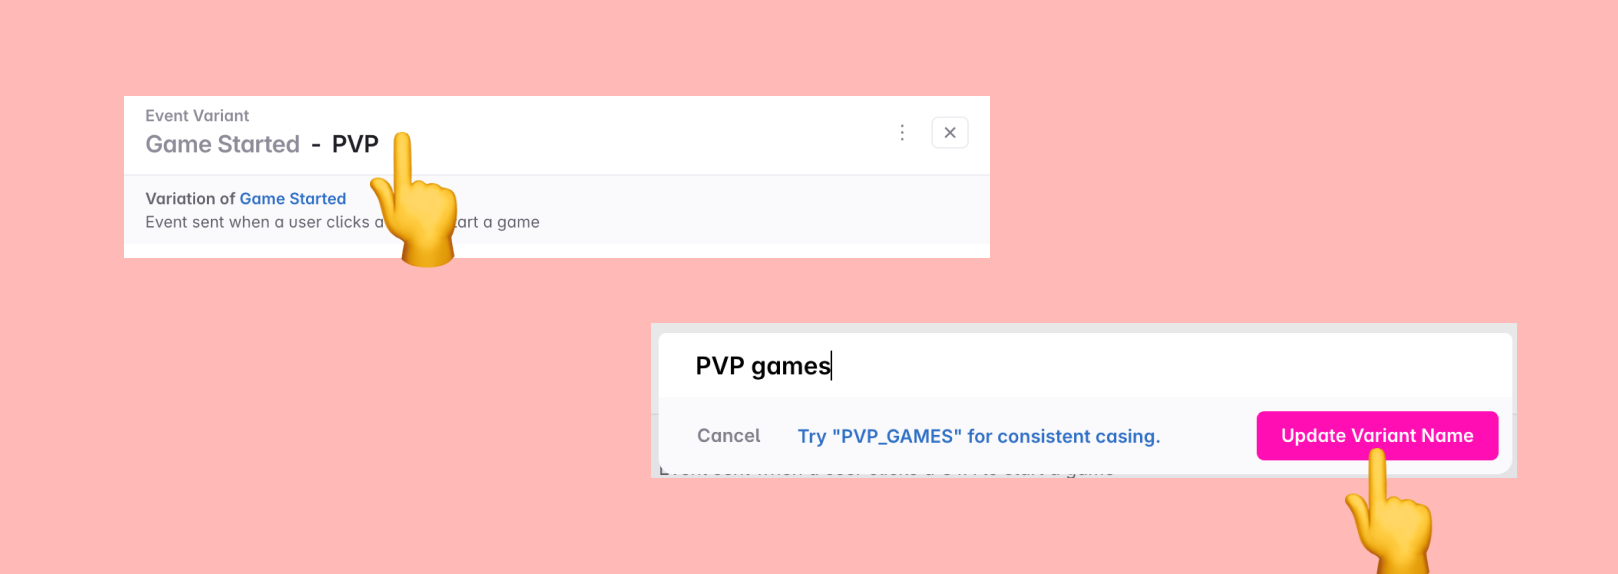
### Finding and using variants across Avo
Variants live under the base event and are nested under it in the event overview and event details views. You can discover and use variants in the following ways:
#### Events view
Variants now appear directly in the Events view, next to their base events. You can filter by event label, base event, variant, [global events](https://www.avo.app/docs/data-design/avo-tracking-plan/global-events), or unlabeled items to quickly find what you're looking for.
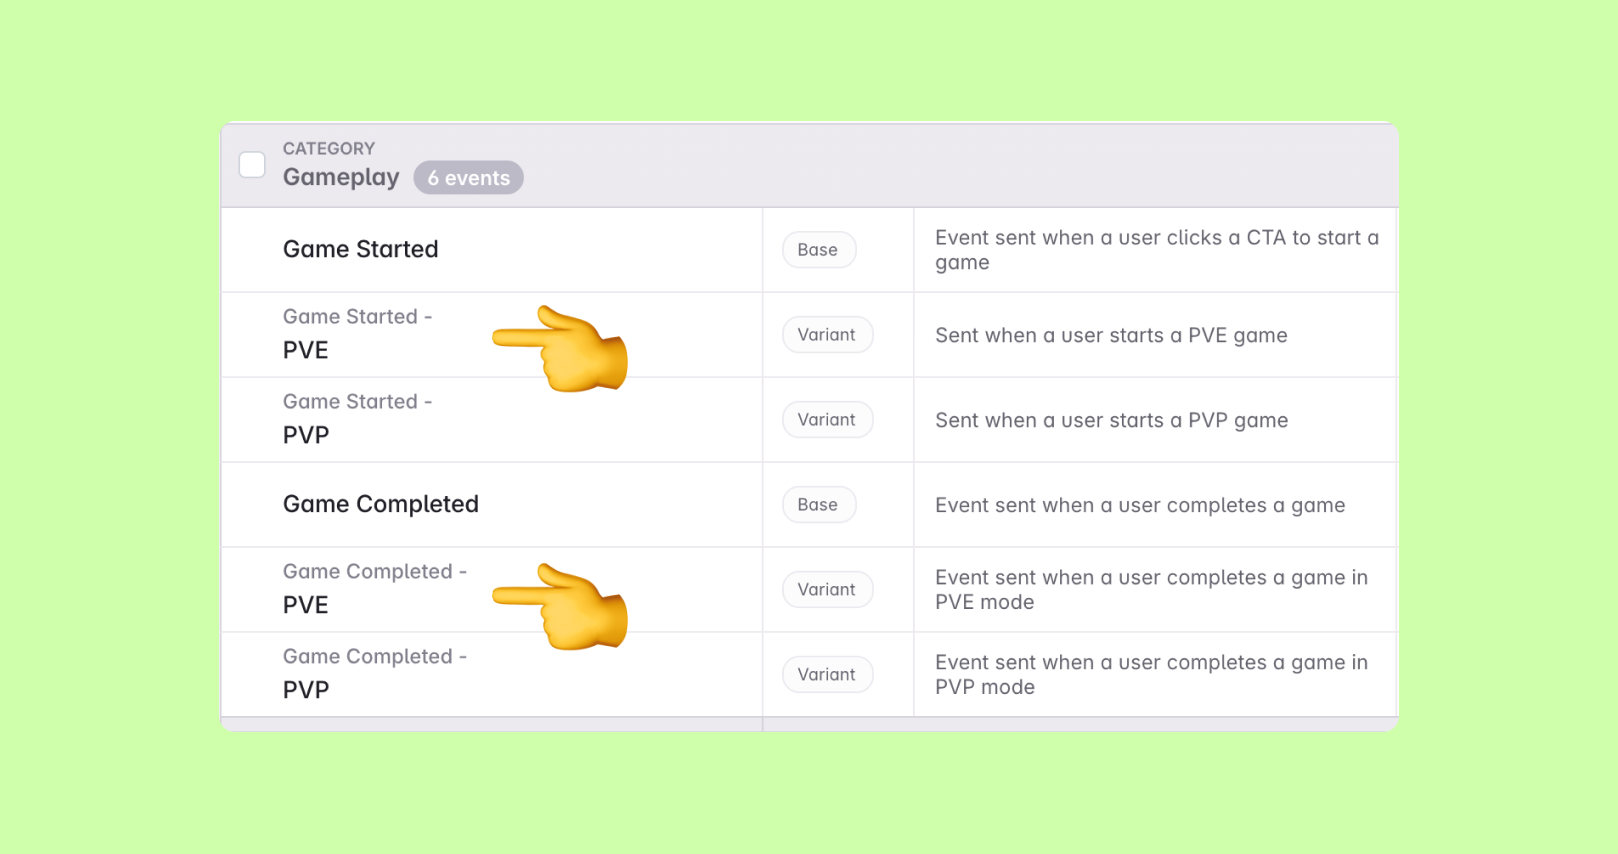
#### Global search
Use global search or cmd+k to search for variants alongside events and properties. You both access a list of all variants to search within and you can simply start typing and get results for variants along with other tracking plan items.
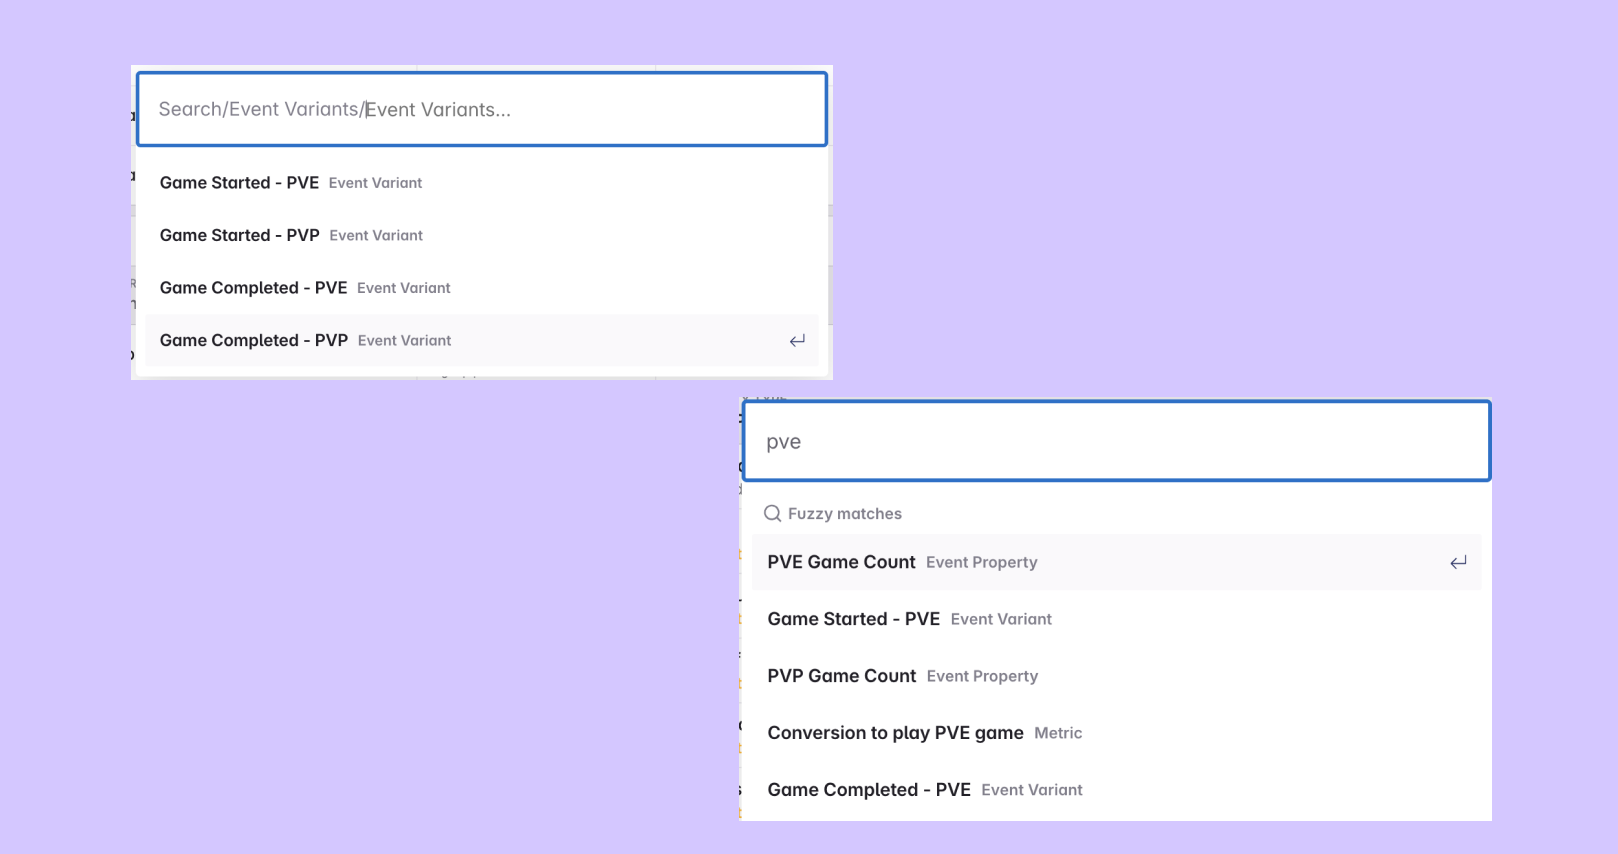
If you have [Avo Intelligence: Smart Search](https://www.avo.app/docs/reference/avo-intelligence.md) on, you also get fuzzy results, not only exact matches.
Events and variants are also searchable by pinned values. For example, if a variant of the event `Signup Completed` pins `authentication_status` to "Logged In" a quick search will find it instantly.
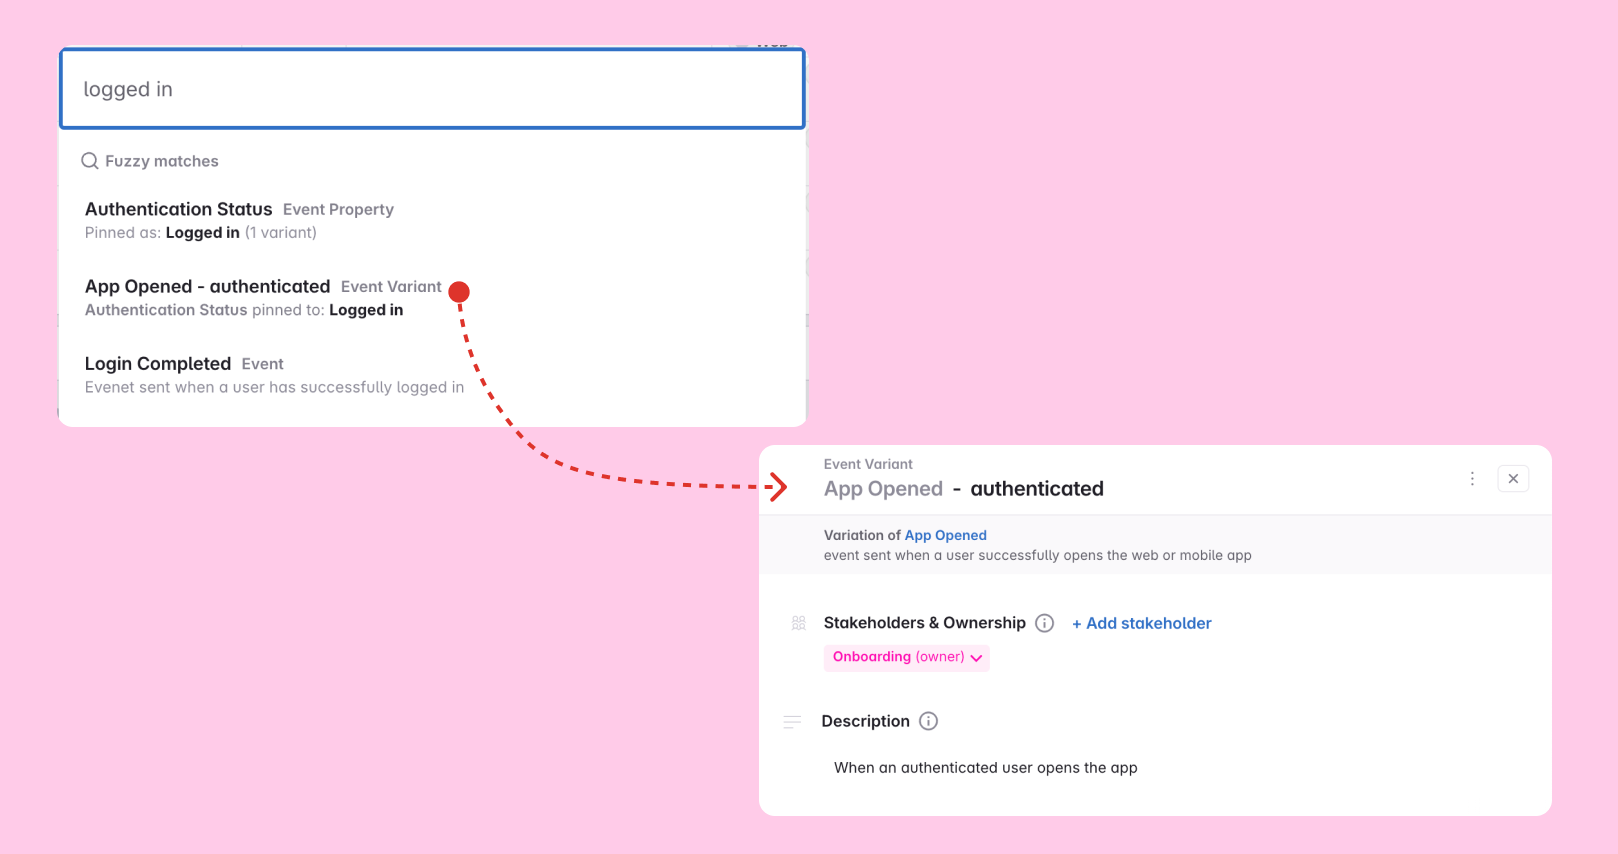
#### Property details
In property details, the presence table shows variants as well as their base event. You can view variants, add the property to a variant, adjust its presence and pin property values there.
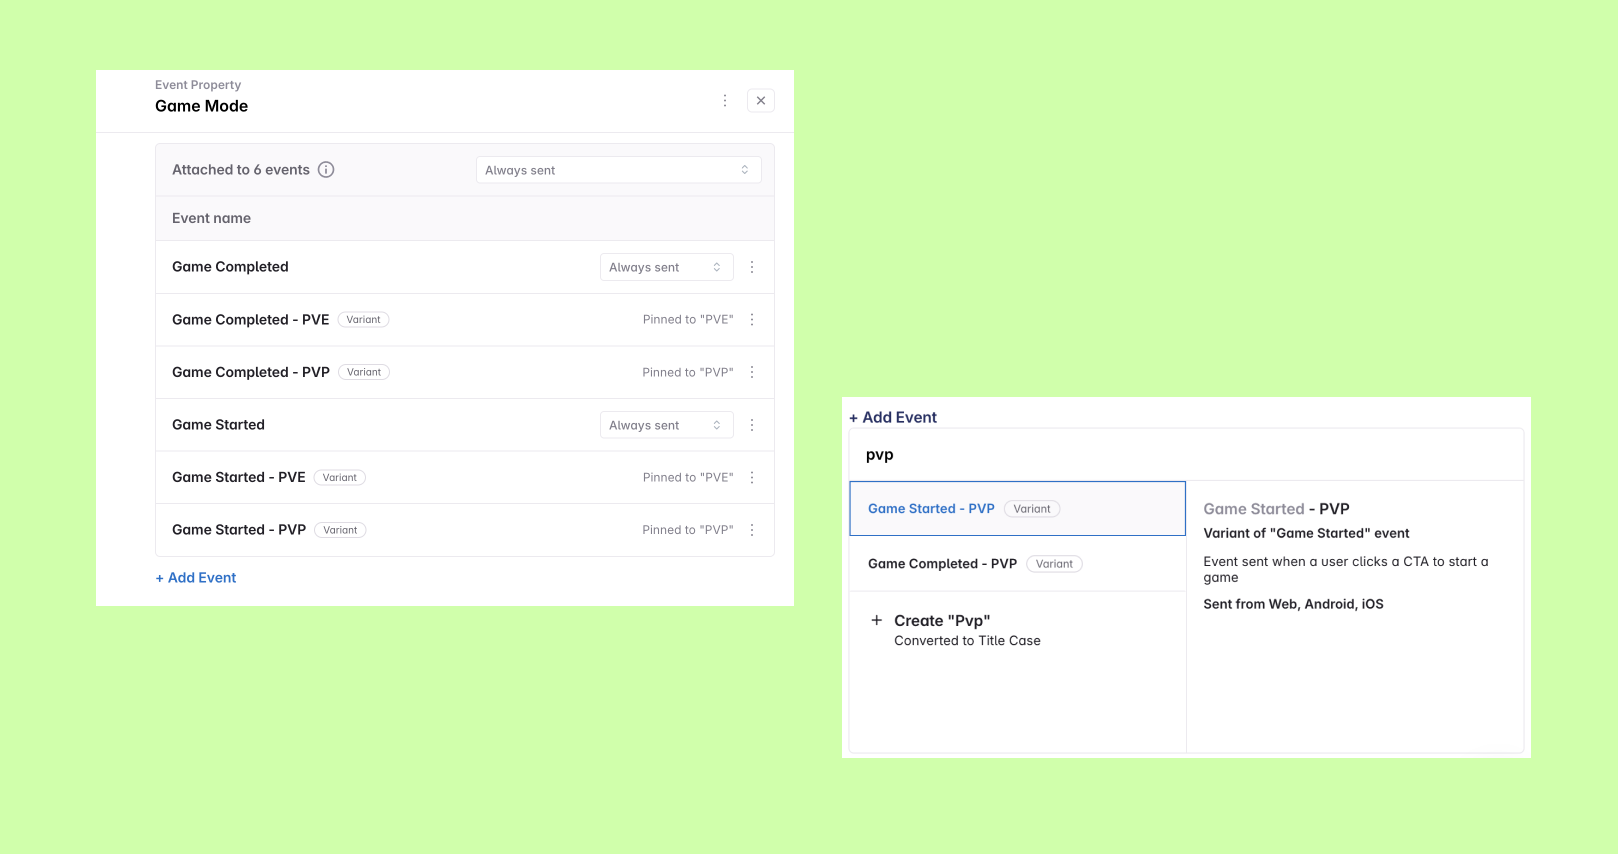
#### Metrics
Add variants to metrics just like events; when searching to add steps or filters, variants appear with their base event context.
### Event variants on branches
Event variants show up in the diff view under the event and allow you to see a precise changelog of the variations on the event.
In the branch code changes, event variants are displayed as a separate event to implement. This gives the developer a tailored, well typed Codegen function or [pseudocode snippet](https://www.avo.app/docs/data-design/branches/code-changes.md#non-codegen-snippets) to call for the specific scenario that event variant applies to.
### Publishing events with variants
[Publishing](https://www.avo.app/docs/publishing/publishing/overview.md) is a great way to push your tracking plan specs from Avo into your other schema registries and downstream tools. As event variants get sent using their base event name we need to account for them when publishing the event. To do that we create a “union” of the event and its variants.
For example: If you have an event that has an `always sent` property `A`, a variant that adds property `B` and another variant that has property `C`, the published event will include the `always sent_` property `A`, `sometimes sent` property `B` and `sometimes sent` property `C`. This effectively mirrors how you might have defined the event without variants and allows your downstream tools to correctly validate and work with all events in Avo, whether they have variants or not.
#### Event variants in webhook publishing
When publishing via the webhook each event variant is represented by a standalone event in the JSON payload. It will have the same `name` as the base event. You can distinguish between an event that is generated from a variant and a base/standalone event by checking for a `.` symbol in the id. The event id of events that are generated from variants have the `${baseEventId}.${variantId}` format.
### Event variants and Inspector
We’ve engineered Inspector to be able to detect issues on events, even if they include complex and mutually exclusive variants. We do that by validating each incoming event structure against each event variant and if it doesn’t match the base event or any of its variants, we create an issue on the base event. This means that even if you start using event variants you will not have to make any changes on how you send your events to Inspector.
When debugging events in real-time, the [Inspector Debugger](https://www.avo.app/docs/inspector/inspector-debugger.md#matching-events-and-variants) automatically picks the most likely variant to validate against. You can also manually select a different variant from the dropdown to see how your event validates against other variants.
> ⚠️ The Inspector Events view has not been updated to include event variants so you might see unexpected warnings there. For events with variants we’re showing a disclaimer to help you identify when an event warning might be a false-positive.
## Conclusion
We hope you find event variants useful to better define your tracking plan and improve the implementation. If you come across any problems or find something missing for your event variant use case, we’d love to hear about it. Reach out right here in the chat or send us a line at [hi@avo.app](mailto:hi@avo.app).
---
Source: https://www.avo.app/docs/data-design/avo-tracking-plan/advanced-data-design-features.md
# Advanced Data Design Features
Most of Avo's powerful data design features are available on all plans. In addition, there are a few advanced data design features that are beneficial for more complex tracking plans and are exclusive to team and enterprise plans.
Below is a summary of the advanced data design features:
- [**Visual event triggers**](https://www.avo.app/docs/data-design/guides/event-triggers.md): Document product screenshots to your events to communicate to your team when and where events should be sent
- [**Event variants**](https://www.avo.app/docs/data-design/avo-tracking-plan/event-variants.md): Define variations of your events to document all possible scenarios. Includes all aspects of the event definition, such as the description, triggers, property presence, values and more!
- [**Pinned properties**](https://www.avo.app/docs/data-design/guides/pinned-properties.md): Use pinned properties to assign a constant value to a property.
- [**Configurable property constraints**](https://www.avo.app/docs/data-design/avo-tracking-plan/properties.md#source-specific-allowed-values): Assign allowed property values by source, event and event source
- [**Custom names per destination**](https://www.avo.app/docs/data-design/guides/name-mapping.md): Define custom event and property names to send to specific destinations
---
Source: https://www.avo.app/docs/data-design/branches.md
# Quickstart: Branches
_Seamlessly work together on multiple tracking plan updates using branches_
### What are branches?
In Avo you can collaborate in real time on defining, expanding and implementing your tracking plan. But you might want to try out some changes or make sure that a change is implemented before you change your tracking plan source of truth. To capture this work in progress you can use branches.
We highly recommend always creating a branch first before making changes to the tracking plan, no matter how small the changes are – in particular if the changes made require implementation. If changes are made directly on the main branch, then you risk someone else creating a branch that include your incomplete changes, which will very likely lead to conflicts in the future.
### Creating a branch
To create a new branch, first make sure you are on the main branch. Click the branch name in the left side navigation bar and then click the "Create Branch" button.
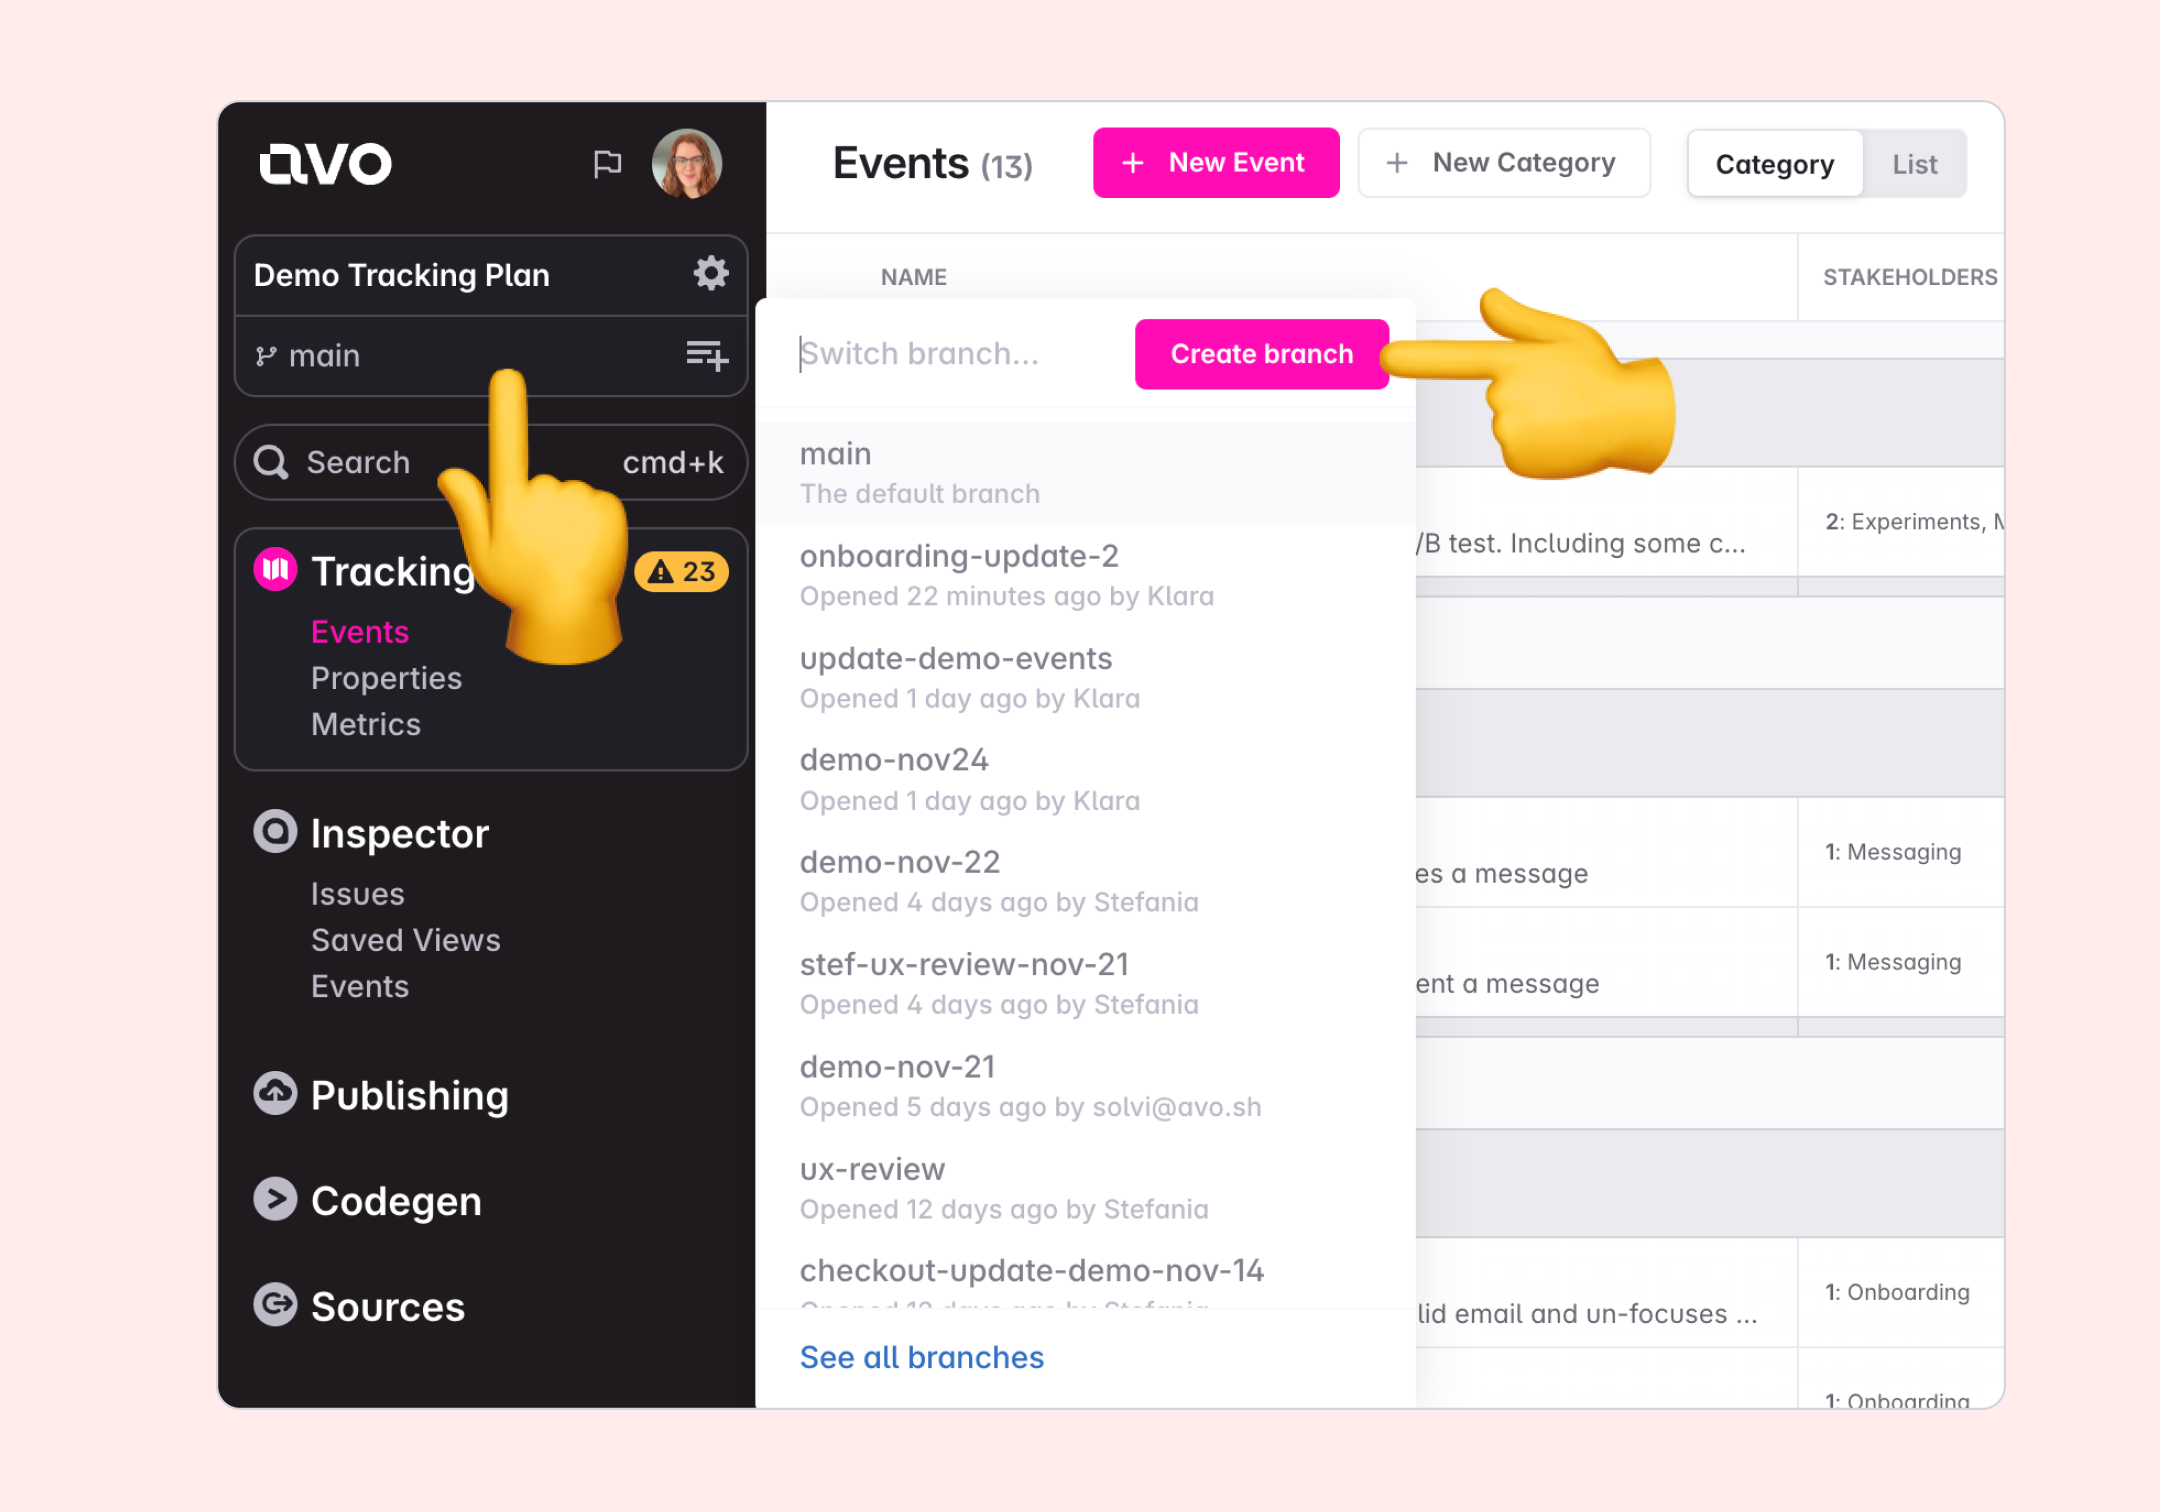
### Request branch review
When you've suggested changes to your tracking, mark the branch as ready for review, and assign an editor or admin to review the changes.

We recommend you set up Slack notifications for added visibility into tracking plan changes your team is making. You will also receive daily reminders of branches pending review.
> 🔒 When a branch is marked as **Ready for Review** (or later), it is locked for editing if your workspace has Protected main branch enabled. To make further changes, revert the branch to **Draft**—this will remove any existing approvals.
### Review branch changes
To compare the changes drafted on a branch to the source of truth on the main branch, click the ["View changes"](https://www.avo.app/docs/data-design/branches/branch-changes.md) button located next to your branch name at the top of the screen. On the Branch Changes screen, you can see the branch context, which parts of the tracking plan were added, deleted or updated and the code changes impacted by the tracking plan changes.
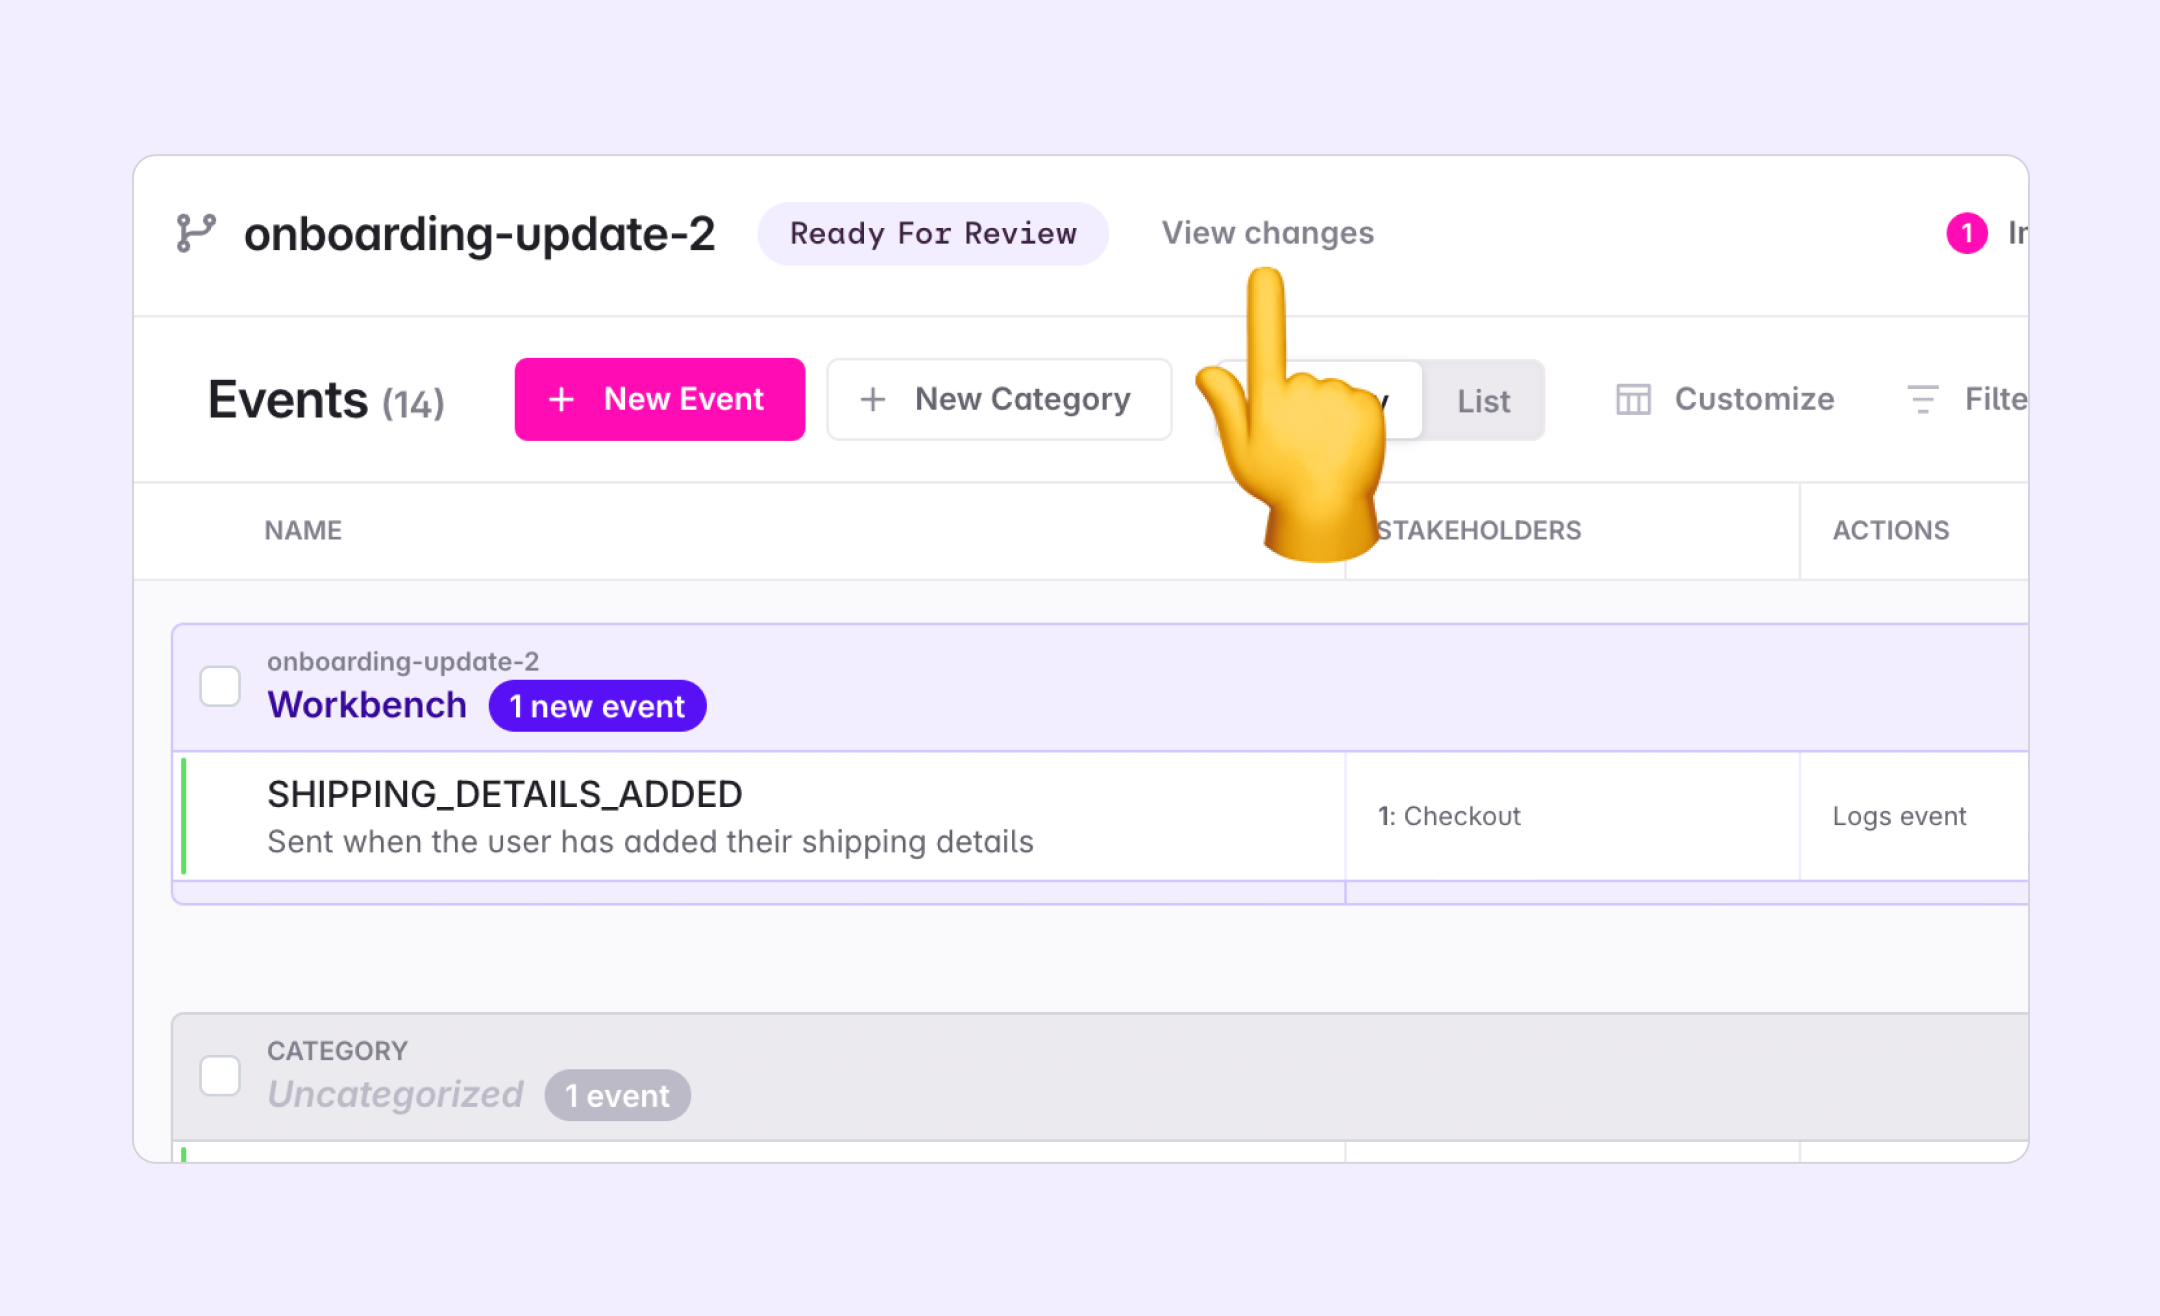
You can also filter the changes using the "Show changes since" dropdown to focus on recent modifications—for example, viewing only changes made since your last review rather than all changes since the branch was created.

### How should branches be structured?
We recommend setting up branches that have isolated changes that can be opened, implemented and merged within a few days. Typically there's a one to one mapping between Avo branches and git branches.
A branch often corresponds to a single [journey](https://www.avo.app/docs/data-design/avo-tracking-plan/journeys.md) for a feature or user flow, making it easy to design, review, and implement tracking changes together.
Like in git, we recommend against creating big branches with a backlog of events and properties to be implemented. We'd rather recommend splitting them in to manageable chunks that will be implemented together in a single git branch.
### Closing a branch
Open the branch you want to close, click the triple-dot in the top right corner and click "Close branch". Closing a branch hides it from the active branches list without permanently removing it, so its history remains available.

### Renaming a branch
Open the branch, click [_View changes_](https://www.avo.app/docs/data-design/branches/branch-changes.md), select the _Branch context_ tab, edit the branch name field, and save.
### Branches Overview
Click the Avo logo in the top left of your workspace to navigate to the branches overview. There you will find info about all your open branches like it's creator, the created date, the branch status, reviewers, collaborators and more. The branch overview helps you make sure no tracking plan changes are left behind and that you don't miss out on progress that's happening in your workspace.
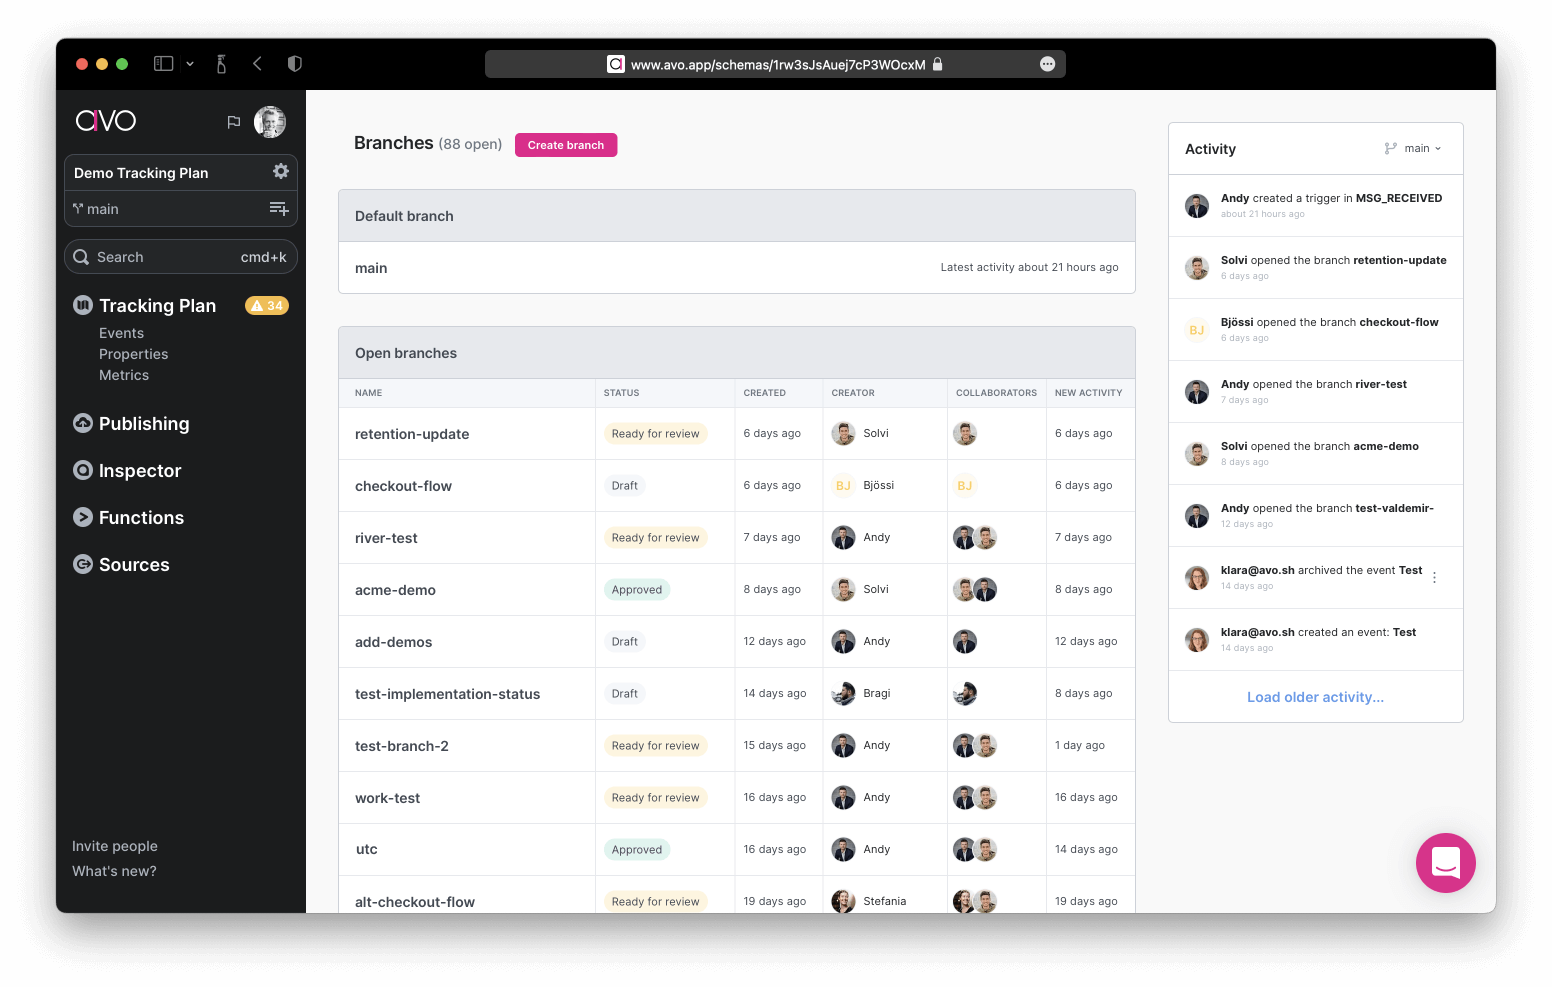
#### Filtering branches
The branches overview provides powerful filtering capabilities to help you focus on relevant branches, especially in workspaces with many active branches:
**Available filters:**
- **Branch Status**: Filter branches by their current status (Draft, Ready for Review, Approved, Changes Requested, etc.)
- **Impacted Stakeholders**: Filter branches by stakeholder teams that are impacted by the branch changes
- **Impacted Owners**: Filter branches by stakeholder teams that own events being modified on the branch
**Using branch filters effectively:**
**For status-based workflows:**
- Use **Branch Status** filter to see branches at specific stages (e.g., all branches "Ready for Review" to see what needs attention)
- Filter by "Draft" to see work in progress, or "Approved" to see branches ready for implementation
- Combine with **Impacted Owners** to see status-specific branches affecting your team
**For team-focused workflows:**
- Use **Impacted Owners** filter to see branches that modify events your team owns and is responsible for
- Use **Impacted Stakeholders** filter to see branches that affect events your team depends on
- These filters help teams stay aware of changes that impact their domain without getting overwhelmed by unrelated branch activity
**Combining filters for powerful workflows:**
You can combine multiple filters to create highly targeted views. For example:
- **Stakeholder team leads**: Filter by "Ready for Review" status AND your team as "Impacted Owners" to see all branches where your team's approval is needed. This helps identify branches your team might be blocking and ensures nothing gets stuck waiting for your review.
**Sharing filtered views:**
After applying filters, you can share the filtered URL with colleagues so they see the same focused view of branches.
## What's next?
- [Journeys](https://www.avo.app/docs/data-design/avo-tracking-plan/journeys.md) - Visually design analytics for a branch using product screenshots
- [Approval workflows for branches](https://www.avo.app/docs/data-design/branches/approval-workflows.md)
- [Workbench](https://www.avo.app/docs/data-design/avo-tracking-plan/workbench.md)
- [Share implementation instructions for a branch](https://www.avo.app/docs/data-design/branches/code-changes.md)
- [Using Avo in parallel workflows for large development teams](https://www.avo.app/docs/implementation/guides/avo-and-git.md)
- [How to manage branches with multiple sources](https://www.avo.app/docs/data-design/guides/multiple-sources-on-avo-branches.md)
- [Designing data in Avo](https://www.avo.app/docs/data-design/start-data-design.md)
---
Source: https://www.avo.app/docs/data-design/branches/approval-workflows.md
# Approval workflows
_Increase the quality of your tracking plan with protected main branch and branch approvals_
> 💡 Approval workflows are available on the team and enterprise plans. See [plans and pricing](https://www.avo.app/pricing).
Building a tracking plan is a team sport. Getting feedback from your team on the changes you're making to the tracking plan helps with building alignment and keeping the plan consistent. Approval workflows are a powerful tool for the peer-review process. The typical workflow looks something like this:
1. Product manager creates a branch and suggests changes to the tracking plan
2. Product manager requests a review from a data person and a developer. This can happen automatically on the Enterprise plan ([learn more](https://www.avo.app/docs/workspace-management/domains.md#stakeholder-team-settings))
3. Data person and developer review the branch and provide feedback
4. Reviewers might request changes to the branch
5. Once everyone is aligned, the branch is approved
6. Developer implements the tracking from the branch
7. The branch is merged
> 💡 This is an example of a workflow and roles that participate in each step. The workflow is unique for every team.
When reviewers need to conduct multiple review rounds (steps 3-5), they can use the ["Show changes since" filtering](https://www.avo.app/docs/workflow/review.md#filtering-changes) on the tracking plan changes page to focus only on modifications made since their last review, making the approval process more efficient.
With stakeholder teams, the workflow can also automatically include relevant stakeholders when their owned events are modified, ensuring the right people are always involved in reviewing changes that impact their domain.
## Branch status
Branch status makes it transparent at which step the peer-review process is and when it is changed, notifications are sent out to assigned reviewers and all other branch collaborators.
The branch status is always visible in the left sidebar and in the [branch overview](https://www.avo.app/docs/data-design/branches.md#branches-overview), accessible by clicking the Avo logo in the top left corner:
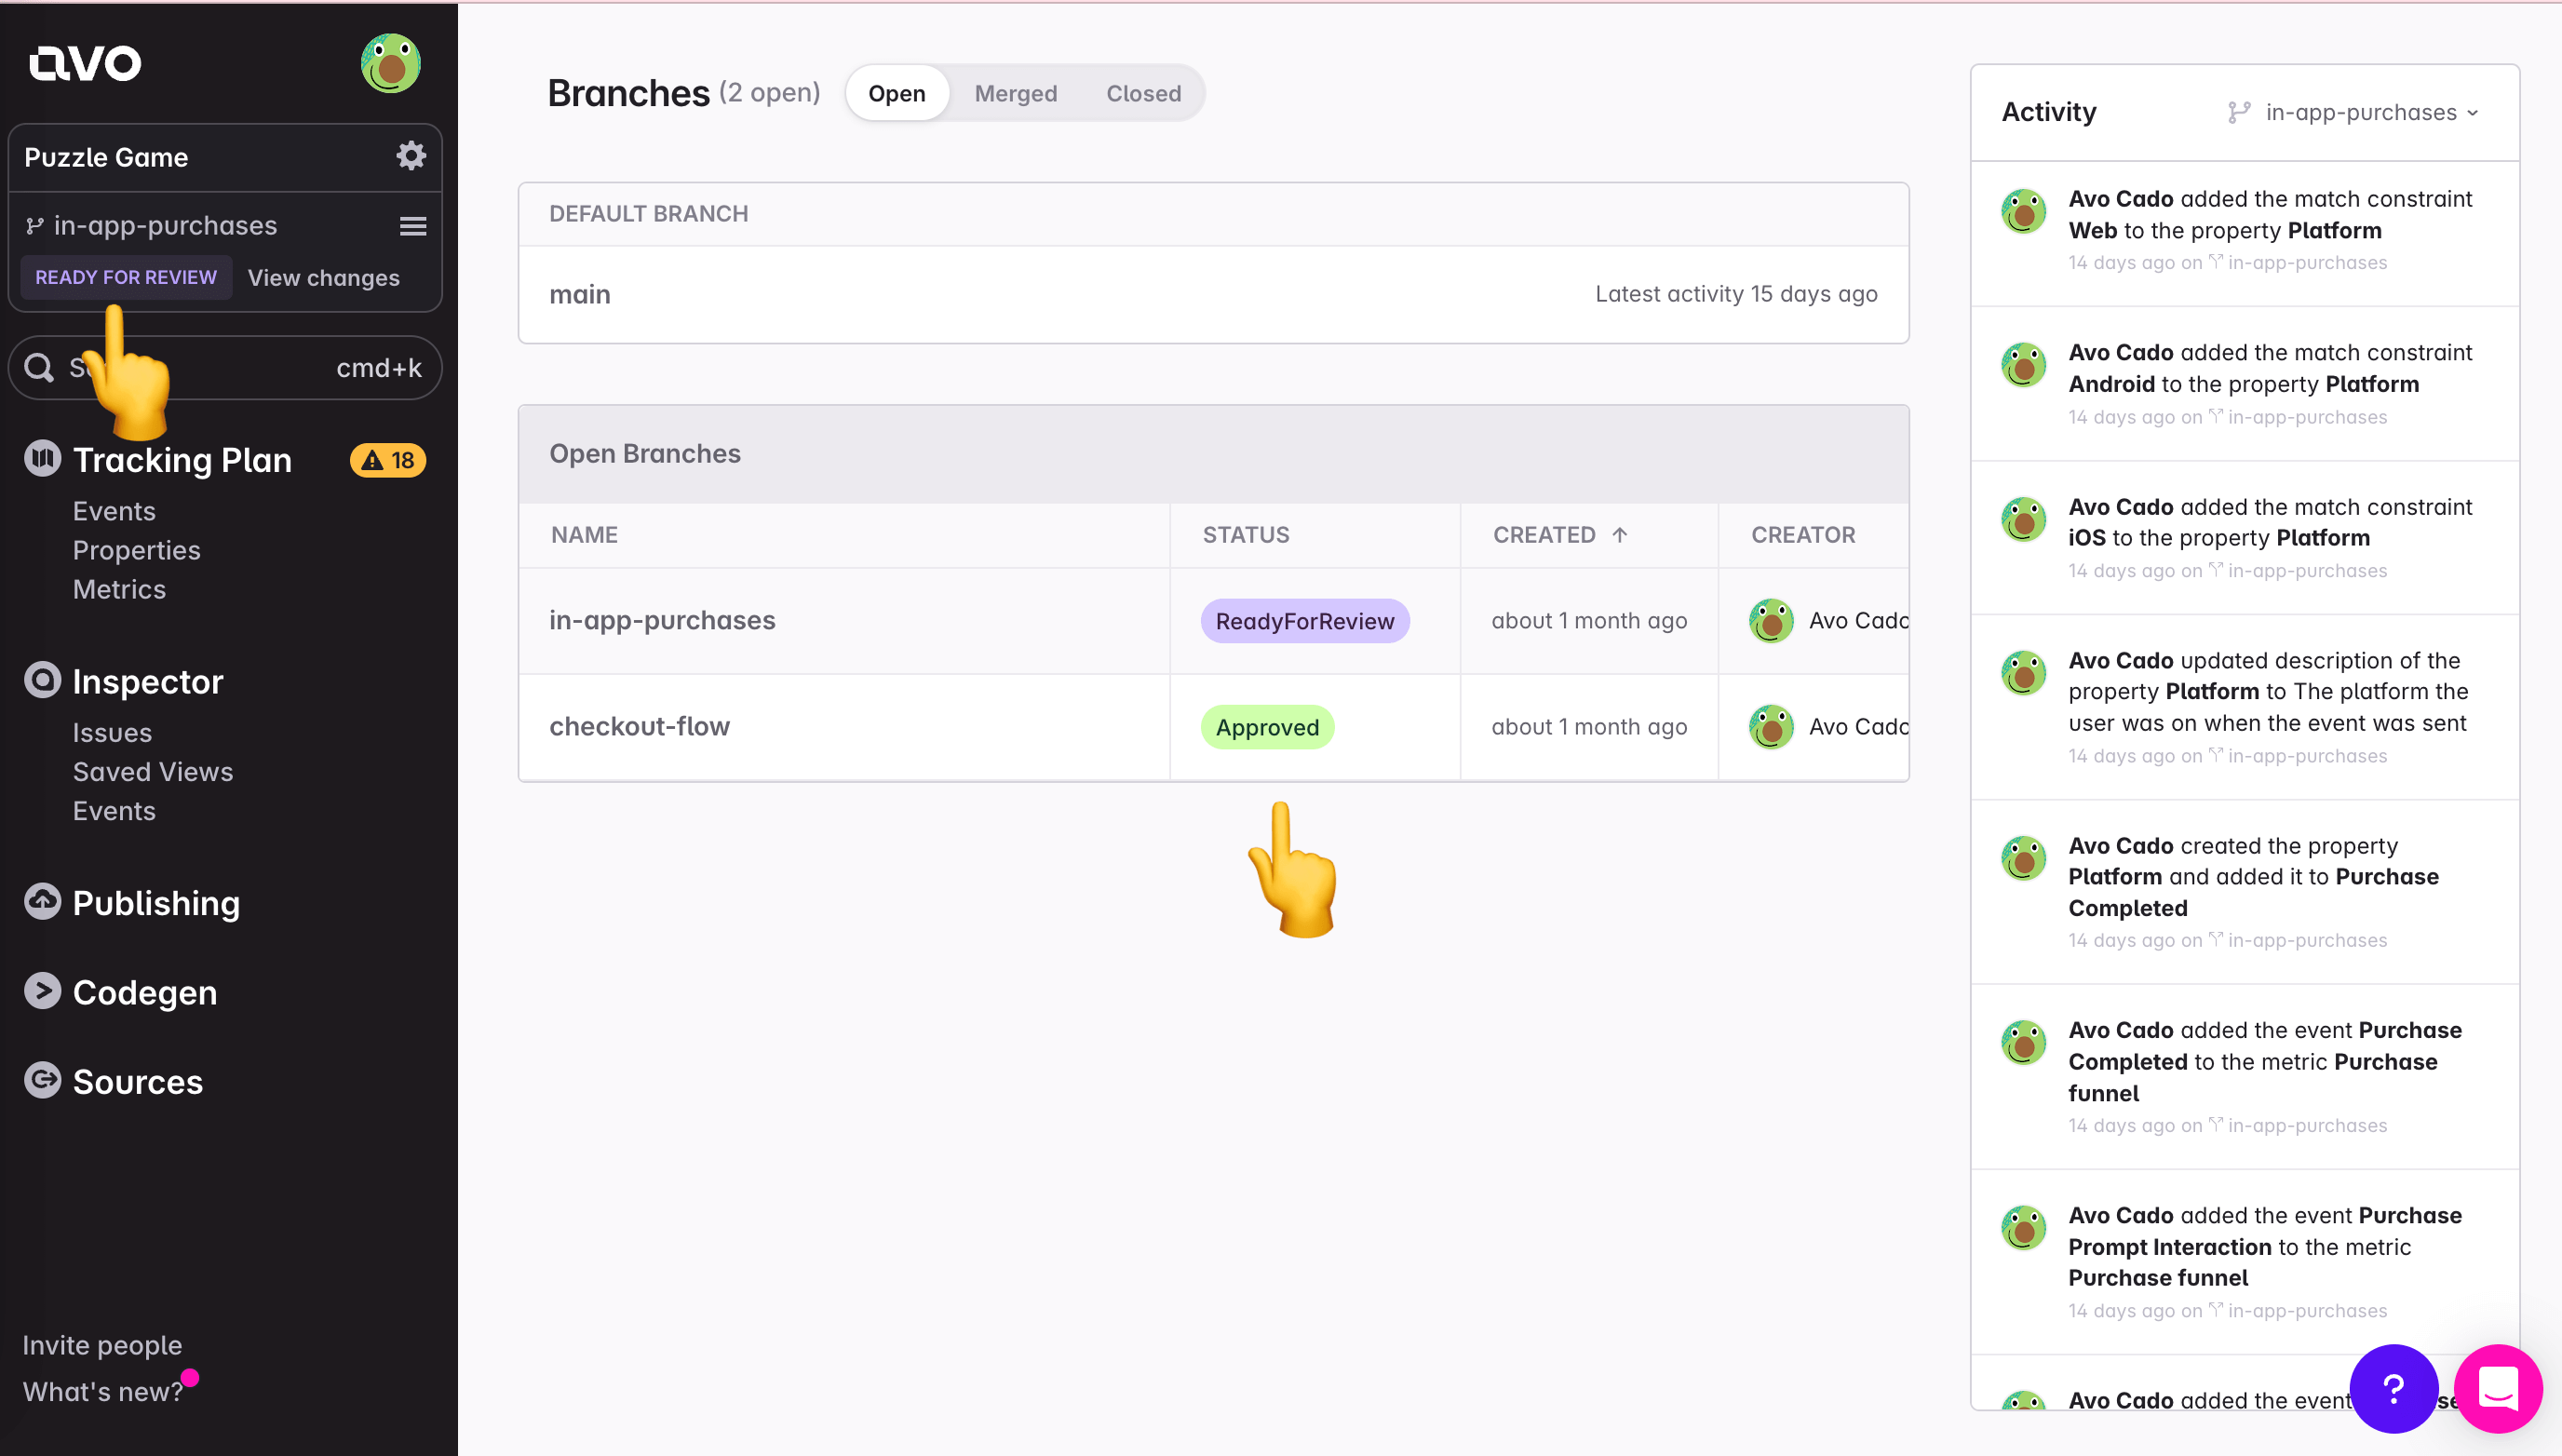
The branch status is changed on the [tracking plan changes page](https://www.avo.app/docs/workflow/review.md), accessible by clicking "View Changes" next to the branch status and below the branch name.
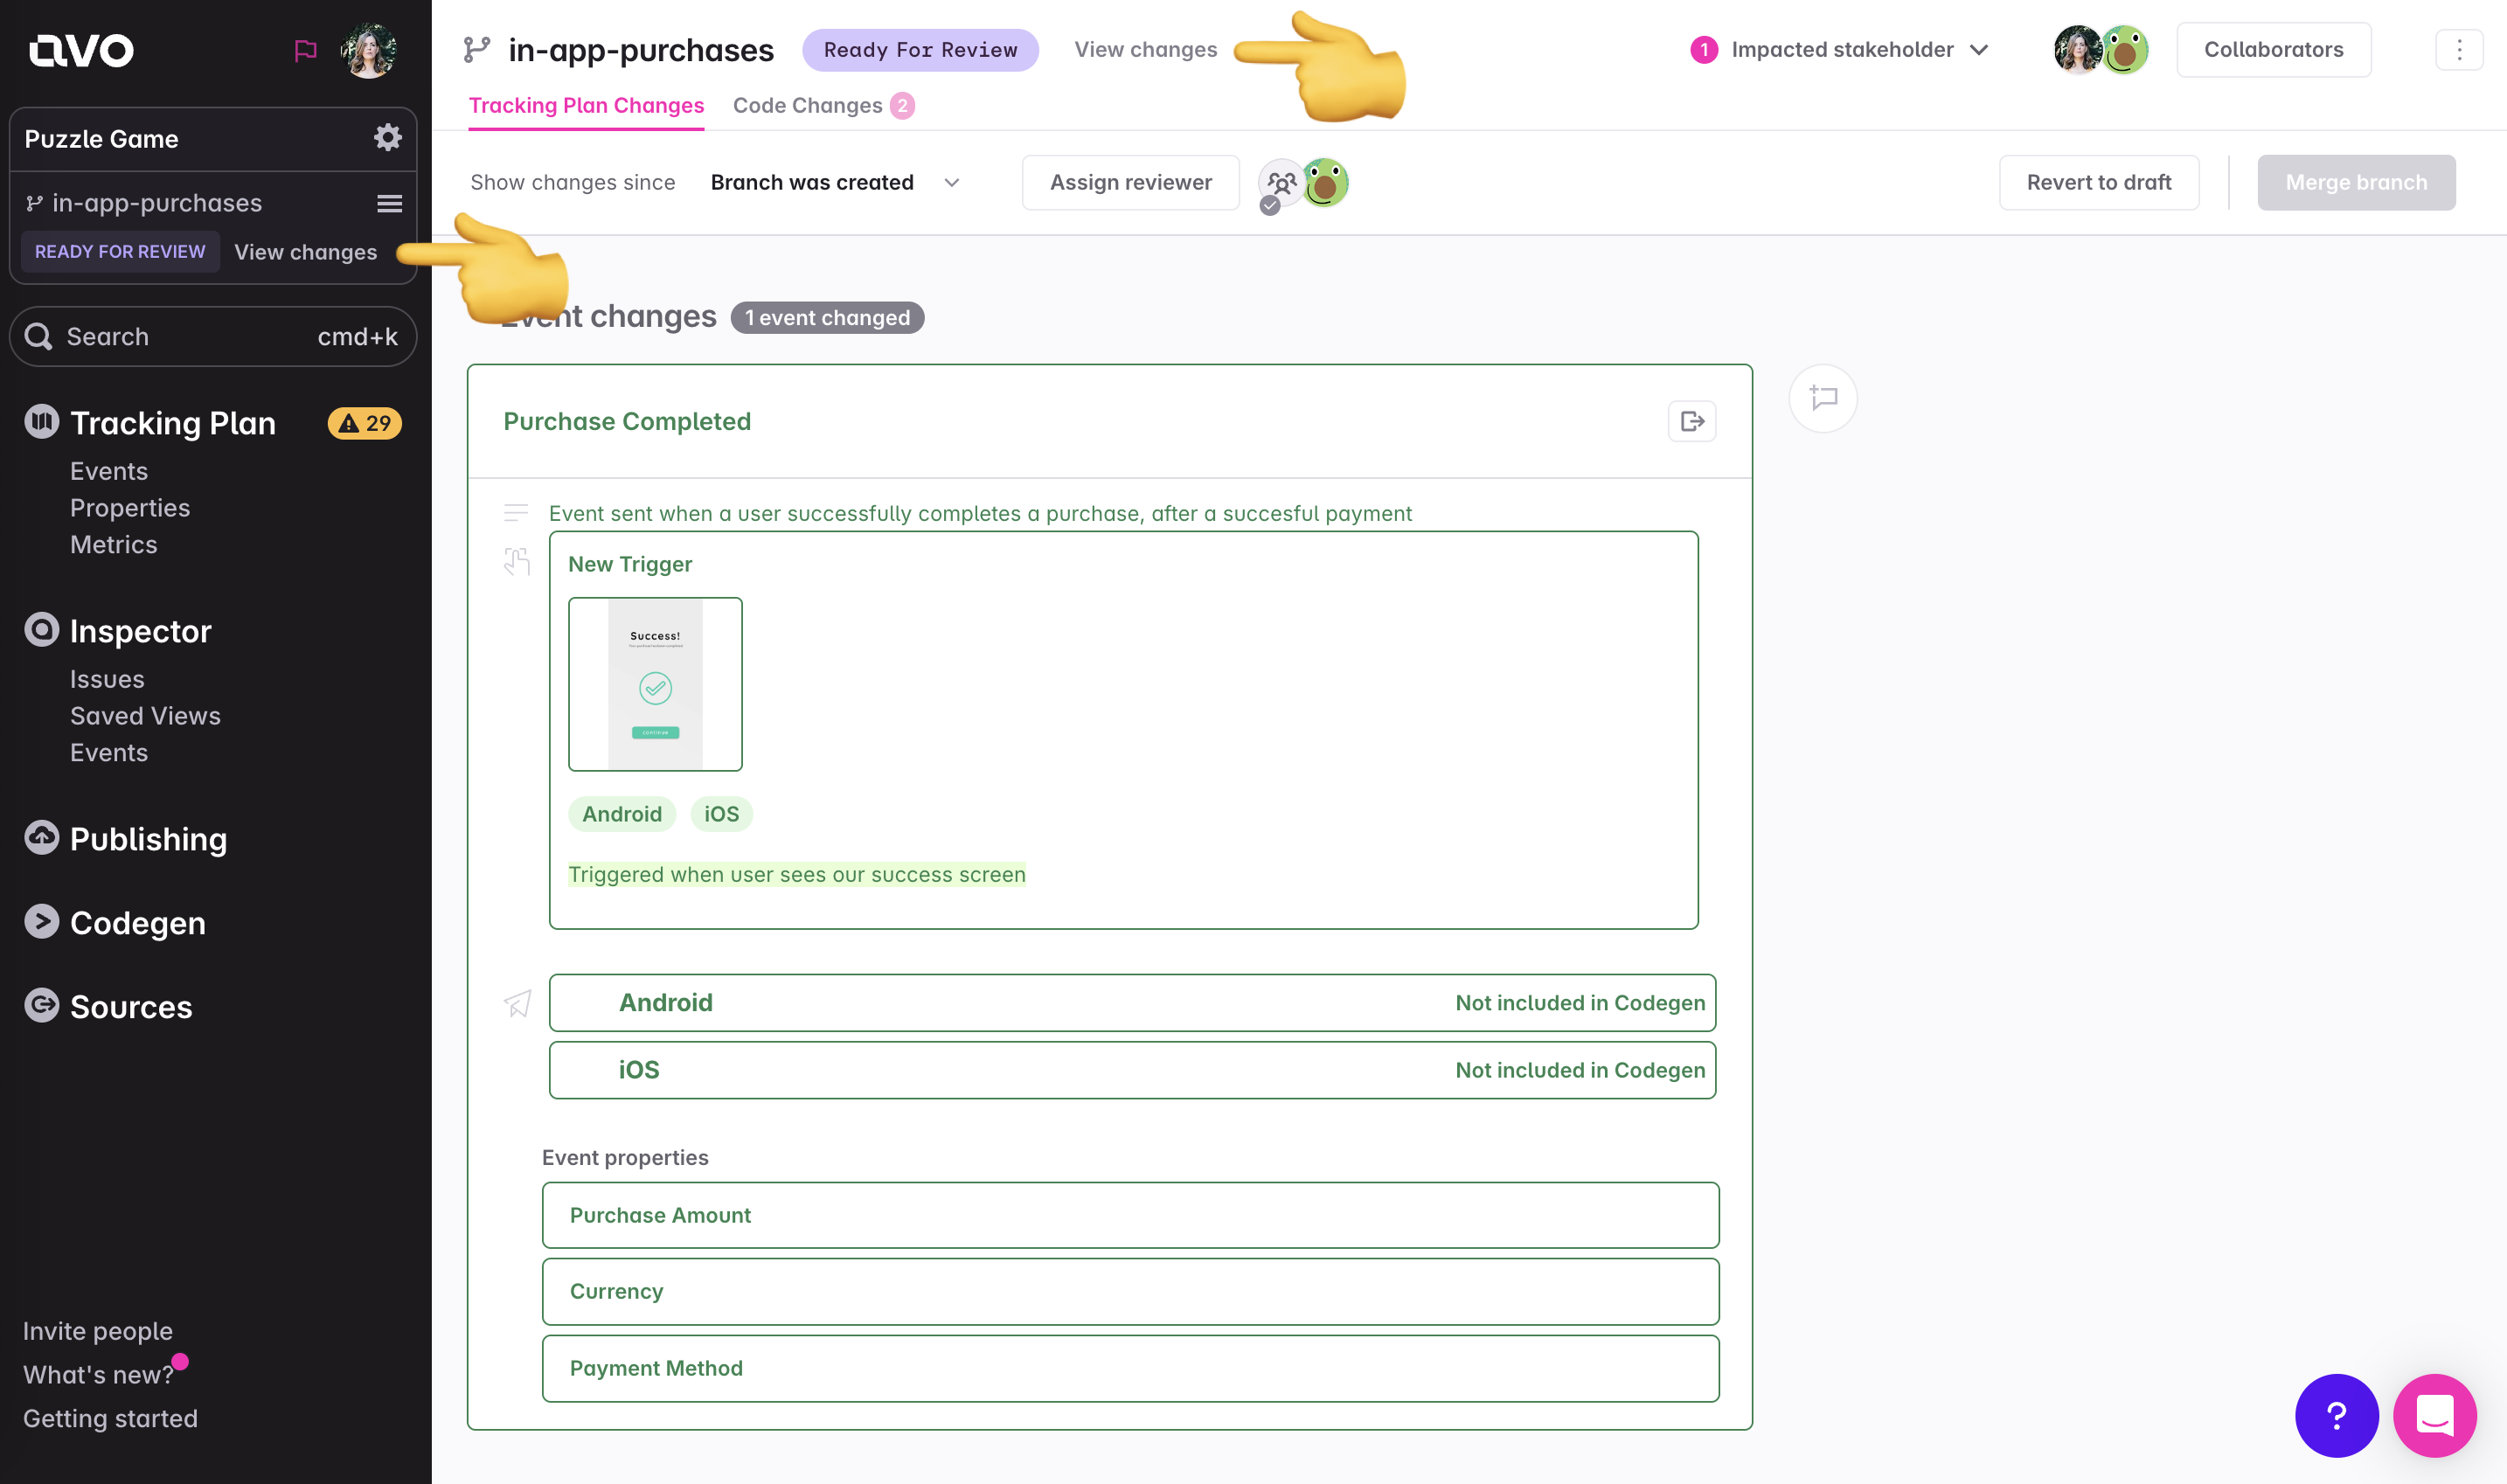
The available branch statuses in Avo are:
- **Draft**: The branch is currently being worked on.
- **Ready for review**: The changes are ready for review from one or more of your team members. Once a branch has been marked as ready for review, make sure to assign a reviewer.
- **Changes requested**: A reviewer has requested changes to the branch before it can be approved.
- **Approved**: The changes on the branch have been approved and are ready to be implemented.
- **Merged**: The branch has now served its purpose and been merged to the main tracking plan.
- **Closed**: The branch has been closed and the changes are not intended to be merged into the main tracking plan.
## Configuring approval workflows
Approval workflows can be configured in three ways:
1. [Protected main branch](https://www.avo.app/docs/data-design/branches/approval-workflows.md#protected-main-branch)
2. [Who needs to approve](https://www.avo.app/docs/data-design/branches/approval-workflows.md#who-needs-to-approve)
3. [Require approval from owning stakeholders](https://www.avo.app/docs/data-design/branches/approval-workflows.md#require-approval-from-owning-stakeholders)
### Protected main branch
> 💡 Protected main branch is available on the team and enterprise plans. See [plans and pricing](https://www.avo.app/pricing).
To make sure no one accidentally makes changes directly on the main branch and to encourage peer reviews of branches, you can opt in to protecting the main branch. That means:
- Only admins can make changes directly on the main branch
- Only admins can merge branches that haven't been approved by a reviewer (editor or admin)
- Branches marked as **Ready for Review**, **Changes Requested**, or **Approved** are locked and cannot be edited. To continue making changes, you must revert the branch back to **Draft** status, which will remove any existing approvals. Admins can bypass this lock if needed.
Enabling protected main branch is a prerequisite for using the other approval workflow configurations.
To enable this configuration, click the settings wheel in your workspace, in Workspace settings go into the General tab and check "Protected main branch".
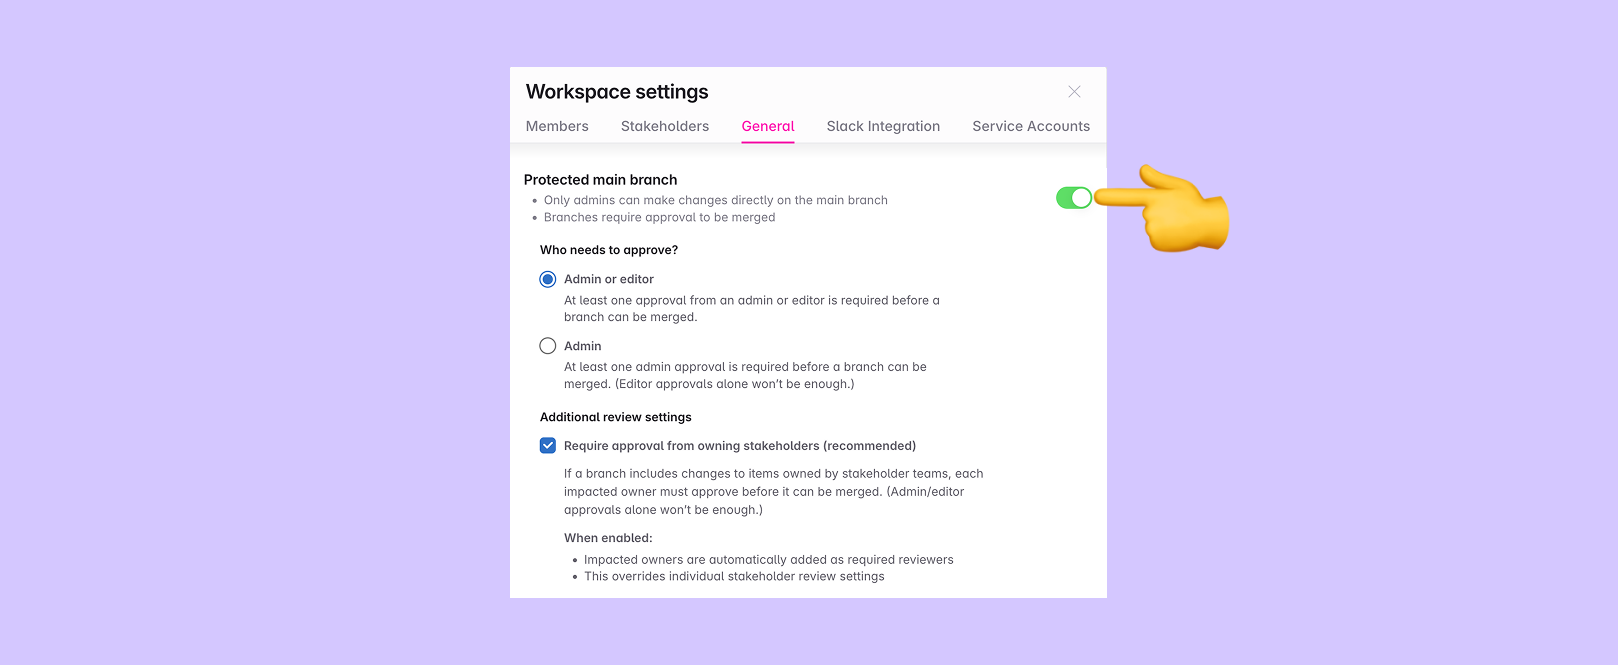
### Who needs to approve
You can configure what level of user permission is required to approve branches before they can be merged. There are two options:
#### Admin or editor (default)
At least one approval from an admin or editor is required before a branch can be merged. This is the most flexible option and works well for most teams.
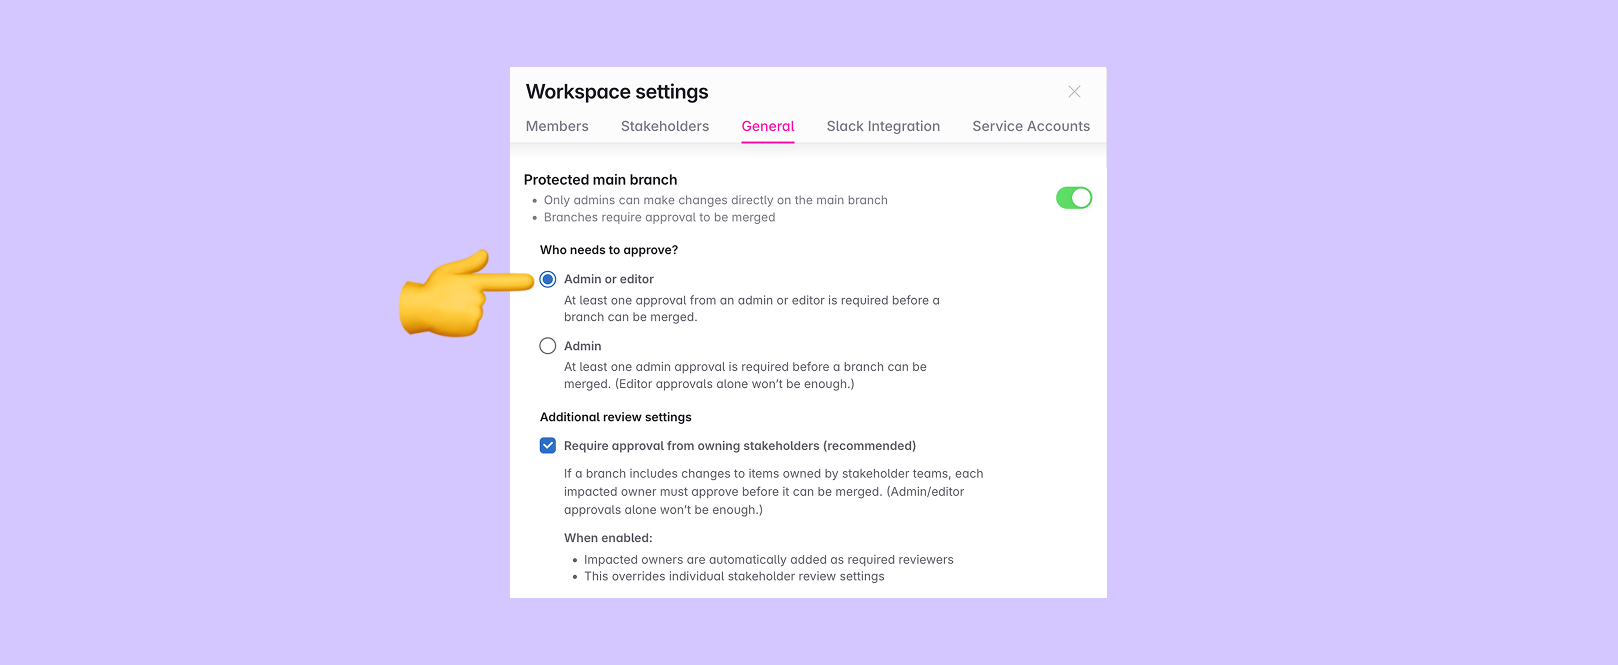
#### Admin (legacy)
> 💡 Admin-only approval is available on the enterprise plan only. See [plans and pricing](https://www.avo.app/pricing).
> ⚠️ **Legacy setting**: While this setting is still available and commonly used for requiring reviews from central data teams, we recommend using stakeholder teams for more flexible and granular control.
At least one admin approval is required before a branch can be merged. Editor approvals alone won't be sufficient. This setting is primarily used by organizations with central data teams that want oversight over all tracking plan changes, even when individual product teams own specific events, variants and properties.
**Recommended alternative**: Instead of requiring admin approval for all changes, create a stakeholder team for your central data team and make them a stakeholder in items they want to review. Configure their [stakeholder-specific settings](https://www.avo.app/docs/workspace-management/domains.md#stakeholder-team-settings) to require their review for impacted items. This provides the same oversight capability while preserving team ownership and offering more granular control.
- [Managing Stakeholder Teams](https://www.avo.app/docs/workspace-management/domains.md): Learn how to configure stakeholder team settings and approval workflows
To enable this legacy configuration, click the settings wheel in your workspace, in Workspace settings go into the General tab and select "Admin" under "Who needs to approve?". Note that "Protected main branch" must be enabled first.
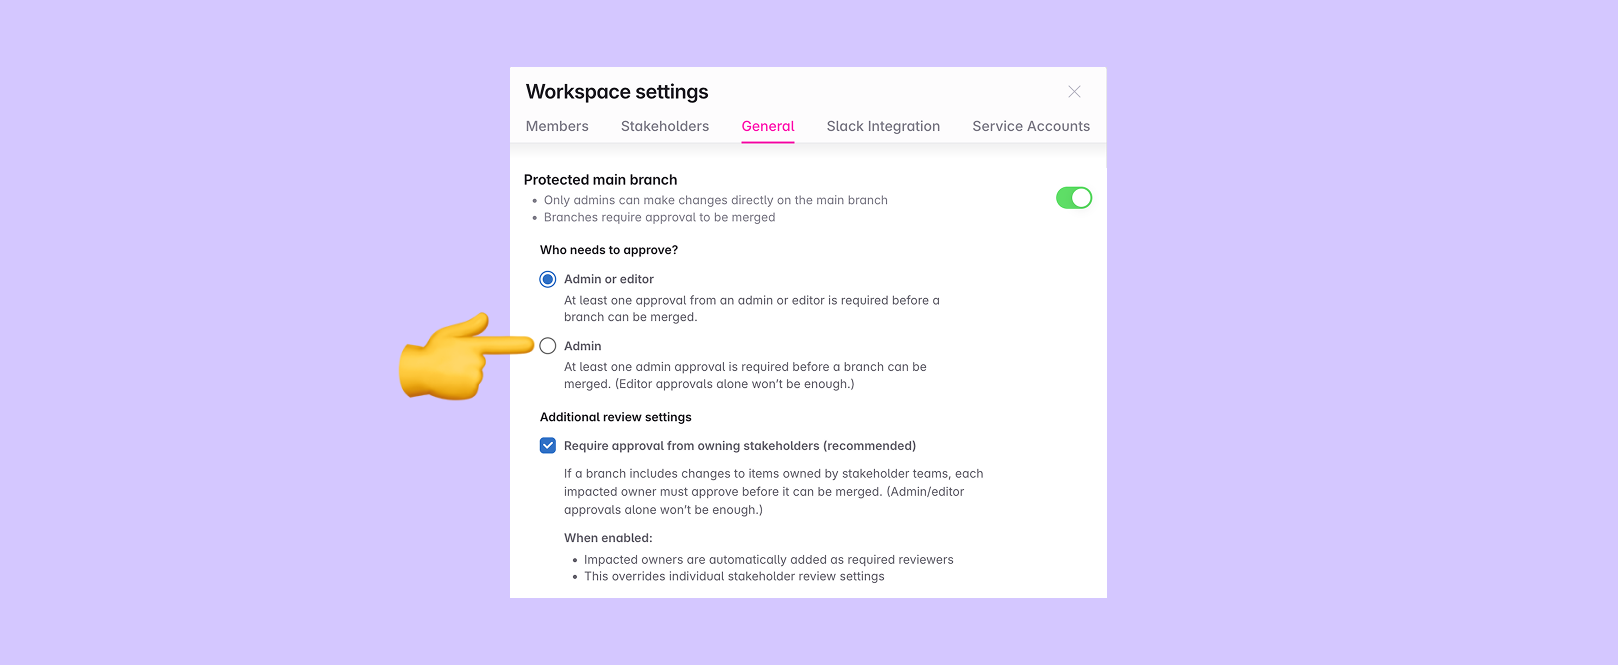
### Require approval from owning stakeholders
> 💡 Stakeholder approval workflows are available on the enterprise plan only. See [plans and pricing](https://www.avo.app/pricing).
When working with stakeholder teams, you can require approval from stakeholder teams that own events being modified on a branch. This ensures that teams responsible for specific data structures are always included in the review process for changes that impact their domain.
When this workspace-level setting is enabled:
- **Impacted owners are automatically added as required reviewers** - If a branch includes changes to events owned by stakeholder teams, those owning teams are automatically added as required reviewers to the branch
- **Branch cannot be merged without owner approval** - The branch is not considered approved until a member with approval privileges from each impacted owner team has approved the branch
- **Overrides individual stakeholder settings** - This workspace setting takes precedence over any stakeholder-specific review configurations
To enable this configuration, click the settings wheel in your workspace, in Workspace settings go into the General tab and check "Require approval from owning stakeholders".
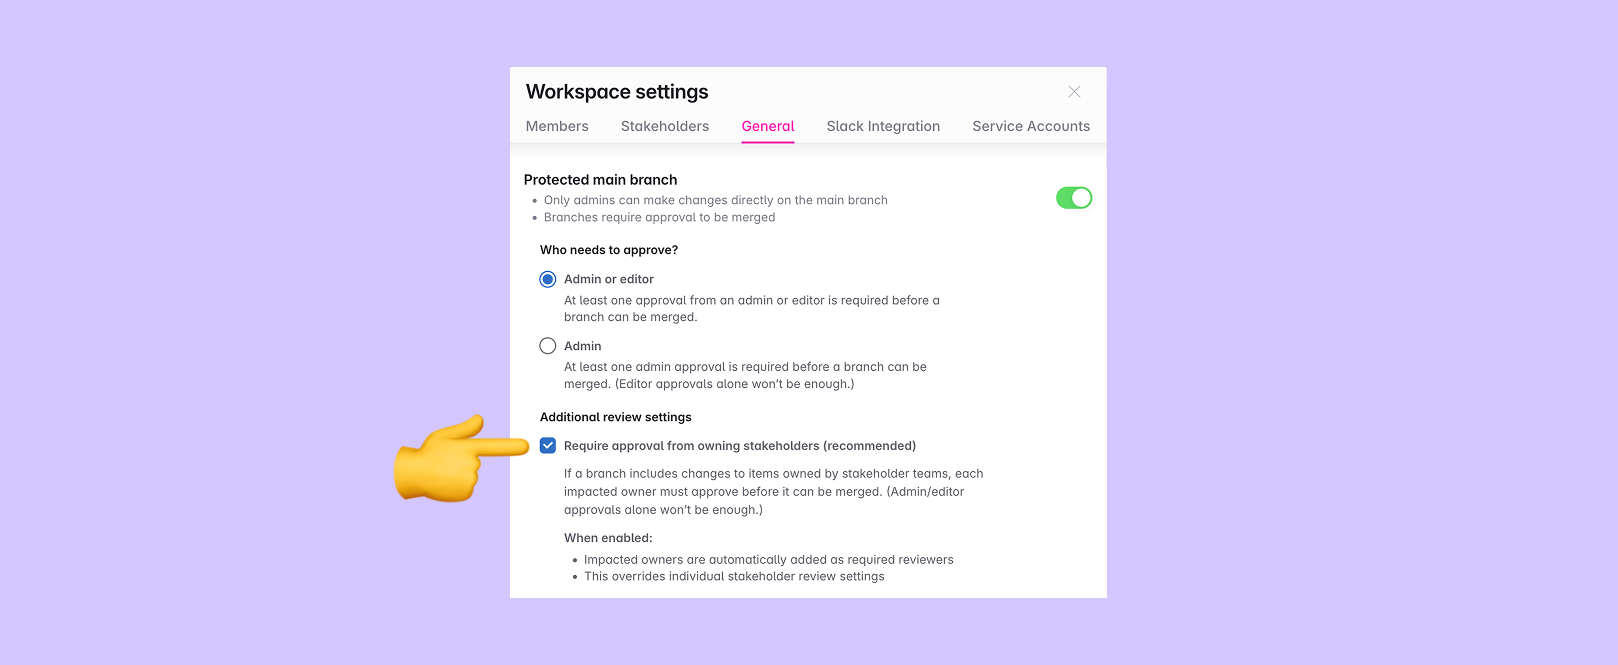
#### Stakeholder-specific settings
Individual stakeholder teams can also configure their own review and notification preferences, which apply when the workspace-level "Require approval from owning stakeholders" setting is disabled.
For each stakeholder team, you can configure separate settings for:
- **As impacted owner** - How the team is involved when they own events being modified
- **As impacted stakeholder** - How the team is involved when they are stakeholders (but not owners) of events being modified
Options include:
- **Automatically add as required reviewer** - The team will be automatically added as a required reviewer for the branch (available on the Enterprise plan)
- **Notify in stakeholder Slack channel** - The team will receive Slack notifications without being required to approve
- **Do nothing** - No automatic action is taken
> 💡 When the workspace-level "Require approval from owning stakeholders" setting is enabled, individual stakeholder settings are locked and display a notice that the setting is controlled at the workspace level.
Learn more about configuring stakeholder teams and their approval settings in the [Managing Stakeholder Teams](https://www.avo.app/docs/workspace-management/domains.md) documentation.
## What's next?
- [Managing Stakeholder Teams](https://www.avo.app/docs/workspace-management/domains.md) - Learn how to set up and configure stakeholder teams
- [Stakeholders](https://www.avo.app/docs/data-design/avo-tracking-plan/stakeholder-domains.md) - Understanding stakeholder teams and how they work
- [Slack notifications](https://www.avo.app/docs/data-design/branches/workspace-notifications.md) - Set up notifications for branch activity
---
Source: https://www.avo.app/docs/data-design/branches/branch-changes.md
# Branch review screen
Use the Branch review screen to prepare, review, and implement analytics updates in one place. It brings together context for reviewers, a clear diff of your tracking plan, and copy‑ready implementation instructions.
- Align stakeholders on why the changes exist and what they enable
- Review and approve the exact tracking plan changes with powerful filters
- Hand developers precise code diffs and snippets per event per source
> 💡 Branch review screen is composed of three tabs: **Branch context**, **Tracking plan changes**, and **Code changes**.
## The three tabs
### Branch context
Use Branch context to align reviewers on the purpose and scope of the branch before they dive into the changes.
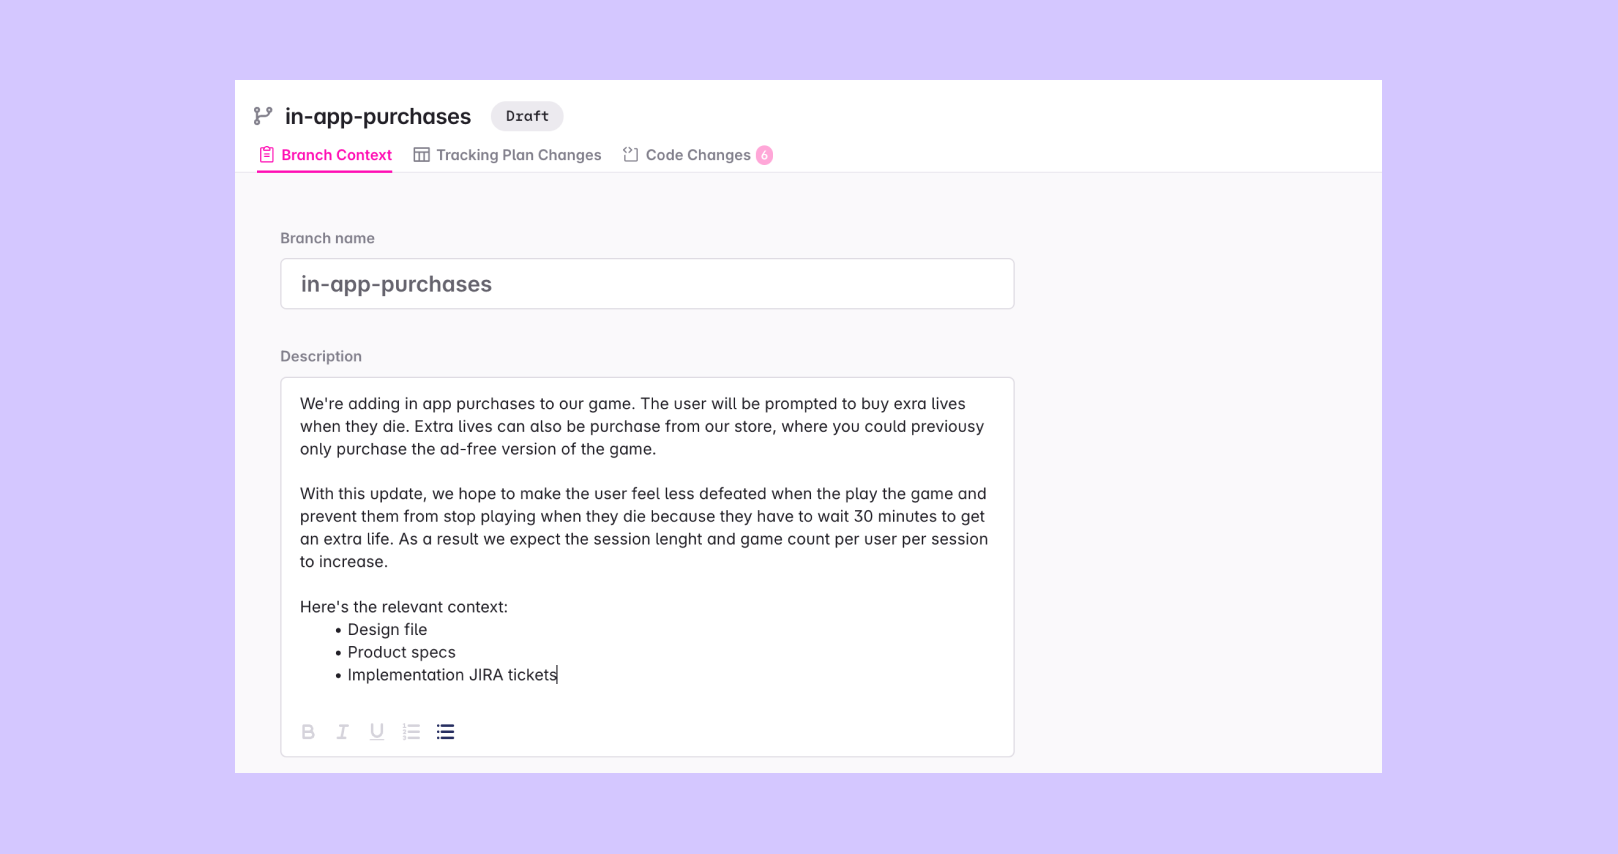
- Add a branch description including a concise description of the product updates the branch is related to and the tracking plan changes described in the branch
- Add links to product specs, designs, tickets or other relevant resources so reviewers have all context to review
- Rename the branch as scope evolves to keep branch lists clear without breaking links
### Tracking plan changes
Use Tracking plan changes to review and approve the exact modifications to your tracking plan and to manage the review workflow.
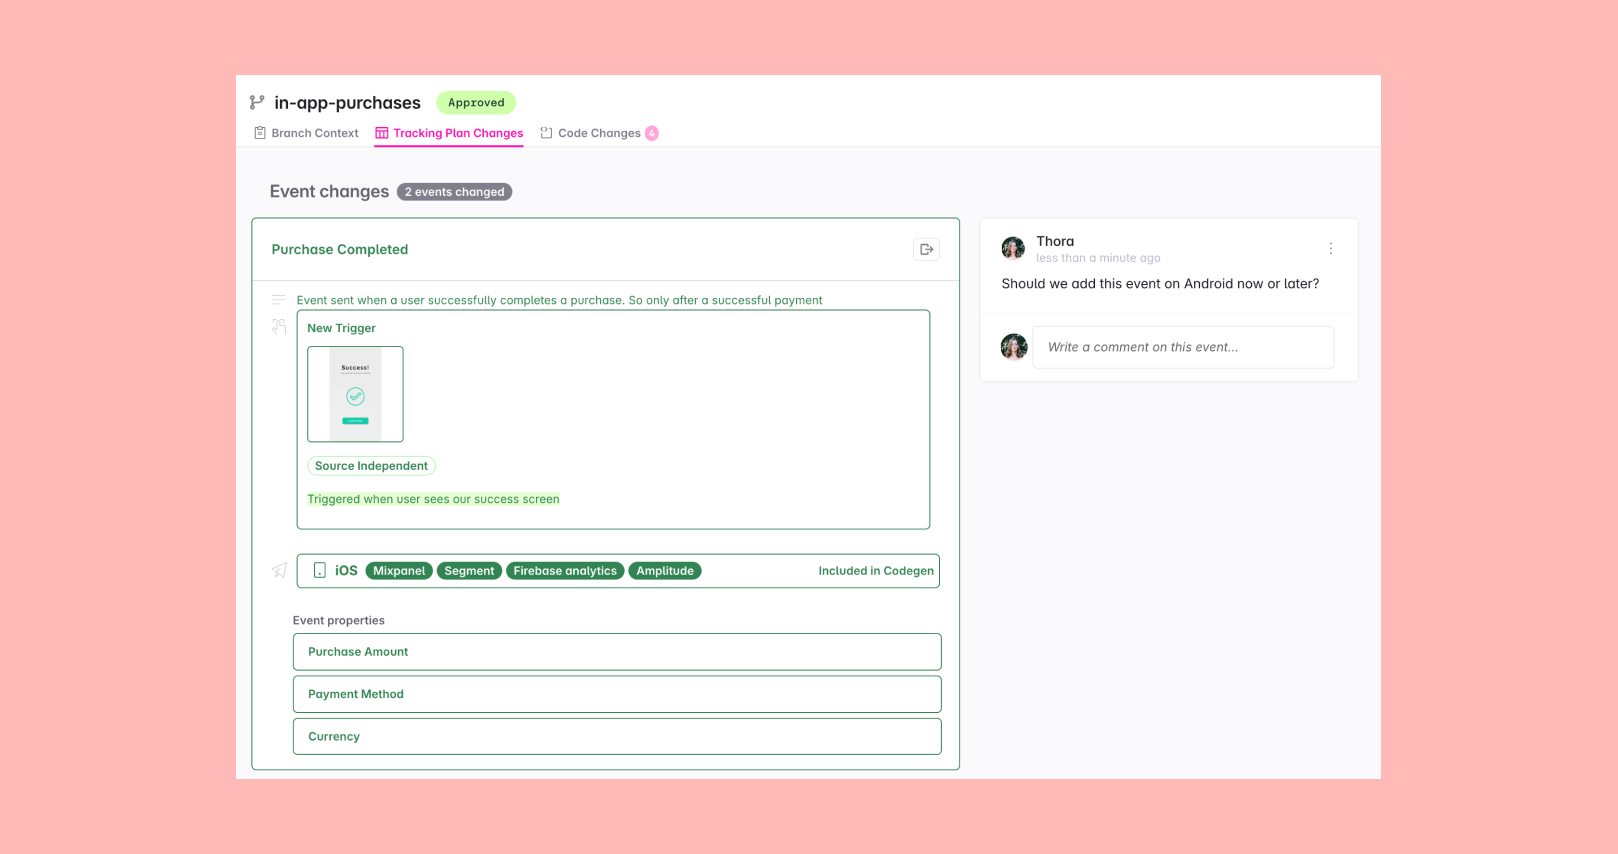
- See a structured diff of metrics, events, properties, and related items vs. main; focus on what’s new since your last review using “Show changes since”
- Comment on changed items to ask questions, record decisions, and resolve feedback
- Add or remove reviewers and change the branch status (Draft, Ready for review, Changes requested, Approved) to keep work moving
In the Events view, the [Workbench](https://www.avo.app/docs/data-design/avo-tracking-plan/workbench.md) highlights added or updated events, giving you an at‑a‑glance view of changes useful for self‑review while making changes to the tracking plan.
### Code changes
Use Code changes to translate tracking plan diffs into precise implementation instructions for developers.
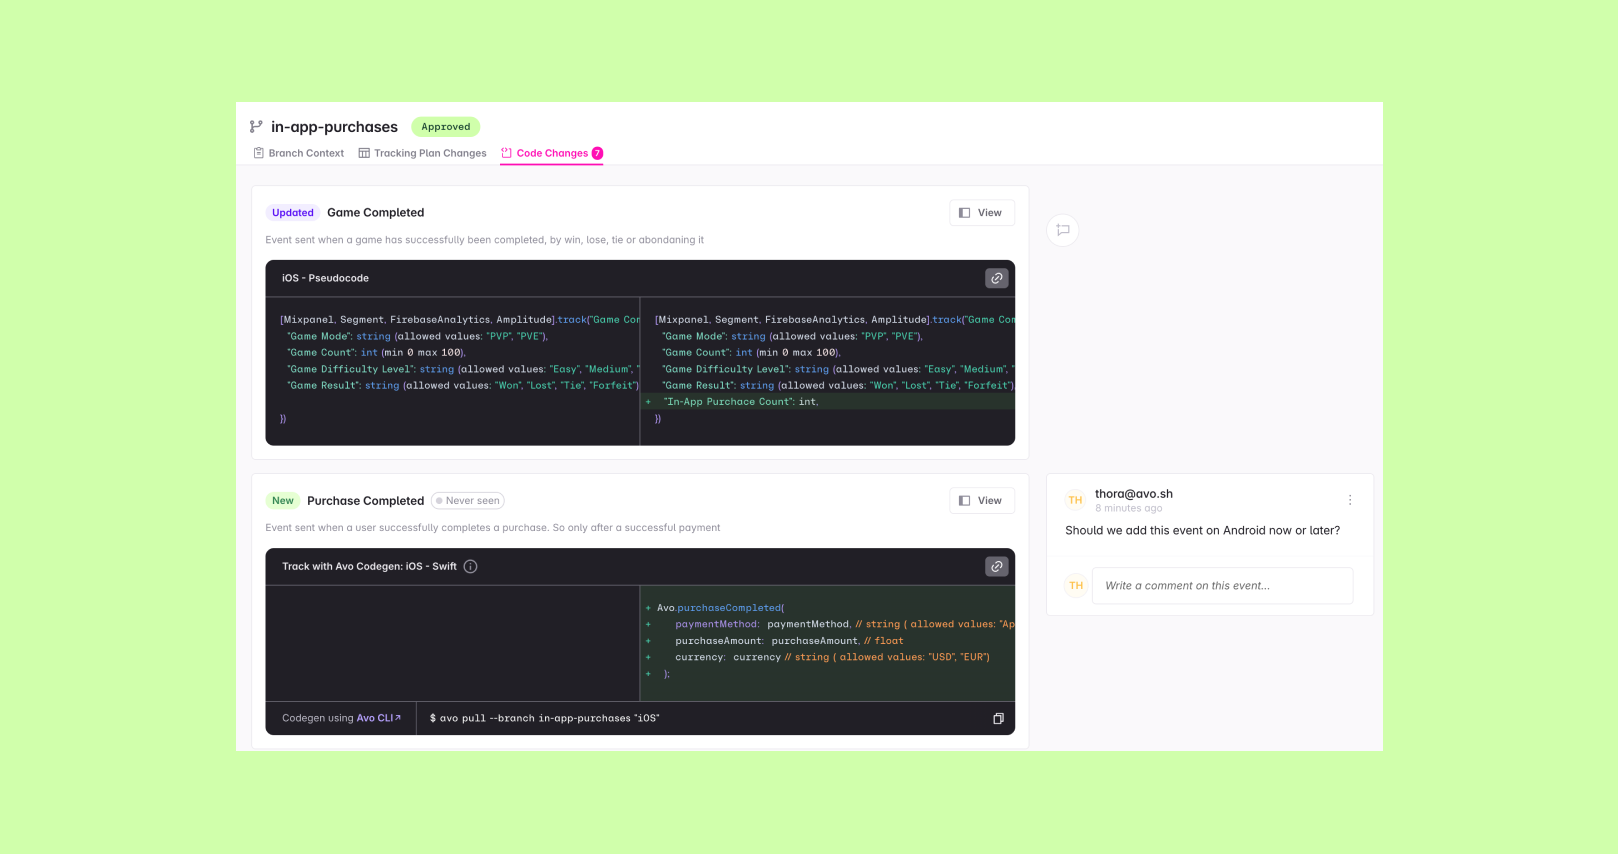
- Scan impacted events grouped by source with configurable diffs to understand exactly what to change in code
- Copy language‑appropriate snippets for both Codegen and non‑Codegen to speed up implementation and reduce errors
- Share links internally or create a public share to collaborate with people outside your workspace
Learn more about how to [Review Code Changes](https://www.avo.app/docs/data-design/branches/code-changes.md).
## Rename the branch
Open your branch, click *View changes*, go to *Branch context*, edit the branch name, and save.
## Learn more
- Read about [Reviewing Code Changes](https://www.avo.app/docs/data-design/branches/code-changes.md)
- See how to [run an effective review](https://www.avo.app/docs/workflow/review.md)
---
Source: https://www.avo.app/docs/data-design/branches/code-changes.md
# Review Code Changes
The code changes screen helps your team quickly and accurately implement tracking plan changes on a branch. It is one of the three review tabs. Navigate to a branch, select [_View changes_](https://www.avo.app/docs/data-design/branches/branch-changes.md) in the sidebar, then open the _Code changes_ tab. You can even share it with someone outside your Avo workspace using the public sharing feature.

On the code changes screen you see all events that are affected by your tracking plan changes, grouped by source. The event code snippet highlights exactly what has changed in the implementation of the event on the branch and makes it fast and easy for developers to understand what changes they need to make to successfully implement the branch. Your workspace members can comment directly on the events to address any uncertainties about the changes.
> 💡 If a [journey](https://www.avo.app/docs/data-design/avo-tracking-plan/journeys.md) was created for the branch, use it as visual context alongside the code changes to understand where each event should be triggered in the user flow.
## Sharing
You can copy a link to the branch code changes using the link (🔗) icon. It will include the current source, allowing you to tailor the link for each source that has to be implemented. If you want to focus on the implementation of a specific event, you can copy a link directly to each individual event as well.
## Public sharing
If you are sharing implementation instructions with someone outside your workspace you can create a public link. This comes in handy if you are creating tracking implementation tasks in your task management tool and don't know if whoever will be looking at the task is already a member in your Avo workspace. If the user opening the link is authenticated in Avo, they will be redirected to an authenticated view.
Only workspace Admins and Editors can generate a public link but once generated, anyone in the workspace can copy the link to share. Deleting a public link will permanently invalidate all existing links and generating a new one will be behind a new, unique share ID.
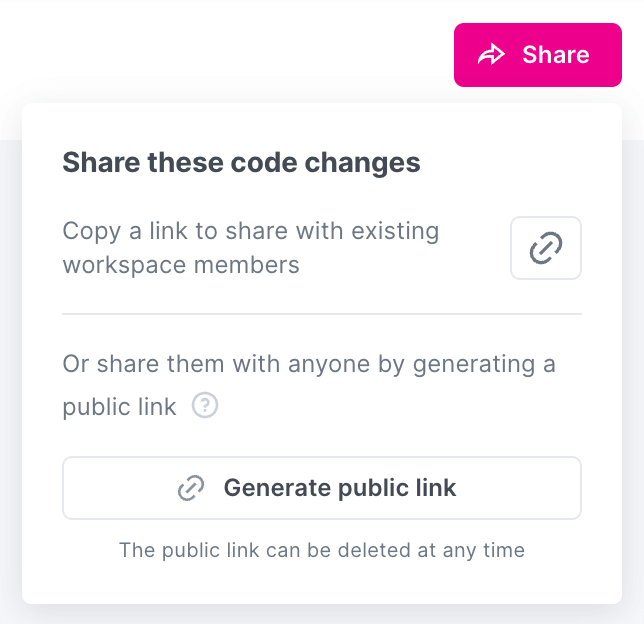
The public view looks and functions similarly to the one in the workspace, but there are some key differences:
- it's restricted to only show the code changes view.
- It doesn't show any metrics changes or other business context
- it doesn't reveal any information about your workspace; the workspace name is hidden as well as comments and contributors
To maintain as much security and privacy as we can given the public access, we've gone to great lengths to expose nothing but the information necessary to display the code changes. All tracking plan calculations happen on the server side and we only send the browser the exact strings needed to display the page.
For a preview, take a look at this [example public view](https://www.avo.app/s/TZ0YwKaQ9).
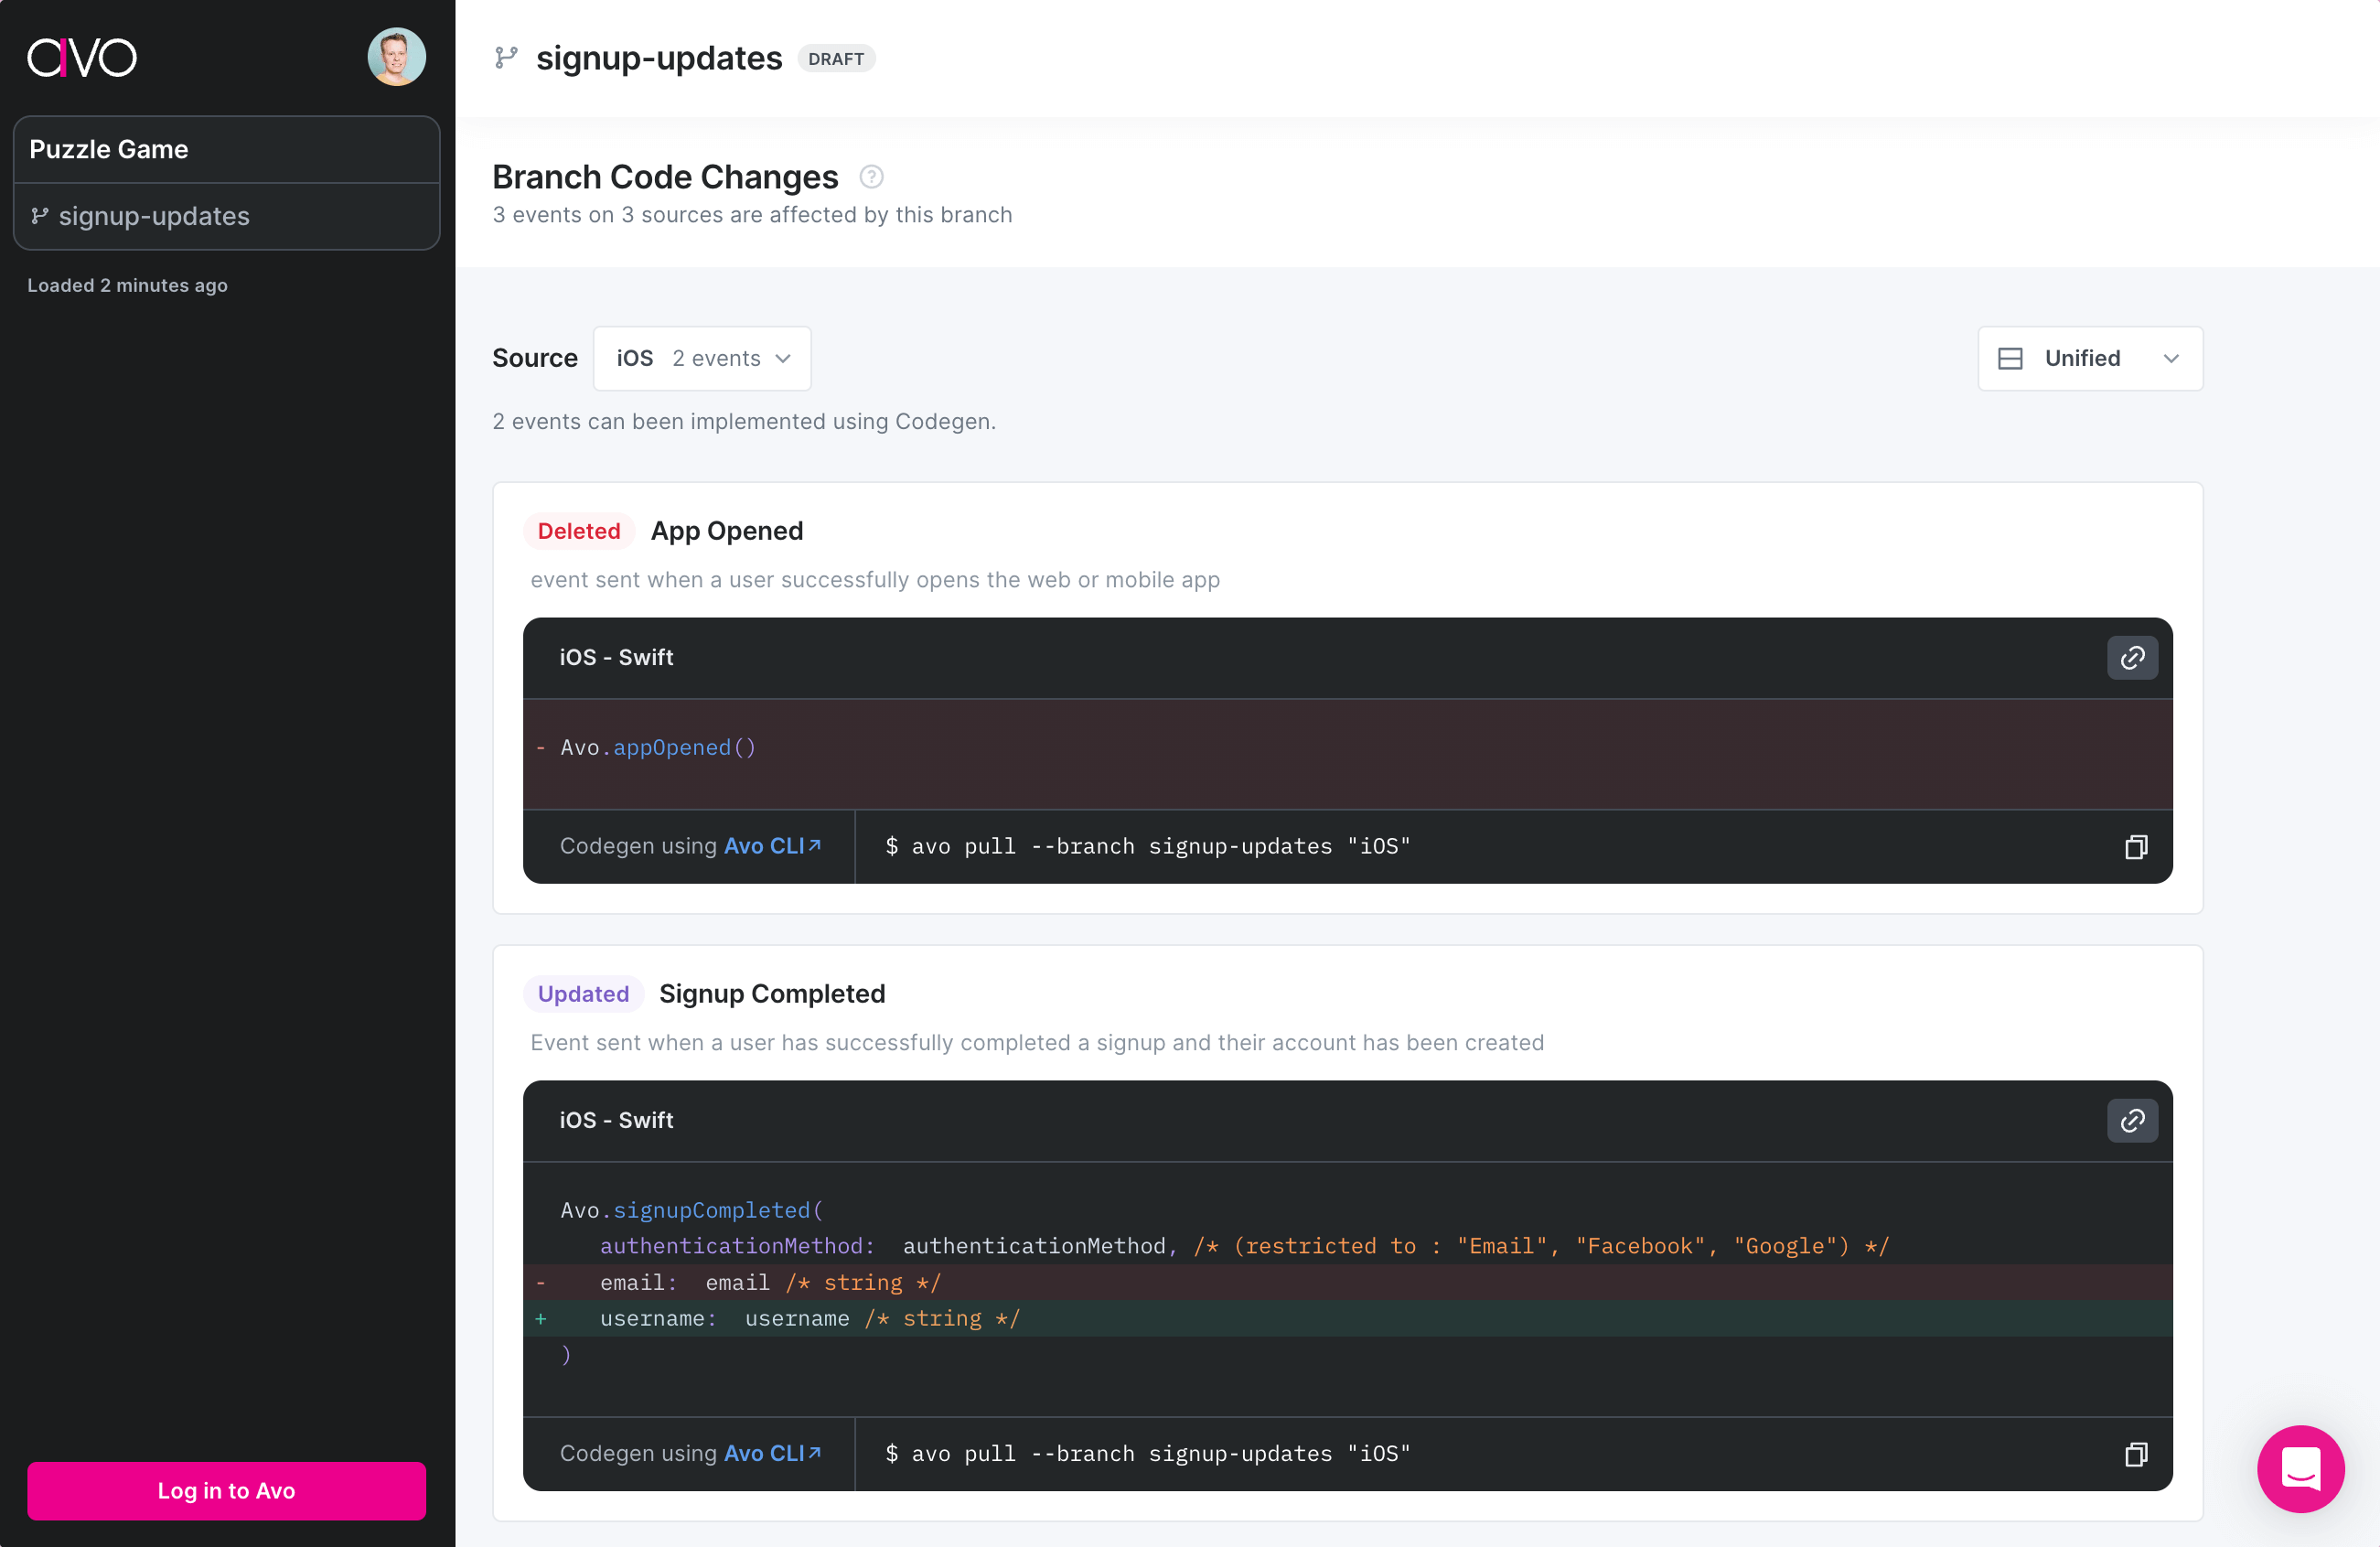

To maintain as much security and privacy as we can given the public access, we've gone to great lengths to expose nothing but the information necessary to display the code changes. All tracking plan calculations happen on the server side and we only send the browser the exact strings needed to display the page. Deleting a public link will permanently invalidate all existing links as generating a new one will be behind a new, unique share ID.
## Filtering View
While Reviewing, you can filter the events to help you focus on your context.
There are 2 filters
- By source
- By event implementation type (Codegen/Non-Codegen)
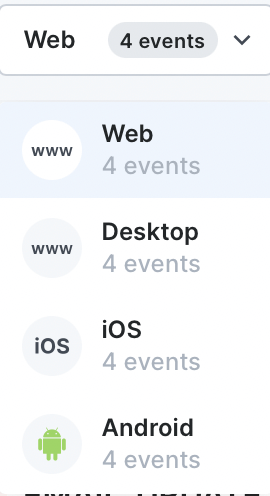
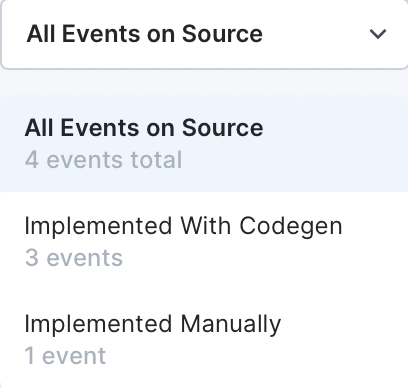
## Code Snippets
You can select how you want the code snippets changes displayed.
There are 3 options to select from to view the changes:
- Unified
- Split
- No diff
To show an example, we have an event called REACTION_REMOVED where we modified two properties.
- app_id: We changed the property type from `string` to `int`
- bot_id: We changed the property presence from `required` to `sometimes sent`
#### Unified
When viewing the events unified, the diff between main branch and your branch will be shown in the code snippet inline.
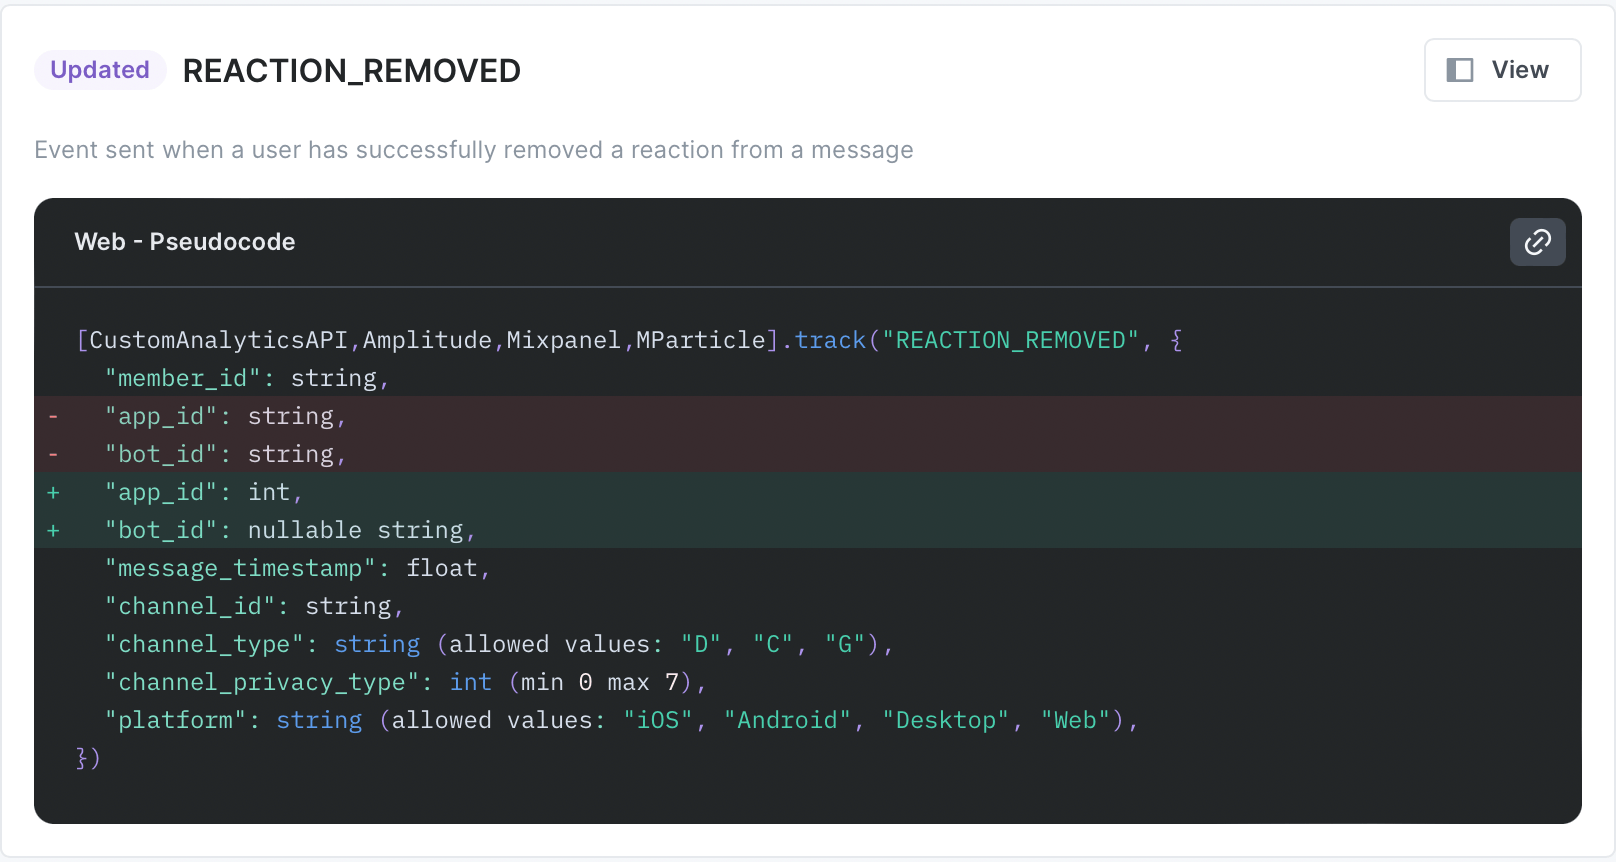
#### Split
When viewing the events with split view, it will show the main state on the left hand side, while your current branch changes on the right hand side, with highlights on which properties were modified
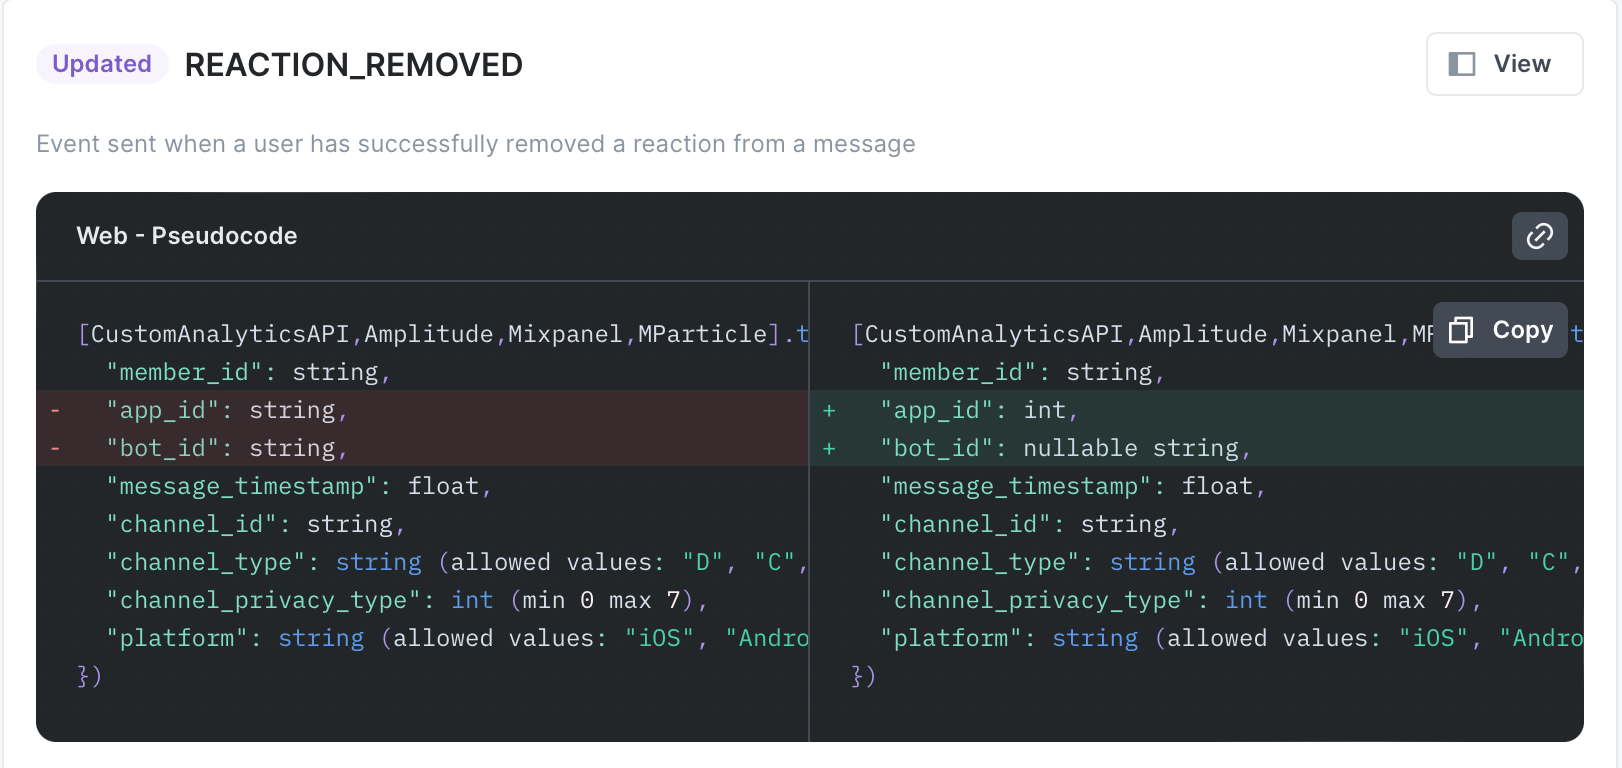
#### No diff
When viewing the events with `No diff` view. The code snippet will display only the branch current changes.
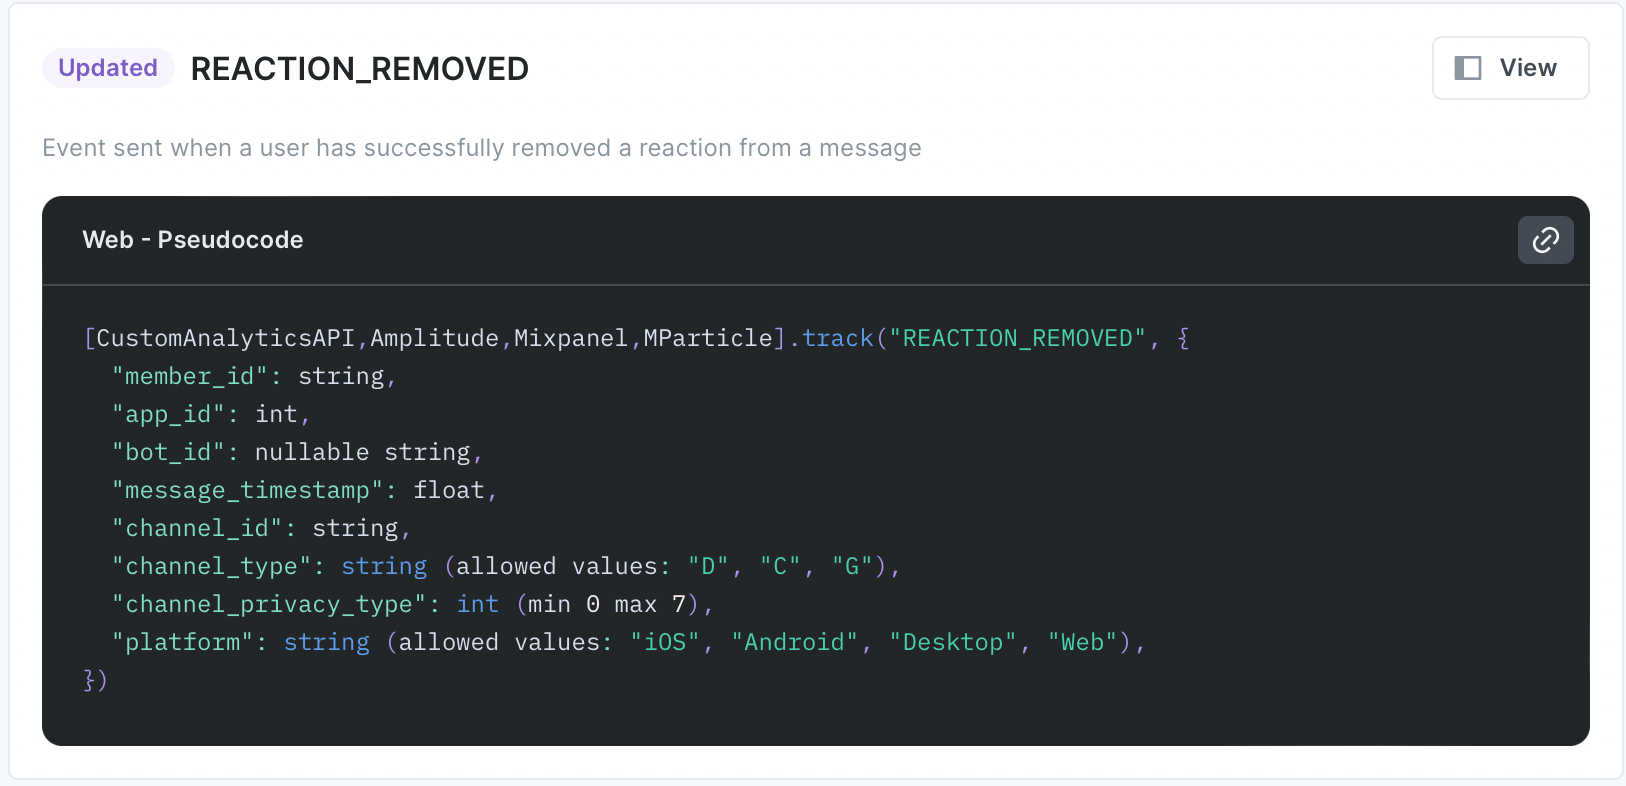
## Codegen snippets
When reviewing sources that are using the Avo Codegen, the snippet will generate the function call to the Avo generated function created. The code snippet will be in the source's selected programming language and can be copy and pasted directly into code.
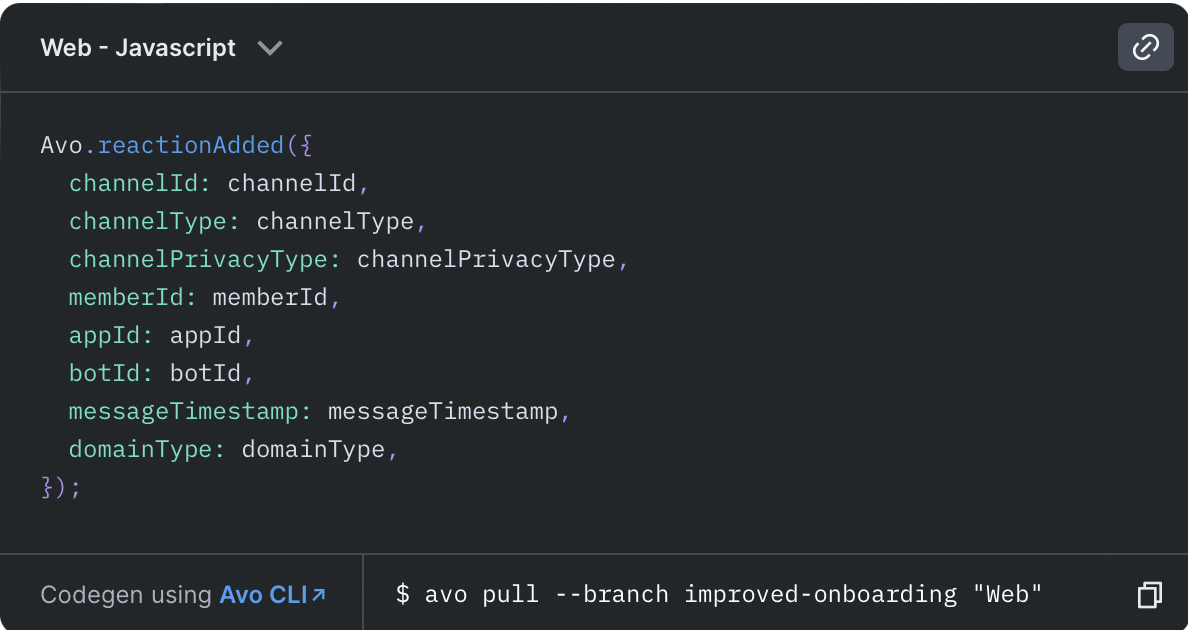
## Non-Codegen snippets
Events that are not implemented with codegen will also show code snippets.
These code snippets will be in Pseudocode to be used as a guide helper for the developer to implement the code.
The Pseudocodegen will attempt to display all the complexity that can be in implementing the event such as:
- Name mapping (overall and per destination)
- Multiple Destinations
- Property presence
> Pseudocodegen sets the property types as values for the properties to help the
> developer make sure to implement it correctly.
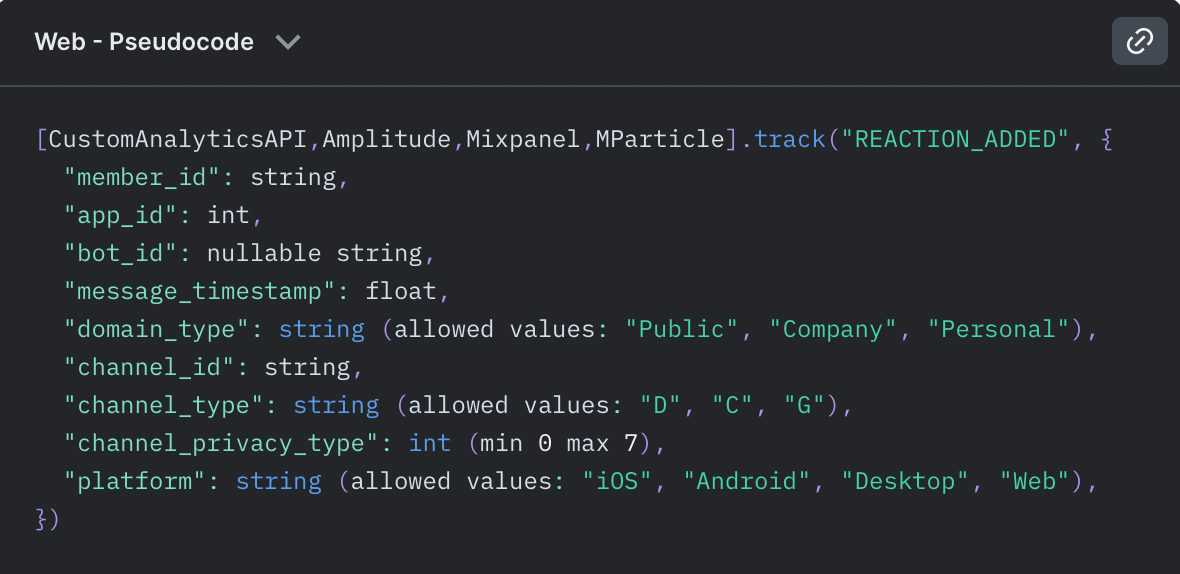
### Detailed code snippets for specific destinations
> If you're using [Avo Codegen](https://www.avo.app/docs/implementation/start-using-avo-codegen.md), you'll automatically get detailed, copyable code snippets for all source and destination combinations. The information below only applies to non-Codegen implementations.
For non-Codegen implementations, Avo provides detailed, destination-specific code snippets instead of pseudocode for some destination and source combinations. These snippets can be copied directly into your codebase and include the exact SDK methods and parameters needed for implementation.
Currently, detailed code snippets for non-Codegen implementations are available for:
- **Adobe Analytics** (for Web JavaScript and TypeScript sources)
- **Firebase Analytics** (for iOS Swift and Android Java sources)
If you'd like to see more detailed code snippets for your specific destination and programming language combination, please [reach out to us](mailto:support@avo.app) and let us know!
---
Source: https://www.avo.app/docs/data-design/branches/pulling-pushing-items-between-branches.md
# Cross-branch Data Design
Items (events, properties and property groups) can be reused between branches by pulling or pushing. In both cases, the item retains the same ID across branches, preventing direct merge conflicts.
- [**Pushing an item**](#pushing-items-to-another-branch): Adds an item to another branch from the current branch.
- [**Pulling an item**](#pulling-items-from-another-branch): Adds an item to the current branch from another branch.
## Pushing items to another branch
Events, sources, properties, and property bundles can be pushed from the current branch to another branch using the [Tracking Plan Changes view](https://www.avo.app/docs/data-design/branches.md#review-branch-changes).
For items eligible for pushing (events, properties, and property groups), you can click a button in the top right corner to start the push process.
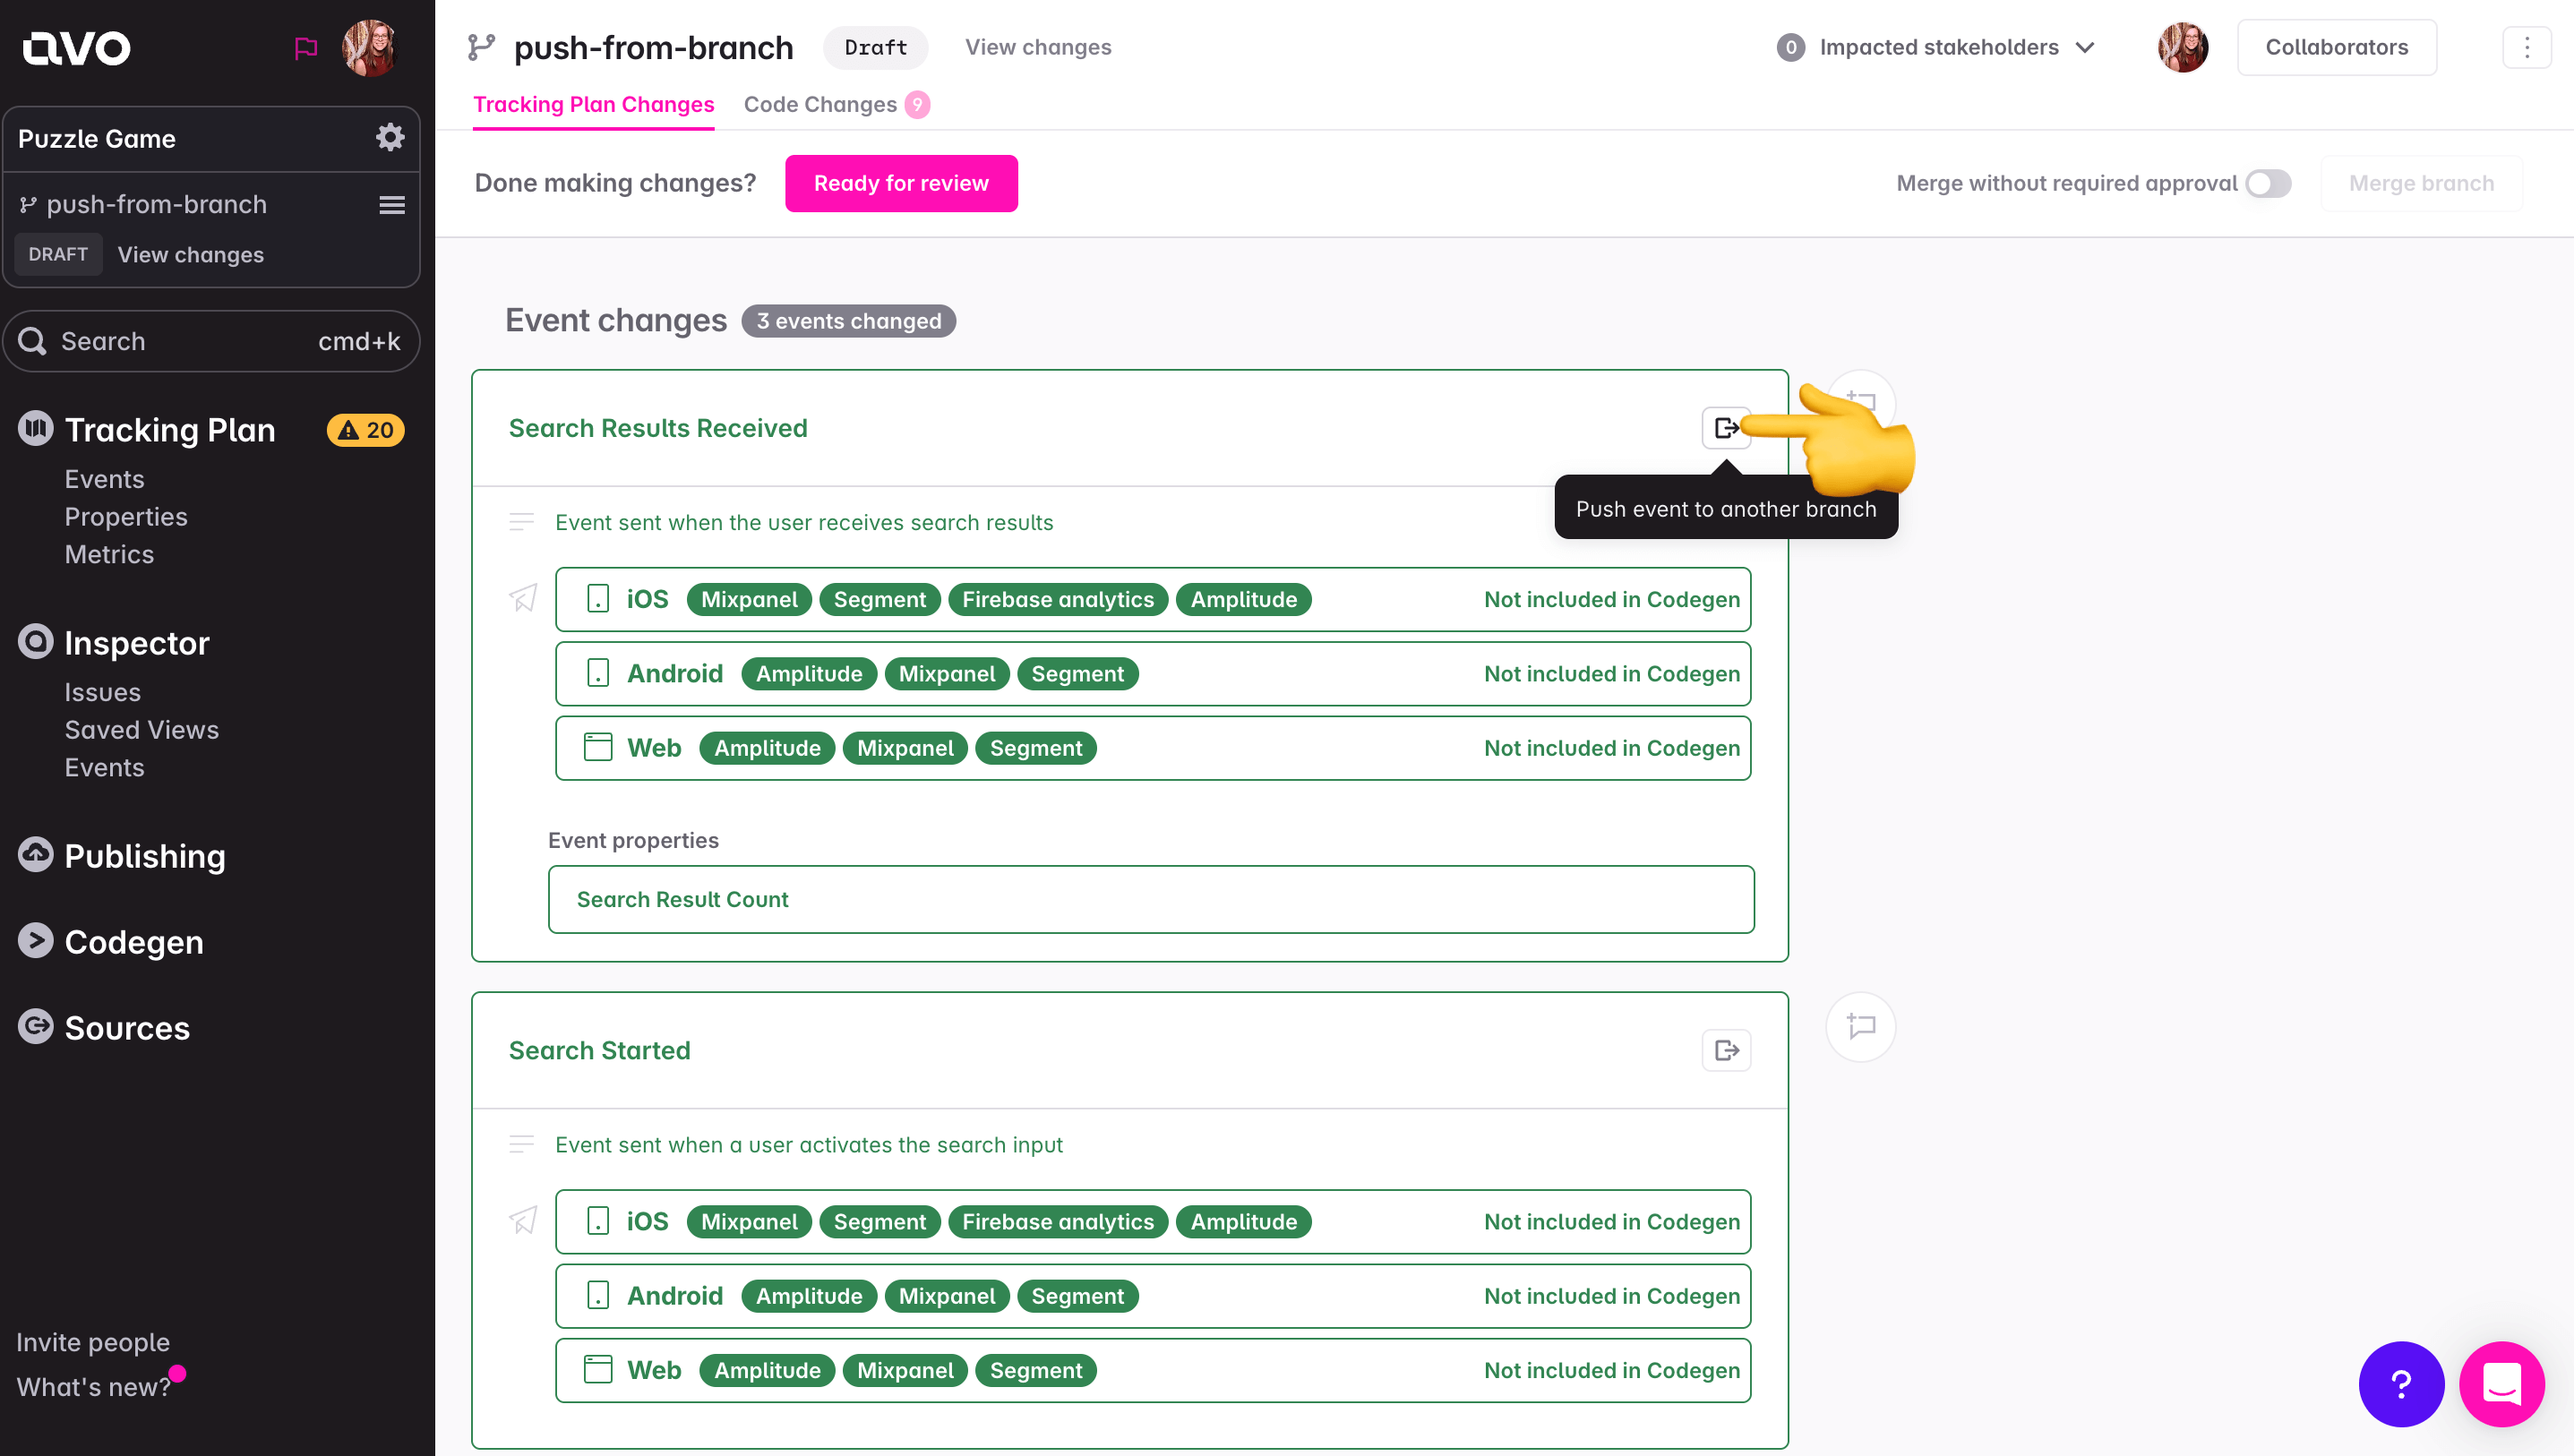
You will be prompted to select a destination branch, in order to review how the changes will be applied – this may vary depending on the data structures already existing on the selected branch.
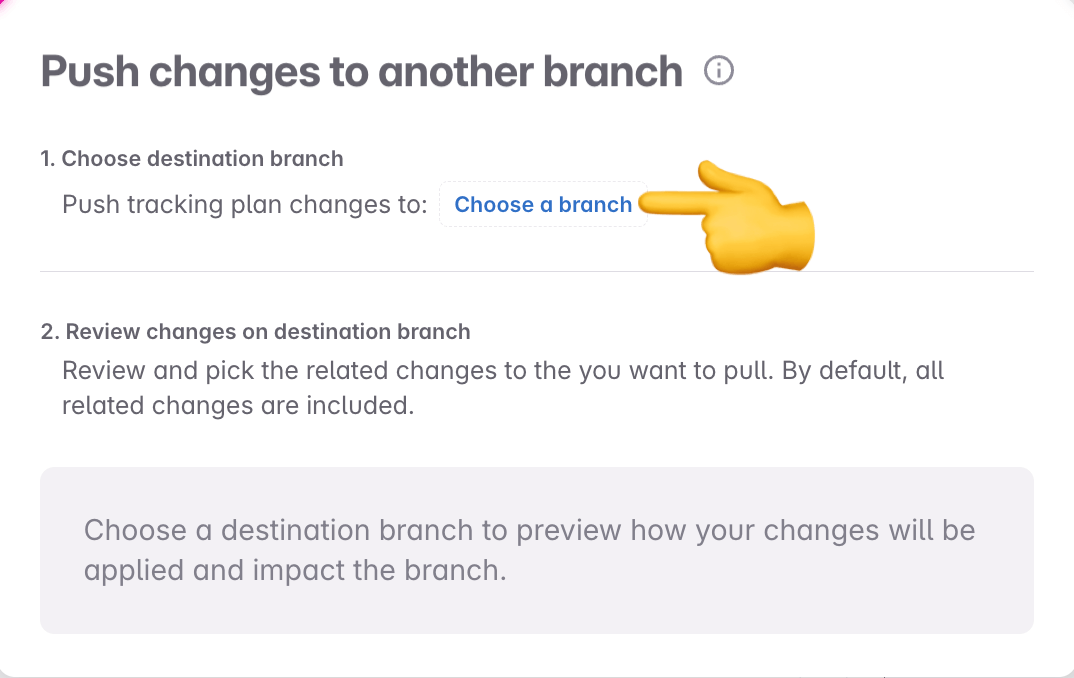
After selecting a destination branch, changes can be [reviewed](#reviewing-changes-to-be-pushed-or-pulled), including which [related changes](#property-changes-related-to-event) to include in the push.
Once pushed, the item becomes available for use on the destination branch.
## Pulling items from another branch
Events, properties, and property bundles can be pulled into the current branch during item search or creation:
- [Item details](#item-details): When searching for items in context of another item details (for example adding a property to an event in event details)
- [Item creation](#item-creation): When creating new events or properties (for example by clicking the "+ New Event" button in the events view)
- [Global search](#global-search) When searching for items in cmd+k or search bar
When an event from another branch is surfaced in any of the contexts listed above, selecting it either opens a preview of the item details where the it can be pulled or directly initiates the pulling process.
After initiation the pulling process, a modal appears with a detailed overview of the changes that will be applied, including options to review and configure related changes.
Once confirmed, the item is pulled into the current branch and becomes available for use.
Below are more details about how items from other branches can be discovered:
### Item Details
In-context searches now show items from other branches alongside those from the current branch and main.
For example, while adding a property to an event, properties from other branches are surfaced.
The same applies to events added to metrics or properties, and when adding a property as a filter in a metric.
To do that, open the details view of the item. In this example a property is added to an event.
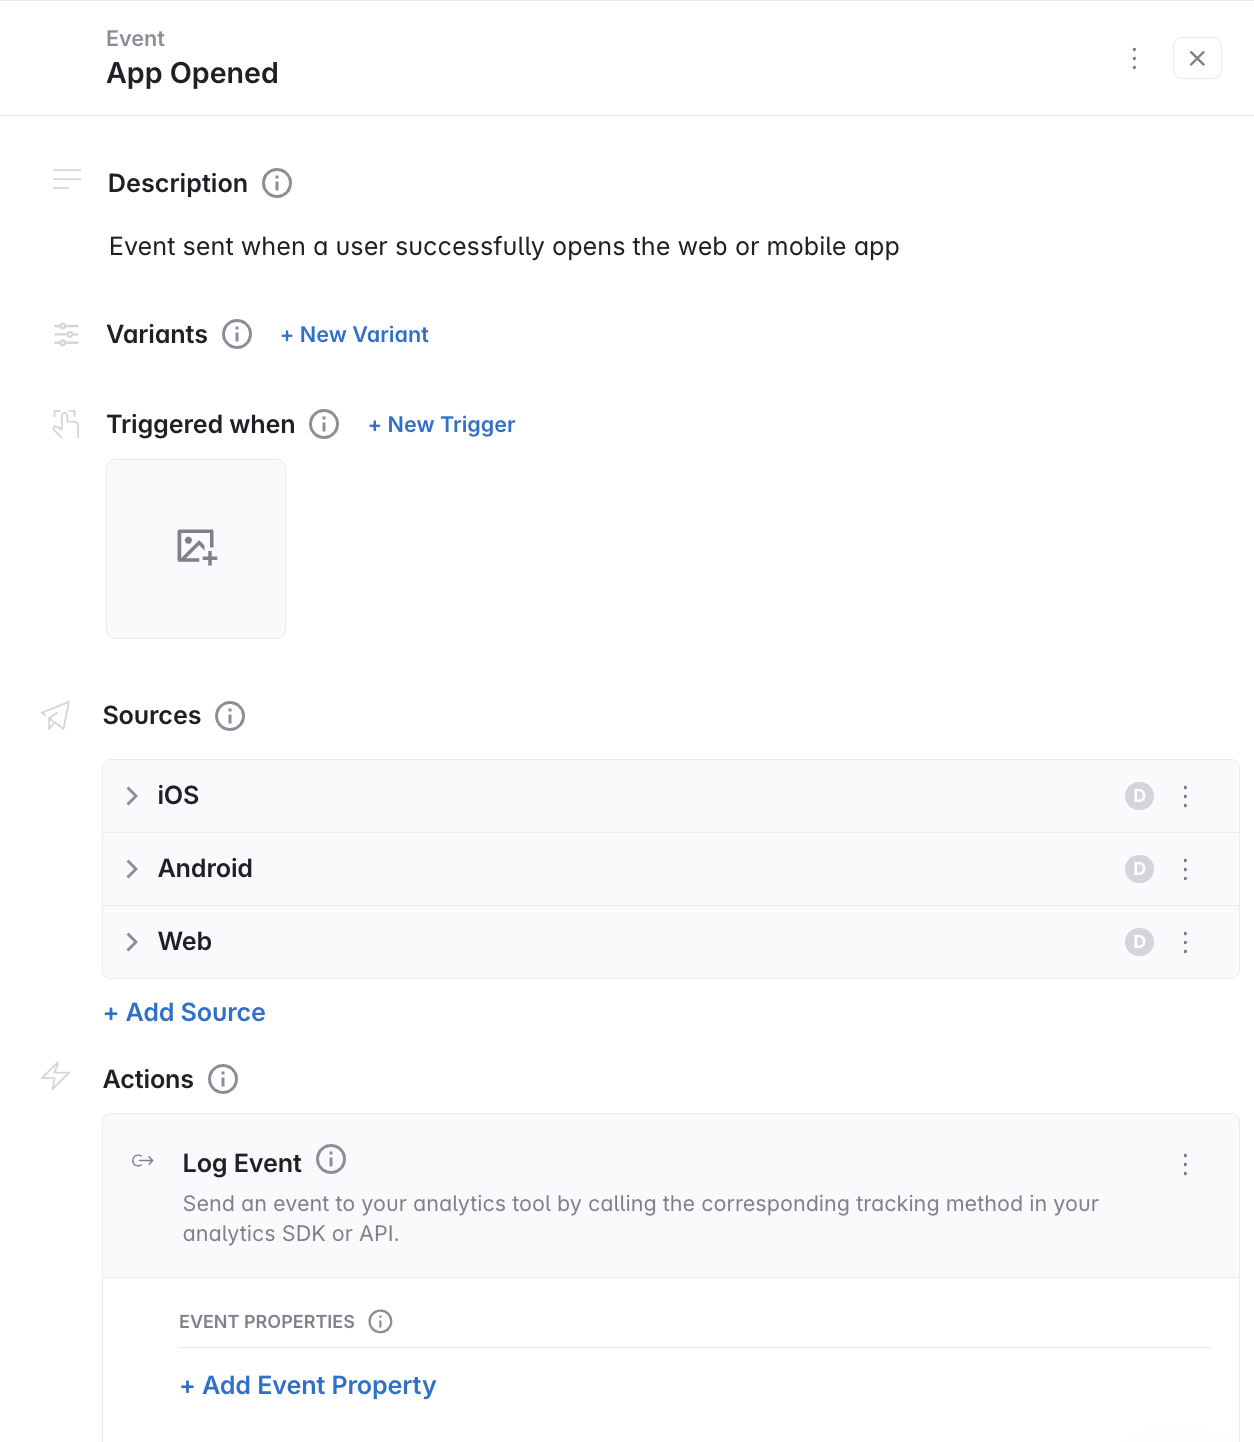
Type in what you are looking for. Avo will surface properties from other branches, below the ones that are found on the current branch.
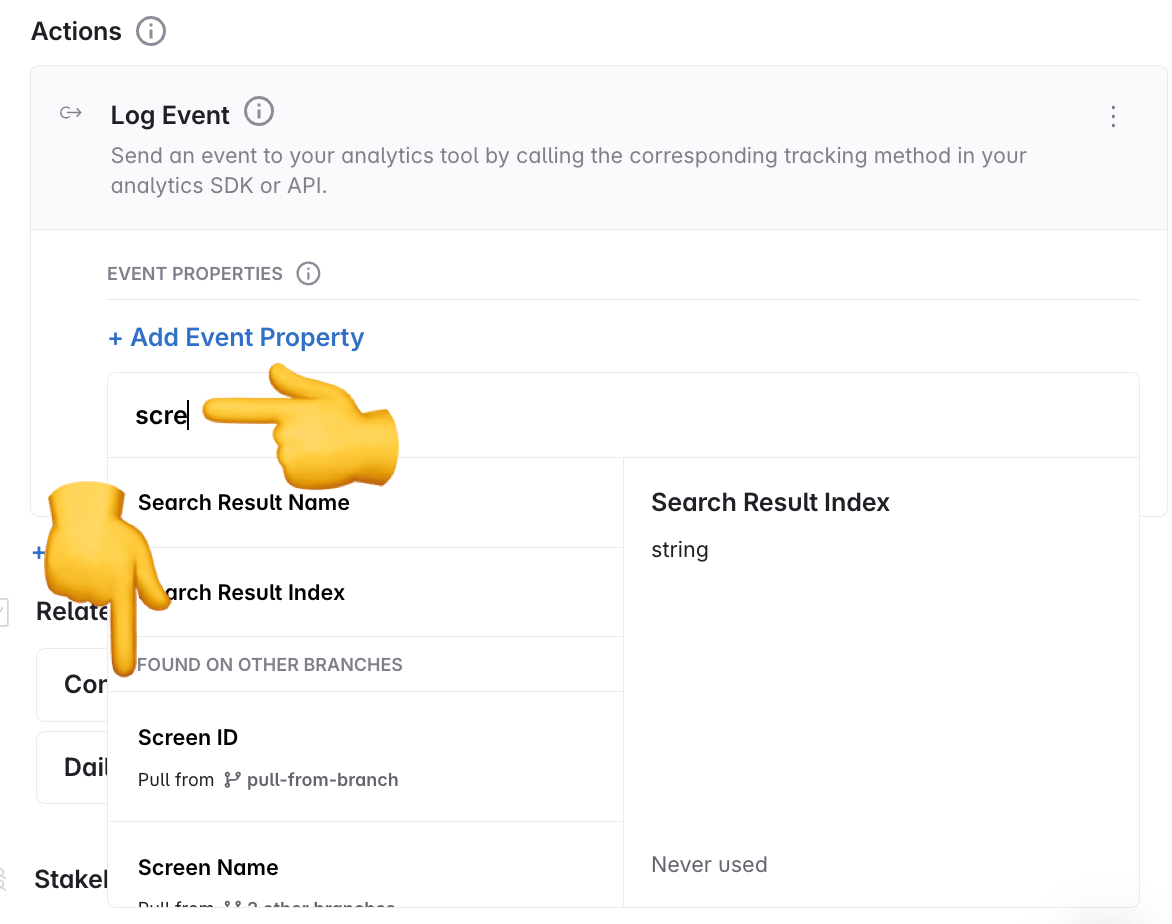
### Item Creation
When creating new events, properties and property bundles, the creation modal now surfaces similar items from other branches, in addition to what's already on your branch.
In this example we are creating a new event.
Clicking an item name opens a view-only preview of the item from the source branch. From there, the item can be pulled into the current branch.
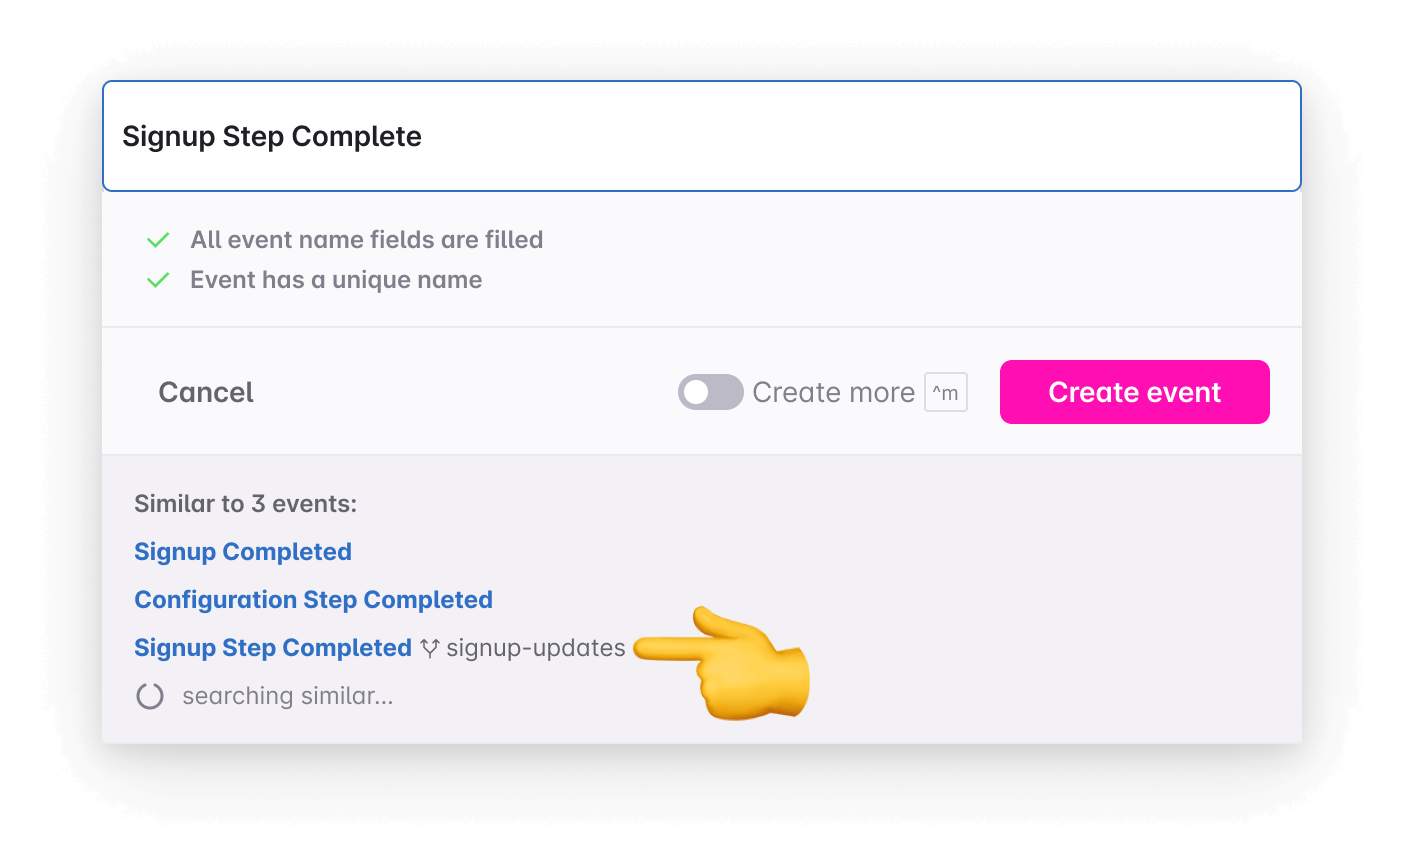
Clicking an item name opens a view-only preview of the item from the source branch. From there, the item can be pulled into the current branch.
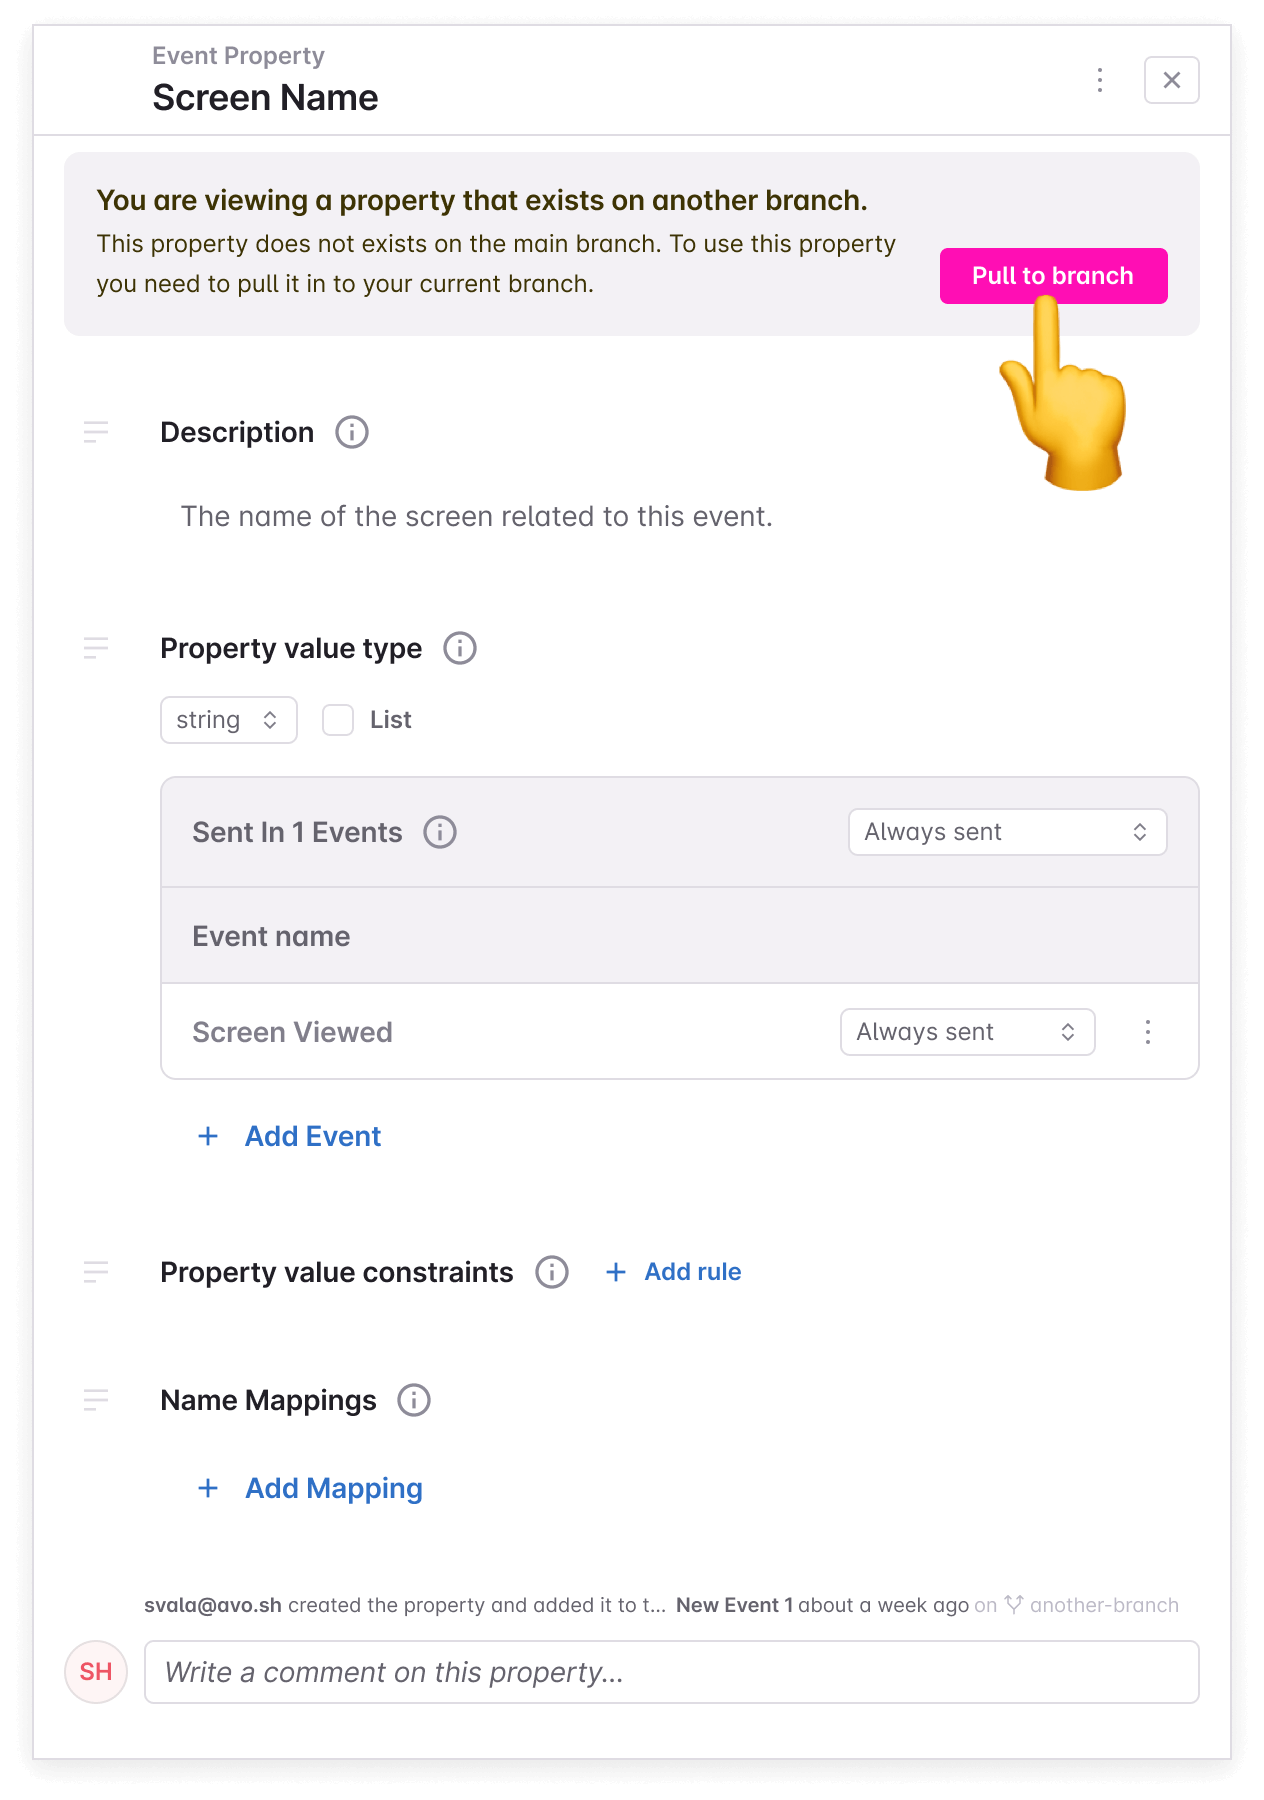
### Global Search
When searching for tracking plan items in the global search, accessible in the side bar and via CMD+K, results from other branches are surfaced in addition to what's already on the current branch.
In this example we're searching for a property.
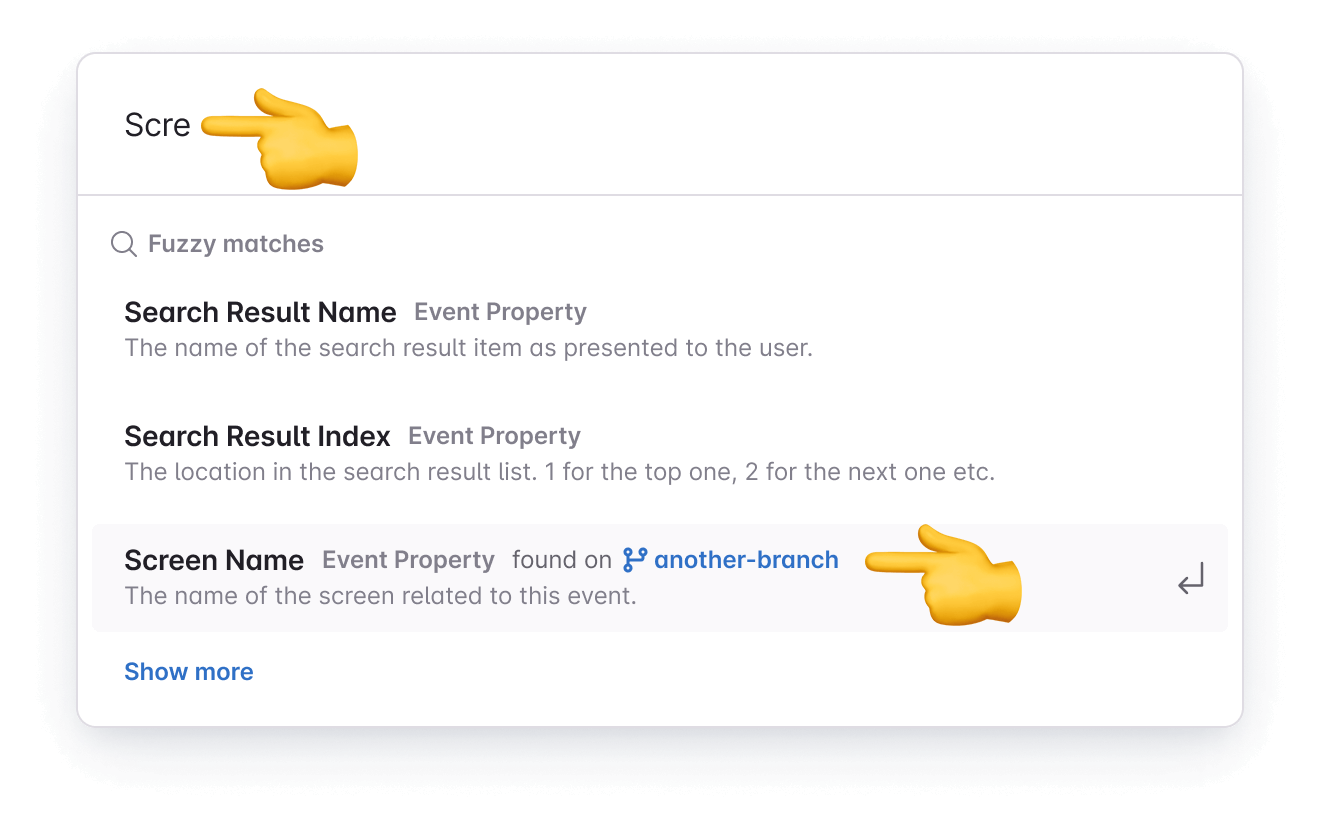
Selecting an item name opens a view-only preview of the item from the source branch. From there, the item can be pulled into the current branch.

## Reviewing changes to be pushed or pulled
The items shown can be expanded to show the details of what will be added to the destination branch.
Avo determines which changes are necessary to push to the destination branch, leaving out changes that are unrelated to the selected item.
If the selected item to push or pull is an event or a property bundle, any [related changes](#related-changes) are displayed below.
After reviewing, clicking the Push or Pull button applies the changes to the destination branch.
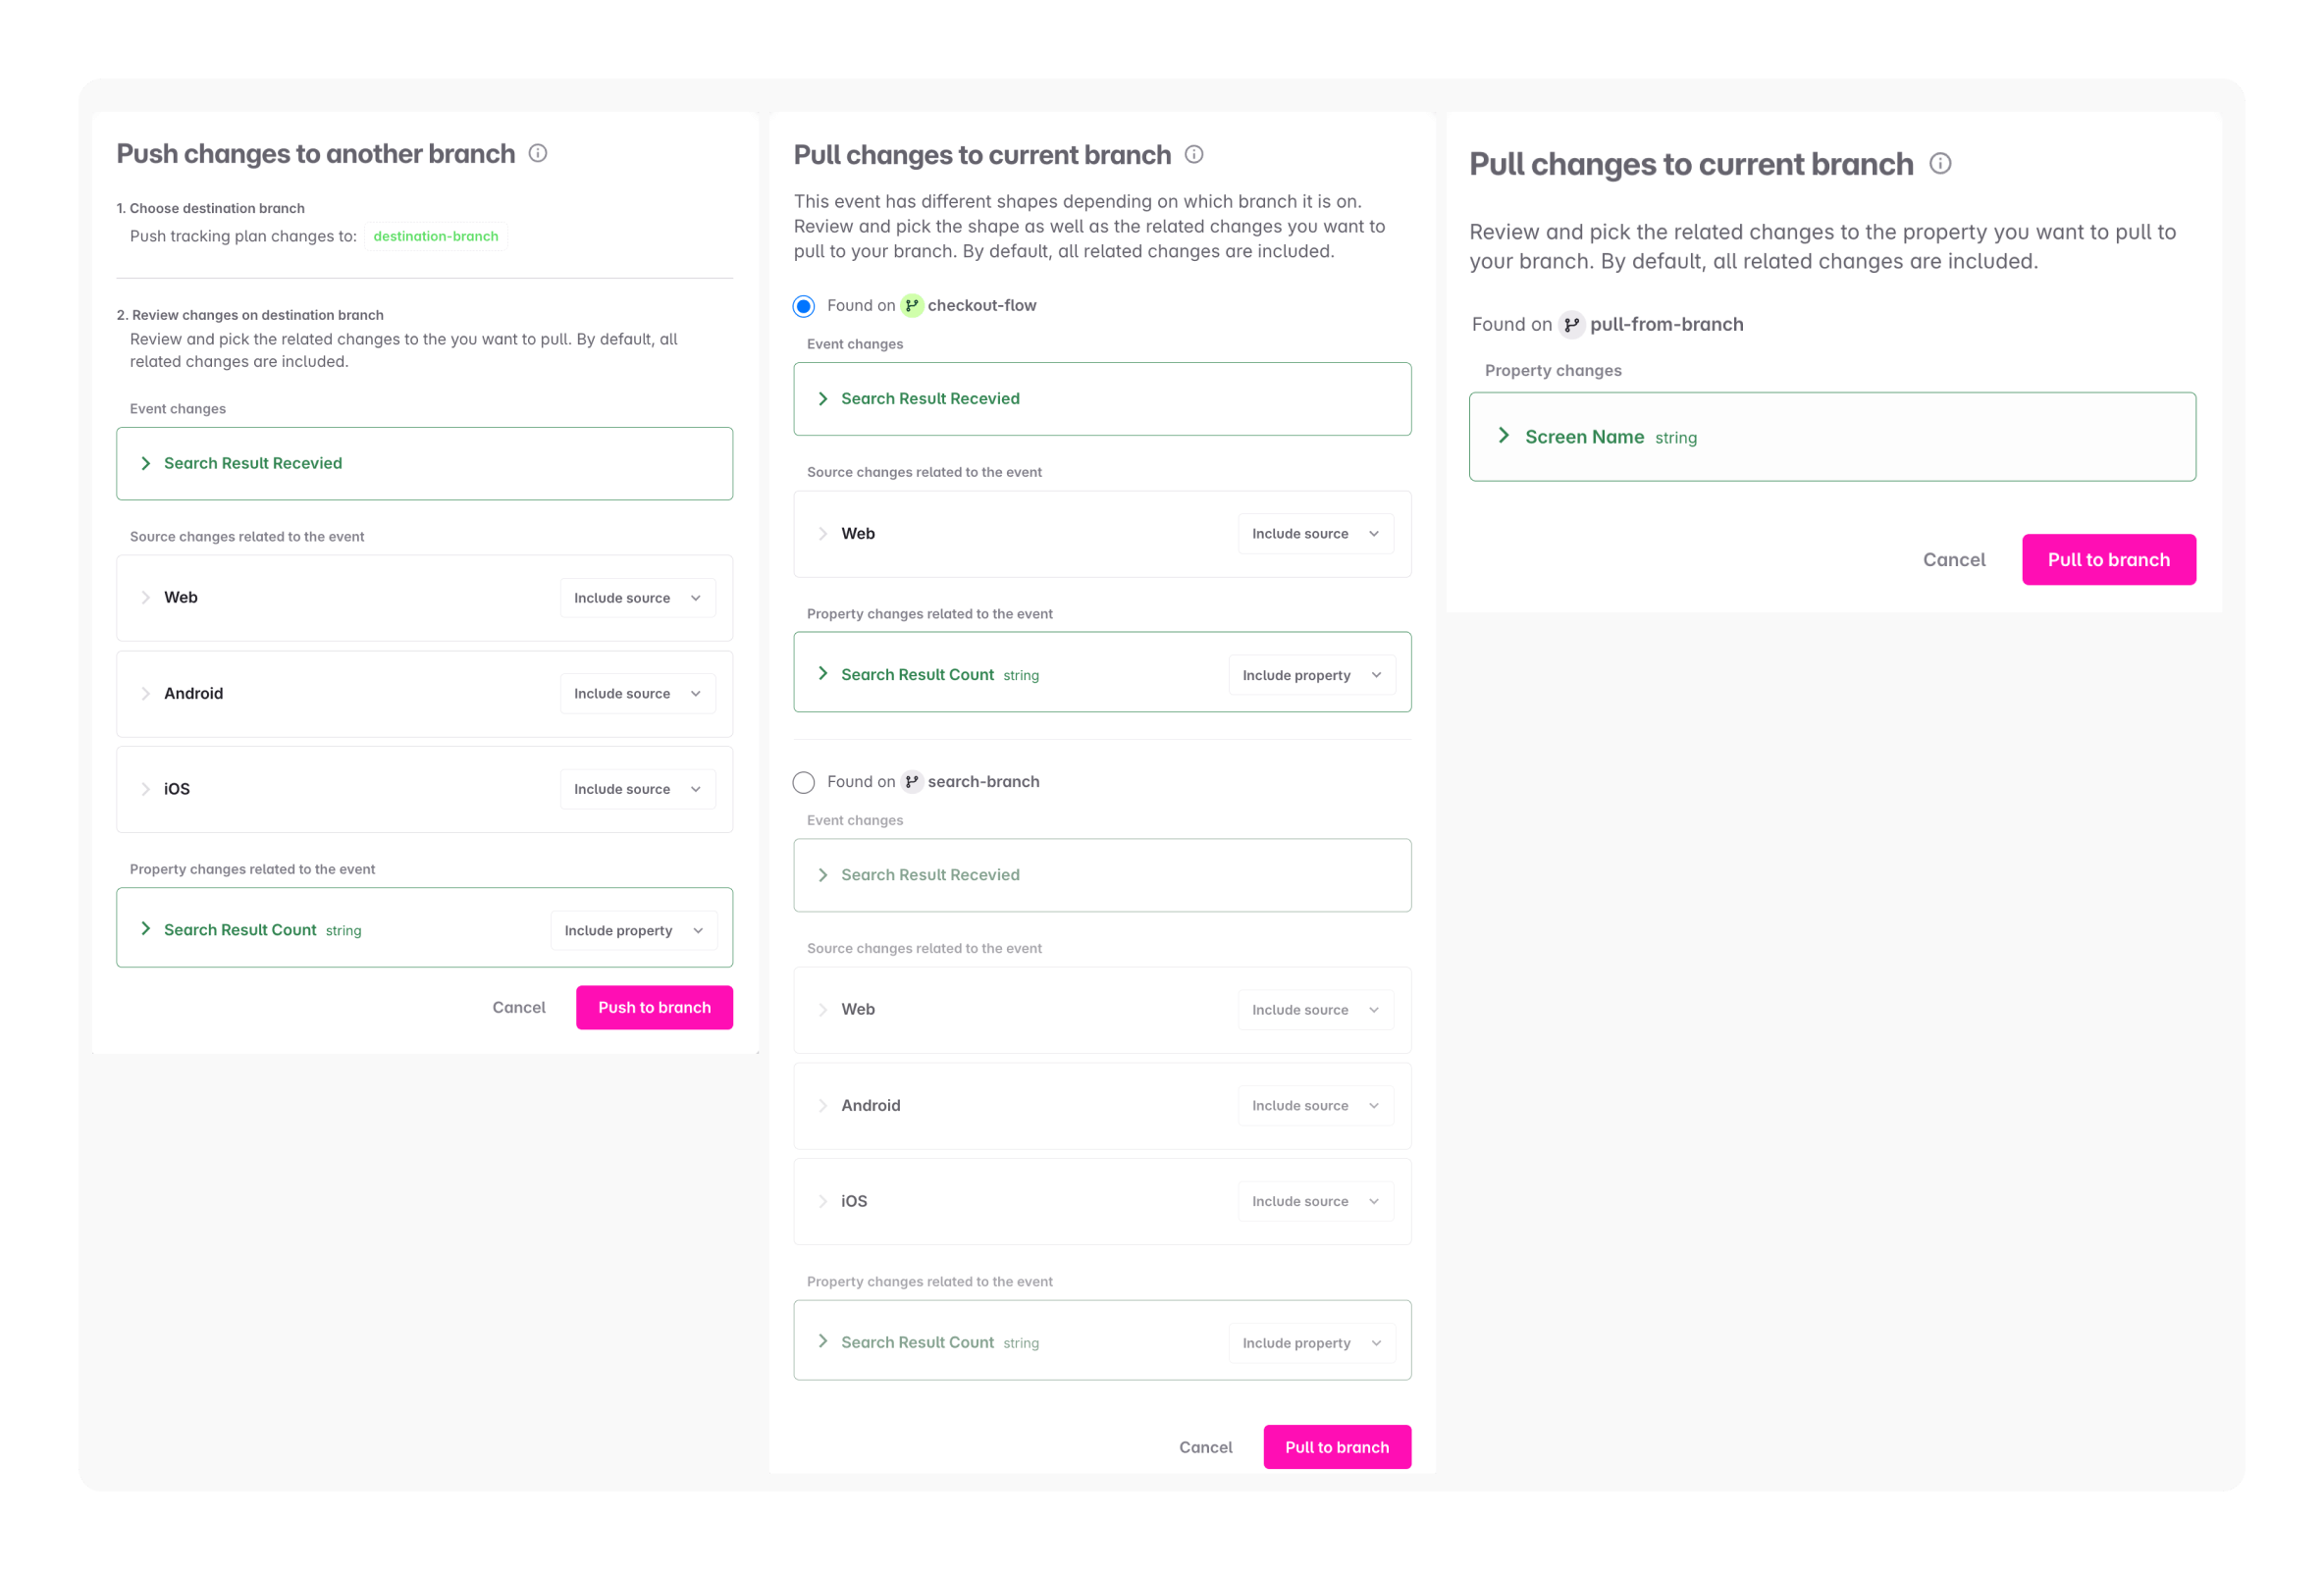
## Related changes
When pushing an event or property bundle, related changes (e.g. sources, destinations, properties, property groups) are shown in the review modal.
By default, all related items and their changes are included. These options are configurable:
- New items not present on the destination branch: Can be included or excluded.
- Existing items not attached to the item on the destination branch: Can be included with or without changes, or excluded.
- Modified existing items: Can be included with or without changes.
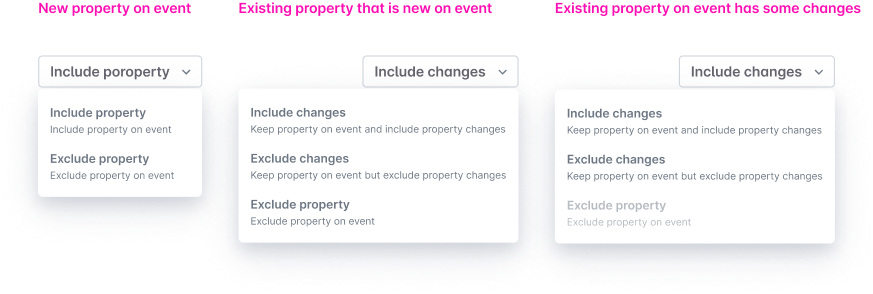
## Merging branches where items have been pushed or pulled
When either the source or destination branch is merged to main, the remaining branch is prompted to pull from main.
Since item IDs remain the same across branches, after merge it exist on main and therefore it is removed from the other branch.
However, any differences from the item on main will remain on the branch that has yet to be merged.
## What can be pushed and pulled and from where?
Currently supported items:
- Events
- Properties
- Property bundles
- Sources (available when pushing)
Pushing is available from:
- Tracking plan changes (via button on each eligible item)
Pulling is available from:
- In-context search in item details
- Adding a property to an event
- Adding an event to a property
- Adding an event to a metric
- Adding a property as a metric filter
- Global search (CMD+K and sidebar)
- Item creation modal
- Creating a new event (events view)
- Creating a new property (properties view)
- Creating a new property bundle (property bundle view)
## Use Cases for Pushing and Pulling
### Breaking down a large branch
It often happens when designing data, that a branch becomes quite big, containing a lot of event and property changes.
Then it's helpful to be able to split into smaller, manageable branches for easier review and implementation.
That is now possible by pushing items from the diff view to different branches.
The original branch will retain everything that is pushed, so if the branch is to be split in two branches, it may be good to push to two separate branches.
Then the original branch has an overview of all changes and the child branches are focused on their purpose.
### Staggered Team Implementation
Commonly, Avo branches need to be implemented by more than one team. In many cases, teams are not able to implement in parallel, so it can be helpful to break the branches down for each team.
Now this is possible for platform teams. If for example the iOS team is ready to implement first, then items with the iOS source can be pushed to another branch.
When pushing, other sources can be excluded from events and/or [property presence per source](../avo-tracking-plan/properties#configuring-when-properties-are-required-or-optional) can be adjusted.
Then the iOS team can implement for only the iOS source, merge the branch and the changes will remain for the other sources on the original branch.
When the next team is ready, their events can be pushed to another branch and so on.
### Reusing properties between open branches
Sometimes implementation of the branch blocks it to be merged to main and then the items that have been created on the branch can not be used on other branches.
Or sometimes different people are designing data for separate features in parallel and end up creating duplicate events on separate branches.
That happens because previously, Avo didn't surface items from other branches. But now items from other branches are surfaced in search and can be pulled to your branch.
---
Source: https://www.avo.app/docs/data-design/branches/workspace-notifications.md
# Branch Notifications
Keep track of branches in progress and prevent them to get stuck in the review process by setting up Slack notifications. Avo offers two types of branch notifications:
- **Workspace notifications** - Broad notifications about all branch activity sent to a single workspace channel
- **Stakeholder team notifications** - Targeted notifications sent to team-specific channels when branches impact their stakeholder items
Both notification types include real-time notifications for branch activity and review reminders for branches awaiting review.
## Workspace Notifications
Workspace notifications provide visibility into all branch activity across your workspace and are sent to a single Slack channel. Users who need to take action (such as reviewers) are @-mentioned in the notifications.
Workspace notifications include:
- **Real-time notifications** - Immediate alerts when branch events occur
- **Review reminders** - Periodic reminders for branches marked as "Ready for review" to prevent them from getting stuck
### Types of real-time workspace notifications
- **Branch status updates** - Status changes for all branches in the workspace
- Branch created
- Ready for review
- Approved
- Changes requested
- Merged
- Closed
- Reverted to draft
- Example: *Solvi approved the onboarding-funnel branch 🎉*
- **Comments:** – All comments made in the workspace, with Slack @-mentions for the member mentioned in the Avo comment
- New comment added
- Examples:
- *Solvi commented on the Account Created event on the onboarding-funnel branch: "@Stefania should we include the role property?"*
- *Stefania commented on the authentication config property on the main branch: "@Solvi should we have auto login as a property value here when we auto login the customer from the landing page?"*
- **Member involvement changes:** - All branch member involvement changes, with @-mentions for member being added or removed
- Branch reviewer added
- Branch reviewer removed
- Collaborator added
- Collaborator removed
- Example: *Stefania added @solvi as a collaborator on the onboarding-funnel branch*
### Review reminders
For branches marked as "Ready for review", Avo sends periodic reminder notifications to ensure they don't get stuck in the review process. These reminders:
- Are sent once a day to the workspace channel with @-mentions for the assigned reviewers for each branch
- Include a summary of how long the branch has been waiting for review
- Help maintain momentum in the approval workflow
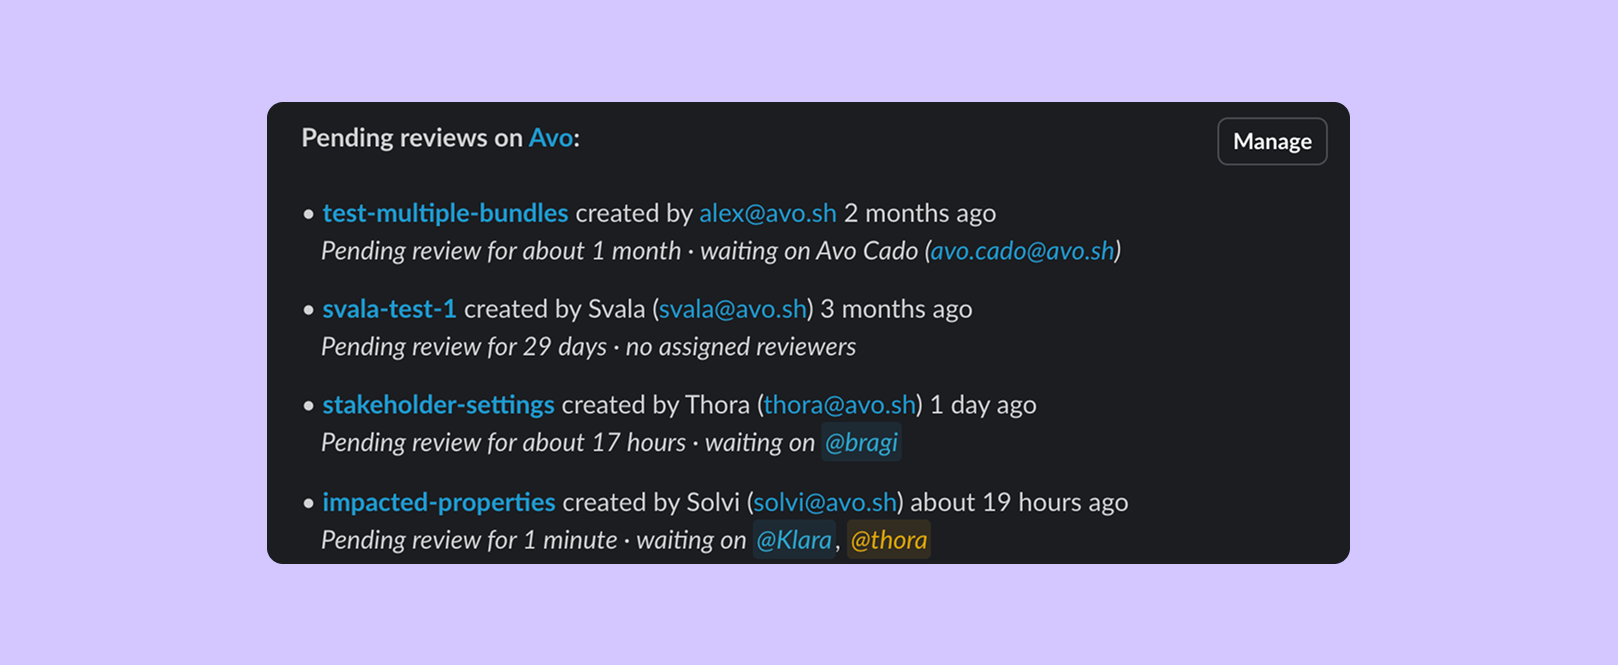
### Setting up and configuring workspace notifications
#### Setting up workspace notifications
1. Open **Workspace Settings** ⚙️ > **Slack Integration**
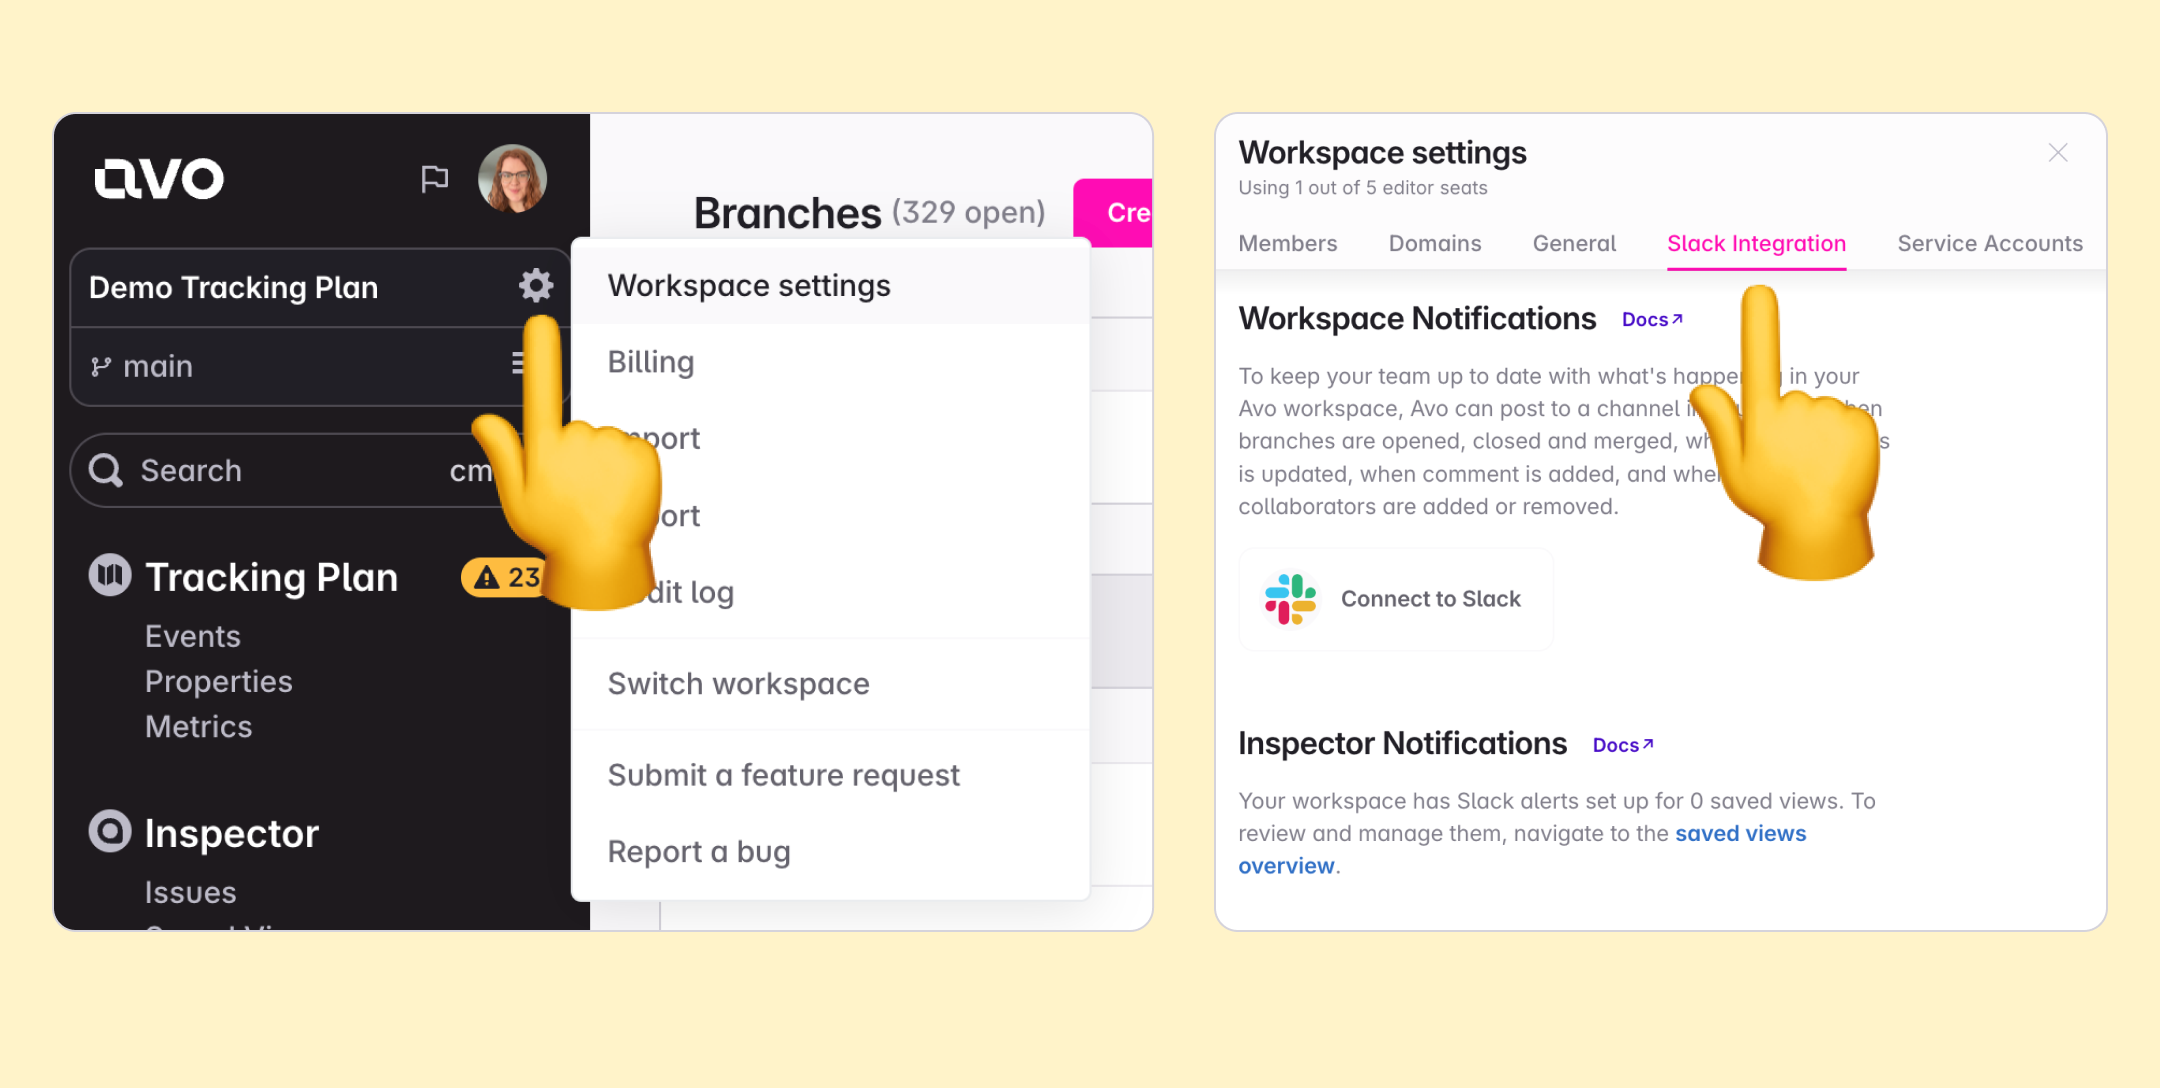
2. Select **Connect to Slack**
3. Follow the instructions in the popup from Slack, where you pick the channel you want to receive the notifications in. A confirmation message will be sent to the channel once connected.
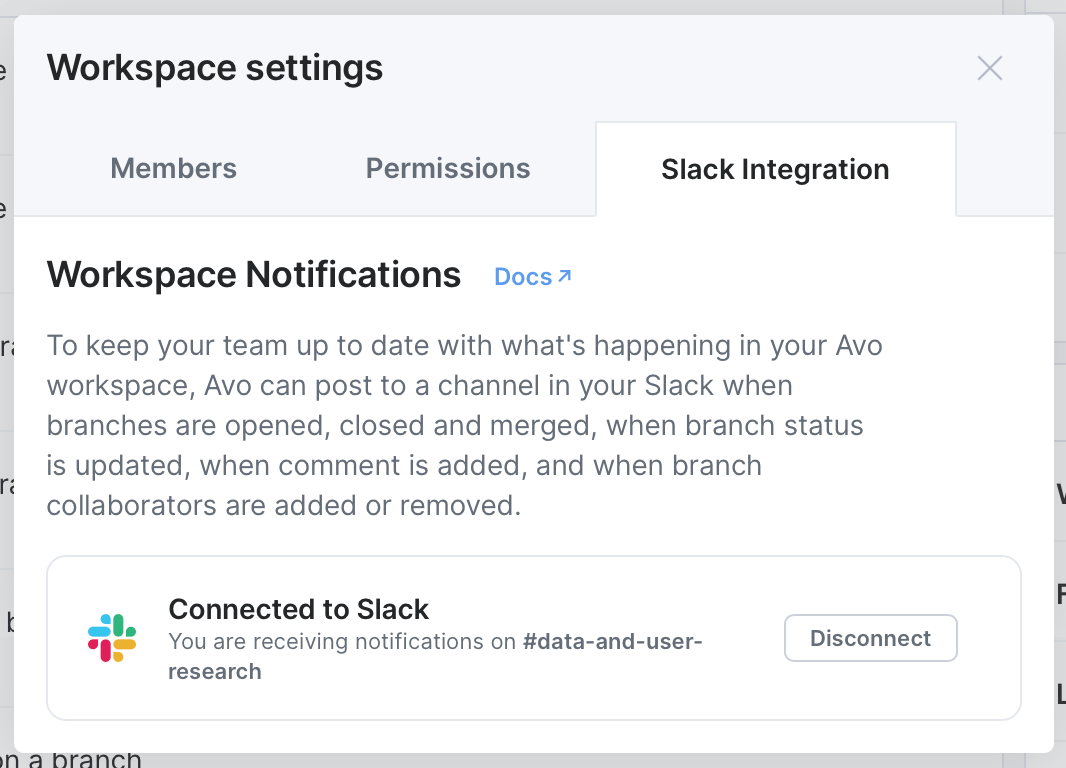
4. Save and enjoy!
#### Configuring review reminders
Review reminders can be configured in your workspace Slack integration settings:
1. Navigate to **Workspace Settings** ⚙️ > **Slack Integration**
2. Ensure your workspace is connected to Slack
3. Toggle on **Scheduled branch reminders**
4. Configure your reminder schedule:
- **Frequency**: Choose daily reminders or weekdays only
- **Time**: Set the specific time for reminders (e.g., 9:00 AM)
- **Timezone**: Select your team's timezone (e.g., Atlantic/Reykjavik)
The reminders will be sent at your configured time and include all branches that are currently pending review, helping ensure nothing gets overlooked.
## Stakeholder Team Notifications
Stakeholder team notifications are targeted alerts sent to team-specific Slack channels when branches contain changes that impact their stakeholder items (events, event variants, and properties) based on each [stakeholder team settings](https://www.avo.app/docs/workspace-management/domains.md#stakeholder-team-settings). Team members who need to take action are @-mentioned in the notifications.
### How stakeholder notifications work
Stakeholder team notifications include:
- **[Real-time notifications](#types-of-real-time-stakeholder-notifications)** - Immediate alerts when branches impact the team's stakeholder items
- **[Review reminders](#review-reminders-for-stakeholder-teams-coming-soon)** - Periodic reminders for branches awaiting review from the stakeholder team
- **[Issue notifications](https://www.avo.app/docs/inspector/inspector-slack-alerts.md)** – Alerts on issues impacting events a stakeholder team owns or is a stakeholder in (see use cases in the [Inspector Alerts for Slack Page](https://www.avo.app/docs/inspector/inspector-slack-alerts.md#inspector-alerts-for-slack-use-cases))
Stakeholder notifications are triggered based on the relationship between the stakeholder team and the items being modified and the [stakeholder team settings](https://www.avo.app/docs/workspace-management/domains.md#stakeholder-team-settings):
- **As impacted owner** - Notifications when the team owns items being modified in a branch
- **As impacted stakeholder** - Notifications when the team is assigned as a stakeholder to items being modified
- **As stakeholder reviewer** - Notifications when the team is manually added as a branch reviewer
The notifications are sent to the team's designated Slack channel and only include information about branches that impact their specific stakeholder items.
### Types of real-time stakeholder notifications
Unlike workspace notifications that cover all branch activity, stakeholder notifications are triggered for branches that impact the team's stakeholder items:
- **Branch status updates** - Status changes for branches that impact the team's stakeholder items
- Branch created
- Ready for review
- Approved
- Changes requested
- Merged
- Closed
- Reverted to draft
- Example: *The branch onboarding-funnel has been marked as approved. Stakeholder team Onboarding is an impacted owner of 3 events and 1 property.*
- **Comments:** – Comments made on branches that impact the team's stakeholder items, with Slack @-mentions for the member mentioned in the Avo comment
- New comment added
- Examples:
- Solvi mentioned a stakeholder team member on the branch onboarding-funnel: "@Stefania should we include the role property?"
- **Member involvement changes:** - The stakeholder team is added or removed as a reviewer on a branch, with @-mentions for team members who need to review
- Branch reviewer added
- Branch reviewer removed
- Collaborator added
- Collaborator removed
- Example: *Stefania asked @Solvi to review the branch onboarding-funnel. Stakeholder team Onboarding is an impacted stakeholder of 3 events and 1 property.*
### Review reminders for stakeholder teams (coming soon)
For branches that impact a stakeholder team's items and are awaiting their review, Avo sends periodic reminder notifications to team-specific channels based on the stakeholder notification settings. These reminders:
- Are sent once a day to the stakeholder team channel with @-mentions for the assigned reviewers for each branch
- Focus only on branches that impact the team's stakeholder items
- Include context about which specific items impact the stakeholder team
- Help ensure stakeholder teams don't miss reviews for changes affecting their stakeholder team
- Are configured according to each stakeholder team's individual settings
### Setting up and configuring stakeholder team notifications
#### Setting up stakeholder team notifications
1. Navigate to **Workspace Settings** ⚙️ > **Stakeholders**
2. Select the stakeholder team you want to configure
3. In the **Slack notifications** section, connect a Slack channel to the team
4. Configure notification preferences in the stakeholder team settings for each scenario:
- **As impacted owner** - Choose notification preferences when the team owns items being modified
- **As impacted stakeholder** - Choose notification preferences when the team is a stakeholder in items being modified
- **As stakeholder reviewer** - Choose notification preferences when manually added as a reviewer
Available options include:
- **Automatically add as required reviewer** - Team is added as required reviewer and receives notifications (Enterprise plan)
- **Notify in stakeholder Slack channel** - Team receives notifications without being required to approve
- **Do nothing** - No automatic action or notifications
#### Configuring stakeholder team review reminders
Review reminders for stakeholder teams are configured as part of each team's individual stakeholder settings, not at the workspace level:
1. Navigate to **Workspace Settings** ⚙️ > **Stakeholders**
2. Select the stakeholder team you want to configure
3. Configure the team's notification preferences for each scenario:
- **As impacted owner** - When the team owns items being modified
- **As impacted stakeholder** - When the team is a stakeholder in items being modified
- **As stakeholder reviewer** - When manually added as a branch reviewer
Teams that choose "Automatically add as required reviewer" or "Notify in stakeholder Slack channel" will receive review reminders according to their configured preferences.
Learn more about stakeholder team settings in [Managing Stakeholder Teams](https://www.avo.app/docs/workspace-management/domains.md#stakeholder-team-settings).
### When to use each type
- **Use workspace notifications** for general visibility into all branch activity across your workspace, with real-time alerts and review reminders ensuring actionable items don't get missed
- **Use stakeholder team notifications** for targeted alerts when specific teams need to be aware of changes impacting their domain, with focused review reminders for team members who need to review or approve
- **Use both together** for comprehensive notification coverage - workspace notifications for general awareness and stakeholder notifications for targeted team involvement, both with real-time alerts and smart review reminders to keep branches moving through the approval process
## What's next?
- [Managing Stakeholder Teams](https://www.avo.app/docs/workspace-management/domains.md) - Learn how to configure stakeholder team settings and notification preferences
- [Approval Workflows](https://www.avo.app/docs/data-design/branches/approval-workflows.md) - Understand how stakeholder teams can be automatically added as required reviewers
- [Stakeholders](https://www.avo.app/docs/data-design/avo-tracking-plan/stakeholder-domains.md) - Learn about assigning stakeholder teams to tracking plan items
---
Source: https://www.avo.app/docs/data-design/collaboration.md
# Getting started to collaborate in Avo
## Commenting
All the individual items in your Avo Tracking plan can be commented on.
You can comment on events, properties, metrics, integration and many more!

_Look for comment input fields like this one_
Note that your comments live on the branch you are on when making the comment. Then, when the branch is merged, they become available on the main branch. That means all discussions will always be available for future reference.
### Commenting during branch review
When reviewing a branch comments are brought to the highlight on the `Review` screen.
_Press the button on the right to add a comment_
### Collaborating in comments
Avo has a concept called collaborators. All collaborators of the item on which the comment is made will get notifications about that comment.
You can add someone as collaborator to any item by @-mentioning that person.
You can also use `Edit Collaborators` button to add or remove collaborators.
_You can edit the list of collaborators after pressing the Edit Collaborators button_
Notice that when you @-mention someone they will automatically appear in the collaborators list.
Learn more about the collaborators feature in out [collaborators blog post](https://www.avo.app/blog/introducing-branch-collaborators).
## What's next?
Now when you when you know how to discuss your changes in Avo it's time to learn about [the review options](https://www.avo.app/docs/data-design/collaboration.md).
---
Source: https://www.avo.app/docs/data-design/best-practices/defining-descriptive-events-and-properties.md
# Defining descriptive events and properties
When designing good event structures it's important to create a common understanding of meaning between the data designer, the data consumer and the instrumenting developers. This is for example to avoid duplicates of events and properties and an event being sent at different times between platforms.
A few things to consider:
## Naming conventions for events and properties
When defining events and properties, Avo recommends sticking to a naming
convention and using the same words in all definitions. Consistency is the key
to avoid duplicates and be able to easily find events and properties in your
analytics tool. When signing up to Avo, example events and properties are
created for you according to the industry chosen - with our recommended naming
convention.
The **Avo Naming Assistant** helps you to avoid duplicates and be consistent in your casing and when
selecting or changing event and property names. Note that some analytics tools
require specific casing for events or properties.
[▶ Watch video](https://www.avo.app/docs/images/best-practices/descriptive-events-and-properties/naming-assistant.mp4)
### Events
A naming convention for events is comprised of three parts; 1/ order of objects and
actions, 2/ tense and 3/ casing. Avo recommends the following convention:
- Order of objects and actions: _object-action_
- Tense: _past tense_
- Casing: _title case_
All other naming conventions are supported and no matter which one you choose,
we recommend that you try to stick to it.
Examples of events in the recommended naming convention:
- Signup Completed
- Cart Updated
- Message Sent
- Game Started
### Properties
A naming convention for properties is not as predictable as for events. As with
events, casing and using the same words to describe things is important. We also recommend to be explicit about the property names to avoid misunderstanding to which value they describe.
#### Event property examples
For example when creating a property that describes the number of passengers
many want to simply name the property "Passengers". But without context it’s
hard to understand what the property means; is it number of passengers, is it a
list of all the passengers or is at a boolean indicating if passengers were
selected or not? Therefore we recommend explicitly naming the property either "Number
of Passengers" or "Passenger Count" - or have a convention to shorten all number of properties to
something like "Num Passengers".
Another example is something that has perhaps a name, ID and a type. It can be tempting to create a property on the "Purchase Completed" event with the simple name "Product", as you want to know what product the user was purchasing. In that case it's hard to know whether the property is describing the product name, it's ID, the type or something else. There for we recommend naming properties explicitly what they refer to;
- "Product Name"
- "Product ID"
- "Product Type"
#### User property example
Often user teams like to track event and user properties that have the same name. We generally recommend avoiding that because of two reasons:
1. It's confusing to have two properties with the same name in many analytics platforms and one can be mistaken for the other, leading to a chart with not the desired results
2. Event and user properties do not describe exactly the same value. Event properties describe the exact value at the time that the event was sent, but user properties generally describe the latest value.
- For example on the "UTM Medium" might be "Facebook" at the time that the user performed the "Signup Started" event and the user property would then be updated to "Facebook" as well. But when the user come back, the "UTM Medium" property can be a totally different one and the user property would be updated accordingly, for example to "Google". In this case, the user property is describing the latest UTM Medium and we would recommend naming the user property accordingly: "Latest UTM Medium".
## Descriptions for events and properties
Events and properties with a descriptive name get you far to create a common understanding on what they mean. However, often the name itself does not contain all the information required to know exactly when the event is sent or what the value of the property is. Then descriptions are useful, and we recommend adding descriptions to all new events and properties to prevent misunderstanding.
### Events
For [events](https://www.avo.app/docs/data-design/avo-tracking-plan/events.md#event-definition) we recommend adding a description to an event with all the information required for a developers to trigger an event by the same user action for all code paths, platforms and products.
For example for the "Purchase completed" a good description would be: _Event sent when the client receives a successful response when a user has completed a purchase._
This is to avoid a situation where for example an Android developer sends the "Purchase Completed" event when a user taps a purchase button and an iOS developer sending the same event when the client gets a response from the server about the purchase being successful. In this case iOS would include all purchase attempts, successful or not, while Android only includes successful ones.
### Properties
For properties we recommend adding a description to supplement the event name - that describes exactly which value is in the property so that the developers know what value to send and the data consumer knows for sure what it means.
For example for a "Search Result Position" property on a "Search Result Clicked" event the property name is pretty descriptive on what it means, but still further information is required to know exactly which value it's referring to. A good description in this case would be: _Which search result the user selected. 1 for the top search result, 2 for the one below and so on._
## Property constraints
[Property constraints](https://www.avo.app/docs/data-design/avo-tracking-plan/properties.md#property-types-and-constraints) are very useful to ensure that the correct spelling or allowed numerical
values are sent with the event.
We recommend using property constraints whenever possible, specifically in cases when:
- **Limited set of strings are possible for the property**.
- "Authentication Method" can only be "Facebook", "Google" or "Email" for all code paths, platforms and products. No risk of Android sending "facebook", iOS sending "Facebook" and web sending "FB"
- **Numerical value can not be lower and/or higher than some value**:
- "Search Result Position" can never be lower than 1 so it has a minimum value 1. No risk of iOS starting count on 0 and Android on 1 or accidental negative values.
---
Source: https://www.avo.app/docs/data-design/best-practices/global-namespace.md
# Global Namespace
_Global namespace for events and properties_
This guide is a part of our Avo Design Decision series, and it covers our decision for this:
> 👉 Avo has a **global [namespace](https://en.wikipedia.org/wiki/Namespace)** to
> ensure that **all events and properties in the tracking plan have unique
> names** that they can be easily identified.
Data design is a rising skill. Please check out our guide on [Naming conventions of events and properties](https://www.avo.app/docs/data-design/best-practices/naming-conventions.md).
Naming inconsistencies often arise either during the "data design" step, not only implementation step. This is particularly true as product organizations scale up and multiple teams contribute to the tracking plan. (It's difficult enough to remember all the events you _yourself_ created, let alone be aware of all the events other people have created).
Having a global namespace for all events and properties allows Avo to support people in various ways in designing better data.
For example:
1. Avo **prevents creating a duplicate event** whose only difference from an existing event is the _casing_. Same for property names.
For example: Avo won't allow you create a `signupStart` event if `SIGNUP_START` already exists:
2. Avo **_nudges_ you if you try to create an event in a casing that contradicts** your tracking plan casing convention. Same for property names.
For example: if the convention is `snake_case` and you type in `gameStarted` in the event creation modal, Avo will suggest the right casing to you before you create the event:
3. Avo **_nudges_ you if you try to create an event with similar words as an event that already exists**.
For example: if you try to create `UPDATE_EMAIL` while `EMAIL_UPDATE` already exists.
4. Avo **_prevents_ you from creating properties with slightly different meaning depending on which event** they are sent from.
This is a source of many confusions for the "data consumers" (analysts, PMs, whoever is digging into the data).
For example, the data consumer may be used to `player_id` meaning _"id of the current player"_, but then all of a sudden a new event gets created with `player_id` referring to the opposing player. 🤯 The consequences are not only confusion, but also that the "normal" `player_id` property cannot be added to the new event. With a global namespace for properties, this cannot happen\*.
> 💡 Avo provides workarounds to bypass this, in case you have existing tracking
> that requires support for this. Email support@avo.sh for more info.
5. Avo **_enforces_ mutually exclusive property names for event properties and user properties**.
For example, if you have a **_user property_** called `player_id`, you won't be able to create an **_event property_** called `player_id`.
Why does this matter? Because "**_user properties_**" typically update and overwrite a **_state of the user_** (often referred to as CRUD; create, read, update, delete), while **_"event properties"_** are specific only to the **_event they are attached_**. This means if you segment data by a user property, you are segmenting by the \*most-recently-known state of the **user\***, while if you segment data by an event property, you segment it by the \*at-the-time-of-the-event state of the **event\***. These are typically two different states. Segmenting by them can produce vastly different results, and it can be dangerously misleading if data consumers can't distinguish between these two.
For example: Let's say there is a **_user property_** called `role`, which is kept up to date to always represent the user's current role. Let's say someone creates a `payment method updated` event with an **_event property_** `role`, which represents the user's role at the time of the event. Then someone wants to verify that only admins have been able to update the payment method. If they segment `payment method updated` by the `role` **_user property_**, instead of the `role` **_event property_**, they will miss out on any cases where a user was able to modify the payment method as non-admin, as long as the user has been made admin since.
That's why Avo doesn't allow you to create **_event properties_** and **_user properties_** that have the same name.
---
Source: https://www.avo.app/docs/data-design/best-practices/groups.md
# Intro to Group analytics
> 💡 **Group analytics** is a terminology used in product analytics tools, that
> refers to grouping by unique product concepts other than unique users.
The concept of [grouping product analytics by unique _users_](https://www.avo.app/docs/data-design/avo-tracking-plan/properties.md#user-properties)
is well established. E.g. counting unique users who perform specific actions in your product,
or individual user retention. In addition to unique users, most products have other core concepts
to group by, such as _unique workspaces_, _unique chat channels_, _unique games_, etc.
Group analytics are supported by product analytics tools and CDPs like Segment, RudderStack,
Amplitude and Mixpanel. You can also do group analytics in a fairly straight forward
way in your data warehouse, as long as you provide the unique id of the respective concept
in the relevant context.
In this article we dive into [Managing Group Analytics](#managing-group-analytics)
in practice (functionality, consequences, use cases, how to manage), for each of the two main
types of group analytics:
- [Grouping users](#grouping-users)
- [Grouping events](#grouping-events)
## Grouping users
You can associate users with groups. Then that user profile, as well as every subsequent event associated with that user, will be attributed to the respective groups.
This is useful for example for B2B products, when each individual user of the product belongs to a company, and every action of that user should be attributed to that one company.
See further use cases and which analytics platforms support grouping users below in [Associate user with group](https://www.avo.app/docs/data-design/best-practices/groups.md#associate-user-with-group).
## Grouping events
You can associate events with groups without associating the user with a group. This is useful if you have product concepts where each user can perform actions in different groups.
For example if you have a chat app and want to analyze the performance of different channels.
See further use cases and which analytics platforms support grouping events below in [Associate event with group](https://www.avo.app/docs/data-design/best-practices/groups.md#associate-event-with-group).
## Managing Group Analytics
### Associate user with group
**Functionality**: This action will associate this user with a specific group ID in your downstream data.
This is supported by Avo, Segment, RudderStack, Mixpanel and Amplitude, and additionally you can use this method for your data warehouse via custom destinations in Avo.
[//]: # 'TODO [TO CONFIRM] Consequences: All future [todo confirm this applies to Mixpanel and Segment as well] events triggered with this user ID, will be available for group analyses such as calculating metrics based on unique groups.'
**Consequences**: All events triggered with this user ID will be available for group analyses. See [Amplitude](https://developers.amplitude.com/docs/javascript#user-groups),
[Mixpanel](https://developer.mixpanel.com/docs/javascript#group-analytics), [Segment](https://segment.com/docs/connections/spec/group/) and [RudderStack](https://www.rudderstack.com/docs/event-spec/standard-events/group/) docs.
**Use case**: For example, if you have a "Workspace" group, you can associate a user with a specific workspace, according to your internal workspace IDs.
This allows you to explore the workspace onboarding conversion rate, where different onboarding steps may be done by different users in the workspace.
**How to manage in Avo**: Add the "Update Group" action type to an Avo event. Then select which Groups to associate the user with.
### Associate event with group
[//]: # 'TODO [Does it associate GROUP METADATA with event?].'
**Functionality**: Associating an event with a group will associate that specific event with that specific group ID. It will not permanently update the group information or permanently associate this user with this group ID.
This is supported by Avo, Amplitude, Mixpanel, and additionally you can use this method for your data warehouse via custom destinations in Avo. This is not supported by Segment and RudderStack.
**Consequences**:
For Mixpanel and Amplitude: All events logged with a group will be available for group analyses such as calculating metrics based on unique groups. See docs for Mixpanel and Amplitude.
For your data warehouse: The events will have the Group ID associated with them. If you maintain a table with each group’s metadata (see [Update Group Properties section](https://www.avo.app/docs/data-design/best-practices/groups.md#update-group-properties)), you can additionally enrich your events with the current state of the group metadata. This will allow you to query your events by the historical state of the group metadata, as it was at the time of the event.
This is not supported by Segment and RudderStack.
**Use case**: You should log events with a group when you have product concepts where users can be associated with many groups through their lifetime.
_Example_: If you have "Branches" in your product, of which users can create many through their lifetime, then you can create a "Branches" group to understand the lifetime of a branch, for example time from branch open to branch closed, etc. Then, instead of permanently associating the user profile with a specific branch, you associate only the branch related events to specific branch IDs.
_Example_: If you have chat channels, you can log the “Message Sent” event with the “Channel” group and the specific channel ID, so you can do analysis of channels such as retention by channel (as opposed to retention by individual users).
**How to manage in Avo**: Add the "Log Event" action type to an Avo event. Then add the Group you want to associate this event with.
### Update Group Properties
Conceptually the group properties are quite similar to user properties. You can maintain group metadata, aka group properties, for the group IDs that you associate users or events with.
The first step is defining your groups ([group types and group ids](https://www.avo.app/docs/data-design/best-practices/groups.md#groups-terminology-across-platforms)). Then you can attach and update specific properties about the groups.
**Functionality**: This action will update metadata associated with a specific group (e.g. member count of a team). This is supported by Avo, Segment, RudderStack, Mixpanel and Amplitude, and additionally you can use this method for your data warehouse via custom destinations in Avo.
**Consequences**:
[//]: # 'TODO [TO CONFIRM] For Mixpanel and Amplitude: Future events associated with this specific group will have the updated metadata about the group available for filtering, segmentation, etc.'
For Mixpanel and Amplitude: Future events associated with this specific group will have the updated metadata about the group available for filtering, segmentation, etc.
For Segment and RudderStack: Note that you can not update group properties without associating the current user with that group. This means that when you update group properties, it will automatically associate the user permanently with this group.
For your data warehouse: If you’re using a custom destination to send data into your data warehouse, you can use Update Group Properties to update a table that maintains the current state of group metadata.
**Use cases**:
_Example_: If you have a "Workspace" group, and that workspace just added a new member, or upgraded their subscription plan. You can then update the group metadata (aka group properties) with the new member count or subscription plan, to view workspace retention segmented by e.g. their current subscription plan.
_Example_: If you have a “Company” group type, then group id could be “Microsoft”, with the group properties ”Location”: “Redmond”, “CEO”: “Satya Nadella” and “Employee Count”: “150 000 - 200 000”. When something changes, you can update the corresponding group property. For example in 2014 the Microsoft’s “CEO” property was updated from “Steve Ballmer” to “Satya Nadella”.
**How to manage in Avo**: Add the "Update Group" action type to an Avo event. Then select which Groups to associate the user with.
## Simplified groups terminology guide
This guide simplifies the understanding of group analytics across various platforms, focusing on Avo's "Group Types" and "Group Ids" and their equivalents in other tools.
### Key concepts
- **Group Types:** Categories for organizing groups, such as companies, branches, or chats.
- **Group Ids:** Unique identifiers for individual groups within a type, like specific company names or unique codes.
In Avo, groups are sorted by their type and each one is uniquely identified by an ID. For example in the “Company” group type you’d have group ids as identifiers of the companies, such as “Alibaba”, “Moderna”, “Company A” or "s5WLukvxA8". This organization method is prevalent in many analytics platforms. However, platforms like Segment and RudderStack identify groups solely by their IDs, without categorizing them into types.
### Leveraging group properties
Utilizing group properties is a powerful method for adding metadata to groups. This extra layer of information can enhance analytics by providing more context about each group, facilitating more detailed and targeted analysis.
### Equivalents across platforms
| Platform | Equivalent to Avo’s Group Type | Equivalent to Avo’s Group Id |
| ---------------------- | ------------------------------ | ---------------------------- |
| Avo | Group Type | Group Id |
| Amplitude | Group Type | Group Name |
| Mixpanel | Group Key | Group Id |
| Segment | - | Group Id |
| RudderStack | - | Group Id |
> 💡 The approach to group analytics varies across platforms. Some focus on unique identifiers without categorizing them into types, while the addition of group properties allows for enriched metadata, enhancing the understanding and analysis of group data.
---
Source: https://www.avo.app/docs/data-design/best-practices/naming-conventions.md
# Naming conventions
_Best practices and tools for naming conventions of events and properties_
Discrepancies in event and property names––seemingly minor (`game_started` and `gameStarted`) as well as major (`game_started` and `playButtonPress`)––are a surprisingly central pain point in data analytics; particularly when aiming for self-serve analytics culture.
## 1. Why is it useful to standardize naming convention in a tracking plan?
Because it:
1. **makes events more discoverable** (which is always important, but furthermore a prerequisite for self-serve analytics culture)
2. makes it easier and **faster to choose names** for things (which we know is notoriously difficult)
3. **reduces risk of duplicate versions of events names** (e.g. "start game" and "game started").
## 2. What does naming convention refer to?
Typically the following four things.
1. **Casing**
For example `snake_case` vs `camelCase` vs `Title Case` vs `lower case`
2. **Format**
The standard [sentence clause structure](https://en.wikipedia.org/wiki/Sentence_clause_structure) the company chooses, to refer to the user action. This can for example be
- `[object] [action]` (e.g. `game started` )
- `[action] [object]` (e.g. `start game` )
- `[context] [object] [action]` (e.g. `gameplay game start`)
- `[context] [action] [object]` (e.g. `gameplay start game`)
- etc.
3. **Tense**
The grammatical tense of the action in the event name. Typically these two:
- Past simple (e.g. `game started` )
- Present simple (e.g. `game start` )
4. **Set of allowed words**
For example "we always use `game` and never `match`"
## 3. How does Avo help with naming consistencies?
Inconsistent event names and property names can arise either during the "data design" step or the implementation step.
### 1. How Avo Codegen ensure consistent event and property names across platforms and code bases
**_What is Codegen?_** Codegen produces type safe code for implementing analytics. The "data designer" specifies the event structure in the Avo app, and which platforms should send the event, and then the developer who implements analytics can use Codegen per each analytics event.
For example, instead of Android calling `analytics.track("game started")` and iOS calling `analytics.track("gameStarted")` , they both call `Avo.gameStarted()`, and the Avo function takes care of the spelling of the event and property names as they get passed into the analytics SDK.
In other words, event and property naming is abstracted entirely away from the event implementation layer, ensuring that events and properties are named the same across all platforms, teams and code bases.
### 2. How Avo helps with better data design with global namespace
_Also covered in [Global namespace for events and properties](https://www.avo.app/docs/data-design/best-practices/global-namespace.md)_
As stated above, naming inconsistencies often arise either during the "data design" step, not only implementation step. This is particularly true as product organizations scale up and multiple teams contribute to the tracking plan. (It's difficult enough to remember all the events you _yourself_ created, let alone be aware of all the events other people have created).
> 👉 Avo has a **global namespace** to ensure that **all events and properties in
> the tracking plan have unique names** that they can be easily identified.
Having a global namespace for all events and properties significantly reduces duplicate event definitions for the same user action, and allows Avo to support people in various ways in designing better data. For example:
1. Avo **prevents creating a duplicate event** whose only difference from an existing event is the _casing_. Same for property names.
For example: Avo won't allow you create a `signupStart` event if `SIGNUP_START` already exists:

2. Avo **_nudges_ you if you try to create an event in a casing that contradicts** your tracking plan casing convention. Same for property names.
For example: if the convention is `snake_case` and you type in `gameStarted` in the event creation modal, Avo will suggest the right casing to you before you create the event:

3. Avo **_nudges_ you if you try to create an event with similar words as an event that already exists**.
For example: if you try to create `UPDATE_EMAIL` while `EMAIL_UPDATE` already exists.

4. Avo **_prevents_ you from creating properties with slightly different meaning depending on which event** they are sent from.
This is a source of many confusions for the "data consumers" (analysts, PMs, whoever is digging into the data).
For example, the data consumer may be used to `player_id` meaning _"id of the current player"_, but then all of a sudden a new event gets created with `player_id` referring to the opposing player. 🤯 The consequences are not only confusion, but also that the "normal" `player_id` property cannot be added to the new event. With a global namespace for properties, this cannot happen\*.
> \*_ Avo provides workarounds to bypass this, in case you have existing tracking that requires support for this. Email support@avo.sh for more info._
5. Avo **_enforces_ mutually exclusive property names for event properties and user properties**.
For example, if you have a **_user property_** called `player_id`, you won't be able to create an **_event property_** called `player_id`.
Why does this matter? Because "**_user properties_**" typically update and overwrite a **_state of the user_** (often referred to as CRUD; create, read, update, delete), while **_"event properties"_** are specific only to the **_event they are attached_**. This means if you segment data by a user property, you are segmenting by the \*most-recently-known state of the **user\***, while if you segment data by an event property, you segment it by the \*at-the-time-of-the-event state of the **event\***. These are typically two different states. Segmenting by them can produce vastly different results, and it can be dangerously misleading if data consumers can't distinguish between these two.
For example: Let's say there is a **_user property_** called `role`, which is kept up to date to always represent the user's current role. Let's say someone creates a `payment method updated` event with an **_event property_** `role`, which represents the user's role at the time of the event. Then someone wants to verify that only admins have been able to update the payment method. If they segment `payment method updated` by the `role` **_user property_**, instead of the `role` **_event property_**, they will miss out on any cases where a user was able to modify the payment method as non-admin, as long as the user has been made admin since.
That's why Avo doesn't allow you to create **_event properties_** and **_user properties_** that have the same name.
In addition to the support that's built into the Avo app, the Avo review workflow enables peer review, just like for code.
### 3. How Avo helps detect issues
The typical Avo customer has years of tracking in place when they start using Avo (and some analytics debt to pay down...). That is why Avo not only has prescriptive tools in place, but also ones that inspect and detect:
1. The **[Avo issue reporter](https://www.avo.app/docs/audit/overview.md) reports events that break casing convention** in your tracking plan casing:
So for example if you upload your current tracking plan in Avo, the issue reporter will highlight naming issues:
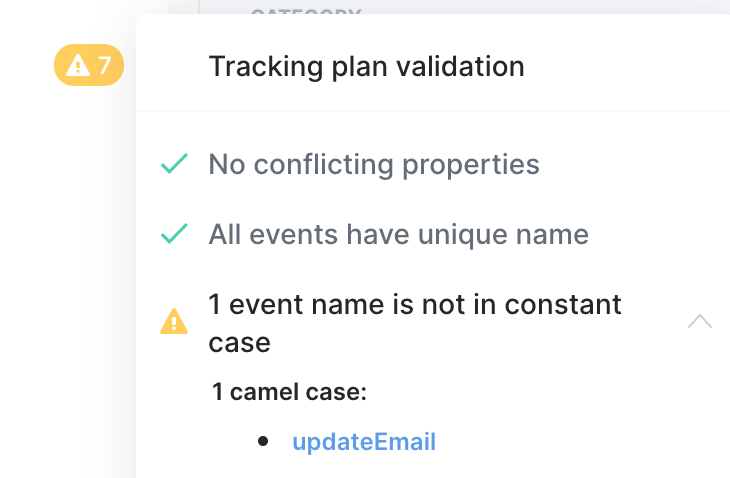
2. **[Inspector](https://www.avo.app/inspector) indicates "rogue" events and properties that don't match your tracking plan**
If an event or property name gets shipped that doesn't match your tracking plan\*, Inspector will tell you it doesn't match your tracking plan indicate that event as "rogue" event.
For example if `msg_sent` is defined in your tracking plan, but someone implements analytics for it without Avo Codegen, and ships `message_sent` or `msgSent`, then Inspector will show you those events, and indicate that they don't match the tracking plan.
> \*_ It's impossible to ship events or properties with names that don't match your tracking plan when you implement using Codegen, but, when companies adopt Avo, they often have multiple product teams and years of analytics tracking code in place._
1. For adoption, we recommend adopting Avo team by team (not flag-day switch-over for entire company). This means: While some teams will implement with type-safe Codegen, other teams and code bases will still implement "the old way". Which means, implementation errors will slip through 😅
2. For replacing old tracking code, we recommend the "scout rule"; always leaving the analytics code better than when you found it, and porting analytics code to Codegen as it makes sense.
3. Inspector **shows you all your tracked events**
This allows you to see duplicate events (and it's particularly easy for events that are in a similar location in the alphabet)
For example, if message sent is being tracked with `msg_sent` , `message_sent` and `msgSent`, you will see all of those versions and which sources they are coming from.
---
Source: https://www.avo.app/docs/data-design/guides/agentic-data-design.md
# Agentic data design (beta)
Agentic data design in Avo uses purpose-built AI agents to help you design analytics faster and with higher quality. Within the Journey builder, agents can propose triggers from screenshots and suggest reuse of existing events and variants, turning a documentation-heavy process into a guided, visual workflow.
Benefits:
- Speed up design by generating high‑quality starting points
- Reduce duplication by reusing existing events/variants
- Keep non‑experts productive with clear, visual suggestions that tie back to the tracking plan
> 🚀 Agentic features are in beta. Reach out at support@avo.app for access and feedback.
## Agentic data design types
Currently you can use AI to perform the following actions in the journey builder (more coming soon):
### Generate Journey Triggers
You can have AI analyze journey step screenshots for you and propose a [journey trigger](https://www.avo.app/docs/data-design/avo-tracking-plan/journeys.md#journey-triggers) name and description. That helps you quickly capture the exact interaction(s) to track on each screen and generate multiple triggers with a click of a button.

You can provide context for the AI in the following ways:
- Add a custom prompt to the AI menu above the step
- Connect journey steps to each other and then the AI will generate relevant triggers for each step based on the subsequent journey step(s)
### Reuse Events and Variants
You can have AI look up your tracking plan to [suggest existing events or variants](https://www.avo.app/docs/data-design/avo-tracking-plan/journeys.md#reuse-events-and-variants) that best match a trigger. This helps you prevent duplicate events and speeds up mapping triggers → events/variants. And enables those that don't know the tracking plan in and out to identify relevant events and variants.
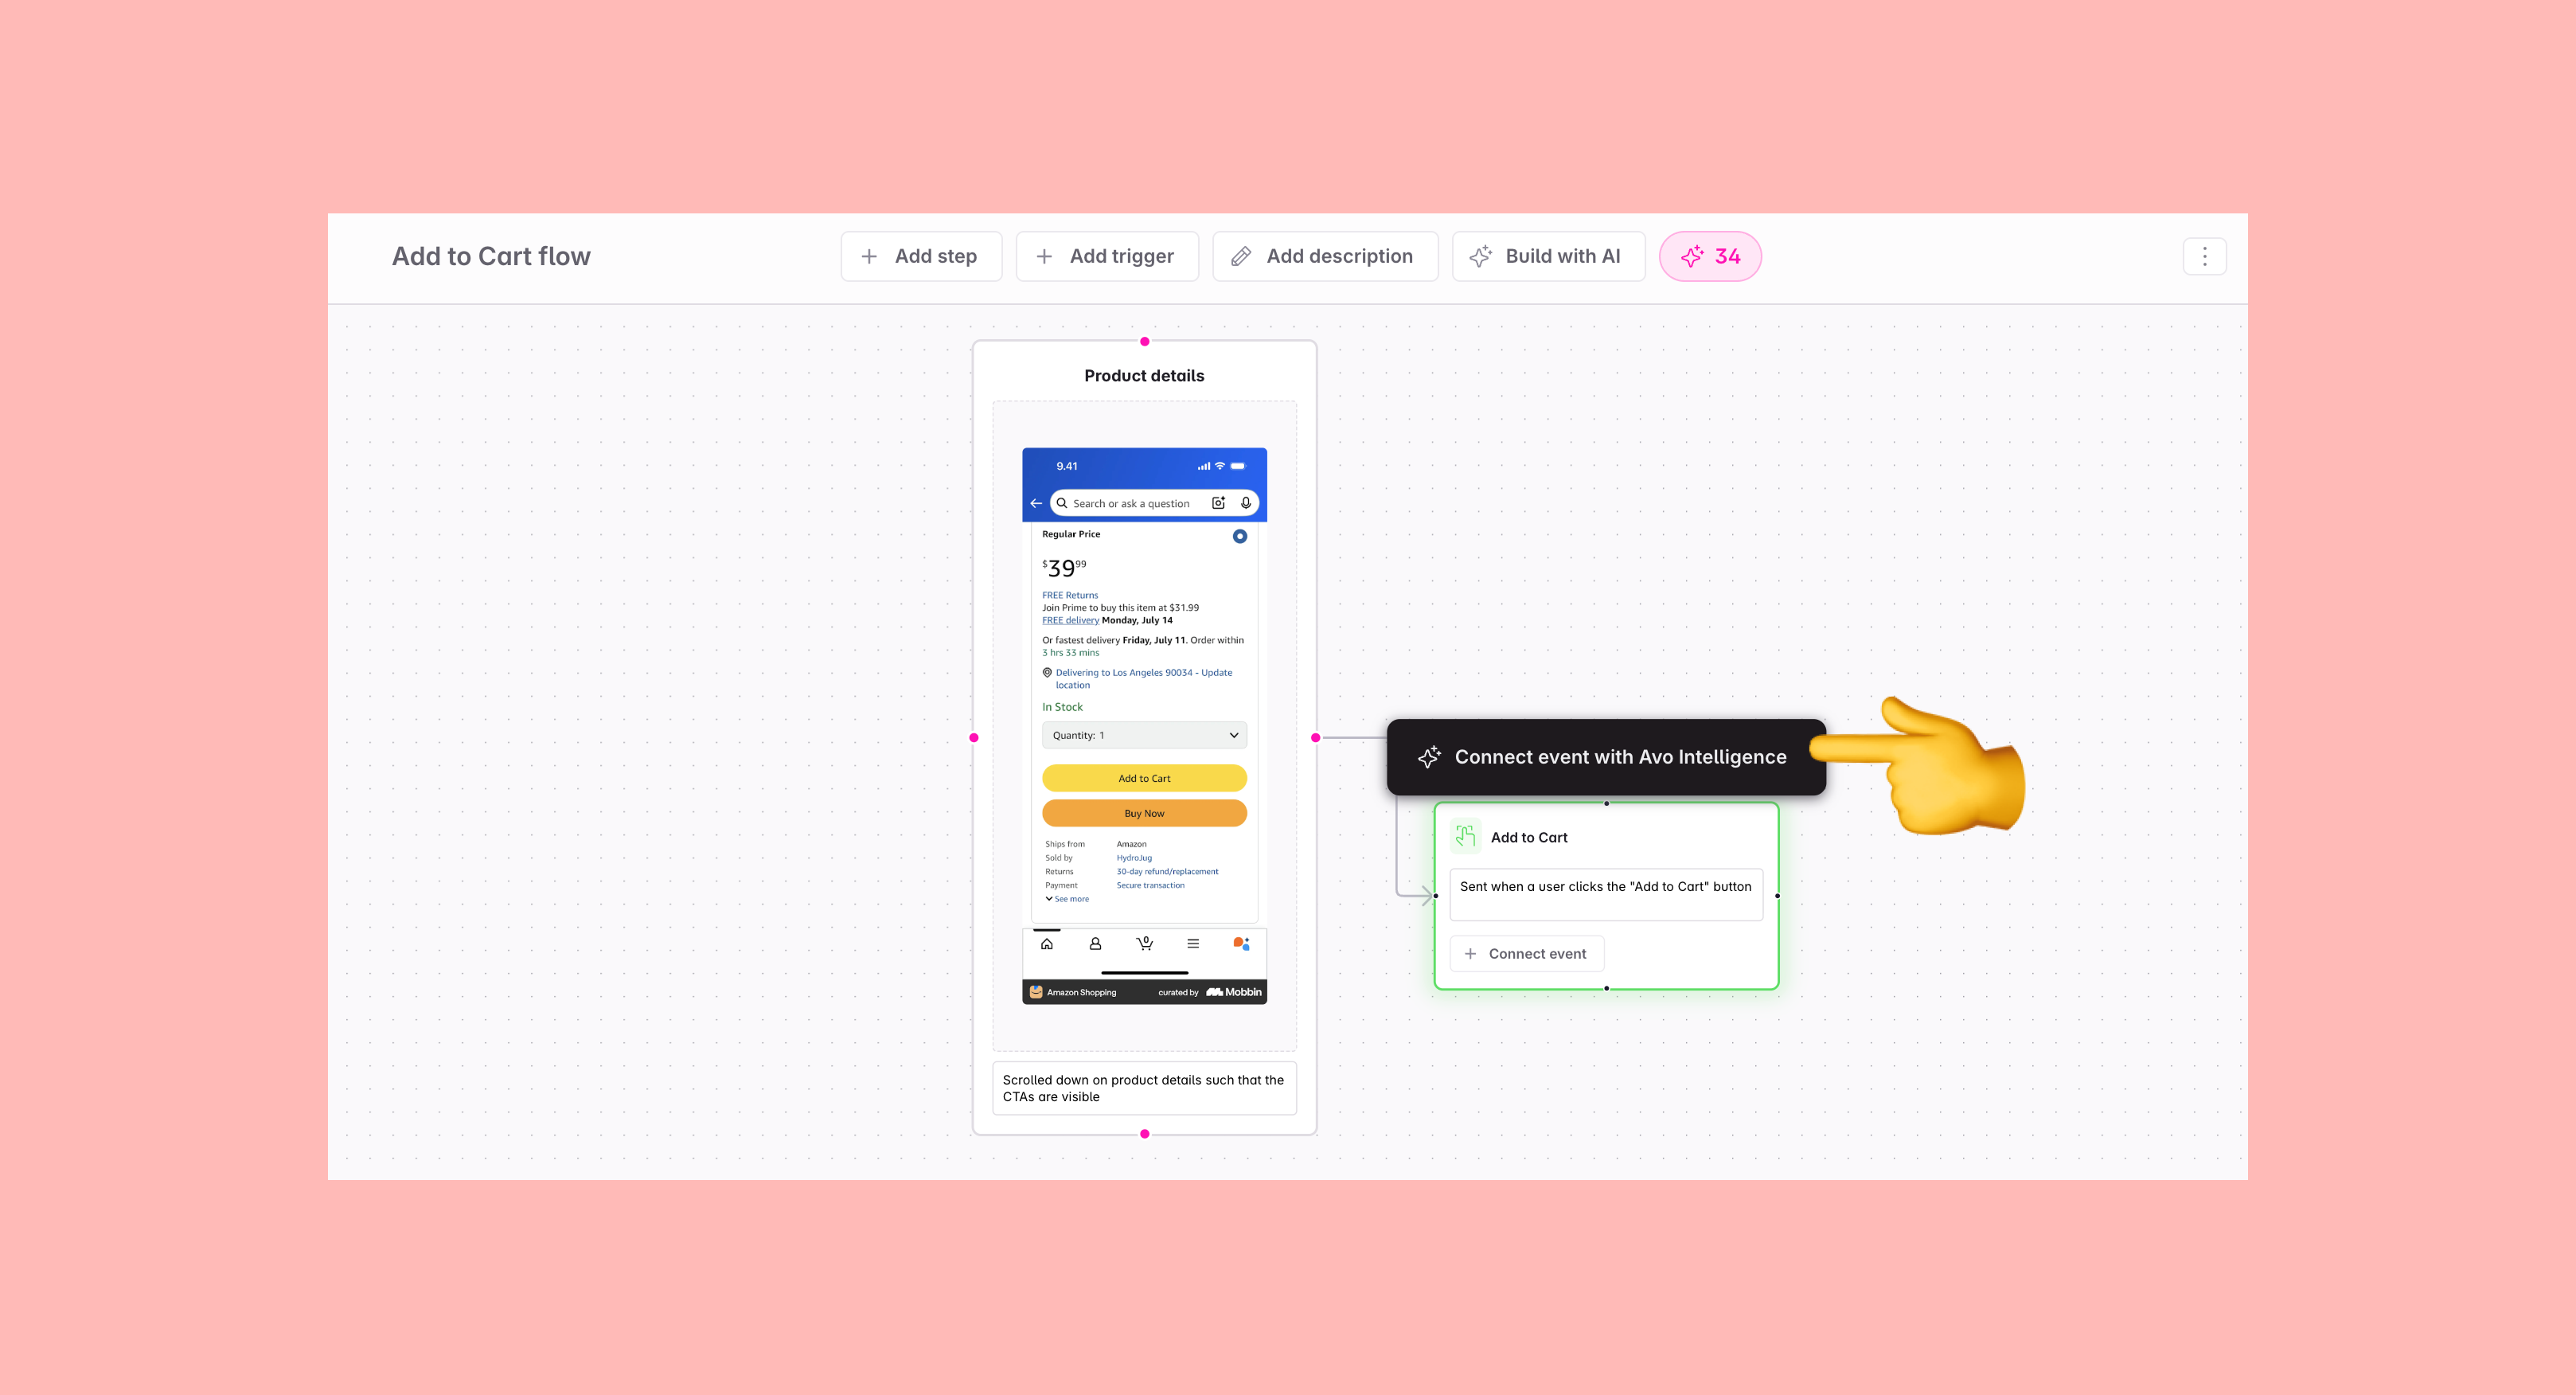
## AI credits and how they work
> 🚀 The pricing for agentic data design is simple during the beta. After the beta, we will announce the final pricing for agentic data design.
AI actions in the journey builder consume credits in the following ways:
- Generating triggers and choosing to keep them: 2 credits
- Successfully connecting a trigger to an existing event or variant: 1 credit
Additional details:
- Credits can be used for AI functionality inside the Journey builder
- During beta, every user in every workspace receives 50 credits to try agentic features
- You can view your current credit balance inside the Journey builder
- To top up credits, contact us at support@avo.app
> 🔒 Avo Intelligence powers agentic suggestions. See data handling details in [Avo Intelligence](https://www.avo.app/docs/reference/avo-intelligence.md).
---
Source: https://www.avo.app/docs/data-design/guides/archive-and-restore.md
# Archive and restore from archive
_In this guide we will learn how to archive items in your tracking plan, and restore already archived items_
In Avo you can archive items that you don't want in your tracking plan anymore. You can archive events, properties, property bundles, sources, destinations, categories, metrics and group types.
### How do I archive an item?
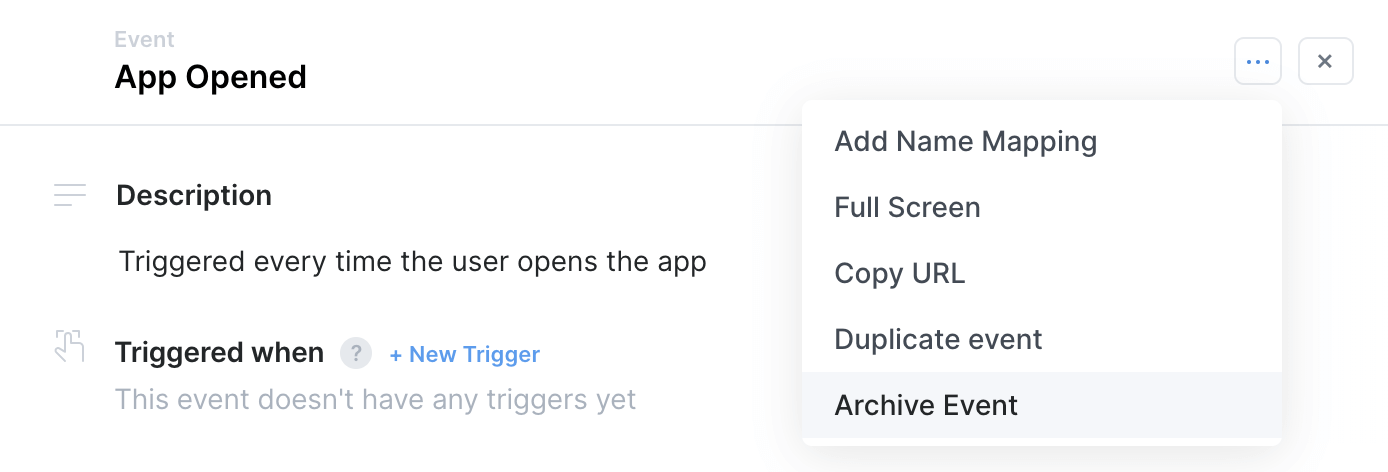
In the top right corner of the item you want to archive, click the `...` menu and select the "Archive ..." option.
### How do I unarchive an item?
When an item is archived it is moved from your tracking plan to an archive within your Avo workspace. Archived items can be browsed and un-archived from the Command Palette (cmd+k on Mac, ctrl+k on Windows), in your workspace Activity Log and on the branch review screen.
#### Unarchive from the Command Palette
1. Hit cmd+k on Mac, ctrl+k on Windows to open the Command Palette
2. Select Unarchive from the menu
3. Search for the name of the item you'd like to unarchive, or browse the archive by item type (event, property, metric, etc...)
[▶ Watch video](https://www.avo.app/docs/images/workspace/tracking-plan/command-palette-unarchive.mp4)
#### Unarchive from the Activity Log
1. Find the archive activity in [the Activity Log of your workspace](https://www.avo.app/schemas/default)
2. Click the `...` menu on the item and click "Restore"

#### Unarchive from the branch review screen
1. Navigate to the branch review screen on the branch the item was archived on
2. Click the `...` menu on the item and click "Restore..."
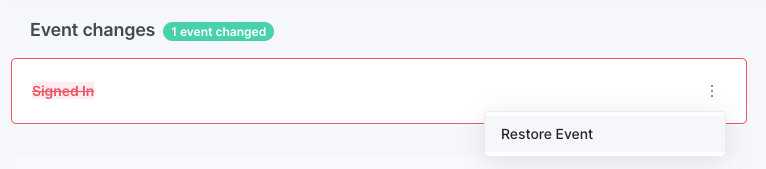
---
Source: https://www.avo.app/docs/data-design/guides/avo-as-solutions-design-document.md
# Avo as a Solutions Design Document (SDD)
This guide shows how to express an Adobe Analytics [Solution Design Document (SDD)](https://experienceleague.adobe.com/en/docs/analytics/implementation/prepare/solution-design), also known as [Solution Design Reference (SDR)](https://experienceleague.adobe.com/en/docs/analytics/implementation/prepare/solution-design), in Avo so it stays accurate, governed, and implementation-ready.
## What’s a solutions design document
A [Solution Design Document (SDD)](https://experienceleague.adobe.com/en/docs/analytics/implementation/prepare/solution-design), connects business requirements with technical tracking by defining what to measure, how to capture it, and how the data should appear in reporting.
An effective SDD includes:
- **Business requirements**: translating questions and goals into measurable KPIs
- **Metrics and events**: specifying the interactions to track
- **Dimensions and variables**: designing the data layer and mapping to Adobe variables (eVars and props) and rules for population
- **Governance and ownership**: ensuring clear responsibility for accuracy and maintenance
Without a well-structured SDD, implementations become inconsistent with duplicate data and misaligned with business objectives.
## Why use Avo as your SDD
Most SDDs live in static spreadsheets or documents that quickly become outdated. Using Avo transforms this into a collaborative, governed, single source of truth that is directly tied to implementation.
| Requirements | Avo SDD | Static SDD |
| ----- | ----- | ----- |
| **Single source of truth** | Centralized system for Adobe variable mappings and data structure design. Everyone works from one plan. | Scattered spreadsheets and files lead to inconsistency and confusion. |
| **Business-to-technical bridge** | Maps product flows and KPIs to Adobe Analytics metrics and dimensions, keeping purpose-first design in context. | Serves only as documentation; often drifts from reality. |
| **Governance and ownership** | Roles, permissions, and stakeholder teams enforce ownership for workflows and individual metrics/dimensions. | Ownership of the document only; variables are unmanaged. |
| **Change management** | Source-controlled schema with parallel updates, diffs, audits, and migration support. | Separate copies make changes hard to track; outdated versions cause errors. |
| **Quality enforcement** | Real-time validation and production alerts prevent typos, duplicates, and broken data. | Errors discovered after implementation lead to long periods of bad data. |
| **Implementation efficiency** | Detailed implementation instructions with code snippets and automatic implementation status. | Developers rely on unclear docs and manual status tracking. |
| **Scalability across teams** | Metric reuse across products and dimensions reuse across events support multi-brand/app setups. | Duplication and inconsistency across brands or platforms. |
The key “aha” for Adobe Analytics users: Avo defines your data layer once and maps it forward, ensuring consistency from business requirements through to Adobe reporting.
## Business requirements = journeys and metrics in Avo
Start with why. Define research questions, goals, and KPIs before creating data structures. Many teams begin by visualizing the user journey for a product update and identifying which actions matter most. Avo provides functionality to design and test journeys (available in alpha for early adopters).
Once the journey is clear, define the KPIs you expect the update to influence. In Adobe Analytics, metrics are usually single events that increase when triggered. In Avo, metrics describe how one or more events combine to measure success and how dimensions refine that measurement.
Avo currently supports four [metric types](https://www.avo.app/docs/data-design/avo-tracking-plan/metrics.md):
- **Funnel**: A series of events describing funnel steps, with optional property filters
- **Segmentation**: Analysis of single or multiple events, grouped or filtered by properties
- **Retention**: A “born” event followed by a “return” event, measuring how many users return after a first action
- **Proportion**: Comparison of two events, such as Event A divided by Event B
Metrics appear in the Metrics tab, as well as within event and variant details. This makes it clear why each event exists: it directly supports a goal.
## Metric building blocks in Adobe Analytics = Events in Avo
Most Adobe Analytics implementations rely on a data layer. Page and Custom Link events typically pull values from this layer to populate their variables. These are the building blocks of metrics that are analyzed in the Adobe analytics interface.
In Avo, both the data layer push and the Adobe Analytics event are defined as events. This allows you to document not only what is being tracked, but also how it is triggered. Events in Avo can contain multiple actions, so a single user, system, or navigation interaction can push values into the data layer and fire an Adobe Analytics event at the same time.
| Adobe Analytics term | AppMeasurement code call | Web SDK (alloy) code call | Avo term | Avo Action | Purpose |
| ----- | ----- | ----- | ----- | ----- | ----- |
| **Data Layer Push** | `adobeDatalayer`
`.push()` | `adobeDatalayer`
`.push()` or `sendEvent` | Event | [Push to Data Layer](https://www.avo.app/docs/data-design/avo-tracking-plan/events.md#push-to-data-layer-coming-soon) | Populates the data layer with variables. |
| **Page Event** | `s.t()` | `sendEvent` with `{"eventType": "web.webpagedetails`
`.pageViews"}` | Event | [Log Page View](https://www.avo.app/docs/data-design/avo-tracking-plan/events.md#log-page-view) | Tracks page loads, increments page view counts, and populates page-related dimensions. |
| **Custom Link** | `s.tl()` | `sendEvent` with `{"eventType": "commerce.action"}` | Event | [Log Event](https://www.avo.app/docs/data-design/avo-tracking-plan/events.md#log-event) | Tracks events that appear as metrics in Adobe reports, such as purchases, sign-ups, or downloads. |
*or a more specific action string your team standardizes for your Adobe Analytics implementation
### Setting up Adobe Analytics tracking calls as events in Avo
To create a new event in Avo for your Adobe Analytics tracking call:
1. Create a new branch in Avo
2. Go to the Events view and click “+ New Event”
3. Add a clear name and description for the event
4. Select the sources where the event should be sent (for example Web, iOS, Android, or backend)
5. Configure the actions:
- Keep **Log Event** for conversion events
- Add **Push to Data Layer** if values should be made available downstream
- Add **Log Page View** for page load tracking
- Remove the Log Event action if the event should not trigger it
6. Fill in other [event details](https://www.avo.app/docs/data-design/avo-tracking-plan/events.md#defining-events) and [assign ownership](https://www.avo.app/docs/workspace-management/domains.md#setting-item-ownership) to [organize your tracking plan](https://www.avo.app/docs/data-design/guides/organizing-metrics-and-events.md) and ensure accountability.
## Variables = Properties in Avo
In Avo, properties are defined once as attributes of events, independent of any specific tool. Adobe Analytics separates these into data layer variables (raw values made available by the product or application) and analytics variables (dimensions in reports such as props, eVars, merchandising eVars, and list variables). In Avo, all of these begin as event properties and are mapped to the correct Adobe variable type at implementation time, depending on the tracking call.
| Adobe Analytics term | AppMeasurement tracking call | Web SDK (alloy) Tracking call | Avo term | Description |
| ----- | ----- | ----- | ----- | ----- |
| **Data layer variables** | `adobeDatalayer`
`.push()` | `adobeDatalayer`
`.push()` or `sendEvent` with `{ "data": dataObject }` | Event property | Raw values made available by the product or application, often via a web or app data layer. In Avo these are defined as properties at design time, ensuring consistent naming and definitions across teams. |
| **Traffic variables (props)** | `s.t()` or `s.tl()` | `sendEvent` with `{ "data": dataObject }` | Event property | Hit-based dimensions tied only to the event where they are set. Typically used on page events. |
| **Conversion variables (eVars)** | `s.t()` or `s.tl()` | `sendEvent` with `{ "data": dataObject }` | Event property | Persistent dimensions that carry forward and tie to later conversion events. |
| **Merchandising eVars** | `s.t()` or `s.tl()` | `sendEvent` with `{ "data": dataObject }` | Event property | Specialized eVars for product attribution, used to tie product metadata to commerce events. |
| **List variables (listVars)** | `s.t()` or `s.tl()` | `sendEvent` with `{ "data": dataObject }` | Event property | Variables that allow multiple values to be stored in a single hit. |
### Setting Adobe Analytics variables up as properties in Avo
To create and/or add properties to events in Avo for Adobe Analytics:
1. Create a new branch in Avo
2. Open the event where you want to add a property
3. Click Add Event Property on the action where you want to add the property
- For data layer variables, add to the “Push to Data Layer” action
- For page variables (props), add to the “Log Page View” action
- For conversion variables (eVars), add to the “Log Event” action
4. Search for an existing property to reuse or click “+ New Property” to create a new one
5. Name the property with a clear, human-readable name and give it a description. Use “Campaign ID” rather than “eVar10” so the plan is understandable by both technical and non-technical users
6. Configure variable mappings
- If you manage mappings directly in Avo, use [name mapping](https://www.avo.app/docs/data-design/guides/name-mapping.md) to assign the property to the correct eVar or prop while keeping the semantic name in your tracking plan
- If mappings are handled in Adobe Launch, Tealium, or another tool, skip mapping in Avo but document the assigned eVar or prop number in the property description for clarity
7. Set [property value type](https://www.avo.app/docs/data-design/avo-tracking-plan/properties.md#property-types-and-constraints), [property constraints](https://www.avo.app/docs/data-design/avo-tracking-plan/properties.md#property-types-and-constraints) and [presence rules](https://www.avo.app/docs/data-design/avo-tracking-plan/properties.md#configuring-when-properties-are-required-or-optional)
8. Fill in other [property details](https://www.avo.app/docs/data-design/avo-tracking-plan/properties.md#property-definition)
[▶ Watch video](https://www.avo.app/docs/images/guide-avo-as-an-sdd/add-property.mp4)
#### Mapping to eVars and props in Avo
If you implement eVars and props directly using [variable overrides](https://experienceleague.adobe.com/en/docs/analytics/implementation/js/overrides) and do not map them elsewhere, you can manage the mapping in Avo with [name mapping](https://www.avo.app/docs/data-design/guides/name-mapping.md). You define how the property should be implemented in the s.t() or s.tl() call while keeping its human-readable name in the tracking plan.
Using Avo for mapping has three main advantages:
- **Single source of truth mapping**: Define the name mapping once, and it applies to every event where that property is used
- **Mappings overview**: The Properties view shows semantic property names alongside their mapped eVars and props
- **Search by mapped names**: Find properties by their semantic name or mapped Adobe references (eVar/prop)
#### Best practices for setting up properties in Avo
- Use human-readable names so properties are understandable to both developers and Adobe Analytics users
- Reuse existing properties rather than creating duplicates
- Apply constraints and presence rules to enforce correct usage
- Assign ownership and stakeholders for accountability
- Organize with categories and filters to keep large tracking plans discoverable
## Implementation in Avo: validation and automatic implementation status
There are [two ways to implement events in Avo](https://www.avo.app/docs/workflow/implement.md): by using your existing methods or by using [Avo Codegen](https://www.avo.app/docs/implementation/avo-codegen-overview.md).
Regardless of approach, developers get:
- A [code changes view](https://www.avo.app/docs/data-design/branches/code-changes.md) listing all Avo events affected by tracking plan updates, organized by source. For each Avo event, it provides a code snippet that clearly highlights the required changes.
- Automatic [implementation status](https://www.avo.app/docs/data-design/avo-tracking-plan/implementation-status.md) showing which Avo events have been implemented and whether they were implemented according to design
- [Validation tools](https://www.avo.app/docs/workflow/validate.md) that help both developers to validate their own implementation and QA teams or analysts to confirm that the implementation is according to design
### Existing implementation methods
Avo generates pseudocode snippets for events that are not implemented with Avo Codegen. These snippets show an example of how the event should be written in code.
For events where eVars and props are mapped directly in Avo, the snippet demonstrates the implementation with those mappings applied:
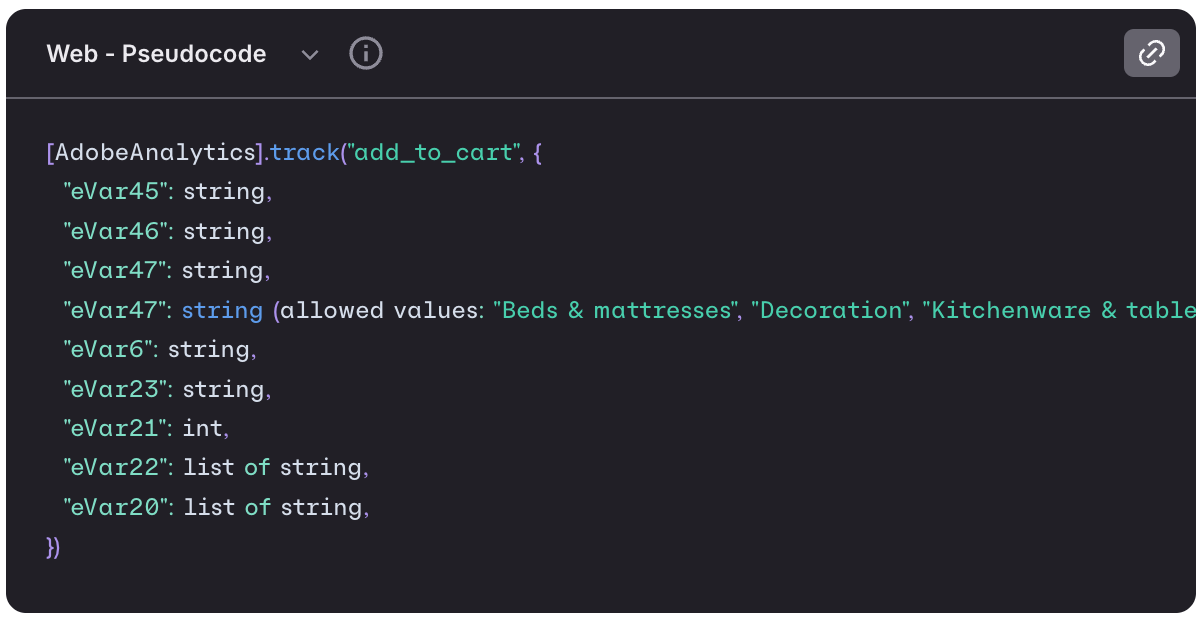
For events where eVars and props are mapped outside of Avo, the snippet shows the structure without those mappings:
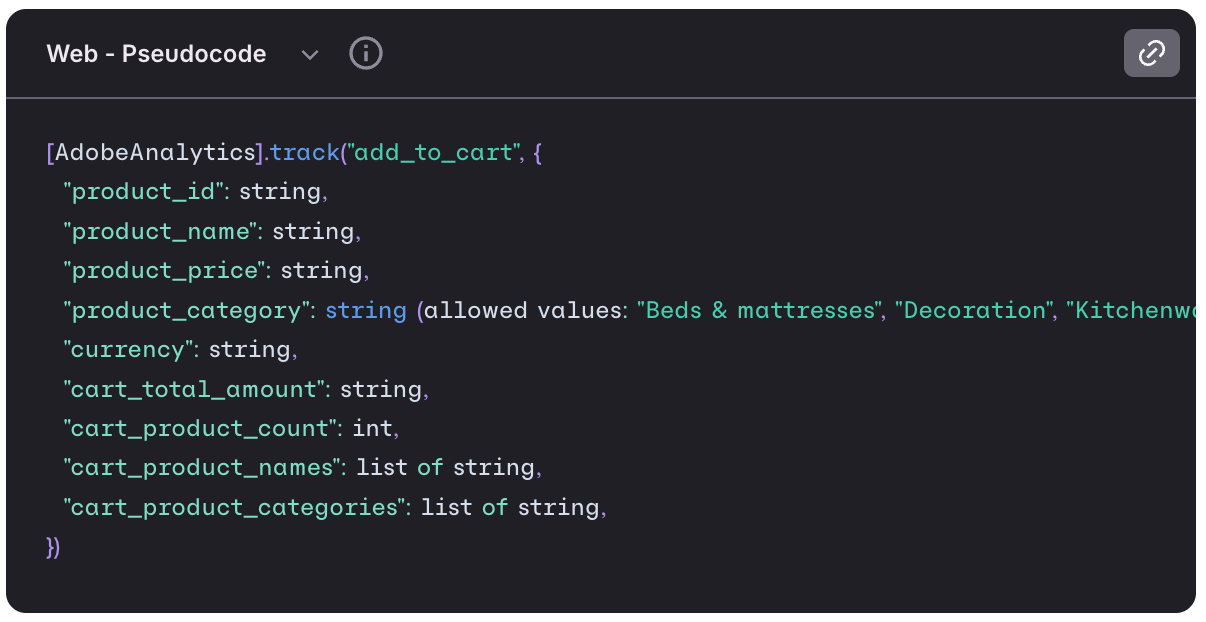
### Avo Codegen
Codegen produces type-safe code for implementing analytics. The data designer defines the event structure in the Avo Tracking Plan and specifies which platforms should send the event. Developers then use Codegen to implement the corresponding analytics calls for each event.
Avo Codegen generates the same code regardless of whether variable mapping is handled in Avo or in an external tool. For example, the output in TypeScript looks like this:
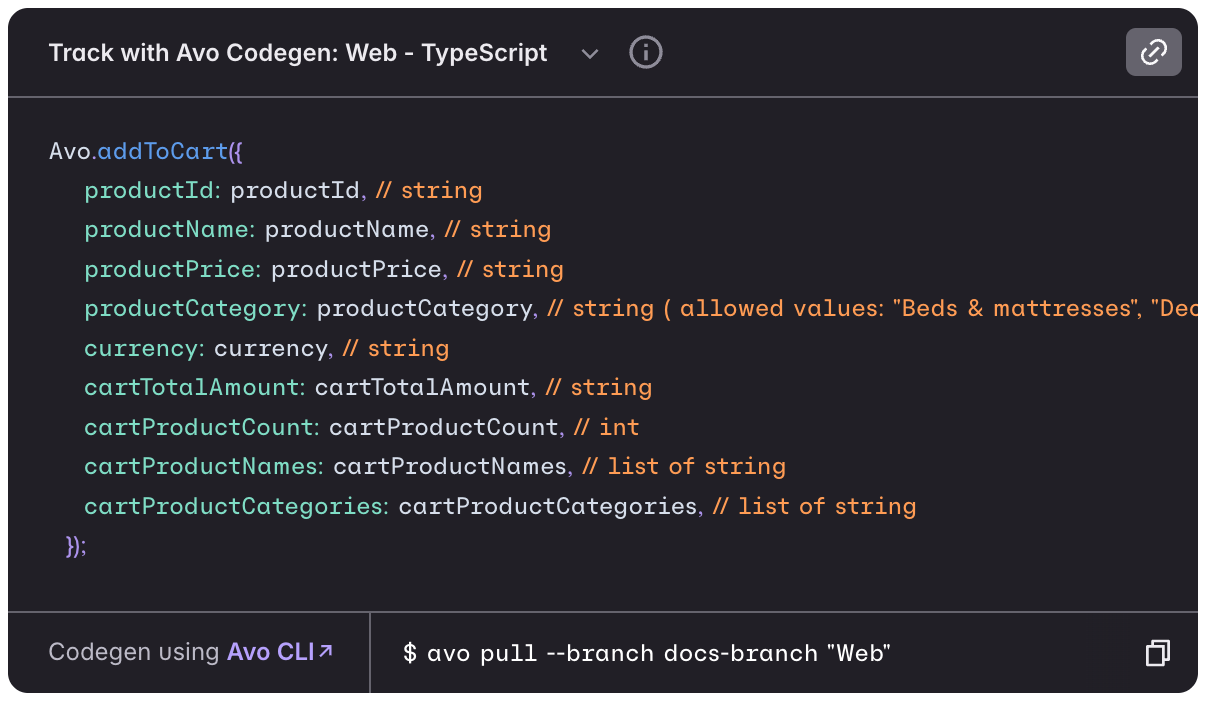
## Governance and ownership in Avo = branched workflows and required reviews
Avo helps teams ship reliable analytics at scale by structuring how changes are proposed, reviewed, owned, and discovered. Branched and approval workflows control updates, stakeholder teams define ownership and accountability, organization tools keep large plans tidy, and dedicated views and search make everything easy to find.
### Branched and approval workflows
As your tracking evolves, the [Avo workflow](https://www.avo.app/docs/workflow/overview.md) supports iteration through a [branched](https://www.avo.app/docs/data-design/branches.md), collaborative process. Multiple product updates can be designed and reviewed in parallel without creating conflicts.
To maintain quality, Avo also includes **[approval workflows](https://www.avo.app/docs/data-design/branches/approval-workflows.md)**. These require the right stakeholders to review and sign off before changes can be merged into the main tracking plan. This prevents unintended updates, enforces consistency, and creates a transparent audit trail of who approved what and when. For Adobe Analytics teams, this ensures that every new event, property, or variable mapping is properly vetted before going live.
### Enforced ownership
In line with Adobe Analytics SDD best practices, Avo enables **clear ownership** of both the SDD and individual items. Admins own the SDD and its workflows. Ownership and stakeholders for events and properties are managed via [stakeholder teams](https://www.avo.app/docs/data-design/avo-tracking-plan/stakeholder-domains.md).
When combined with approval workflows, ownership becomes enforceable. Teams responsible for specific metrics or dimensions can be configured as [automatic required reviewers](https://www.avo.app/docs/data-design/guides/managing-changes-impacting-multiple-stakeholders.md#automatic-reviewer-assignment), guaranteeing that nothing changes in the tracking plan without their input. Notifications keep stakeholders informed whenever their items are impacted, ensuring transparency and accountability.
### Organizing your tracking plan
KPIs (metrics in Avo), metrics (events in Avo) and dimensions (properties in Avo) can be [organized with categories, tags, stakeholder teams and more](https://www.avo.app/docs/data-design/guides/organizing-metrics-and-events.md). This structure makes large tracking plans easier to manage, prevents duplication, and allows stakeholders to focus only on the areas relevant to them.
### Discoverability
**Events view**
The events view provides a complete overview of all events in your tracking plan. You can see which actions are assigned to each event and filter the list by any dimension. For example, you might choose to view only the conversion events that the authentication team is responsible for.
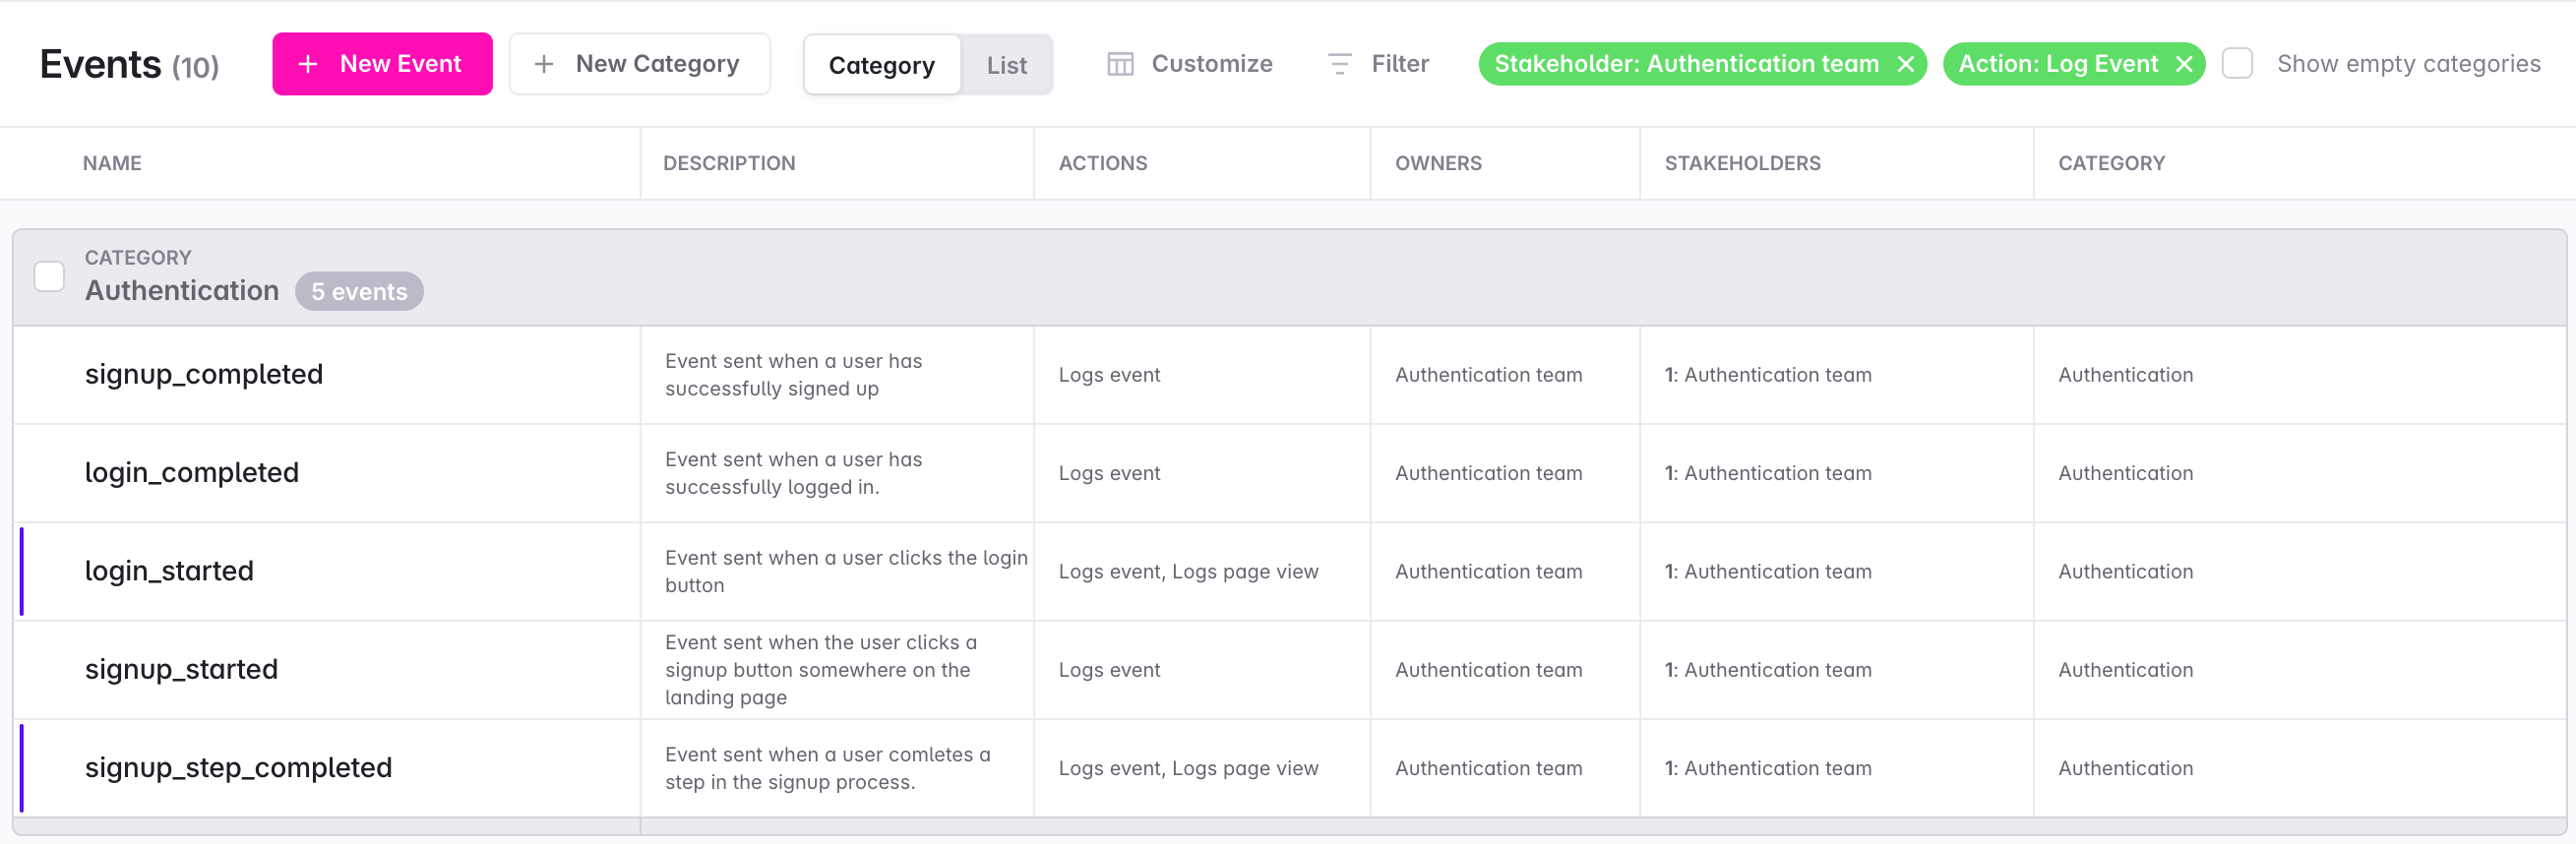
**Properties view**
The properties view gives you insight into all event properties, including their mappings to eVars and props. You can filter by category, owner, or other attributes, and organize properties to make them easier to manage at scale.
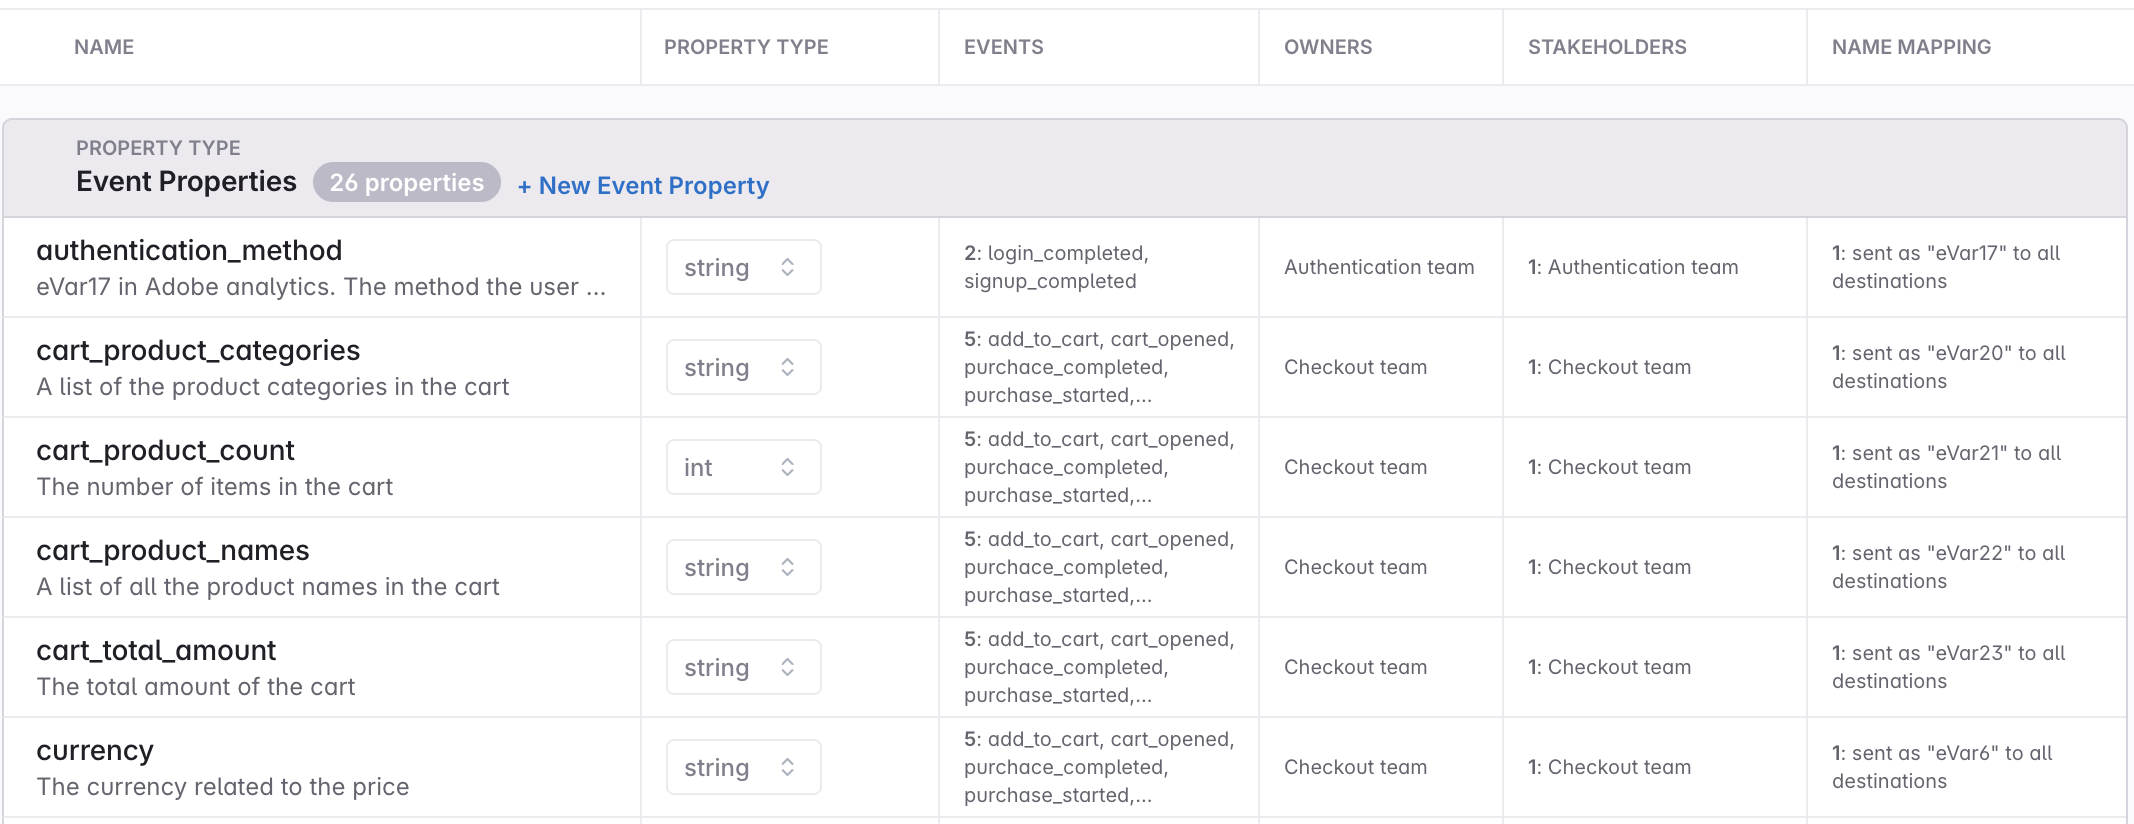
**Search**
Avo’s search makes finding items simple. You can search by semantic property names, similar names, or mapped Adobe Analytics references such as eVar20. This allows both analysts and developers to quickly locate the right variables, regardless of whether they think in terms of business context or Adobe variable names.
[▶ Watch video](https://www.avo.app/docs/images/guide-avo-as-an-sdd/search.mp4)
Together, these views make large and complex tracking plans easy to navigate, audit, and maintain.
## Next up
- [Get your tracking plan into Avo](https://www.avo.app/docs/publishing/import/get-tracking-plan-into-avo.md)
- [The Avo workflow](https://www.avo.app/docs/workflow/overview.md)
- [Observability with Inspector](https://www.avo.app/docs/inspector/start-using-inspector.md)
---
Source: https://www.avo.app/docs/data-design/guides/bulk-editing.md
# Bulk Editing
**Bulk editing** is a powerful workflow tool in Avo that allows you to efficiently update multiple items simultaneously. Instead of editing items one by one, you can select multiple items and apply changes to shared attributes across all of them at once.
Bulk editing is available in two main areas:
- [**Events view**](#bulk-editing-in-events-view): Bulk edit events in your tracking plan
- [**Inspector Issues view**](#bulk-editing-in-inspector-issues-view): Bulk manage inspector issues
## How to use bulk editing
### Bulk editing in Events view
Bulk editing can be accessed from the Events view and allows you to modify shared attributes across multiple events efficiently.
#### Accessing bulk editing
To start bulk editing:
1. Navigate to the Events view in your tracking plan
2. Select the events you want to edit using one of these methods:
- **Individual selection**: Check the boxes next to specific events
- **Category selection**: Check the box next to a category name to select all events in that category
- **Multiple selection**: Use Cmd/Ctrl + click to select non-adjacent events
3. Once events are selected, the bulk editing toolbar will appear at the bottom of the screen
4. Choose the attribute you want to modify from the toolbar options
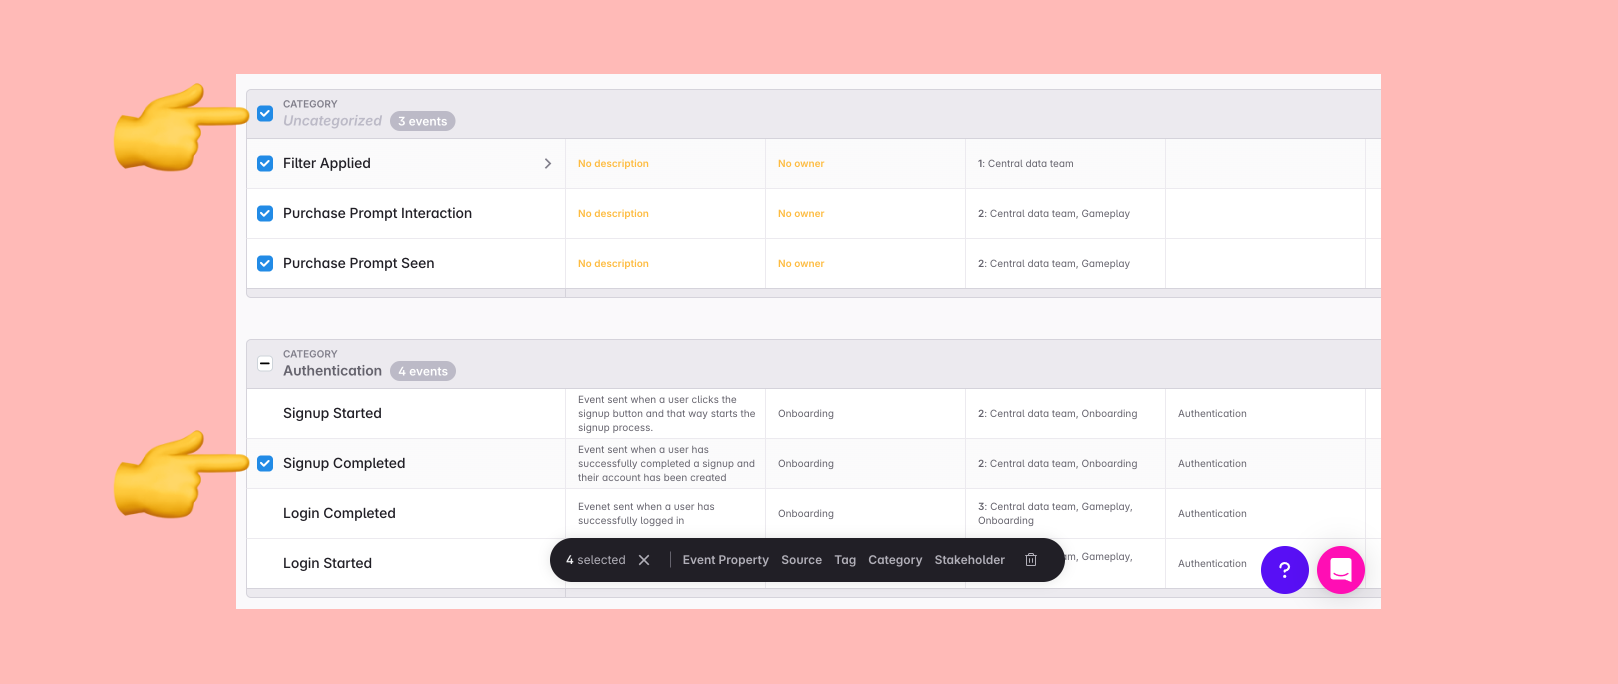
#### Available bulk editing actions
The bulk editing toolbar provides options to modify these shared attributes:
- **Event Properties**: Add or remove properties from multiple events
- **Sources**: Add or remove sources from multiple events
- **Tags**: Apply or remove tags across multiple events
- **Categories**: Add events to categories or remove them from categories
- **Stakeholders**: Assign or remove stakeholder teams from multiple events
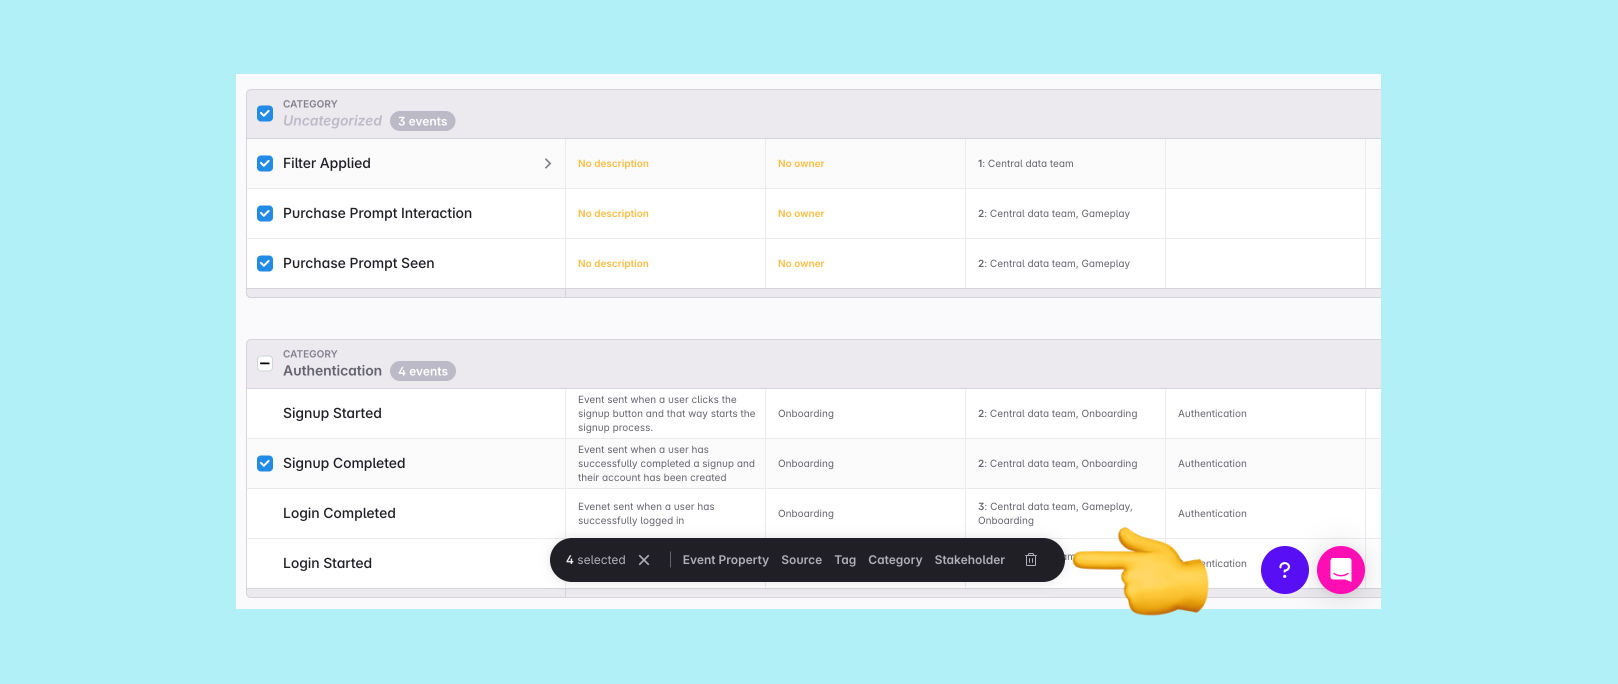
### Bulk editing in Inspector Issues view
Bulk editing is also available in the [Inspector Issues view](https://www.avo.app/docs/inspector/inspector-issues-view.md) to help you efficiently manage multiple data quality issues at once.
#### Accessing bulk editing in Inspector Issues
To start bulk editing issues:
1. Navigate to the Inspector Issues view
2. Select the issues you want to manage using one of these methods:
- **Individual selection**: Check the boxes next to specific issues
- **Multiple selection**: Use Cmd/Ctrl + click to select non-adjacent issues
3. Once issues are selected, the bulk action toolbar will appear at the bottom of the screen
4. Choose the action you want to apply from the toolbar options
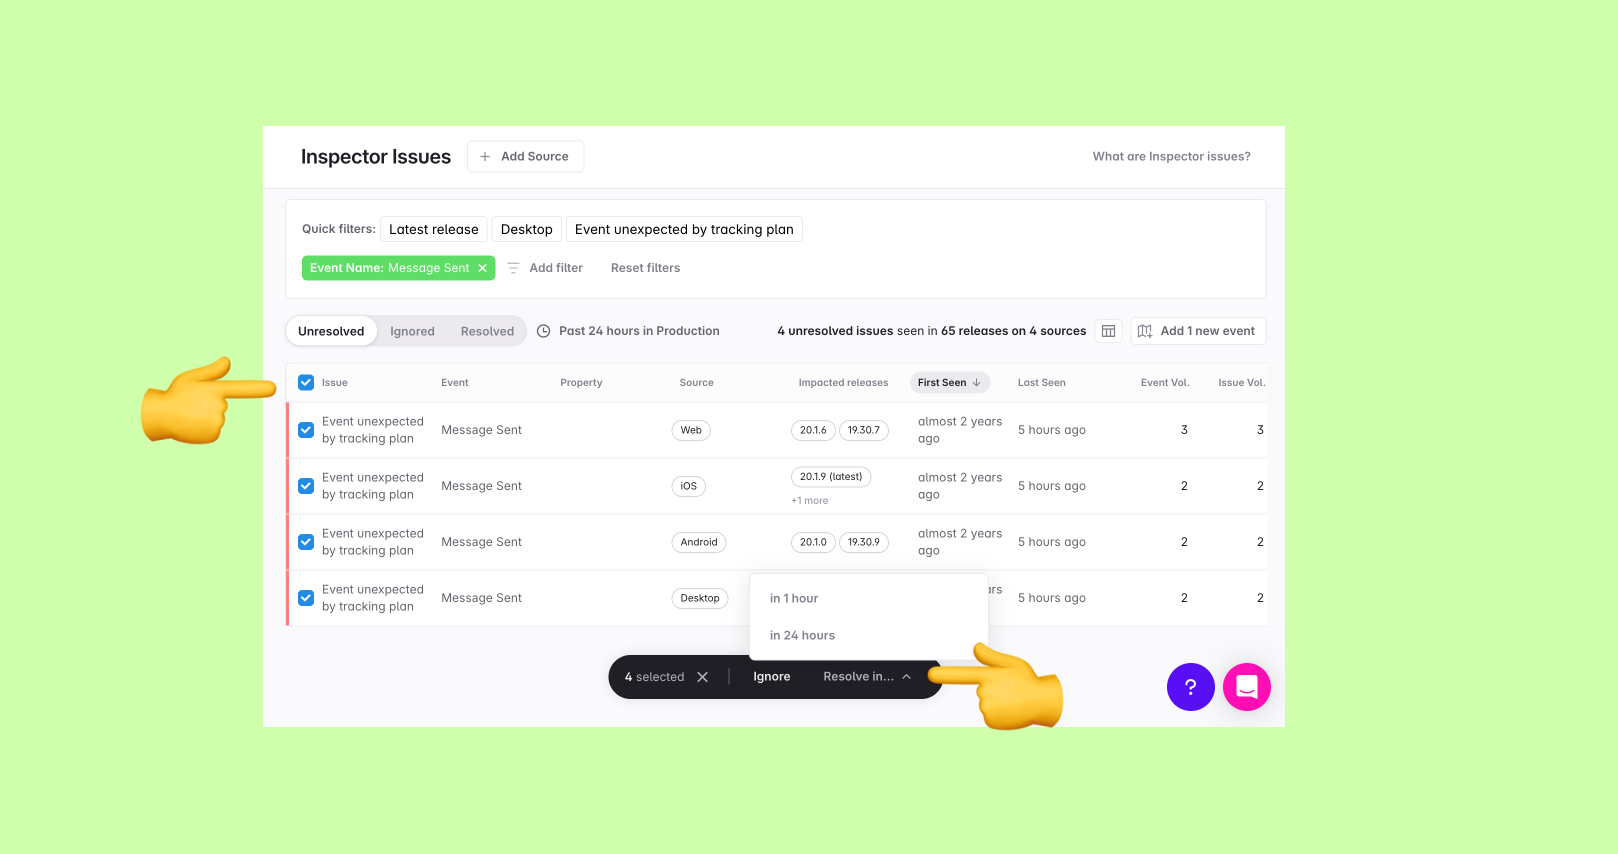
#### Available bulk actions for Inspector Issues
The bulk action toolbar provides options to:
- **Ignore**: Mark multiple issues as ignored if you're not planning to fix them
- **Resolve in...**: Mark multiple issues as resolved, specifying the version or time frame
- 1 hour from now
- 24 hours from now
This is particularly useful when you have multiple related issues that need the same resolution status, such as after deploying a fix that resolves several data quality issues at once.
## Use cases for bulk editing
Bulk editing is particularly valuable for several workflow scenarios. Here are common use cases with step-by-step guidance:
**For tracking plan events**: See [Bulk editing in Events view](#bulk-editing-in-events-view)
**For Inspector Issues**: See [Bulk editing in Inspector Issues view](#bulk-editing-in-inspector-issues-view)
### Planning new features with fast creation + bulk editing
One of the most efficient workflows in Avo combines [fast event creation methods](https://www.avo.app/docs/data-design/avo-tracking-plan/events.md#fast-event-creation-methods) with bulk editing to rapidly plan and define new features. See [Bulk editing in Events view](#bulk-editing-in-events-view) for setup instructions.
**Example scenario**: Your team is planning a new checkout flow that requires 8 new events. Rather than creating each event individually with full configuration, you can use a two-step approach.
**Steps to plan new features with fast creation + bulk editing**
**Step 1: Fast creation to capture all event names**
Use Avo's [fast creation methods](https://www.avo.app/docs/data-design/avo-tracking-plan/events.md#fast-event-creation-methods) to quickly capture all the events you need.
**Step 2: Bulk editing to add context and configuration**
Now select all your newly created events and use bulk editing to efficiently add:
1. **Add shared sources**:
- Select all 8 checkout events
- Click "Source" in bulk editing toolbar → "Add Source"
- Add Web, iOS, and Android sources with "Implement with Codegen" enabled
2. **Categorize events**:
- With events still selected
- Click "Category" → "Add to Category"
- Add to "Checkout" or "E-commerce" category
3. **Add stakeholders**:
- Click "Stakeholder" → assign to Checkout team and Product Analytics team
4. **Apply consistent tagging**:
- Click "Tag" → add tags like "Tier 1 - Revenue" or "New Feature"
5. **Add common properties** (if applicable):
- Click "Event Property" → add shared properties "Onboarding Step" or property bundles like "Onboarding properties"
**Benefits of this workflow**:
- **Speed**: Capture all event names in 2-3 minutes vs. 15-20 minutes creating each individually
- **Focus**: Separate ideation (naming) from configuration (details)
- **Consistency**: Bulk editing ensures all related events have identical setup
- **Collaboration**: Great for workshop sessions where you brainstorm events first, then configure together
> ⚡ **Workshop Tip**: This approach is particularly effective during [purpose meetings](https://www.avo.app/docs/data-design/guides/documenting-purpose-meetings-in-avo.md) where stakeholders brainstorm events together. First capture all the event names everyone suggests, then systematically add the detailed context as a group.
### Consolidating redundant categories
When you have multiple categories that serve the same purpose, you can efficiently consolidate them using [Events view bulk editing](#bulk-editing-in-events-view):
**Example scenario**: You have both "User Authentication" and "Login/Signup" categories that should be merged into a single "Authentication" category.
**Steps to consolidate**
1. **Create a new branch** for your category management changes
2. **Navigate to the Events view** and scroll to the redundant category section
3. **Select all events in the redundant category** by checking the box next to the category name
4. **Use bulk editing to add them to the source of truth category**:
- Click "Category" in the bulk editing toolbar
- Select "Add to Category"
- Choose your target category (e.g., "Authentication")
5. **Remove events from the redundant category**:
- With the same events still selected
- Click "Category" in the bulk editing toolbar
- Select "Remove from Category"
- Choose the redundant category to remove
6. **Archive the redundant category**:
- Use Cmd+K to search for the redundant category
- Open the category and archive it
7. **Repeat for other redundant categories** as needed
*This workflow ensures events are moved efficiently without losing their categorization, and prevents future use of inconsistent category names.*
### Updating event sources
Use [Events view bulk editing](#bulk-editing-in-events-view) to efficiently update sources across multiple events.
**Example scenario**: You're launching a new mobile app and need to add the new iOS source to existing mobile-relevant events.
**Steps to update event sources**
1. **Filter events** that should be available on mobile
2. **Select events** using categories like "Core User Actions" or "E-commerce"
3. **Bulk add the new source**:
- Click "Source" in the bulk editing toolbar
- Select "Add Source"
- Choose your new iOS source
- Configure "Implement with Codegen" as needed
### Team stakeholder assignment
Use [Events view bulk editing](#bulk-editing-in-events-view) to assign stakeholders across related events and establish clear data governance.
**Example scenario**: The Growth team is becoming a stakeholder in all onboarding and acquisition events.
**Steps to assign stakeholders**
1. **Select events** in onboarding and acquisition categories
2. **Bulk assign stakeholder teams**:
- Click "Stakeholder" in the bulk editing toolbar
- Add the Growth team as stakeholders
- Apply across all selected events
### Removing deprecated properties
Use [Events view bulk editing](#bulk-editing-in-events-view) to efficiently remove properties from multiple events.
**Example scenario**: A legacy property needs to be removed from multiple events after a product redesign.
**Steps to remove deprecated properties**
1. **Search for events** containing the deprecated property
2. **Select all relevant events** from the search results
3. **Bulk remove the property**:
- Click "Event Property" in the bulk editing toolbar
- Select "Remove Property"
- Choose the deprecated property to remove
### Managing Inspector Issues after deployment
Bulk editing in the Inspector Issues view is particularly valuable after deploying fixes that resolve multiple data quality issues. See [Bulk editing in Inspector Issues view](#bulk-editing-in-inspector-issues-view) for setup instructions.
**Example scenario**: Your team deployed a fix that resolved 15 property type issues across multiple events. Rather than manually resolving each issue individually, you can use bulk actions.
**Steps to bulk resolve Inspector Issues**
1. **Navigate to Inspector Issues view** and filter to show the resolved issues
2. **Select all related issues** by checking the boxes next to the issues that were fixed in your deployment
3. **Use bulk actions to resolve**:
- Click "Resolve in..." in the bulk action toolbar
- Select the appropriate resolution criteria:
- Choose "in 1 hour" if the fix rolling out in the next hour
- Choose "in 24 hours" if the fix will rolling out in the next 24 hours
4. **Verify resolution**: The issues will move to the "Resolved" section and will be marked as regressions if they reappear
**Benefits of this workflow**:
- **Efficiency**: Resolve 15+ issues in seconds vs. minutes of individual resolution
- **Consistency**: Ensure all related issues have the same resolution status
- **Tracking**: Maintain clear records of when and how issues were resolved
## Best practices for bulk editing
### Planning your changes
- **Work on branches**: Always make bulk changes on a feature branch to review before merging
- **Document your intent**: Use clear branch names and descriptions for bulk editing branches
- **Review before applying**: Double-check your selection before executing bulk actions
### Efficient selection strategies
- **Use category selection**: Select entire categories when working with related events
- **Combine filters**: Use the Events view filters to narrow down to relevant events before selecting
- **Preview changes**: Review which events are selected before applying bulk actions
### Managing complex changes
- **Break down large changes**: For extensive reorganization, work in smaller, focused batches
- **Coordinate with stakeholders**: Communicate bulk changes that affect events owned by other teams
- **Test incrementally**: When changing event structure, test with a subset before applying to all events
> 💡 **Workflow Tip**: Bulk editing pairs perfectly with Avo's [fast event creation methods](https://www.avo.app/docs/data-design/avo-tracking-plan/events.md#fast-event-creation-methods). Create multiple events quickly, then use bulk editing to add detailed context and configuration efficiently.
---
Source: https://www.avo.app/docs/data-design/guides/organizing-event-hierarchy.md
# Defining Event Hierarchies
Avo provides multiple, complementary approaches to structure and organize events across different levels of granularity. These tools help you balance consistency with flexibility, maintain clarity as your tracking plan scales, and reduce implementation overhead.
The following approaches are available, in order of highest to lowest granularity:
- [Global and local workspaces](#global-and-local-workspaces): cross-product consistency with local flexibility
- [Name mapping](#name-mapping): break down general events into specific tracking plan definitions
- [Event variants](#event-variants): define context-specific shapes while inheriting from a base event, with the ability to add, remove, or configure variant-specific properties
- [Source-specific presence and allowed values](#source-specific-presence-and-allowed-values): manage platform differences within a single event, both presence and allowed values can be configured per source
- [Journey triggers with property conditions](#journey-triggers-with-property-conditions): specify event shapes in journey context, with the ability to define property conditions for the trigger
Below we cover each approach, then how they work together, and practical examples.
## Global and local workspaces
Global workspaces let a central team define core events that are shared across multiple local workspaces. Local workspaces adopt those global event definitions and can extend them with local properties, triggers, and metadata. When a global event is updated, those changes cascade to all local workspaces that use it, ensuring consistency across products.
This model delivers cross-product consistency for foundational events (like user lifecycle, purchases, and core features) while preserving product-level flexibility. Local workspaces can create their own product-specific events alongside the global ones.
Tips and usage:
- Define global events and properties in the Global Requirements workspace and select which local workspaces to push them to
- Local workspaces can extend the global events and properties with local variants, properties, triggers, sources, and descriptions
- When a global event is updated, those changes cascade to all local workspaces that use it, ensuring consistency across products
- Local workspaces can create their own product-specific events alongside the global ones, independently of the global event definitions
Example in practice: An enterprise with multiple products defines a global "Order Completed" event in the Global Requirements workspace. The local workspaces extend the global event with local variants, properties, triggers, sources, and descriptions:
- Product A extends the global event with a local variant "Order Completed - Product A"
- Product B adds a local description and local properties specific to their product
- Product C adds local triggers and sources specific to their product
Learn more: [Global Requirements](https://www.avo.app/docs/data-design/global-requirements.md)
## Name mapping
Name mapping lets you define multiple, specific event or property definitions in your tracking plan that are sent with the same name to your analytics destinations. This is particularly useful when a single, general event name in your analytics tool actually represents several distinct concepts that deserve separate tracking plan definitions.
By breaking down a general event into multiple specific events in Avo, you can:
- Document different descriptions, constraints, and property requirements for each use case
- Make data design clearer and more maintainable with descriptive names
- Maintain backward compatibility by sending all specific events with the same general name downstream
Tips and usage:
- Identify events or properties with broad, context-dependent meanings in your analytics tools
- Create separate, descriptively named events in Avo for each distinct scenario
- Add name mapping to each specific event to send them all with the same general name to destinations
- Define different property requirements, descriptions, and constraints per specific event
- Use this when you need granular tracking plan documentation but must preserve existing downstream event names
Example in practice: A team has a generic "Button Clicked" event in their analytics tool that means different things depending on context: clicking a CTA, a navigation button, or a form submission. They create three separate events in Avo:
- "CTA Button Clicked" with properties like `cta_text`, `cta_position`, `destination_url`
- "Navigation Button Clicked" with properties like `button_label`, `source_screen`, `destination_screen`
- "Form Submit Button Clicked" with properties like `form_name`, `form_type`, `field_count`
Each event has name mapping configured to send as "Button Clicked" to all destinations, maintaining historical continuity while improving tracking plan clarity. And each of these events could even have their own variants and be used in journeys with different property conditions.
Learn more: [Name Mapping](https://www.avo.app/docs/data-design/guides/name-mapping.md)
## Event variants
Event variants allow you to create context-specific versions of an event that inherit properties from a base event while adding, modifying, or constraining properties for specific scenarios. This approach keeps your tracking plan precise and makes implementation changes surgical rather than widespread.
Each variant inherits all properties from its base event and can:
- Add variant-specific properties
- Change property presence (from sometimes sent to always sent, or never sent)
- Pin specific property values expected in that variant
- Define variant-specific triggers and descriptions
- Narrow down sources the variant is sent from
When you change the base event (for example, adding a property), that change propagates to all variants. When you change only a variant, the change is isolated to that context, minimizing implementation scope.
Tips and usage:
- Identify events used in multiple scenarios with different property requirements
- Create a base event with common properties that apply across all scenarios
- Add variants for each distinct context with scenario-specific properties and constraints
- Use variants to generate tailored Codegen functions that match each implementation point
- Leverage property presence controls and pinned values to make variant requirements explicit
- Review variant changes in isolation—only the affected scenario requires implementation updates
Example in practice: A "Song Played" event has a base definition with common properties like `song_id`, `song_name`, and `duration`. In addition there is a property specifying the origin of the song play, either a playlist, a search, or a radio station. The team creates variants:
- "Song Played - Playlist" has `song_origin` set to "playlist" and adds `playlist_id` and `playlist_name` as always sent
- "Song Played - Search" has `song_origin` set to "search" and adds `search_query` as always sent
- "Song Played - Radio" has `song_origin` set to "radio" and adds `station_id` as always sent
When the team later adds a `playback_quality` property to the base event, it automatically appears on all variants. When they add `playlist_position` only to the Playlist variant, that change impacts only the playlist implementation context.
Learn more: [Event Variants](https://www.avo.app/docs/data-design/avo-tracking-plan/event-variants.md)
## Source-specific presence and allowed values
When events differ only by platform or codebase (source), you can manage those differences within a single event definition rather than creating variants or separate events. Source-specific presence lets you control whether a property is required, optional, or excluded per source. Source-specific allowed values let you define different valid values per platform.
This approach keeps your event definitions consolidated while accommodating platform differences like:
- Mobile-only or web-only properties
- Platform-specific property names or formats (e.g., "screen_name" on mobile, "page_url" on web)
- Different allowed values per platform (e.g., OS-specific feature flags)
Tips and usage:
- Use source-specific presence when a property only makes sense on certain platforms
- Set "always sent" on mobile but "never sent" on web for mobile-specific properties like `device_model`
- Define different allowed values per source when platforms have different constraints or features
- Avoid creating variants solely for platform differences, use source-specific presence and allowed values instead
- Use this when the event logic is the same but property availability or values differ by platform
Example in practice: A "Screen Viewed" event is sent from Web, iOS, and Android. The base event has common properties like `screen_name` and `timestamp`. The team uses source-specific settings:
- `page_url` property: always sent on Web, never sent on iOS and Android
- `device_model` property: always sent on iOS and Android, never sent on Web
- `screen_orientation` property: allowed values are "portrait" and "landscape" on mobile, never sent on Web
- `platform_version` property: allowed values differ per source (e.g., iOS versions vs Android versions vs browser versions)
This keeps all "Screen Viewed" tracking in a single event definition while clearly documenting platform-specific requirements. Developers see exactly which properties apply to their platform, and changes to shared properties automatically apply across all sources.
Learn more: [Sources](https://www.avo.app/docs/data-design/avo-tracking-plan/define-sources-and-destinations.md)
## Journey triggers with property conditions
Journey triggers represent user, navigation, or system actions in the context of a specific user journey. When combined with property conditions, they let you specify the exact shape an event should have in that journey context, including which properties must be present and what values they should hold.
Property conditions on journey triggers:
- Highlight required properties for a scenario using "is set"
- Specify allowed values this screen should have using "is" or "is not" operators
- Exclude properties in certain contexts using "is not set"
- Add notes to document dynamic values or patterns
This approach provides visual, scenario-specific event specifications without creating separate events or variants. It's particularly useful for:
- Documenting how the same event differs across journeys and journey steps
- Communicating expected property values to developers in context
- Onboarding team members with visual, step-by-step event requirements
Example in practice: A checkout journey has multiple paths. The "Checkout Completed" event is used throughout, but property requirements differ:
- Path 1 (credit card payment): trigger has property conditions requiring `payment_method` is "credit_card", `card_type` is set, and `installments` is not set
- Path 2 (buy now pay later): trigger has property conditions requiring `payment_method` is "bnpl", `bnpl_provider` is set, and `installment_count` is set
- Path 3 (gift card): trigger has property conditions requiring `payment_method` is "gift_card", `gift_card_balance` is set, and `installments` is not set
Each trigger shows the same event but highlights the relevant properties for that specific journey path.
Learn more: [Journeys](https://www.avo.app/docs/data-design/avo-tracking-plan/journeys.md), [Triggers and Use Cases](https://www.avo.app/docs/data-design/guides/event-triggers.md)
## How these work together
The table below summarizes each approach, what it's for, key characteristics, and when to use it.
| Approach | Primary purpose | Changes base event | Creates separate implementation | Published as separate events | Best for |
| --- | --- | --- | --- | --- | --- |
| Global/local workspaces | Cross-product consistency with local extension | ✅ (global changes cascade) | ❌ (extends existing) | ✅ (as single event per workspace) | Multi-product organizations needing shared foundational events |
| Name mapping | Break down general events into specific definitions | ❌ (separate events) | ✅ (separate events in code) | ❌ (all map to same downstream name) | Maintaining clarity in tracking plan while preserving downstream naming |
| Event variants | Context-specific event shapes inheriting from base | ✅ (base changes apply to variants) | ✅ (variant-specific functions) | ⚠️ (published as union) | Events with distinct property requirements per scenario |
| Source-specific presence & allowed values | Platform-specific property requirements | ❌ (single event definition) | ✅ (per-source implementation) | ✅ (as single event) | Events that differ only by platform or codebase |
| Journey triggers + property conditions | Visual, scenario-specific event documentation | ❌ (documentation layer) | ❌ (same event, contextual docs) | ❌ (documentation only) | Visual communication of event requirements across user flows |
These approaches can be combined:
- A global event can have variants both in global and local workspaces
- Events that have been split into multiple specific events using name mapping can have variants to break down the event definition even further
- Variants can have source-specific presence and allowed values, both for the base event and for the variant
- All events and variants, both global and local, can be used in journeys and have different journey triggers with property conditions
- Property conditions in journeys can reference properties with source-specific settings
- Source-specific presence can be combined with journey triggers to document platform-specific flows
## Practical examples
The best approach depends on your organizational structure, product complexity, and how your events differ across contexts. Below are common patterns.
### Enterprise with multiple subsidiaries
Organizations with several products and/or subsidiaries and a central data governance team often use global workspaces for consistency and variants for subsidiary-specific scenarios.
- **Global workspace** defines core events like "User Signed Up", "Order Completed", "Subscription Started"
- **Local workspaces** inherit those events and add subsidiary-specific events
- **Variants** handle subsidiary-specific scenarios—for example, "Order Completed - Subscription" vs "Order Completed - One-Time Purchase"
- **Journey triggers** document flows and communicate implementation requirements to development teams
- **Property conditions** in journeys specify which properties apply for each checkout path and which property values are expected in each journey step
### Web tracking that has very few generic events
Teams that use for example Adobe Analytics and have one event for clicking a button and another one for loading a page can use a combination of name mapping and variants to split up the event into multiple specific events that are easier to understand and maintain.
- **Name mapping** split both the button clicked and page loaded events high level events into more specific events that usually don't get updated in the same way at the same time
- **Variants** create variants for the name mapped events to split up the event definition even further and potentially are sometimes updated in the same way at the same time
- **Source-specific properties** configure the source-specific presence and allowed values for both name mapped events and their variants to only send the properties that are relevant for the source
- **Journey triggers** document flows and communicate implementation requirements to development teams
- **Property conditions** in triggers for the name mapped events and their variants to specify which properties are expected in each journey step
### Event with multiple in-product scenarios
Teams with events triggered that differ by how the user interacts with the product can use variants to split up the event definition according to the different scenarios.
- **Base event**: "Flight Searched" with common properties `passenger_count`, `outbound_date`, `outbound_departure_airport`, `outbound_arrival_airport` and `flight_type`
- **Variants**:
- "Flight Searched - One-Way" has `flight type` pinned to "one-way"
- "Flight Searched - Round Trip" adds `return_date`, `return_departure_airport`, `return_arrival_airport` and `flight type` pinned to "round trip"
- **Source-specific properties** configure the source-specific presence and allowed values for both variants to only send the properties that are relevant for the source
- **Journey triggers** document flows and communicate implementation requirements to development teams
- **Property conditions** in triggers for the variants to specify which properties are expected in each journey step
### Cross-platform event with source differences
Teams with events that work the same way across platforms but have platform-specific properties use source-specific presence and allowed values.
- **Event**: "Video Playback Started" sent from Web, iOS, Android, and Smart TV
- **Common properties**: `video_id`, `video_title`, `playback_position` (always sent on all sources)
- **Source-specific presence**:
- `browser_type`: always sent on Web, never sent on mobile and TV
- `app_version`: always sent on iOS, Android, and Smart TV, never sent on web
- `platform`: the allowed values are different per source, for example "Web" on web, "iOS" on iOS and "Android" on Android
**Benefits**: single event definition, clear per-platform requirements and implementation instructions with only relevant properties per source, changes to common properties apply everywhere
### Visualizing event requirements across journeys
Product teams designing new features use journeys to map out event requirements before implementation.
- **Journey steps** show each screen in the onboarding flow with screenshots
- **Journey triggers** represent actions like "Clicked Continue", "Selected Plan", "Entered Payment Info" with connected events like "Onboarding Step Completed" or variants like "Onboarding Step Completed - Payment"
- **Property conditions** specify requirements per trigger: `plan_type` is "premium" vs "free", `payment_method` is set, `trial_eligible` is true
**Benefits**: visual documentation for reviews, clear implementation specifications per screen, reduced ambiguity about property values
## Choosing the right approach
Use this decision framework to select the appropriate approach:
**Choose global workspaces** when:
- You have multiple products sharing foundational events
- Central governance must cascade changes across products
- Local products need flexibility to extend global events
**Choose name mapping** when:
- Your analytics tools have broad, overloaded event names
- You need granular tracking plan definitions without breaking downstream integrations
- Different scenarios share an event name but have distinct meanings and property requirements
**Choose variants** when:
- The same event is used in multiple scenarios with different property requirements
- You want base event changes to cascade while keeping variant changes isolated
- You use Codegen and want tailored functions per scenario
- Making trivial changes should not force widespread implementation updates
**Choose source-specific presence and allowed values** when:
- Events differ only by platform or codebase (Web, iOS, Android, Backend)
- Property requirements vary by source but the event logic remains the same
- You want to avoid creating variants solely for platform differences
- Different platforms have different technical constraints or capabilities
**Choose journey triggers with property conditions** when:
- You want visual documentation of event requirements in user flows
- Different journey paths use the same event with different property expectations
- You need to communicate scenario-specific requirements to developers
- Onboarding new team members or reviewing feature specifications
---
Source: https://www.avo.app/docs/data-design/guides/documenting-downstream-dependencies.md
# Documenting Downstream Dependencies in Avo
_Using Categories, Metrics and tags_
A lot of teams want to be able to document their downstream dependencies in context with their events. Important dependencies can for example be marketing campaigns, KPI dashboards, email triggers and more. It can be important to make sure that someone that is making changes to an event, knows what depends on it, such that they can make sure to talk to the right people or be extra careful if the dependencies are important.
In this best practice guide we'll take a couple of examples on how these dependencies can be documented in context with the analytics events in Avo, using categories, metrics and tags.
## Marketing campaigns
This is a very common dependency that we don't want to mess up. If we're spending money on a marketing campaign, we want to know how it's doing. Depending on how granularly you want to document your marketing campaigns, you can create a single marketing campaign category or have a category per campaign. We'll take examples of both below:
### Single Marketing Campaign Category
One way to associate a marketing campaign with your events in Avo is to create a marketing campaign category and metrics representing all marketing campaigns. This way is good for teams that focus on associating the marketing campaign itself and have a single main metric to measure it's success.
To create a single marketing campaign category:
1. Go into the Metrics tab of the Tracking Plan
2. Click "+ Add Category"
3. Give your category a name (e.g. Marketing Campaigns) and a description
4. Create metrics for the marketing campaigns you want to document in the category
5. (Optional) Add events that are significant for marketing campaigns to the category
This way, you will be able to see that this event is a part of the "Marketing Campaigns" category in the event view, as well as which marketing campaign as a metric.
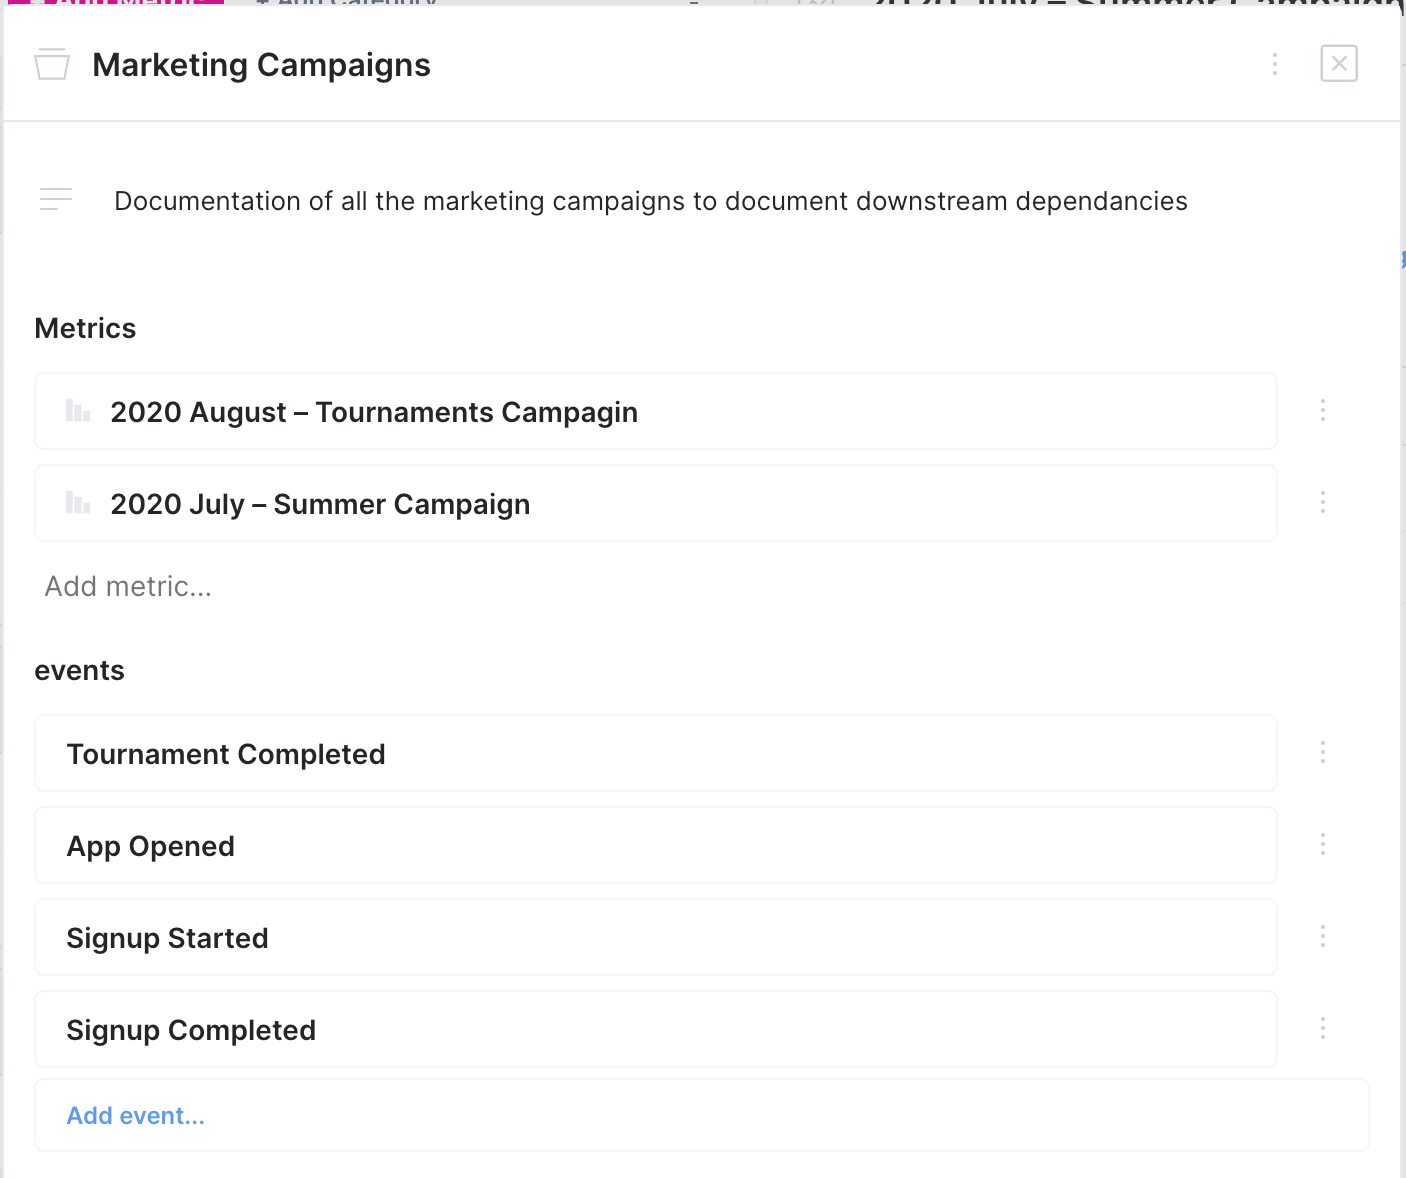
_Example: A high level marketing campaign category_
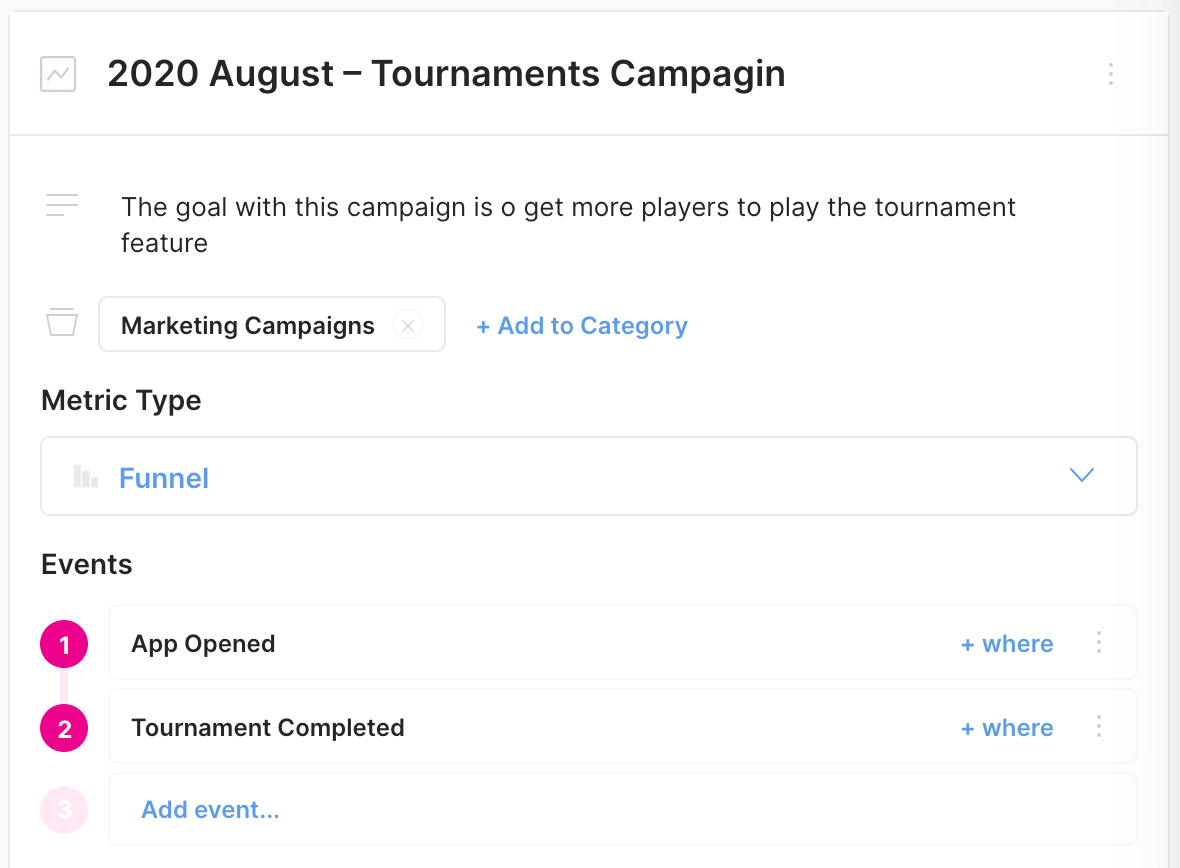
_Example: A single marketing campaign as a metric_
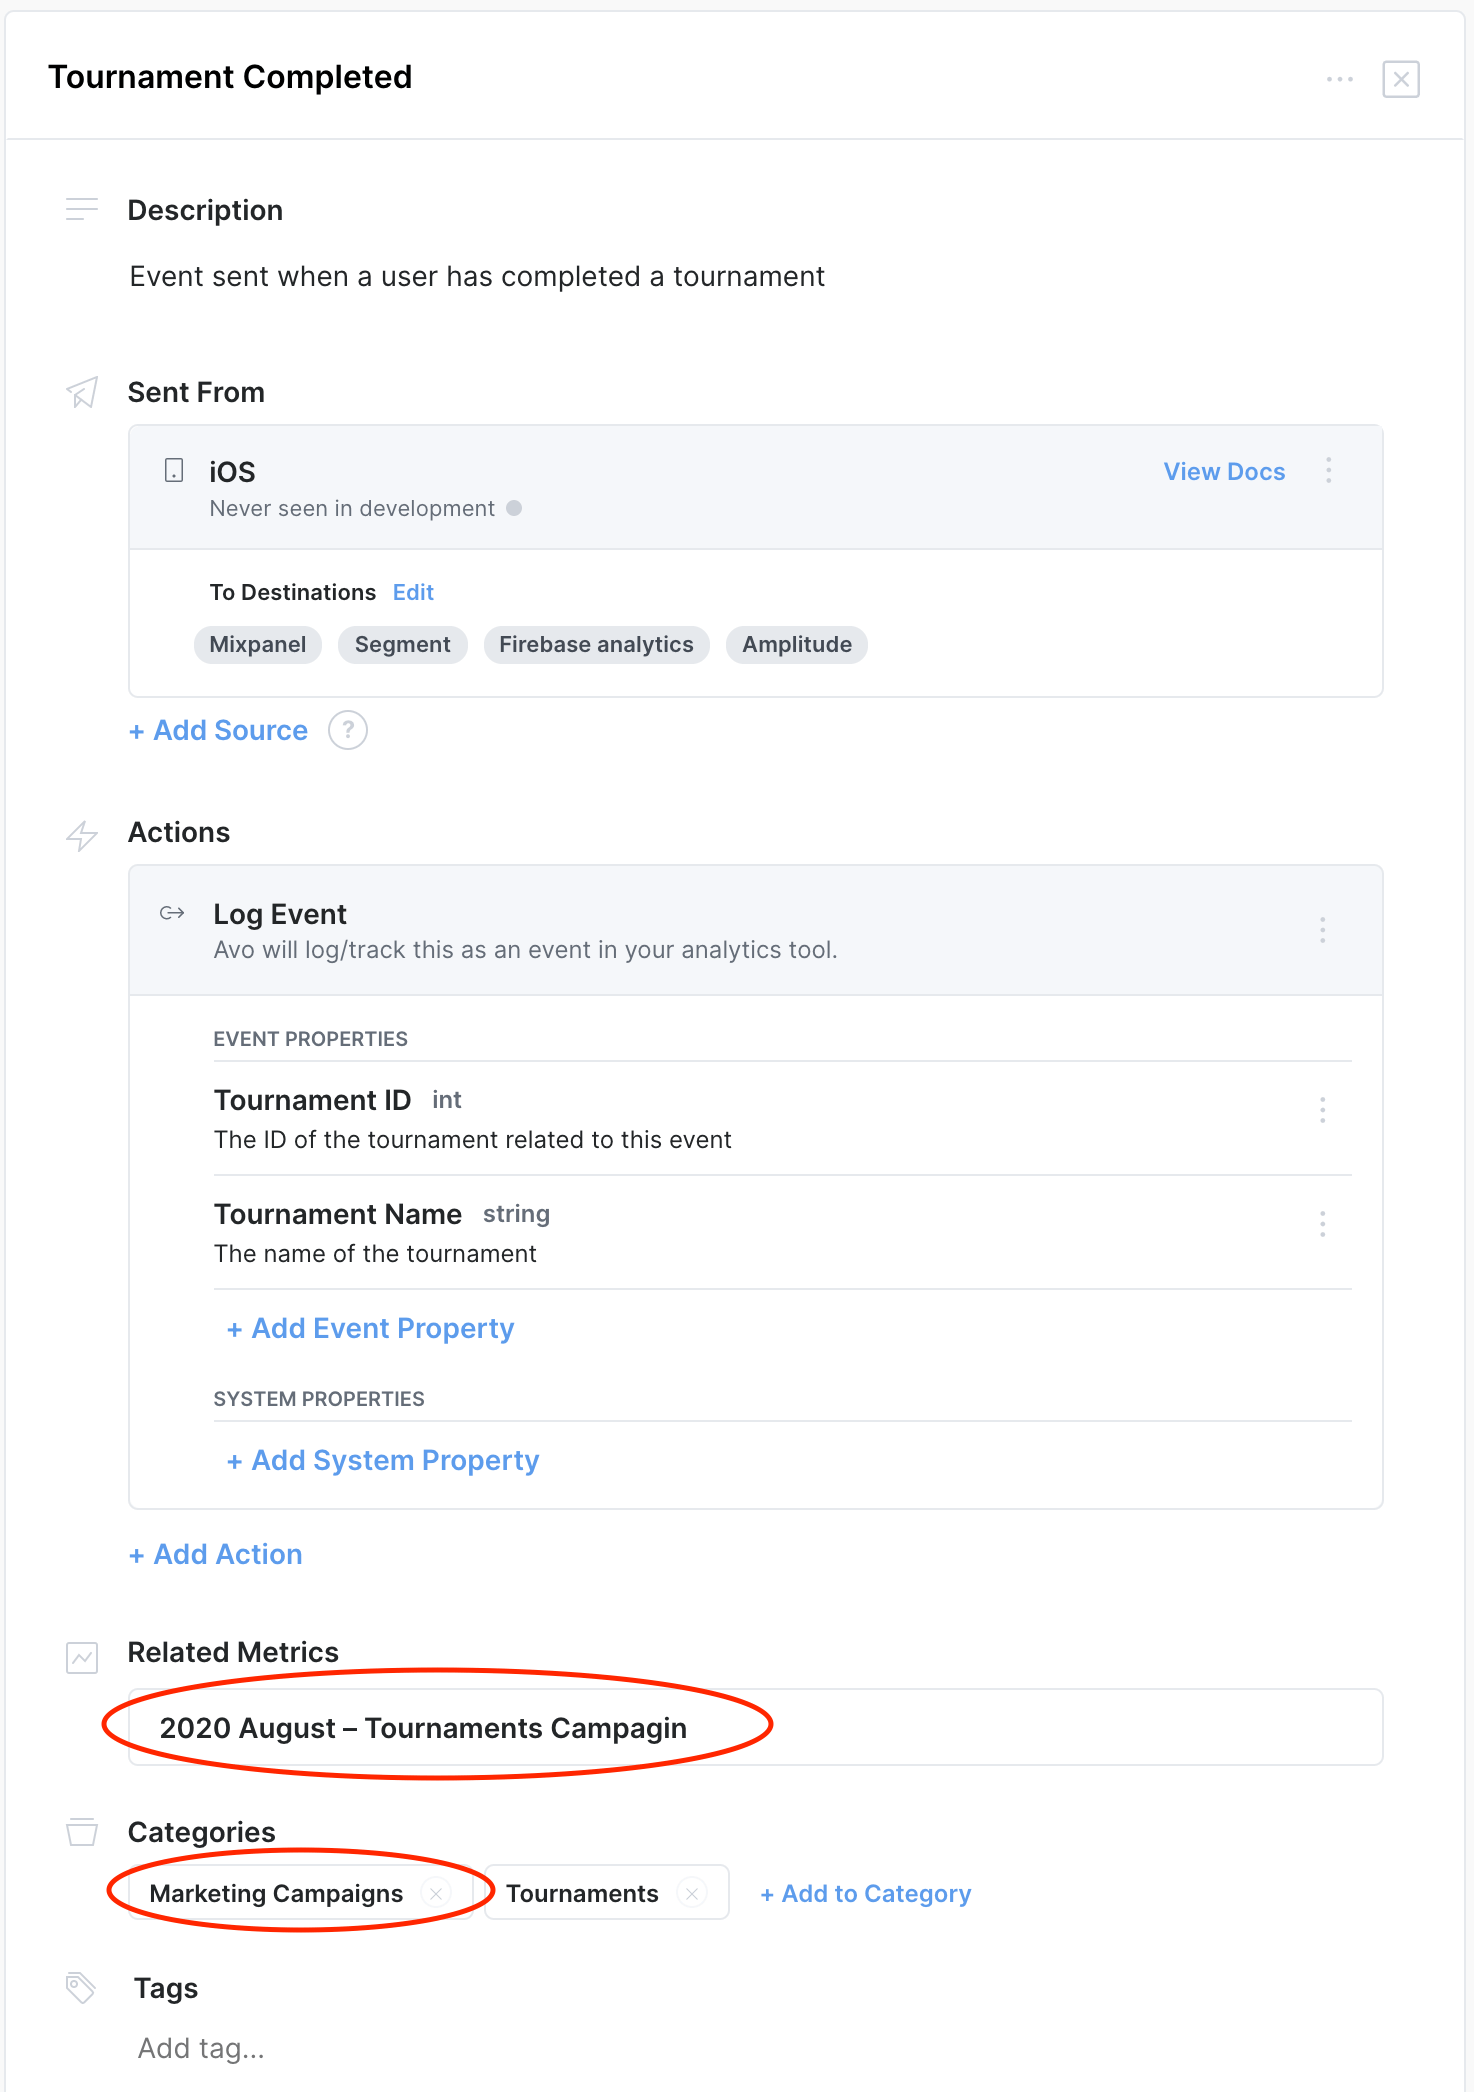
_Example: Event view for a high level marketing category_
### Category per Marketing Campaign
Another way to associate marketing campaigns with your events in Avo is to create a category per marketing campaign. That is a good way for teams that want more granular campaign documentation and have more than one metric they want to document for each marketing campaign.
To create a category per marketing campaign:
1. Go into the Metrics tab of the Tracking Plan
2. Click "+ Add Category"
3. Give your category a name (e.g 2020 – Tournaments Campaign) and a description
4. Create a metric for each KPI for that marketing campaign
5. (Optional) Add events that are significant for this marketing campaign to the category
This way you will be able to see that the event is a part of a specific marketing campaign category in the event view, as well as all the marketing campaign metrics it's associated with.
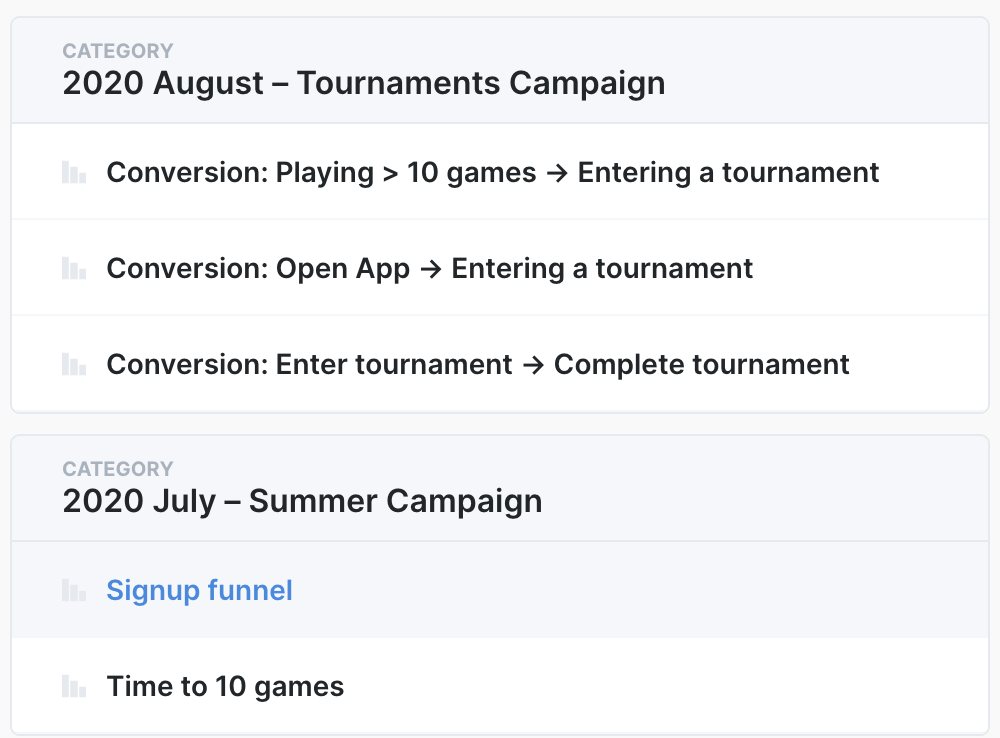
_Example: A marketing campaign per category_
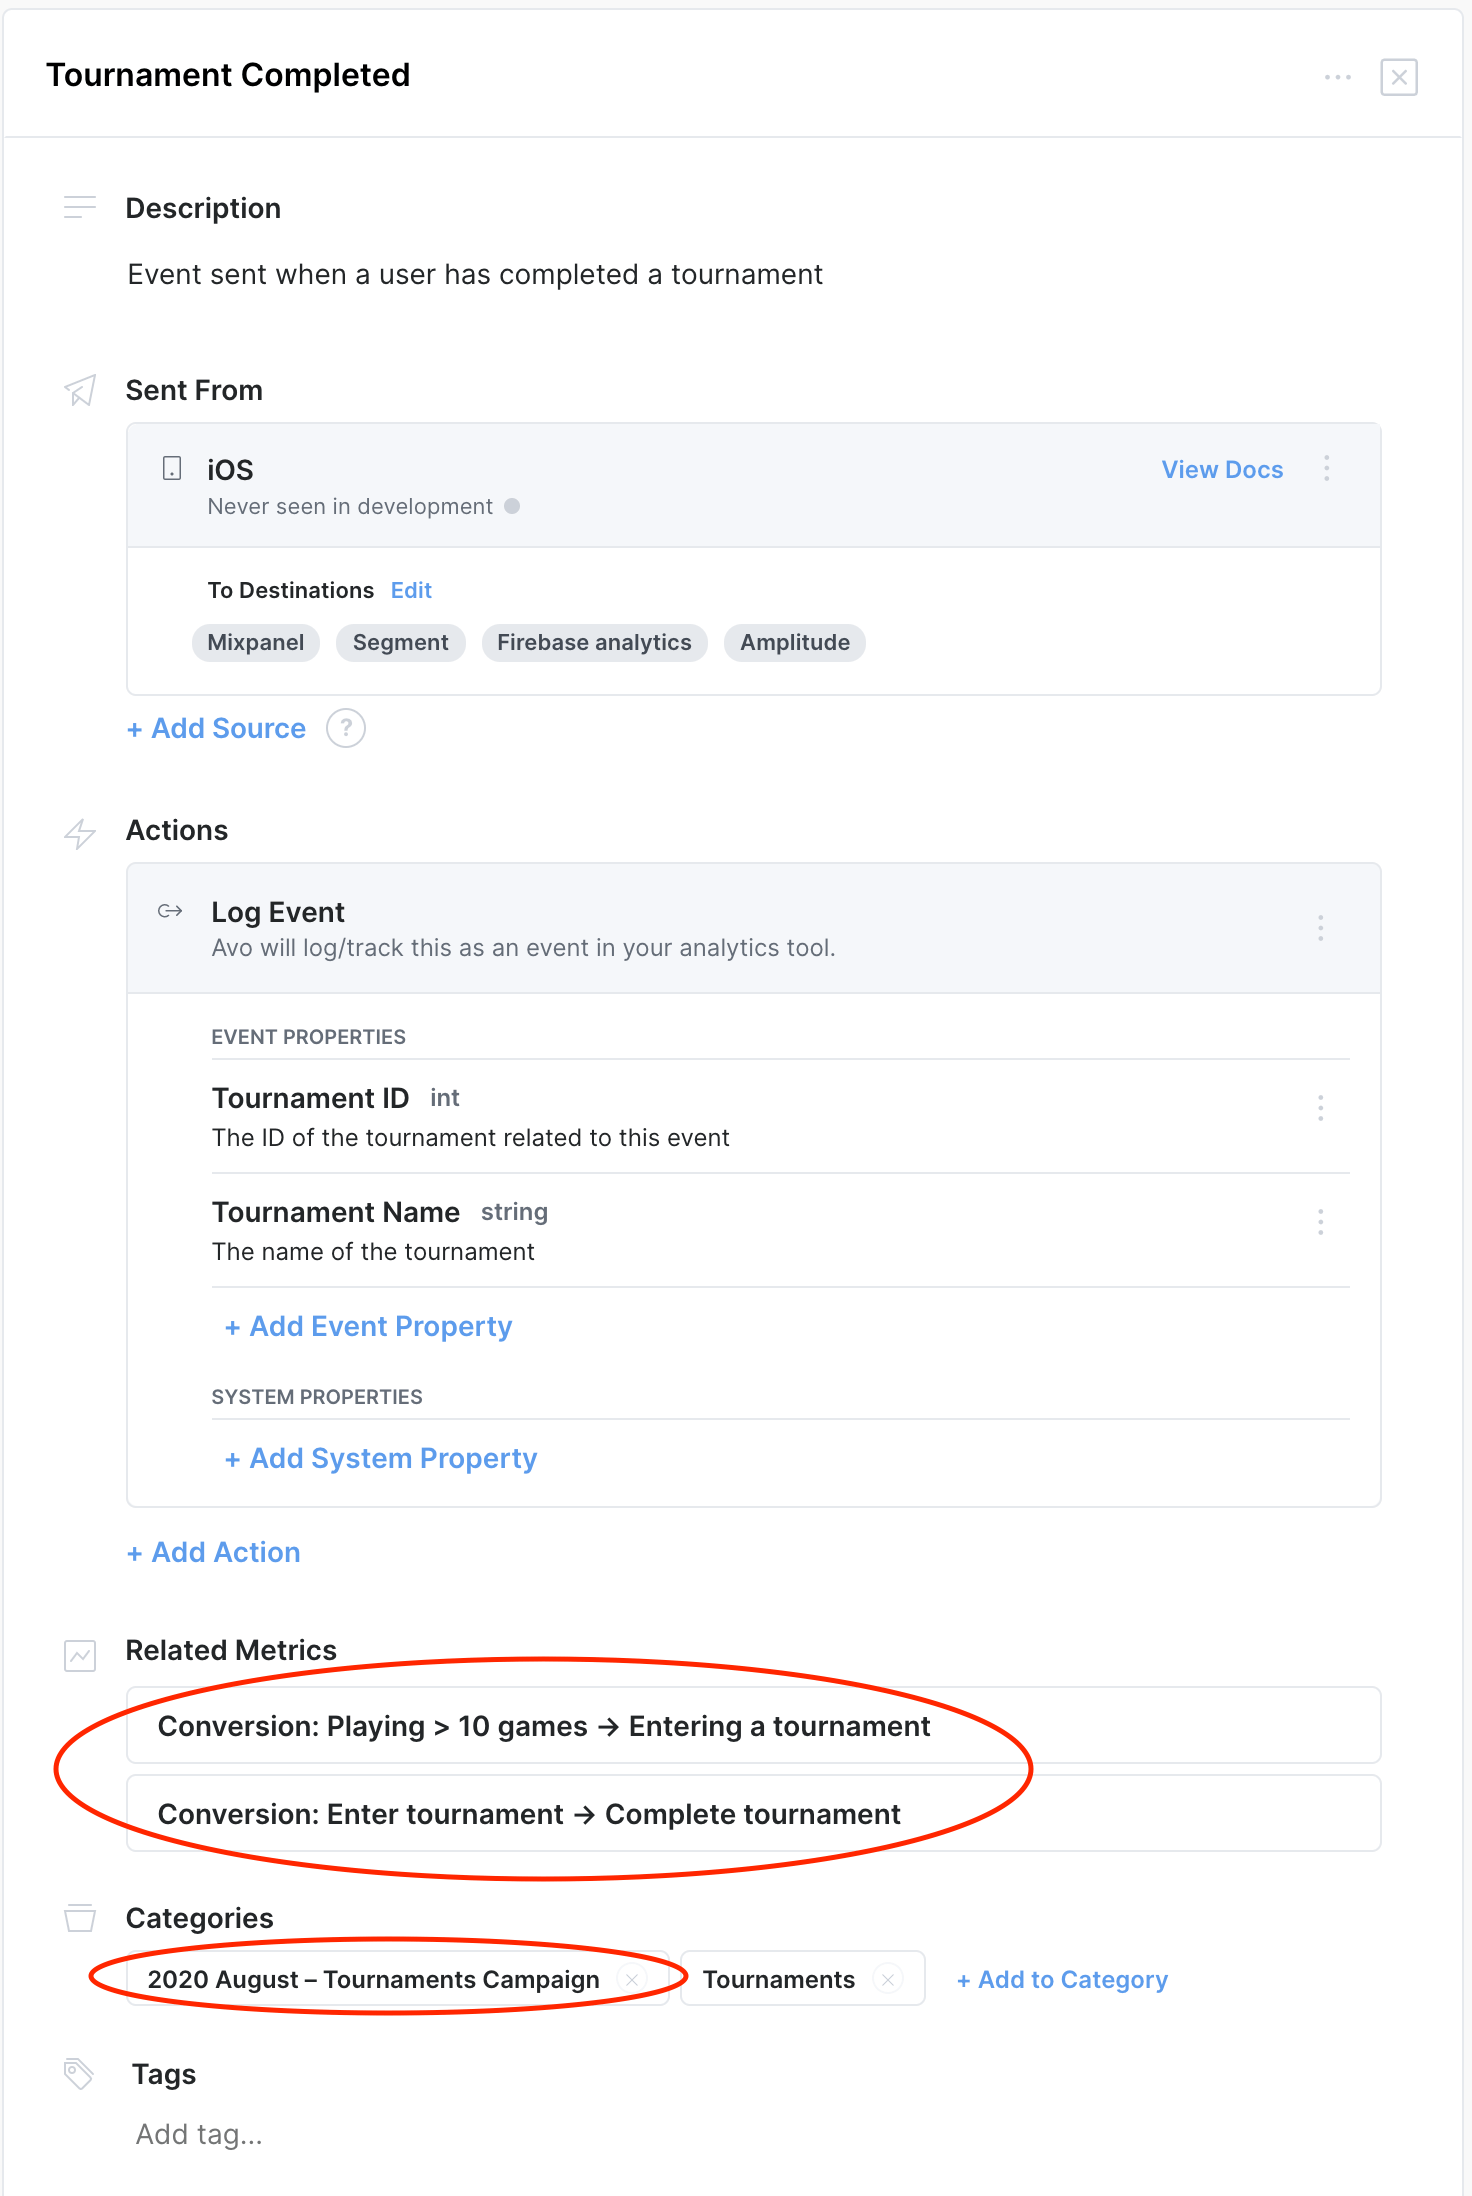
_Example: Event view for a marketing campaign per category_
## KPI dashboards
Another common dependency are KPI dashboards that use data from your product analytics. Those kind of dashboards are very important not to mess up and it's good to make that clear in context with the event definitions that this event is used in a KPI dashboards so it needs extra caution when making changes to it. In the examples below we will both be using categories and tags to document KPI dashboard dependencies.
### KPI dashboard as a category
This way you have a category that contains all the KPIs as metrics, and both the category and the metrics will be associated with the events.
To create a KPI dashboard category:
1. Go into the Metrics tab of the Tracking Plan
2. Click "+ Add Category"
3. Give your category a name (e.g KPI dashboard) and a description
4. Create metrics for each individual KPI
5. (Optional) Add events that are significant for the KPI dashboard to the category
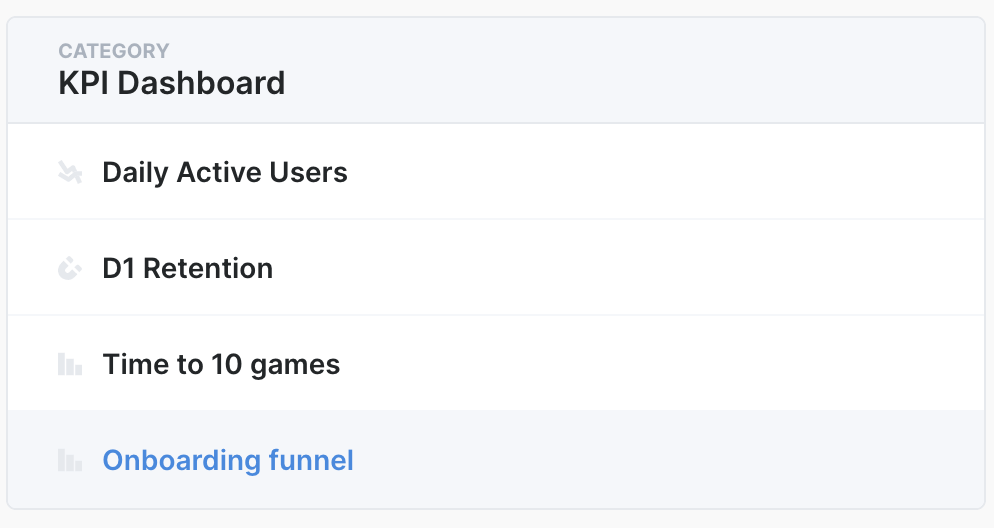
_Example: A KPI dashboard category_
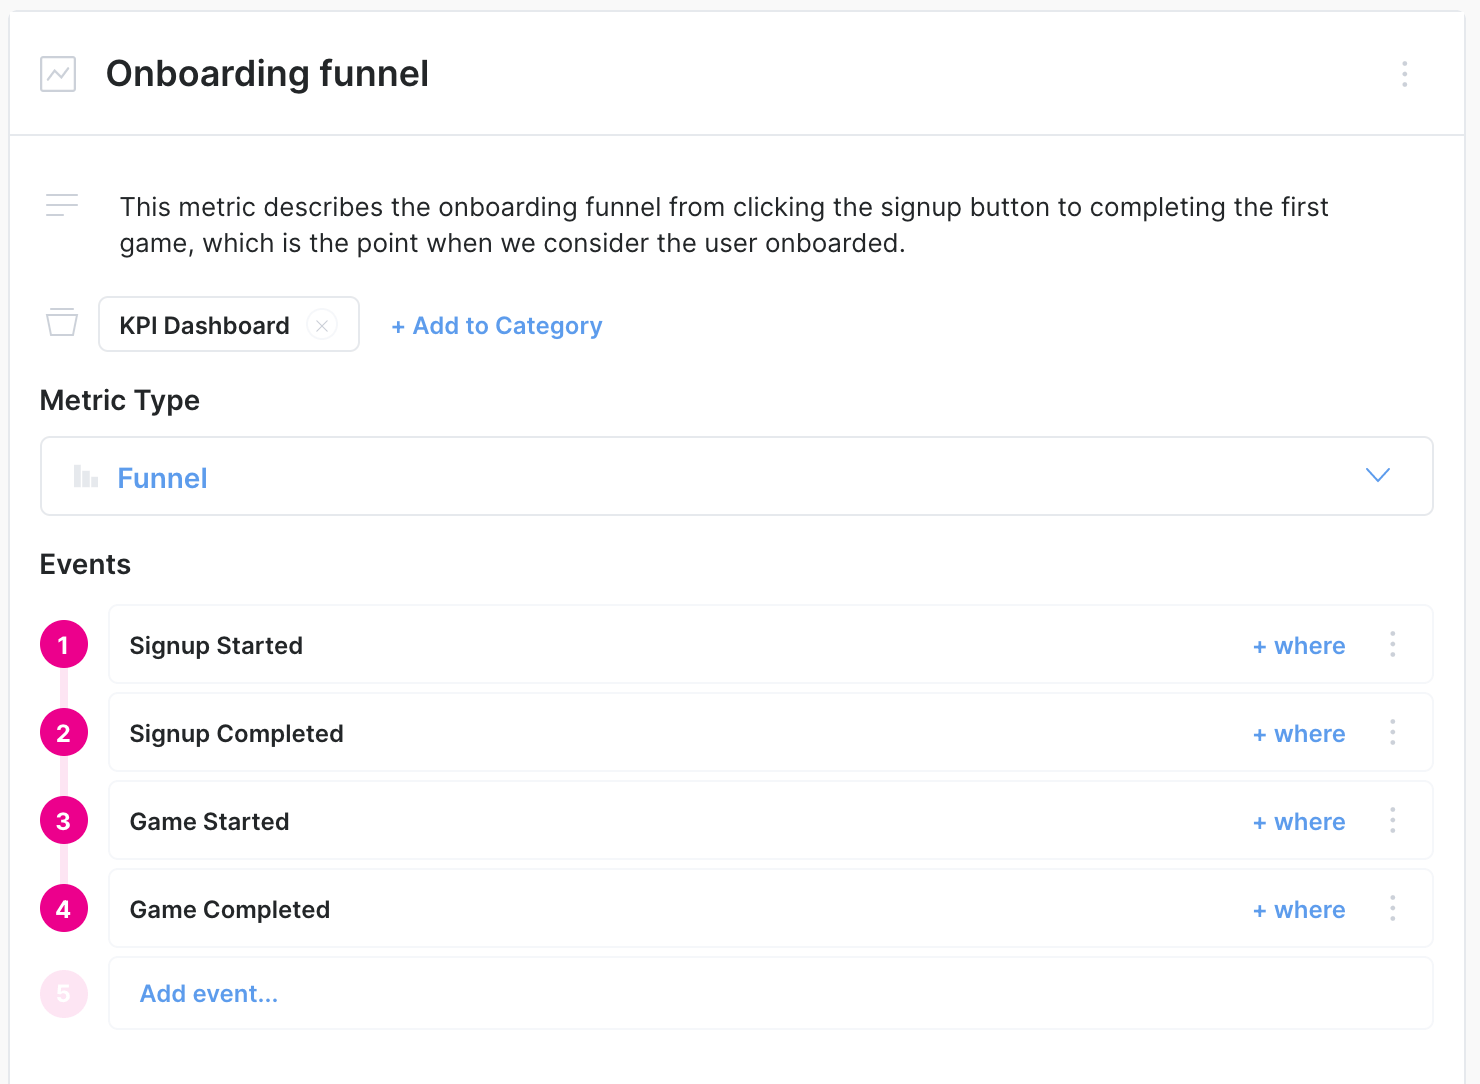
_Example: A metric representing one KPI of the KPI dashboard_
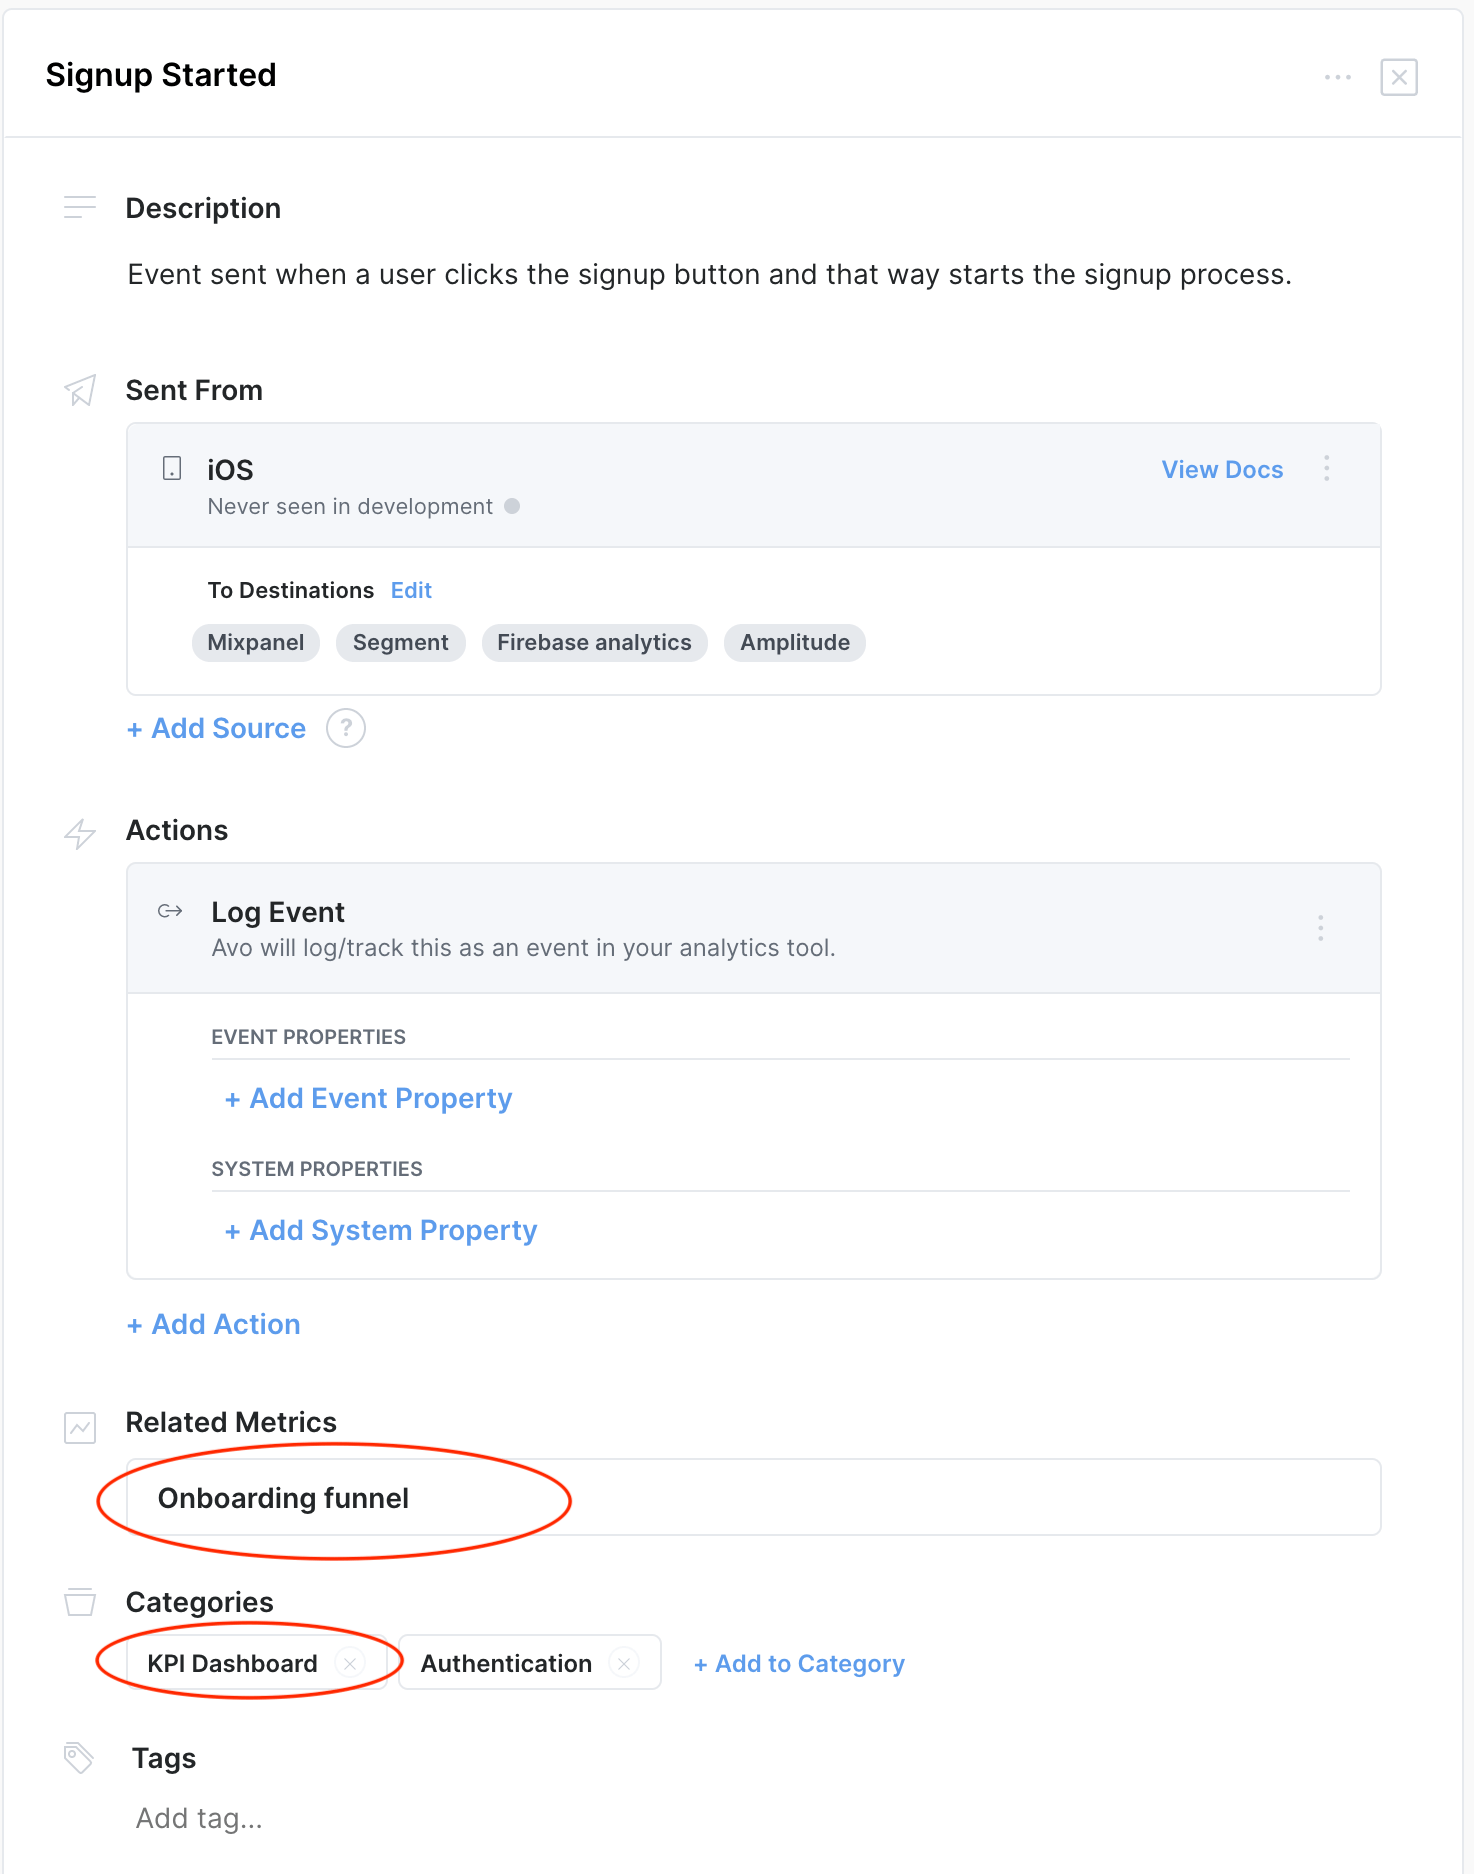
_Example: Event view for a KPI dashboard category_
### KPI dashboard as a tag
Another way to indicate that a KPI dashboard depends on an event is using tags. We still recommend defining each KPI as a metric, but they don't necessarily have to be in a KPI dashboard category.
To create a KPI dashboard tag:
1. Go into the desired event
2. Scroll down to the bottom of the event view and click "Add tag..."
3. Give the tag a name (e.g.. KPI dashboard)
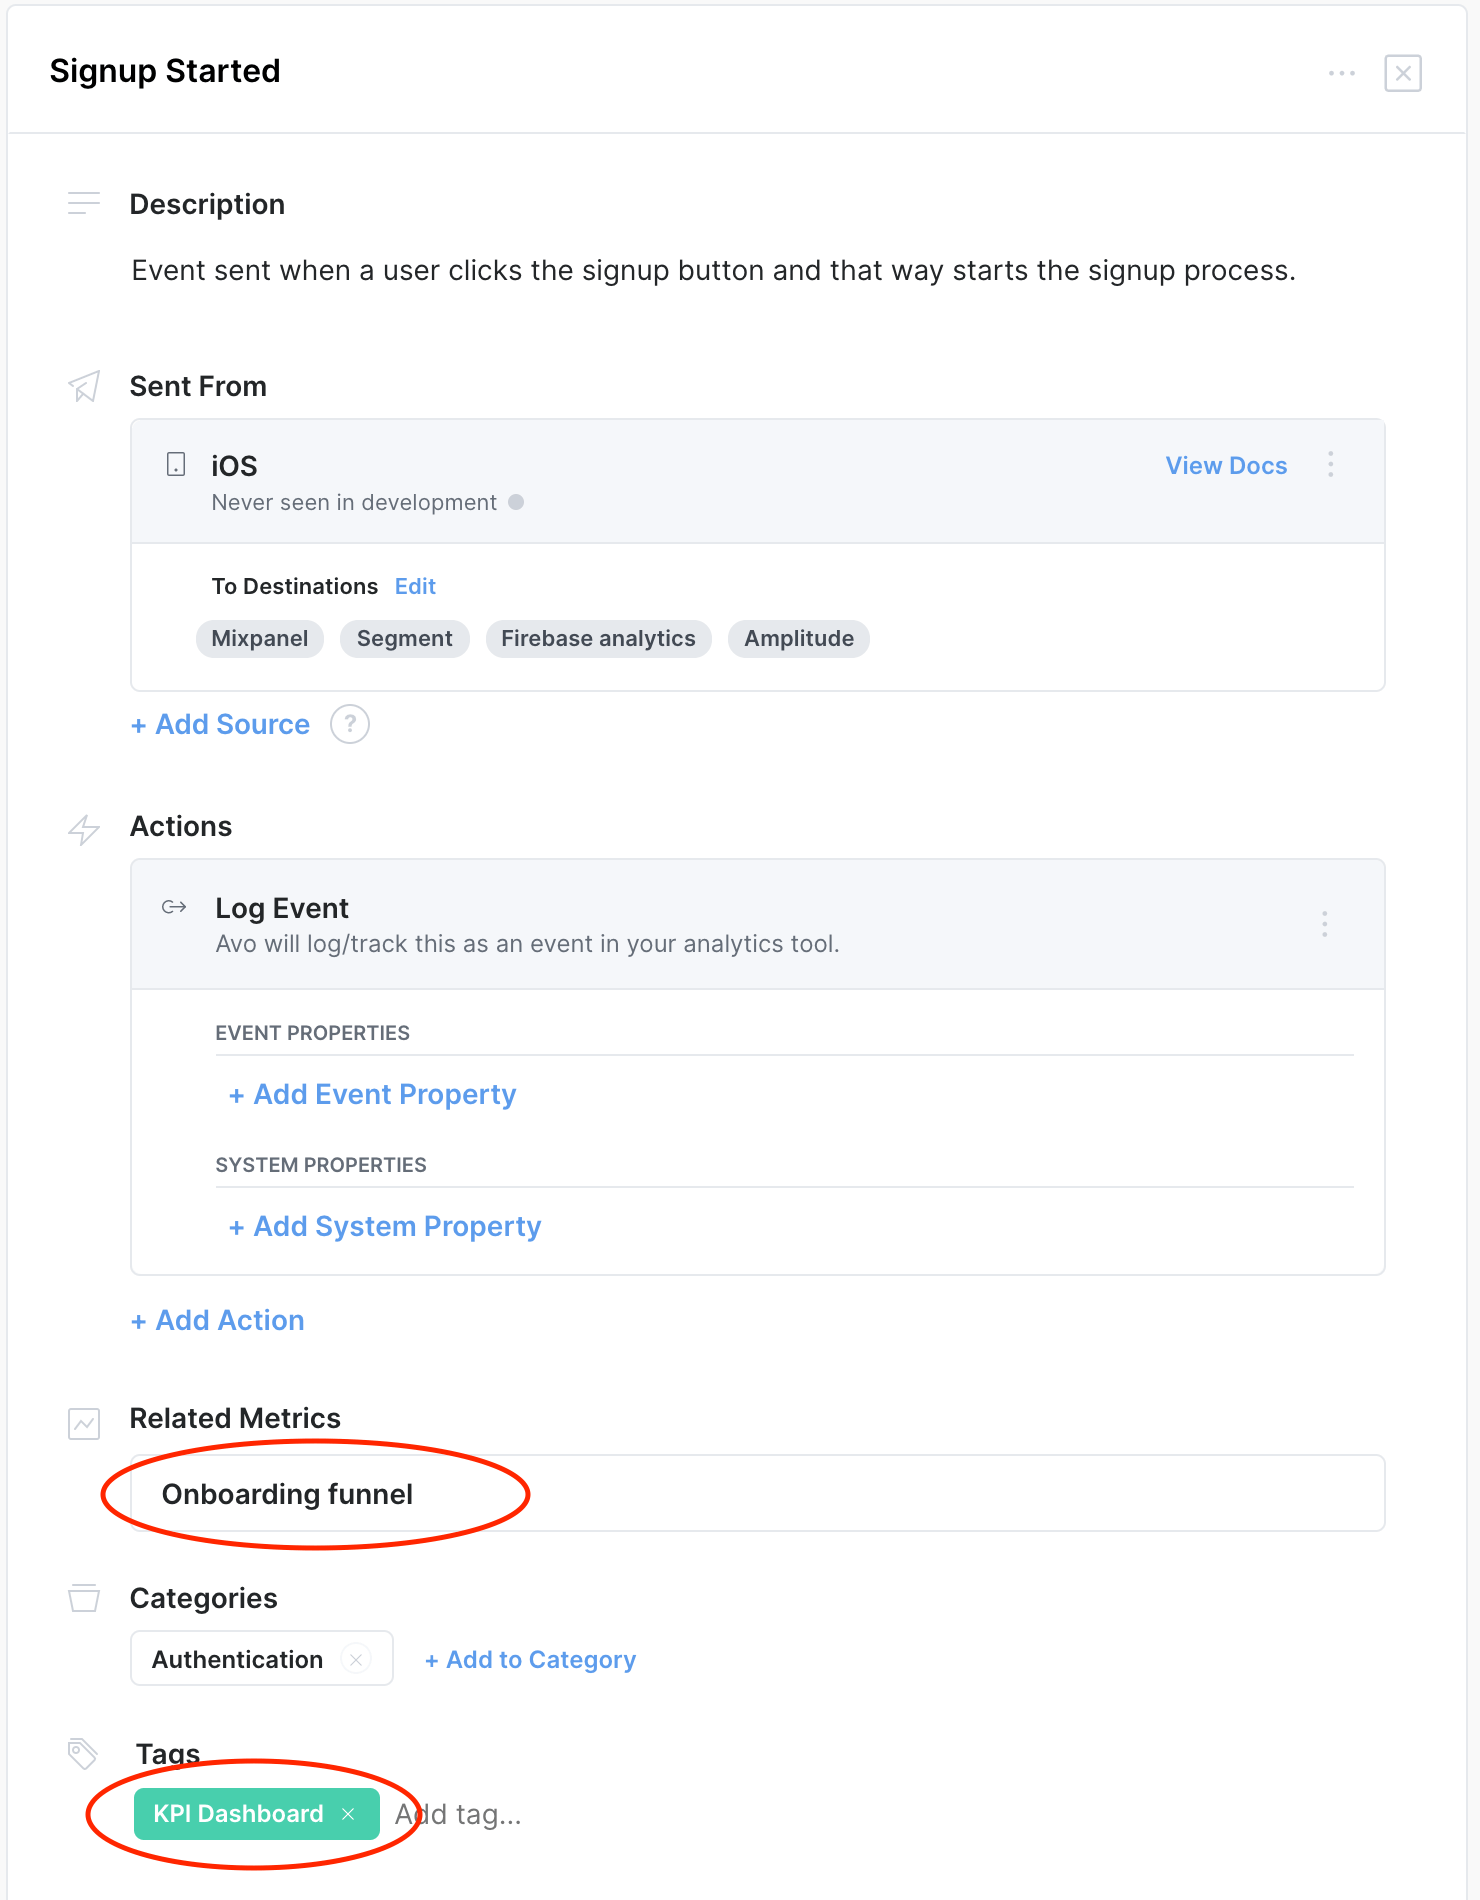
_Example: Event view for a KPI dashboard tag_
---
Source: https://www.avo.app/docs/data-design/guides/documenting-purpose-meetings-in-avo.md
# Documenting Purpose Meetings in Avo
_Using Journeys, Categories and Metrics_
Stef, co-founder and CEO of Avo, wrote this great article about [tracking the right product metrics](https://www.avo.app/blog/tracking-the-right-product-metrics). There she introduced the concept of the purpose meeting where different stakeholders of the feature or improvement being introduced align on how to measure the success of the change.
The outputs of the meeting are:
1. **Goals** – what does success look like?
2. **Metrics** – how will we measure how successful we are?
3. **Journey** – what are the most important user actions and steps in this flow?
But how can you document the outcome of this meeting in context with your event definitions in Avo?
## Option A: Using Journeys (recommended)
For product updates, whether they are new features or updates to existing ones, we recommend using [Journeys](https://www.avo.app/docs/data-design/avo-tracking-plan/journeys.md) to visually capture the purpose meeting outcomes. Journeys let you:
- **Visualize the user flow** with product screenshots or design mockups
- **Identify key user actions** by adding triggers to each step
- **Connect to events** and define property conditions for each scenario
- **Use AI assistance** to generate triggers and suggest existing events
- **Document context and notes** for the journey in the journey description
This approach transforms the purpose meeting from a documentation exercise into a visual, collaborative workflow where the entire team can see the user journey and tracking requirements in context.
### Step 1 – Open a branch in Avo
We always recommend opening a branch before making any changes in Avo. That allows you to draft changes in isolation from the source of truth on the main branch and request reviews.
To create a new branch, click the branch name in the left side navigation bar (usually "main") and then click the "Create Branch" button. Name your branch something descriptive that references the feature or product update.
### Step 2 – Find or create the relevant journey
Navigate to the Journeys tab in the left sidebar. If a journey already exists for this feature, open it to continue building. Otherwise, click "+ New Journey" to create a new one.
Give your journey a descriptive name that captures the user flow, such as "Checkout Flow" or "User Onboarding".
### Step 3 – Document goals and discussions in the journey description
In the journey details panel, add a description that captures the key outcomes from your purpose meeting:
- **Goals** – what does success look like for this feature?
- **Metrics** – how will you measure success?
- **Context** – links to product requirements, designs, or related discussions
This documentation lives alongside the visual journey, making it easy for anyone to understand the "why" behind the tracking requirements.
### Step 4 – Add journey steps
Add journey steps to visualize the user flow:
1. **Drag and drop screenshots** directly onto the canvas, or click "+ Add Journey Step"
2. **Order the steps** to match the user's path through the experience
3. **Connect steps** by dragging from one step to another to show the flow
4. **Add names and descriptions** to each step for clarity
You can use product screenshots, design mockups, or no visuals at all—whatever best represents each step in the journey.
### Step 5 – Add triggers with events
For each journey step, add triggers to define the user actions that should be tracked:
1. **Add a trigger** by clicking the placeholder trigger below a step, or use [AI to generate triggers](https://www.avo.app/docs/data-design/guides/agentic-data-design.md#generate-journey-triggers) based on the screenshot
2. **Name and describe the trigger** to clearly communicate the user action (e.g., "Clicked Add to Cart")
3. **Connect to an event** by clicking "Connect event/variant" or use [AI to suggest existing events](https://www.avo.app/docs/data-design/guides/agentic-data-design.md#reuse-events-and-variants) from your tracking plan
4. **Add property conditions** to highlight which property values are expected for this specific scenario
Once complete, your journey serves as a visual specification that product, data, and engineering teams can all review together. The triggers automatically appear in the connected event details, and the journey provides visual context for implementation.
For a full walkthrough of building journeys on the canvas, see [Creating a journey](#creating-a-journey).
## Option B: Using Categories and Metrics
Alternatively, you can use a combination of [categories and metrics](https://www.avo.app/docs/data-design/guides/organizing-metrics-and-events.md#categories) to document the outcomes.
### Step 1 – Open a branch in Avo
We always recommend opening a branch before making any changes in Avo. That allows you to draft changes in isolation from the source of truth on the main branch and request reviews.
Pro-tip: as an admin on your workspace, [you can lock down your main branch](https://www.avo.app/blog/product-announcement-built-for-collaboration). By doing this, you will create a historical log of all changes made via branch histories.
[▶ Watch video](https://www.avo.app/docs/images/best-practices/day-to-day-workflow/open-branch.mp4)
_Example: Opening a branch_
### Step 2 – Find or create the relevant category
We recommend using categories to organize your metrics and events. Categories normally represent a feature, a set of related features or important user flows.
We recommend picking a single category to document the results from the purpose meeting. The feature or improvement that you are making could of course be related to more than one, so simply pick the one that you feel like is the most relevant one.
[▶ Watch video](https://www.avo.app/docs/images/best-practices/documenting-purpose-meetings-in-avo/create-category.mp4)
_Example: Creating a category_
### Step 3 – Document your goals and discussions
Here you have the flexibility to format your goals and discussions as you like. We like to document important findings such as the topic of the meeting, the problem that the feature or improvement is addressing, and of course the goals.
Here’s an example of what we documented following a purpose meeting about our collaborators feature:
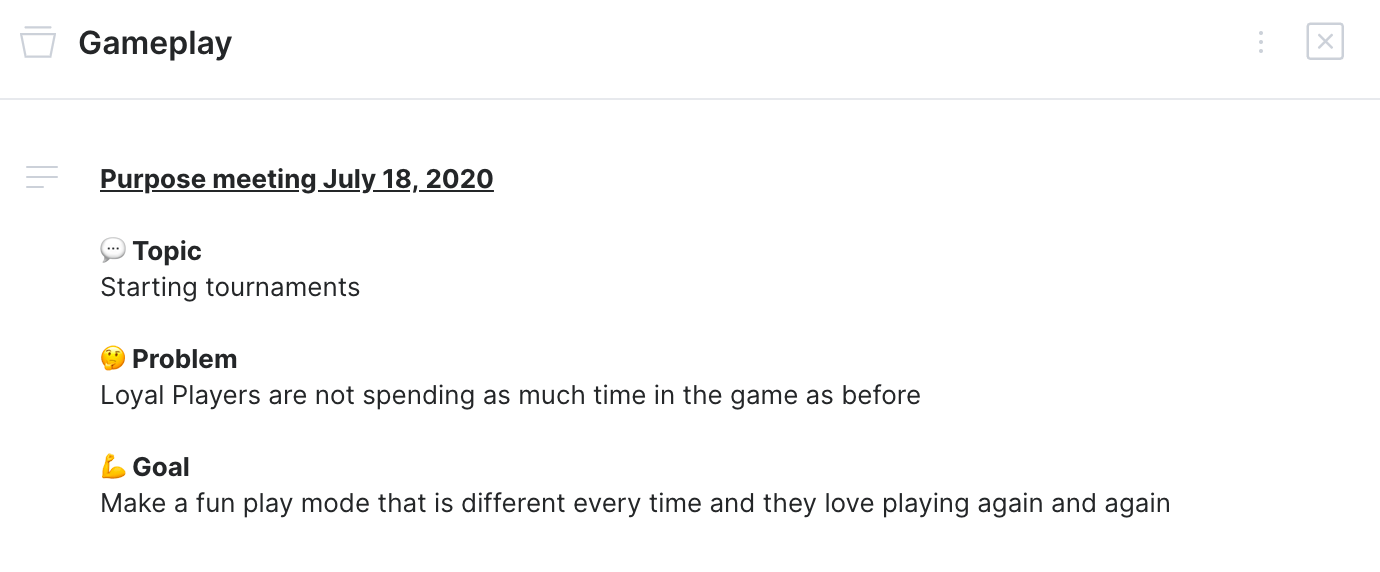
_Example: Goals and discussions in category description field_
### Step 4 – Add your metrics
Define your metric in the category (you can also add it to other categories if you want!). Currently you can define four types of metrics: funnel, segmentation, proportion and retention. This will help you remember how you intended to structure your metric in your analytics platform later, and for other people to easily do it themselves. We love self-serve analytics culture!
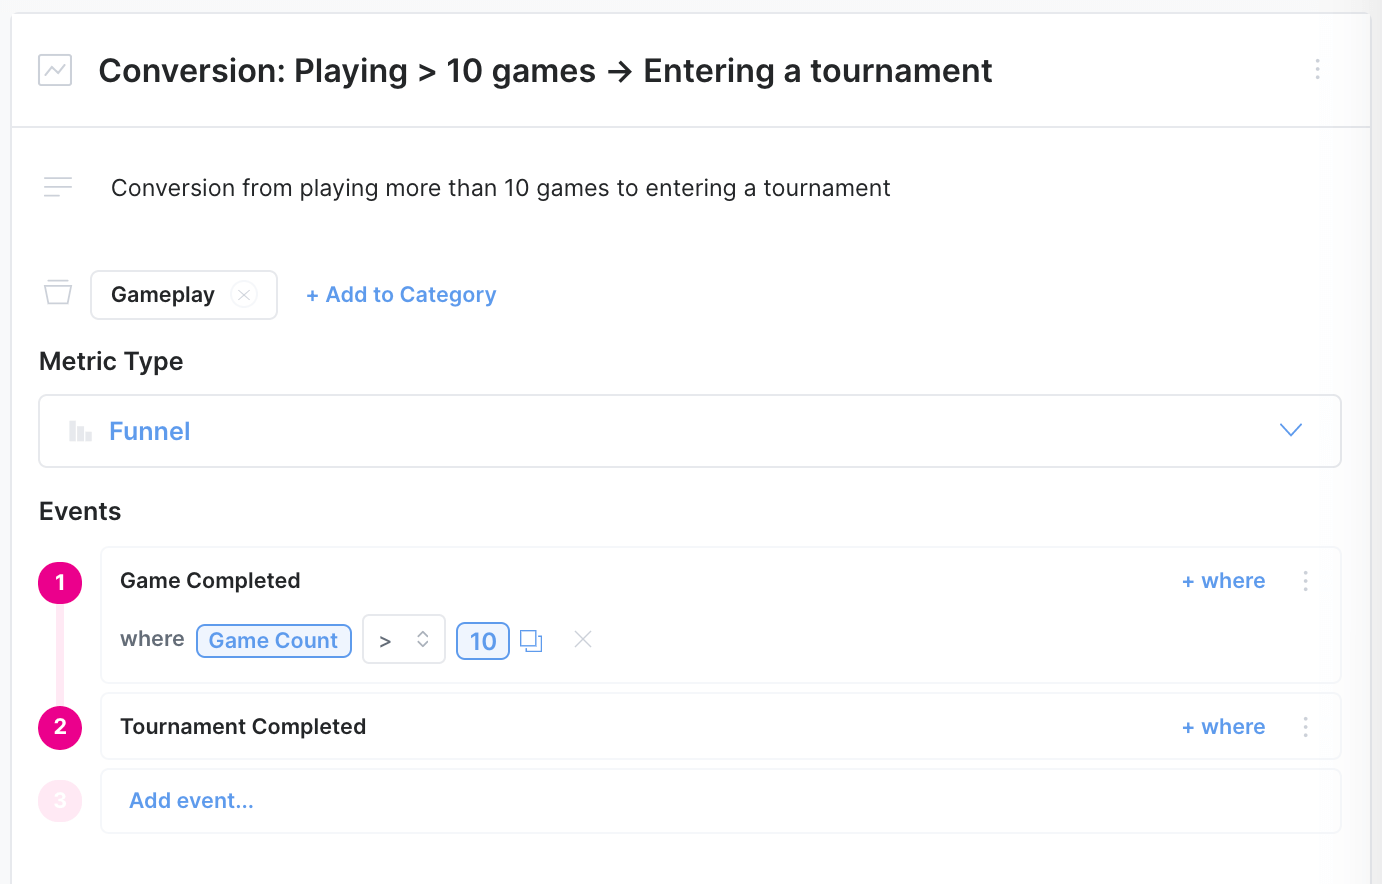
_Example: Metric definition_
### Step 5 – Add your events
Finally you are ready to add your events and structure them the way you need to for your success metrics. You can do this from either the metrics view (to help you understand which properties you need to filter or segment by) or directly in the category view.
And here’s an example of the final result:
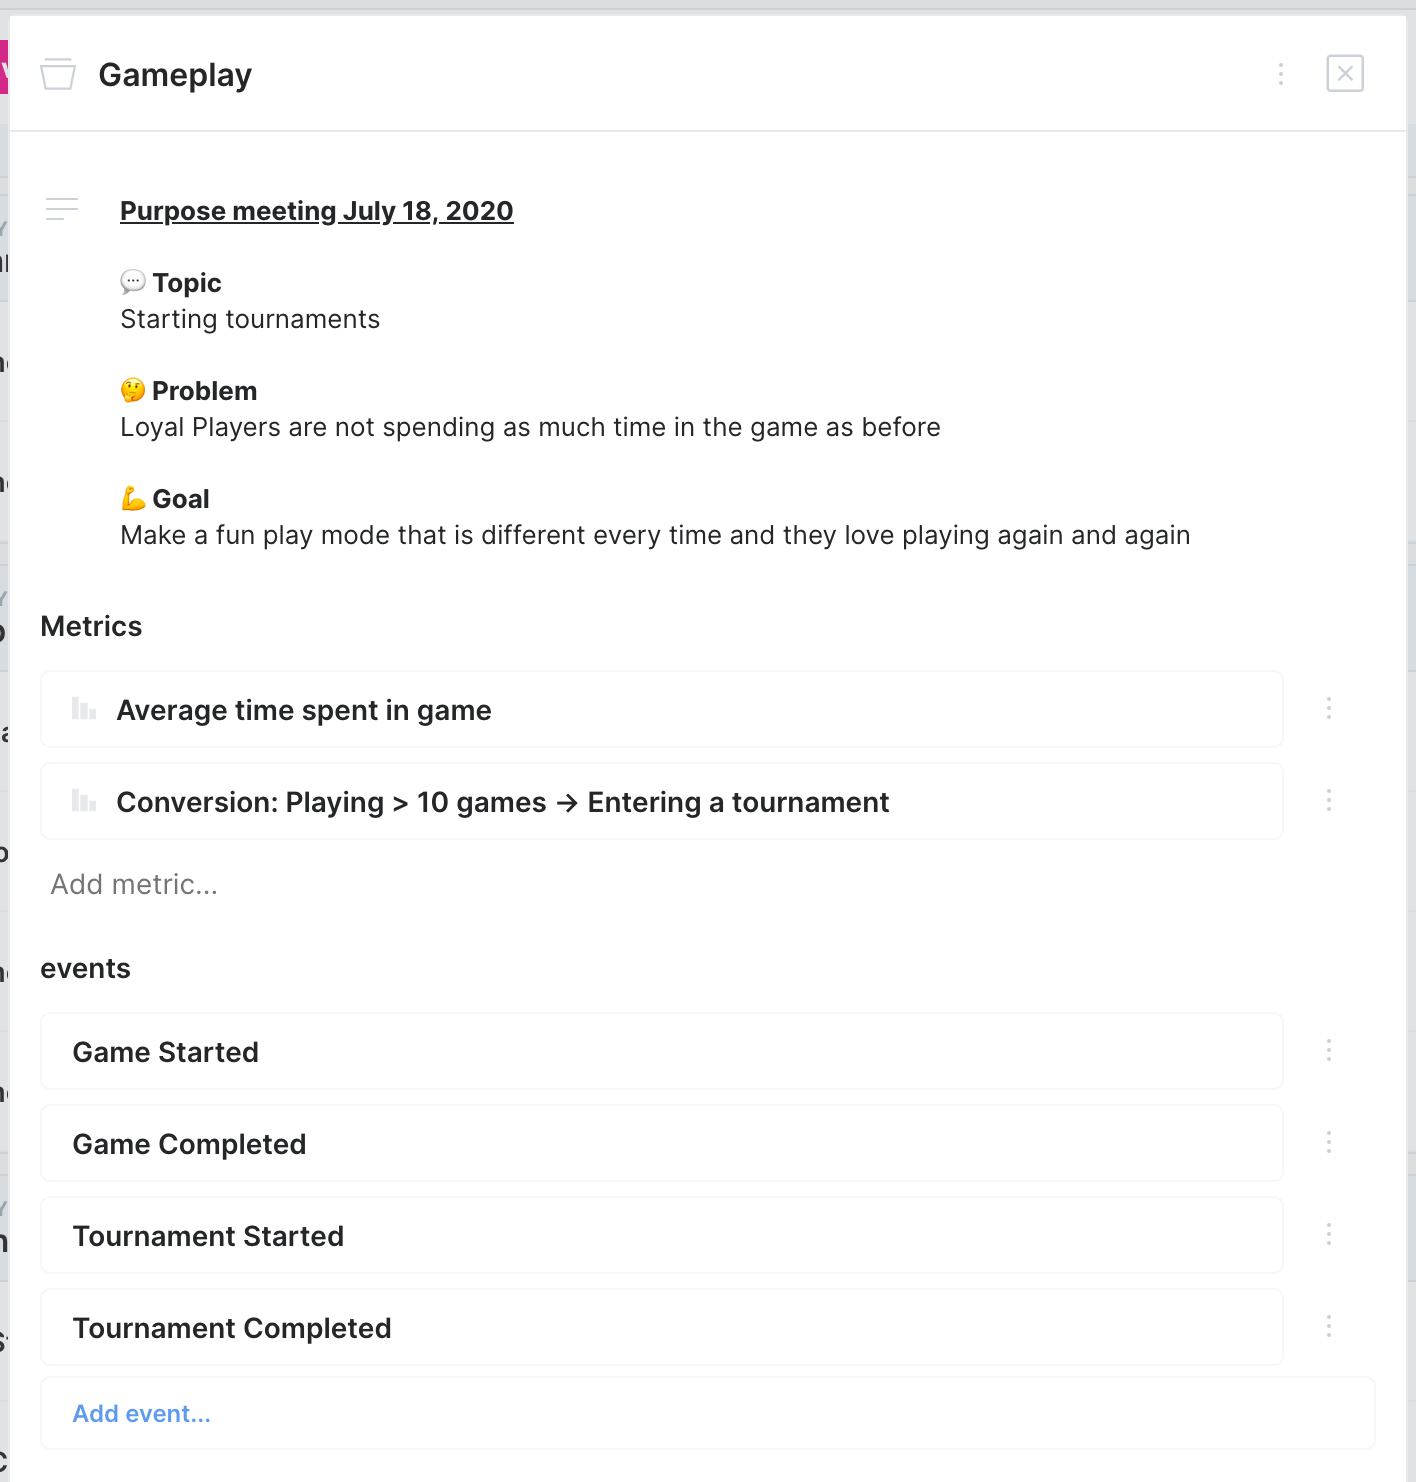
_Example: Purpose meeting outcome_
Thoroughly documenting your Purpose Meeting outcomes and conversations is one critical step in making sure your product and analytics data stands the test of time. Sure, it’s just another step in the pipeline now, but think how much easier it will be to onboard a new team member, or to iterate on analytic choices in the future. Your data quality will thank you!
With Avo you create this single source of truth to future-proof the insights in your product analytics to create reliable data now and tomorrow. [Start using Avo today to create better data practices for tomorrow](https://www.avo.app/onboarding).
---
Source: https://www.avo.app/docs/data-design/guides/event-triggers.md
# Triggers and Use Cases
Triggers communicate, visually and in writing, the exact user, system or navigation actions that trigger an [event](https://www.avo.app/docs/data-design/avo-tracking-plan/events.md) or [variant](https://www.avo.app/docs/data-design/avo-tracking-plan/event-variants.md) to be sent. In Avo there are two types of triggers:
- **Event triggers**: Event triggers are defined in event/variant details and are connected to a single image.
- **Journey triggers**: - Journey triggers are defined in the Journey builder and are connected to one or more journey steps that may contain an image.
| | Journey triggers | Event triggers |
| ----- | ----- | ----- |
| Definition | Journey builder | Event/variant details |
| Image location | In journey steps | Directly on the trigger |
| Image count | Multiple images | Single image |
| Property conditions | Highlight values for the trigger | Not supported yet |
| Source specificity | Not supported yet | Can be limited to specific sources |
> 💡 Note that both Event triggers are available on the Team and Enterprise plans. Journey triggers are available within a single journey on the free plan.
## Journey triggers
### How to use journey triggers
Journey triggers live in the Journey builder and represent the navigation, system, or user action on a journey step that should cause tracking. They connect to existing events or variants (or help you create new ones), and they can:
- Have a [name](https://www.avo.app/docs/data-design/avo-tracking-plan/journeys.md#event-trigger-name) and [description](https://www.avo.app/docs/data-design/avo-tracking-plan/journeys.md#event-trigger-description) describing the action that the trigger represents
- Include one or more screenshots from connected [journey steps](https://www.avo.app/docs/data-design/avo-tracking-plan/journeys.md#journey-step)
- Include [property conditions](https://www.avo.app/docs/data-design/avo-tracking-plan/journeys.md#event-trigger-property-condition) to highlight which values should be sent for a particular scenario
- Be connected to an [event](https://www.avo.app/docs/data-design/avo-tracking-plan/events.md) or [event variant](https://www.avo.app/docs/data-design/avo-tracking-plan/event-variants.md)
You’ll typically add journey triggers while composing a flow of screenshots for a product update. If you opt in to Avo Intelligence for Journeys, you can also generate journey triggers with AI and have AI suggest matching events/variants from your tracking plan.
See details about how to define journey triggers in the Journeys documentation: [/data-design/avo-tracking-plan/journeys](https://www.avo.app/docs/data-design/avo-tracking-plan/journeys.md#journey-triggers).
### Use cases for journey triggers
- Visual coverage for reviews: ensure every key interaction in a journey step maps to an event or variant
- Prevent duplicate events: connect a trigger to an existing event/variant rather than creating a new one, with AI suggestions to help discovery
- Communicate property expectations: use property conditions to call out required values (e.g., “Payment Method is set”) for each scenario
- Onboard faster: the journey provides a single visual source of truth linking screenshots → triggers → events/variants → property conditions
Common patterns when laying out journeys:
- Journey steps connected with triggers below each step: steps visualize navigation while triggers live underneath as metadata
- Triggers used between steps to define branches: model multiple paths; only connections from a step to a trigger attach the screenshot to the trigger
- Triggers connected inside a step to show sequence: clarify the order of sub-actions within a single screen before moving on
For a deeper overview of building journeys, see the Journeys documentation: [/data-design/avo-tracking-plan/journeys](https://www.avo.app/docs/data-design/avo-tracking-plan/journeys.md).
## Event triggers
### How to use event triggers
Event triggers can be found in the event details view under "Triggered when", between the description and sources.
To add a trigger to your event:
1. Open the event
2. Click "+ Add Trigger"
3. Upload a product screenshot (we recommend adding an annotation to the screenshot to highlight what component in the view is the trigger)
4. Add a description for the trigger describing what interaction or part of the screenshot it refers to
5. Select the sources that the trigger applies to
- If no source is specified, the trigger will default to "source independent" and be included in the implementation instructions and Avo Codegen for all sources on the event.
6. Click the "Create" button to finalize the trigger
[▶ Watch video](https://www.avo.app/docs/images/best-practices/triggers/add-trigger.mp4)
### Use cases for event triggers
You can use Event Triggers to communicate very clearly from where the event should be sent and at what moment. Below are examples of different ways of using event triggers to communicate that with your team.
#### Multiple platforms have different visuals for the event
When you have an application on web and mobile, they often have different triggers for the events. In that case it's very convenient to be able to communicate visually when the event is sent on mobile on one hand and on web on the other hand.
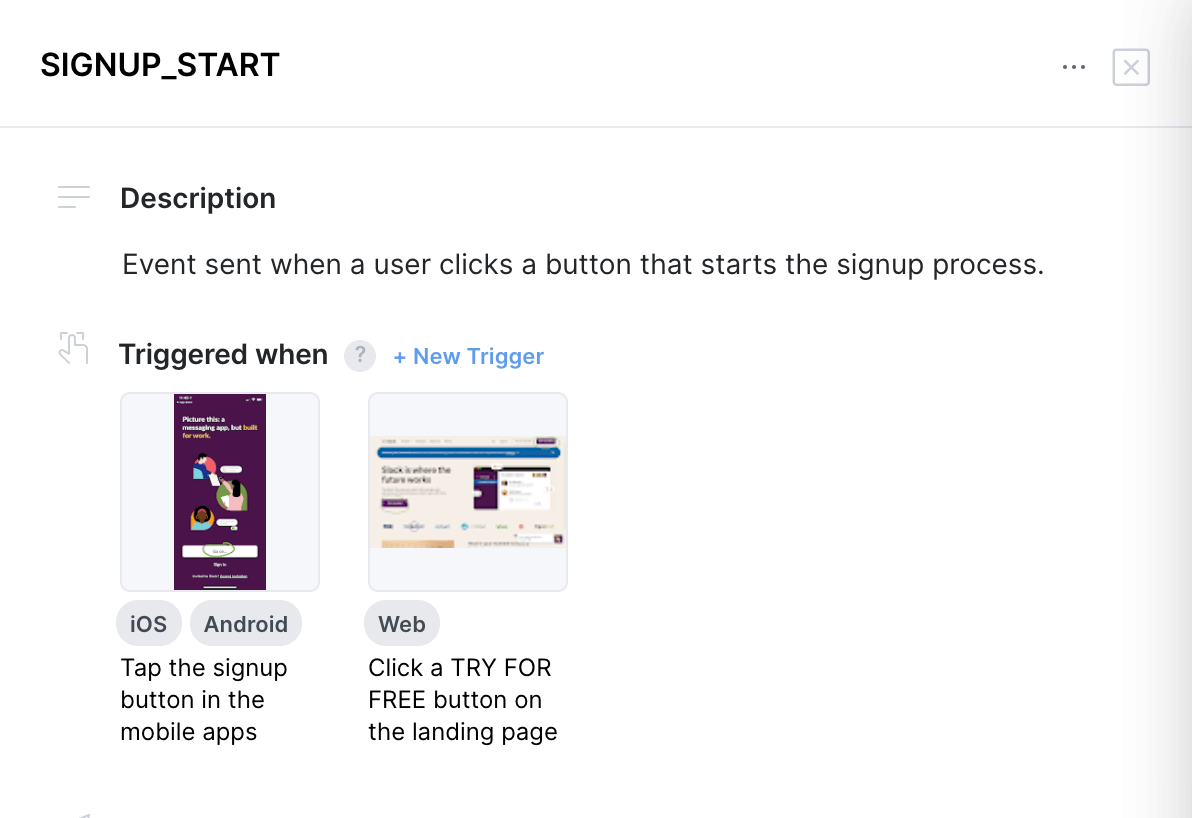
#### Multiple locations in your application to perform a user action
When you have multiple locations in your application where a user can perform an action (for example with multiple buttons to sign up) then it's good practice to include all scenarios such that the developers implementing don't forget to add the event to a specific call site in their code.
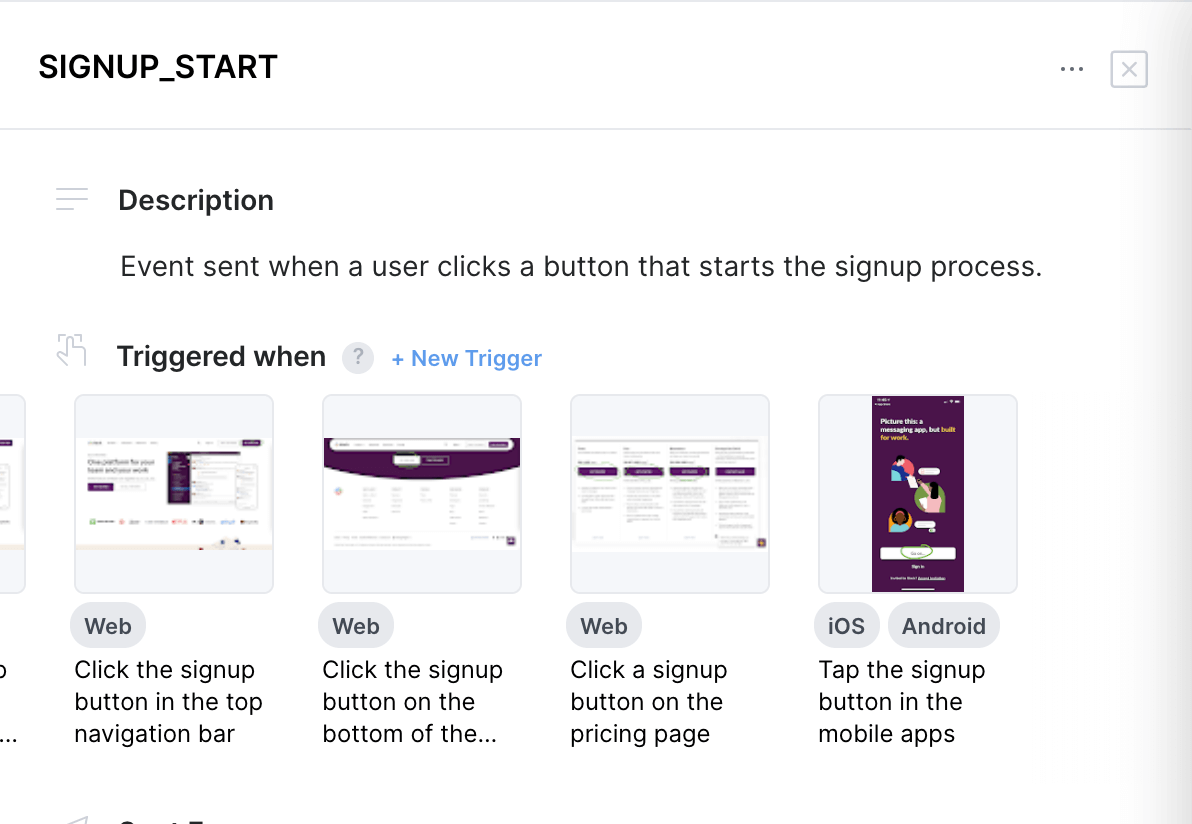
#### Deep events
When you have deep events (events that include multiple related user actions, distinguished by a property), it's good practice to communicate all scenarios by using multiple triggers.
For example if you have an event for all interactions to a billing modal, you can add triggers for every single interaction.
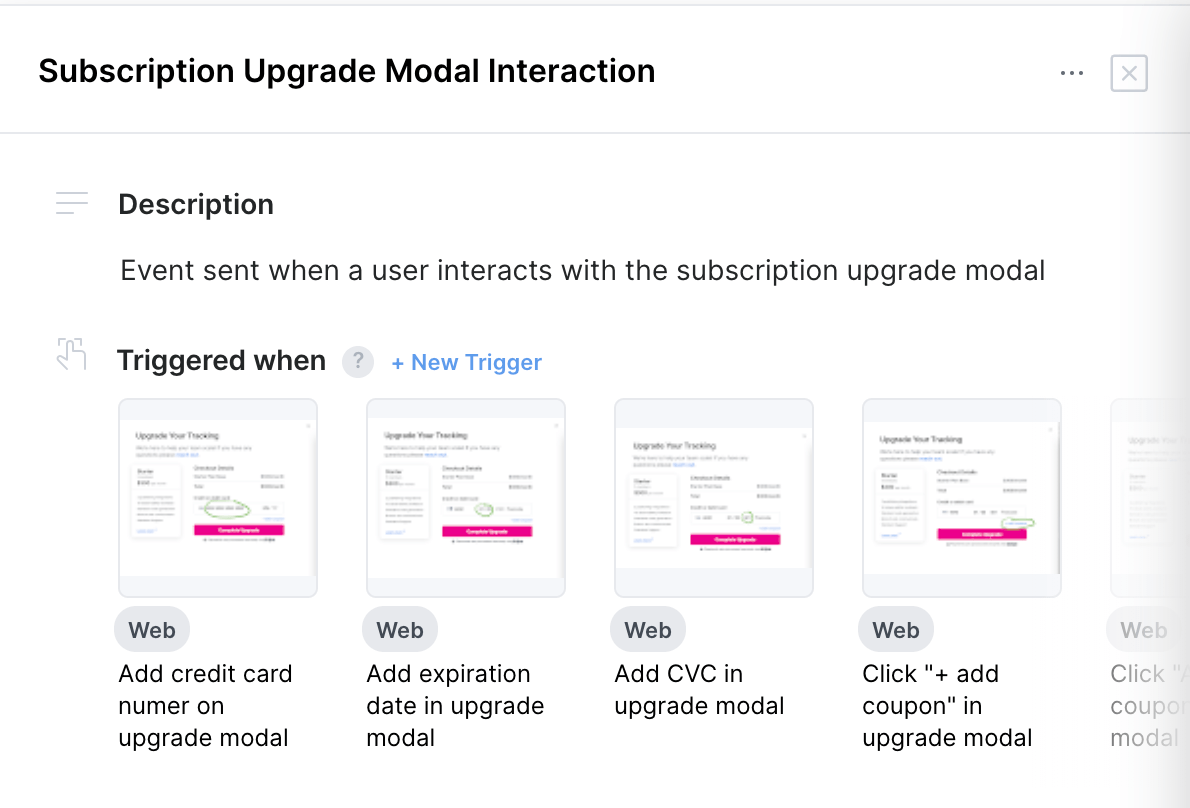
#### Adding a call site for an event
Triggers facilitate a very nice way to communicate to a developer when they need to add a new call site to an event. For example when a new button for the user action is added or a new option in a setting screen is added. Then the new trigger for the event is displayed in the review screen, implementation instructions and Avo Codegen.
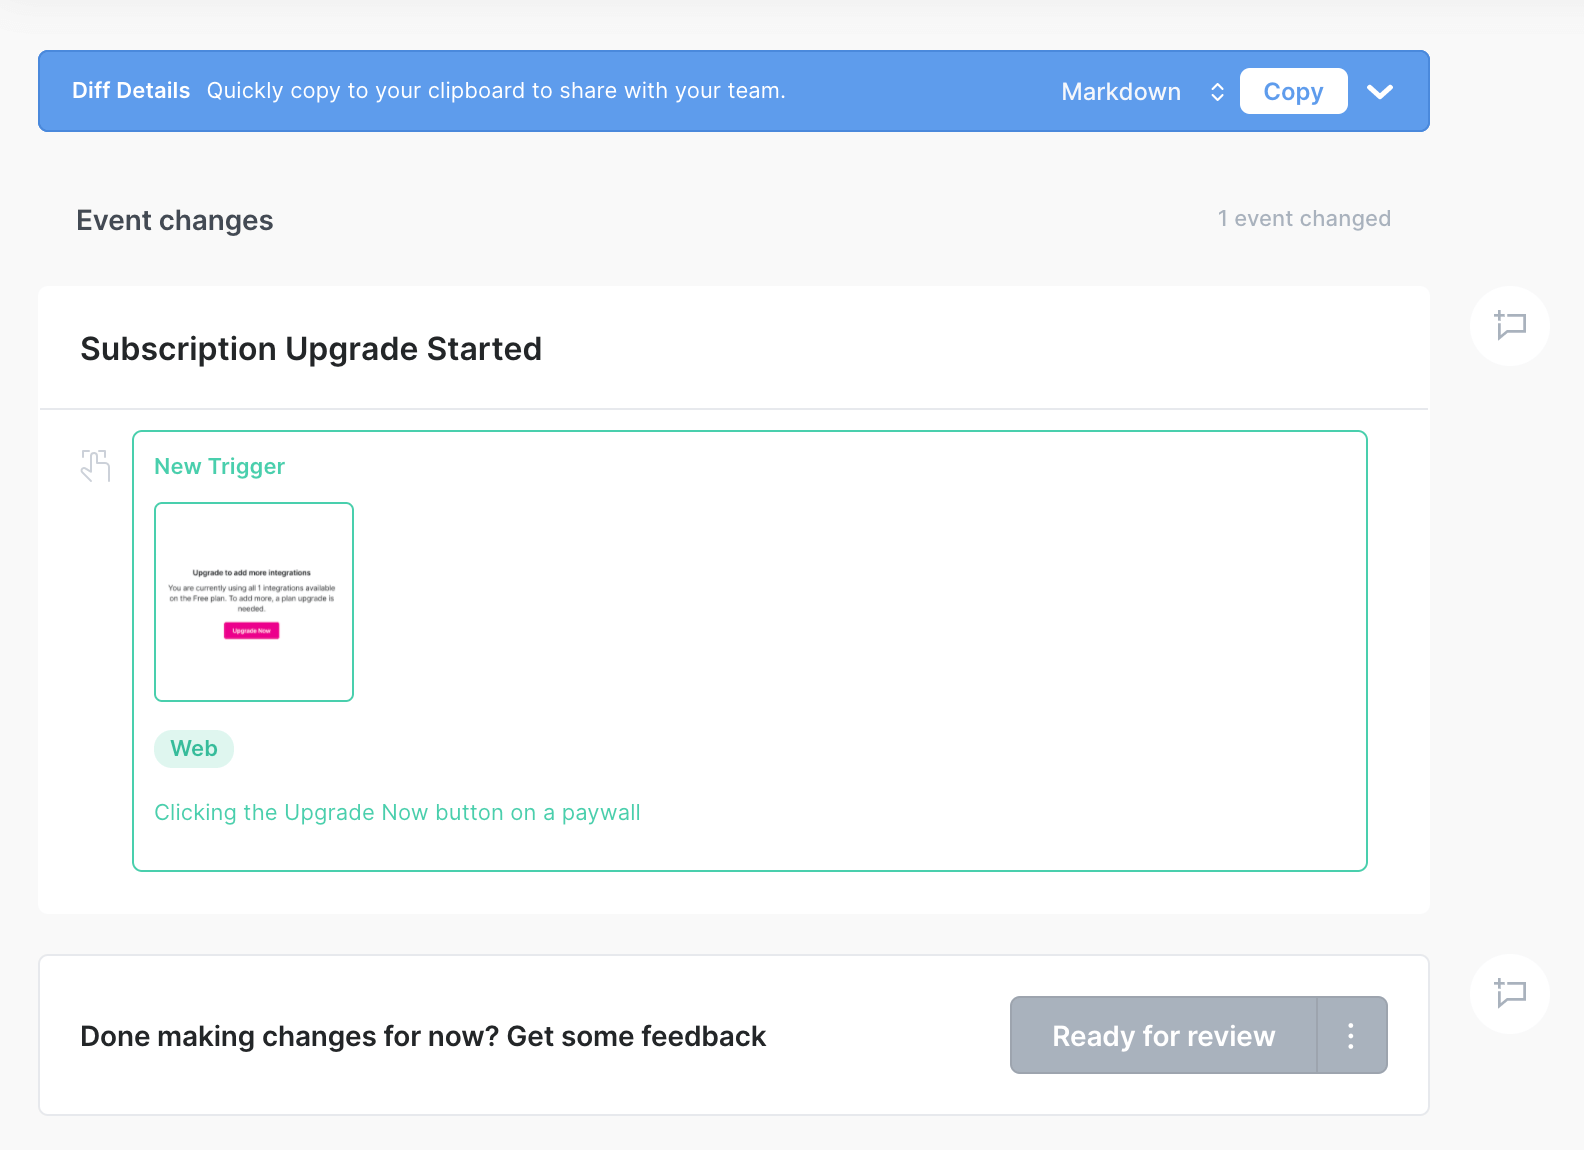
#### One trigger for all scenarios
Whenever there is simply one location that a user can perform an action or when a single screenshot is sufficient to describe when an event is sent, it can be useful to simply add one trigger and have it "source independent".
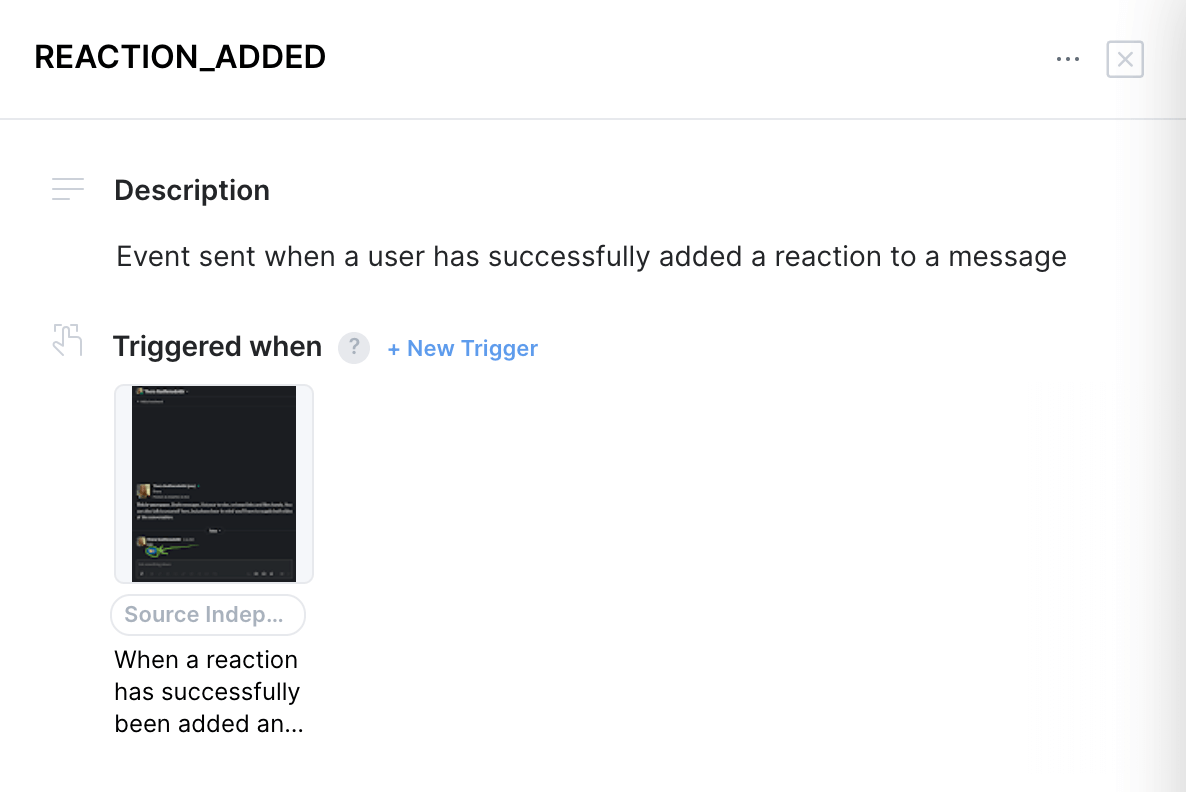
---
Source: https://www.avo.app/docs/data-design/guides/managing-changes-impacting-multiple-stakeholders.md
# Managing changes impacting multiple stakeholders
When a large organization is sharing a single tracking plan, it's not unlikely that changes to the tracking plan will impact multiple [stakeholder teams](https://www.avo.app/docs/images/domains/impacted-stakeholders-in-branch-bar.png) within your organization. To prevent users from unknowingly making changes that may disrupt the events other teams rely on, Avo offers tools to surface this potential impact and mitigate it.
> 💡 A stakeholder team refers to a certain function or area within your organization. It could be a product area (Search, Checkout, etc), an entire app for specific personas (Drivers, Riders, etc) or a business function independent of the product (Marketing, Sales, Finance, etc.). [Learn more](https://www.avo.app/docs/data-design/avo-tracking-plan/stakeholder-domains.md)
In Avo you can assign stakeholder teams as stakeholders on tracking plan items (events, event variants and properties) in your tracking plan, to ensure that anyone making changes in Avo is aware of who those changes will impact. With this awareness, they can choose to [tweak the changes to reduce the scope](#minimizing-stakeholder-impact), or [loop in the relevant stakeholders](#aligning-on-cross-domain-changes).
- [Stakeholders](https://www.avo.app/docs/data-design/avo-tracking-plan/stakeholder-domains.md): How to assign tracking plan items to stakeholder teams
## Impacted stakeholders
When a user in your workspace drafts changes on a branch in Avo, the "Impacted stakeholders" indicator in the branch header keeps track of how many stakeholder teams will be impacted by the suggested changes.

When you click the indicator it will expand to show the following:
- Which stakeholder teams are impacted by the changes on your branch. The stakeholder teams you are not a member of will be surfaced at the top of the list and indicated with a pink dot.
- A preview of the members of each stakeholder team – you can also click the stakeholder team name to see more details on the stakeholder team name and its members
- For each stakeholder team a list of the tracking plan items you have changed that they are marked as stakeholders of.
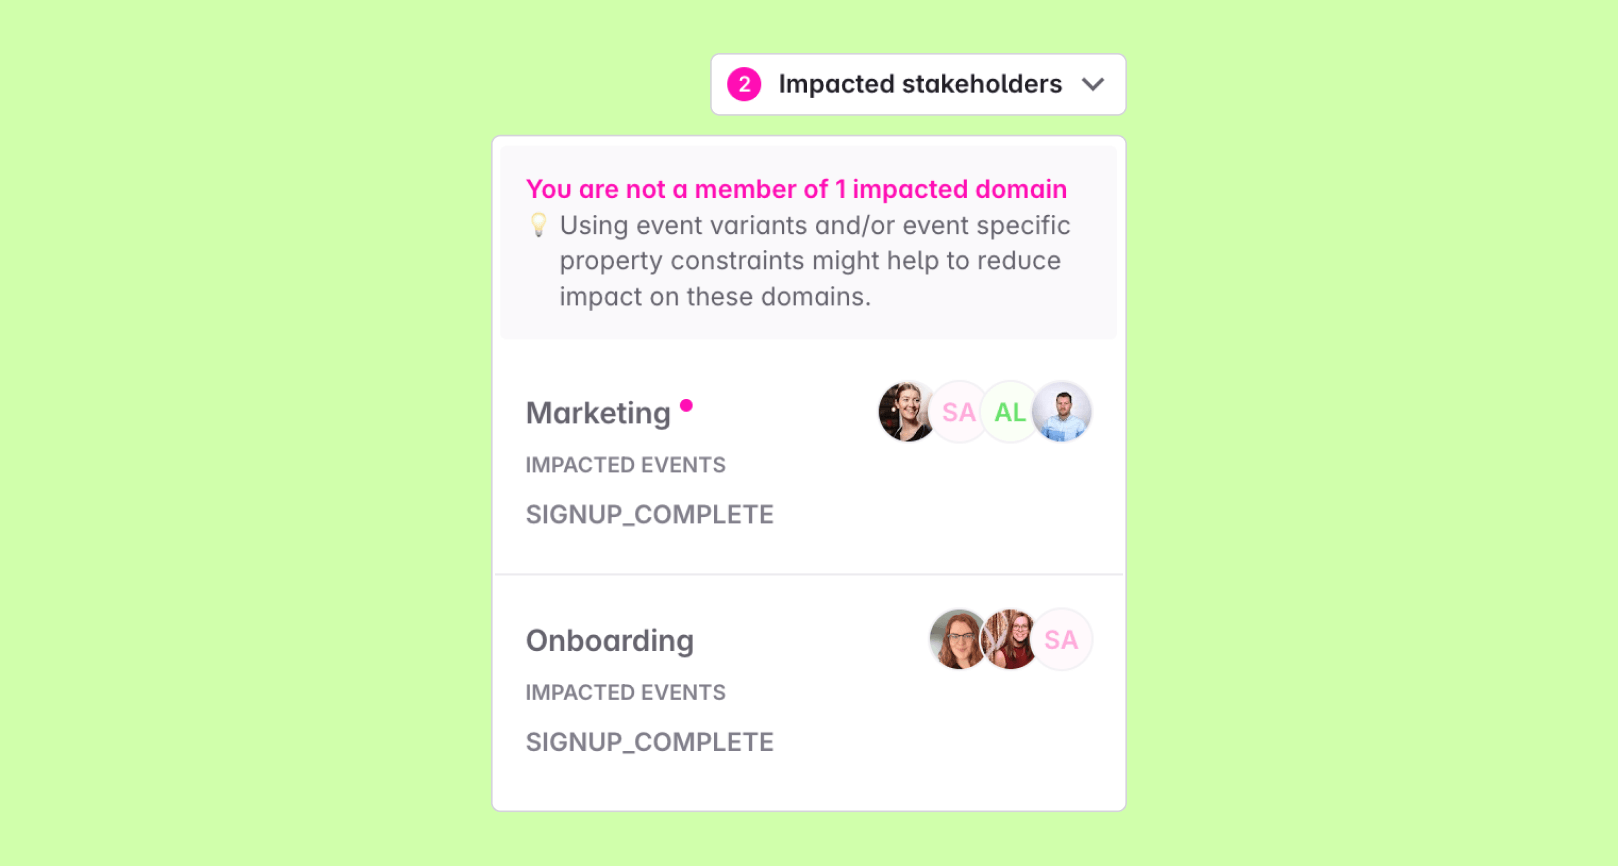
> 💡 Note that the full Impacted Stakeholders functionality is only available on our [Enterprise Plan](http://avo.app/pricing).
## What counts as an impacting change?
Avo calculates impact from a **behavioral diff** of your branch against main – it compares how each event *will be sent*, per source, before and after your changes. Event variants are diffed as events of their own, and properties are compared as they resolve onto each event (including properties that come in through property bundles).
A stakeholder team is marked impacted when an item they are a stakeholder or owner of shows up in that diff. **Changes that only affect how an item is documented – not how it is sent – do not mark anyone as impacted.**
### Changes that impact stakeholders
**On an event or event variant**
| Change | Breaking? |
| --- | --- |
| Adding a new event or event variant | Breaking |
| Removing (archiving) an event or event variant | Breaking |
| Renaming an event or event variant | Breaking |
| Changing an event's name mapping | Breaking |
| Adding or removing a source on the event | Breaking |
| Turning "Include in code generation" on or off for a source | Breaking |
| Changing the event's actions (log event, update user properties, etc.) | Breaking |
| Changing which destinations the event is sent to | Non-breaking |
| Changing the event's group types (event groups or user groups) | Non-breaking |
| Changing the property whitelist for an analytics tool | Non-breaking |
**On a property, as it is sent with an event**
| Change | Breaking? |
| --- | --- |
| Adding a property to an event, or removing it | Breaking |
| Renaming a property | Breaking |
| Changing a property's type, or making it a list | Breaking |
| Changing a property's presence (required, sometimes sent, never sent) | Breaking |
| Changing a property's name mapping | Breaking |
| Removing an allowed value, or adding the first regex / min / max rule | Breaking |
| Adding an allowed value to a property that already has allowed values | Non-breaking |
| Changing a pinned value | Breaking |
| Changing nested properties on an object property | Breaking |
| Changing the property operation (for example set vs. increment) | Non-breaking |
Because properties are compared *per event*, editing a property that is sent with many events marks the stakeholders of every one of those events as impacted. See [Minimizing stakeholder impact](#minimizing-stakeholder-impact) for how to scope a property change to just the events that need it.
### Changes that do not impact stakeholders
These changes appear in your branch's diff and activity log, but they do **not** add anyone to the impacted stakeholders list:
- **Descriptions** on events, event variants and properties
- **Tags** on events and properties
- **Custom field values** on events and properties
- **Event triggers** – screenshots, trigger descriptions and user journeys
- **Category and metric membership** – adding an event to a category, or editing a category or metric
- **Assigning or removing stakeholder teams and owners** on an item
- **Source and destination settings** themselves, such as renaming a source
- Changes to an event that has **no sources attached** – with no source to send it, there is no sent shape to change
- Adding or removing a property that is **never sent** for that source
> 💡 **Edited a description and saw no impacted stakeholders?** That is expected. Descriptions, tags, custom fields and triggers are documentation: they change how an item is understood, not how it is implemented or sent. Impacted stakeholders exists to warn you before you disrupt data other teams rely on, so it only counts changes that alter the data itself. Your description change is still on the branch, still shows up in the diff, and still goes through the normal review and merge flow.
### Settings that change what counts
Three stakeholder team settings adjust the rules above. They are available on the [Enterprise Plan](http://avo.app/pricing) and are configured per stakeholder team in [stakeholder team settings](https://www.avo.app/docs/workspace-management/domains.md#stakeholder-team-settings).
- **Only impacted by breaking changes** – the team is left out of the impacted list for anything marked Non-breaking in the tables above, and is not required to review it.
- **Impacted by new items** and **Impacted by PII changes** – these work in the opposite direction: the team is marked impacted whenever the branch adds a new event or property, or changes a PII declaration, **anywhere in the tracking plan** – even on items they are not a stakeholder or owner of. Note that a PII declaration change on its own does not otherwise count as an impacting change.
## Minimizing stakeholder impact
While there are fundamental data structures that need to be consistent across multiple teams and platforms, stakeholder teams frequently need to expand on them and add nuances that don't need to apply to every single place these events and properties are tracked.
The Avo tracking plan has tools to provide this flexibility, allowing stakeholder teams to more granularly define their data based on their needs and reduce unnecessary impact across other stakeholder teams.
### Event-specific property constraints
For generic properties that are sent with multiple events across your product, the constraints of the property (such as allowed values or regex) are commonly different depending on which event or variant the property is being sent with.
Example: If a social media app is introducing a "Stories" feature. To track users commenting on stories, only the "Comment Added" event will need to include the allowed value "Story" for the "Item Type" property.
If this allowed value is introduced to the property without specifically defining which event(s) it should apply to, this will generate a change to all events and event variants using this property in Avo – meaning all stakeholders of those events and variants will be marked as impacted by the branch changes.
To avoid this, you can simply specify the new value as only applying to the event where you need it. Same applies when modifying the regex constraints, instead of modifying the regex on all events and variants that have the property, you apply event or variant specific regex rules.
[Learn how to set event specific property constraints](https://www.avo.app/docs/data-design/avo-tracking-plan/properties.md#event-specific-and-source-specific-allowed-values)
### Event variants
For events that are used in multiple places and scenarios across a product, some of these scenarios may call for the event to be sent with certain properties or property values that don't apply to every instance of the event.
Example:
An "add_to_cart" event may be used by both the Checkout and Search teams. The Checkout team owns the event and relies on certain properties like "cart_product_origin" that must be consistent across all products.
The Search team needs a specific variation of this event for when it's triggered on their Search Results page. In this scenario, this event needs to be sent with the property "search_term" and the [pinned value](https://www.avo.app/docs/data-design/guides/pinned-properties.md) for "cart_product_origin" should be "Search Result Page".
Event Variants provide a way to document variations of an event to account for different scenarios. Event variants inherit its definition from a base event, but you can add overrides on top of them.
That way, you can define variant-specific properties, property presence and value rules, without needing to roll out those changes to every instance of this event across your organization.
[Learn how to create Event Variants](https://www.avo.app/docs/data-design/avo-tracking-plan/event-variants.md#using-event-variants)
## Aligning on cross-stakeholder changes
In cases where a cross-stakeholder change is required, the visibility of the impacted stakeholder teams allows you to understand who you will need to loop in to align on the suggested changes, where these changes will need to be implemented across your organization and by who.
- From the impacted stakeholders indicator, you see a preview of the members of the stakeholder team.
- On the Enterprise plan, impacted owners can be automatically added as required reviewers based on their [stakeholder settings](https://www.avo.app/docs/workspace-management/domains.md#stakeholder-team-settings).
- Other stakeholder teams, including impacted owners on the Team plan, can also be added as reviewers manually.
### Managing stakeholder-impacted branches
To help stakeholder teams stay on top of branches that impact their domain, Avo provides filtering capabilities in both the events and branches views:
- **[Events filtering](https://www.avo.app/docs/data-design/avo-tracking-plan/events.md#filtering-and-organizing-events)**: Filter events by stakeholders and owners to focus on relevant events
- **[Branch filtering](https://www.avo.app/docs/data-design/branches.md#filtering-branches)**: Filter branches by impacted stakeholders and owners to see branches affecting your team's domain
These filters are particularly useful for stakeholder team leads who need to track branches requiring their team's review or approval.
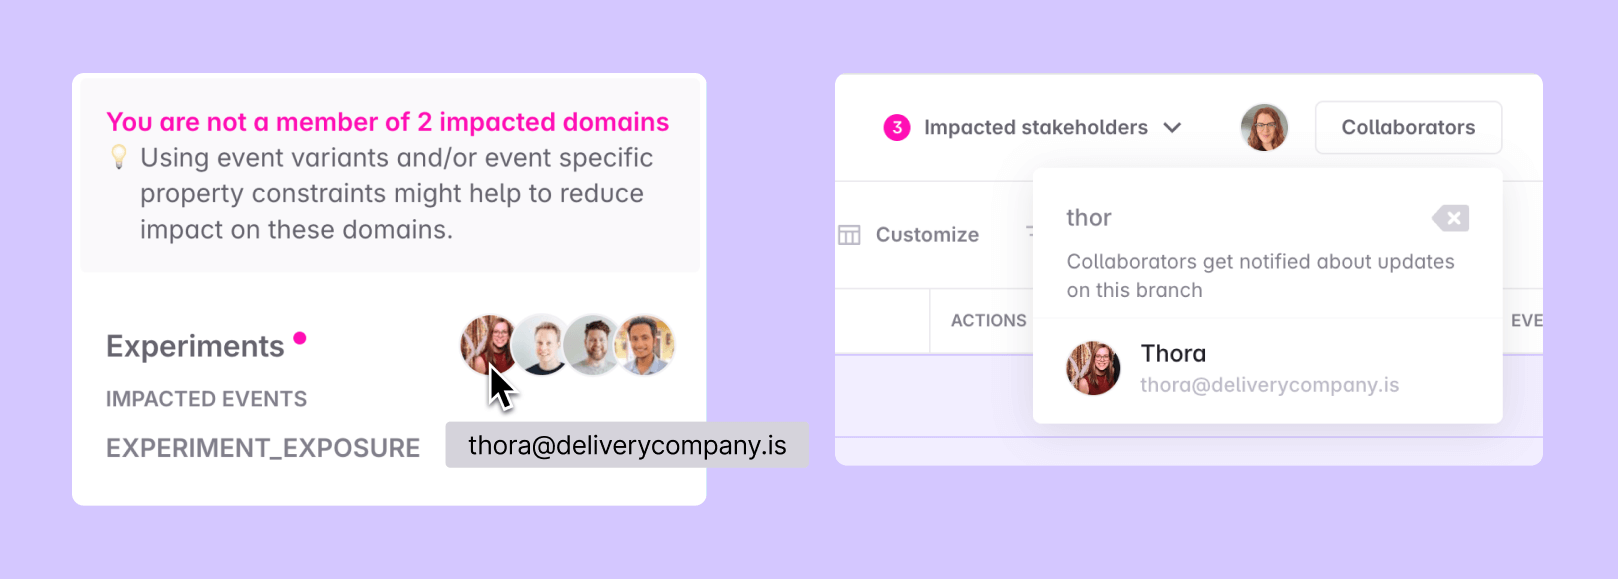
### Automatic reviewer assignment
> 💡 Automatic reviewer assignment and required reviews from stakeholder teams is only available on the enterprise plan.
Stakeholder teams can be automatically added as required reviewers when branches impact their stakeholder events. This happens through two different mechanisms:
**Workspace-level requirement**:
- When "Require approval from owning stakeholders" is enabled in workspace settings
- All stakeholder teams that own events being modified are automatically added as required reviewers
- Applies to all impacted owner teams regardless of their individual settings
**Individual stakeholder settings**:
- Each stakeholder team can configure how they want to be involved when impacted
- Separate configurations for when they're owners vs stakeholders of impacted events
- Teams can choose: automatic required reviewer assignment, Slack notifications only, or no automatic action
When a stakeholder team is assigned as a reviewer—either manually or automatically—a random team member with approval privileges will be assigned to review and approve on the team's behalf.
- [Managing Stakeholder Teams](https://www.avo.app/docs/workspace-management/domains.md): Learn how to configure stakeholder team approval settings
- [Approval workflows](https://www.avo.app/docs/data-design/branches/approval-workflows.md): Complete guide to stakeholder approval workflows
---
Source: https://www.avo.app/docs/data-design/guides/multiple-sources-on-avo-branches.md
# Multiple sources on Avo branches
For teams that have more than one platform, it often occurs that changes are made to the tracking plan for more than one Avo source at the same time.
## Prepare a tracking plan change for multiple sources in one Avo branch
When designing the tracking plan changes, we recommend creating one Avo branch where you plan all the changes for all desired sources.
## Merging one of many sources into Avo main
If one of the sources completes their implementation ahead of the other sources, and are merging that implementation in the main git branch, we recommend merging only that Source into your Avo main branch. For the Sources that will not be implemented for now, deselect "Implement with Codegen" on the sources that are not ready. Then you can merge the branch and create new ones for the remaining sources, selecting "Implement with Codegen", or perhaps a branch per source.
So the step by step guide would be:
1. Create a branch
2. Create your events and add all sources that should send the event
_If_ one of the sources is ready and they're merging their code into their git main branch:
3. Temporarily tag the events that should be implemented on the other sources
4. Uncheck "Implement with Codegen" for all the sources that should be implemented but are not ready to be merged into Avo main
5. Merge the branch
6. Create a new branch
7. Filter by the tag you added in step 3.
8. Check "Implement with Codegen" on the remaining sources
9. Share the new branch with the development teams on the remaining sources
---
Source: https://www.avo.app/docs/data-design/guides/name-mapping.md
# Name Mapping
**Name Mapping** is a powerful tool in Avo to customize how your events and properties are sent to different destinations. Continue reading to learn some of the use cases for name mapping and how to add name mapping to your events and properties.
## How to use name mapping
Name mapping can be used to configure both event and property names to be sent as something different to specific destinations.
### Adding name mapping to an event
To add a name mapping to your event:
1. Open the event that you want to add name mapping for
2. Click the three dots in the top right corner of the event details
3. Click "Add Name Mapping" (if you can't see that option in the menu your workspace might not have access to it yet. Contact us to request access)
4. Type in the event name spelled like you want it to appear in the analytics destinations
5. Select the analytics destination which you want receive this name mapping for this event
[▶ Watch video](https://www.avo.app/docs/images/best-practices/name-mapping/event-name-mapping.mp4)
### Adding name mapping to a property
Name mapping can be added to a property both globally such that it applies for all events the property is attached to – and locally such that it only applies to the event where it is configured on. In addition, property name mapping can be applied to a single destination at a time – or all destinations.
In the case where multiple name mappings are defined for the same property name, Avo prioritizes the name mappings such that the first available mapping in the following list is the one that is used:
1. Event specific, destination specific
2. Event specific, all destinations
3. Global for all events, destination specific
4. Global for all events, all destinations
#### Globally for a property
To add a name mapping to a property that applies to all events it's attached to:
1. Open the property that you want to add name mapping for
2. Find the name mapping section located below rules and above the activity log in the property view
3. Click "Add Name Mapping" (if you can't see that option in the event menu, your workspace might not have access to it yet. Contact us to request access)
4. Type in the property name spelled like you want it to appear in the analytics destination(s) for this property on all events
5. Select the specific analytics destination which you want receive this name mapping for this property – or select all destinations for all destinations on this event to receive this name mapping
[▶ Watch video](https://www.avo.app/docs/images/best-practices/name-mapping/property-name-mapping.mp4)
#### Locally for a property on an event
To add a name mapping to a property that applies to a single event it's attached to:
1. Open the event that you want the property name mapping to apply for
2. In the event details, find the property you want to apply the name mapping to
3. Click the three dots on the right side of the property
4. Select "Add Name Mapping" (if you can't see that option in the property menu, your workspace might not have access to it yet. Contact us to request access)
5. Type in the property name spelled like you want it to appear in the analytics destination(s) for this property on this event
6. Select the specific analytics destination which you want receive this name mapping for this property – or select all destinations for all destinations on this event to receive this name mapping
[▶ Watch video](https://www.avo.app/docs/images/best-practices/name-mapping/name_mapping_per_event.mp4)
## Use cases for name mapping
Name mapping is a powerful tool for many different use cases for events and properties. We have gathered some examples below
### For Events
#### A single destination requires a specific event name
Some destinations require a specific event name for certain user actions that might not be according to your naming convention. Name mapping enables you to have a single event for all destinations and map the name to a different name when needed.
_Example:_
A marketing tool requires the purchase event to be named "purchase", but your naming convention is to spell event names in title case with an object and an action. Then you can name the event "Purchase Completed" in Avo and create a name mapping for the marketing tool such that the event is sent as "purchase" to that destination.
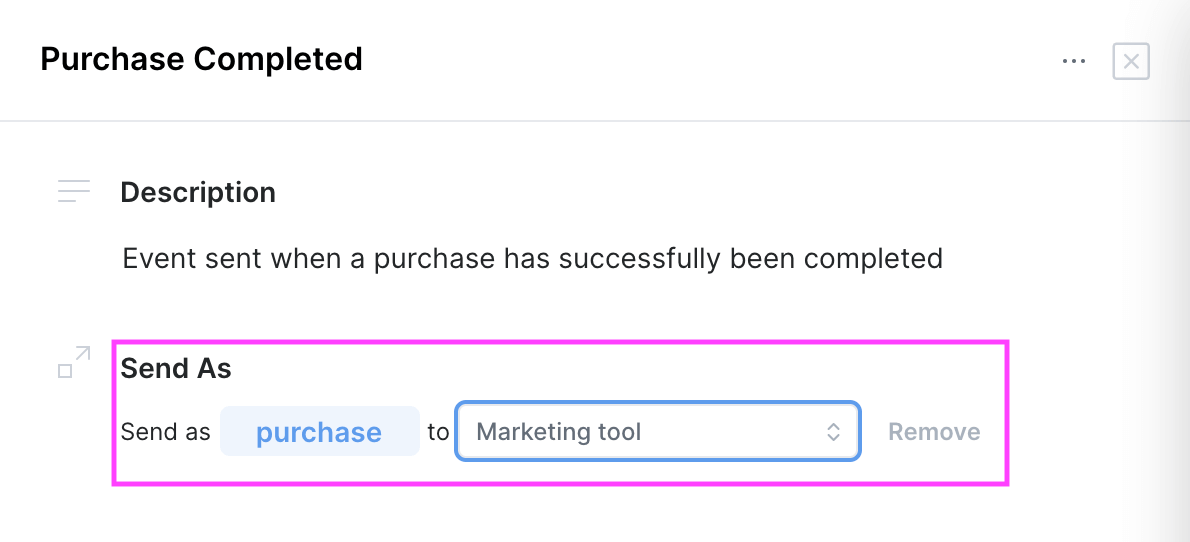
### For Properties
#### A single destination requires a specific property name
Some destinations require a specific property name for certain events that might not be according to your naming convention. Name mapping enables you to have a single property for all destinations and map the name to a different name when needed.
_Example:_
A marketing tool requires the currency property to be spelled in upper case but your naming convention is to spell it in snake case. Then you can name the property "currency" in Avo and create a name mapping for the marketing tool such that the property is sent as "CURRENCY" to that destination.
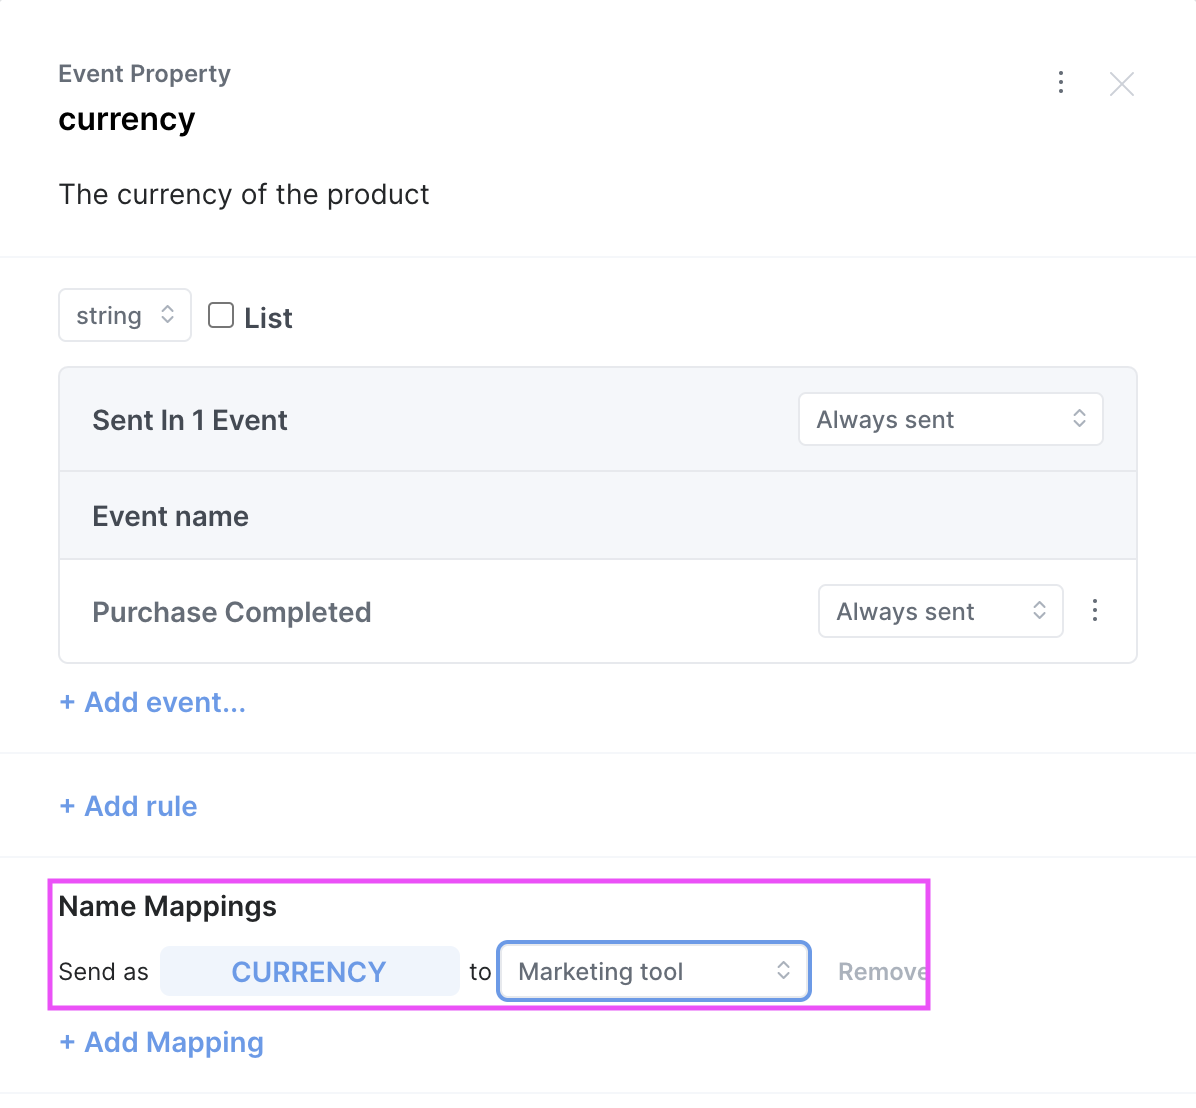
#### A property has different definitions based on use case
Some teams use pretty general property names that are used in different context and therefore could have different descriptions, constraints and types. Name mapping is a great way to keep track of the different versions of such properties. Then you are able to define all the different properties in Avo with descriptive names and Avo will take care of sending them with the same name to all your destinations. That way you are able to manage the types, constraints and descriptions per use case and have a clear descriptive name for each property to make data design easier while having them all be sent with the same property name to your destinations
Example:
A team has the property "source" can mean a few different thing depending on context: a source page on web, a source screen on mobile, the source where the app was downloaded form, etc. Name mapping can be used to create separate properties with separate definitions:
- `source_page`
- Description: The page that the user triggered the event from
- Value type: String
- Constraints: "Signup Page", "Setting Page", "Profile Page", etc
- `source_screen`
- Description: The screen that the user triggered the event from
- Value type: String
- Constraints: "Signup Screen", "Setting Screen", "Profile Screen", etc
- `source_download`
- Description: Where the user downloaded our app from
- Value type: String
- Constraints: "Apple App Store", "Google Play Store", "Hockey App"
#### Different property types should have the same name
Some teams have a history of having event and user properties with the same name before starting to use Avo. Avo encourages teams to use different names between property types as it can be confusing in the analytics tool to differentiate between the two properties. But to be able to keep history intact, then you can name the event and user properties differently in Avo, but send them with the same name to your destinations.
Example:
A team has been sending email as a user and event property before adopting Avo. They want to continue sending both properties with the name "email" to all their destinations to keep history intact. So they name the event property "email" and the user property "user email" and add a name mapping to send it as "email" to all destinations.
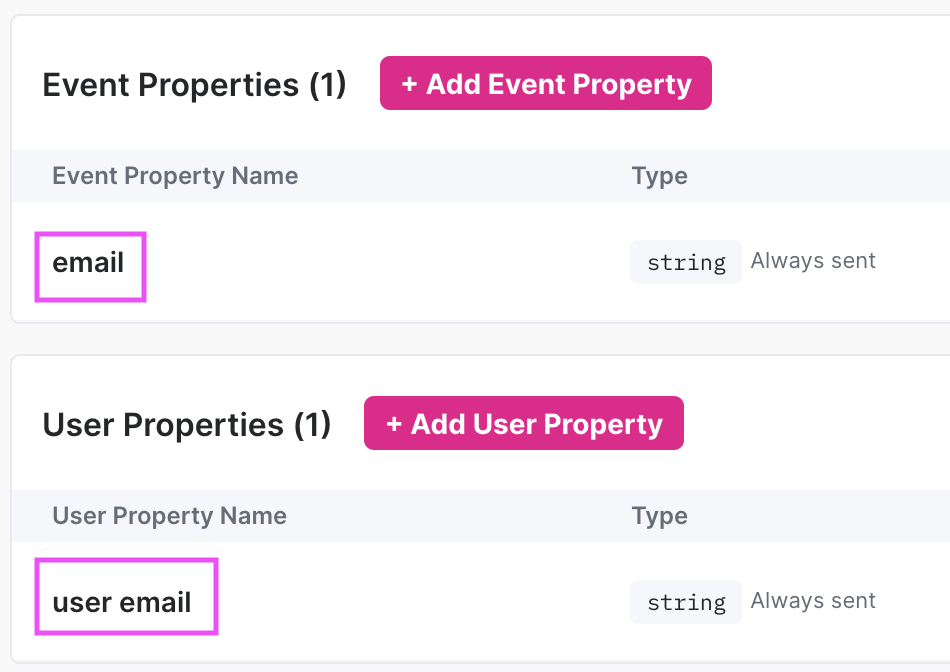
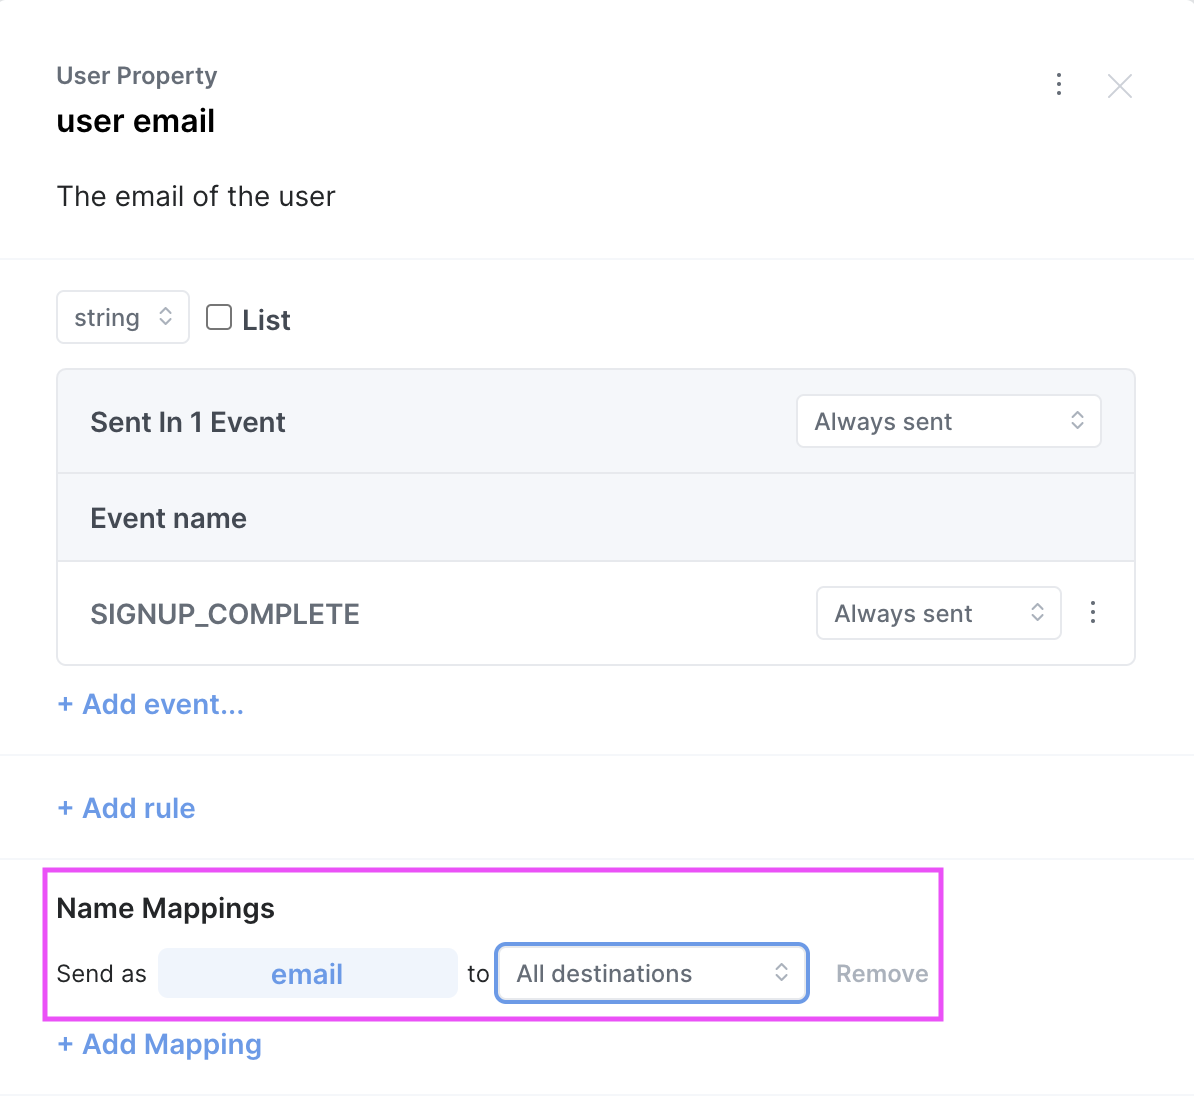
---
Source: https://www.avo.app/docs/data-design/guides/object-properties.md
# Defining object properties
In your Avo Tracking Plan properties can have 5 different types, string, integer, float, boolean and object. Learn more about properties in general [in this doc](https://www.avo.app/docs/data-design/avo-tracking-plan/properties.md).
In this guide we'll go through the process of defining an object property, including constraints on its keys and values.
### Step 1: Set the property type to object
Click the type dropdown in the property drawer and select "object"
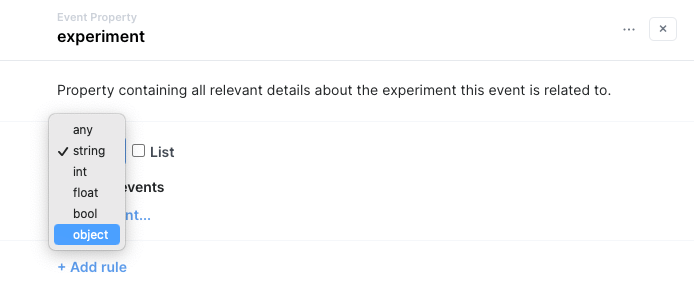
### Step 2: Define constraints on which keys and values the object should contain
Add the properties you'd like to include in the object
> 💡 All properties in Avo are shared globally throughout the tracking plan,
> this includes the sub-properties of object properties. You can [learn more
> about the global namespace in Avo in this
> doc](https://www.avo.app/docs/data-design/best-practices/global-namespace.md).
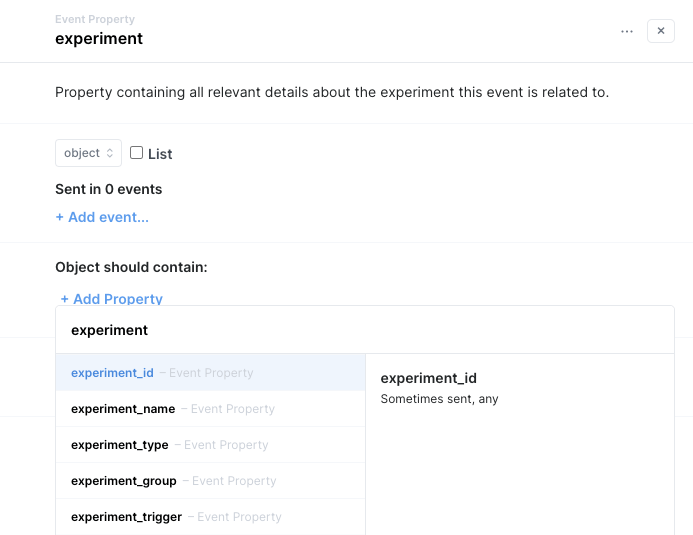
### Congrats, you've defined your first object property in Avo!
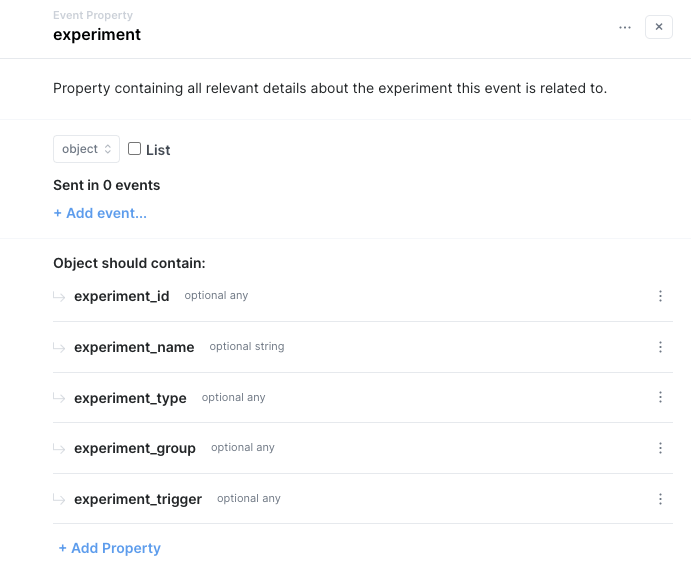
### What's next?
- [Learn how to pin values of specific object keys in this guide on pinned properties](https://www.avo.app/docs/data-design/guides/pinned-properties.md)
- [Learn more about properties in general](https://www.avo.app/docs/data-design/avo-tracking-plan/properties.md)
---
Source: https://www.avo.app/docs/data-design/guides/organizing-metrics-and-events.md
# Organizing your tracking plan
Avo provides multiple, complementary ways to organize a tracking plan at any scale. Use them together to keep data consistent, navigable, and accountable:
- [Workspaces](#workspaces): centralized tracking plan and release workflow
- [Stakeholder teams](#stakeholder-teams-domains-teams): ownership and dependencies across teams
- [Sources](#sources): scope and tailor data per codebase
- [Destinations](#destinations): document and configure downstream tools
- [Categories](#categories): visual grouping across items
- [Tags](#tags): flexible labels for governance and workflow
- [Property bundles](#property-bundles): reusable sets of properties
- [Metrics](#metrics): outcomes that tie everything together
Below we cover each, then how they work together, and practical examples.
## Workspaces
A workspace in Avo houses the tracking plan for a product or organization, where all data structures share the same namespace - events and properties are re‑used across the product(s) the workspace applies to. A [workspace](https://www.avo.app/docs/workflow/overview.md) is also where the end to end Avo workflow happens: define goals and metrics, design events and properties, request implementation, validate, and publish. With [Inspector](https://www.avo.app/docs/inspector/start-using-inspector.md) connected, the workspace surfaces discrepancies between your plan and live tracking so you can keep the plan accurate over time.
Most organizations are best served by a single workspace for their tracking plan - even if they have more than one product. Some organizations, however, have multiple products that are largely unrelated and share only a small subset of events and properties. In that case, it can be best to keep a single workspace for shared events and properties and create local workspaces for products that are not related to the shared definitions.
### Global workspaces
Global workspaces let a central team define core events and properties to share across multiple local workspaces. Local workspaces adopt those definitions and can extend them within the global constraints. They may create event variants and add local events where needed. This model delivers cross product consistency while preserving product level flexibility.
Learn more: [Global Requirements](https://www.avo.app/docs/data-design/global-requirements.md)
## Stakeholder teams
Stakeholder teams represent functions or product areas and map tracking plan items to the people responsible for or dependent on them (for example, checkout or search, a central governance group, a platform like iOS, or a data consumer such as experiments or marketing). They clarify accountability and make cross team impact visible.
Tips and usage:
- When creating new events and properties, set your team as a stakeholder (and owner if applicable)
- When editing existing events and properties, review the impact on other stakeholders and minimize scope where possible
- When a branch is ready, add impacted stakeholders as reviewers
Example in practice: Organizations with multiple product verticals often create a stakeholder team per vertical so analysts own day to day analytics in their area and the teams are pulled into review when data they depend on is being modified. Core events leveraged across the org can list the governance team as a stakeholder so they are pulled into reviews.
Learn more: [Stakeholders](https://www.avo.app/docs/data-design/avo-tracking-plan/stakeholder-domains.md)
## Sources
Sources represent your codebases (Web, iOS, Android, Backend). They document which events should be sent from which codebase and allow tailoring event/property shapes per source.
Tips and usage:
- Keep track of which events are sent from each codebase and filter the tracking plan by source
- Define events and properties per source and set source specific shapes (not all properties are sent from all platforms)
- Document triggers per source and provide per source implementation diffs to developers
- Monitor discrepancies between plan and live tracking per source; scope Inspector filters and alerts by source
- When defining new events, set the source(s) they should be sent from; review and code changes screens are segmented by source
Learn more: [Sources](https://www.avo.app/docs/data-design/avo-tracking-plan/define-sources-and-destinations.md)
## Destinations
Destinations are downstream tools in your data stack (analytics tools, CDPs, etc.). Use them to document where events are sent and from which sources; destinations can also be configured per event when needed.
Tips and usage:
- Typically set up when adding a new source or when introducing a new destination to your stack
- Configure per event destination behavior where applicable
Learn more: [Destinations](https://www.avo.app/docs/data-design/avo-tracking-plan/define-sources-and-destinations.md#destinations-1)
## Categories
Categories group and organize your tracking plan across the Events and Metrics views. Each category has a details view that shows its description and the full list of items in the category (metrics, events, variants, and properties).
Tips and usage:
- The default Events table view is organized by category
- You can filter the Metric, Event, Property and Inspector issue views by category, and also when adding items to a stakeholder team or deciding which events to publish
- Teams often mirror product areas as categories to get focused, relevant views
- Items can belong to multiple categories
- Categories can be published to supported destinations (for example, Mixpanel and Amplitude) so your analytics tools mirror the same grouping
## Tags
Tags are lightweight labels for workflows and governance across Events, Variants, and Properties. Items can have multiple tags and tags are shared across items. Use tags to encode policies and processes.
Tips and usage:
- Document item priority (P0, P1, P2)
- Label PII sensitive events and properties
- Mark items for deprecation or lifetime
- Track missing/outdated screenshots or documentation
- Encode operational ownership (e.g., implementation owner) until teams are formalized
- Filter event, property and Inspector issue views by tags
## Property bundles
Property bundles let you package commonly used event properties into reusable sets you can attach to many events at once. They speed up data design, reduce mistakes, and keep shared definitions consistent across your tracking plan.
Tips and usage:
- Create bundles for recurring groups like Product, Cart, Game, etc.
- Attach a bundle to multiple events to apply all included properties at once
- Use bundles to standardize naming, types, and constraints across similar events
Learn more: [Event property bundles](https://www.avo.app/docs/data-design/avo-tracking-plan/properties.md#event-property-bundles)
## Metrics
Metrics define desired outcomes and link the events, variants, and properties used to analyze them.
Tips and usage:
- Start with outcomes: define the metric first, then list what is needed to measure it
- Associate events, variants, and properties to each metric and create missing items from the metric view
- Use categories and tags on metrics to aid discovery and navigation in large plans
Learn more: [Metrics](https://www.avo.app/docs/data-design/avo-tracking-plan/metrics.md)
## How these work together
The table below summarizes each organizer, what it’s for, which items it applies to, and whether it’s published downstream.
| Organizer | Primary purpose | Metrics | Events | Variants | Properties | Published downstream |
| --- | --- | --- | --- | --- | --- | --- |
| Workspaces | Central governance with local flexibility | ✅ | ✅ | ✅ | ✅ | ✅ |
| Stakeholder teams | Ownership & dependencies | ❌ | ✅ | ✅ | ✅ | ✅ (Webhook) |
| Sources | Scope data per codebase; per source design and observability | ❌ | ✅ | ✅ | ✅ | ✅ |
| Destinations | Document and configure downstream tooling | ❌ | ✅ | ✅ | ✅ | ✅ (per destination) |
| Categories | Visual grouping & navigation | ✅ | ✅ | ✅ | ✅ | ✅ (Webhook, Mixpanel*, Amplitude) |
| Tags | Flexible labeling & workflows | ❌ | ✅ | ✅ | ✅ | ✅ (Webhook, Mixpanel, Segment Protocols) |
| Property bundles | Reusable sets of properties for consistency | ❌ | ✅ | ✅ | ✅ | ❌ |
| Metrics | Analysis structure tying items together | ✅ | ✅ | ✅ | ✅ | ✅ (Webhook) |
_\* Mixpanel Lexicon publishing can be set to receive category in Avo as tags in Mixpanel as Mixpanel does not support categories._
## Practical examples
There are many ways to organize a tracking plan, and the best approach depends on the size and complexity of your organization and the products you are tracking. Below are two common approaches for very different organizations.
### Multi workspace enterprise
For organizations with several subsidiaries and multiple teams, a central data team often defines shared data structures while individual product teams extend them locally. This pattern emphasizes consistency where it matters most (user identity, revenue, core lifecycle events) and flexibility where products diverge (feature specific events and properties). It also streamlines reviews and publishing, so shared structures evolve safely across many codebases.
- Global workspace for central definitions and local workspaces for products
- Stakeholders map to analysts serving more than one development team, where each analyst leads a stakeholder team
- Sources define platform scope and per source shape (e.g., mobile vs web properties)
- Destinations document where data goes and how per event configs differ
- Categories map to product areas, sometimes representing development teams
- Tags highlight governance and workflow status (PII, priority, deprecation)
- Property bundles standardize common property sets across many events and products
- Metrics defined centrally for shared outcomes (e.g., retention, conversion); local workspaces add product specific metrics
### Growth stage startup
For fast moving teams shipping from a single or few related products, a single workspace minimizes overhead and keeps planning simple. A central data person or small data team can coordinate standards by acting as a Stakeholder Team (owner/reviewer) rather than setting up a separate global workspace, preserving simplicity while still enabling ownership, review workflows, and focused filtering.
- Single workspace
- Stakeholders map to development teams, where an analyst or a PM leads stakeholder teams
- Sources clarify platform scope and enable per source presence/constraints
- Destinations capture where events are sent without over engineering
- Categories map to product areas
- Tags encode PII, priority, and lifecycle workflows
- Property bundles group recurring properties and speed up design
- Metrics drive planning: define key outcomes first, then associate events/variants/properties
---
Source: https://www.avo.app/docs/data-design/guides/pinned-properties.md
# Pinned Properties and Use Cases
**Pinned properties** is a way to make specific property be sent with the same constant value all the time.
> 💡 Note that Event Triggers are available on the Team and Enterprise plans.
## How to use pinned properties
Use pinned properties to assign constant value to a property. When the value of a property is pinned it will always be sent as the pinned value.
If using Avo Codegen with pinned properties, developers won't be required to pass in value for the property when the event is being sent, the value will be hardcoded in the generated code.
You can pin event and user properties on the event level, i.e. set a particular property to always have the same value every time it's sent with a particular event.
## Pinning a property value on an event
To pin a value for a property on a specific event :
1. Proceed to the tracking plan events in your Avo workspace
2. Pick an event where you'd like to pin a property value
3. Locate the event or user property and press the ⋮ menu
4. Pick the "Pin Property Value" option
5. Set the constant value of the property
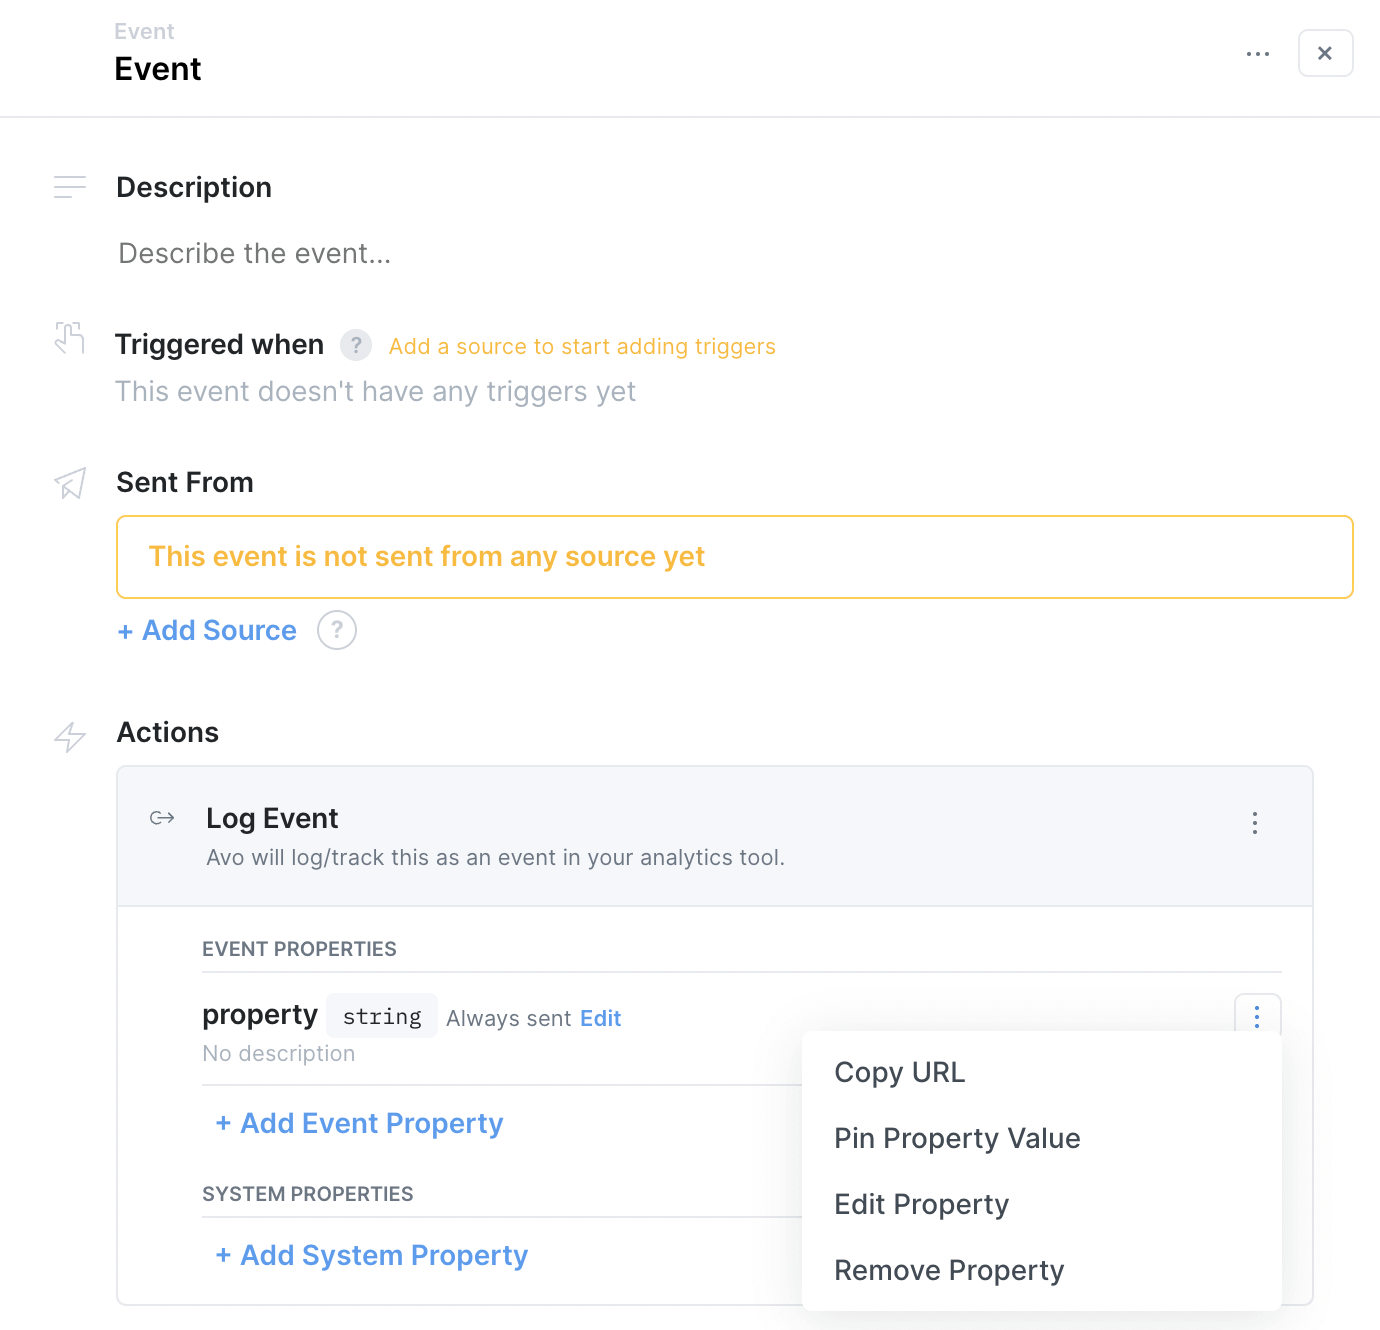
# Use cases
One of the main use cases for pinned properties is to hardcode metadata for events. For example when using a Snowplow destination you are required to attach a schema id to every event. This can be done with pinned properties in Avo.
Another use case is to have properties with fixed values on some events and not fixed on other.
Example: You want to include the "Page Section" property on some events in your app. Some events can be triggered from multiple page sections, and can therefor not be pinned. However there can be events where the "Page Section" should always be the same. As an example, let's say we have the event "Footer Item Clicked". For that event we would always want "Page Section" to be sent as "Footer". We can define that in Avo by using pinned properties.
[//]: # 'TODO when objects feature flag is lifted: docs about pinning a property field in a property of type object globally and per event'
---
Source: https://www.avo.app/docs/data-design/guides/reset-tracking-plan.md
# How to reset the Tracking Plan
_You might find yourself in the position where you want to start fresh and restart your Tracking Plan. This guide covers how to do exactly that._
You might find yourself in the position where you want to start fresh and restart your Tracking Plan. This guide covers how to do exactly that.
> 🔒 Note that resetting the Tracking Plan requires Admin privileges. Learn more about
> roles and permissions in the [members and roles guide](https://www.avo.app/docs/workspace-management/members.md).
### What happens when I reset my Tracking Plan?
Tracking Plan reset removes all events, properties, metrics, tags, categories and publishing integrations from your workspace. The reset will also close all currently open branches.
Sources, destinations, workspace members and permissions, Slack integrations and Inspector will not be affected by the reset.
Got questions? Please don't hesitate to [reach out](https://www.avo.app/docs/help/troubleshooting.md).
### How do I reset my Tracking Plan?
1. Make sure you're logged in as an Admin
2. Head to the workspace settings modal. Click the gear icon next to your Tracking Plan name in the sidebar > Workspace Settings
3. Open the Danger Zone tab in the workspace settings modal
4. Click the "Reset Tracking Plan" button. The reset will take a couple of seconds. When successful you'll be redirected to the now empty events screen.
---
Source: https://www.avo.app/docs/data-design/global-requirements.md
# Global Requirements
For certain larger organizations, consisting of multiple sub-companies or products, it may be unfeasible or unwanted for the entire organization to share the same name space – but there may still be a need to centrally define and manage core events and properties across the organization.
For these scenarios, Avo offers the solution of setting up an Avo Organization containing multiple workspaces. In an Avo Organization, a central governance team is able to define core events and properties that should be sent consistently from some or all workspaces. These requirements are defined on a branch in a Global Requirements workspace.
The core data structures of globally required events have limited editing capabilities in each local workspace. They can, however, be extended and modified within the constraints of the global definition.
> 💡 **Feature Availability**
> This feature is only available on select Avo plans and requires a conversation with our sales team. Please reach out to [support@avo.sh](mailto:support@avo.sh) to learn more.
## The Global Requirements workflow
### The Global Requirements workspace
Once your Organization has been set up, a Global Requirements workspace is created. This workspace has a tracking plan of events and properties and is connected to all workspaces under the organization (an overview of these can be seen under “workspaces” in the main navigation bar.
### Defining and distributing Global requirements
To define and distribute new or updated Global requirements, take the following steps:
1. **Create a branch and draft changes:** Define the global events and properties (link to section below) you want tracked across your organization. For each event, make sure to document the workspaces you want to adopt the requirements for each event.
2. **Review your branch:** Review the data design of the branch in the same way you would any branch in Avo. See review suggestions in Avo. We also highly recommend navigating to and/or communicating with the owners of each local workspace that will be impacted by the new requirements to mitigate conflicts between what is being introduced globally and what already exists in each local workspace.
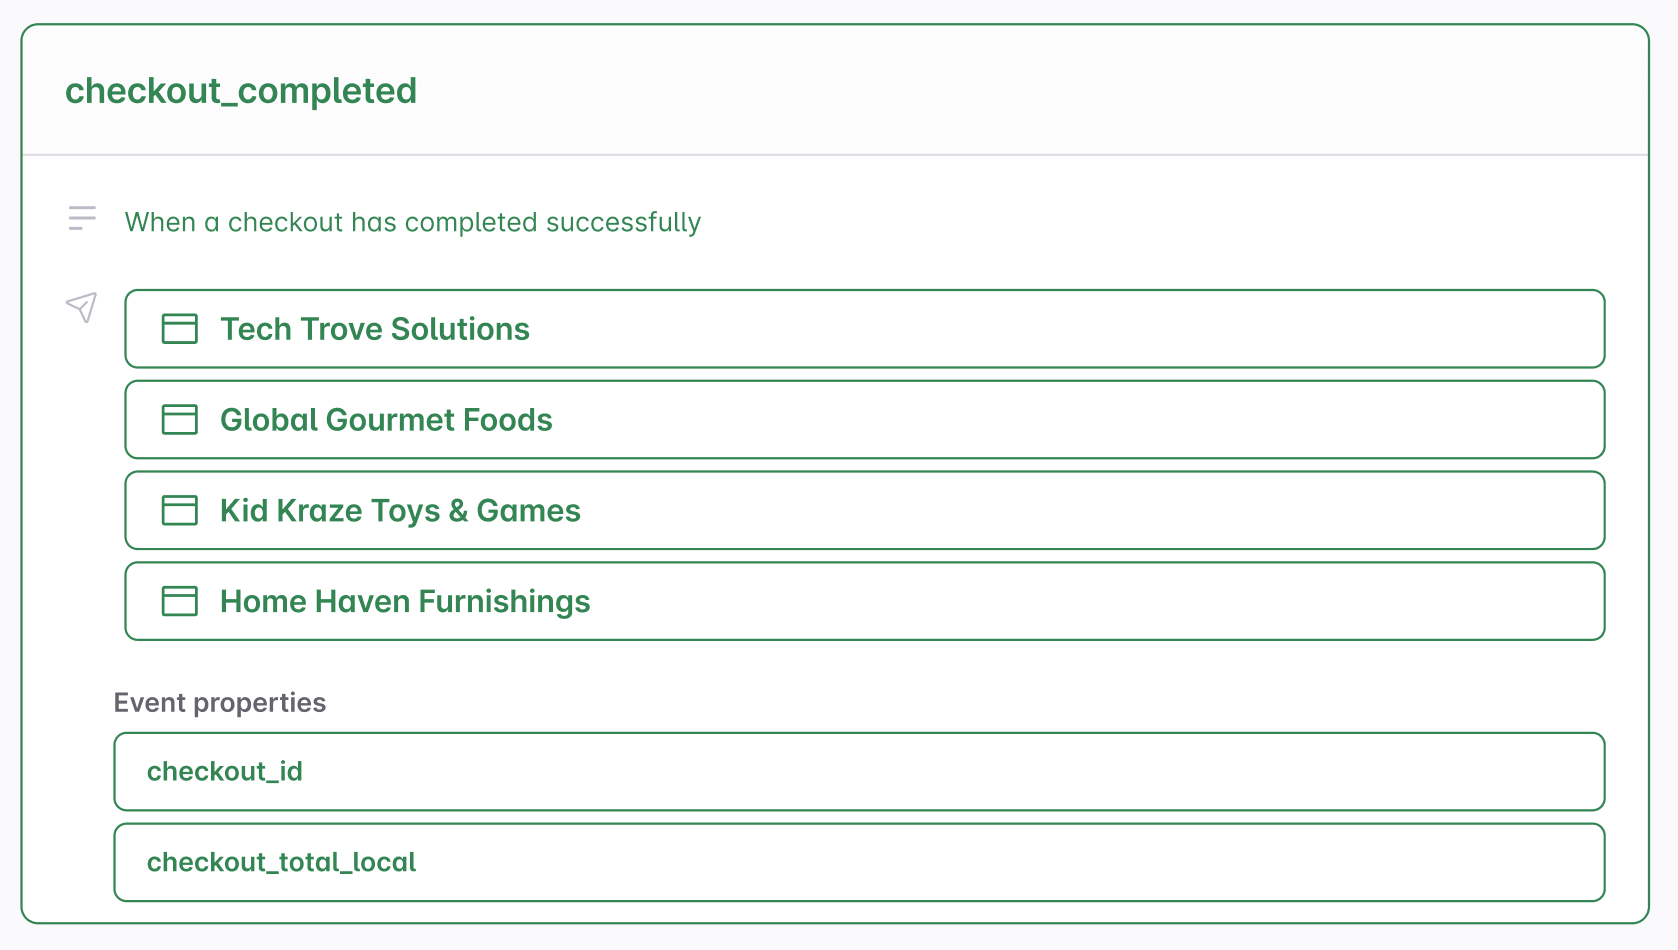
3. **Merge branch and push to workspaces:** After the branch has been reviewed, hit merge and push. This action will:
- Merge your requirements into the main branch of the global tracking plan
- Automatically create branches specific to any local workspace which is affected by the changes to alter and update its tracking plan according to the merged global requirements.
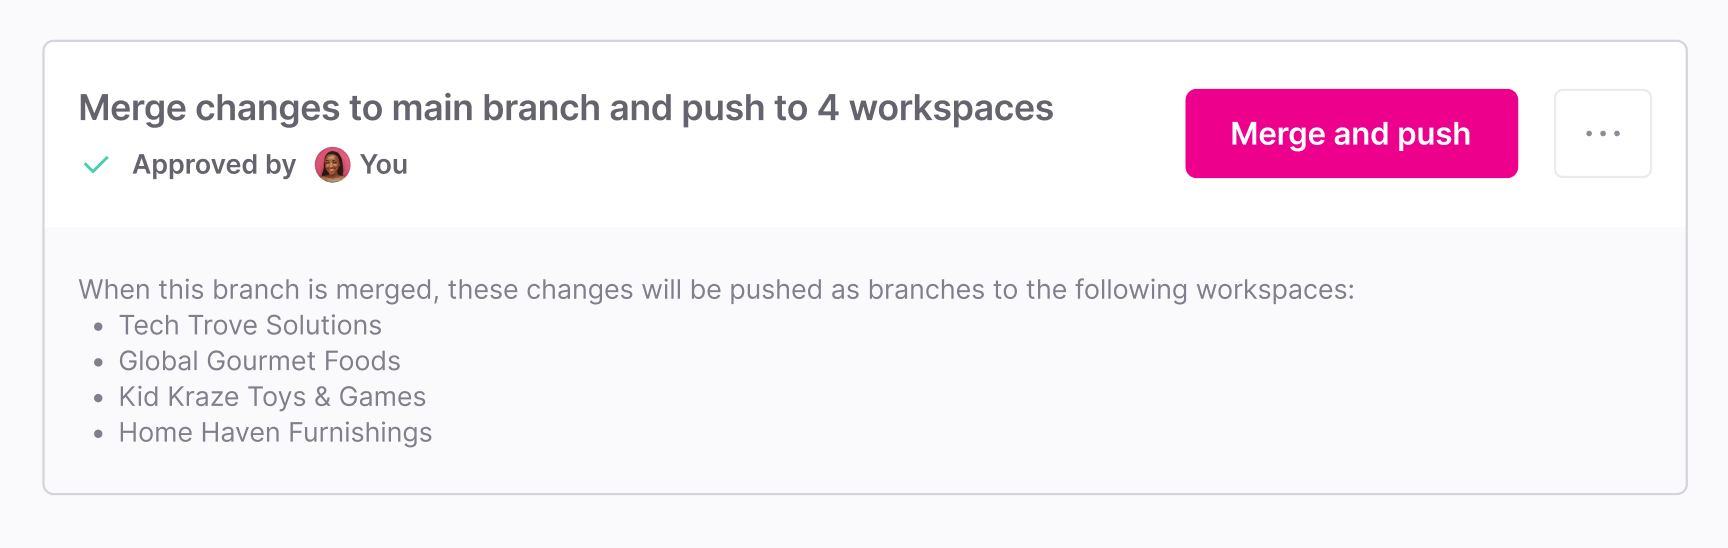
After merging the branch, you can monitor each local workspace’s progress in adopting the new or updated global events and properties. On the branches overview screen in the global workspace – under the “merged” tab – you will see your merged branch as well as an overview of all derived branches in local workspaces and their respective statuses.
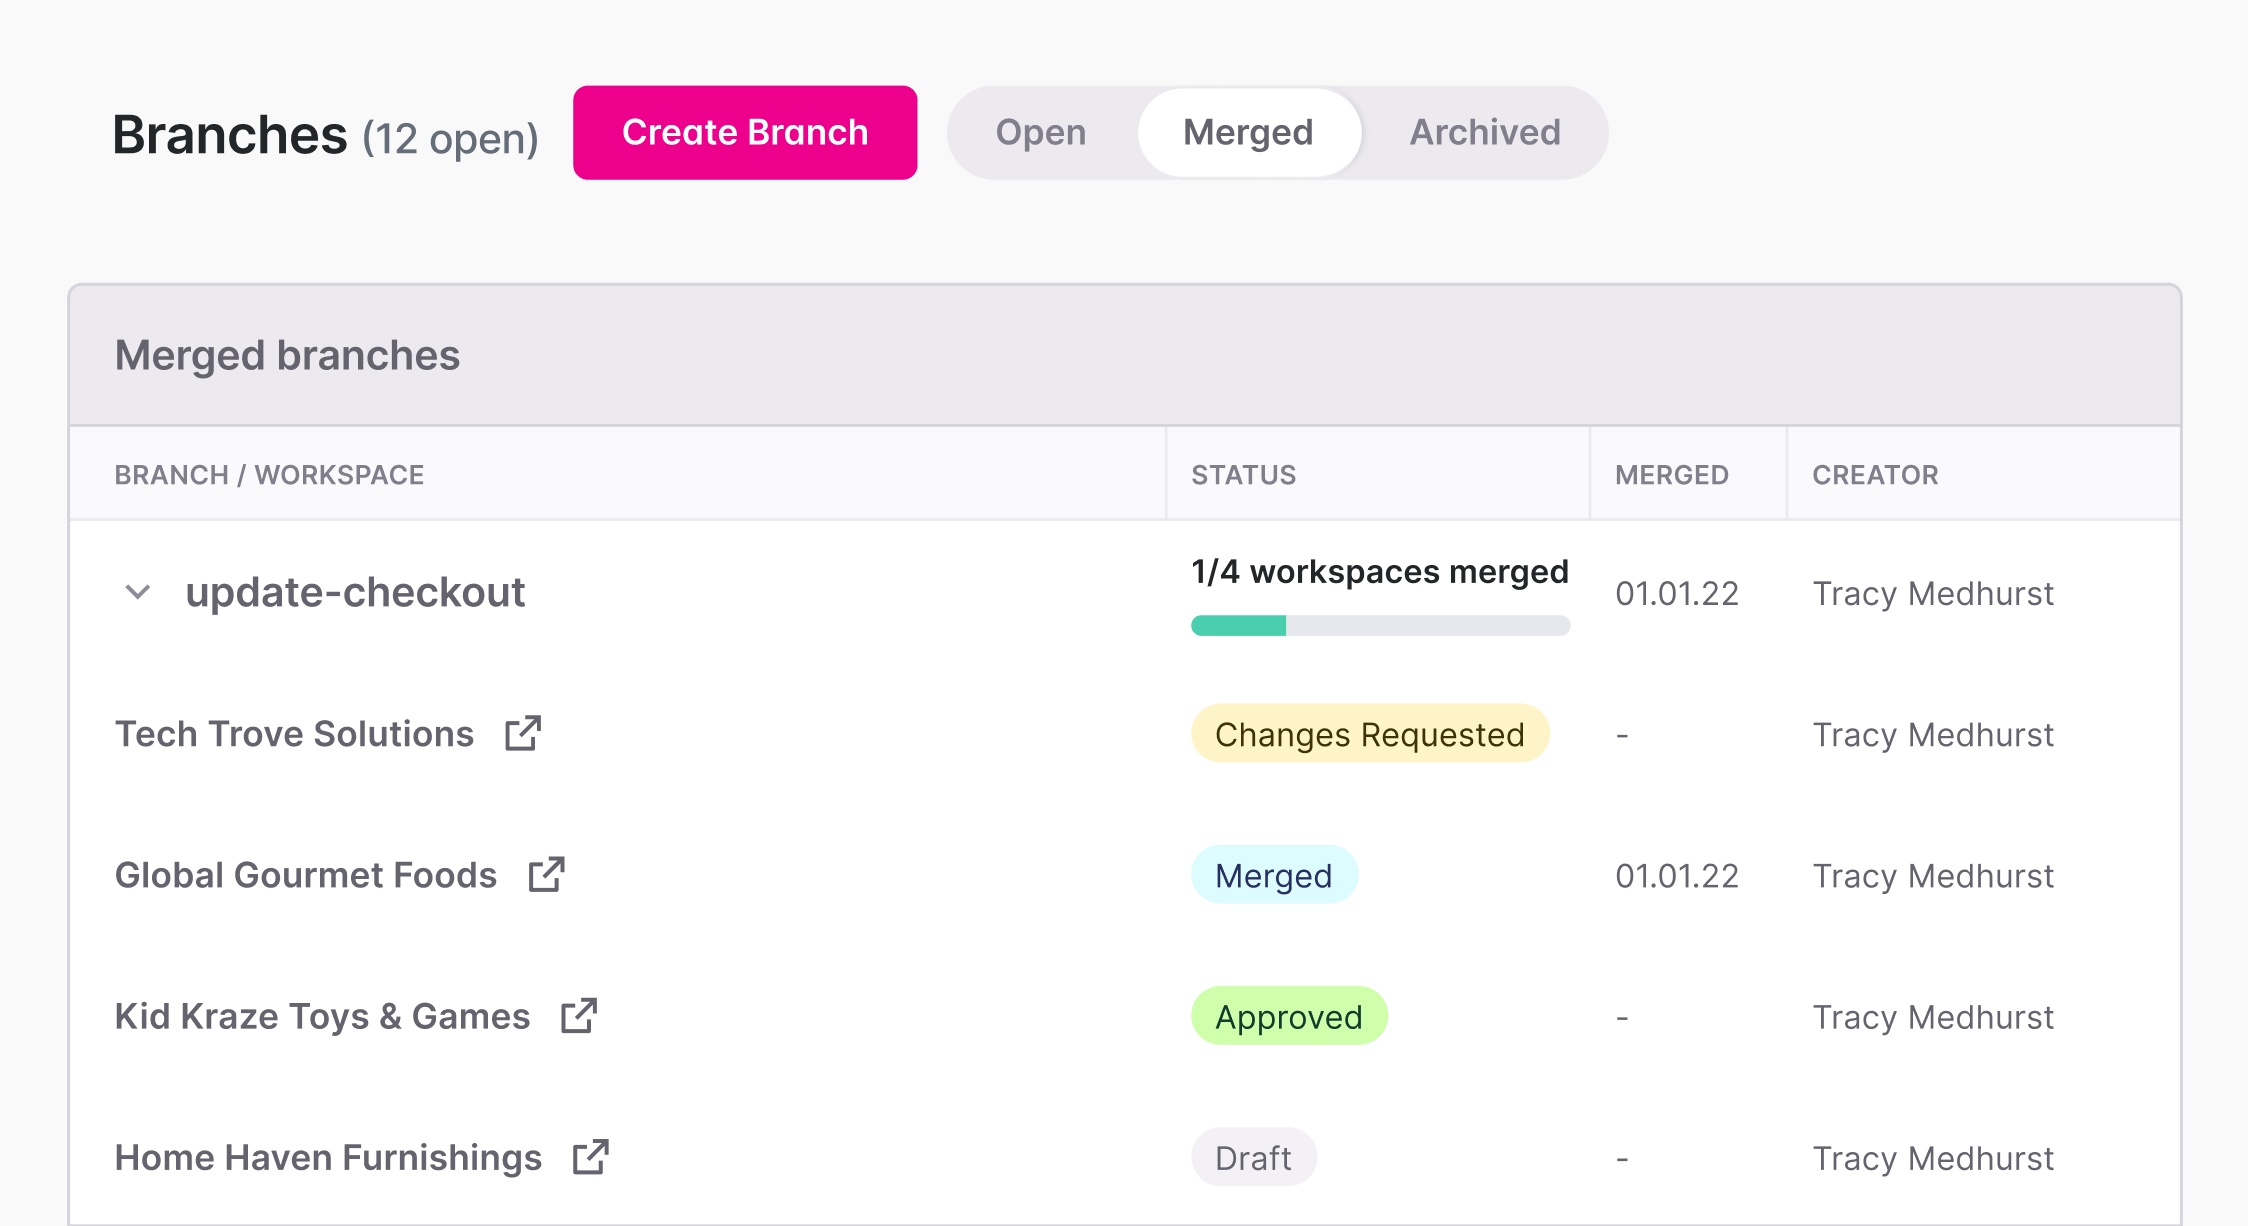
### Receiving, implementing and merging global branches
When a global branch is merged in the global workspace, it is pushed to each local workspace with branches containing the global requirement changes for each respective workspace. These branches will appear in the branches overview screen in each local workspace and are prefixed with “global-”.
After a global branch is created in a local workspace, users in each local workspace can add their own specific context or modifications to the global requirements:
- Add local event and property descriptions
- Document triggers to describe the user and system actions that trigger the event in the product
- Attach sources to events to define where they should be sent from
- Add more properties, specific to their workspace, to events
- [Define property presence](https://www.avo.app/docs/data-design/avo-tracking-plan/properties.md#configuring-when-properties-are-required-or-optional) rules for properties within the constraints of the global requirements
After this, the branch goes through the same workflow as any other Avo branch. For additional information, see steps 4-6 of the Avo workflow: [Implement analytics events](https://www.avo.app/docs/workflow/implement.md), [validate implementation](https://www.avo.app/docs/workflow/validate.md) and [merge branch and publish](https://www.avo.app/docs/workflow/merge-publish.md).
### Resolving conflicts between global and local data structures
When distributing global requirements, a global event or property may match the exact name of an event or property that already exists in the local workspace where the requirements are being introduced.
In this scenario, the preexisting event or property in the local workspace will be converted to a global requirement and linked to the respective event or property in the global workspace.
The only exception to this is if the global requirements introduce a property that has the exact name as a preexisting local property, but has conflicting attributes. In this case, the global property will be added to the local tracking plan and replace the local property on any globally required event.
Once the branch has been merged, the global events and properties will have limited editing capabilities in the local workspace. Any data structures or metadata on the local event or property that are not present in the global definition will persist and be editable in the local workspace, see Local edits to global events and properties).
## Global events and properties
The data structures in the global workspace are mostly defined in the same way as they would be in any other workspace, but with some exceptions, detailed below:
### Global Events
A Global event is defined in the Events section of the Global Tracking plan. The definition of a global event includes:
- A descriptive [_Event Name_](https://www.avo.app/docs/data-design/best-practices/naming-conventions.md#2-what-does-naming-convention-refer-to)
- A Global [_Description_](https://www.avo.app/docs/data-design/best-practices/defining-descriptive-events-and-properties.md#events-1). This field will be passed down to the local workspaces and be locked for editing, but each workspace can add their own “local description”
- Workspaces that the event should be present in
- [_Actions_](#actions) associated with the event, including global properties
- [_Categories_](https://www.avo.app/docs/data-design/guides/organizing-metrics-and-events.md#categories) that the event is a part of (optional)
- _Tags_ associated with the event
- Workspace Name Mapping for cases where local workspaces track the action of a globally required event under a different name.
### Global Properties
A Global property is defined in the event details within the relevant actions, or in the properties view and includes:
- A descriptive [Property Name](https://www.avo.app/docs/data-design/best-practices/defining-descriptive-events-and-properties.md#properties).
- A Global [Description](https://www.avo.app/docs/data-design/best-practices/defining-descriptive-events-and-properties.md#properties-1). This field will be passed down to the local workspaces and be locked for editing, but each workspace can add their own “local description”
- The [property value type](https://www.avo.app/docs/data-design/avo-tracking-plan/properties.md#property-types-and-constraints) (required)
- The [events](https://www.avo.app/docs/data-design/avo-tracking-plan/events.md) that the property is attached to (required)
- The [presence](https://www.avo.app/docs/data-design/avo-tracking-plan/properties.md#configuring-when-properties-are-required-or-optional) of the property on each event – whether it's required or optional (required)
- The [constraints](https://www.avo.app/docs/data-design/avo-tracking-plan/properties.md#property-types-and-constraints) defined for the property values (optional but highly recommended)
- Workspace Name Mapping for cases where local workspaces track the globally required property under a different name.
### Local edits to global events and properties
The core data structures of globally required events and properties are locked for edits in each local workspace, and can only be modified centrally in the Global workspace. These restrictions include:
- Renaming or archiving global events and properties
- Changing global descriptions
- Removing global properties from global events
- Setting globally required properties that is on an event globally defined as “always sent” to be “sometimes sent” or “never sent” on globally required events
- Removing global categories and tags
> 🔓 Admins in local workspaces can opt for overriding global requirements in their local workspace
However, it is possible (and recommended) to add locally specific data structures and context to global events and properties. The following can be added or modified locally:
- A local description for events and properties
- The [Triggers](https://www.avo.app/docs/data-design/guides/event-triggers.md) that describe the actions that trigger the global event
- The [Sources](https://www.avo.app/docs/data-design/avo-tracking-plan/define-sources-and-destinations.md) that events should be sent from
- The [Metrics](https://www.avo.app/docs/data-design/avo-tracking-plan/metrics.md) related to events
- More specific [property presence rules](https://www.avo.app/docs/data-design/avo-tracking-plan/properties.md#configuring-when-properties-are-required-or-optional) for global events set as “sometimes sent” from the global definition
- Additional properties to be sent with global event
- Tags and categories specific to the local workspace
---
Source: https://www.avo.app/docs/inspector/start-using-inspector.md
# Use Inspector to improve your tracking plan health
## What is Avo Inspector
The first step to better analytics governance is knowing what’s wrong with your data today.
Inspector is a tracking observability solution that helps you uncover issues in your tracking today and prevent shipping broken data to production in the future.
Inspector analyzes tracking calls made by your application across platforms and provides an overview of their structure and volumes in the Inspector events overview, without collecting or processing any user data.
With Inspector, you get an automated audit of the state of your tracking, and ongoing tracking observability moving forward.
## Why use Inspector
Teams spend months and years and pay for expensive data audits, only to be left with unrealistic fixes and longer to-do lists. Inspector enables you to stop wasting human hours on detecting and prioritizing issues with your tracking.
Inspector gives you:
- An overview of your current state of tracking, highlighting implementation issues as well as discrepancies with your desired tracking plan.
- Implementation status for every analytics release in your Avo Branch, available for Development, Staging and Production environments. This gives you confidence in and visibility into the status and health of the events that developers are implementing.
- Implementation status for the events in your entire tracking plan, so you can see which events are actually implemented and whether they’re sent correctly or not.
- The ability to seamlessly build your Avo tracking plan on top of live data, with the option to build gradually or through a bulk import directly from Inspector.
## How does Inspector work
Inspector extracts the schemas (aka shapes/metadata) of the events you trigger on the client.
Inspector does not process property values or PII data, only event names, property names, and types of properties, and sends those schemas to the Avo servers.
TL;DR: No PII data ever flows through Avo servers; only event schemas.
## Start sending metadata to Inspector
There are a [few ways to install Inspector](https://www.avo.app/docs/inspector/inspector-installation-overview.md) to add observability to your events, depending on how you send your events from your product already as well as your preferences.
- [CDP Integration (Customer Data Platform)](https://www.avo.app/docs/inspector/inspector-installation-overview.md#install-inspector-in-your-cdp): If you are already sending events through a CDP, then this is a great option as it does not require a developer to update your application and release a new version.
- [GTM Integration (Google Tag Manager)](https://www.avo.app/docs/inspector/connect-inspector-to-gtm.md): If you are sending events from GTM, you can use our GTM integration to observe those events
- [Inspector SDKs](https://www.avo.app/docs/reference/avo-inspector-sdks/overview.md): If you are not sending events through a CDP or GTM, then a developer can install our easy to use SDKs into your application to observe events directly from the source
- [HTML tag](https://www.avo.app/docs/reference/avo-inspector-sdks/web.md#installation-option-2-html-tag): This is a good option for those that are using other tag managers than GTM
- [Inspector Installation Overview](https://www.avo.app/docs/inspector/inspector-installation-overview.md): All the methods available to install Inspector to your application.
### Does Inspector receive PII data?
No. Inspector does not receive any PII data. Inspector only takes schema metadata, containing event names, property names, and types of properties.
Learn more technical details about the [Avo Inspector here](https://www.avo.app/docs/reference/avo-inspector-sdks/overview.md).
### Property value validation
In addition to schema validation, Inspector Debugger can validate property values against the [constraints defined in your tracking plan](https://www.avo.app/docs/data-design/avo-tracking-plan/properties.md#property-types-and-constraints), such as allowed values, regex patterns, and min/max ranges.
Property values are encrypted end-to-end—Avo only stores encrypted values and cannot decrypt them. You can decrypt values locally in the [Inspector Debugger](https://www.avo.app/docs/inspector/inspector-debugger.md#decrypting-property-values) using your private key.
Property value validation is currently available for the [Web SDK](https://www.avo.app/docs/reference/avo-inspector-sdks/web.md#property-value-validation) and [Segment integration](https://www.avo.app/docs/inspector/connect-inspector-to-segment.md). Other platforms coming soon.
## Learning about Inspector issues and events
After [setting up your sources](https://www.avo.app/docs/inspector/configuring-inspector-sources.md) to send data to the Inspector with the direct CDP integrations or [Avo Inspector SDKs](https://www.avo.app/docs/reference/avo-inspector-sdks/overview.md) you will see the data appearing in the the Inspector tab.
There are two Inspector overviews available for your incoming data and issues, the [Issues view](https://www.avo.app/docs/inspector/inspector-issues-view.md) and the [Events view](https://www.avo.app/docs/inspector/inspector-events-view.md) – and you can set up [Slack Alerts](https://www.avo.app/docs/inspector/inspector-slack-alerts.md) to be notified about new issues.
### Issues view
The Inspector issues view displays information about anomalies and discrepancies seen in your production data for the past 24 hours. This view allows you to sort and filter issues to uncover those relevant to you and gives you the overview and information needed to prioritize which of them to act on.
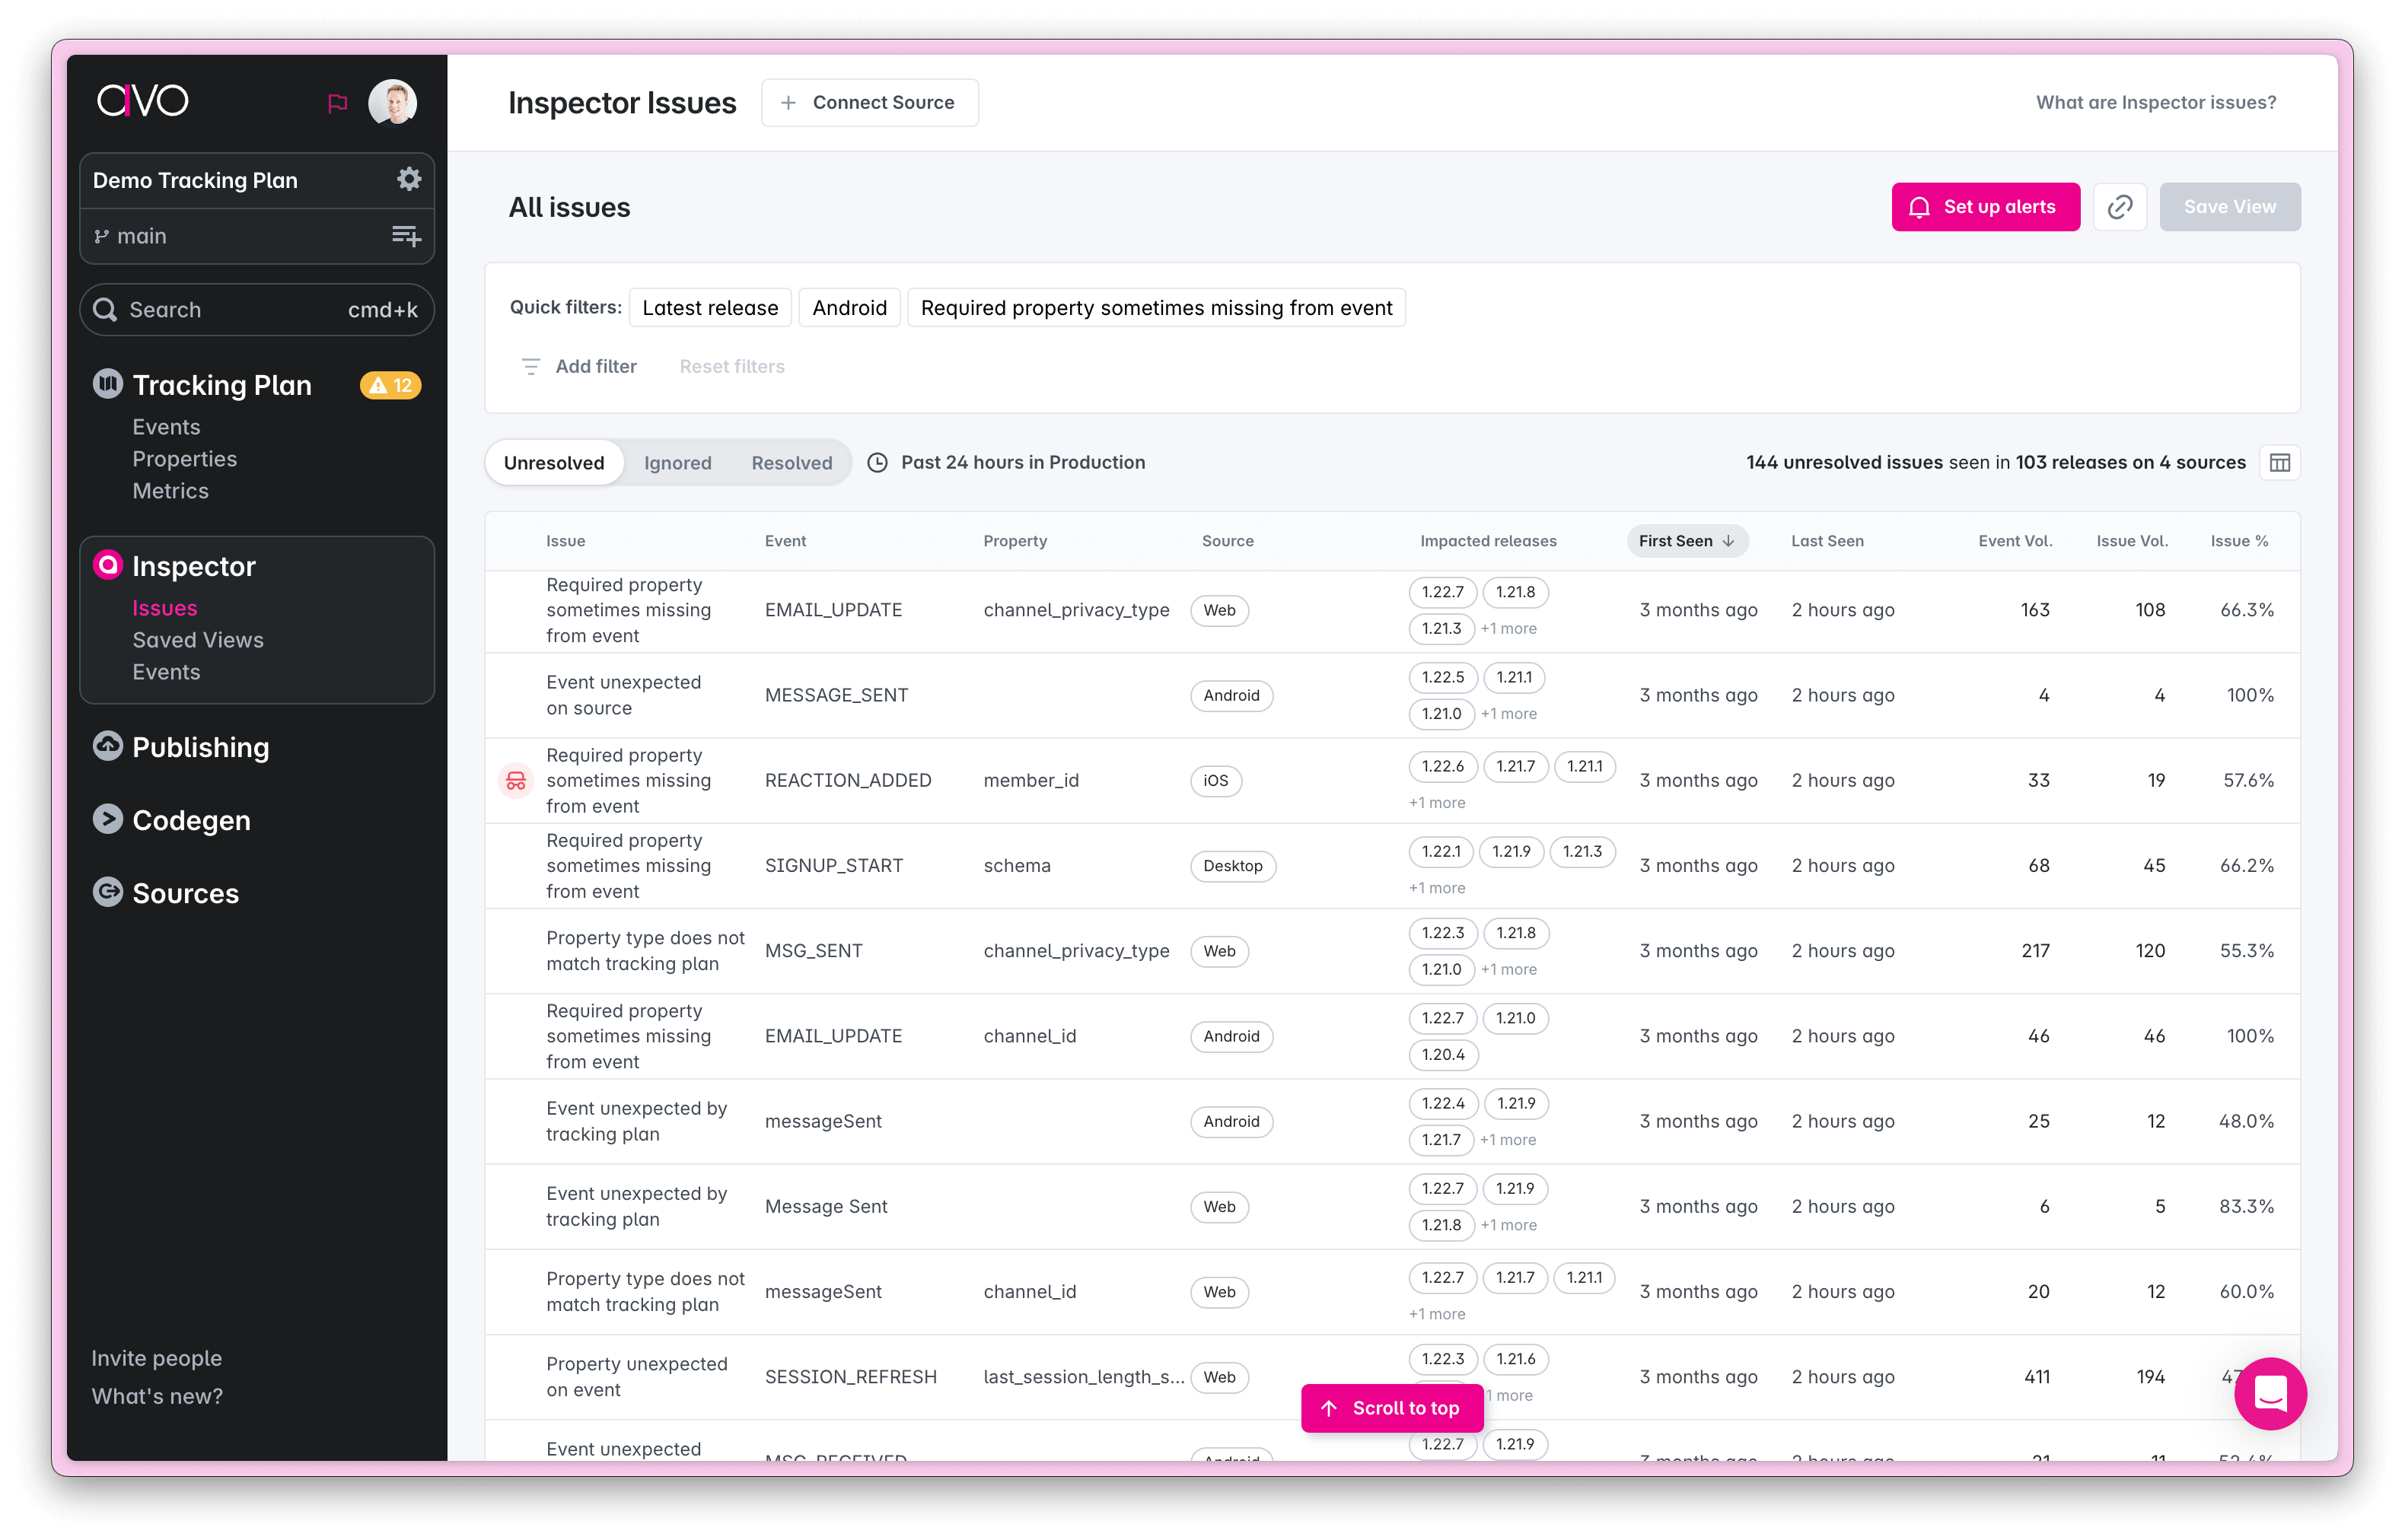
- [Issues View](https://www.avo.app/docs/inspector/inspector-issues-view.md): What is the issues view and what can I learn from it?.
### Events view
The Inspector events view provides a report on all event tracking Inspector has seen in your development, staging and production environments. You can use the dashboard to evaluate the health of your tracking implementation and prioritize issues.
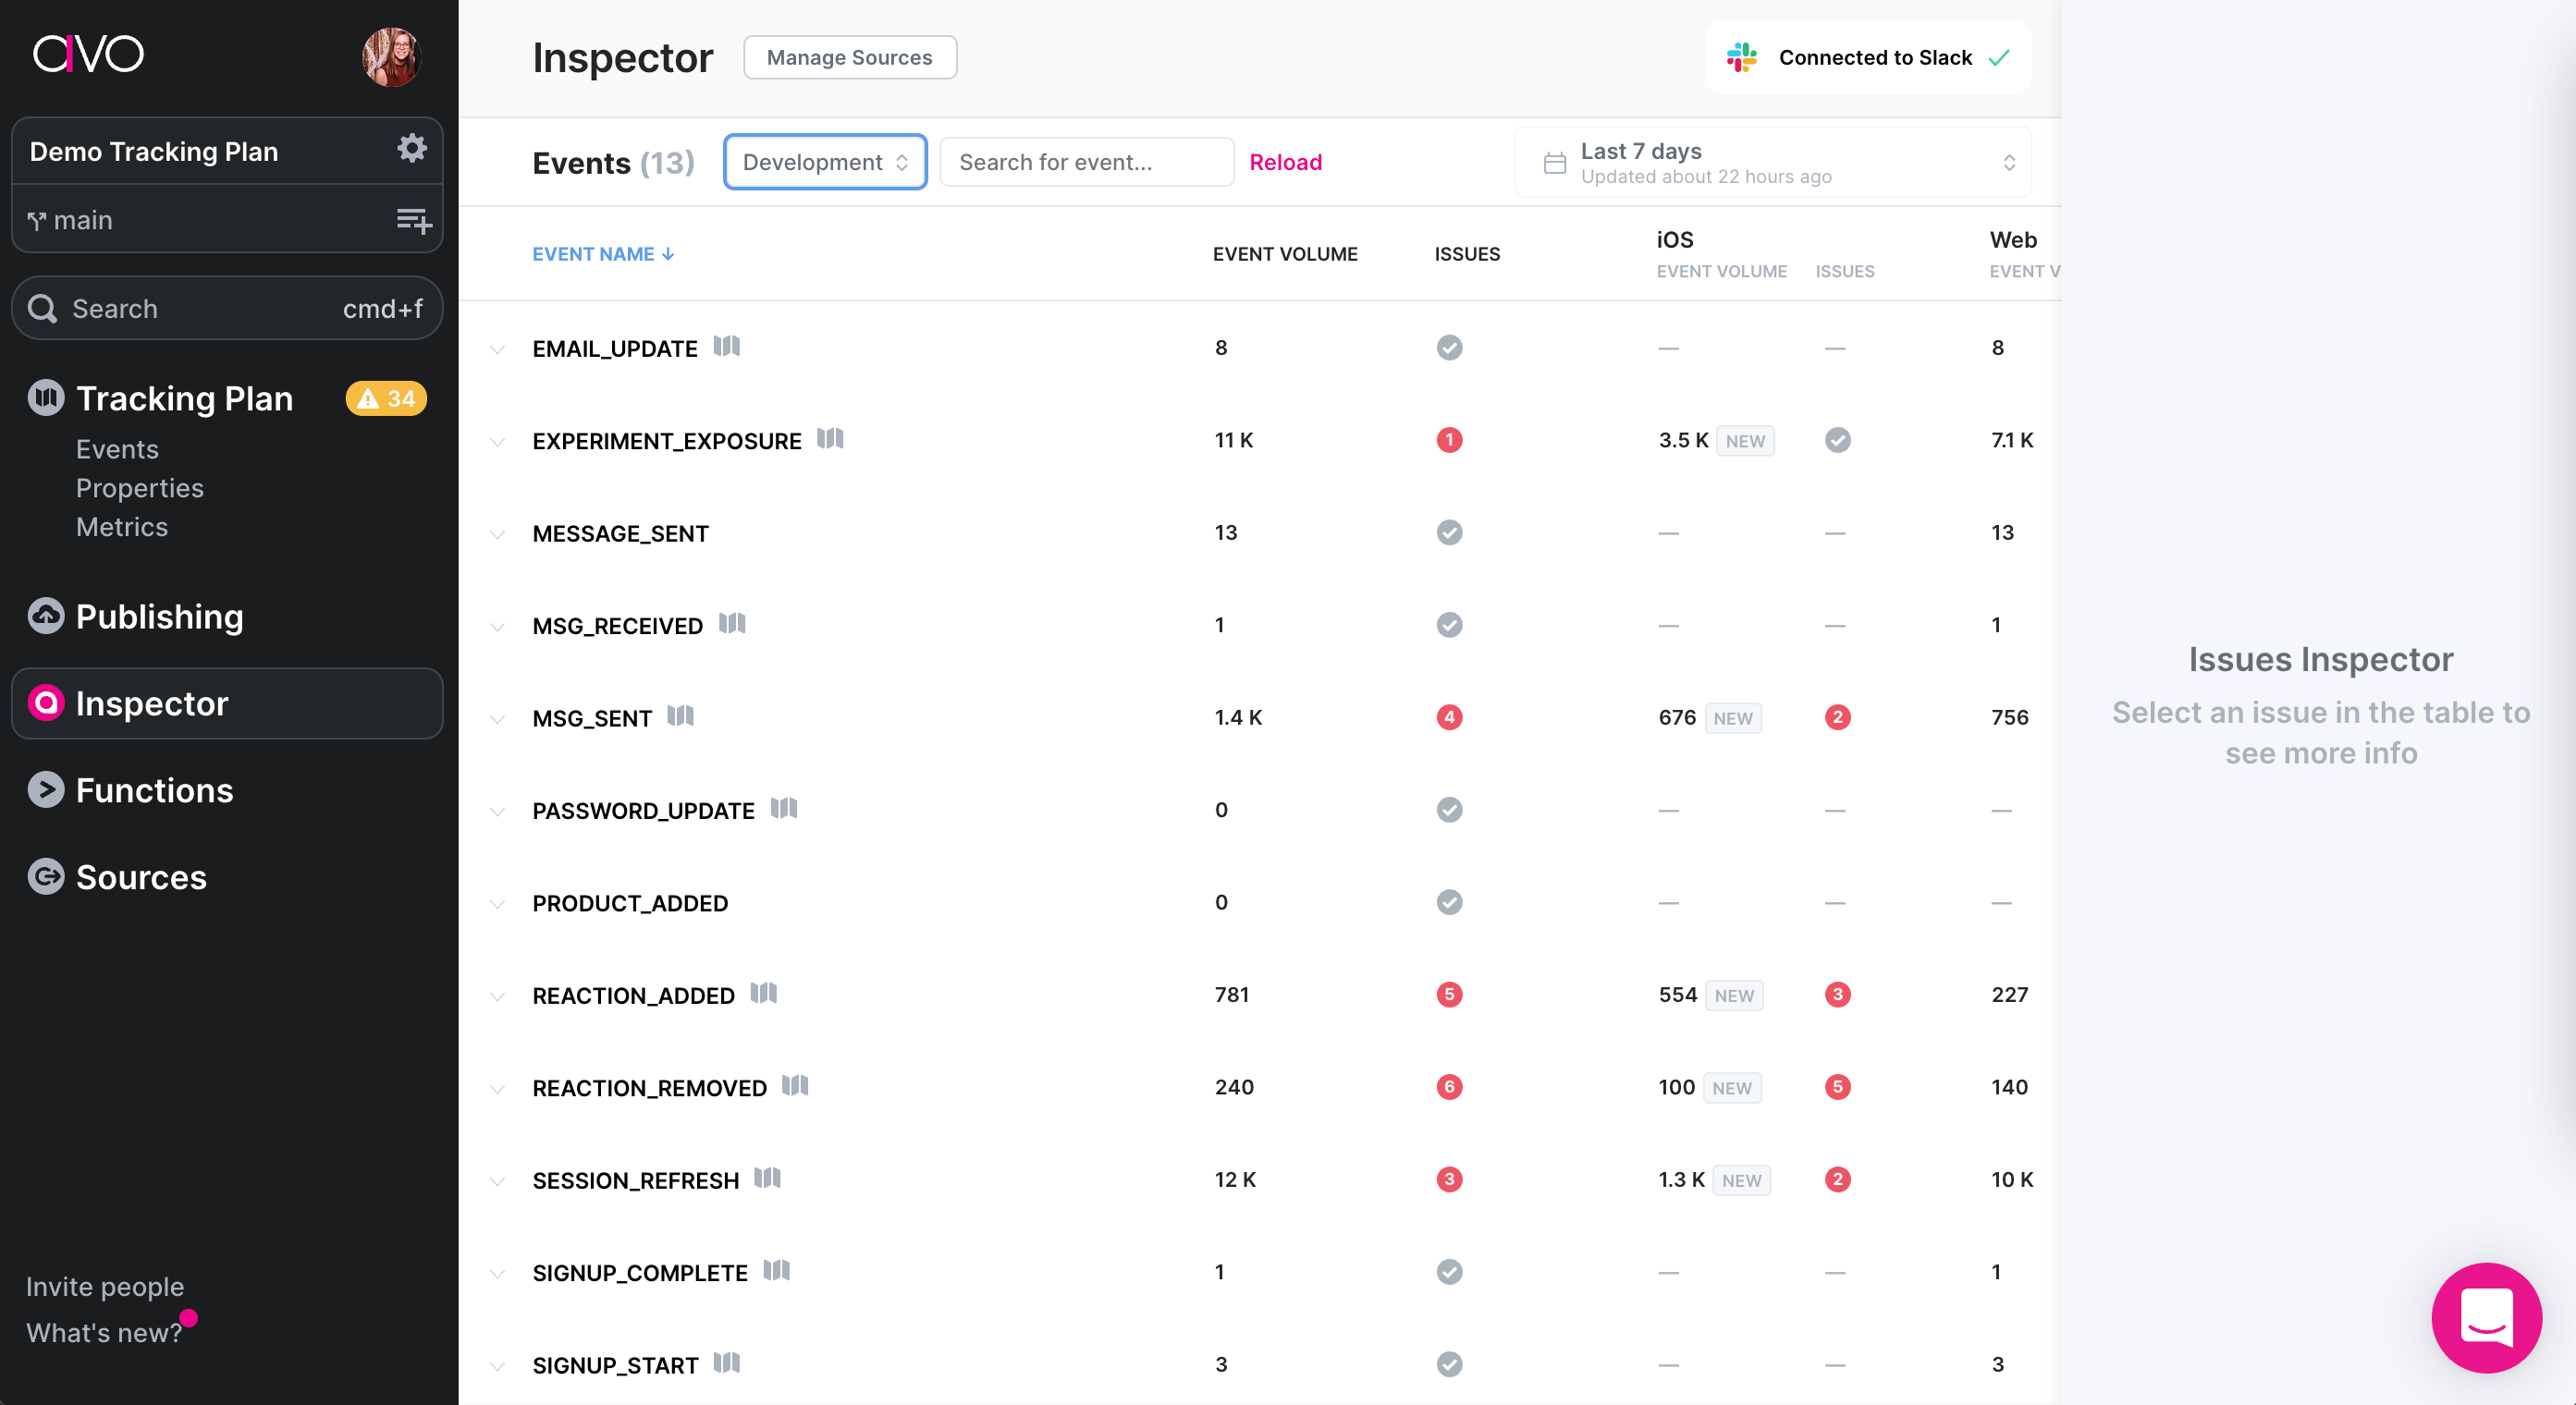
- [Events view](https://www.avo.app/docs/inspector/inspector-events-view.md): What is the events view and what can I learn from it?.
> The production environment in Inspector is designed to handle large amounts of data and has up to 2 hours delay from receiving events to displaying them on a dashboard.
> Events on dev and staging have no delay in processing and will be shown on the dashboard immediately.
## Building your tracking plan using Inspector
You can add both events and properties from Inspector, both via the issues view (where you can bulk import events and properties) and the events view (where you can add individual events).
- [Import events from Inspector](https://www.avo.app/docs/inspector/add-events-from-inspector.md): How to import your tracking plan from your live data in Inspector.
## Finding data quality issues
The issues view is great for finding data quality issues that are important to you and your team. There you can sort and filter your issues - and save views to be able to get back to your custom view fast and get alerted when new issues match your criteria.
- [Find Issues](https://www.avo.app/docs/inspector/inspector-find-issues.md): How to use the Issues view to find your data quality issues.
- [Inspector Alerts for Slack](https://www.avo.app/docs/inspector/inspector-slack-alerts.md): How to start receiving Slack alerts for your Inspector issues
## Fixing data quality issues
Whether your data quality issue is because the implementation is incorrect compared to the tracking plan or the tracking plan is incorrect compared to the data coming in, Inspector provides you with tool to fix your issues.
- [Fix Issues](docs/inspector/inspector-fix-issues): How to fix issues found with Inspector
## What's next?
Now when you've set up the Inspector we recommend to start using [the mobile debuggers](https://www.avo.app/docs/implementation/guides/start-using-visual-debuggers.md#accessing-mobile-debuggers).
---
Source: https://www.avo.app/docs/inspector/inspector-installation-overview.md
# How to send metadata to the Inspector
There are a few ways to install Inspector to add observability to your events, depending on how you send your events from your product already as well as your preferences. Below is an overview of all the installation methods available.
## Install Inspector through your CDP
If you send your events through a CDP (Customer Data Platform) you can configure the CDP to route the event metadata to the Inspector by setting up an Avo Inspector destination.
The main benefit of this solution is that it does not require work from a developer and can be done without changing your application code and releasing a new version. All setup is done on the CDP's side.
Learn how to route event to Inspector from:
- [Segment](https://www.avo.app/docs/inspector/connect-inspector-to-segment.md)
- [RudderStack](https://www.avo.app/docs/inspector/connect-inspector-to-rudderstack.md)
- [PostHog](https://www.avo.app/docs/inspector/connect-inspector-to-posthog.md)
- Contact us if you want to use another [CDP](https://www.avo.app/docs/help/troubleshooting.md)
- [Inspector Segment Integration](https://www.avo.app/docs/inspector/connect-inspector-to-segment.md): How to connect Inspector to Segment
- [Inspector RudderStack Integration](https://www.avo.app/docs/inspector/connect-inspector-to-rudderstack.md): How to connect Inspector to RudderStack
- [Inspector PostHog Integration](https://www.avo.app/docs/inspector/connect-inspector-to-posthog.md): How to connect Inspector to PostHog
## Install via Adobe Tags (Adobe Experience Platform)
If you're using Adobe Tags (part of Adobe Experience Platform Data Collection), you can install the Avo Inspector using a tag configuration. This lets you include the Inspector snippet without modifying your website’s codebase directly. You'll create a rule within Adobe Tags that injects the Avo Inspector snippet. Once deployed, Inspector will automatically begin capturing events for validation.
Step-by-step guide to [installing Inspector with Adobe Tags](https://www.avo.app/docs/inspector/connect-inspector-to-adobe-tag-extension.md).
- [Inspector GTM Integration](https://www.avo.app/docs/inspector/connect-inspector-to-adobe-tag-extension.md): How to connect Inspector through Adobe Tag Extension
## Install Inspector via GTM
If you send events through GTM (Google Tag Manager) you can observe both client and server side events with one of our GTM integrations. On the client side you can either use our [importable GTM recipe](https://www.avo.app/docs/inspector/connect-inspector-to-gtm.md#importable-gtm-recipe) or the [Inspector Get Schema Function](https://www.avo.app/docs/inspector/connect-inspector-to-gtm.md#inspector-get-schema-function). On the server side (beta) you can either [Import the Avo Inspector GTM template](https://www.avo.app/docs/inspector/connect-inspector-to-gtm.md#import-avo-inspector-gtm-tag-template) or [create Avo Inspector GTM tag](https://www.avo.app/docs/inspector/connect-inspector-to-gtm.md#create-avo-inspector-gtm-tag).
- [Inspector GTM Integration](https://www.avo.app/docs/inspector/connect-inspector-to-gtm.md): How to connect Inspector to Google Tag Manager
## Install Inspector SDK
If you’re not using one of the supported CDPs you can send events data with an SDK. It will require one time setup and a new app release and takes 10-30 minutes, depending on the developer’s experience. We recommend asking a developer that is familiar with the existing event tracking setup to help with this setup.
Learn how to set up SDKs for in our [Inspector SDK overview](https://www.avo.app/docs/reference/avo-inspector-sdks/overview.md). Supported platforms are currently:
- [iOS](https://www.avo.app/docs/reference/avo-inspector-sdks/ios.md)
- [Android](https://www.avo.app/docs/reference/avo-inspector-sdks/android.md)
- [Web](https://www.avo.app/docs/reference/avo-inspector-sdks/web.md)
- [React Native](https://www.avo.app/docs/reference/avo-inspector-sdks/react-native.md)
- [Node.js](https://www.avo.app/docs/reference/avo-inspector-sdks/node.md)
- [Flutter](https://www.avo.app/docs/reference/avo-inspector-sdks/dart.md)
- [Java](https://www.avo.app/docs/reference/avo-inspector-sdks/java.md)
- [Go](https://www.avo.app/docs/reference/avo-inspector-sdks/go.md)
Not seeing your platform in the list?
[Contact us](https://www.avo.app/docs/help/troubleshooting.md) if you want to send data from another platform.
- [Inspector SDK Overview](https://www.avo.app/docs/reference/avo-inspector-sdks/overview.md): How to Install the Avo Inspector SDK on your application
## Install Inspector with an HTML tag
You can add Inspector to a web page with an HTML tag. This option works for the users of the Google Tag Manager and other tag managers.
Find the tag snippet and instructions to send data [here](https://www.avo.app/docs/reference/avo-inspector-sdks/web.md#installation-option-2-html-tag).
- [Inspector HTML Tag](https://www.avo.app/docs/reference/avo-inspector-sdks/web.md#installation-option-2-html-tag): How set up a HTML tag in your tag manager
## Does Inspector receive PII data?
No. Inspector does not receive any PII data. Inspector only takes schema metadata, containing event names, property names, and types of properties.
Learn more technical details about the [Avo Inspector here](https://www.avo.app/docs/reference/avo-inspector-sdks/overview.md).
---
Source: https://www.avo.app/docs/inspector/configuring-inspector-sources.md
# Configuring Inspector Sources
_How to connect Inspector to your data stream._
The first step to start using Inspector, is installing it on your sources. Inspector shares sources with the workspace sources and they are all set up in the Sources tab. You can find the source setup in Inspector [Issues view](https://www.avo.app/docs/inspector/inspector-issues-view.md) and the [Events view](https://www.avo.app/docs/inspector/inspector-events-view.md) by clicking "+ Add Source" or navigate to the "Sources" tab directly.
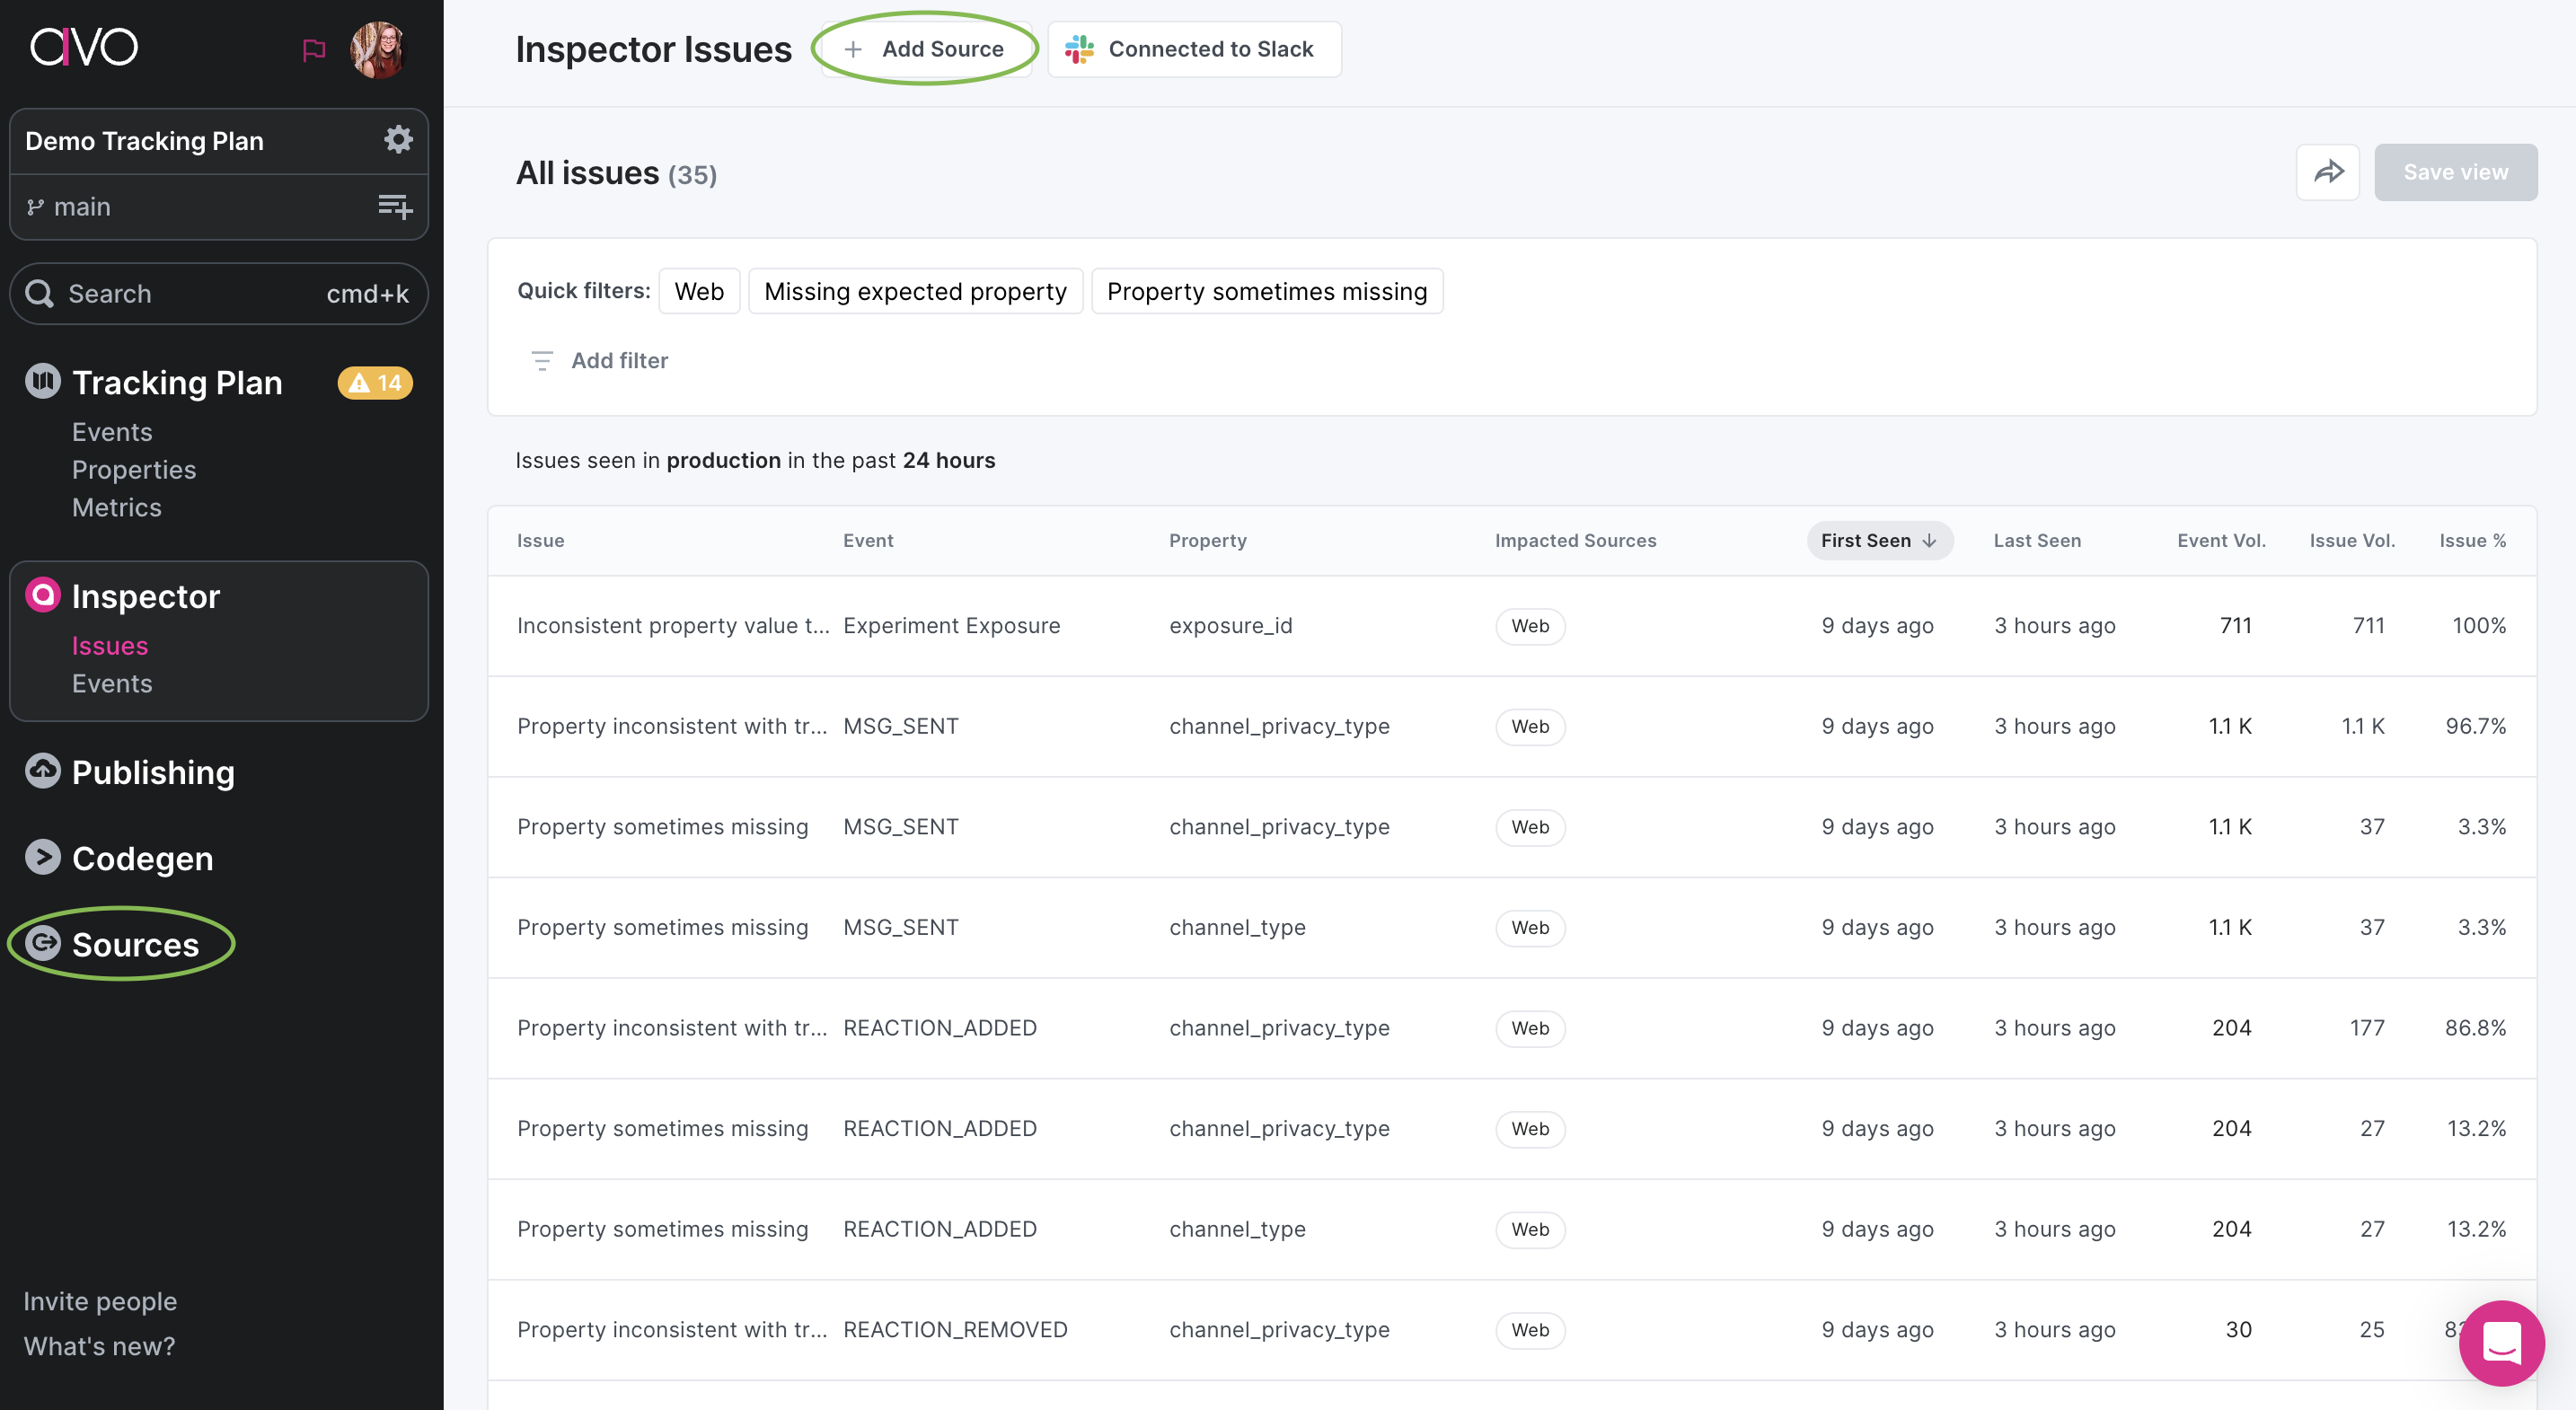
The Sources tab shows a list of all sources that have already been created and the status of Inspector setup. Once Inspector has been successfully installed, the set up status will be updated accordingly.
If the source you want to set up isn't already in the list of source, you can create a new one by clicking "Add Source". Check out our Connections Setup docs to learn more about [setting up and configuring sources](https://www.avo.app/docs/data-design/avo-tracking-plan/define-sources-and-destinations.md#sources)
Each Inspector source has 3 states:
1. Receiving events - this source already received at least one event from the client SDK.

2. Inspector available - the source is available for Inspection, but have not received any events yet. Click the source and find Inspector Setup section of the source details to see the implementations details and the API key for this source.

3. Inspector Not available - this source is not supported, there is no client SDK yet. Please [contact us](https://www.avo.app/docs/help/troubleshooting.md) to learn current status and planned release date.
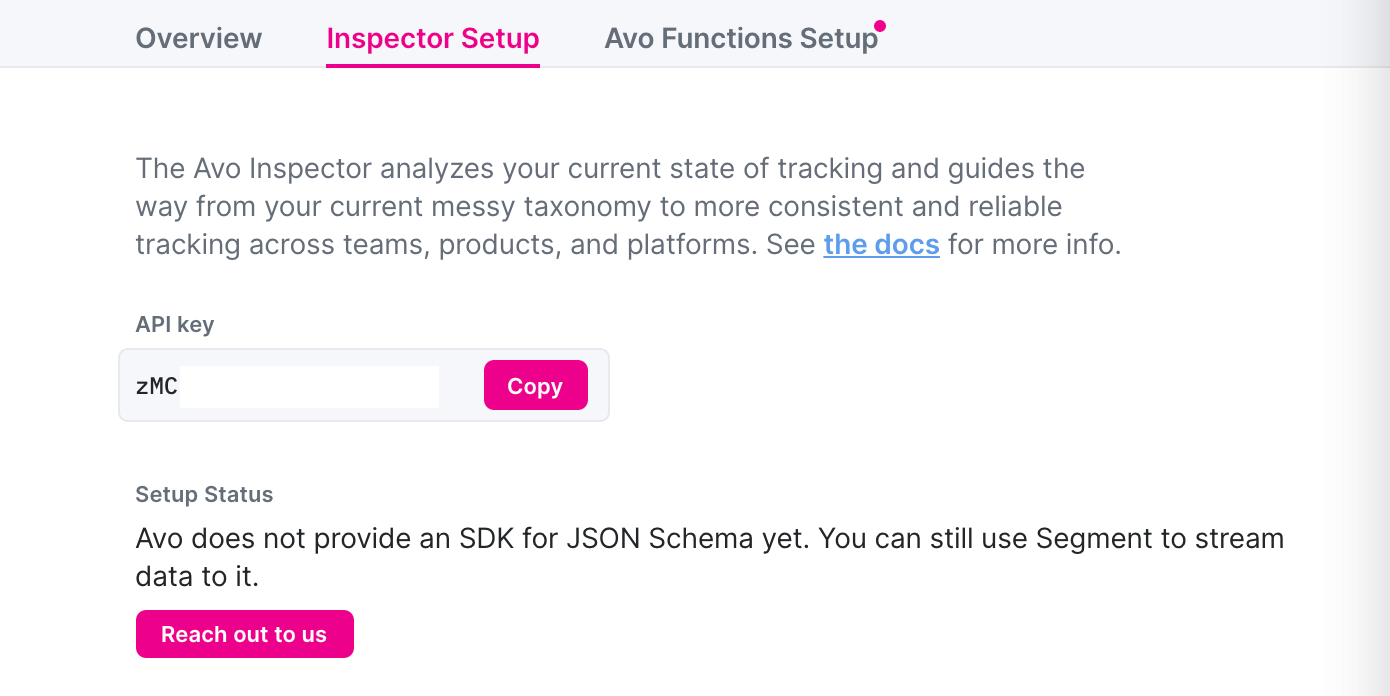
---
Source: https://www.avo.app/docs/inspector/inspector-issues-view.md
# Inspector Issues View
_What is the Inspector issues view and what information it contains_
The inspector issues view is one of three Inspector views, the other two are the [Debugger](https://www.avo.app/docs/inspector/inspector-debugger.md) and the [Events view](https://www.avo.app/docs/inspector/inspector-events-view.md).
The Inspector issues is particularly useful for reviewing and managing tracking plan violations in your production data for the past 24 hours. This view allows you to sort and filter issues to uncover those relevant to you and gives you the overview and information needed to prioritize which of them to act on.
> 💡 If you are looking to validate your tracking implementation in real-time, use the [Debugger](https://www.avo.app/docs/inspector/inspector-debugger.md).

Each issue in the table represents an issue on a particular event, or a particular property contained within an event. In the table you will see:
- **Regression** - If you've marked an issue as resolved and it has reappeared, it will be marked as a regression
- **The issue type** – for example, unexpected event or inconsistent property types; you can see the [(full list of issue types in Inspector here)](https://www.avo.app/docs/inspector/issue-types-in-inspector.md)
- **The name** of the event and/or property impacted
- **The source impacted**; each impacted source will be flagged individually
- **Issue timing** – when it was first and last seen
- **First seen** – when the issue was first seen
- **Last seen** – when the issue was seen most recently
- **Event volume** – how many total instances of the event were seen
- **Issue volume** – how many instances of the event were seen with this issue
- **Impacted releases** – which release versions were impacted by the issue, sorted by the most recent release first
- **Issue percentage** – the proportion of events seen with this issue in relation to total event volume (issue volume / event volume)
## Issue details
Click any issue in the list to see more details. If you have multiple sources connected with Inspector, you can dig into which sources are impacted by the issue and uncover which sources are most severely affected.
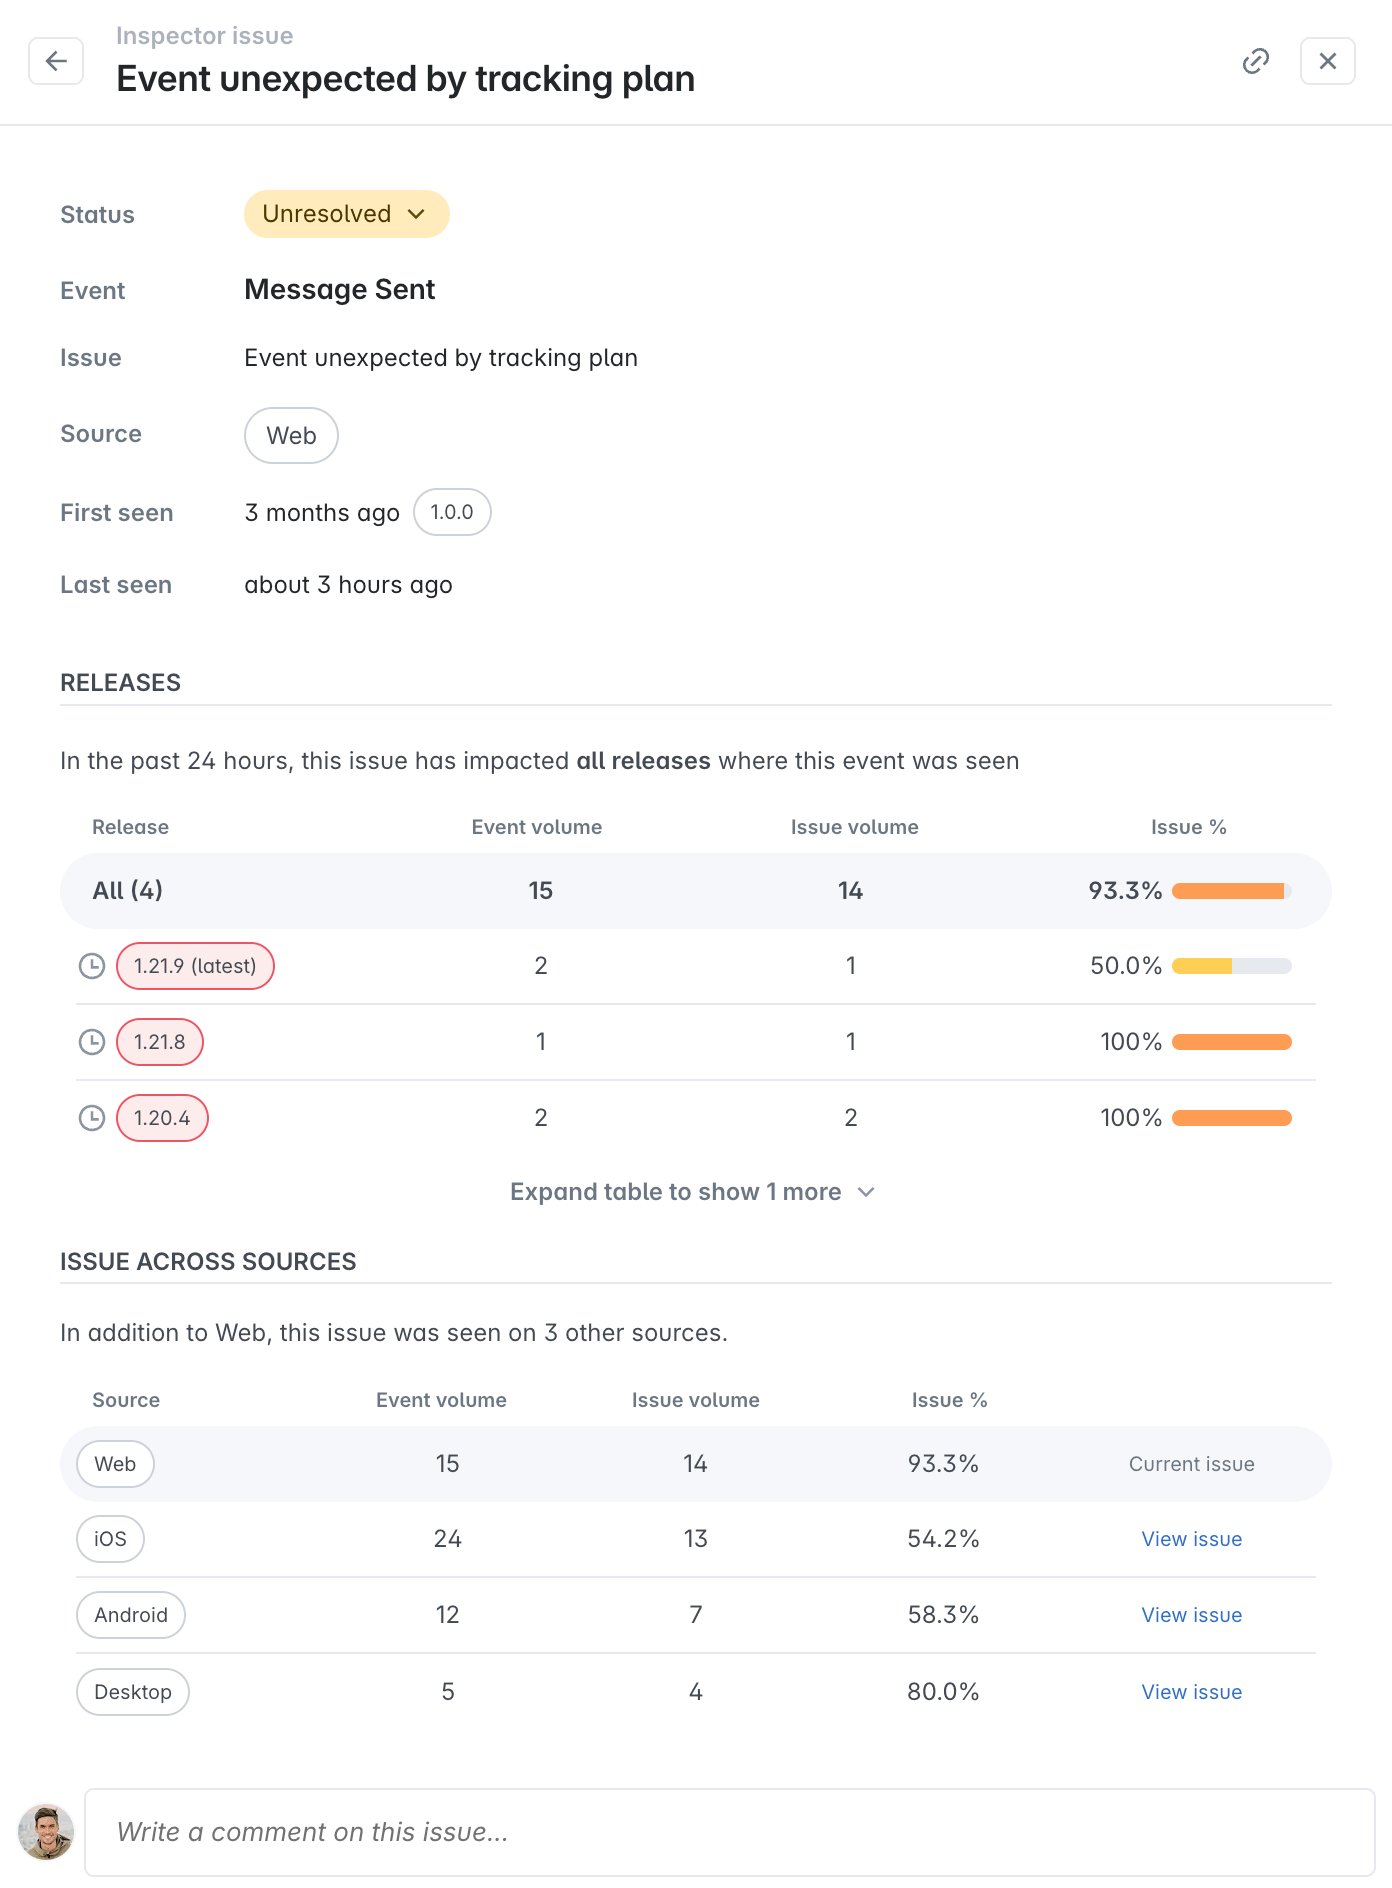
### Issue status
Set the status of an issue to communicate its current status to your team. The status can be set to one of the following:
- **Unresolved**: The default status for new issues. This status indicates that the issue has not been investigated.
- **Ignore**: If you know you're not planning to fix an issue, you can set the status to ignore. This help you focus on those issues on which you want to act.
- **Resolved**: If you have looked into the issue and fixed it, you can set the status to resolved. If the issue reappears, it will be marked as a regression. If you have alerts enabled for a saved view with a resolved issue, you will be notified when the issue reappears.
#### Bulk status management
You can efficiently manage the status of multiple issues at once using bulk actions:
1. **Select multiple issues** by checking the boxes next to the issues you want to manage
2. **Use the bulk action toolbar** that appears at the bottom of the screen
3. **Choose your action**:
- **Ignore**: Mark multiple issues as ignored
- **Resolve in...**: Mark multiple issues as resolved, specifying when they should be considered resolved:
- 1 hour from now
- 24 hours from now
This is particularly useful when you have multiple related issues that need the same resolution status, such as after deploying a fix that resolves several data quality issues at once. For detailed guidance on using bulk editing, see the [bulk editing guide](https://www.avo.app/docs/data-design/guides/bulk-editing.md#bulk-editing-in-inspector-issues-view).
### Event info
The event impacted by the issue, its volume and whether it is documented in your Avo tracking plan.
- If the event is not present in the tracking plan, click "Add to Tracking Plan" to instantly add it to your Tracking Plan.
- If the event is present in the tracking plan, click on the corresponding link to review and/or update its definition and details.
### Property info
The property impacted by the issue, and whether it is documented to be sent with the event in your tracking plan.
- If the property is present on the event in your tracking plan, click on the corresponding link to review and/or update its definition and details.
> Not all issues are related to properties. See [the full list of issue types
> here](https://www.avo.app/docs/inspector/issue-types-in-inspector.md).
### Releases
In this section you can see each release impacted by the issue in the last 24 hours (sorted by the most recent release first) with the following:
- The release version; hover over the clock icon to see the release date for that particular release
- The event volume seen on that release in the past 24 hours
- The issue volume seen on that release in the past 24 hours
- The issue percentage seen on that release in the past 24 hours
### Issue across sources
At the bottom of your issue details, you will see a list of all sources impacted by the issue. For each source you will see:
- Event volume
- Issue volume
- Issue percentage
- A link to the issue details on each additional impacted source.
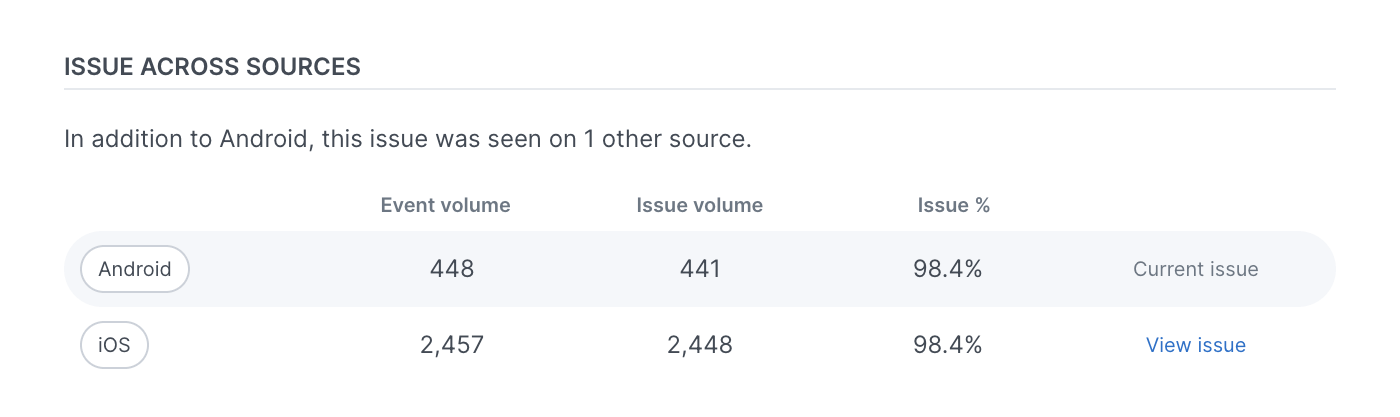
### Activity log and comments
The activity log lives at the bottom of your issue details. The activity log includes the issue creation date and a breakdown of when someone changed the issue’s status or a regression happened. The Activity Log is a bit like commits in Github, where you can see time stamped changes and the team member who made the change. The activity log also includes your comments on that issue. With comments, you can communicate on a specific issue and tag your team members to weigh in on an issue you need to fix together.
## Release and source breakdown
By clicking the "X releases on Y sources" button right above the issues table, you can see a breakdown of the releases seen in the past 24 hours and used to calculate the issues you're looking at.
This breakdown can be helpful to understand which releases have been fully rolled out and which releases are still being rolled out. There may still be more issues to come for releases that are mid-rollout.
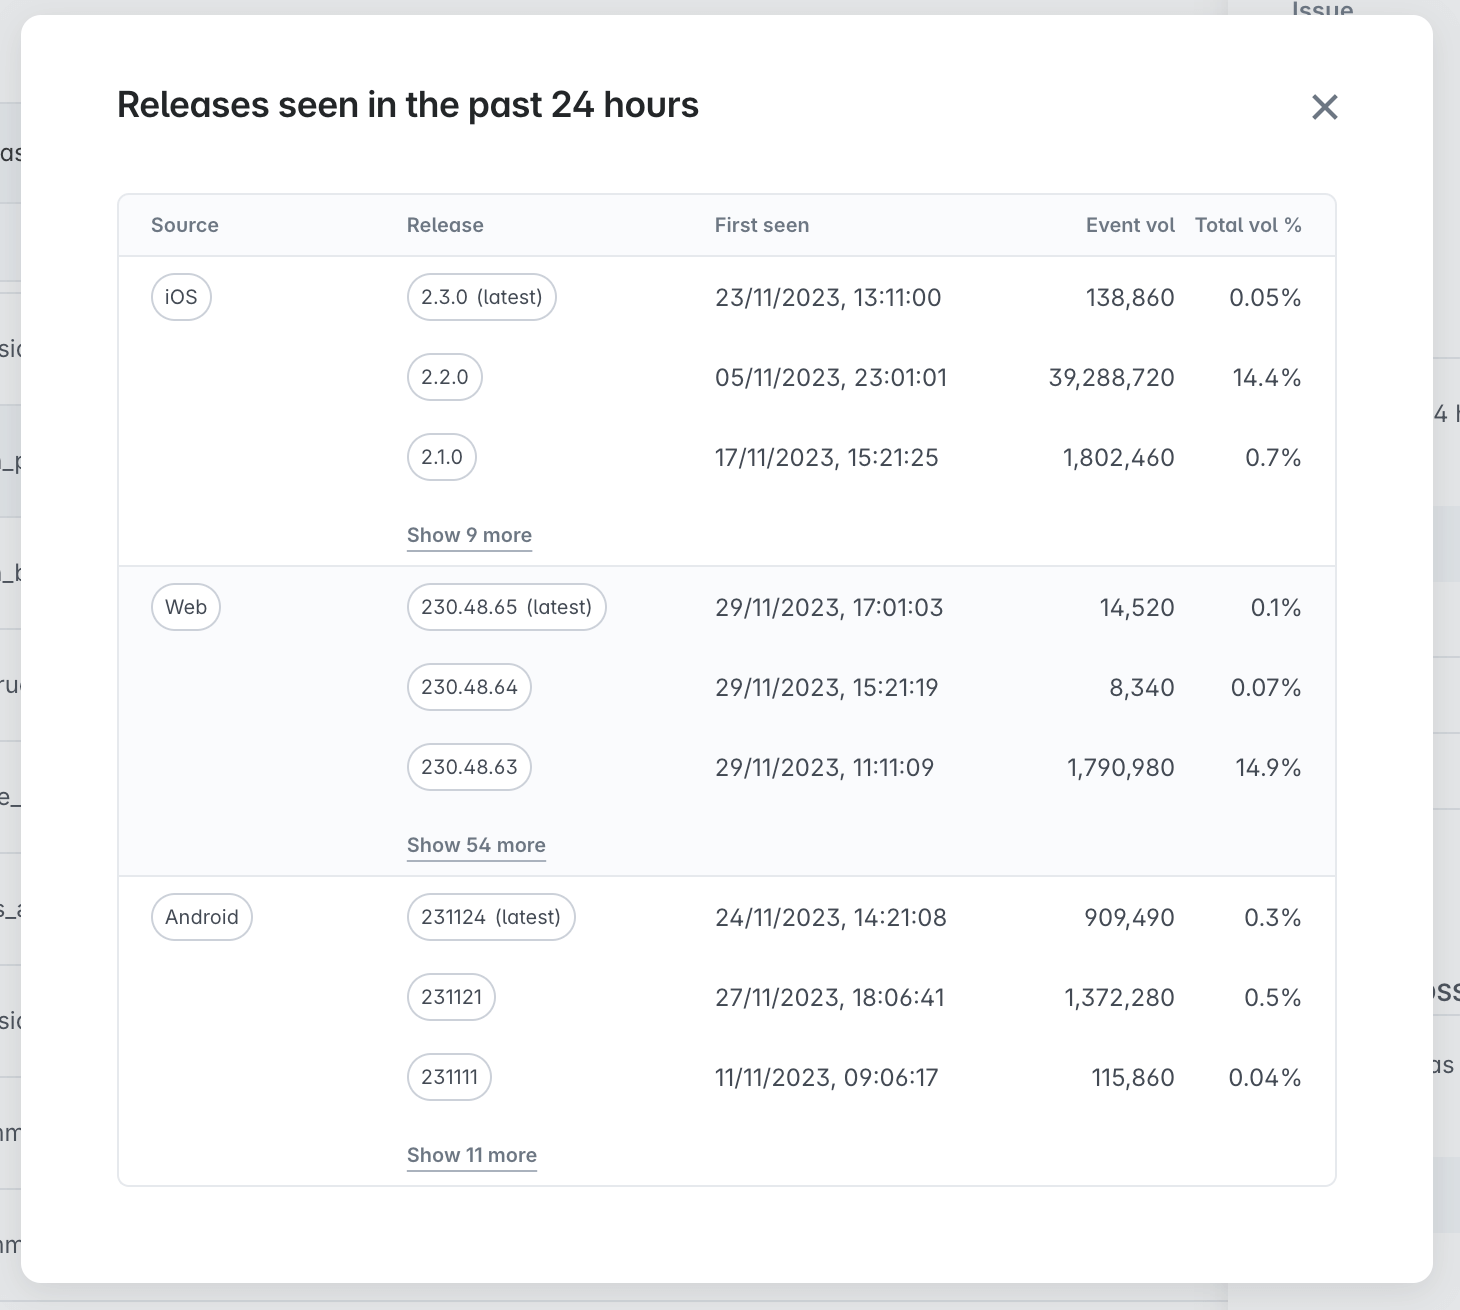
In the example above, Inspector has seen a very low volume of events from the latest release on iOS (2.3.0) compared to prior releases. This is a strong indication that the latest release has not been fully rolled out.
## Troubleshooting
### Why are there no issues in my issues view?
There are several reasons that may cause no issues to appear in your issues view, whether it's for a specific source or overall.
#### Inspector not installed on source
The most obvious reason is that you have not yet installed Inspector at all, or on the source that you are looking for. [install Inspector](https://www.avo.app/docs/inspector/inspector-installation-overview.md) on the source for which you'd like to see issues.
#### Inspector not installed on production
The issues view currently only displays issues from the past 24 hours in production. That means that if you don't have Inspector installed for production on any given source, you won't see any issues in the Issues view. [Install Inspector](https://www.avo.app/docs/inspector/start-using-inspector.md#how-to-send-metadata-to-the-inspector) on production for the source for which you'd like to see issues.
#### No issues in production for the past 24 hours
The issues view currently only displays issues from the past 24 hours in production. That means that if you don't have any issues in the past 24 hours, then you won't see any issues. Yay!
## What's next?
Now that you have issues in your issues view, you can start learning about the [issue types](https://www.avo.app/docs/inspector/issue-types-in-inspector.md), [finding issues](https://www.avo.app/docs/inspector/inspector-find-issues.md) that are important to you and [fixing issues](https://www.avo.app/docs/inspector/inspector-fix-issues.md) to systematically getting to better data, one resolved issue at a time. You can also start building your tracking plan by [importing events from Inspector](https://www.avo.app/docs/inspector/add-events-from-inspector.md) into you Avo tracking plan.
- [Find your data quality issues](https://www.avo.app/docs/inspector/inspector-find-issues.md): How to find your data quality issues in the Inspector issues view
- [Fix your data quality issues](https://www.avo.app/docs/inspector/inspector-fix-issues.md): How to fix issues in Avo Inspector.
- [Issue types](https://www.avo.app/docs/inspector/issue-types-in-inspector.md): Learn about the issue types Inspector identifies and what they mean.
- [Importing events from Inspector](https://www.avo.app/docs/inspector/add-events-from-inspector.md): How to import your events into your tracking plan from Inspector.
---
Source: https://www.avo.app/docs/inspector/inspector-events-view.md
# Inspector Events View
_How to use the Inspector Events view_
The Inspector events view is one of three Inspector views, the other two are the [Debugger](https://www.avo.app/docs/inspector/inspector-debugger.md) and the [Issues view](https://www.avo.app/docs/inspector/inspector-issues-view.md).
The events view provides a report on all event tracking Inspector has seen in your development, staging and production environments. You can use the dashboard to evaluate the health of your tracking implementation and prioritize issues.
> 💡 If you are looking to validate your tracking implementation in real-time, use the [Debugger](https://www.avo.app/docs/inspector/inspector-debugger.md).
### Filters
Here you can choose which environment to examine, the time window and search for event name.
#### Environments
Currently Inspector supports 3 types of environments:
- Development
- Staging
- Production
The events are streamed to the Environment specified in the client, based on the environment constant provided when initializing Avo Inspector SDK.
> Development and Staging events appear in the dashboard in a few minutes after they are fired and Production events can take up to 2 hours to show up.
#### Time window
Currently Inspector supports 4 types of time windows:
- 1 hour
- 24 hours
- 7 days
- 30 days
Time windows are updated every few hours on Production and are close to real time in Development and Staging.
#### Search for event name
Type the event name in the input field and only events with similar name will be shown.
If you want an exact match put the event name in quotes, e.g. "App Opened".
### Share current view of Inspector
Notice that after you change the header filters the URL also changes. You can share this URL with a colleague and they would see exactly the same slice of inspector data as you filtered.
### Events list
The main part of Inspector events view is the list of all events seen. You can expand the events to see the event properties.
If Inspector sees an event that is not yet in your tracking plan there is a shortcut to add it to your Tracking plan.
If Inspector detects an issue it will indicate that in the list.
If you select an event or property row a panel with detailed information will appear on the right. There you would be able to see extended information about the issues and edit the event or property in your tracking plan.
##### Unknown Source
Sources that are not defined on the Tracking Plan branch you're on, will show up as "Unknown Source" columns in the event table. Unknown sources can show up if:
1. The source has been archived in Avo
2. The source was created on a branch that is yet to be merged to the branch you're currently on
### Inspector issues
You can learn more about the [issue types Inspector can detect in your tracking here](https://www.avo.app/docs/inspector/issue-types-in-inspector.md).
## Inspector Implementation Status
You can learn more about [how Inspector works with your Tracking Plan implementation status here](https://www.avo.app/docs/data-design/avo-tracking-plan/implementation-status.md).
## Adding events to your tracking plan directly from the Inspector
You can learn more about [how you can create events and properties directly from the inspector here](https://www.avo.app/docs/inspector/add-events-from-inspector.md)
---
Source: https://www.avo.app/docs/inspector/inspector-debugger.md
# Inspector Debugger
The Inspector Debugger is a real-time event stream viewer that lets you validate your tracking implementation as you develop, without waiting for events to flow through your analytics pipeline. See events as they happen, inspect their properties, and catch issues before they reach production.
> 💡 If you haven't installed Inspector yet, check out the [Inspector installation overview](https://www.avo.app/docs/inspector/inspector-installation-overview.md).
## When to use the Inspector Debugger
Inspector debugger is one of three views in Inspector. The other two are the the [Issues view](https://www.avo.app/docs/inspector/inspector-issues-view.md) and the [Events view](https://www.avo.app/docs/inspector/inspector-events-view.md).
The Inspector debugger is particularly useful when you need to:
- **During active development** - Validate tracking as you build new features, seeing events appear instantly as you interact with your application without waiting for data to flow through your analytics pipeline.
- **Testing in development and staging** - For QA teams and data designers to run through QA flows and verify all expected events are firing with correct properties before releasing to production.
- **Understanding which events are triggered where** - To see which events are triggered in which parts of the application, in which order and which properties are attached to them.
## What is the Inspector Debugger?
The Inspector Debugger is a live event stream view within Avo Inspector that displays events as they're sent from your application. It provides:
### Real-time event stream
See all events flowing through Inspector in real-time, organized chronologically with:
- **Event name** - The name of each event as it was sent
- **Validation status** - Whether the event is valid according to the tracking plan on the branch that you are currently on or not
- **Time** - Exact timestamp when the event was sent by the application
- **Environment** - The environment the event was sent from (currently Development and Staging are supported)
- **Source** - Which platform or application sent the event (e.g., Desktop, iOS, Android, Web)
- **Stream ID** - A unique identifier for each user stream session, color-coded for easy visual tracking
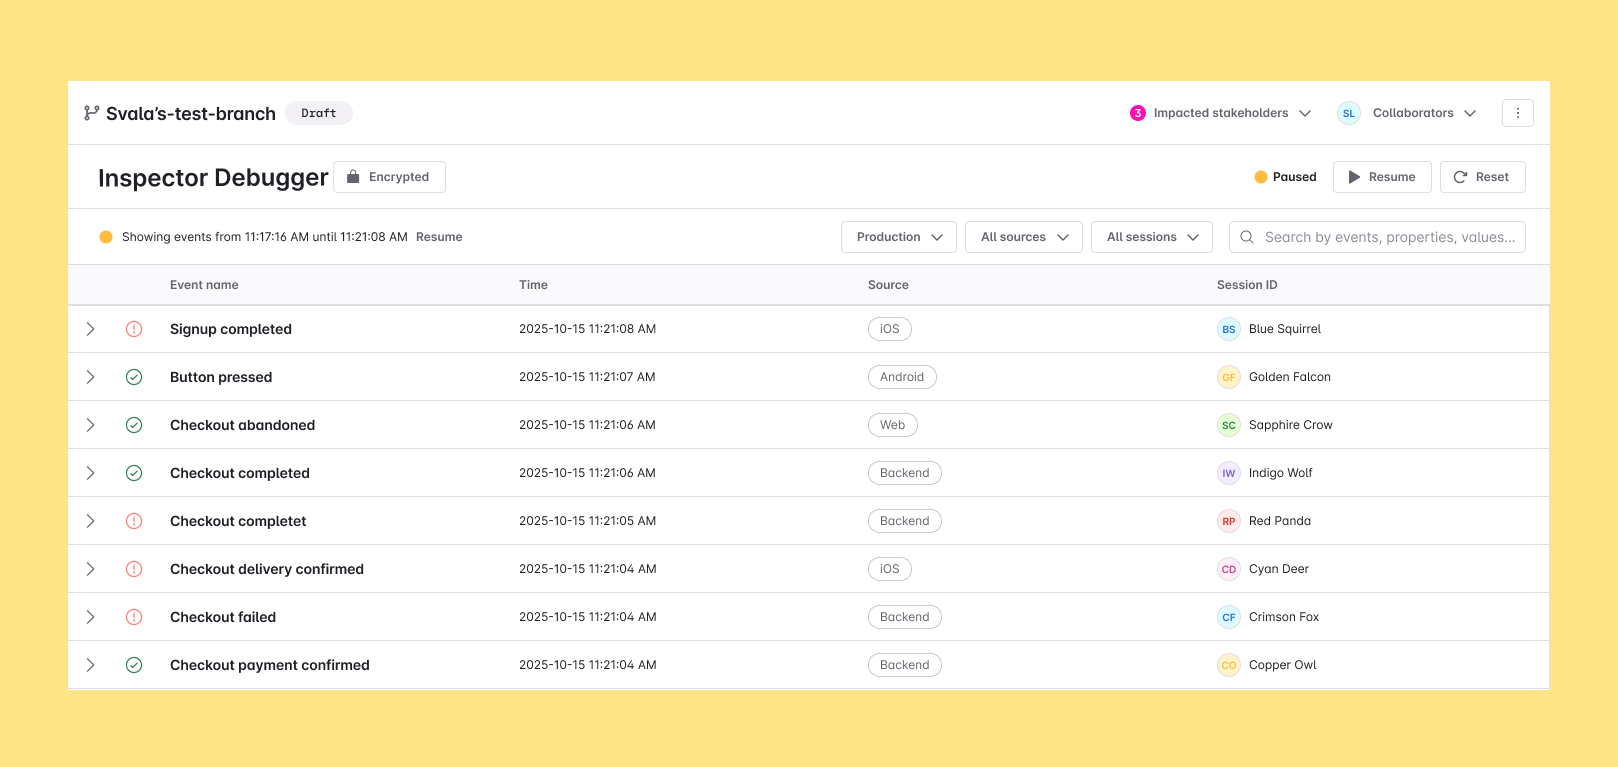
### Event details and validation
> Property value validation is an advanced feature available for [supported SDKs and integrations](#supported-sdks-and-integrations). See [Enabling advanced debugger features](#enabling-advanced-debugger-features) for setup instructions.
Click any event to see:
- **Complete property list** - All properties sent with the event, including their types and values (if [property value validation](#property-value-validation) is enabled and you have [decrypted the values](#decrypting-values-in-the-debugger))
- **Tracking plan validation** - Details on the validation status, with immediate feedback on [issue types](https://www.avo.app/docs/inspector/issue-types-in-inspector.md) like unexpected properties, type mismatches, or missing required properties
- **Event metadata** - Source, version, stream session information, and timestamps
- **Link to tracking plan** - Quick access to view the event definition in your tracking plan

> The Inspector Debugger validates events against your tracking plan in real-time and highlights [issue types](https://www.avo.app/docs/inspector/issue-types-in-inspector.md) for the branch that you are currently on.
### Matching events and variants
In some cases, an incoming event could match multiple events or [variants](https://www.avo.app/docs/data-design/avo-tracking-plan/event-variants.md) in your tracking plan. This happens when:
- **Your tracking plan uses [event variants](https://www.avo.app/docs/data-design/avo-tracking-plan/event-variants.md)** - Multiple variants of the same event exist with different property requirements
- **Your tracking plan uses event [name mapping](https://www.avo.app/docs/data-design/guides/name-mapping.md)** - Different events in the tracking plan are mapped to the same event name
When multiple matches are possible, Avo [automatically picks the most likely event, name-mapped event, or variant](https://www.avo.app/docs/inspector/inspector-debugger.md#how-avo-picks-the-most-likely-match) from the tracking plan to validate against. However, you can manually select a different match from the **Validating as** dropdown to validate against another event or variant from your tracking plan.
In this example, an event named `MSG_SENT` has two possible matches in the tracking plan. The dropdown shows the direct matches, and you can select a different variant to see how the event validates against it.
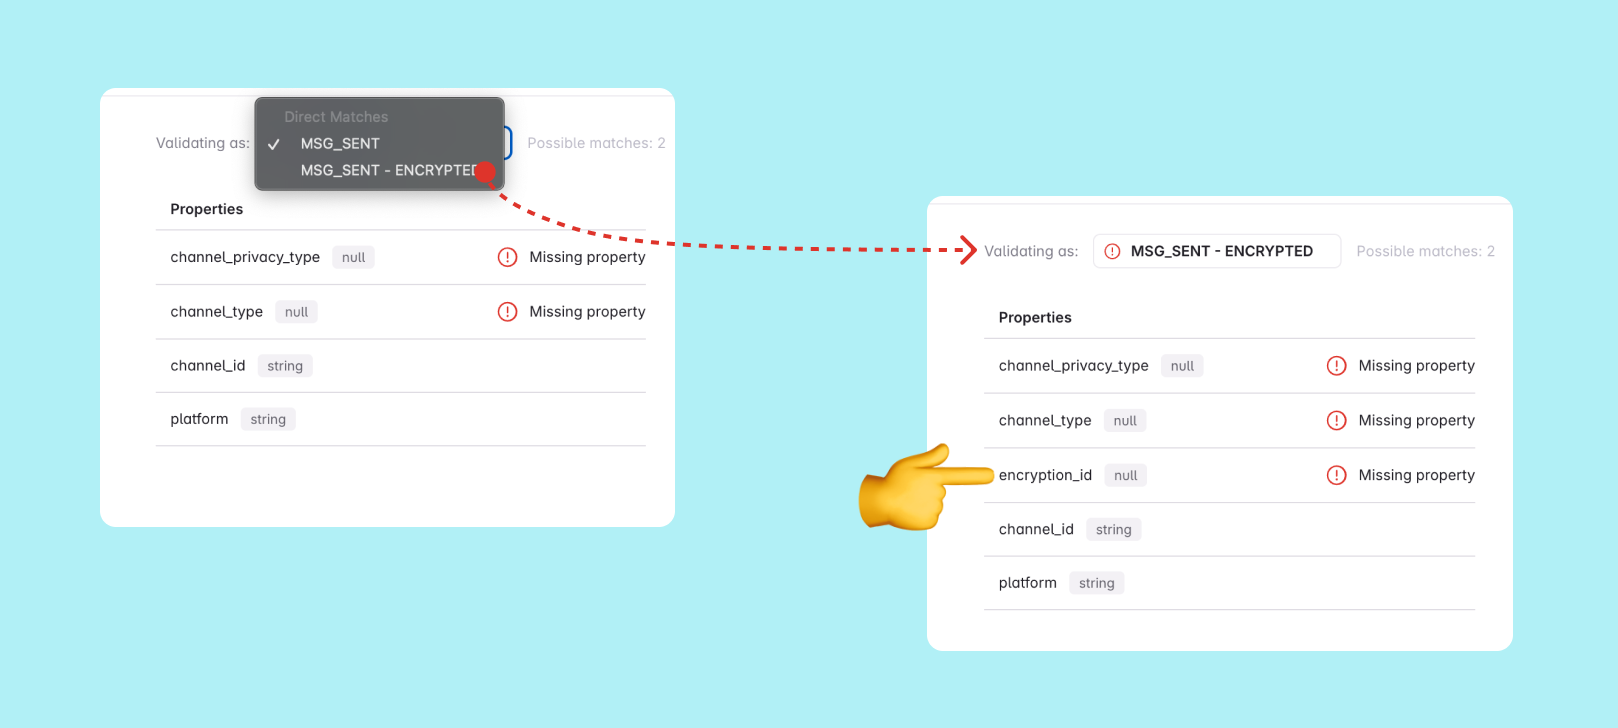
This is useful for verifying that events are being sent with the correct properties for specific variants or mapped events.
#### How Avo picks the most likely match
When an event matches multiple variants in the tracking plan, Avo selects the best match using a tiered scoring system. Variants are compared in priority order, only moving to the next tier if there's a tie:
1. **Value validation failures** - Count how many properties have values that don't match what this variant expected. Fewer failures = better match.
2. **Missing expected properties** - Count properties the tracking plan expects but the event doesn't have. Fewer missing = better match.
3. **Unexpected properties** - Count properties the event has that aren't defined in the tracking plan for this variant. Fewer unexpected = better match.
4. **Type mismatches** - Count properties where the type is wrong (e.g., sent string but expected number). Fewer mismatches = better match.
5. **Specific vs default (tiebreaker)** - If all else is equal, prefer the specific variant over the default event.
## How to use the Inspector Debugger
> 💡 To use the Inspector Debugger, the Inspector needs to be installed in your application. See the [Inspector installation overview](https://www.avo.app/docs/inspector/inspector-installation-overview.md) for instructions. The debugger is currently available for development and staging environments only.
### Accessing the debugger
1. Navigate to **Inspector** in the left sidebar of your Avo workspace and click on **Debugger** in the Inspector submenu
2. The debugger will show live events from all sources by default if you are an admin, editor or a viewer that has already activated an Implementer seat.
If you are not an admin, editor or a viewer that has already activated an Implementer seat, you will see a message telling you what you need to do to get access:
- **If you're a viewer and Implementer seats are pre-purchased** - You'll be prompted to activate an Implementer seat to start debugging
- **If you're a viewer and Implementer seats can be added** - You'll be prompted to activate an Implementer seat to start debugging (this will add to your monthly active Implementer seats count)
- **If you're a viewer and no Implementer seats are available** - You'll see a message prompting you to speak to an admin to get access to Implementer slots
- **If your workspace is on an older pricing plan** - You'll see a message prompting you to reach out to an admin to renew or upgrade your plan
### Filtering events
Use the filters at the top of the debugger to focus your view:
- **Environment filter** - Filter by development or staging environments
- **Source filter** - Show events from specific platforms (iOS, Android, Web, etc.)
- **Stream session filter** - Filter events to a specific user stream session. See [Enabling advanced debugger features](#enabling-advanced-debugger-features) for setup instructions.
- **Search** - Search for specific event names
To find your events in the debugger while debugging:
1. Filter down on the environment and source that you are triggering events from
2. Look at the stream ID column to identify which stream is sending events that match the ones you are triggering from your application, based on timing and event names, and filter down to that stream session
#### Session filtering
Session filtering allows you to filter the event stream to show only events from a specific user session. This makes it much easier to find your own events when debugging, especially in busy development or staging environments where multiple team members may be triggering events simultaneously. See [Enabling advanced debugger features](#enabling-advanced-debugger-features) for setup instructions.
Each session is identified by a unique stream ID and color-coded in the debugger for easy visual tracking. When session filtering is enabled:
- Events are grouped by session, enabling you to identify the events you are sending from your application in the debugger to QA the implementation
- You can click on any stream ID to filter the view to only show events from that session
- The filter persists as you navigate, helping you focus on a specific debugging session
### Controlling the event stream
The debugger provides controls for managing the live stream:
- **Pause** - Pause the event stream to inspect events without new ones appearing. Useful when you need to review a specific event in detail.
- **Resume** - Resume the live stream to continue receiving events
- **Reset** - Clear all events from the current view to start fresh. Useful when you are finding your stream session or want to start fresh.
### Property value validation
The Inspector Debugger supports property value validation, allowing you to see the actual values being sent with your events and verify they match your expected data. This is useful for catching [property value issues](https://www.avo.app/docs/inspector/issue-types-in-inspector.md#property-value-issues) where values don't match the [property constraints](https://www.avo.app/docs/data-design/avo-tracking-plan/properties.md#property-types-and-constraints) defined in Avo, such as allowed values and regex patterns for string properties, min and max values for numerical properties, and required or unexpected keys in object properties.
Property values are encrypted end-to-end for privacy and security. You will always see validation issues (such as values not matching allowed values or regex patterns), but the actual property values will appear as encrypted. To see the actual values that are causing issues, you need to [decrypt them using your private key](#decrypting-values-in-the-debugger).
#### How encryption works
Property values are only sent to Avo if you provide a public encryption key to encrypt the values:
- **Avo never stores actual values** - Only encrypted values are stored on Avo's servers
- **Public/private key encryption** - You generate a key pair using the Avo CLI. Avo uses the public key to encrypt values, and only you can decrypt them with your private key
- **Avo cannot decrypt your data** - The public key can only be used for encryption, not decryption

To start encrypting and validating property values, [generate encryption keys](#generating-encryption-keys) and pass the public key to your SDK during initialization.
#### Decrypting values in the debugger
When viewing events in the Inspector Debugger, property values will show as "Encrypted value" by default. You will always be able to see if there is an issue related to the value, but to view the actual values:
1. Click the **Encrypted** button in the debugger header
2. Enter your 64-character hex private key in the dialog
3. Optionally save the key using a password manager with a browser extension (if it's not already saved) or your browser's built-in password manager to avoid having to enter it every time
4. Click **Decrypt** to reveal the actual property values
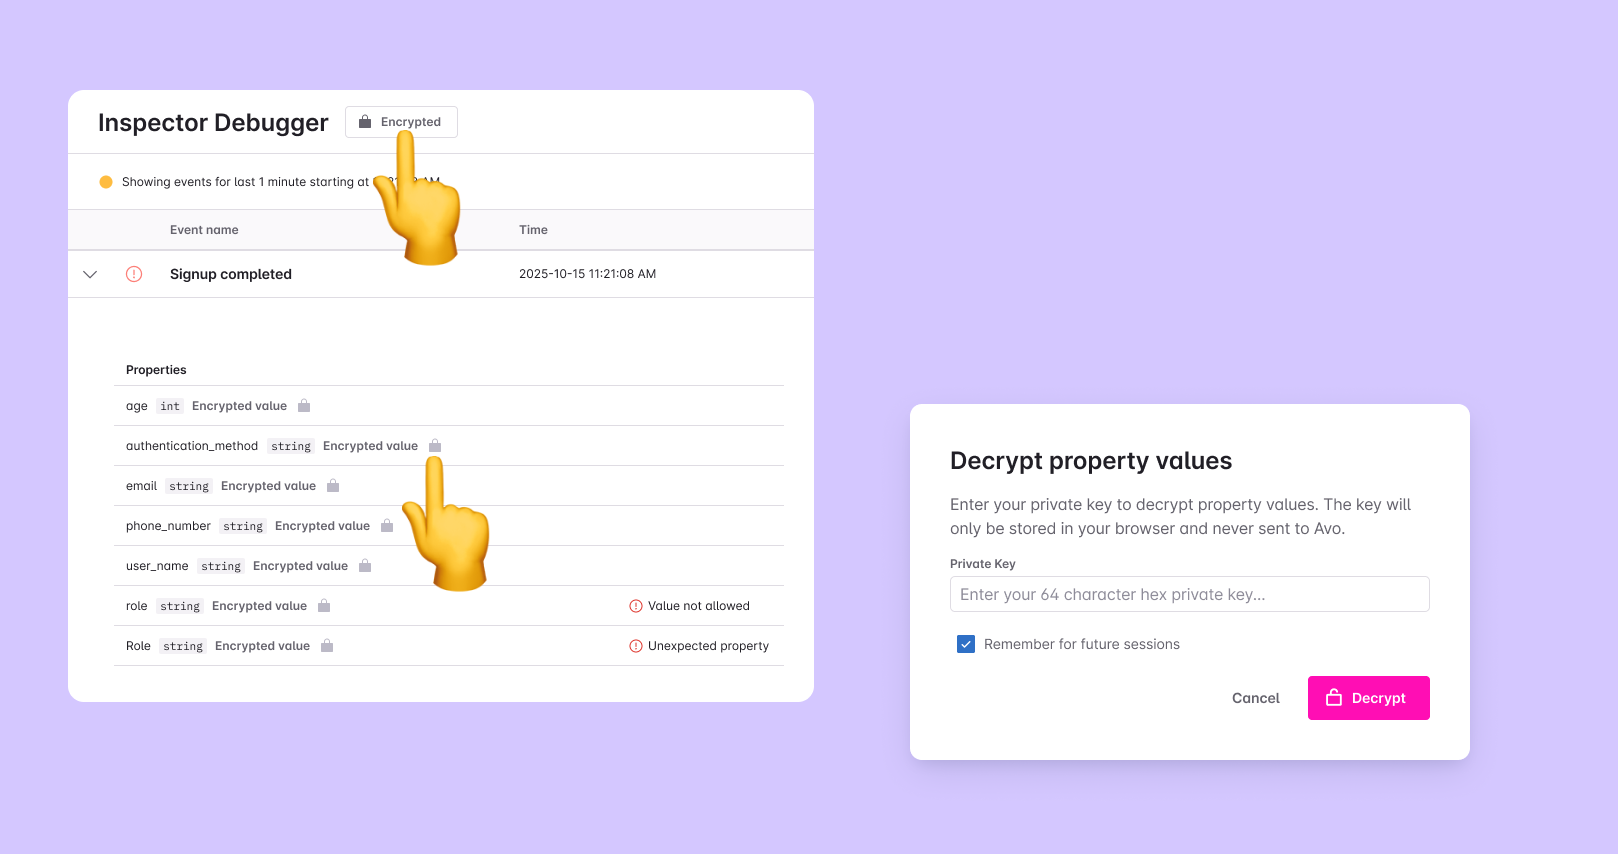
Once decrypted, you can see the actual values sent with each event and identify issues like incorrect data or unexpected values.
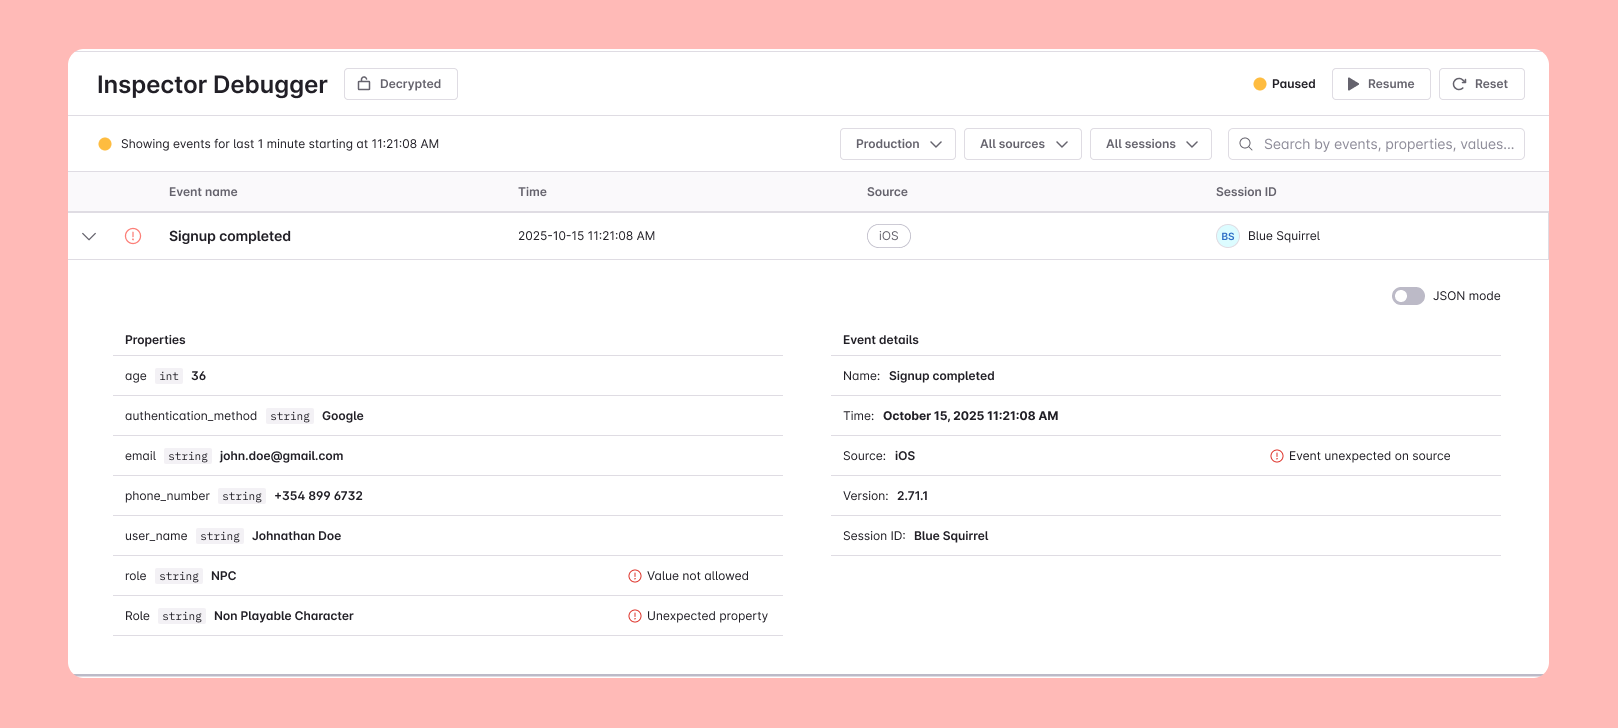
> Your private key is only stored locally in the application during your session and is never sent to Avo's servers. Decryption happens entirely on your machine.
## Enabling advanced debugger features
The Inspector Debugger offers advanced features when using a [supported SDK or integration version](#supported-sdks-and-integrations).
To enable them you have to install or update the supported SDK or integration to the minimum version listed in the [supported SDKs and integrations](#supported-sdks-and-integrations) table below.
Each feature has different setup requirements:
- **[Session filtering](#session-filtering)** - Filter the event stream to a specific user session, making it easier to find and debug your own events. Works automatically with supported SDK versions — no additional settings required.
- **[Property value validation](#property-value-validation)** - See validation issues for property values that don't match the constraints defined in your tracking plan, such as allowed values, regex patterns, min/max values, and object key requirements. To enable it, you need to:
1. **Enable property value validation** - Go to Inspector settings in your Avo workspace and enable the Property value validation setting.
2. **(Optional) [Generate encryption keys](#generating-encryption-keys)** - To see the actual property values (not just validation issues), generate a key pair and pass the public key to your SDK.
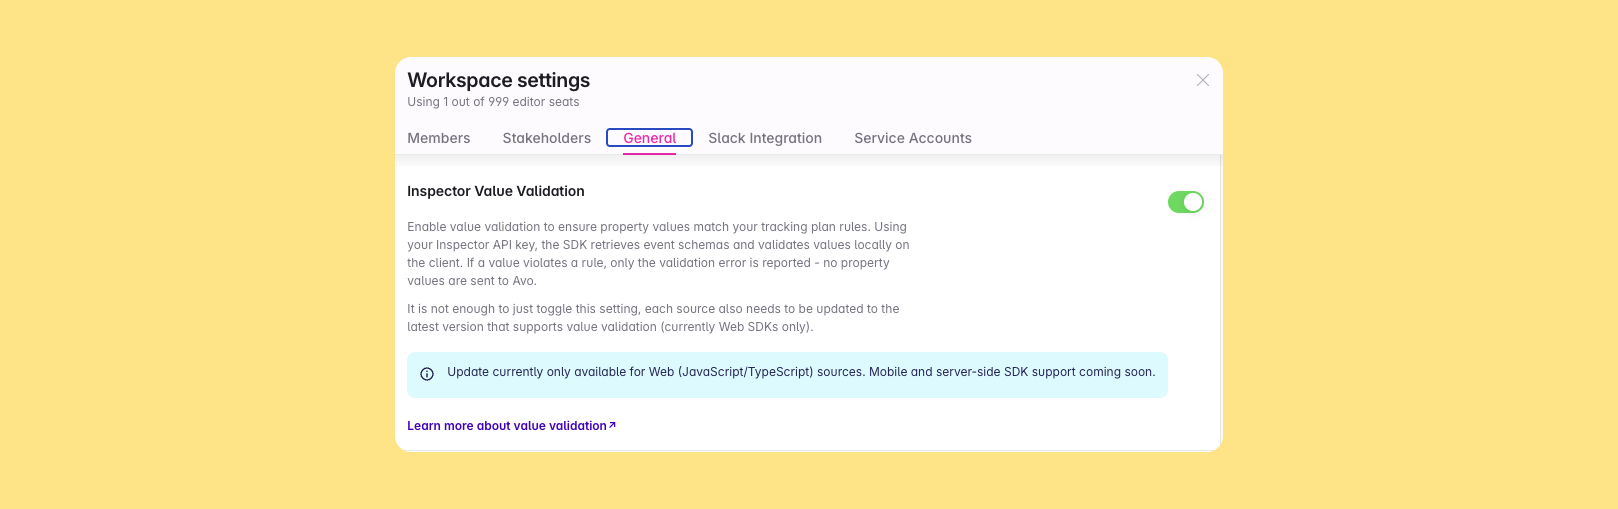
### Generating encryption keys
By default, property values appear encrypted in the debugger. You will always see validation issues, but to see the actual values that are causing issues, you need to generate a key pair.
Run the following command in your terminal:
```bash
node -e "const { createECDH } = require('crypto'); const ecdh = createECDH('prime256v1'); ecdh.generateKeys(); console.log('Private Key:', ecdh.getPrivateKey('hex')); console.log('Public Key:', ecdh.getPublicKey('hex', 'compressed'));"
```
Then:
1. **Pass the public key to your SDK** - Add the public key when initializing the Inspector SDK or configuring your integration. See the setup guide for your [platform](#supported-sdks-and-integrations).
2. **Store your private key securely** - Save it in a password manager. You'll need it to [decrypt values in the debugger](#decrypting-values-in-the-debugger). Never share your private key.
### Supported SDKs and integrations
Property value validation and session filtering are currently supported on:
| Platform | Package Manager | Min Version | Languages |
|----------|----------------|-------------|-----------|
| Web | npm / yarn | 3.0.0+ | JavaScript, TypeScript, ReScript |
| SSR Web | npm / yarn | 2.1.0+ | JavaScript, TypeScript |
| iOS | CocoaPods | 3.0.0+ | Swift, Objective-C |
| iOS | SPM | 4.0.0+ | Swift, Objective-C |
| React Native | npm / yarn | 1.4.0+ | JavaScript, TypeScript |
| Node.js | npm / yarn | 1.2.0+ | JavaScript, TypeScript |
| Android | JitPack / Maven | 2.4.0+ | Kotlin, Java |
| Segment | Integration | v2 | All sources |
| GTM Web (client) | Template Gallery | inspector-gtm-v2.min.js | JavaScript |
| GTM Web (recipe) | [GitHub](https://github.com/avohq/gtm-web-recipe) | v2+ | JavaScript |
| GTM Server | Template Gallery | latest | Sandboxed JS |
To get access to all the features, including stream ID, client-side value validation, and property value report, update to the minimum version listed above. Support for other platforms is coming soon. Reach out to support if you need these features for other platforms.
> The Segment integration does not yet support regex property value validation. Support for regex validation is coming soon. All other supported SDKs and integrations listed above already support regex validation.
## Troubleshooting
### Not seeing events in the debugger
If events aren't appearing in the debugger:
1. **Verify Inspector is installed** - Check that you've [installed Inspector](https://www.avo.app/docs/inspector/inspector-installation-overview.md) for your platform
2. **Check your filters** - Make sure environment, source and event name filters aren't excluding your events
3. **Check your API key** - Verify you're using the correct Avo API key in your Inspector configuration
### Events appear but have many issues
If you're seeing unexpected validation issues on events you might be on the wrong branch.
1. **Check your branch** - Verify you're on the correct branch that you are expecting to see events from. Switch branches in the top of the left sidebar of your Avo workspace.
2. **Check your tracking plan** - Verify your tracking plan definitions match the event shapes that you are seeing in the debugger
3. **Check the matched variant** - If you're using [event variants](https://www.avo.app/docs/data-design/avo-tracking-plan/event-variants.md) or [name mapping](https://www.avo.app/docs/data-design/guides/name-mapping.md), verify that the debugger [matched the correct variant](https://www.avo.app/docs/inspector/inspector-debugger.md#matching-events-and-variants). You can select a different variant from the "Validating as" dropdown to see how your event validates against other options.
## What's next?
- Learn about the [Issues view](https://www.avo.app/docs/inspector/inspector-issues-view.md) to review and manage tracking plan violations
- Learn about [finding and fixing issues](https://www.avo.app/docs/inspector/inspector-find-issues.md) in Inspector
- Learn about [issue types](https://www.avo.app/docs/inspector/issue-types-in-inspector.md) in Inspector
---
Source: https://www.avo.app/docs/inspector/issue-types-in-inspector.md
# Issue Types in Avo Inspector
- [Event unexpected by tracking plan](#event-unexpected-by-tracking-plan)
- [Event unexpected on source](#event-unexpected-on-source)
- [Property type does not match tracking plan](#property-type-does-not-match-tracking-plan)
- [Property type inconsistent](#property-type-inconsistent)
- [Property unexpected on event](#property-unexpected-on-event)
- [Required property sometimes missing from event](#required-property-sometimes-missing-from-event)
- [Property value does not match constraints](#property-value-does-not-match-constraints)
## Event and property structure issues
### Event unexpected by tracking plan
Detects events that are not defined in the tracking plan
_**Example:** Event Signup Completed not found in Tracking Plan._
### Event unexpected on source
Detects events that are not expected from a specific source according to the Tracking Plan
_**Example:** Event unexpected on iOS by tracking plan_
### Property type does not match tracking plan
Detects properties with different types than defined in the tracking plan
_**Example:** Property seen as *bool* but expected as *string*._
### Property type inconsistent
Detects properties seen with multiple different types
_**Example:** Property types seen: **object**, **string**._
### Property unexpected on event
Detects properties on events where they are not expected according to the tracking plan
_**Example:** Property unexpected on event by tracking plan_
### Required property sometimes missing from event
Detects properties that are required in the tracking plan but sometimes missing
_**Example:** Property set as *always sent* on "App Opened" in tracking plan but missing on event_
## Property value issues
Property value issues are detected when you have [property value validation](https://www.avo.app/docs/inspector/inspector-debugger.md#decrypting-property-values) enabled and are available in the [Inspector Debugger](https://www.avo.app/docs/inspector/inspector-debugger.md). Property values are sent encrypted to Avo and can be decrypted locally in the [Inspector Debugger](https://www.avo.app/docs/inspector/inspector-debugger.md#decrypting-property-values).
> Property value issues are currently only available for the Inspector Web SDK and Segment integration. Support on other platforms coming soon. Reach out to support if you need property value validation for other platforms.
### Property value does not match constraints
Detects property values that don't match the [property constraints](https://www.avo.app/docs/data-design/avo-tracking-plan/properties.md#property-types-and-constraints) defined in your tracking plan.
#### String properties
- **Property value does not match regex** - The string value doesn't match the regex pattern defined in the tracking plan
_**Example:** Property email has value "invalid-email" but expected to match regex pattern `^[a-zA-Z0-9._%+-]+@[a-zA-Z0-9.-]+\.[a-zA-Z]{2,}$`_
- **Property value does not match allowed values** - The string value is not in the list of allowed values defined in the tracking plan
_**Example:** Property role has value "NPC" but expected one of: "Admin", "User", "Guest"_
#### Numerical properties
- **Property value lower than defined min** - The numerical value is below the minimum value defined in the tracking plan
_**Example:** Property age has value -5 but minimum allowed value is 0_
- **Property value higher than defined max** - The numerical value exceeds the maximum value defined in the tracking plan
_**Example:** Property rating has value 15 but maximum allowed value is 10_
#### Object properties
- **Required key sometimes missing from object property** - A required key in an object property is sometimes missing
_**Example:** Object property address is missing required key "country"_
- **Object key unexpected on object property** - An unexpected key is present in an object property
_**Example:** Object property address has unexpected key "planet"_
- **Object property value does not match constraints** - Values within object properties are also validated against the same string, numerical, and object constraints as above
_**Example:** Object property address has key "zip_code" with value "ABC" but expected to match regex pattern `^\d{5}$`_
## Upcoming Issue Types in Avo Inspector
Here are some of the issue types we're planning on adding in the future. Reach out if you'd like to see any of these sooner than others.
- [Event missing on some sources (coming soon)](#event-missing-on-some-sources-coming-soon)
- [Property missing on some sources (coming soon)](#property-missing-on-some-sources-coming-soon)
- [Event volume change significant between versions (coming soon)](#event-volume-change-significant-between-versions-coming-soon)
- [Event volume significantly different between sources (coming soon)](#event-volume-significantly-different-between-sources-coming-soon)
- [Event name casing (coming soon)](#event-name-casing-coming-soon)
- [Property name casing (coming soon)](#property-name-casing-coming-soon)
- [Global property type mismatch (coming soon)](#global-property-type-mismatch-coming-soon)
### Event missing on some sources (coming soon)
Detects events sent by one platform, but not sent by another. Can be a sign of missing tracking calls.
_**Example:** iOS sends App Opened event, but Android does not._
### Property missing on some sources (coming soon)
Detects properties sent by one platform, but not sent by another.
_**Example:** iOS sends user id with the App Opened event, but Android does not._
### Event volume change significant between versions (coming soon)
Detects significant changes in event volume between app versions.
_**Example:** Volume of event App Opened drop by 25% between versions v1.3.2 and v1.3.3 on iOS_
### Event volume significantly different between sources (coming soon)
Detects events sent way more frequently by one platform versus another adjusted for sessions number. Can be a sign of duplicated or missing tracking calls.
_**Example:** iOS is sending 10x more volume per session than Android of the App Opened event._
### Event name casing (coming soon)
Detects event names spelled in undesirable casing.
_**Example:** Event open_app is snake case, expected title case (Open App)._
### Property name casing (coming soon)
Detects property names spelled in undesirable casing.
_**Example:** The property onboarding_status on event App Opened is snake_case, expected camel case (onboardingStatus)._
### Global property type mismatch (coming soon)
Detects properties with identical names and different types across all registered event schemas.
_**Example:** Inconsistent type of property revenue on events Purchase Completed: int and Checkout Completed: string._
## Smart Issues (coming soon)
- [Similar event names](#similar-event-names)
- [Similar property names within event](#event-similar-property-names)
- [Unexpected type based on property name](#property-expected-type-mismatch)
- [Global similar property names](#global-similar-property-names)
- [Missing property based on property bundle pattern](#missing-usual-property-in-similar-events)
### Similar event names
Detects similar event names, that can point to duplicate tracking.
_**Example:** Potentially multiple events describing the same user action: App Opened, App Open, open_app + 2 more events._
### Similar property names within event
Detects similar property names in a single event.
_**Example:** Potentially multiple versions of the same property: onboarding_status, onboardingStatus, and Onboarding State._
### Unexpected type based on property name
Detects when a property name that is often associated with a specific type has some other type.
_**Example:** Revenue property is string type (expected to be a number)._
### Global similar property names (low)
Detects similar property names across all registered event schemas.
_**Example:** Potentially multiple versions of the same property: onboarding_status, onboardingStatus, and Onboarding State._
### Missing property based on property bundle pattern
Detects missing property in a bundle of similarly looking properties.
_**Example:** Property onboarding_status is sent with 4 out of 5 events of the Onboarding events bundle._
---
Source: https://www.avo.app/docs/inspector/inspector-find-issues.md
# Finding Inspector issues
To find issues that are relevant and/or important to you and your team, you can use filtering to narrow down the issues you want to see and sorting to see them in an order that is helpful to you. Once you have sorted and filtered, you can save that view and set up alerts for when new issues fit the criteria of your view.
> 💡 If you have not yet installed Inspector, check out the [Inspector installation overview](https://www.avo.app/docs/inspector/inspector-installation-overview.md).
## Sorting and filtering
The issue table can be sorted by any column. Sort by event volume, issue volume or issue percentage to quickly uncover which issues have the most impact on your data and prioritize accordingly.
To narrow down your search to your most relevant issues, you can filter by the following:
- **Issue Type**: The [Inspector Issue Type](https://www.avo.app/docs/inspector/issue-types-in-inspector.md)
- **Source**: The source where the issue was seen
- **Event**: The event impacted by the issue
- **Property**: The property impacted by the issue
- **Category**: The category of the event impacted by the issue
- **Tag**: The tag of the event impacted by the issue
- **Owner**: The owner of the event impacted by the issue (all event variant owners included)
- **Stakeholder**: The stakeholder of the event impacted by the issue (all event variant stakeholders included)
- **Release**: The product release version impacted by the issue. Currently there are three release filters available:
- **Latest release**: The latest product release version seen on each of your sources
- **Two latest releases**: The two latest product release versions seen on each of your sources. This option can be helpful if the latest release is not yet fully rolled out.
- **Three latest releases**: The three latest product release versions seen on each of your sources. This option can be helpful if the two latest release are not yet fully rolled out.
In addition, you can view issues that have been marked as resolved or ignored. The unresolved and ignored views show you info from the past 24 hours but the resolved view contains every issue you have ever marked as resolved and has not regressed.
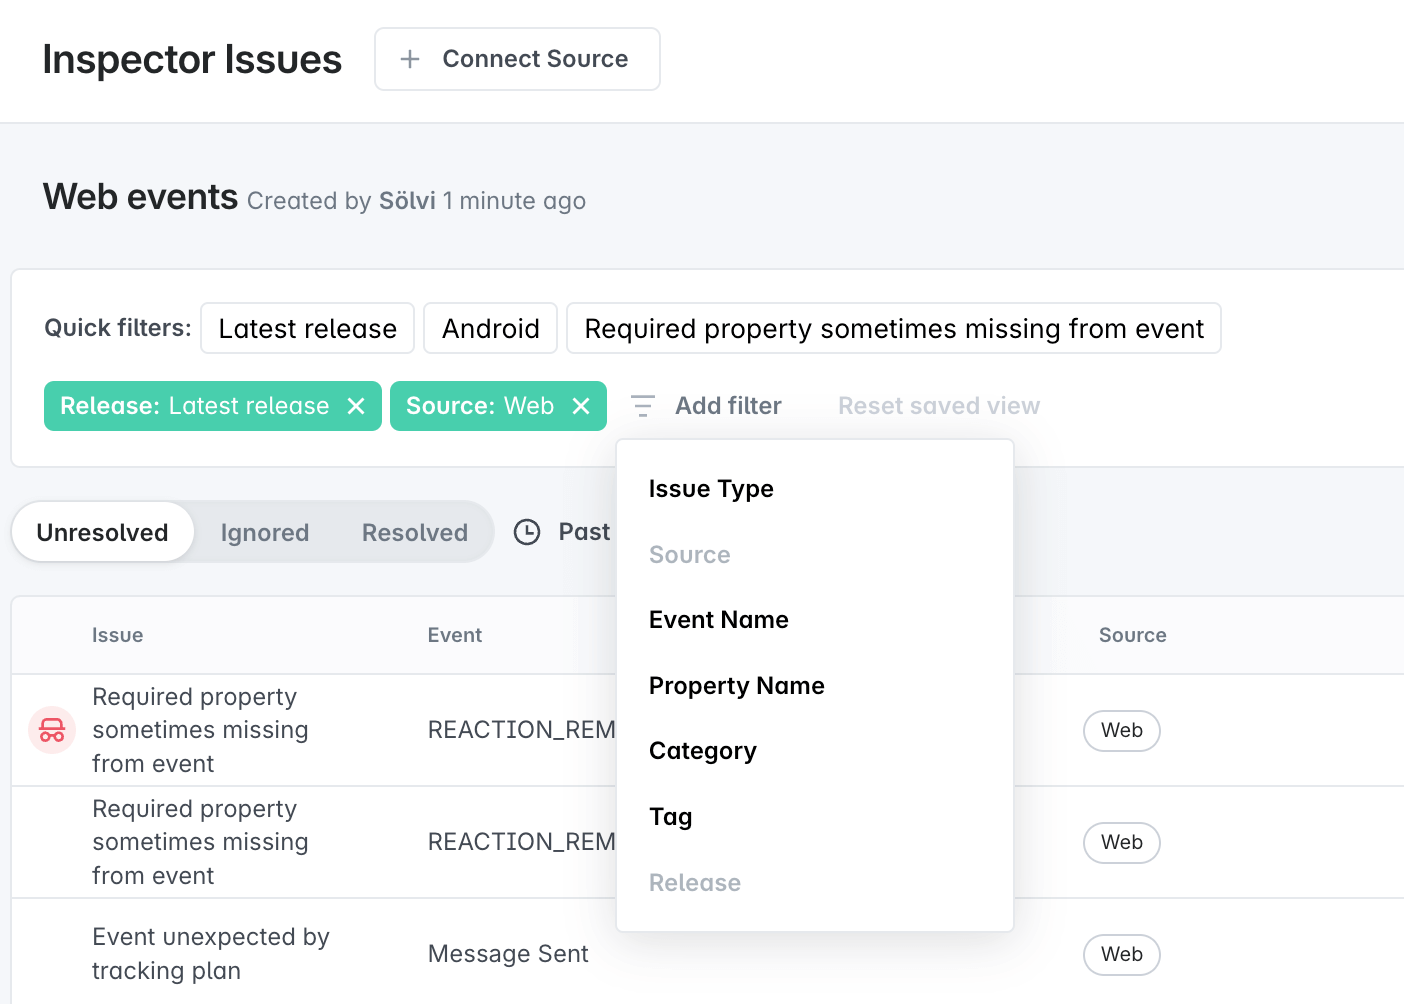
> We are actively working on adding more filter options, and you can expect more
> filters in the near future. If there’s anything specific you’d like to be able
> to filter by, please [let us know](https://www.avo.app/docs/help/troubleshooting.md).
## Saving a filtered Issues view
Once you have filtered and/or sorted your issues, you can save the filtered view for quick access for you and your team. The saved view persists for both the filters and the sort order you have selected.
### Creating a saved view
When the issues view is opened, the default view is an unfiltered "All Issues" view ordered by Last Seen, such that the latest issues are on top. The "Save View" button is disabled until at least one filter or a sort order are applied.
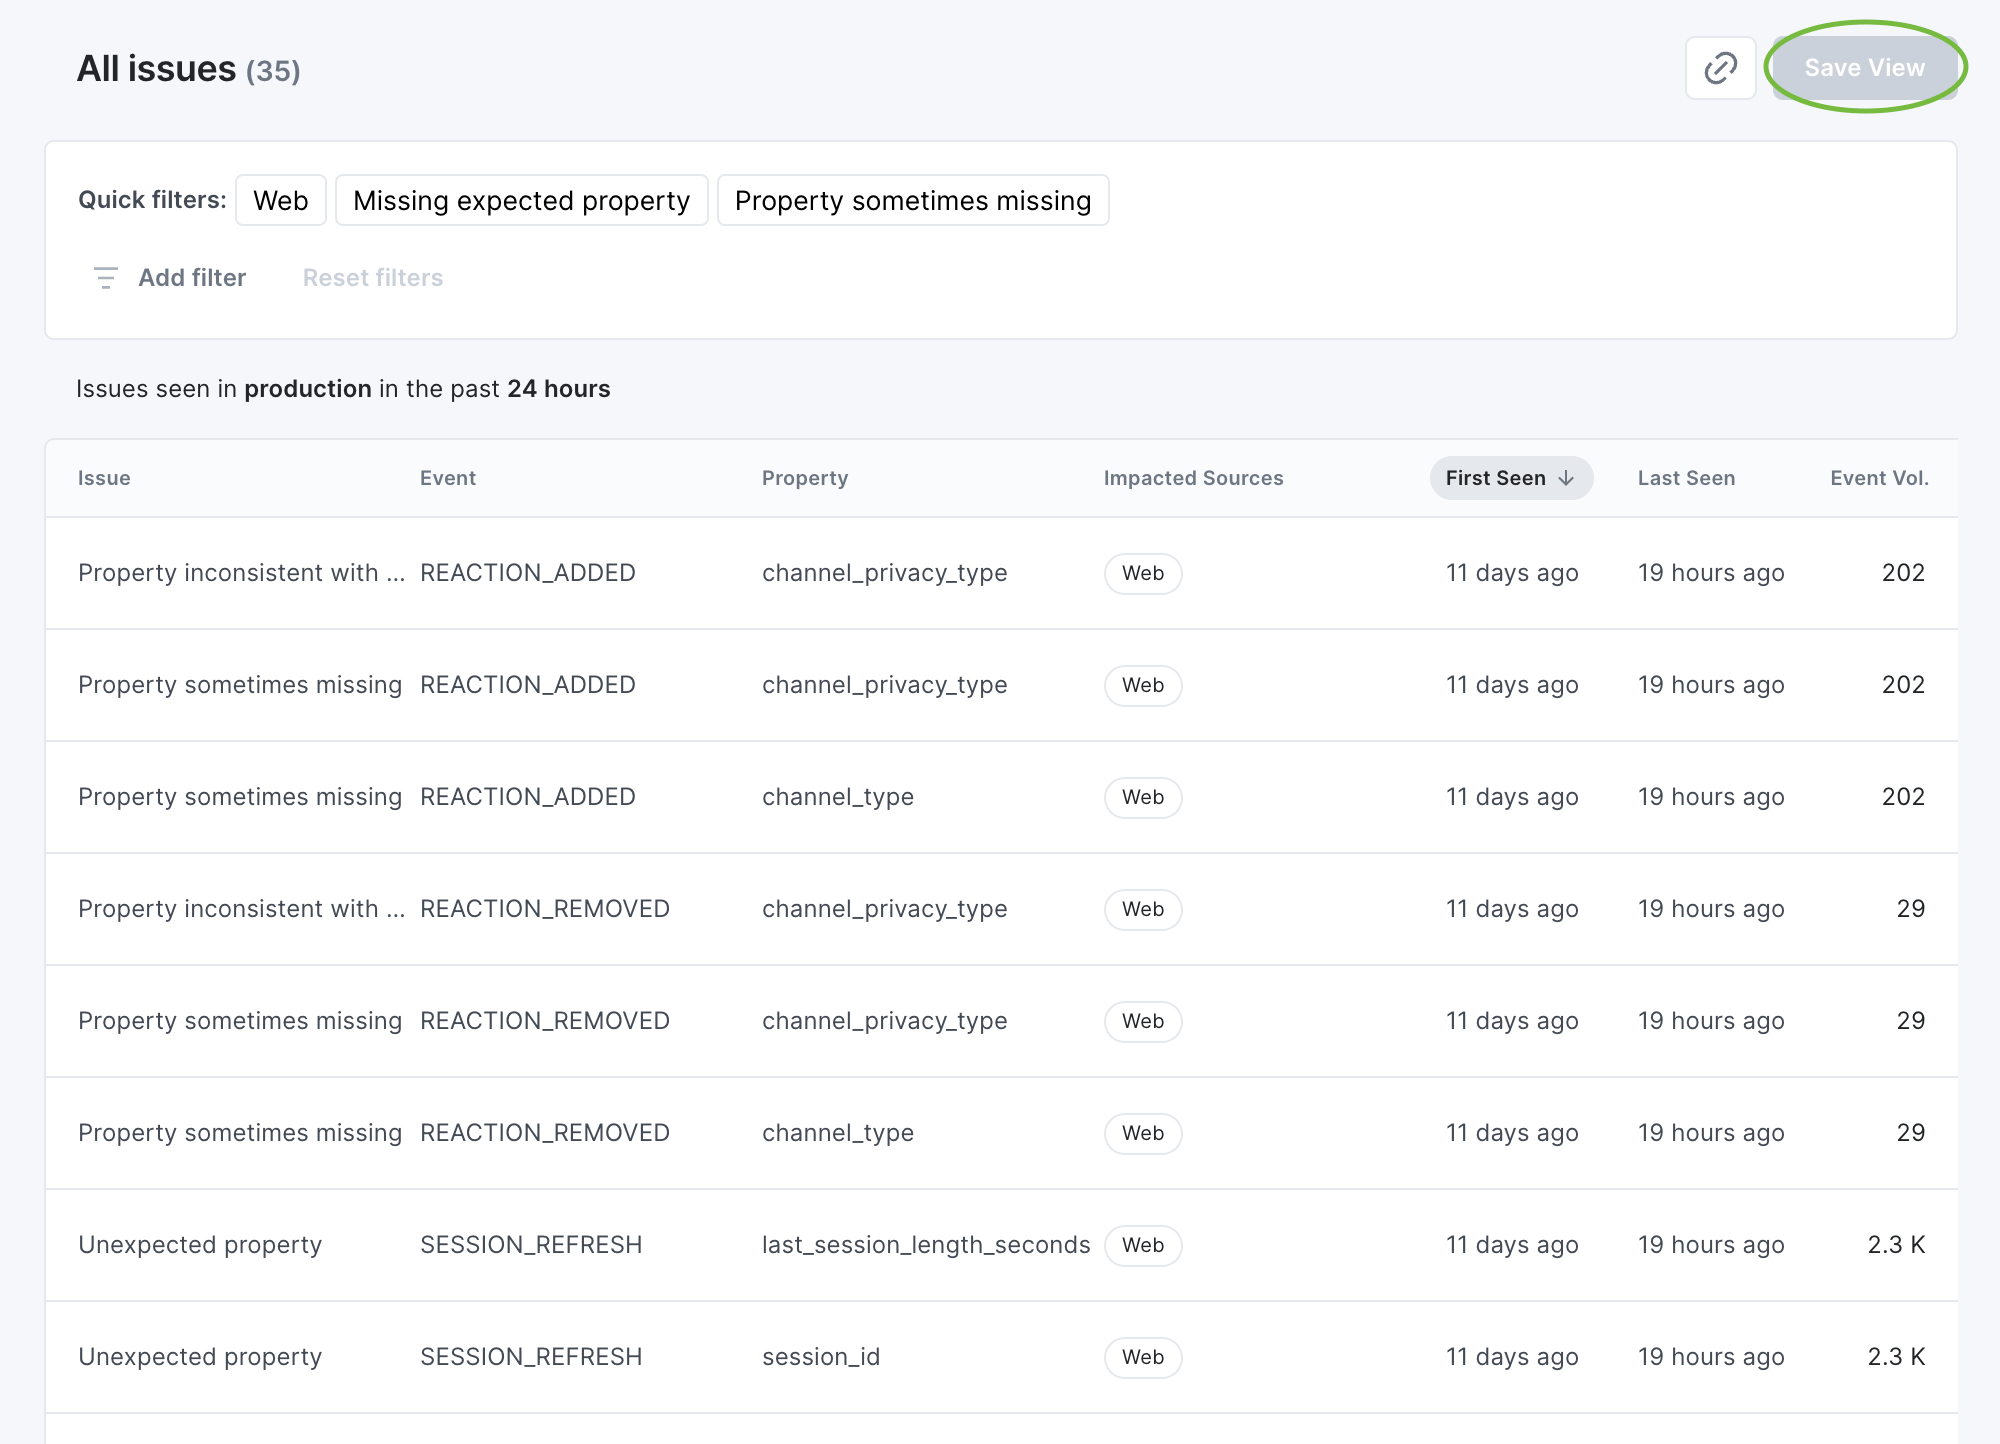
Once a filter is added or the sort order is changed, the "Save View" button is enabled. Click it to name the view and save it.
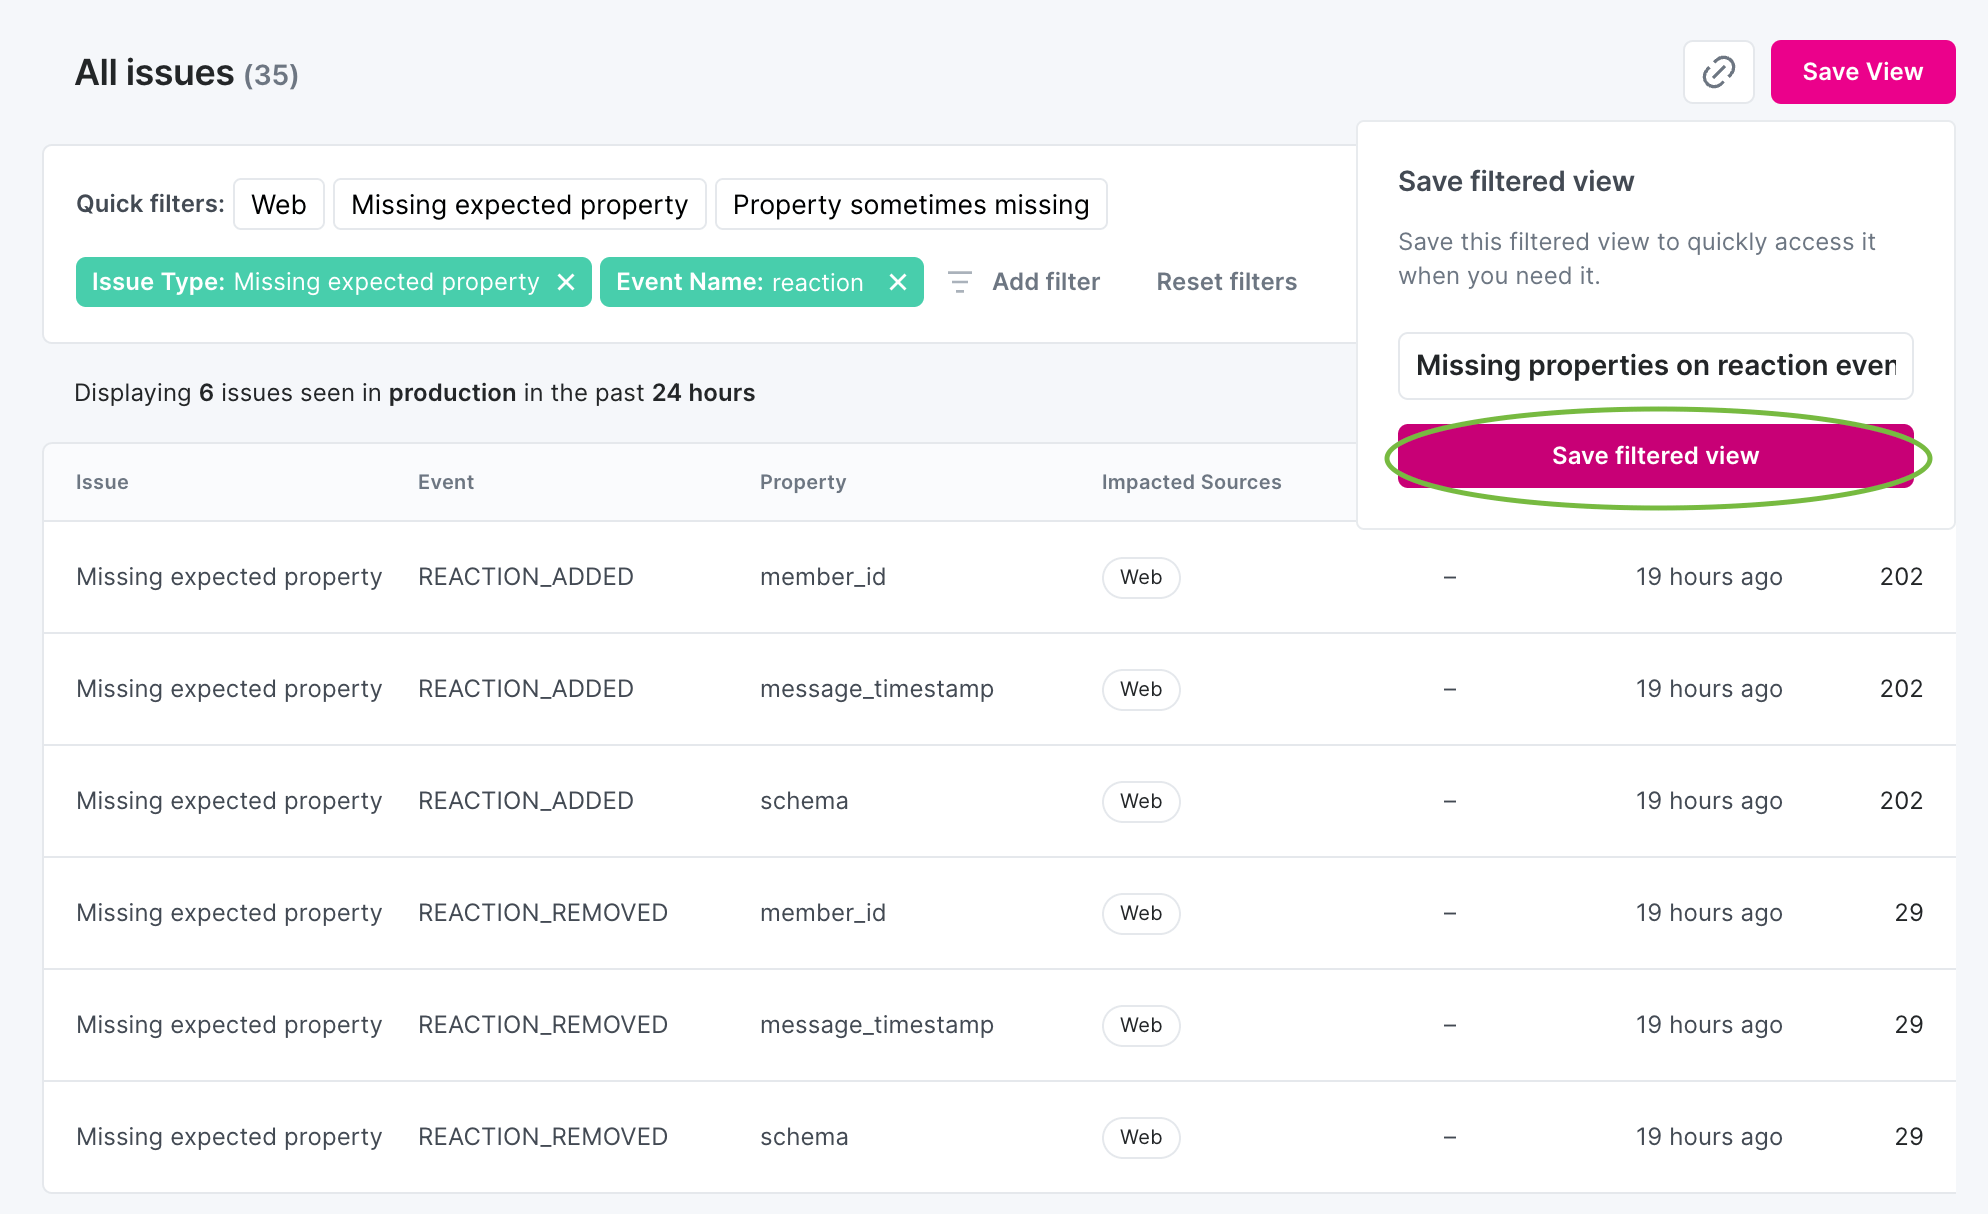
Once the "Save filtered view" button is clicked, the view is successfully saved and it is displayed with its new name.
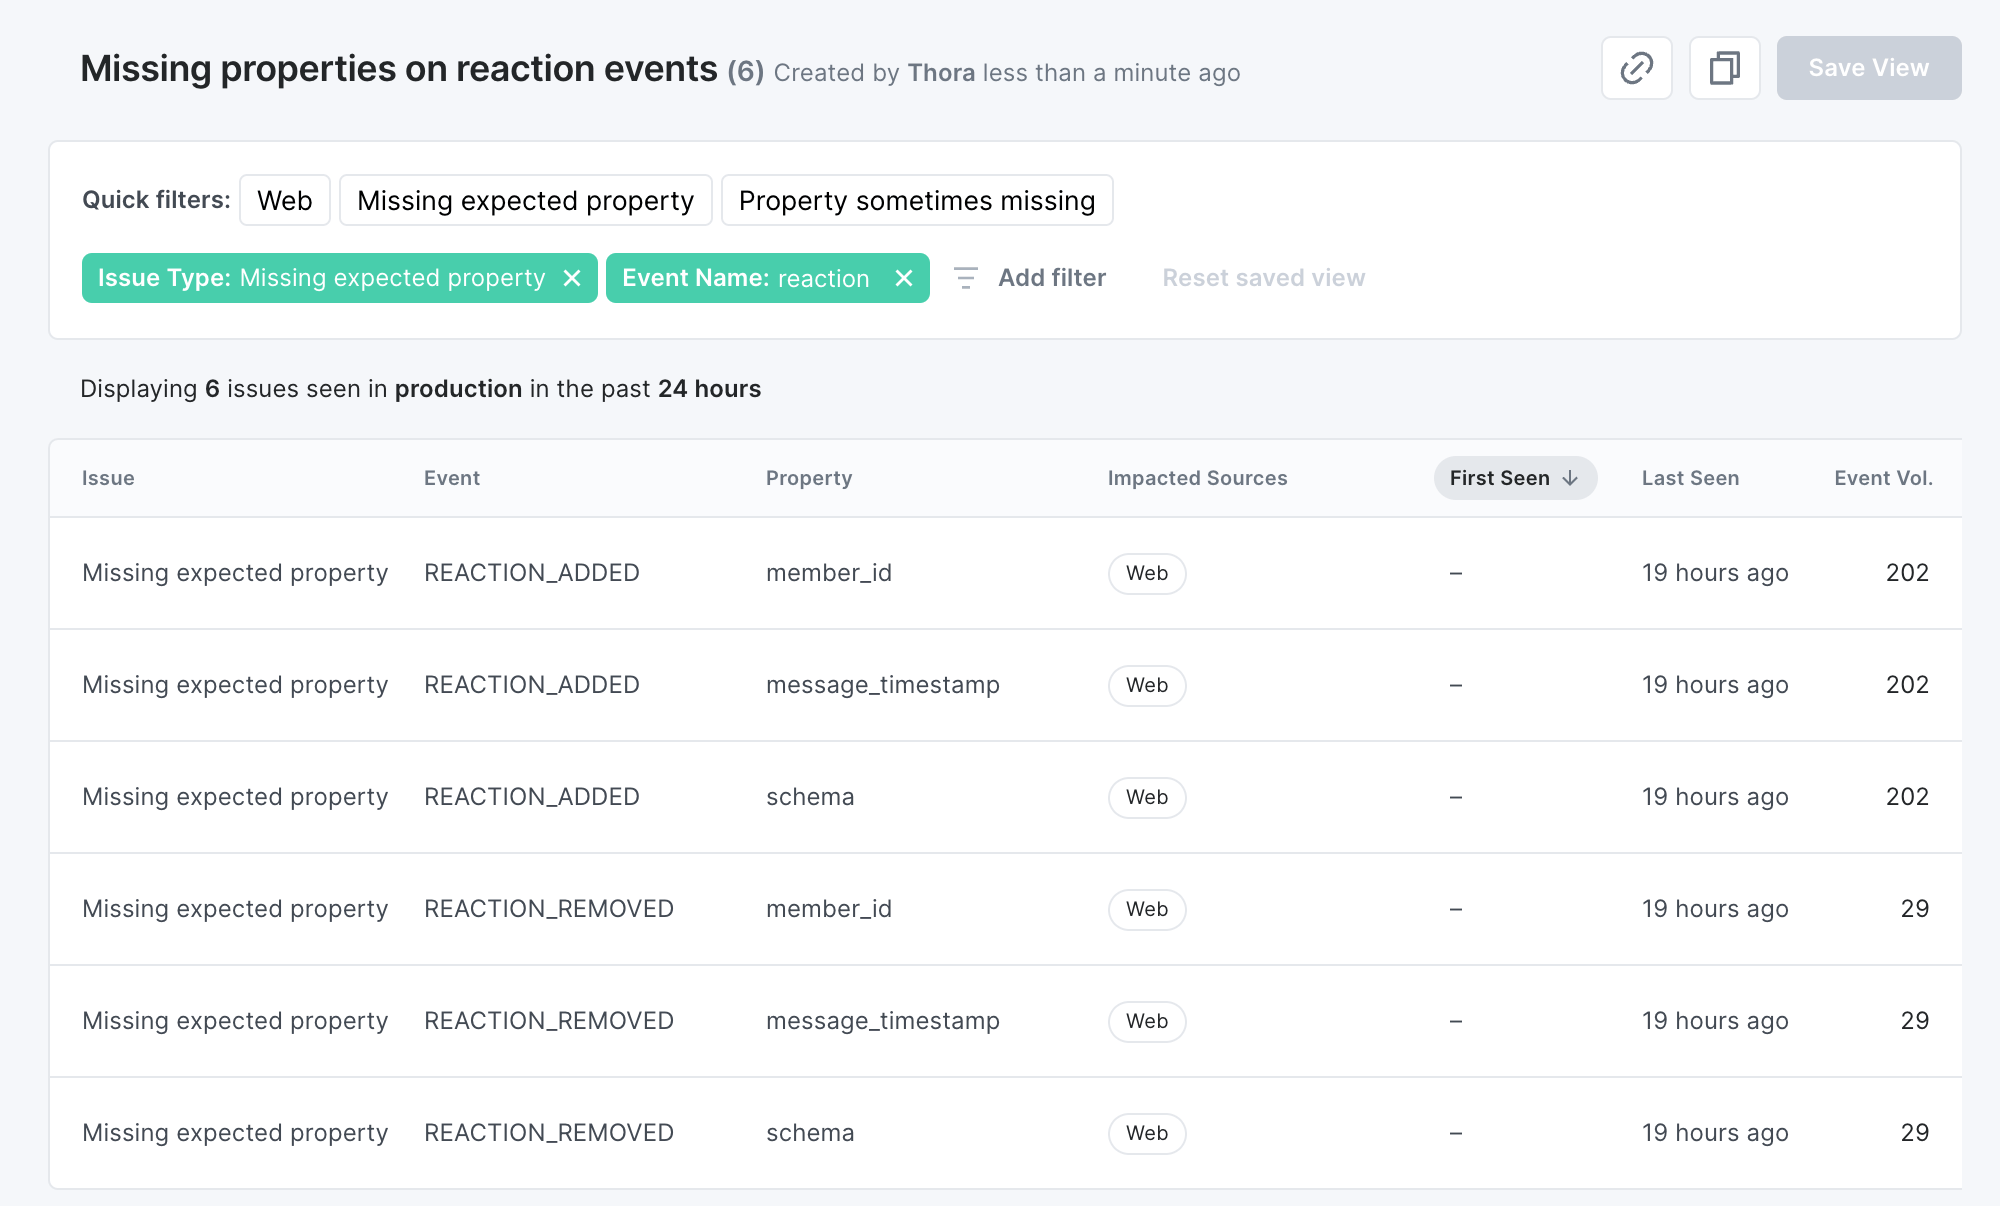
In each saved view, there are buttons to copy the URL to the view and duplicate the view. The "Save View" button is disabled until further changes are made.
### Duplicating and modifying a saved view
To create a new view based on another saved view, you can:
- Click the Duplicate button to first duplicate it and then modify it
- Modify an existing saved view and then click the "Save View as..." button to save it as a new view.
#### Duplicate and modify
To duplicate an existing saved view, click the Duplicate button in the top right corner, next to the "Save View" button.
Then input a name for the new duplicated view and click "Duplicate filtered view".
Once the "Duplicate filtered view" button is clicked, the duplicated view is successfully saved and displayed with the inputted name.
From here, modify the duplicated view by changing the filters or sort order and save the changes by clicking the "Save View" button.
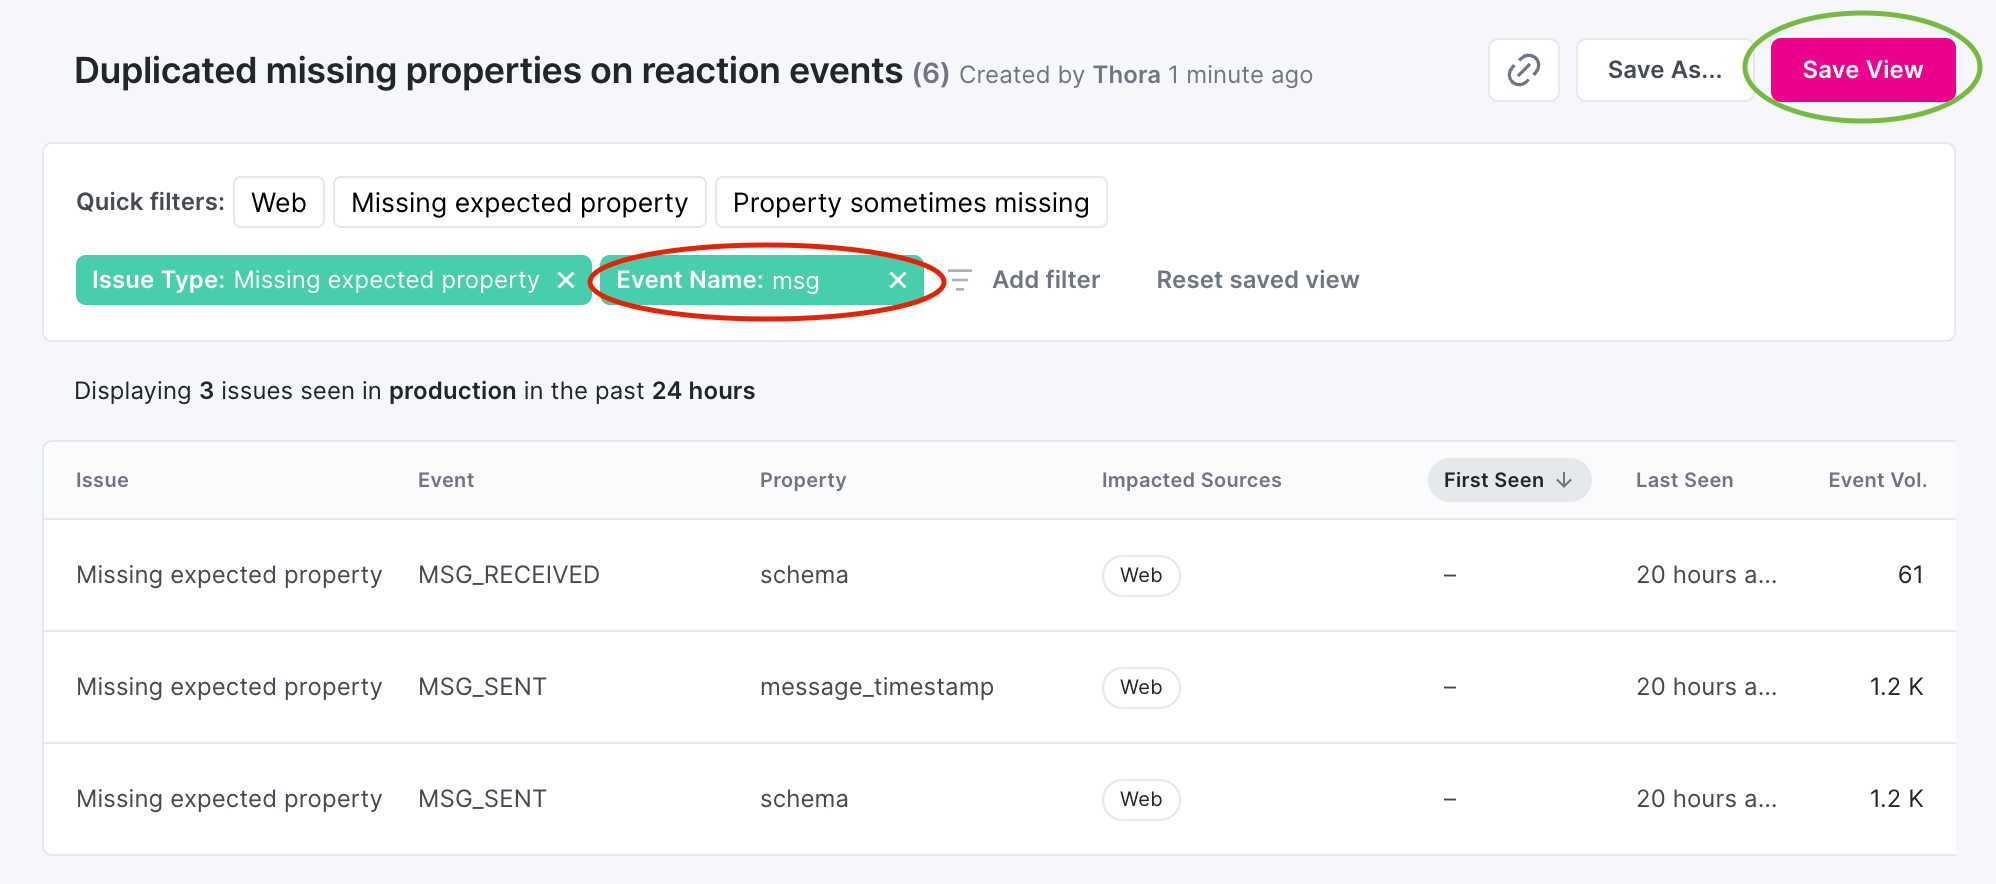
#### Modify and Save as
To modify an existing saved view, adjust the filtering or sort order to your current needs.
- Changes won't be saved until you click the save button.
- Editors can only save changes to their own views.
When a saved view has been modified, the following options are present:
- Save View: save changes to the now-modified view (available only if you are the creator of the saved view or a Workspace Admin)
- Save as: save a copy of the now-modified view under a new name (available to all user)
- Reset saved view: reset all filters and sort order to latest saved state of the saved view
Below is an example of a saved view that has been modified but not saved with the changes.
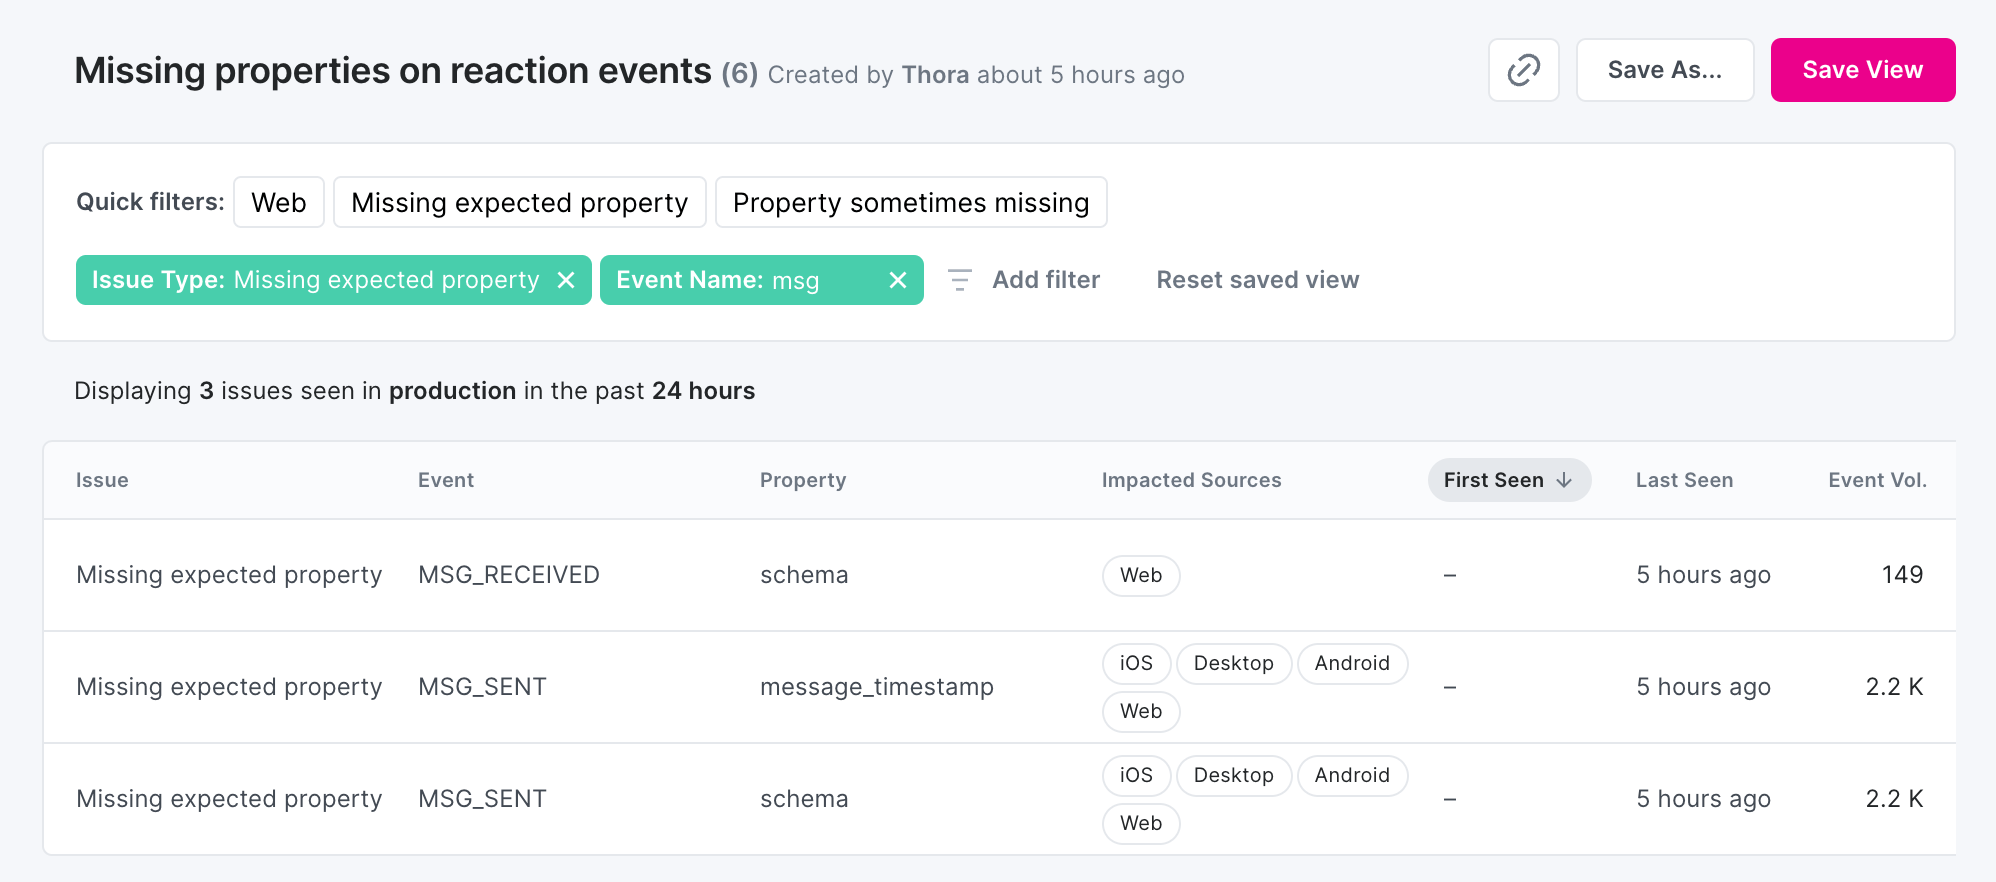
To save the changes as a new saved view, click "Save as...", give it a new name and save the changes.
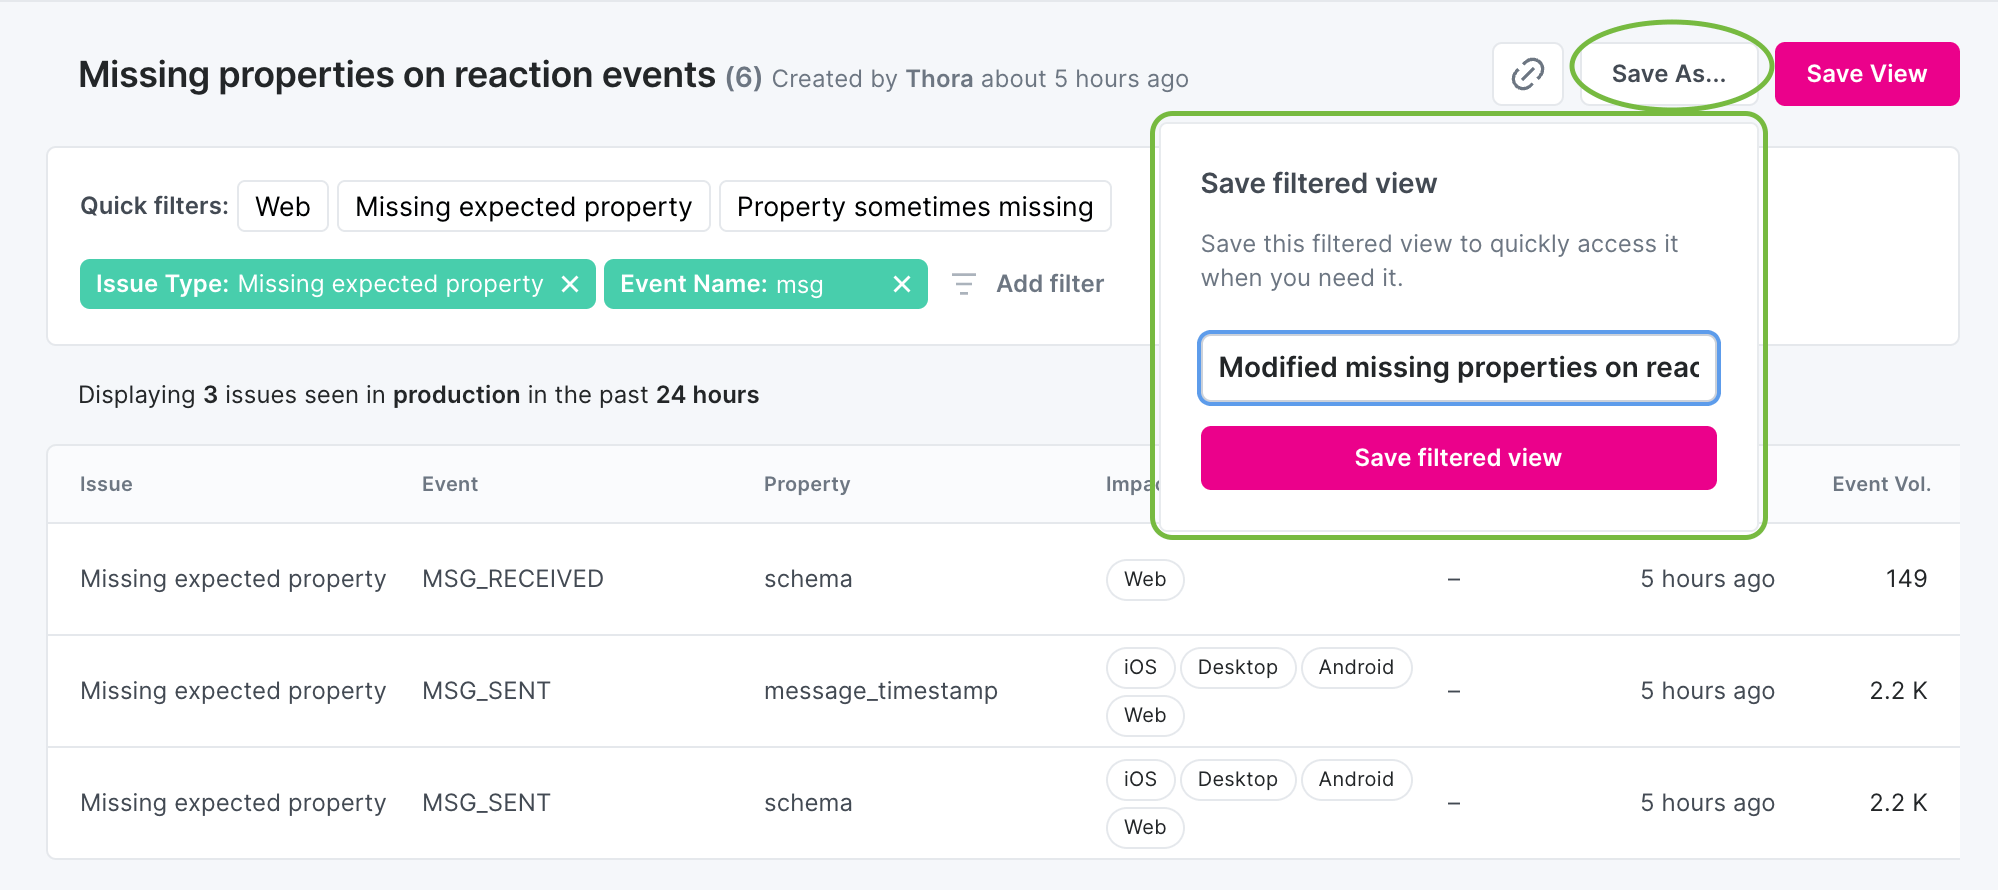
### Sharing a saved view
To share a saved view with a colleague, click the link button to copy the URL of the saved view. The copy link to view button is on all views (including those that are not saved).
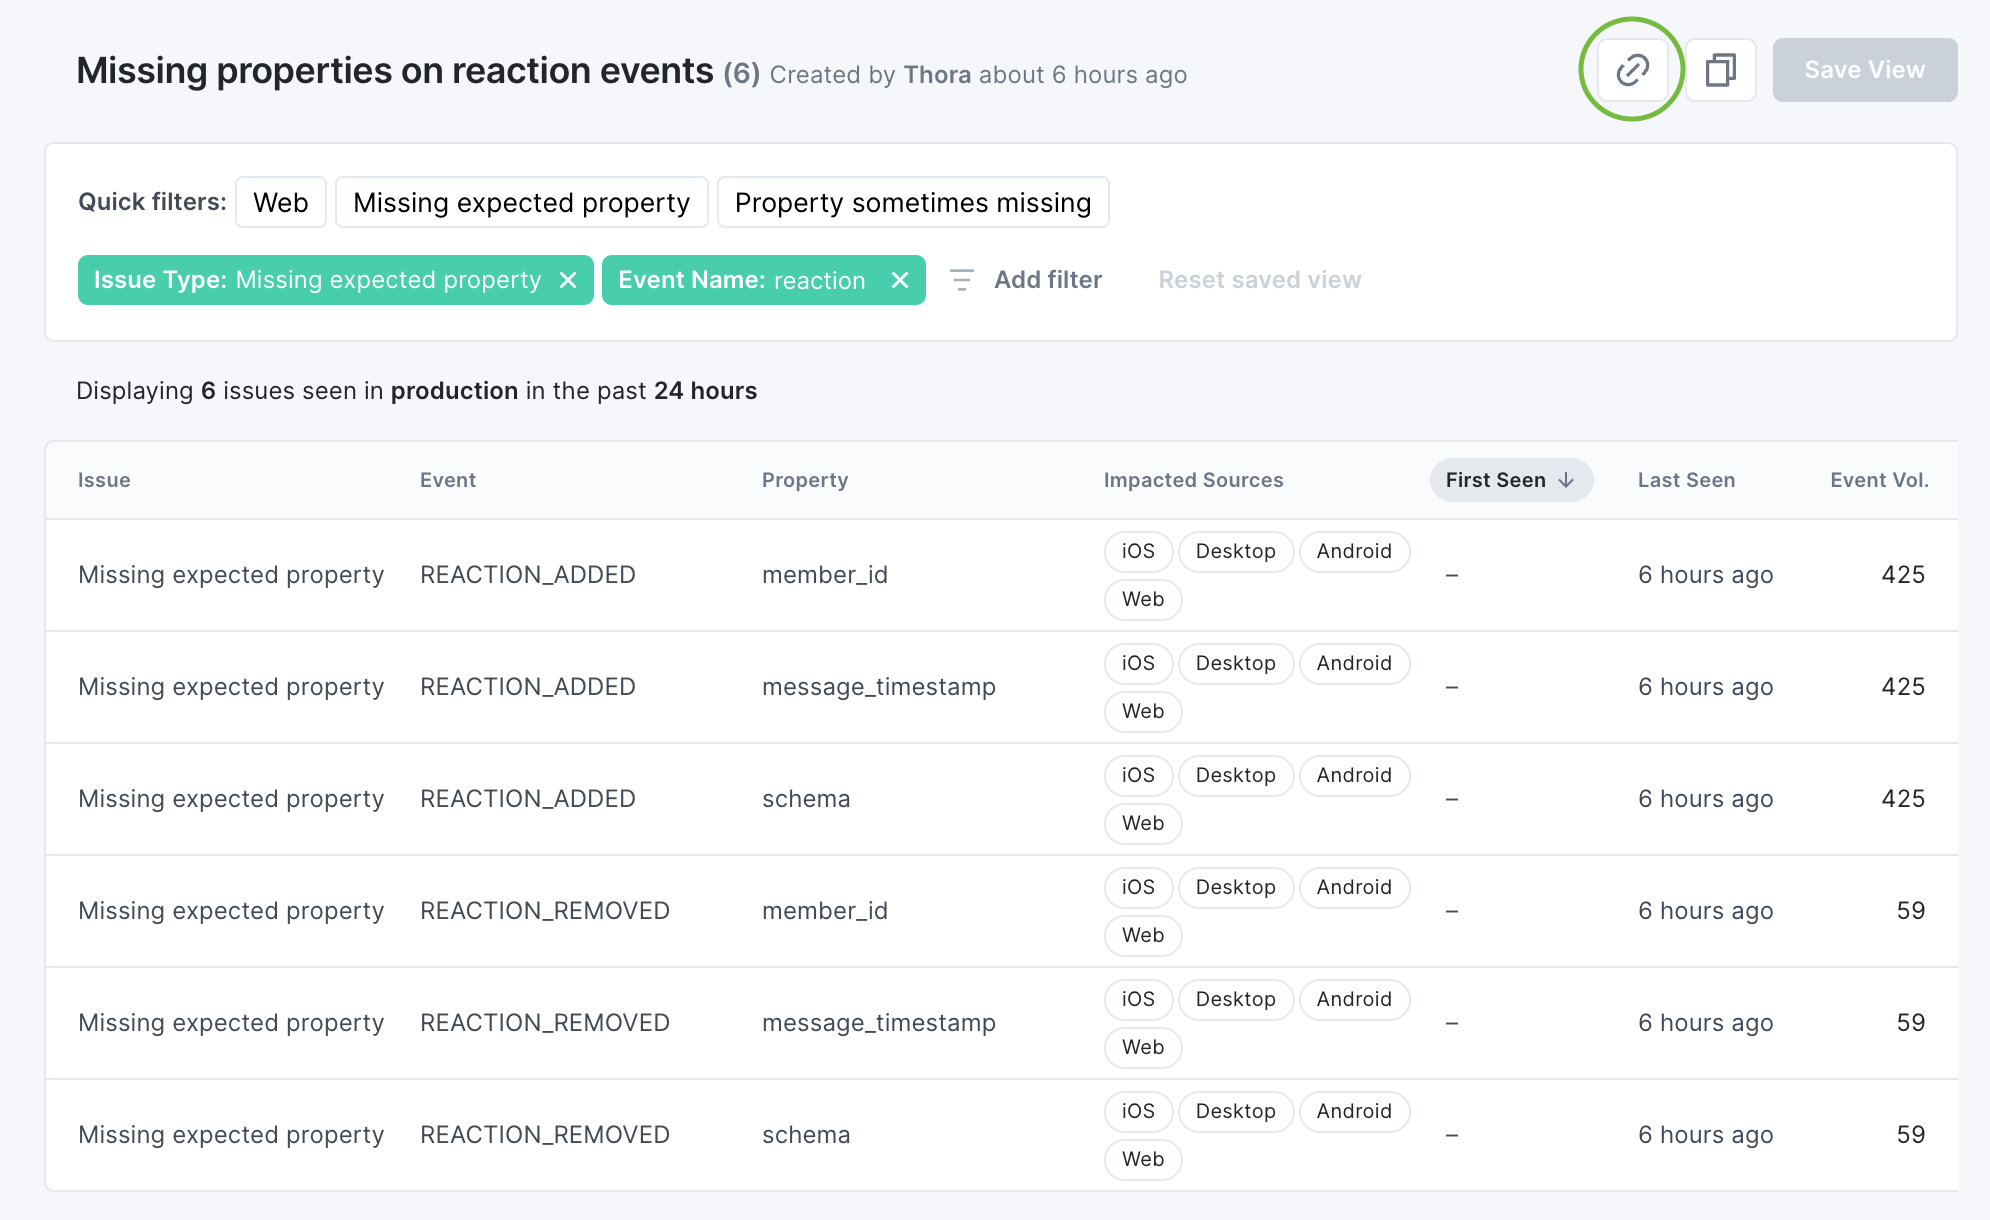
### Renaming a saved view
To rename a saved view, click the title of the saved view to open a modal to rename it and save the changes.
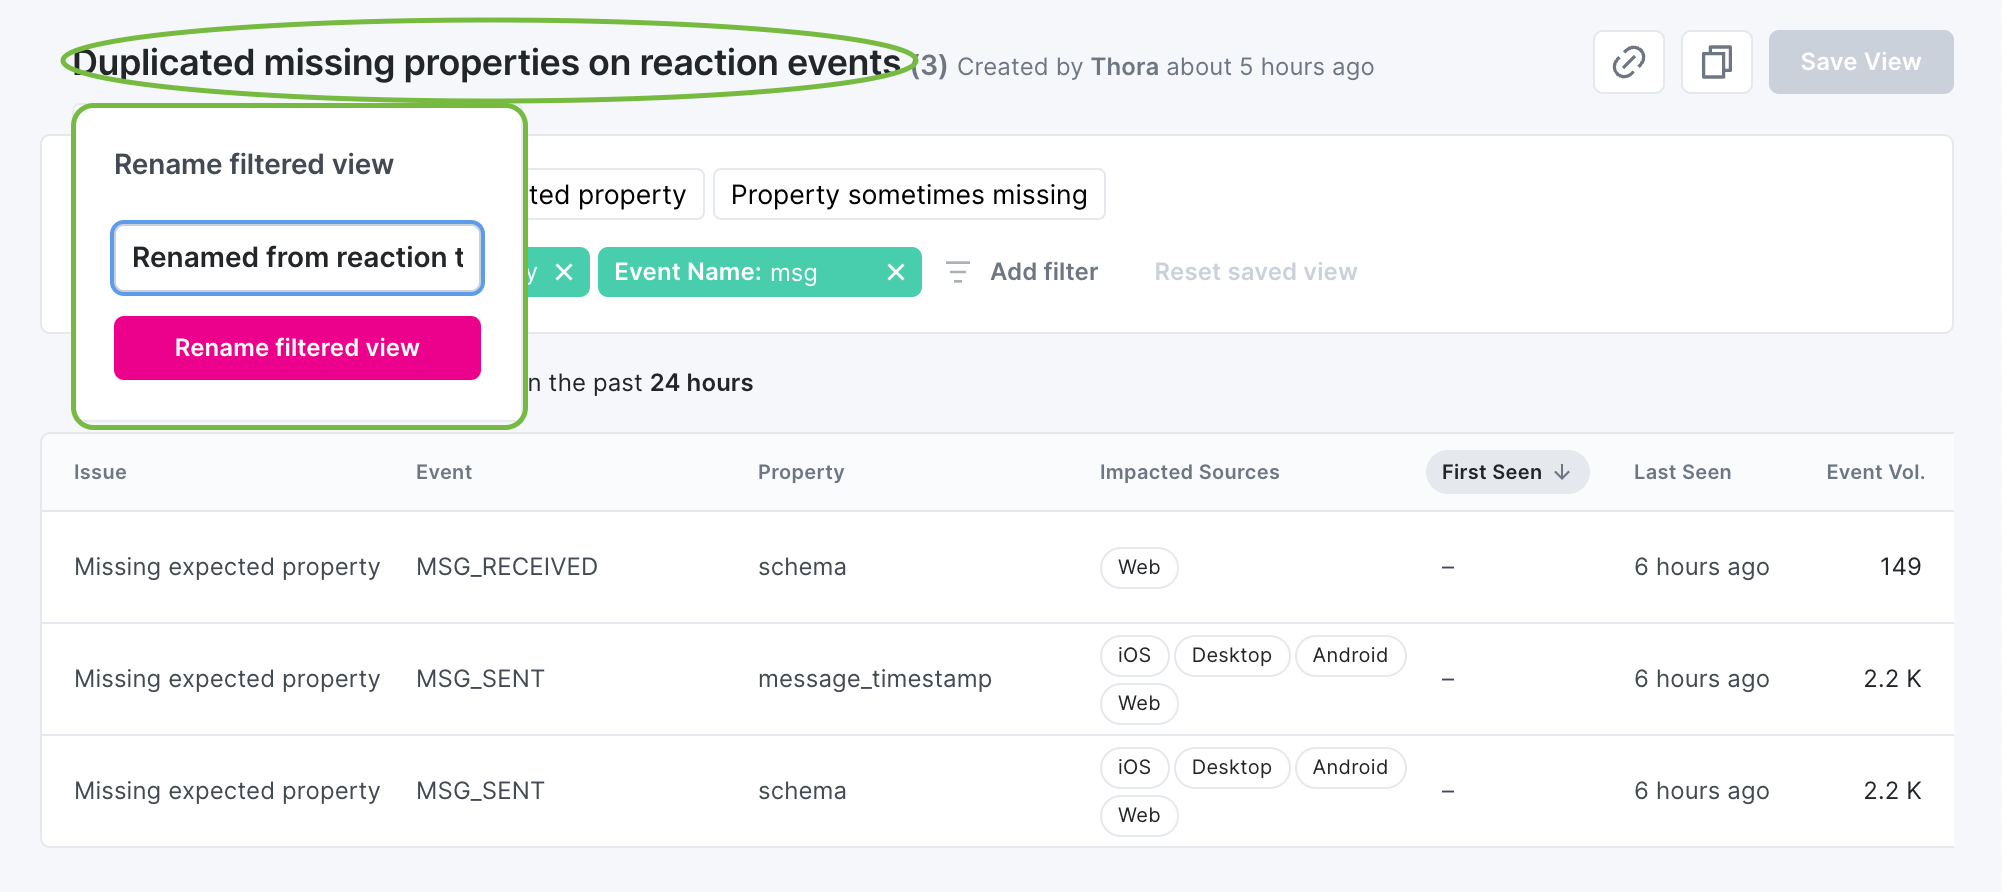
### Accessing existing saved views
To find and access saved views that you or other workspace members have created, click the "All saved views" button in the top right corner of any Inspector Issues view.
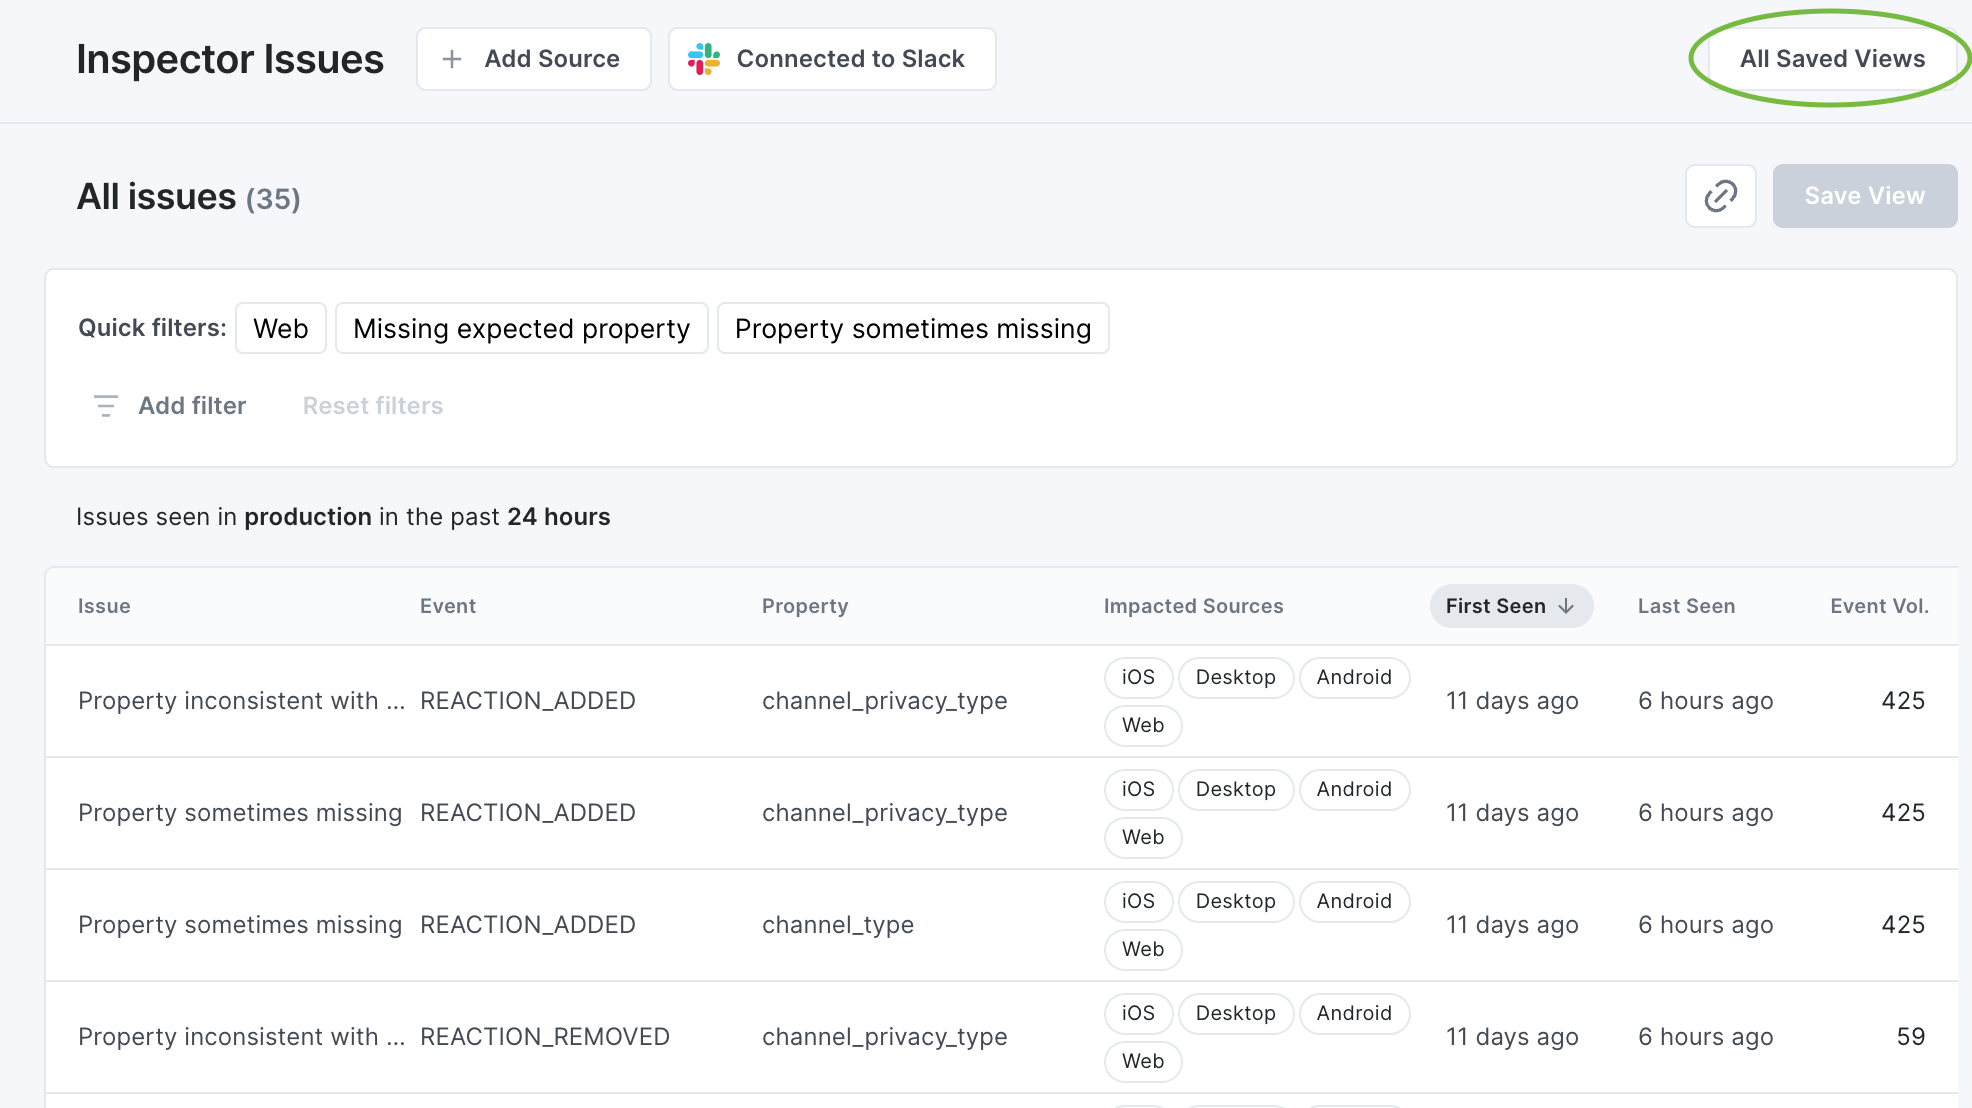
There you will find an overview over all saved views with information about:
- How many issues you they contain
- When the view was last modified
- Who last modified the view
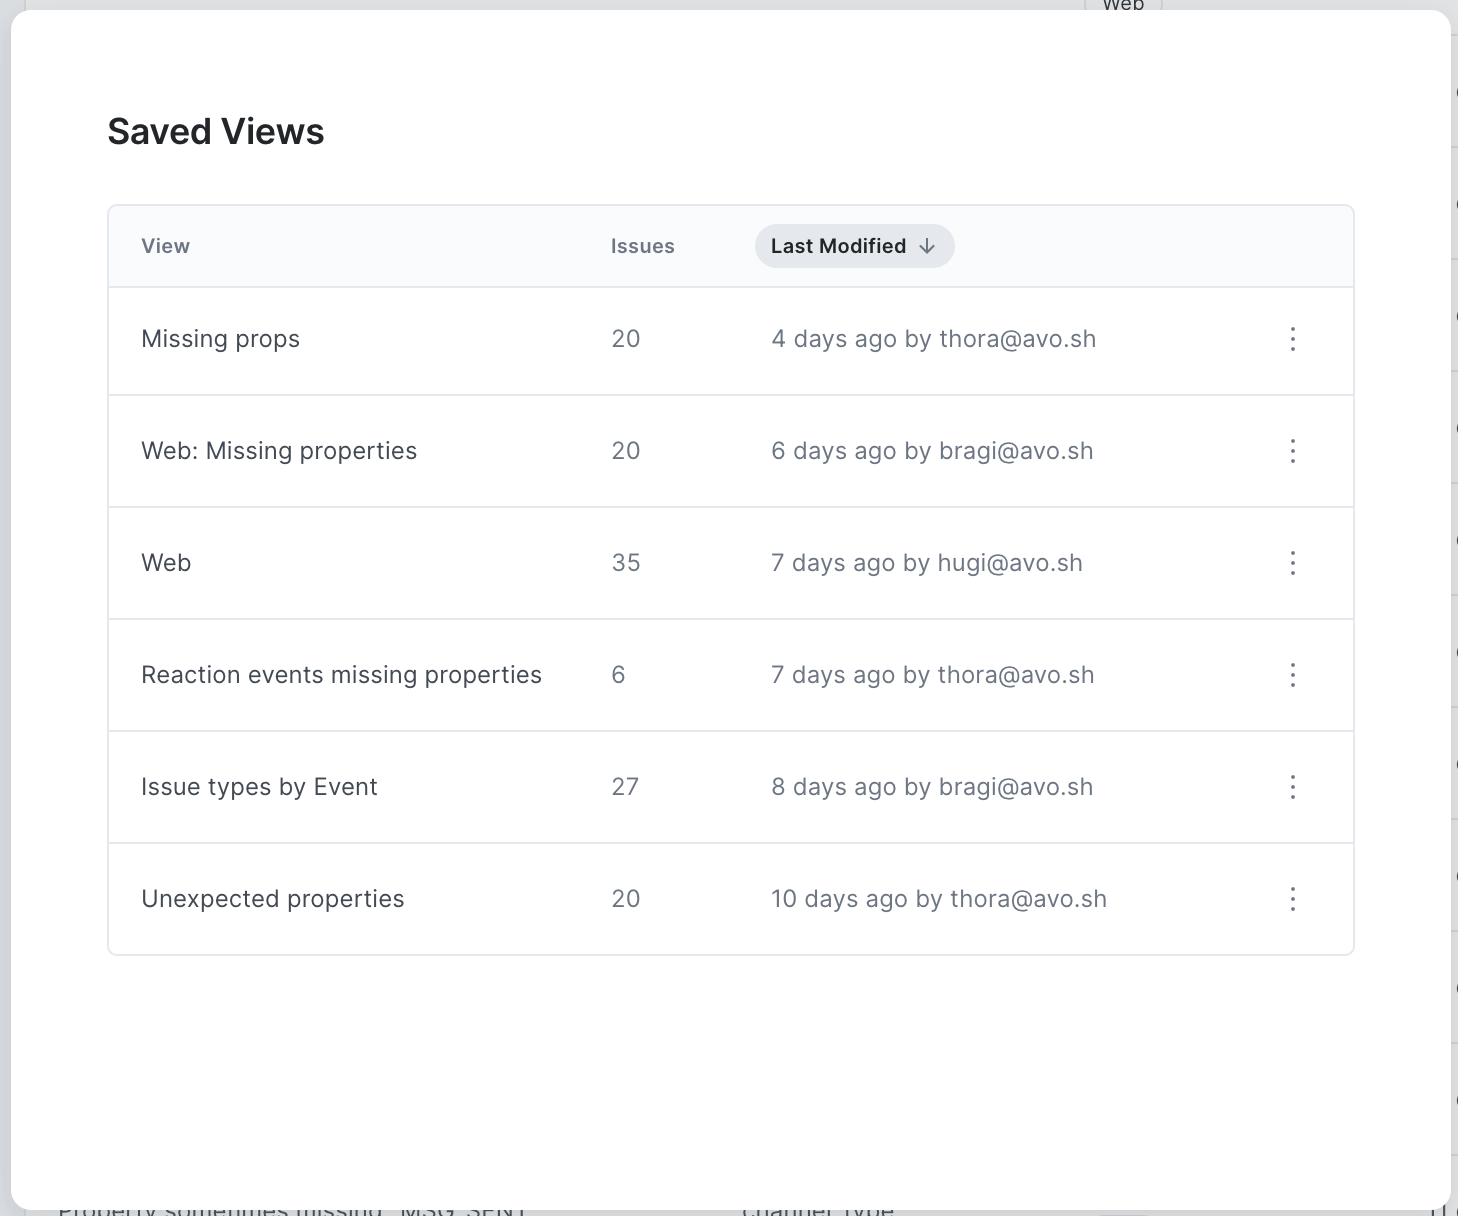
From here, the creator of each saved view and Workspace Admins can archive saved views by opening the three dot menu on the right and click the Archive View button.
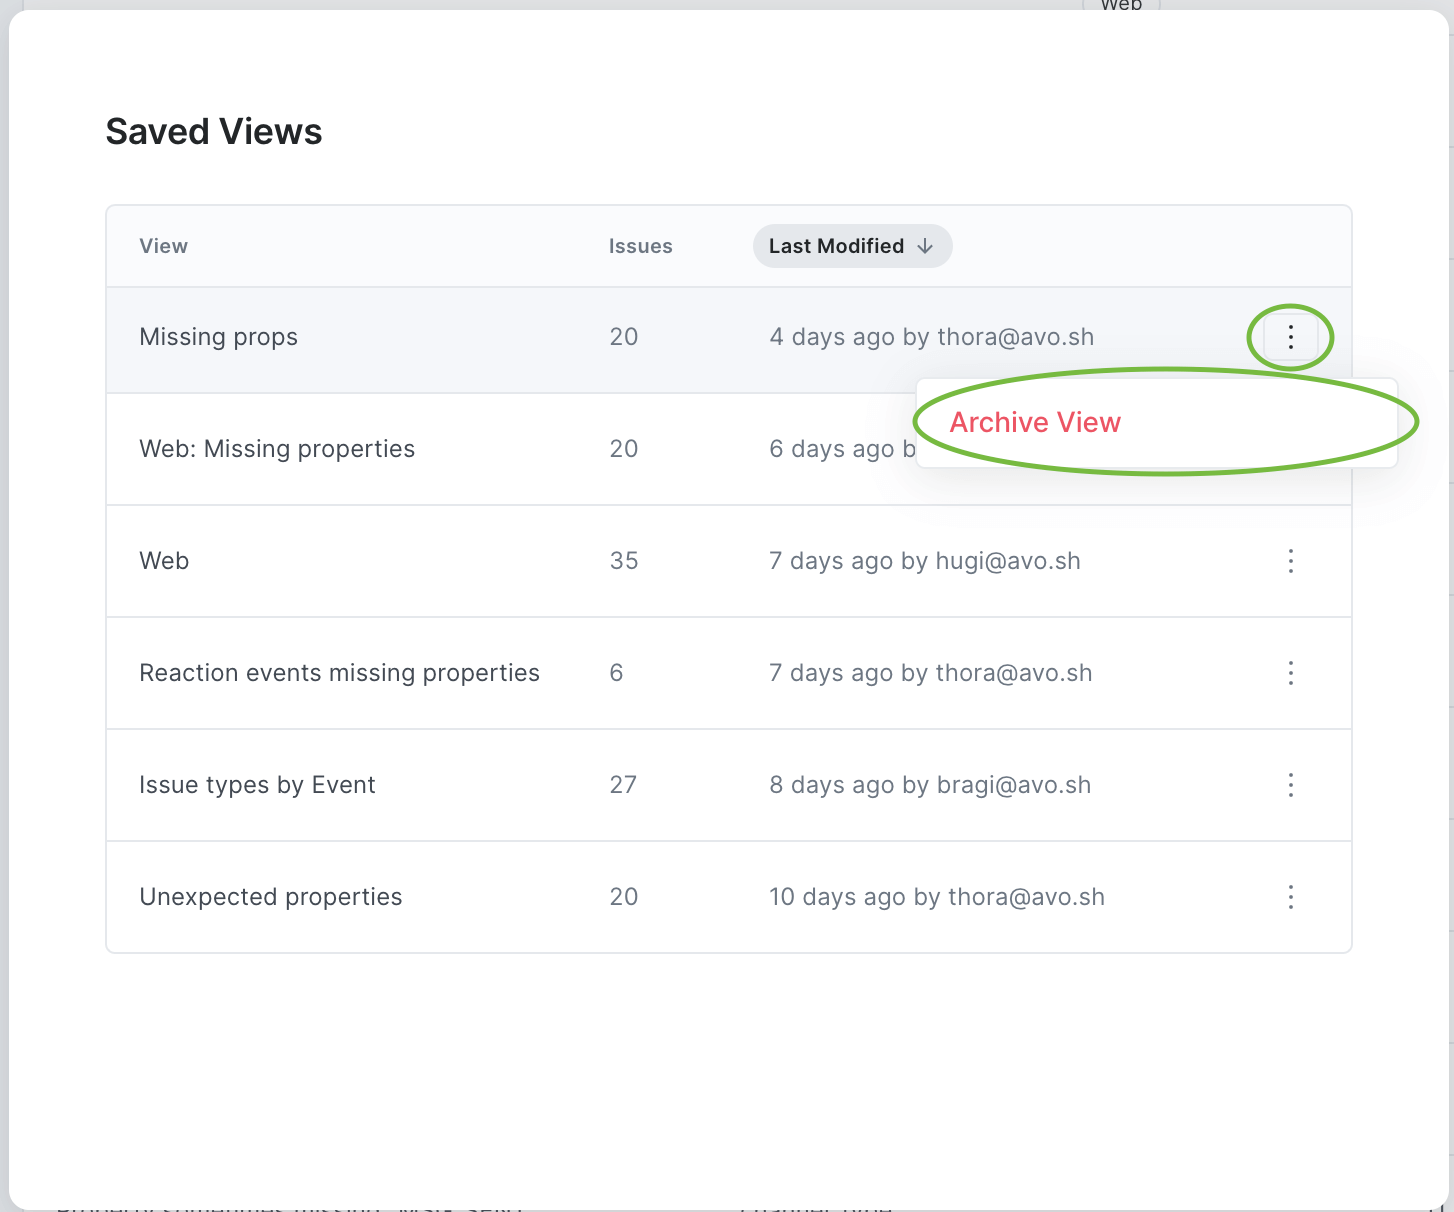
## Troubleshooting
### Why are there no issues in my saved view?
The issues view currently only displays issues from the past 24 hours in production. That means that if you don't have any issues in the past 24 hours for the filters that define your saved view, then you won't see any issues. Yay!
### Why are there no issues in my unfiltered issues view?
Check out [troubleshooting the issues view](https://www.avo.app/docs/inspector/inspector-issues-view.md#troubleshooting).
## What's next?
Once you've created your first saved filter view in Inspector Issues, it's time to connect Inspector Alerts to know about any new issues and start working on fixing your existing ones to systematically get to better data, one resolved issue at a time.
- [Inspector Alerts for Slack](https://www.avo.app/docs/inspector/inspector-slack-alerts.md): How to start receiving Slack alerts for your Inspector issues
- [Fix your data quality issues](https://www.avo.app/docs/inspector/inspector-fix-issues.md): How to fix your data quality issues using Inspector.
---
Source: https://www.avo.app/docs/inspector/inspector-fix-issues.md
# Fixing Inspector issues
When you find an issue in Inspector, the problem can due to either tracking implementation or the tracking plan.
> 💡 If you have not yet installed Inspector, check out the [Inspector installation overview](https://www.avo.app/docs/inspector/inspector-installation-overview.md).
## Fixing an implementation issue found in Inspector
If the implementation is incorrect according to the tracking plan, such that the data coming in is incorrect but the tracking plan is correct, we recommend the following steps:
### Step 1 - Copy the issue link
In the issue details, copy the link to the individual issue
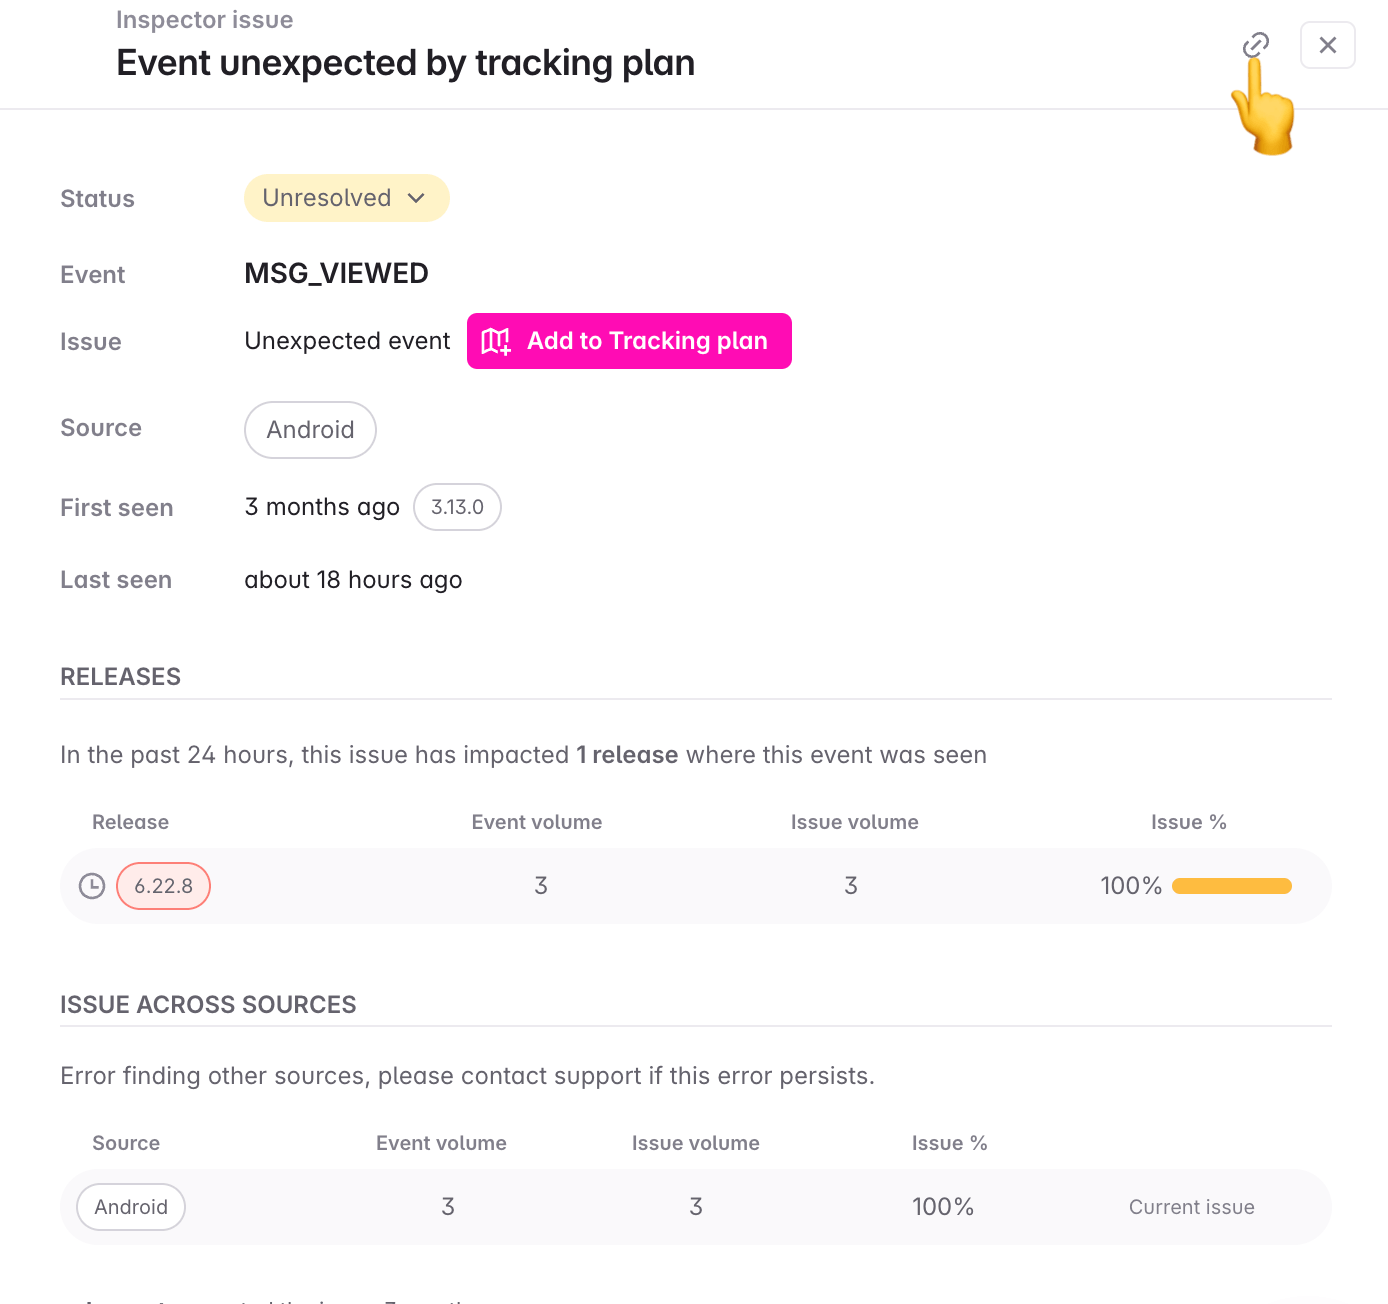
### Step 2 - Create a ticket and assign
In your task management system, create a task or ticket and append the issue link and relevant details. Assign the task or ticket to the relevant individual and/or team to investigate and fix the issue in the corresponding code.
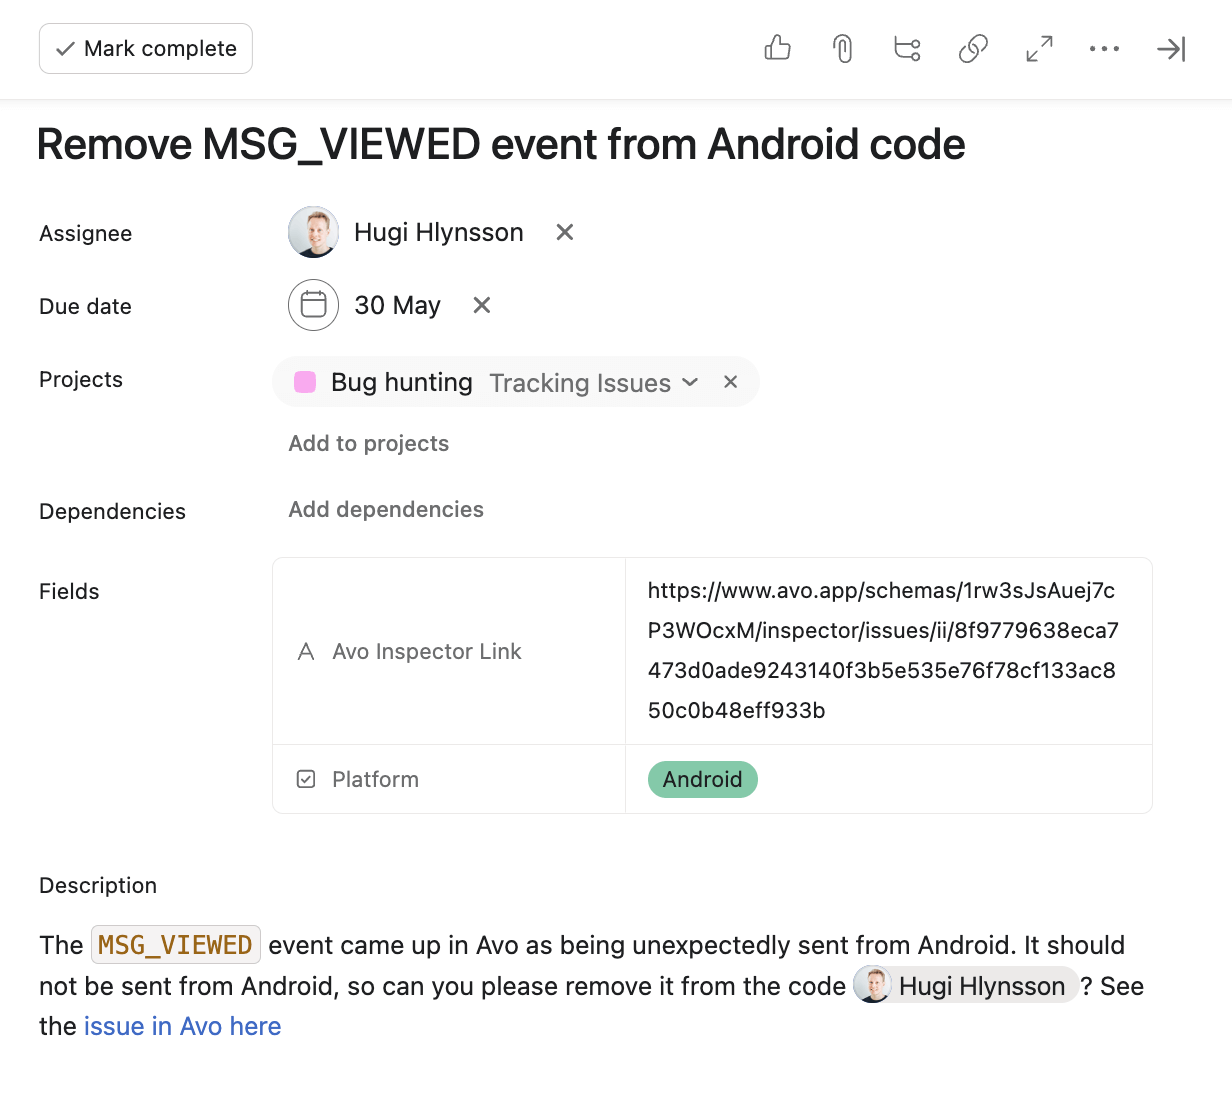
### Step 3 - Validate
Validate that the issue is fixed by checking the issue details again and verify that it's not an issue in that version. If an issue is present in the latest version, it will be marked as such.
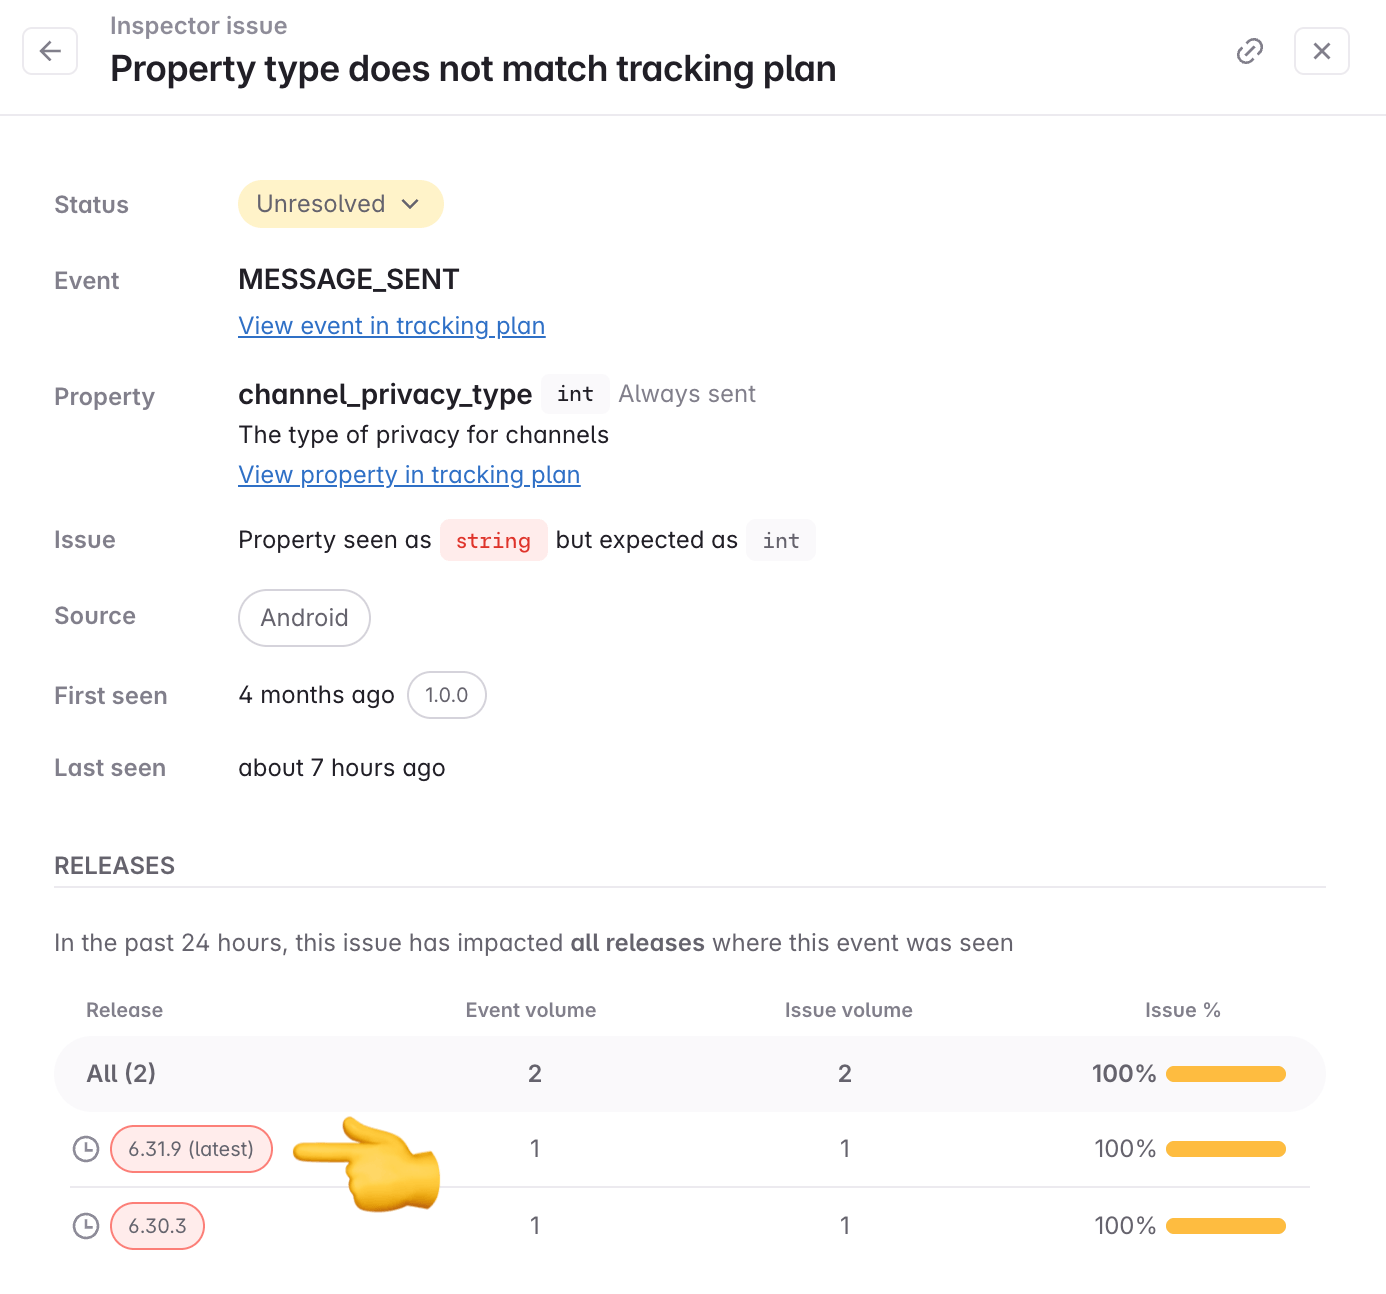
If the issue was resolved in a version before the latest version, you can check what versions Inspector has seen by clicking the button highlighted in the image below:
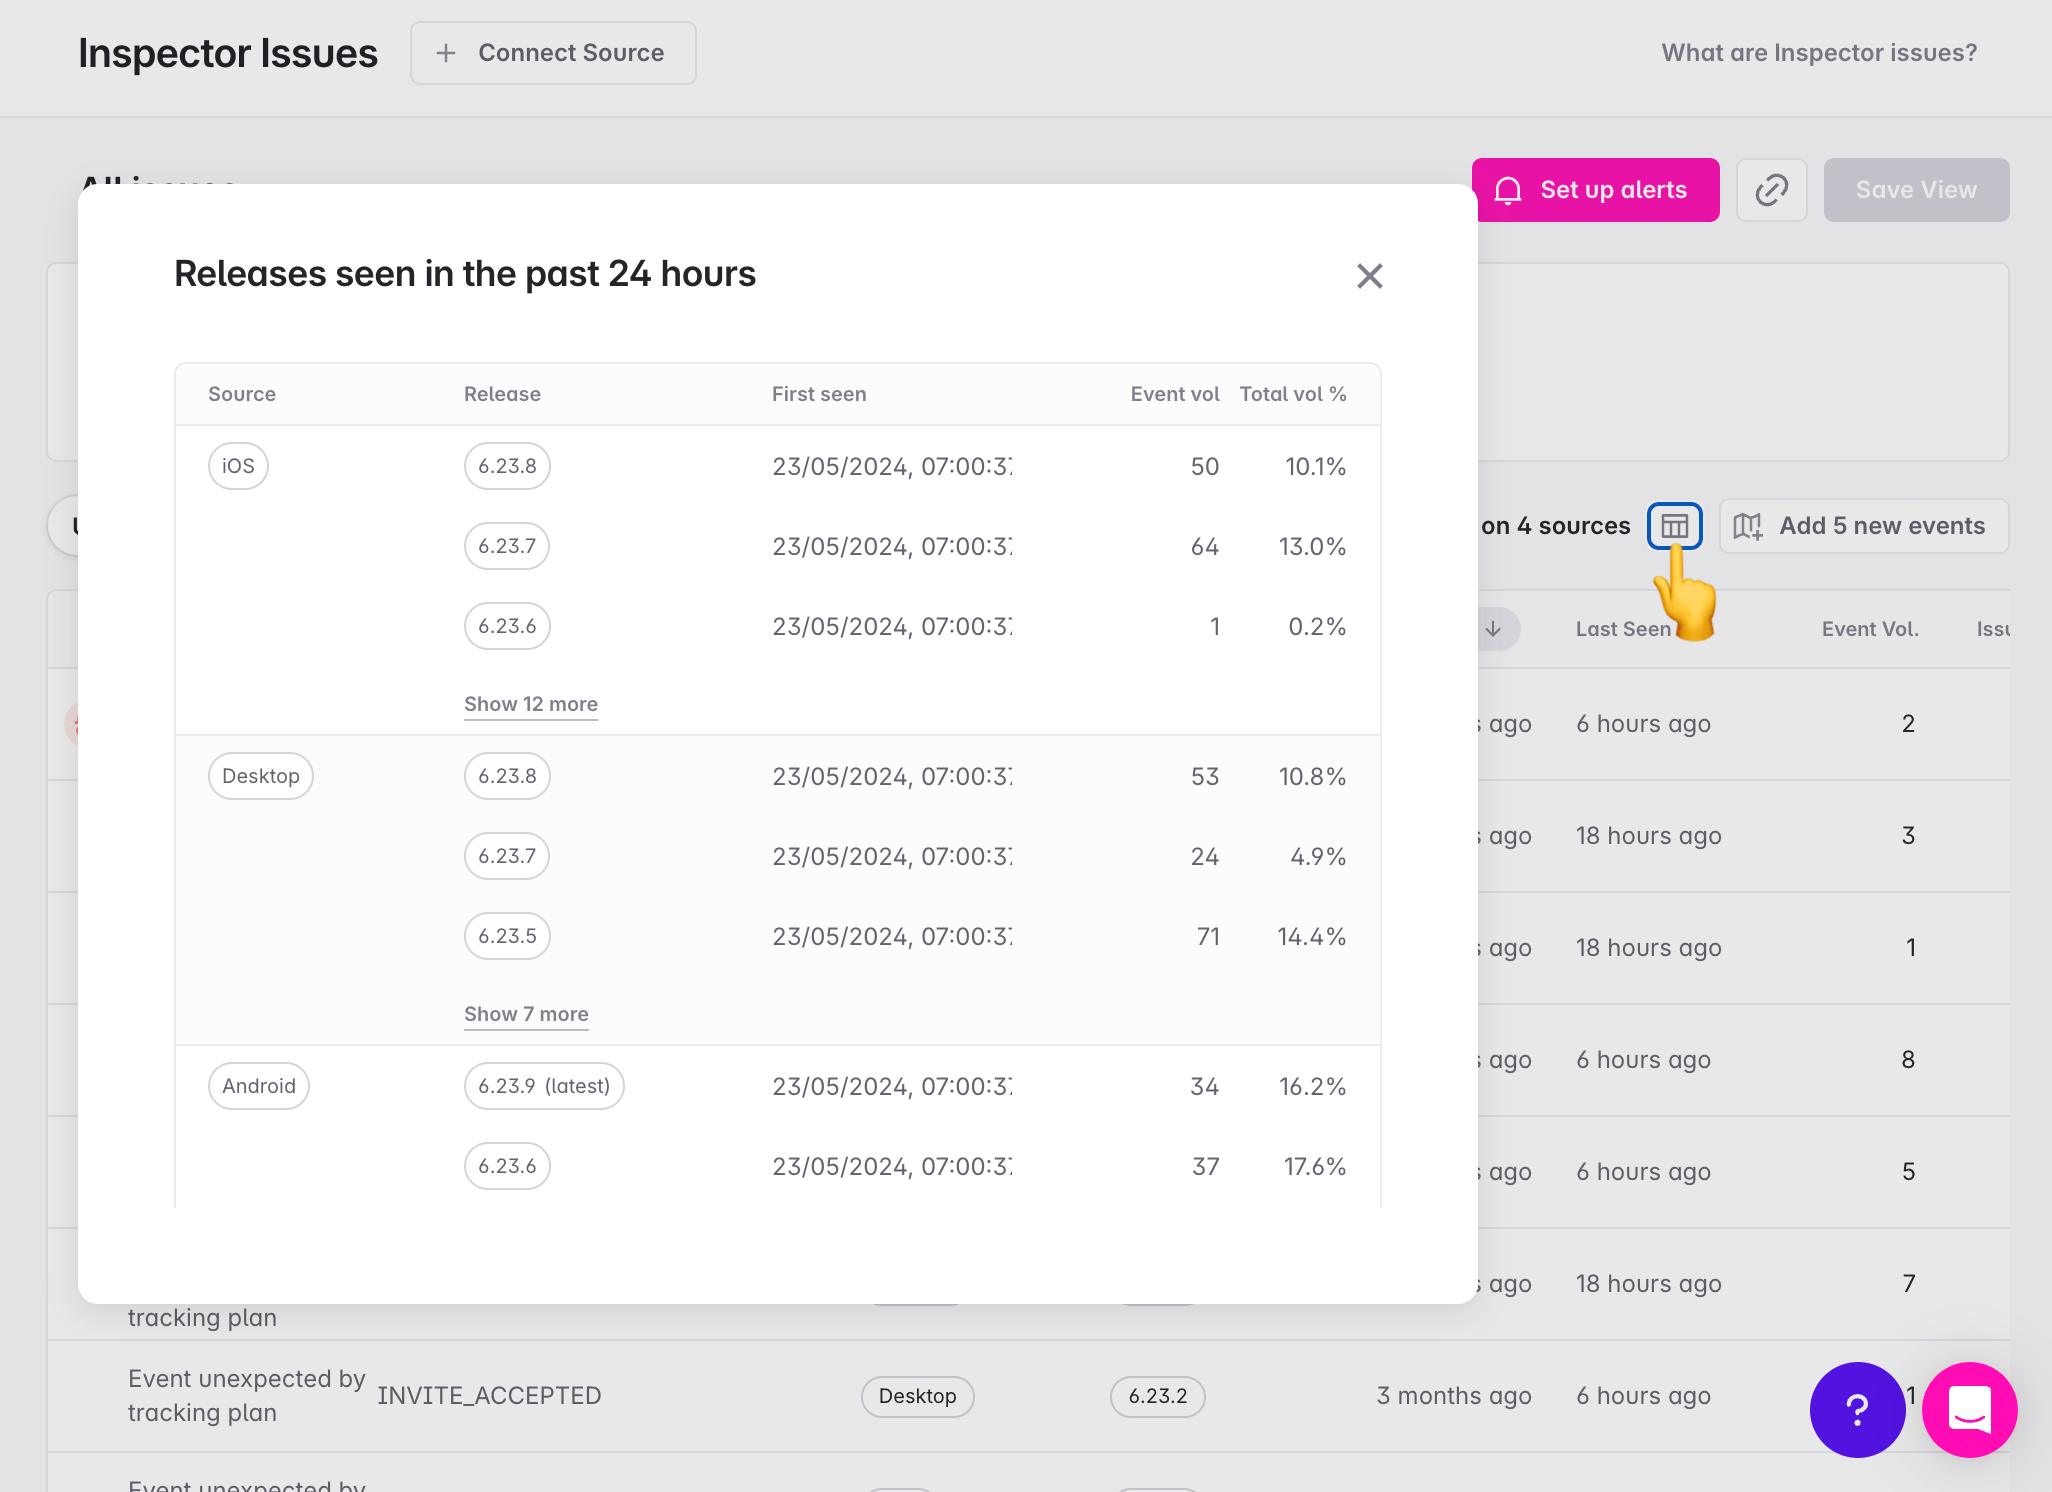
### Step 4 - Resolve issue
Once you have verified that the issue has been fixed in code, you can update the issue status to _Resolved_ for the release it was fixed in. See details about [resolved issue status](https://www.avo.app/docs/inspector/inspector-fix-issues.md#resolved-issue-status) below. If the issue reappears, it will be marked as a regression.
If your fix resolved multiple related issues, you can use [bulk actions](https://www.avo.app/docs/data-design/guides/bulk-editing.md#bulk-editing-in-inspector-issues-view) to resolve them all at once by selecting multiple issues and using the bulk action toolbar.
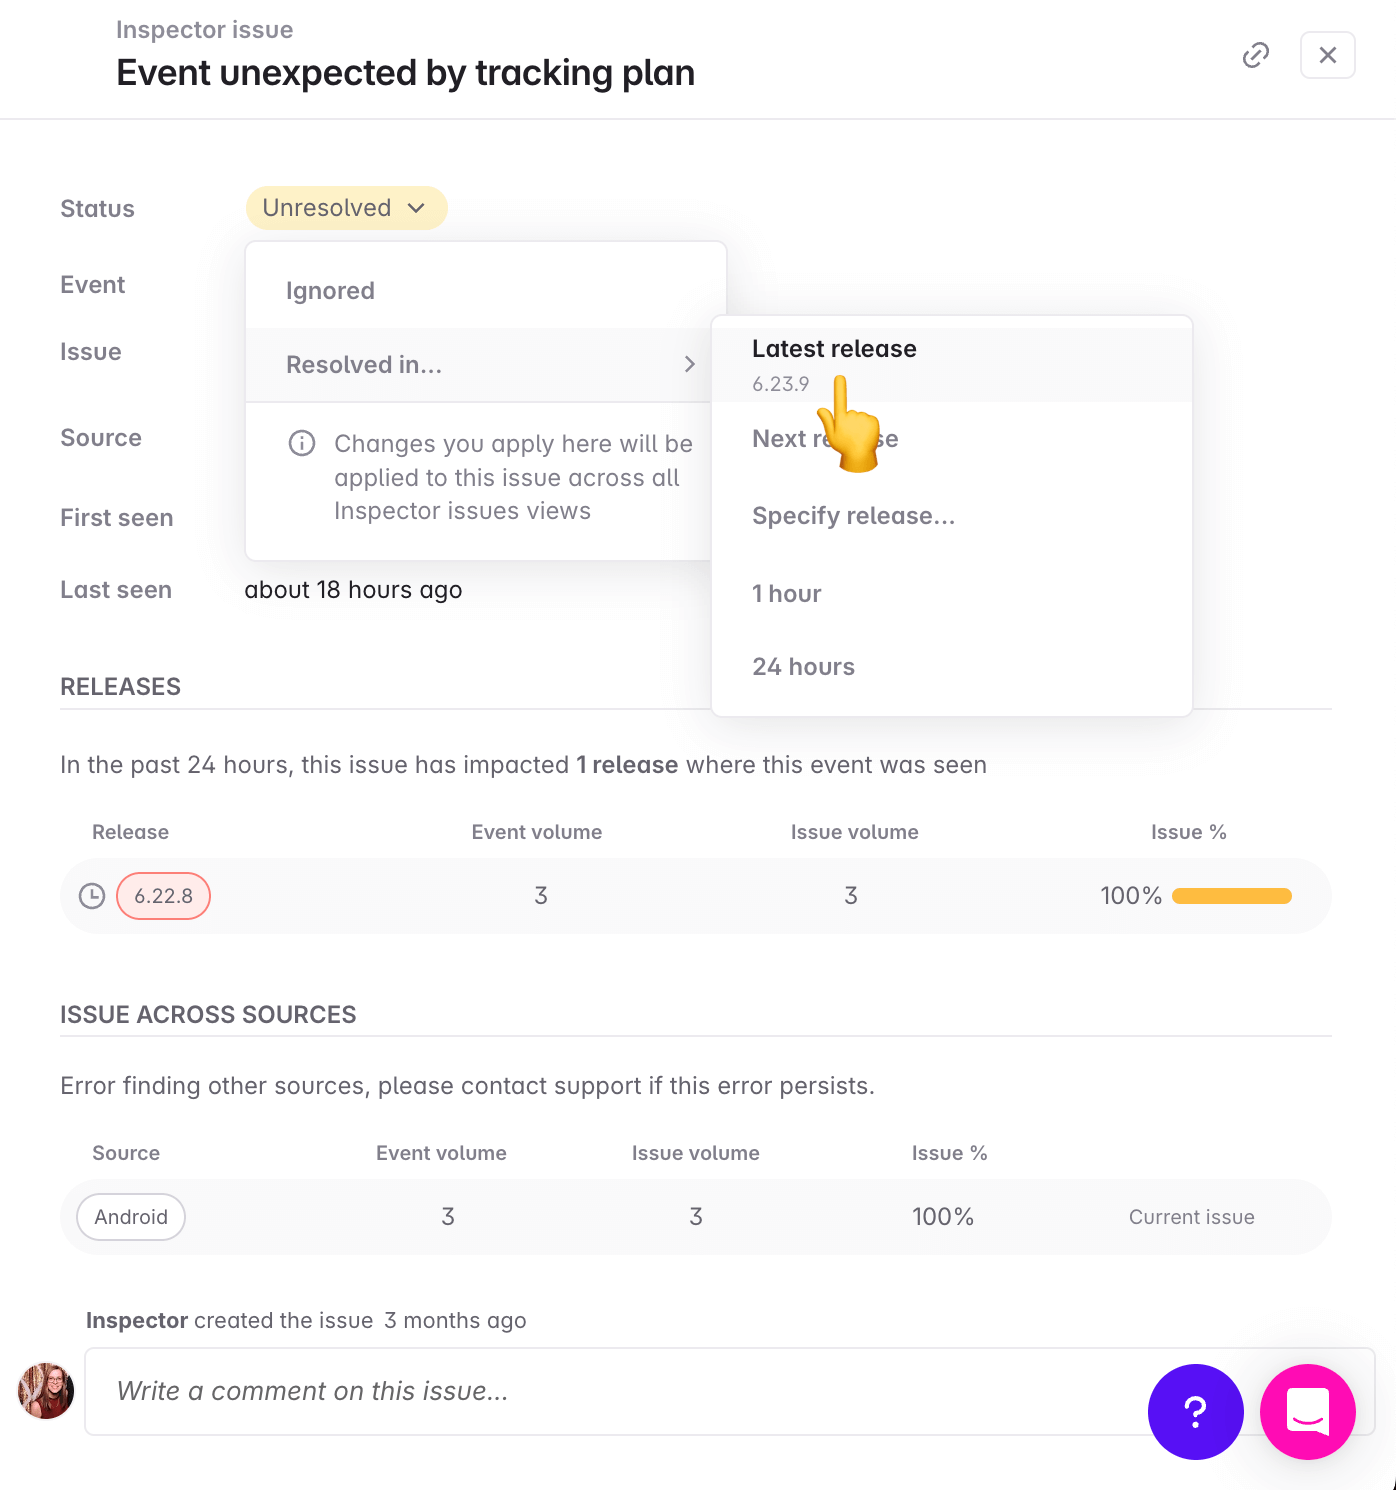
## Fixing a tracking plan issue found in Inspector
If the tracking plan is not representing the event correctly (and the implementation is correct), such as the data coming in is correct and the tracking plan is incorrect, we recommend the following steps:
### Step 1 - Fix issue
The first step is to fix the issue in the tracking plan. Depending on the issue, it can either be done by adding the event or property to the tracking plan or fixing an event or property that is already in the tracking plan.
**Event or property unexpected by tracking plan**
If the issue is that the event or property is unexpected by the tracking plan, but it is correctly sent and should be in the tracking plan, you can add it to the tracking plan directly from the issue details.

**Event or property already in tracking plan but has an issue**
If the issue is on an event or property that is already in the tracking plan, such that the structure of data coming in is correct but the definition in the tracking plan is not correct, then you need to change the definition in the tracking plan. For example the issue can be that the type of the property does not match the tracking plan or the property is unexpected on the event. Then you can navigate to the event or property in the tracking plan and fix the issue.
The issue details has links to the associated event and property in the tracking plan as shown below.
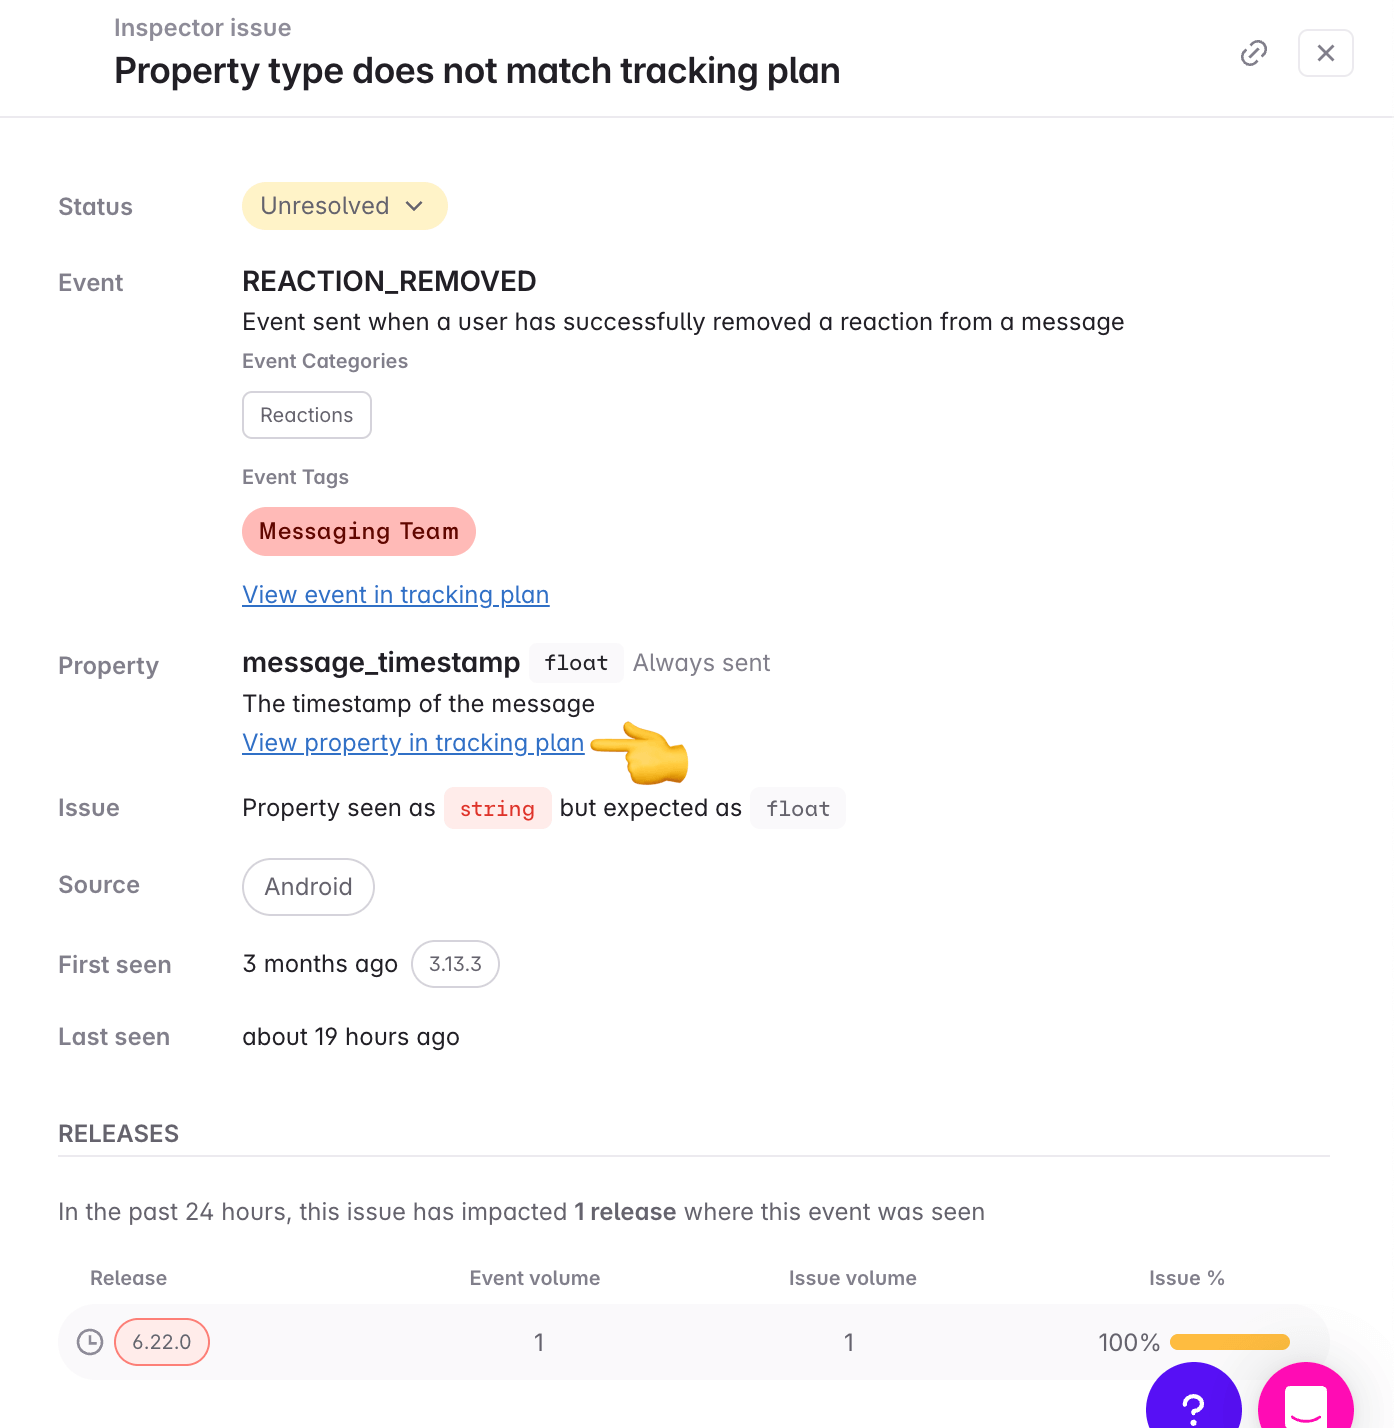
Once you are in the event or property details, fix the issue accordingly. In this example, the type of the property was `float` in the tracking plan but the data coming in was `string`. The data coming in is correct and therefore we need to update the property type to `string` in the tracking plan.
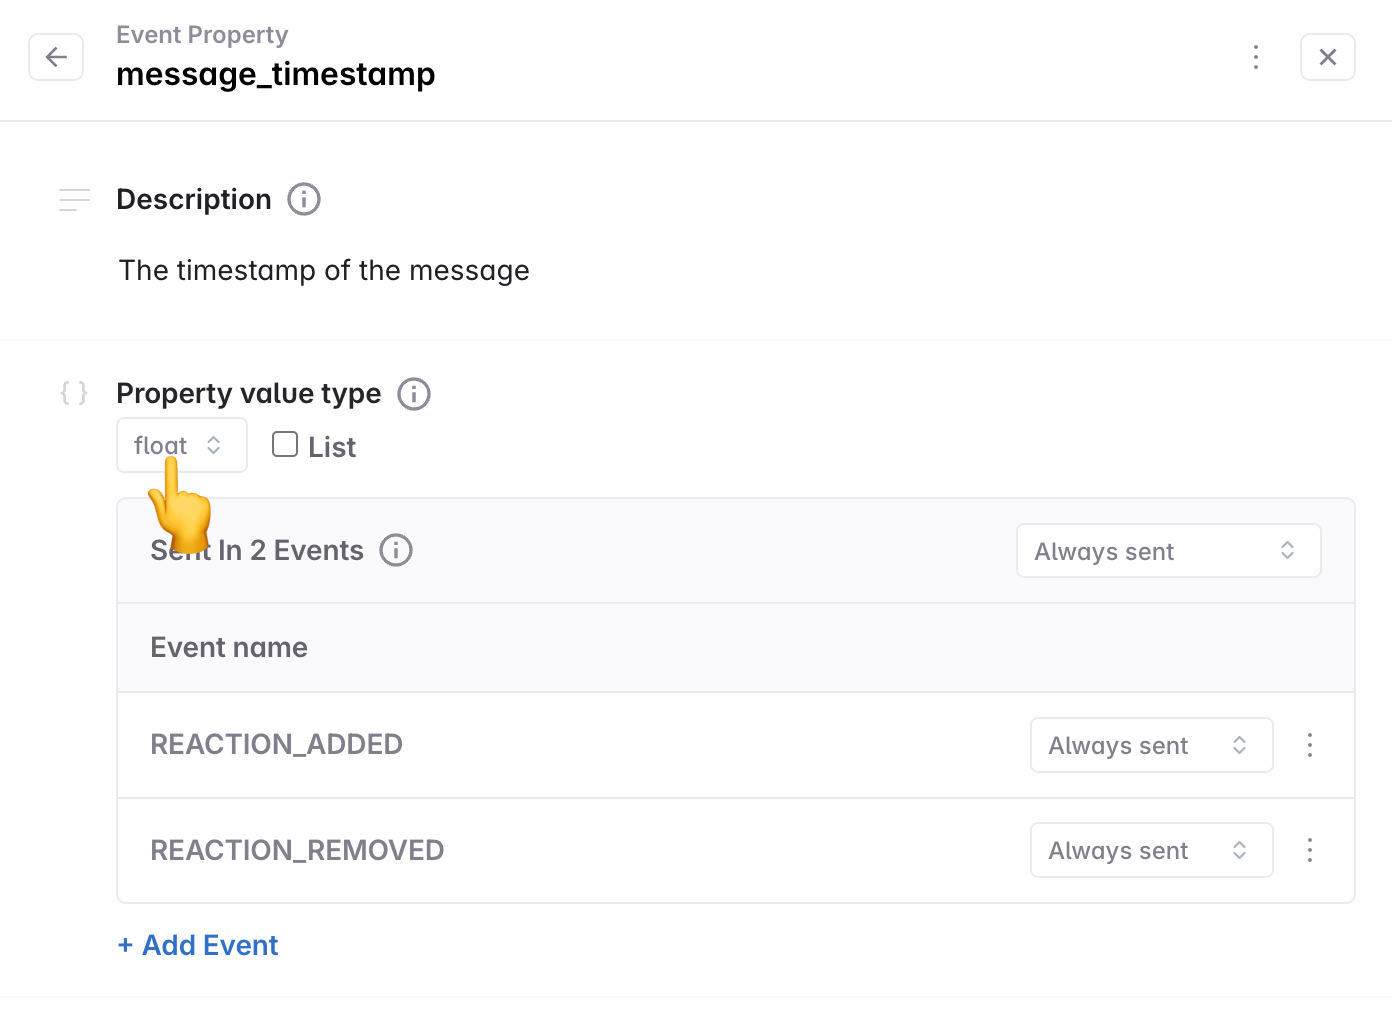
### Step 2 - Resolve issue
Once the necessary updates are made in the Tracking Plan, update the issue status to _Resolved_. See details about [resolved issue status](https://www.avo.app/docs/inspector/inspector-fix-issues.md#resolved-issue-status) below. If the issue reappears, it will be marked as a regression.
If your tracking plan update resolved multiple related issues, you can use [bulk actions](https://www.avo.app/docs/data-design/guides/bulk-editing.md#bulk-editing-in-inspector-issues-view) to resolve them all at once by selecting multiple issues and using the bulk action toolbar.
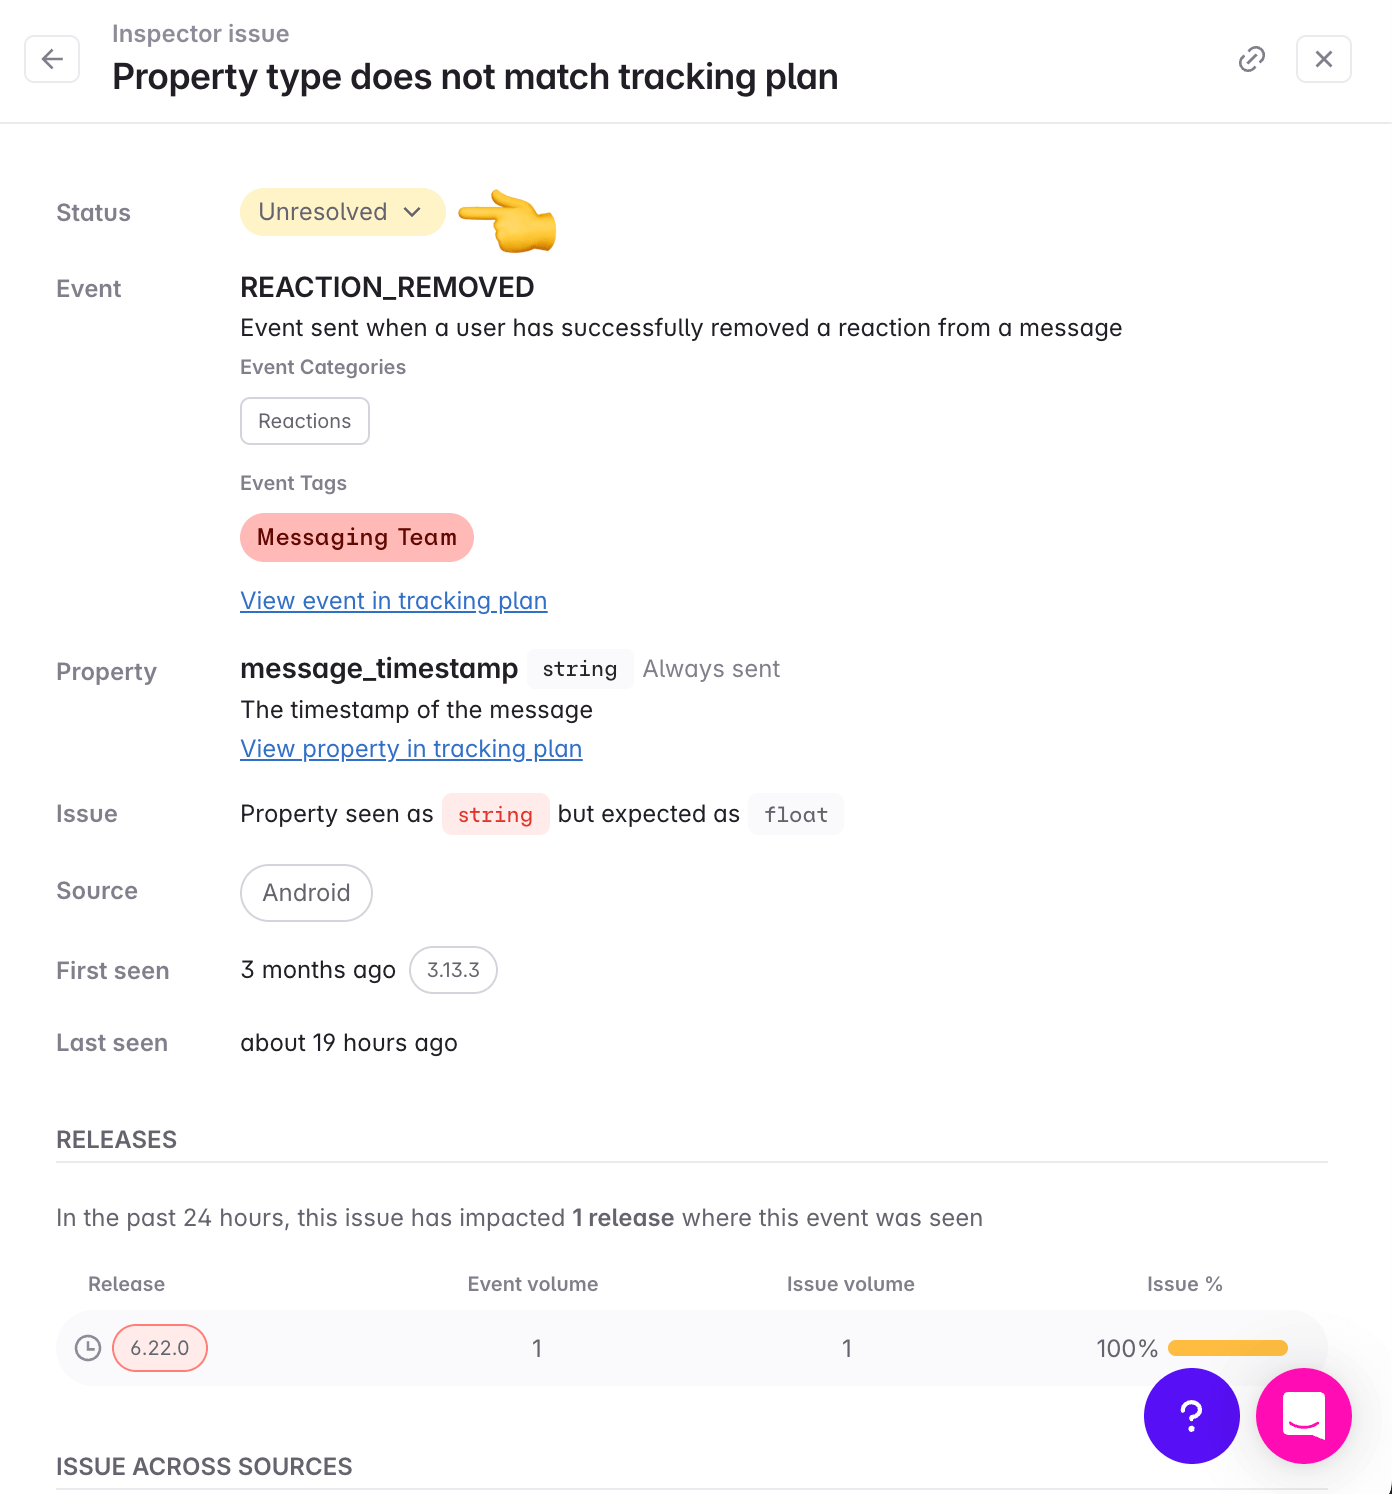
## Resolved issue status
When setting an issue status to _Resolved_ ([see available issue statues](https://www.avo.app/docs/inspector/inspector-issues-view.md#issue-status)), you have to specify for what version or what time point the issue should be resolved for.
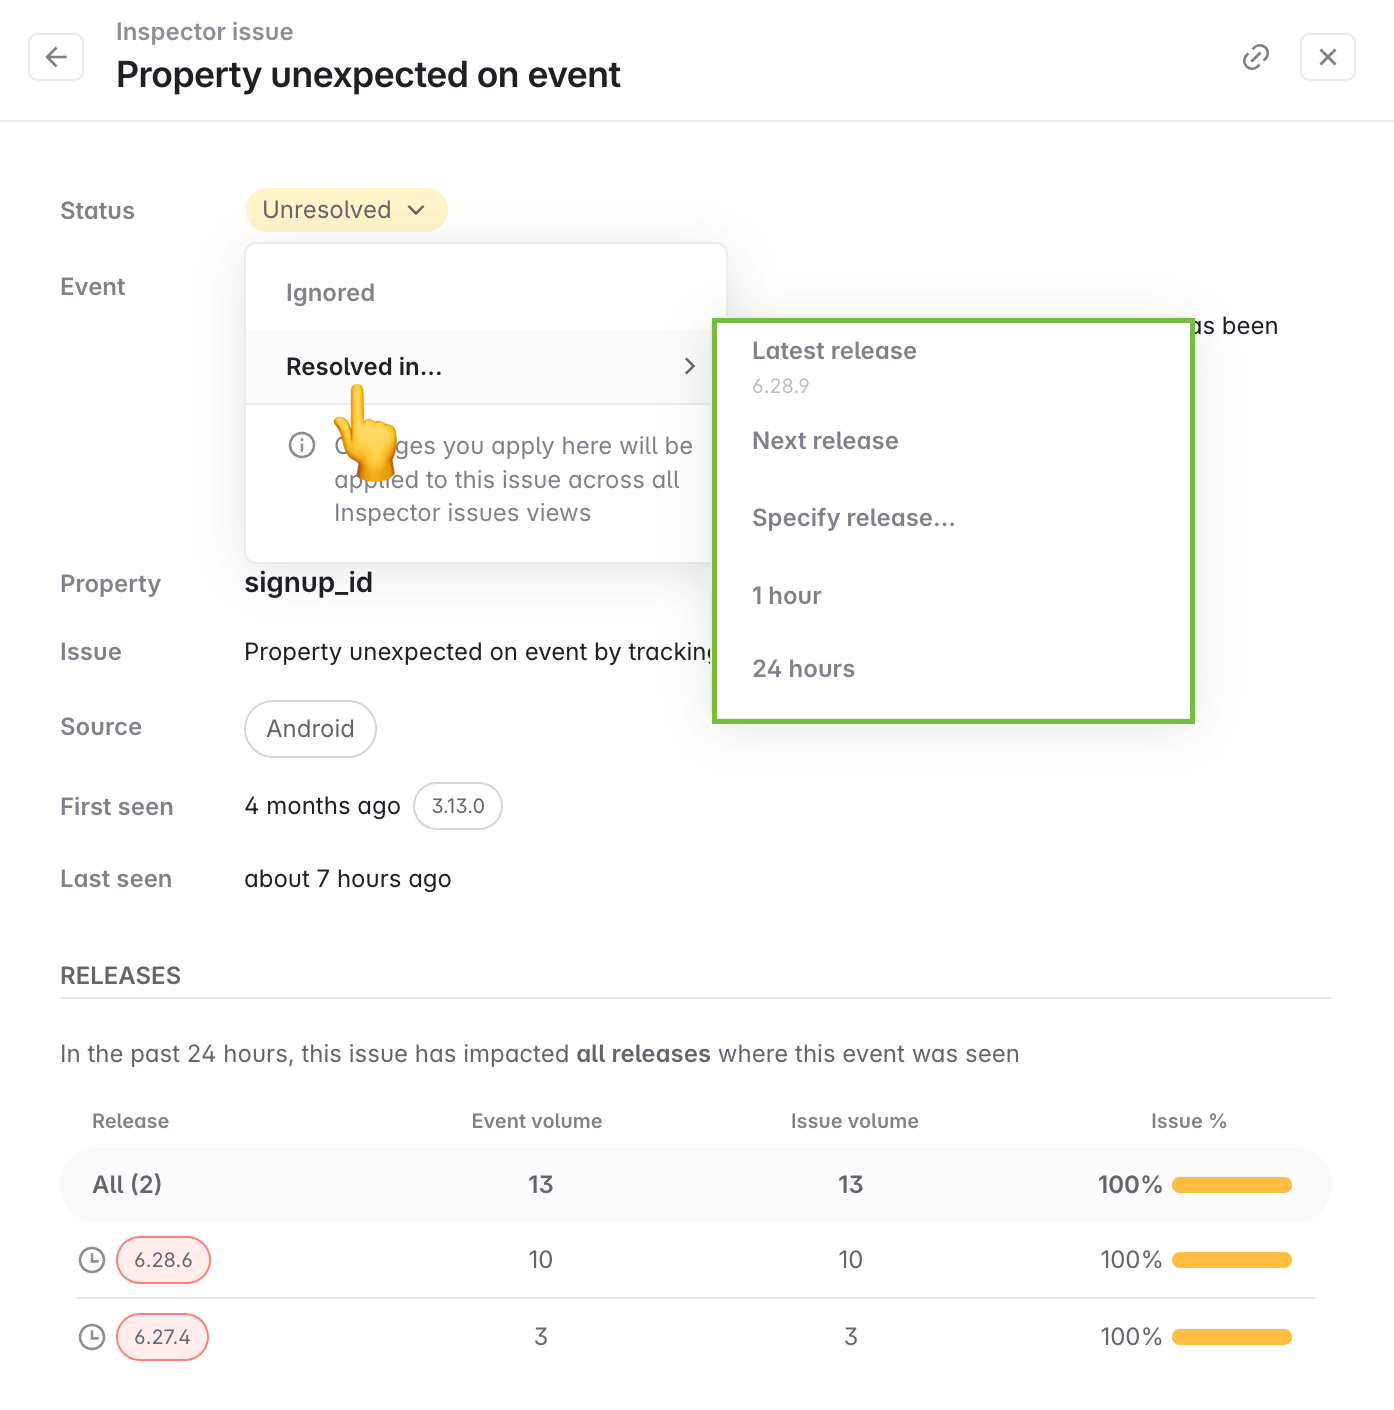
The available options are:
- **Latest release**: The issue will be resolved for every release version that is lower than the latest version Inspector has seen when the issue is marked as resolved. The latest release version and higher will continue to be validated.
- **Next release**: The issue will be resolved for the latest release version that Inspector has seen and every lower version that than that. Every release version incremented higher than the latest release version will continue to be validated.
- **Specify version**: The issue will be resolved for the release version specified and all versions lower than that. Every release version incremented higher than the specified release version will continue to be validated.
- **1 hour**: The issue will be resolved for all release versions seen until 1 hour after marking the issue as resolved. Every release version seen after that will continue to be validated.
- **24 hours**: The issue will be resolved for all release versions seen until 24 hours after marking the issue as resolved. Every release version seen after that will continue to be validated.
When an issue is marked as resolved, it will immediately be moved to the _Resolved_ section of the issues view.
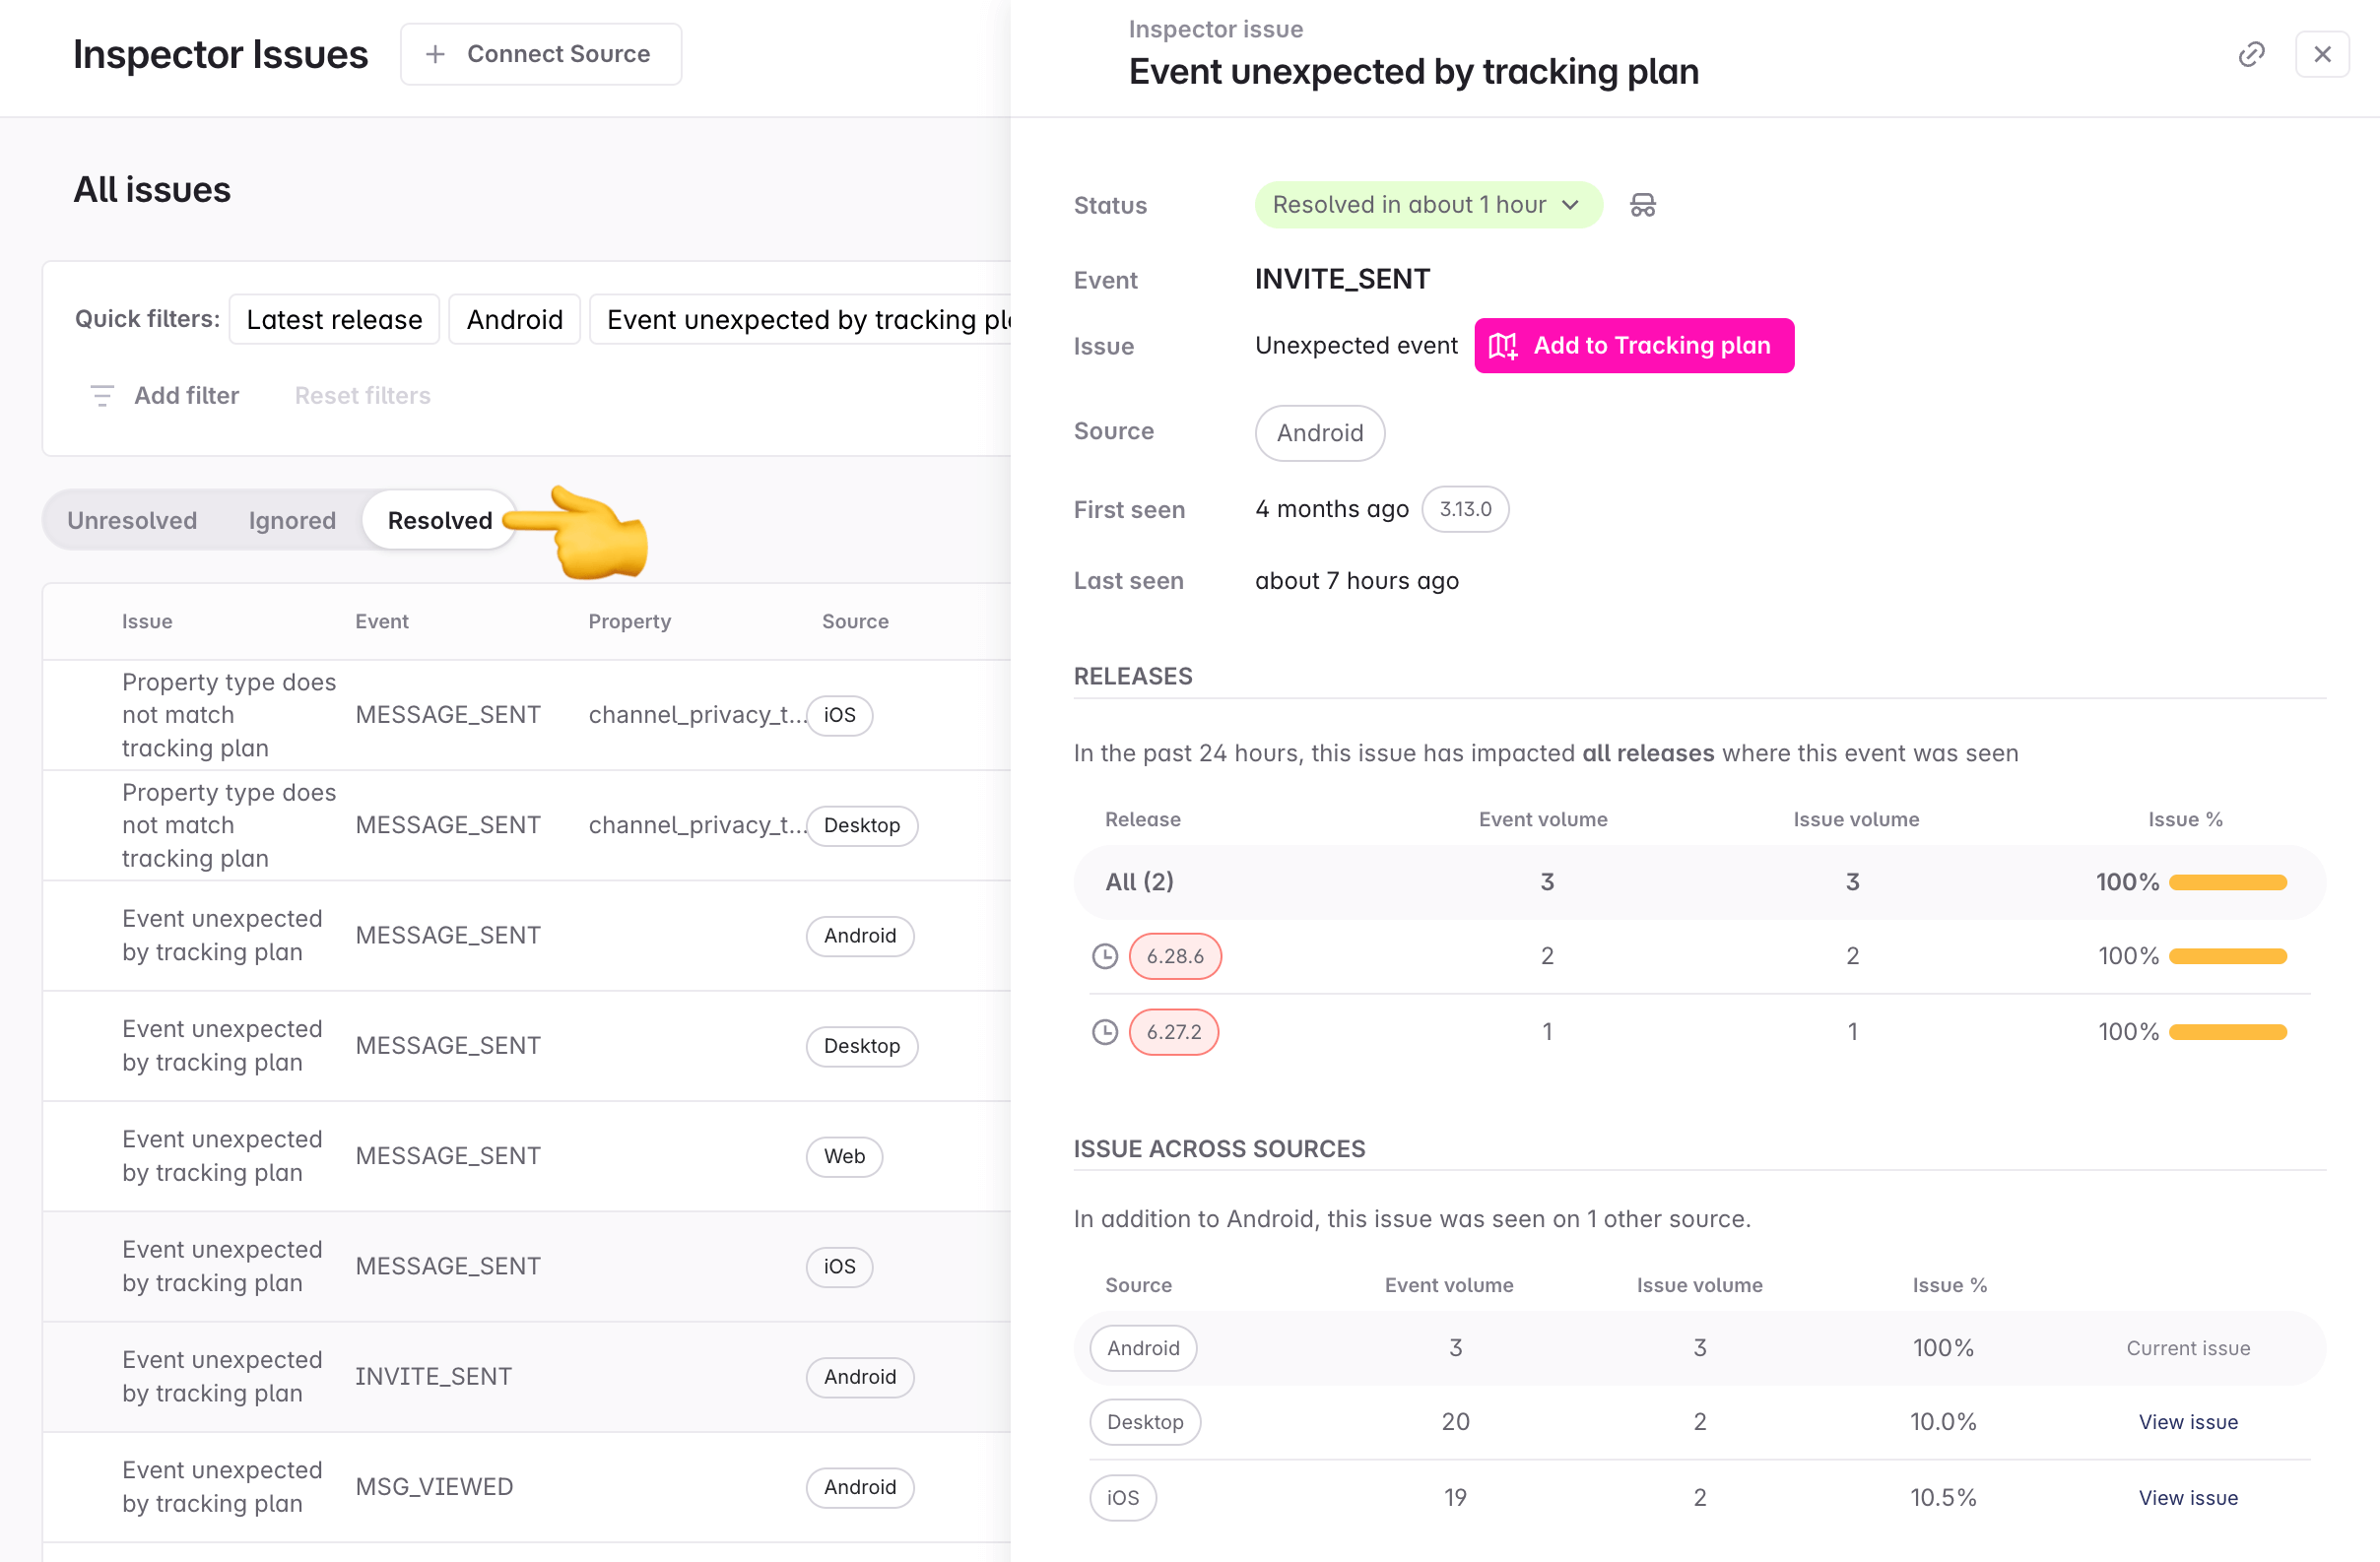
If the issue reappears, that is it happens in a release
version that is incremented higher than the version selected or after the time point selected, then the issue moves back to unresolved marked as a regression.
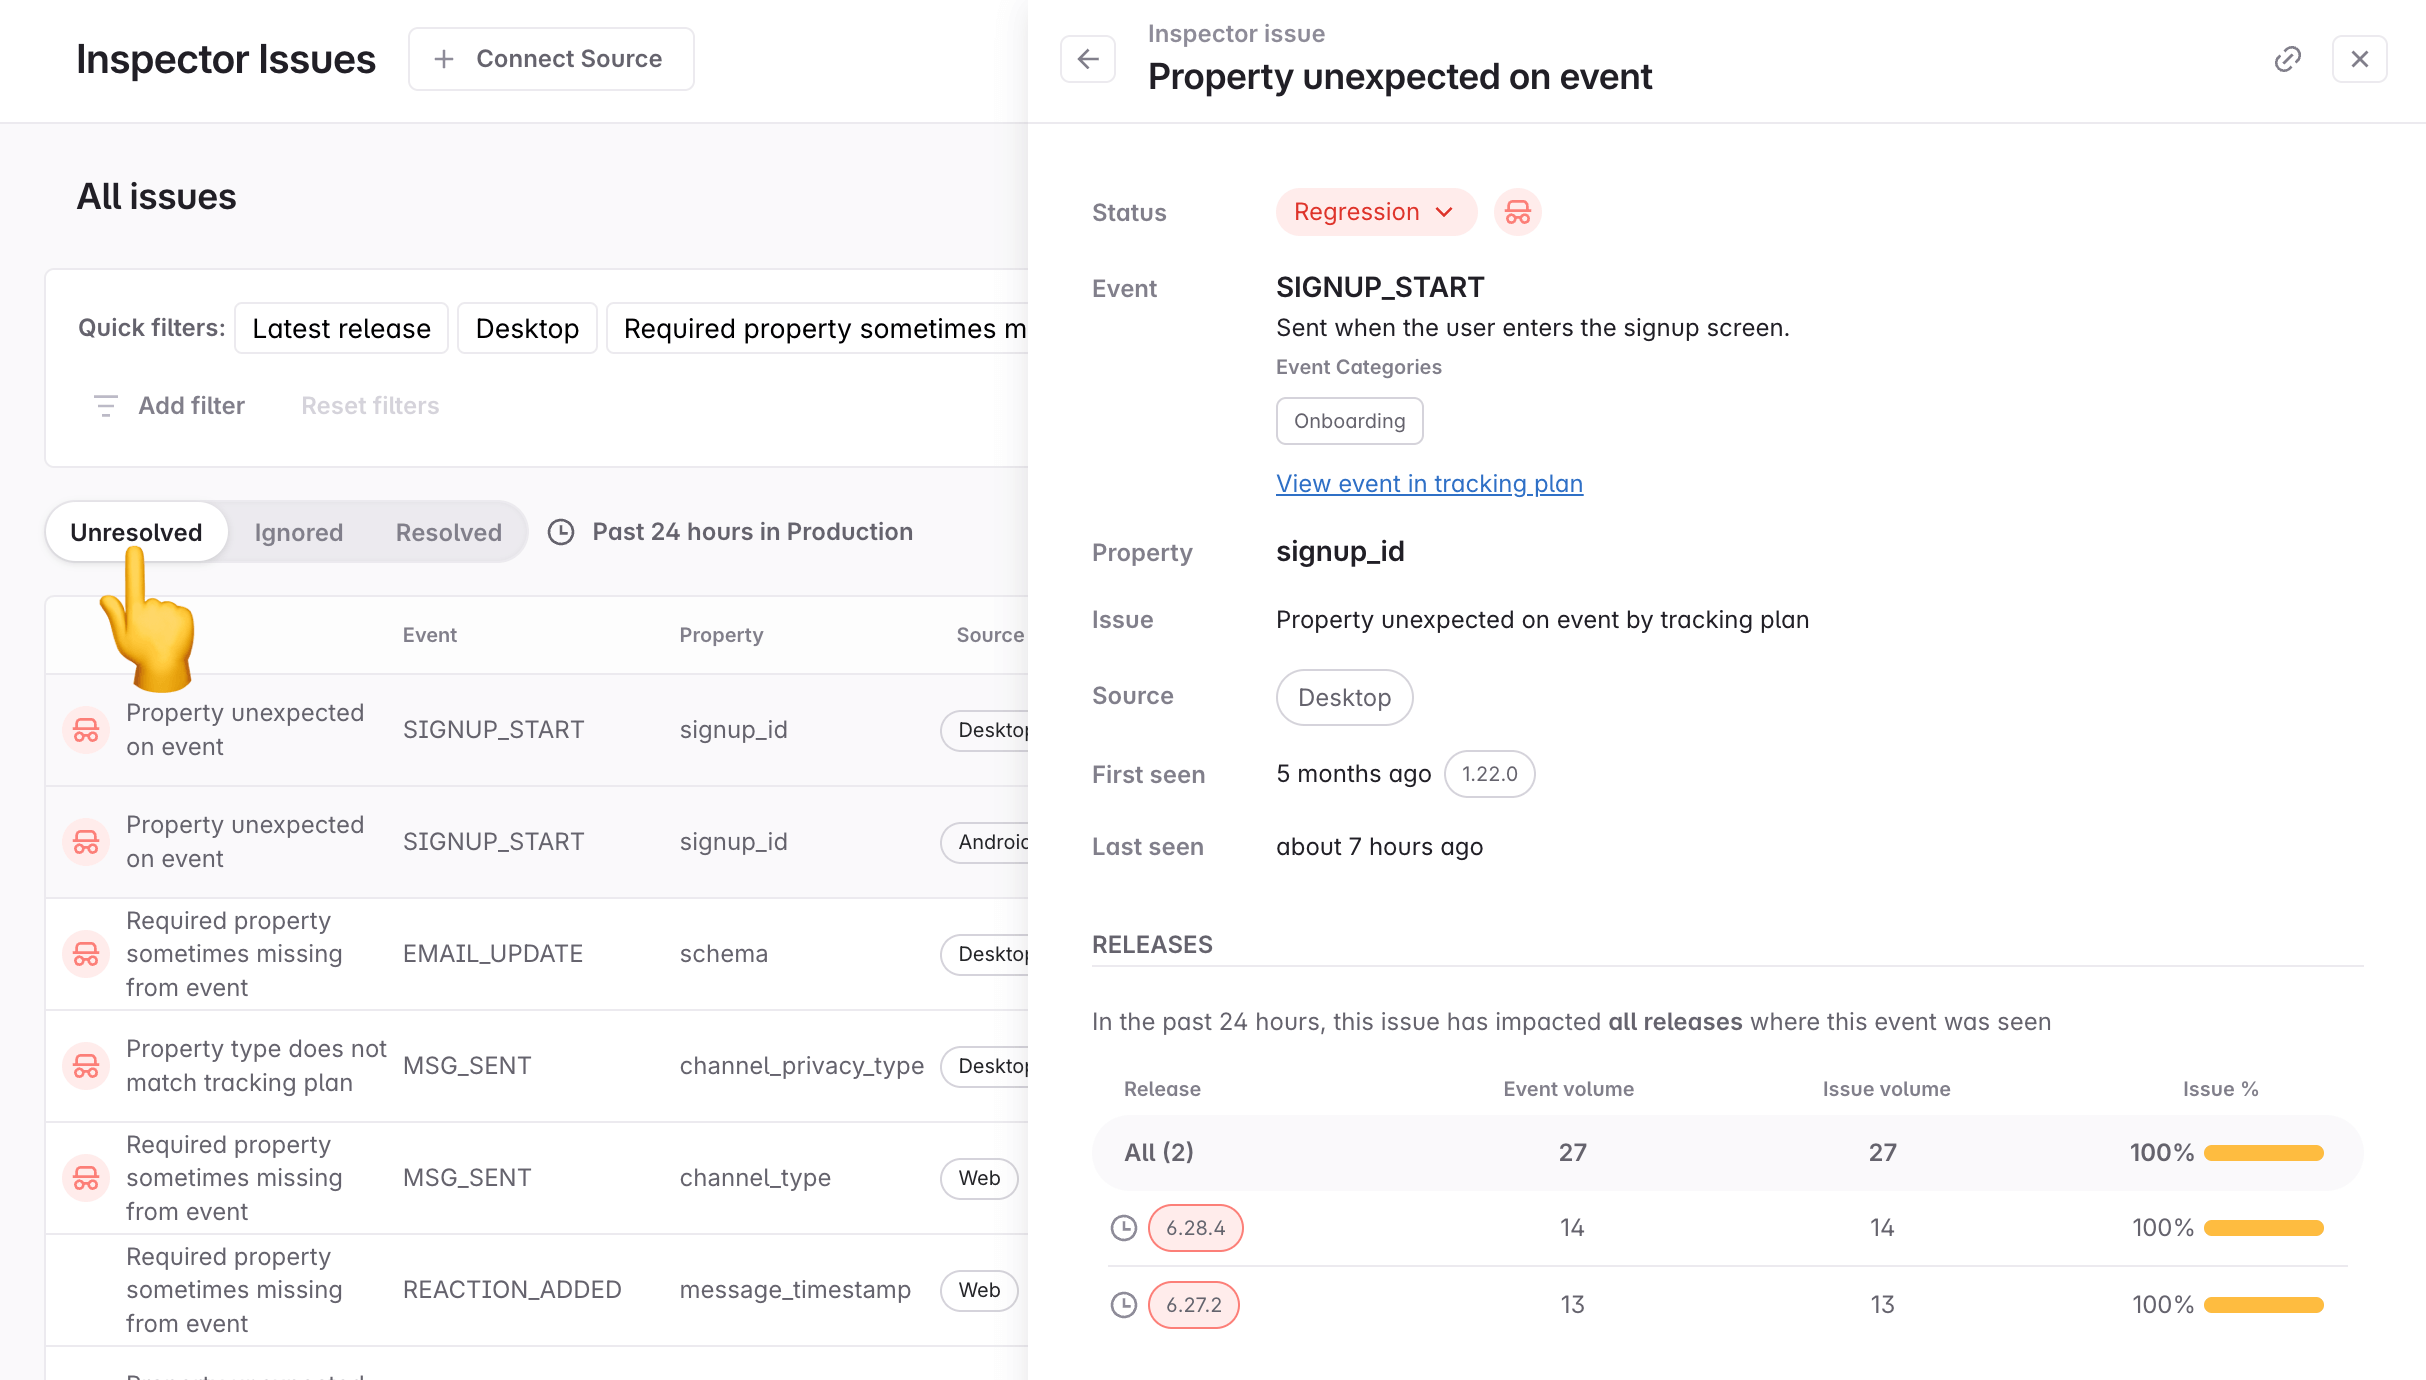
## What's next
Now that you have started fixing issues, we recommend using Avo to plan your next feature release.
- [Designing data in Avo](https://www.avo.app/docs/data-design/start-data-design.md): How to plan your next feature release in Avo.
---
Source: https://www.avo.app/docs/inspector/inspector-ignore-issues.md
# Temporarily ignore Inspector issues
When you merge an Avo branch with changes, sometimes you get Inspector issues and alerts from older release versions. This feature lets you ignore those alerts until your new changes go live.
If your branch contains changes that could cause irrelevant issues and alerts from older release version, you can proactively ignore those issues before merging the branch.
Once the branch has been approved, a configure dialog wil appear under the "Merge branch" button on the branch review screen.
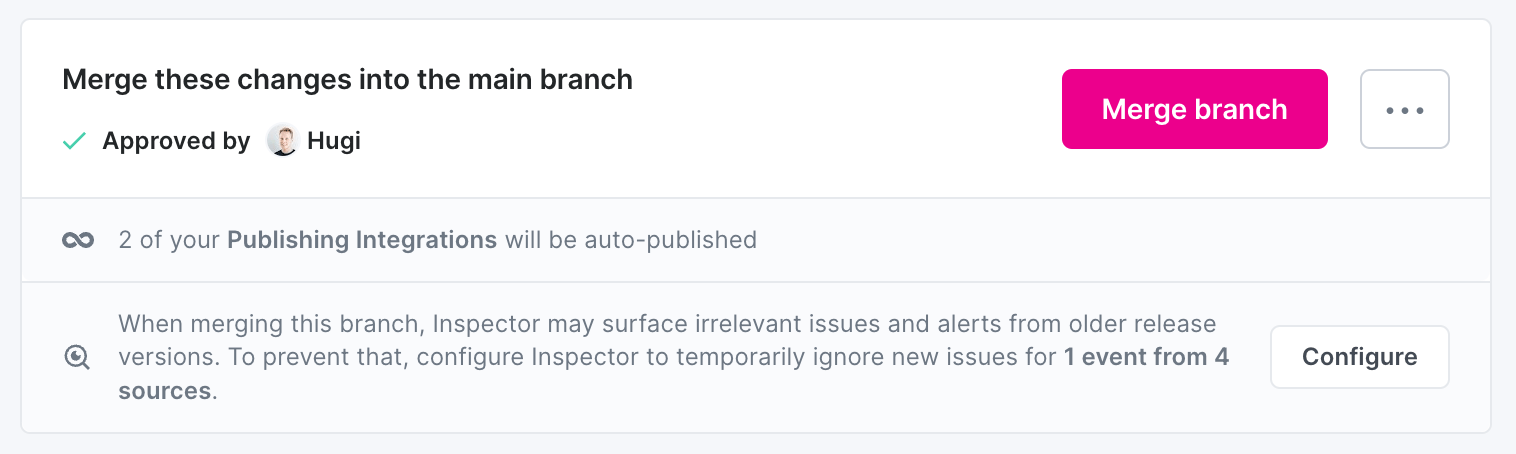
### How to configure
> 💡 Note that the option to configure Inspector ignore on the branch review screen
> only appears when 1/ your branch contains changes that could cause irrelevant
> issues from older release versions, and 2/ your branch has been approved.
1. After your branch has been approved, press the "Configure" button at the bottom of your branch review
2. For each source, pick how you want to ignore:
- Ignore until version
- **Latest version on branch merge**: _Inspector will validate the changes introduced on this branch in the latest release version after merge_
- **Next version on branch merge**: _Inspector will validate the changes introduced on this branch in the next release version after merge_
- Ignore until time
- **One hour after branch merge**: _Inspector will start validating the changes introduced on this branch 1 hour after merge_
- **24 hours after branch merge**: _Inspector will start validating the changes introduced on this branch 24 hours after merge_
- **Don't ignore** (this is the default)
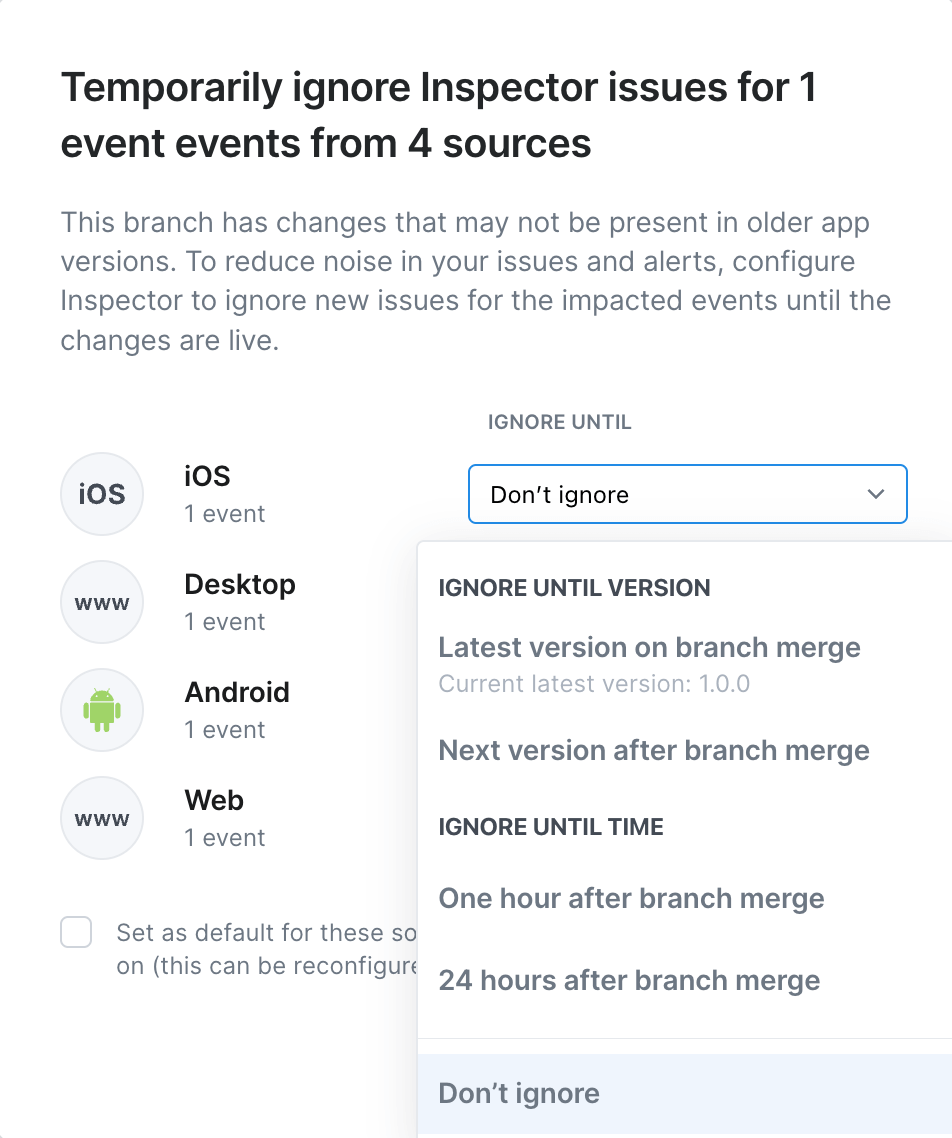
---
Source: https://www.avo.app/docs/inspector/inspector-slack-alerts.md
# Inspector Alerts for Slack
_How to start receiving Slack alerts for your Inspector issues_
Connect Inspector to your Slack to receive alerts when new issues appear in your production environments or when an issue marked as resolved regresses.
## Prerequisites
Before setting up Inspector alerts for Slack, ensure you have:
- An admin access to your Slack workspace, permission to install apps or have someone that has these permissions to help you
- An Avo workspace with Inspector enabled
- A saved view for the filtered view you want to get alerted on
## Quick Start
To connect, find the _Set up alerts_ button in a [specific saved view](https://www.avo.app/docs/inspector/inspector-slack-alerts.md#inside-a-specific-saved-view) or the [saved view overview](https://www.avo.app/docs/inspector/inspector-slack-alerts.md#in-saved-views-overview).
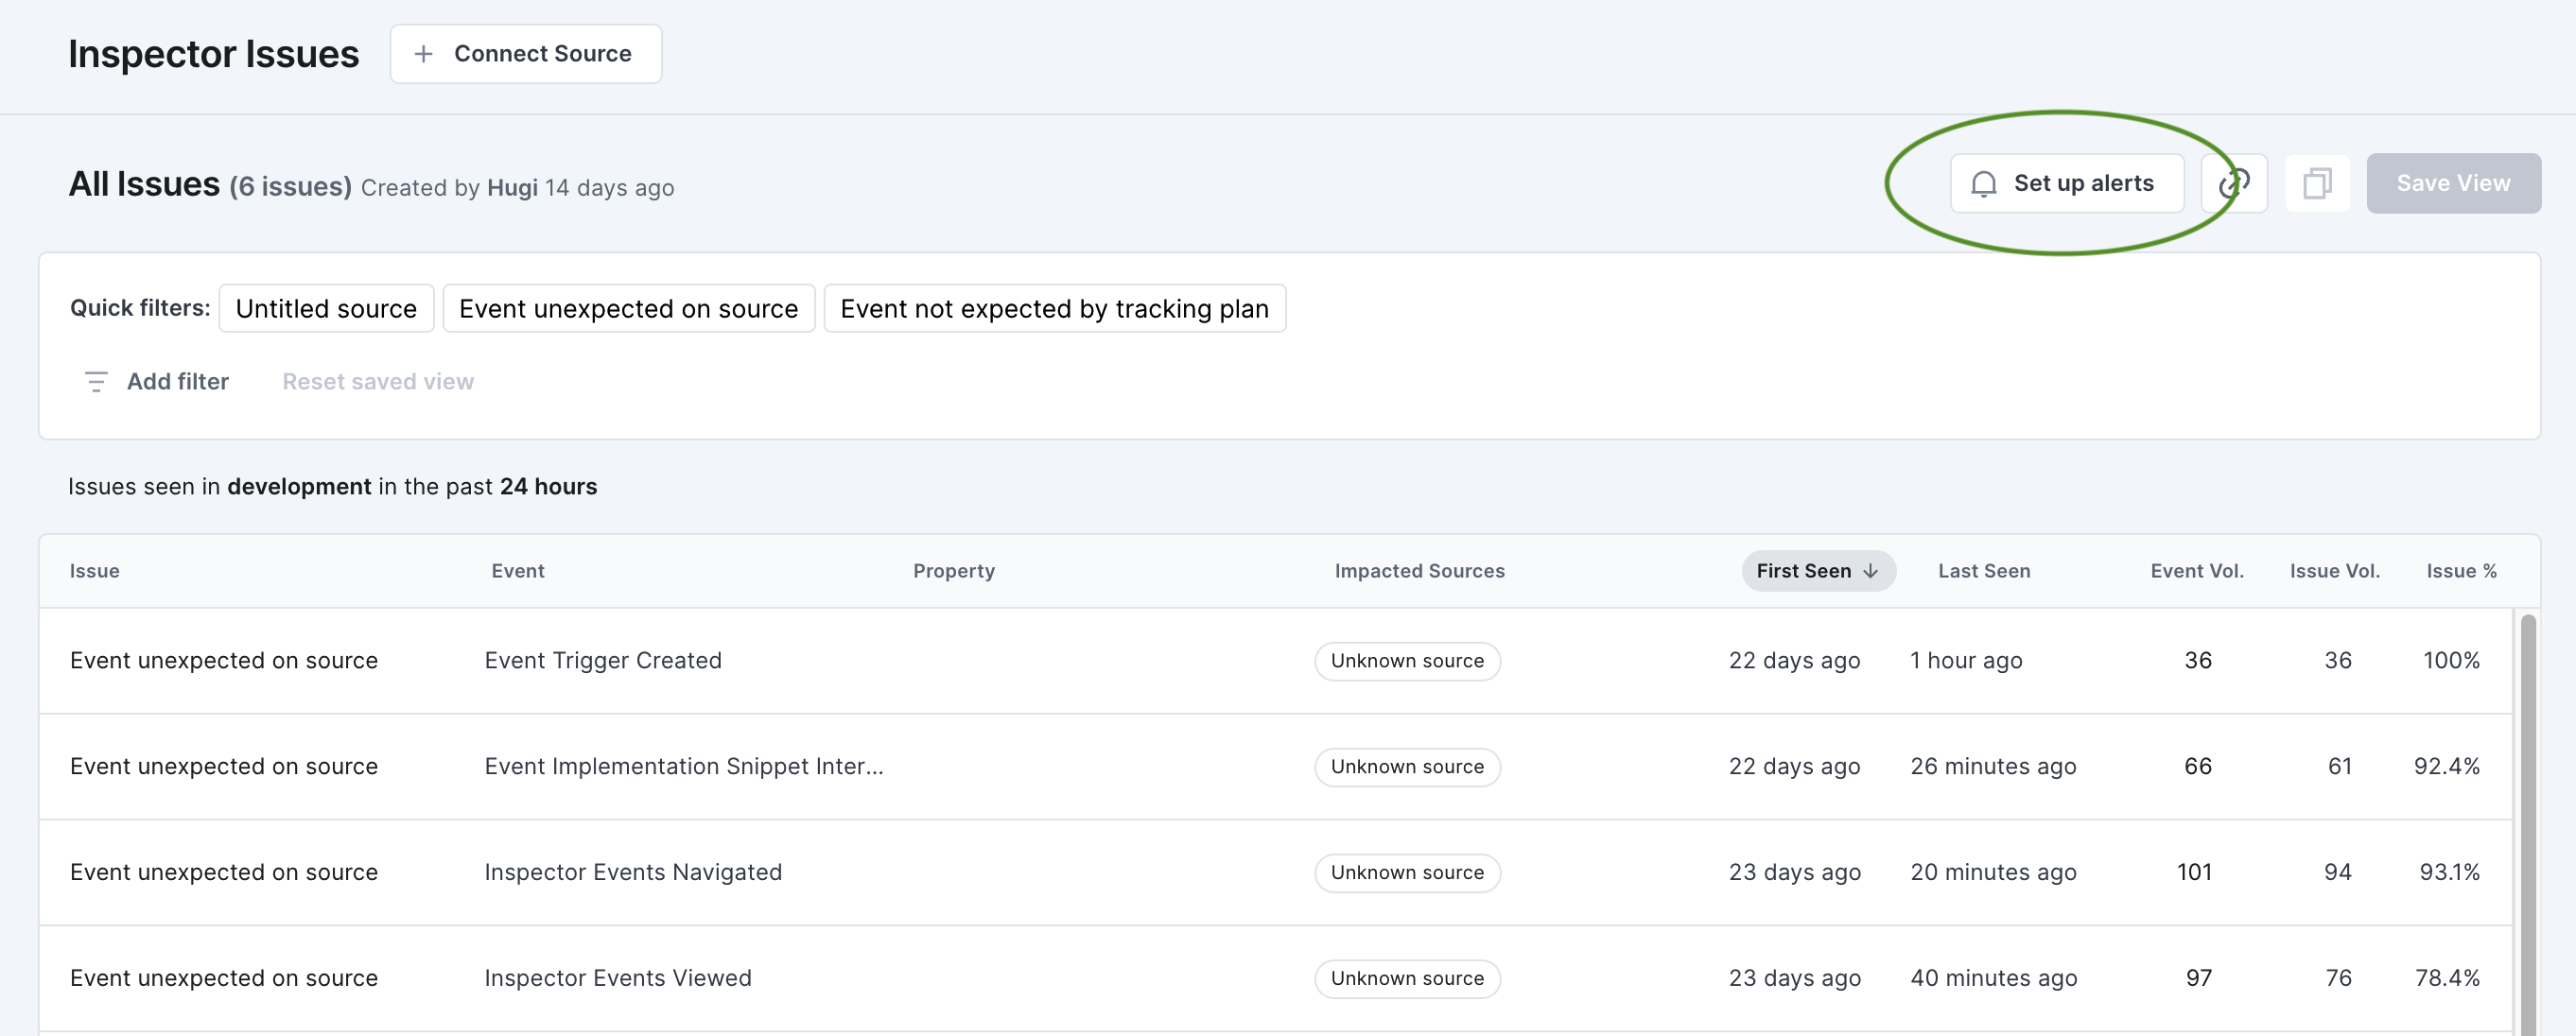
## Detailed Setup Guide
### Custom Inspector alerts
Custom Inspector alerts for saved views enables you to define parameters for issues that you do want to monitor closely, and set up Slack alerts for only those issues.
#### Connecting alerts to a saved view
If you haven't already created a saved view, start by [filtering all issues](https://www.avo.app/docs/inspector/inspector-issues-view.md#sorting-and-filtering) and [saving the view](https://www.avo.app/docs/inspector/inspector-issues-view.md#saving-a-filtered-view).
##### Inside a specific saved view
Once you have a saved view, click the "Set up Alerts" button to initialize the connection.
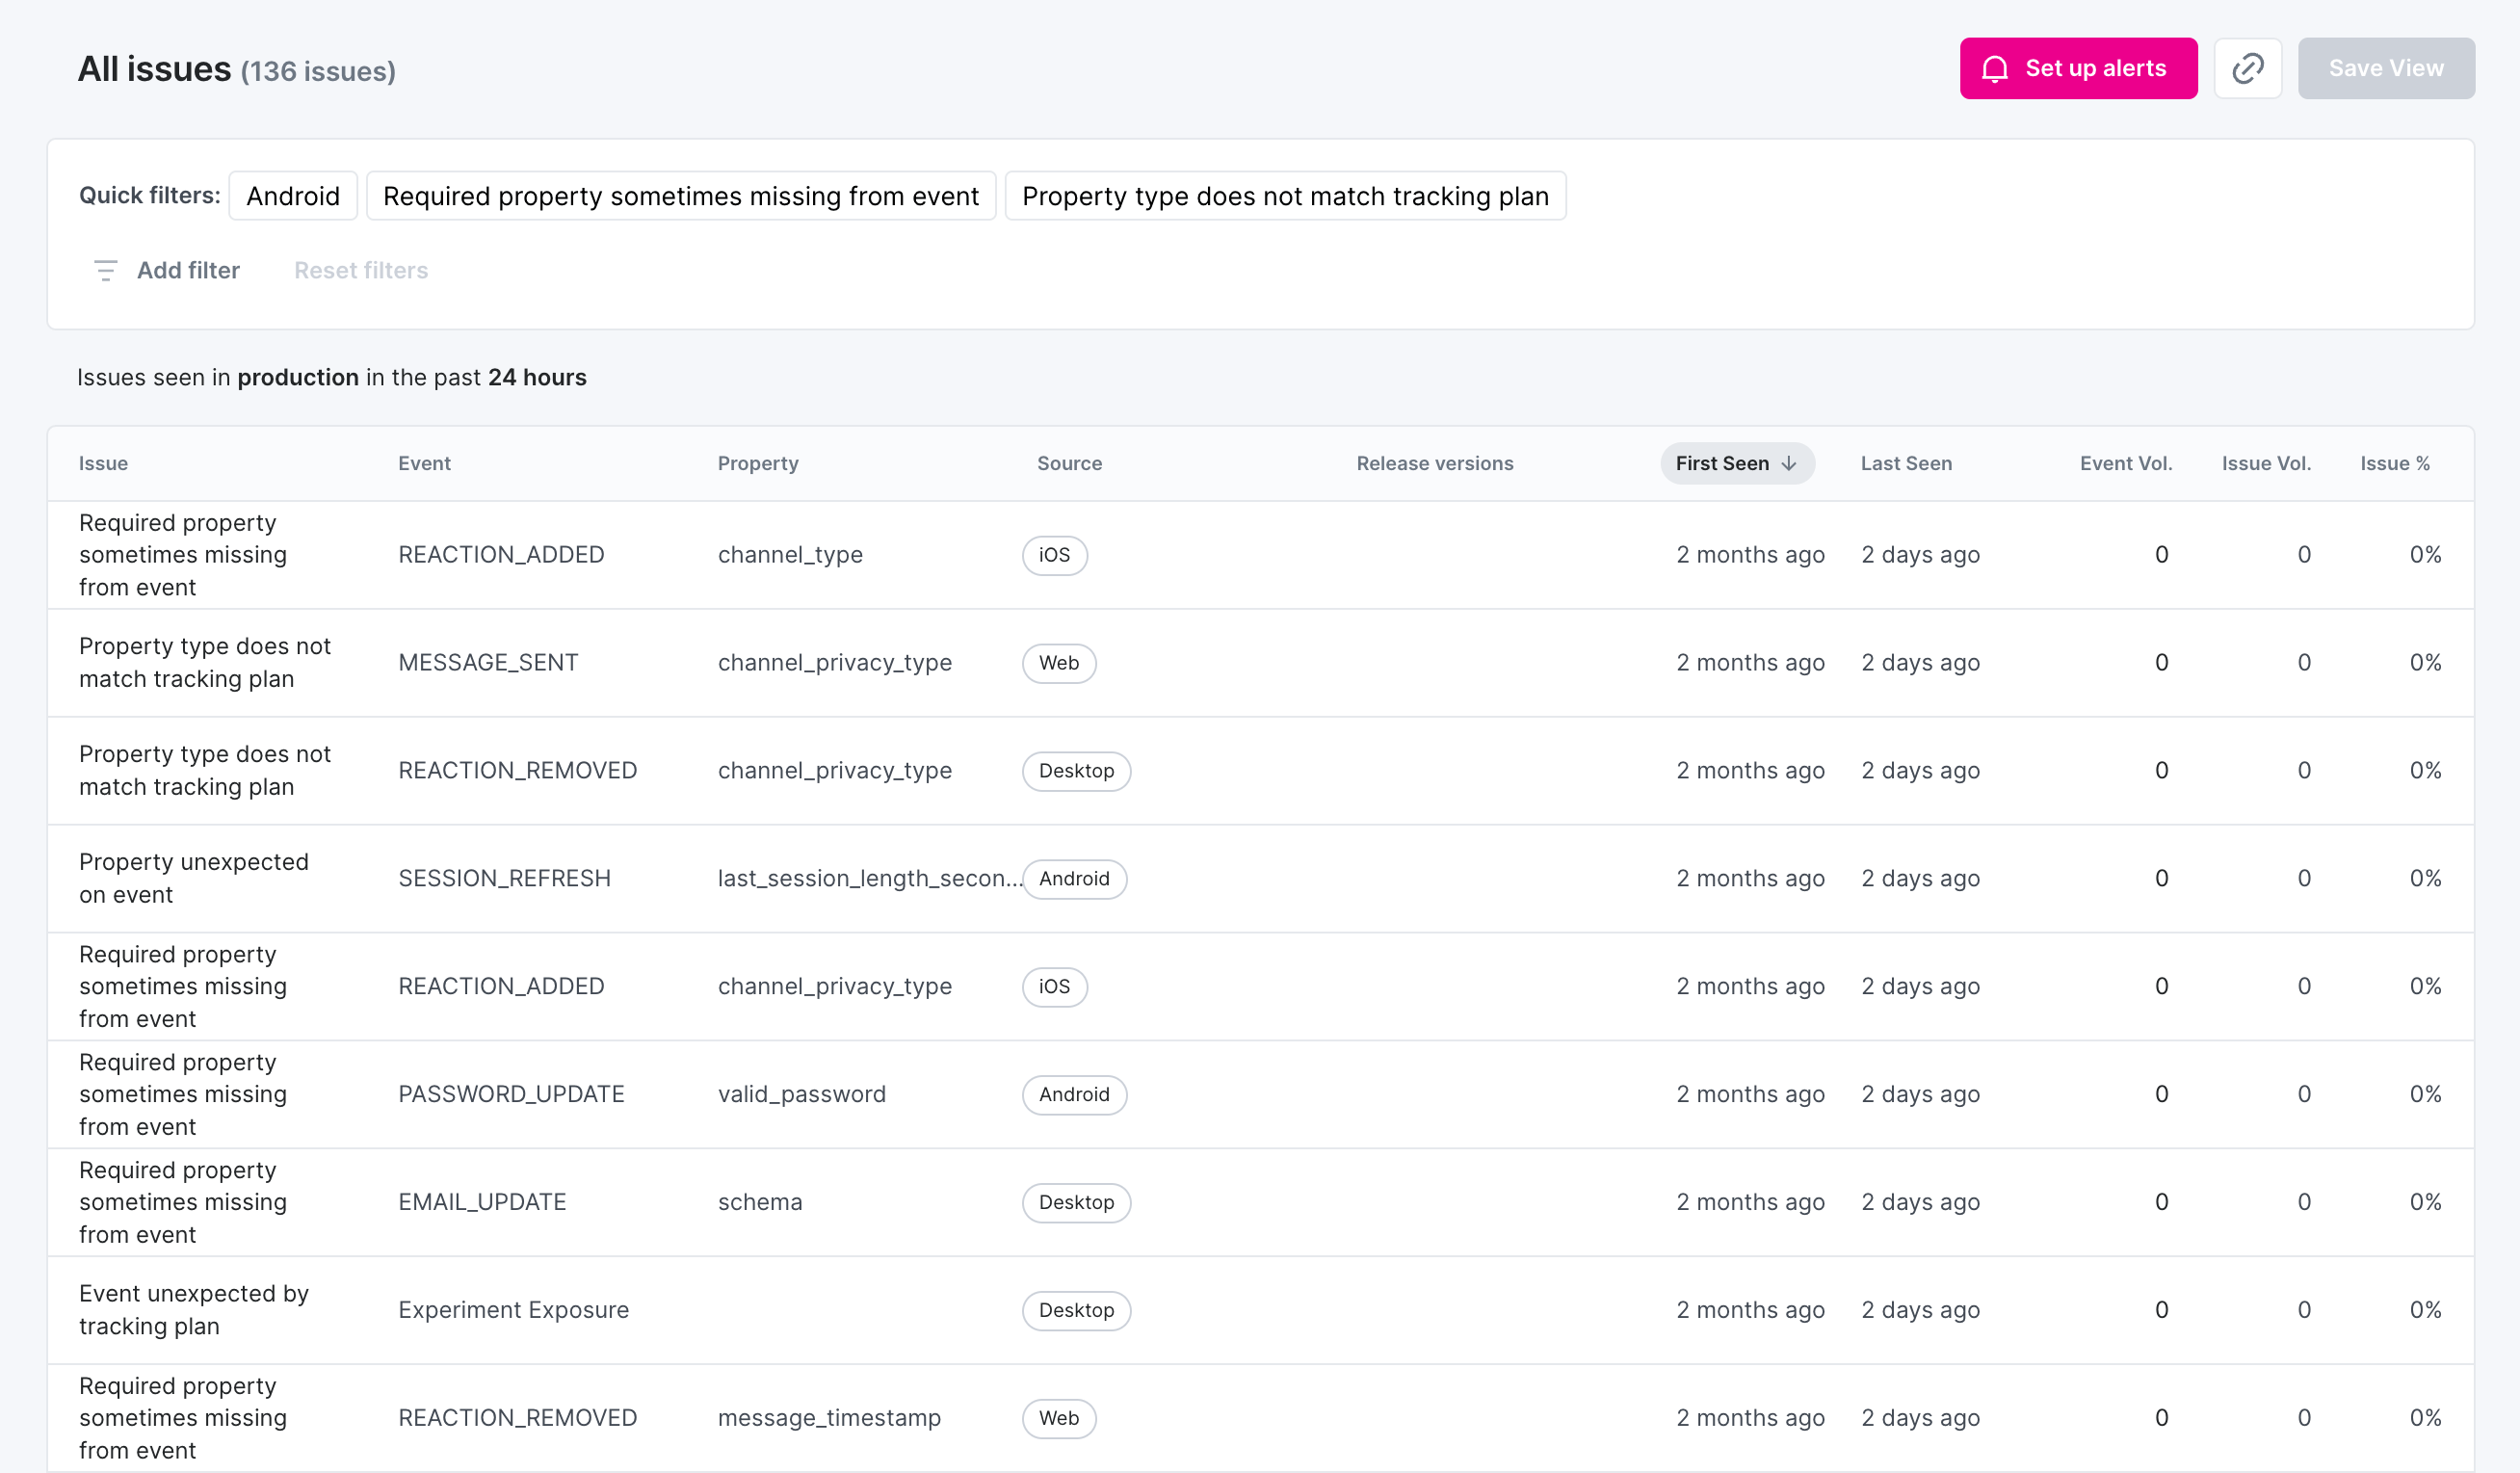
That triggers a modal to be opened, where you can choose to connect to Slack or give us feedback on how you would like your alerts delivered.
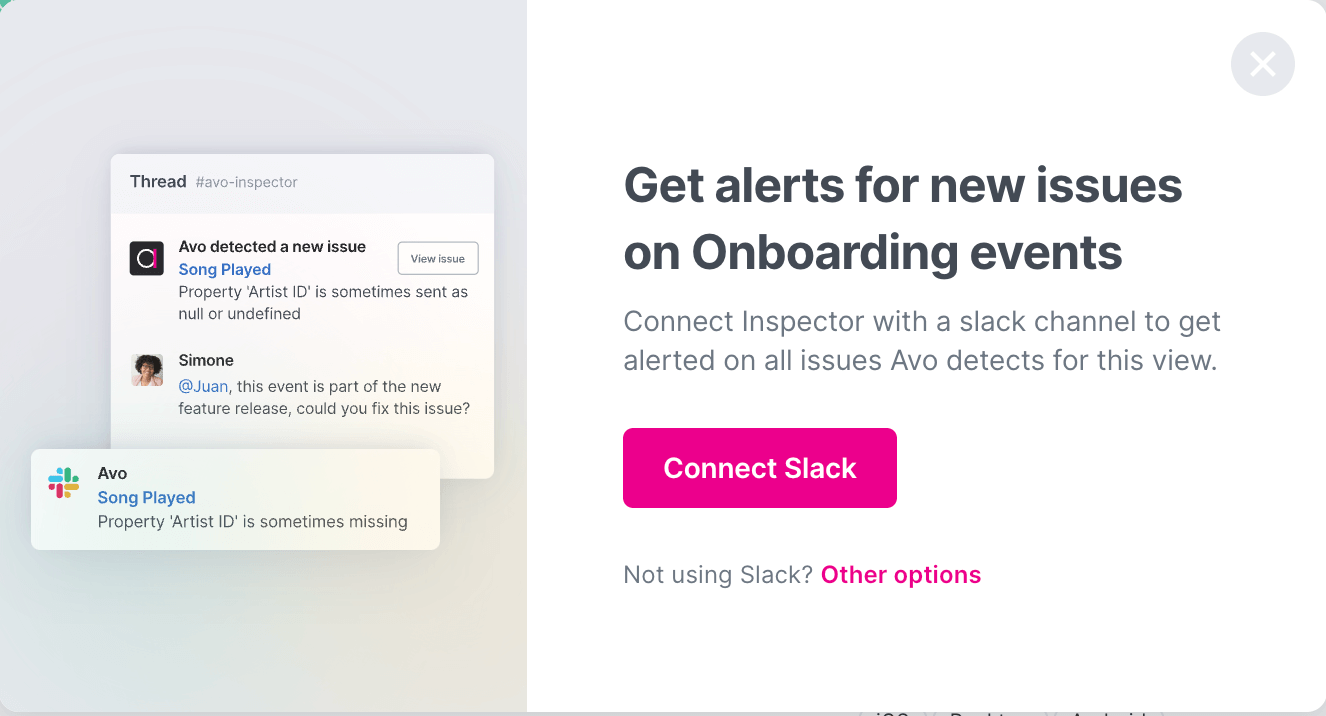
Then you get the native Slack modal where you can select a Slack workspace and channel that you want to connect. Once you have made your selection, you can hit allow to finish setting up alerts.
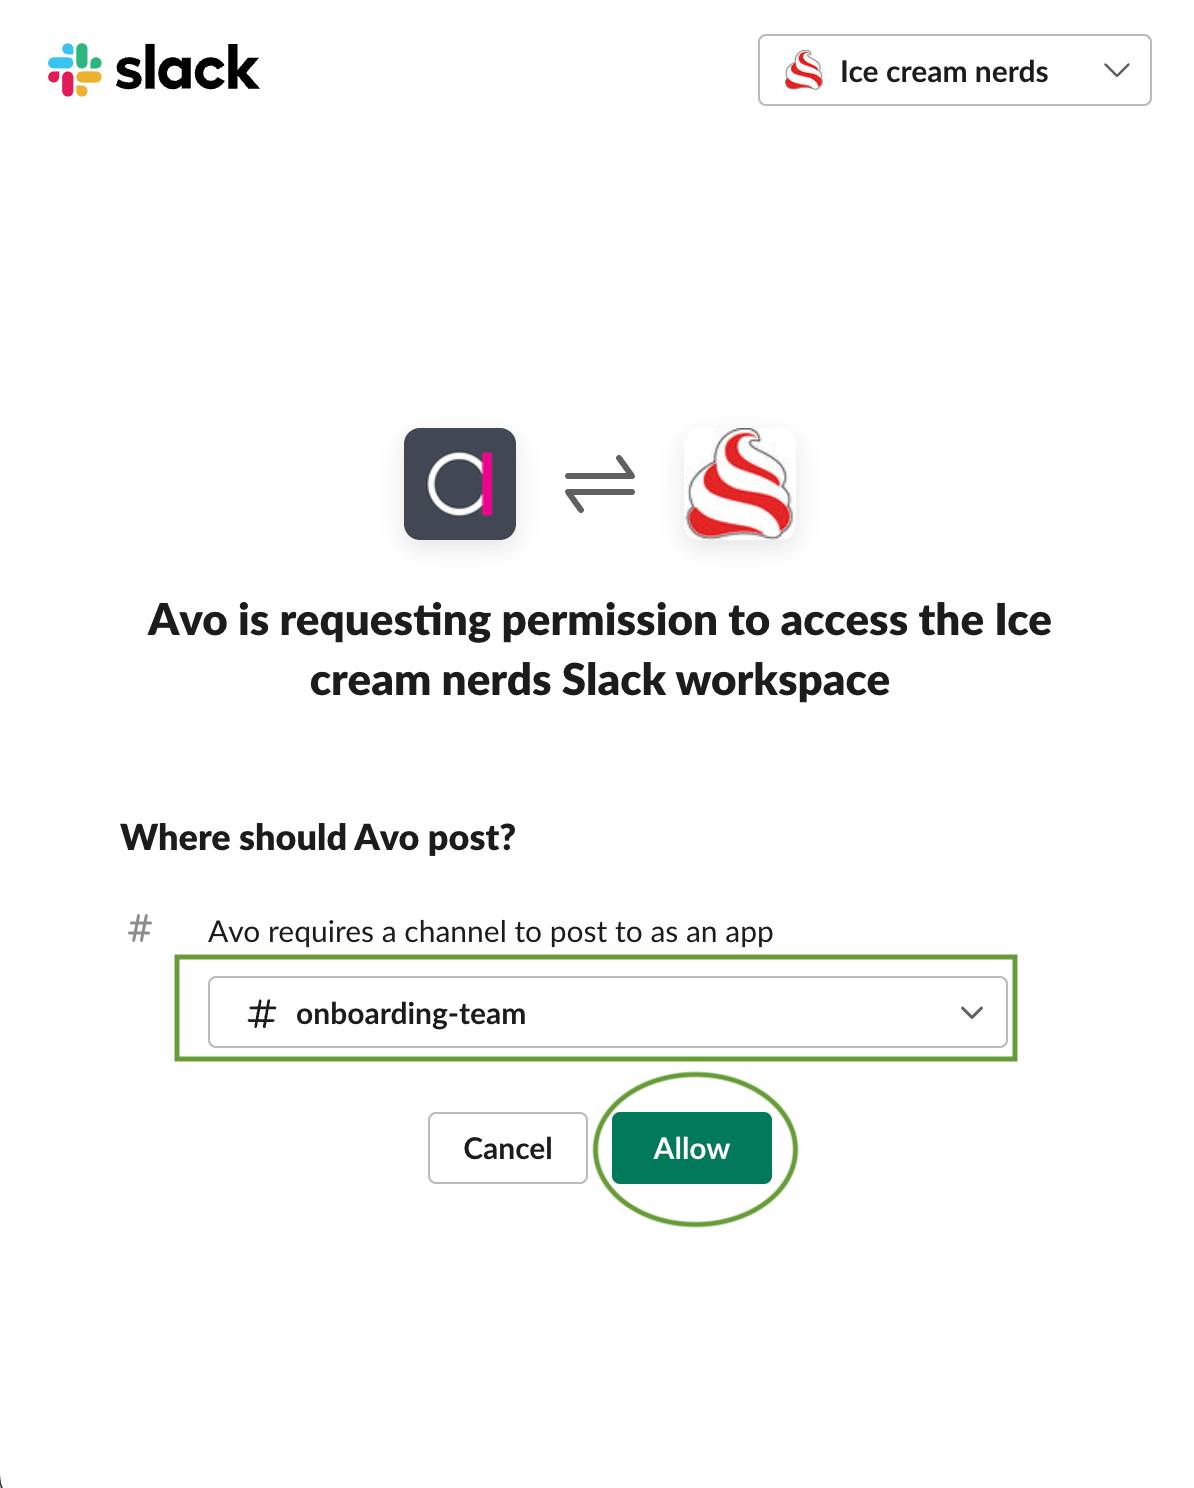
Now we have completed setting up alerts for our "Onboarding events" saved view, as indicated in the screenshot below.
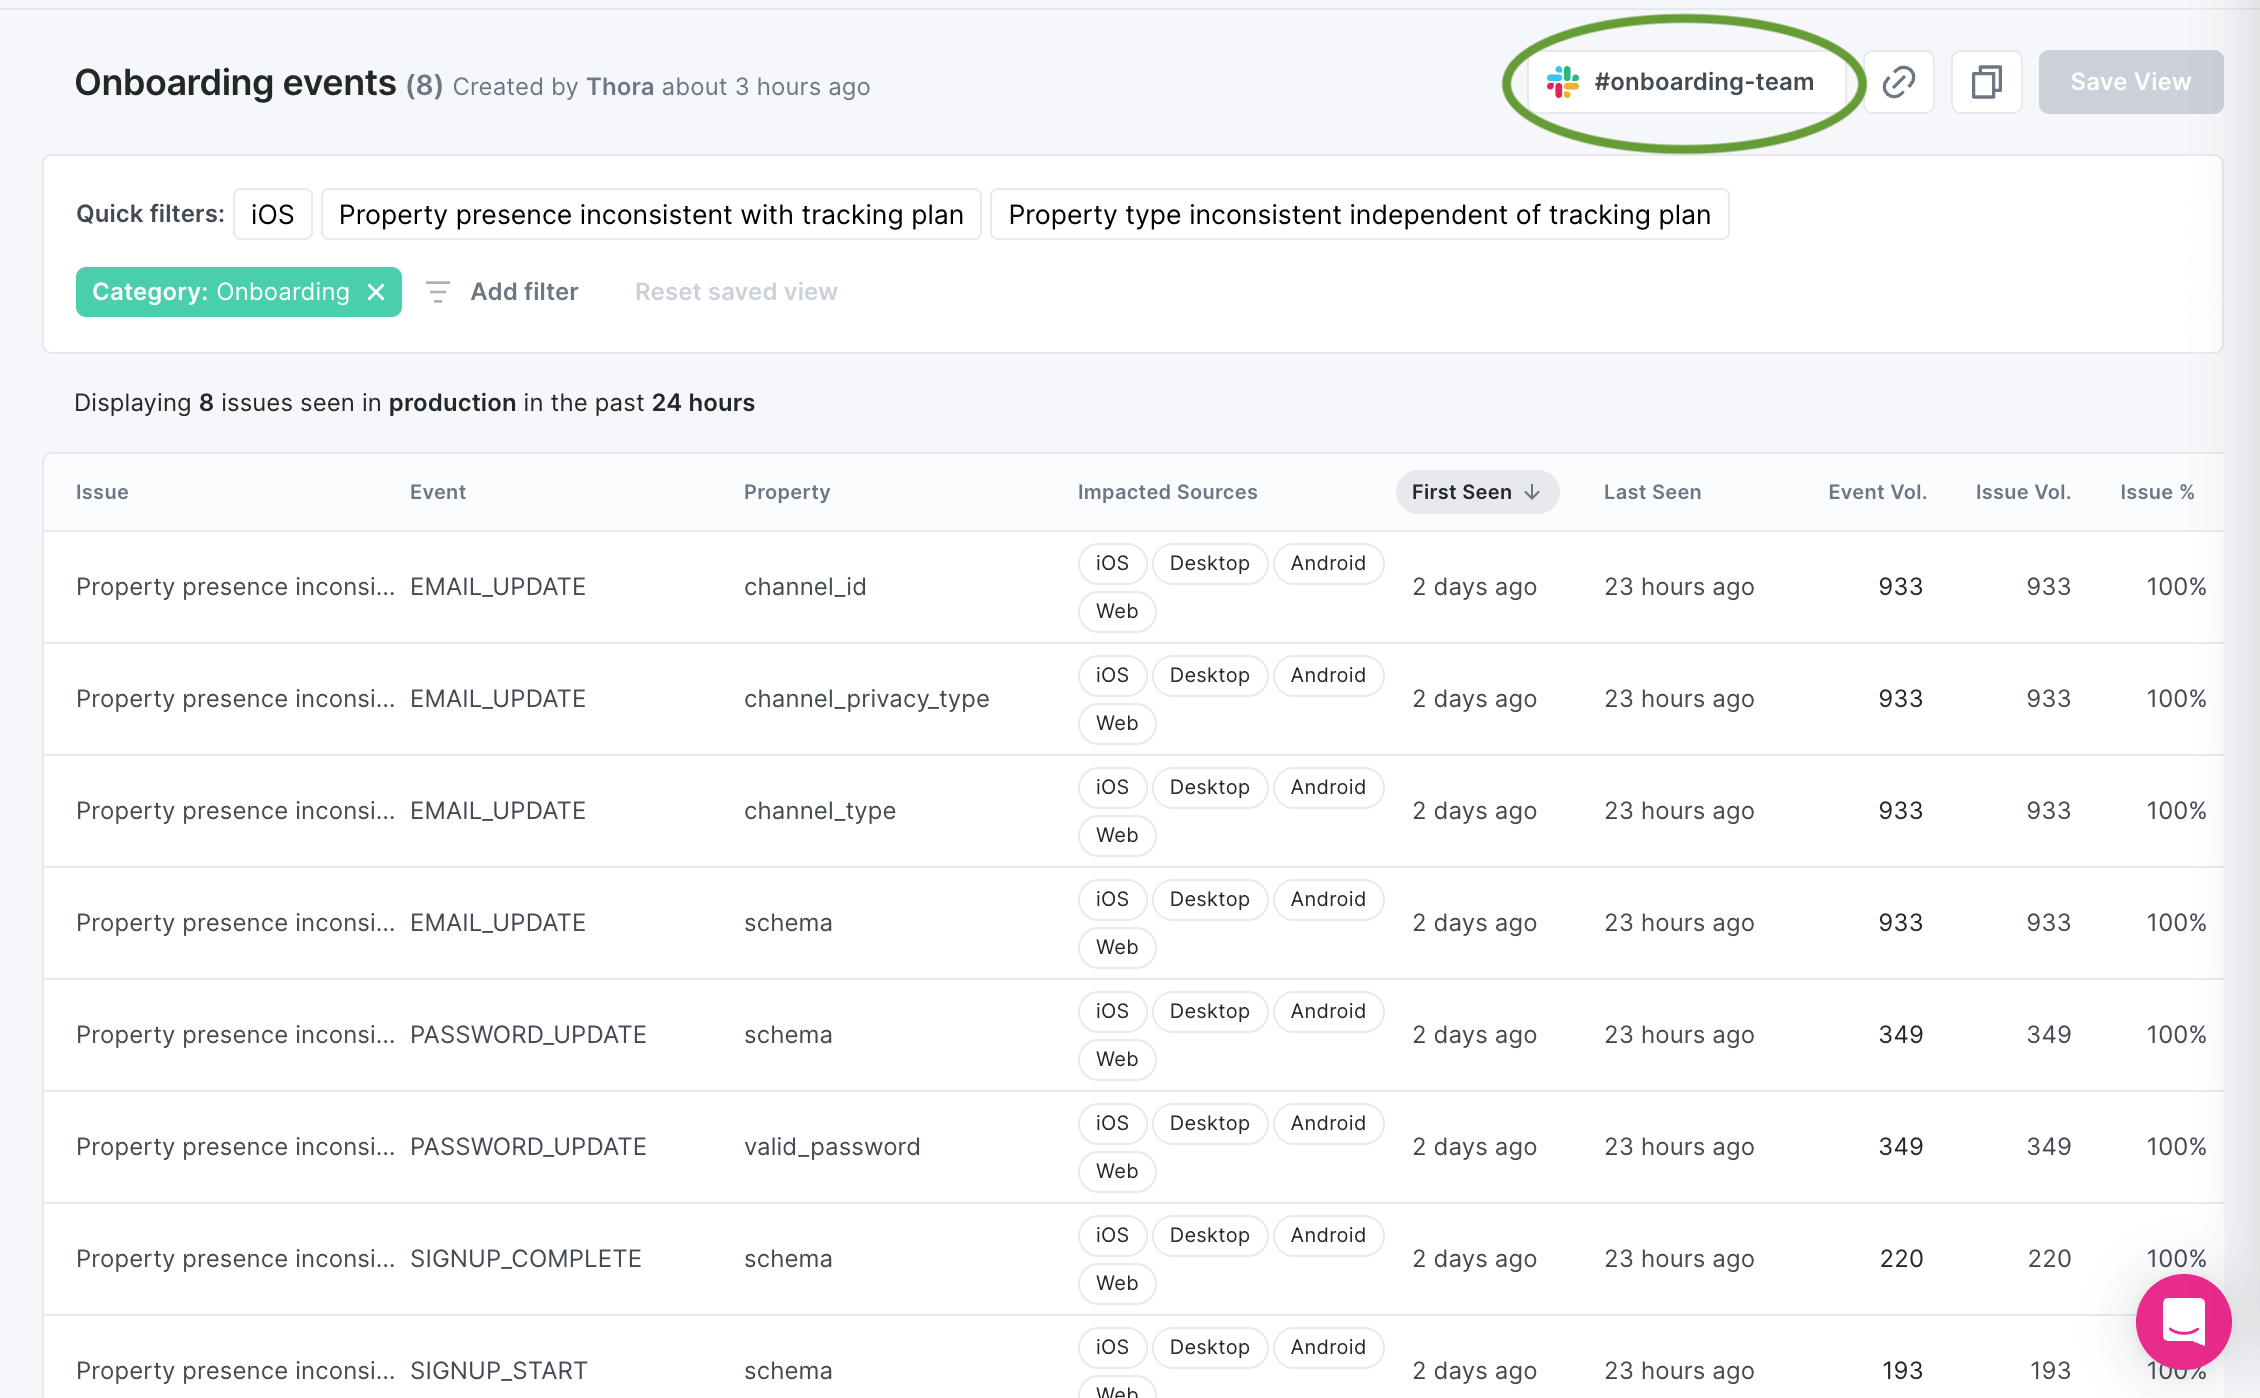
##### In saved views overview
For your existing saved views, you can connect alerts in the Saved Views overview accessible from the navigation on the left.
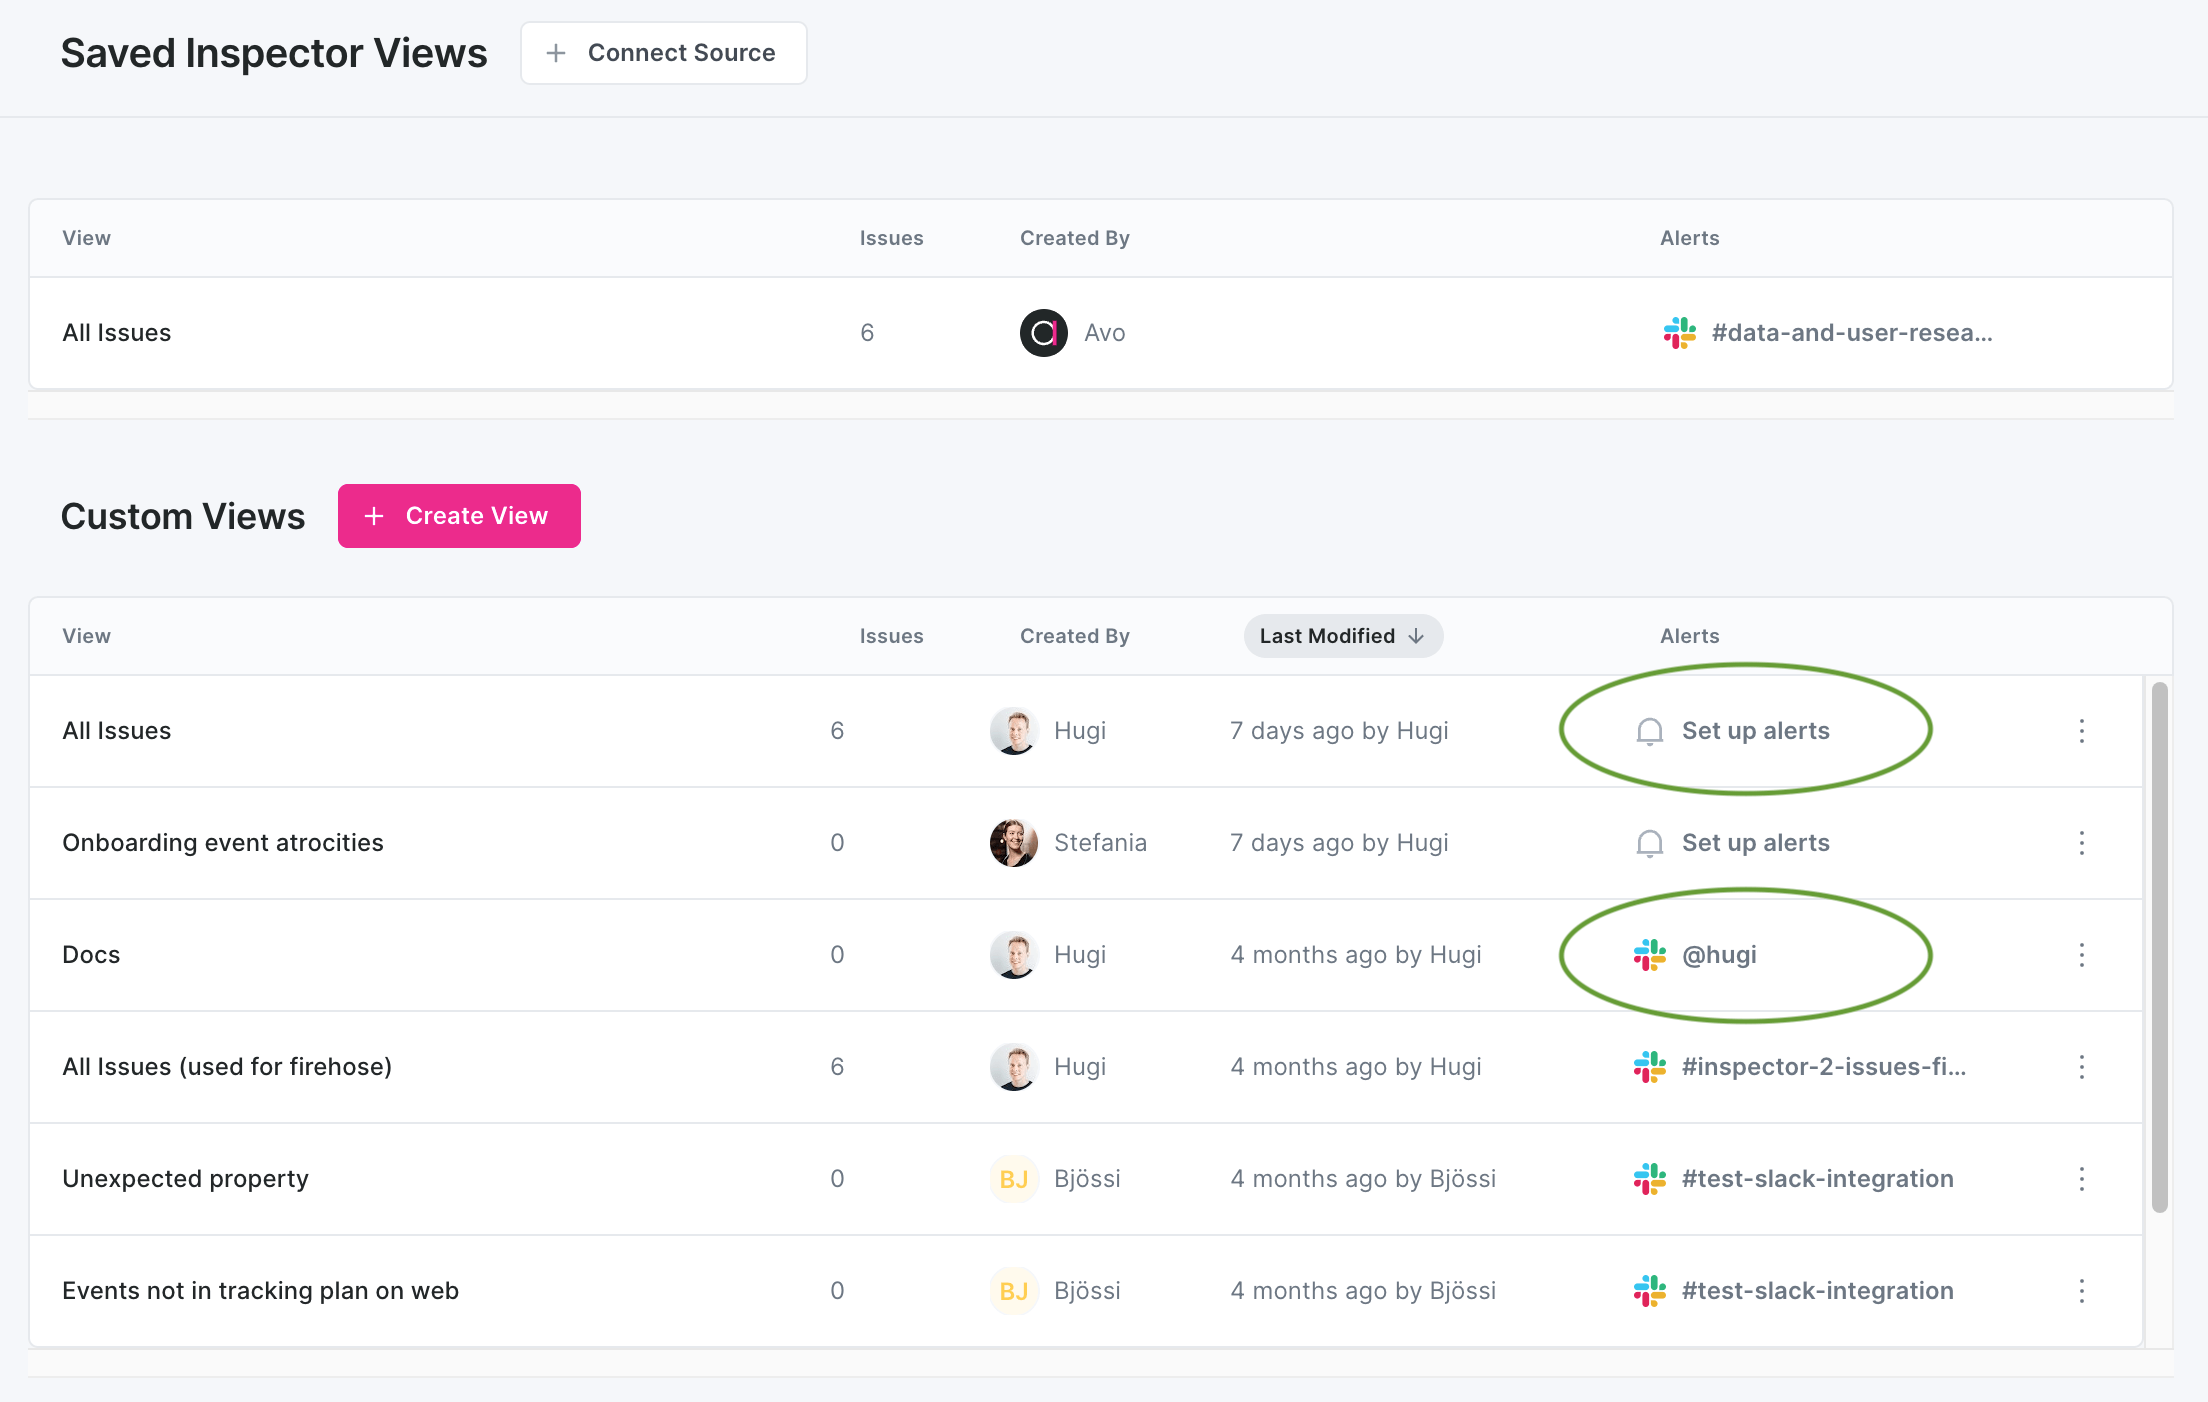
## Inspector Alerts Use Cases
### Issues impacting events your stakeholder team owns
Ensure your stakeholder teams get notified about issues affecting the events they own and are responsible for. This creates clear ownership and accountability for tracking quality within your organization.
You can get alerted on issues impacting events that your [stakeholder team](https://www.avo.app/docs/data-design/avo-tracking-plan/stakeholder-domains.md) owns by selecting "Owner" in the [issues view filter](https://www.avo.app/docs/inspector/inspector-find-issues.md#sorting-and-filtering) and checking the name of your stakeholder team.
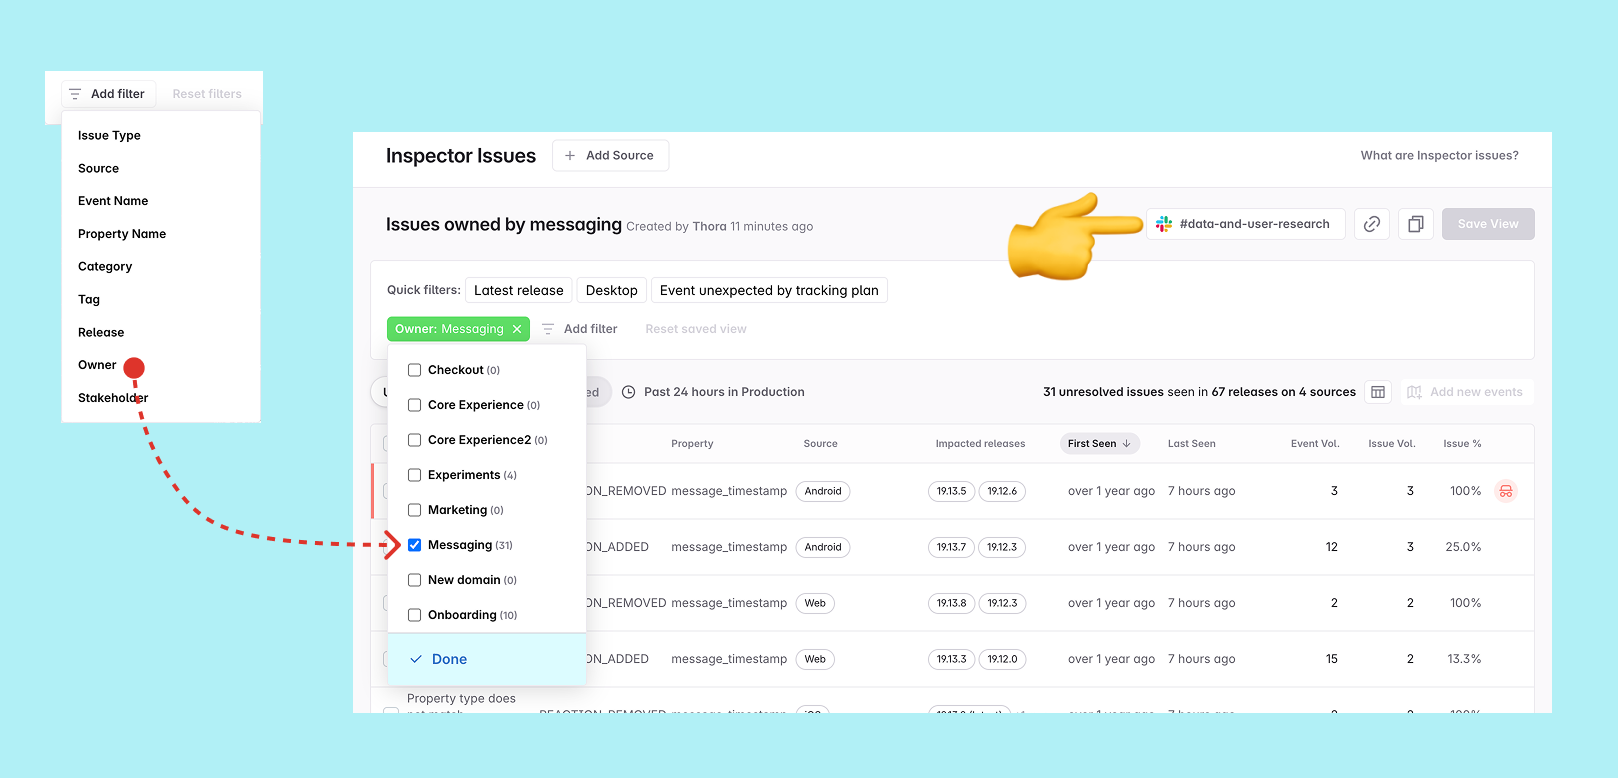
We recommend setting this up for every stakeholder team, as it provides:
- Clear ownership and accountability for event quality
- Targeted notifications that reach the right people
- Faster resolution times when issues are domain-specific
- Better alignment between teams and their tracking responsibilities
- Reduced noise by filtering out irrelevant issues
> 💡 Connect stakeholder team alerts to the same channels used for [stakeholder branch notifications](https://www.avo.app/docs/data-design/branches/workspace-notifications.md#stakeholder-team-notifications) to maintain consistent communication patterns.
This approach works equally well for issues impacting events where your stakeholder team is listed as a stakeholder, ensuring comprehensive coverage of your team's tracking interests.
### Issues in the latest version
Stay on top of new issues that appear in your latest app releases by setting up alerts for issues detected in your most recent version. This is particularly valuable for catching regressions or new problems introduced in recent deployments.
You can get alerted on issues appearing in your latest app version by selecting "Version" in the [issues view filter](https://www.avo.app/docs/inspector/inspector-find-issues.md#sorting-and-filtering) and choosing your latest version number.
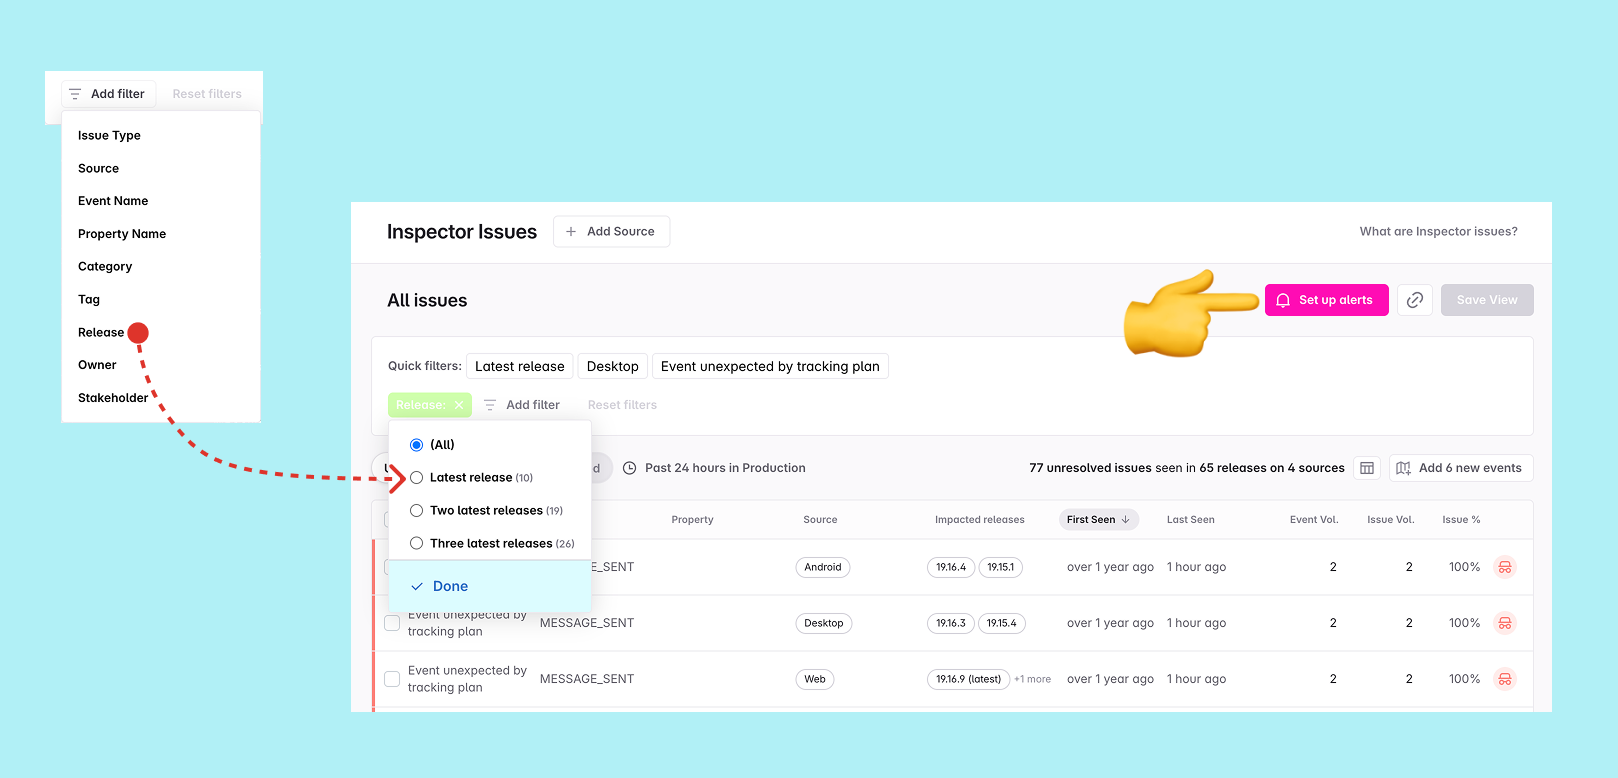
We recommend setting this up for your main production monitoring, as it helps you:
- Quickly identify new issues introduced in recent releases
- Monitor the health of your latest deployment
- Catch regressions before they impact too many users
- Maintain awareness of version-specific problems
This is especially useful for development and QA teams who need immediate visibility into issues affecting the current production version. You can connect this saved view to your main development or operations Slack channel to ensure the right people are notified about new issues as they emerge.
### Issues impacting critical events
Monitor your most important tracking events by setting up alerts for issues affecting critical business events like purchases, sign-ups, or key user actions.
You can create alerts for critical events by using the [events filter](https://www.avo.app/docs/inspector/inspector-find-issues.md#sorting-and-filtering) in the issues view and selecting the specific events that are most important to your business.
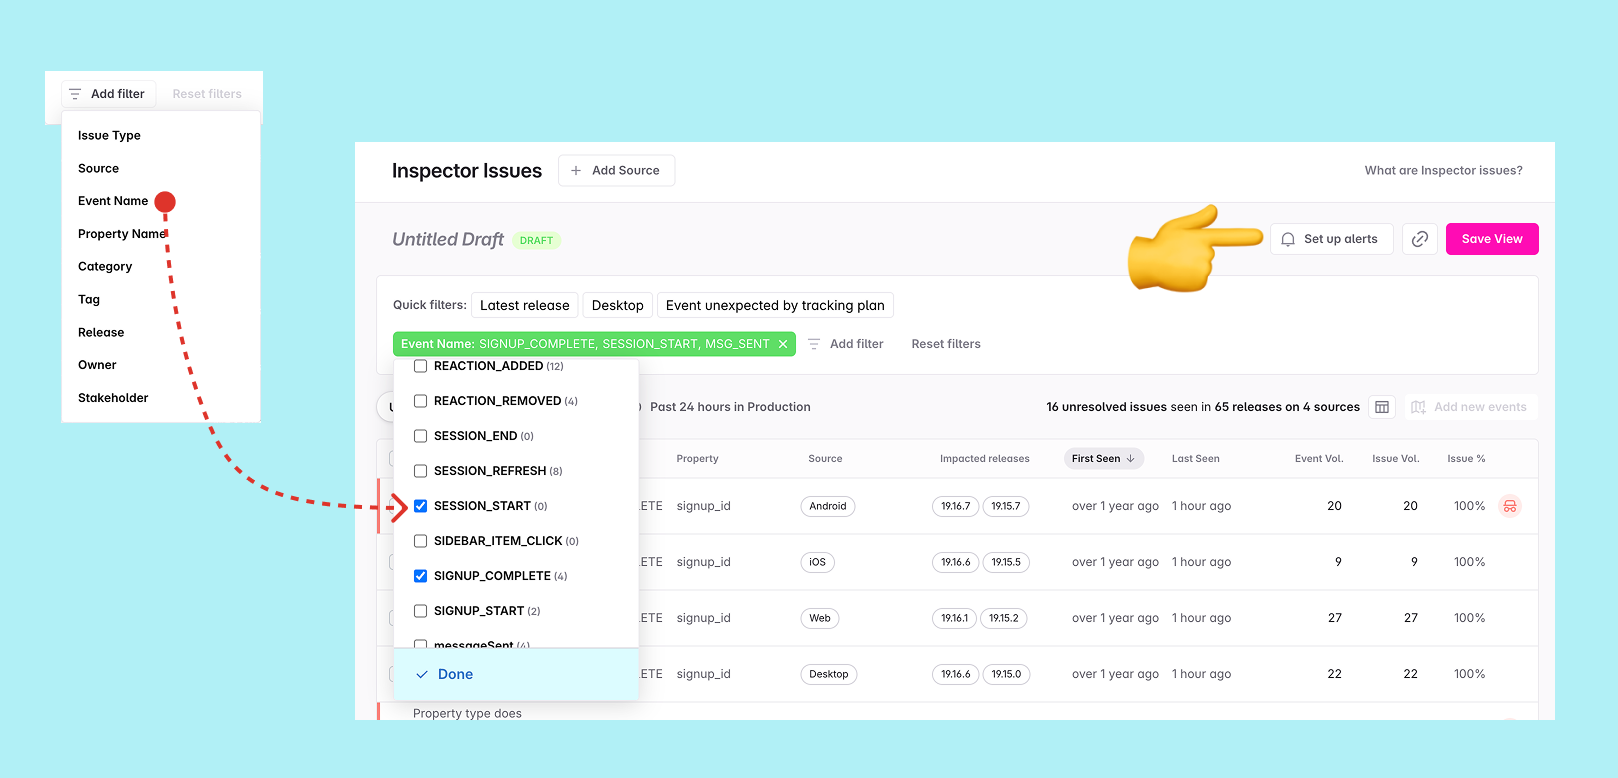
We recommend this approach for:
- Revenue-critical events (purchases, subscriptions, conversions)
- Key user journey events (sign-ups, onboarding completion)
- High-volume events that indicate platform health
- Events tied to business KPIs and metrics
Connect these alerts to channels monitored by business stakeholders, product managers, or revenue teams who need immediate visibility into issues affecting critical business metrics.
## Managing Your Alerts
### Modifying Alert Settings
You can modify your alert settings by accessing the saved view and clicking the Slack connection button to adjust configurations or change the connected channel.
### Disconnecting Alerts
Alerts can be disconnected both in the Saved Views overview and inside an individual saved view, by clicking the Slack connection button.
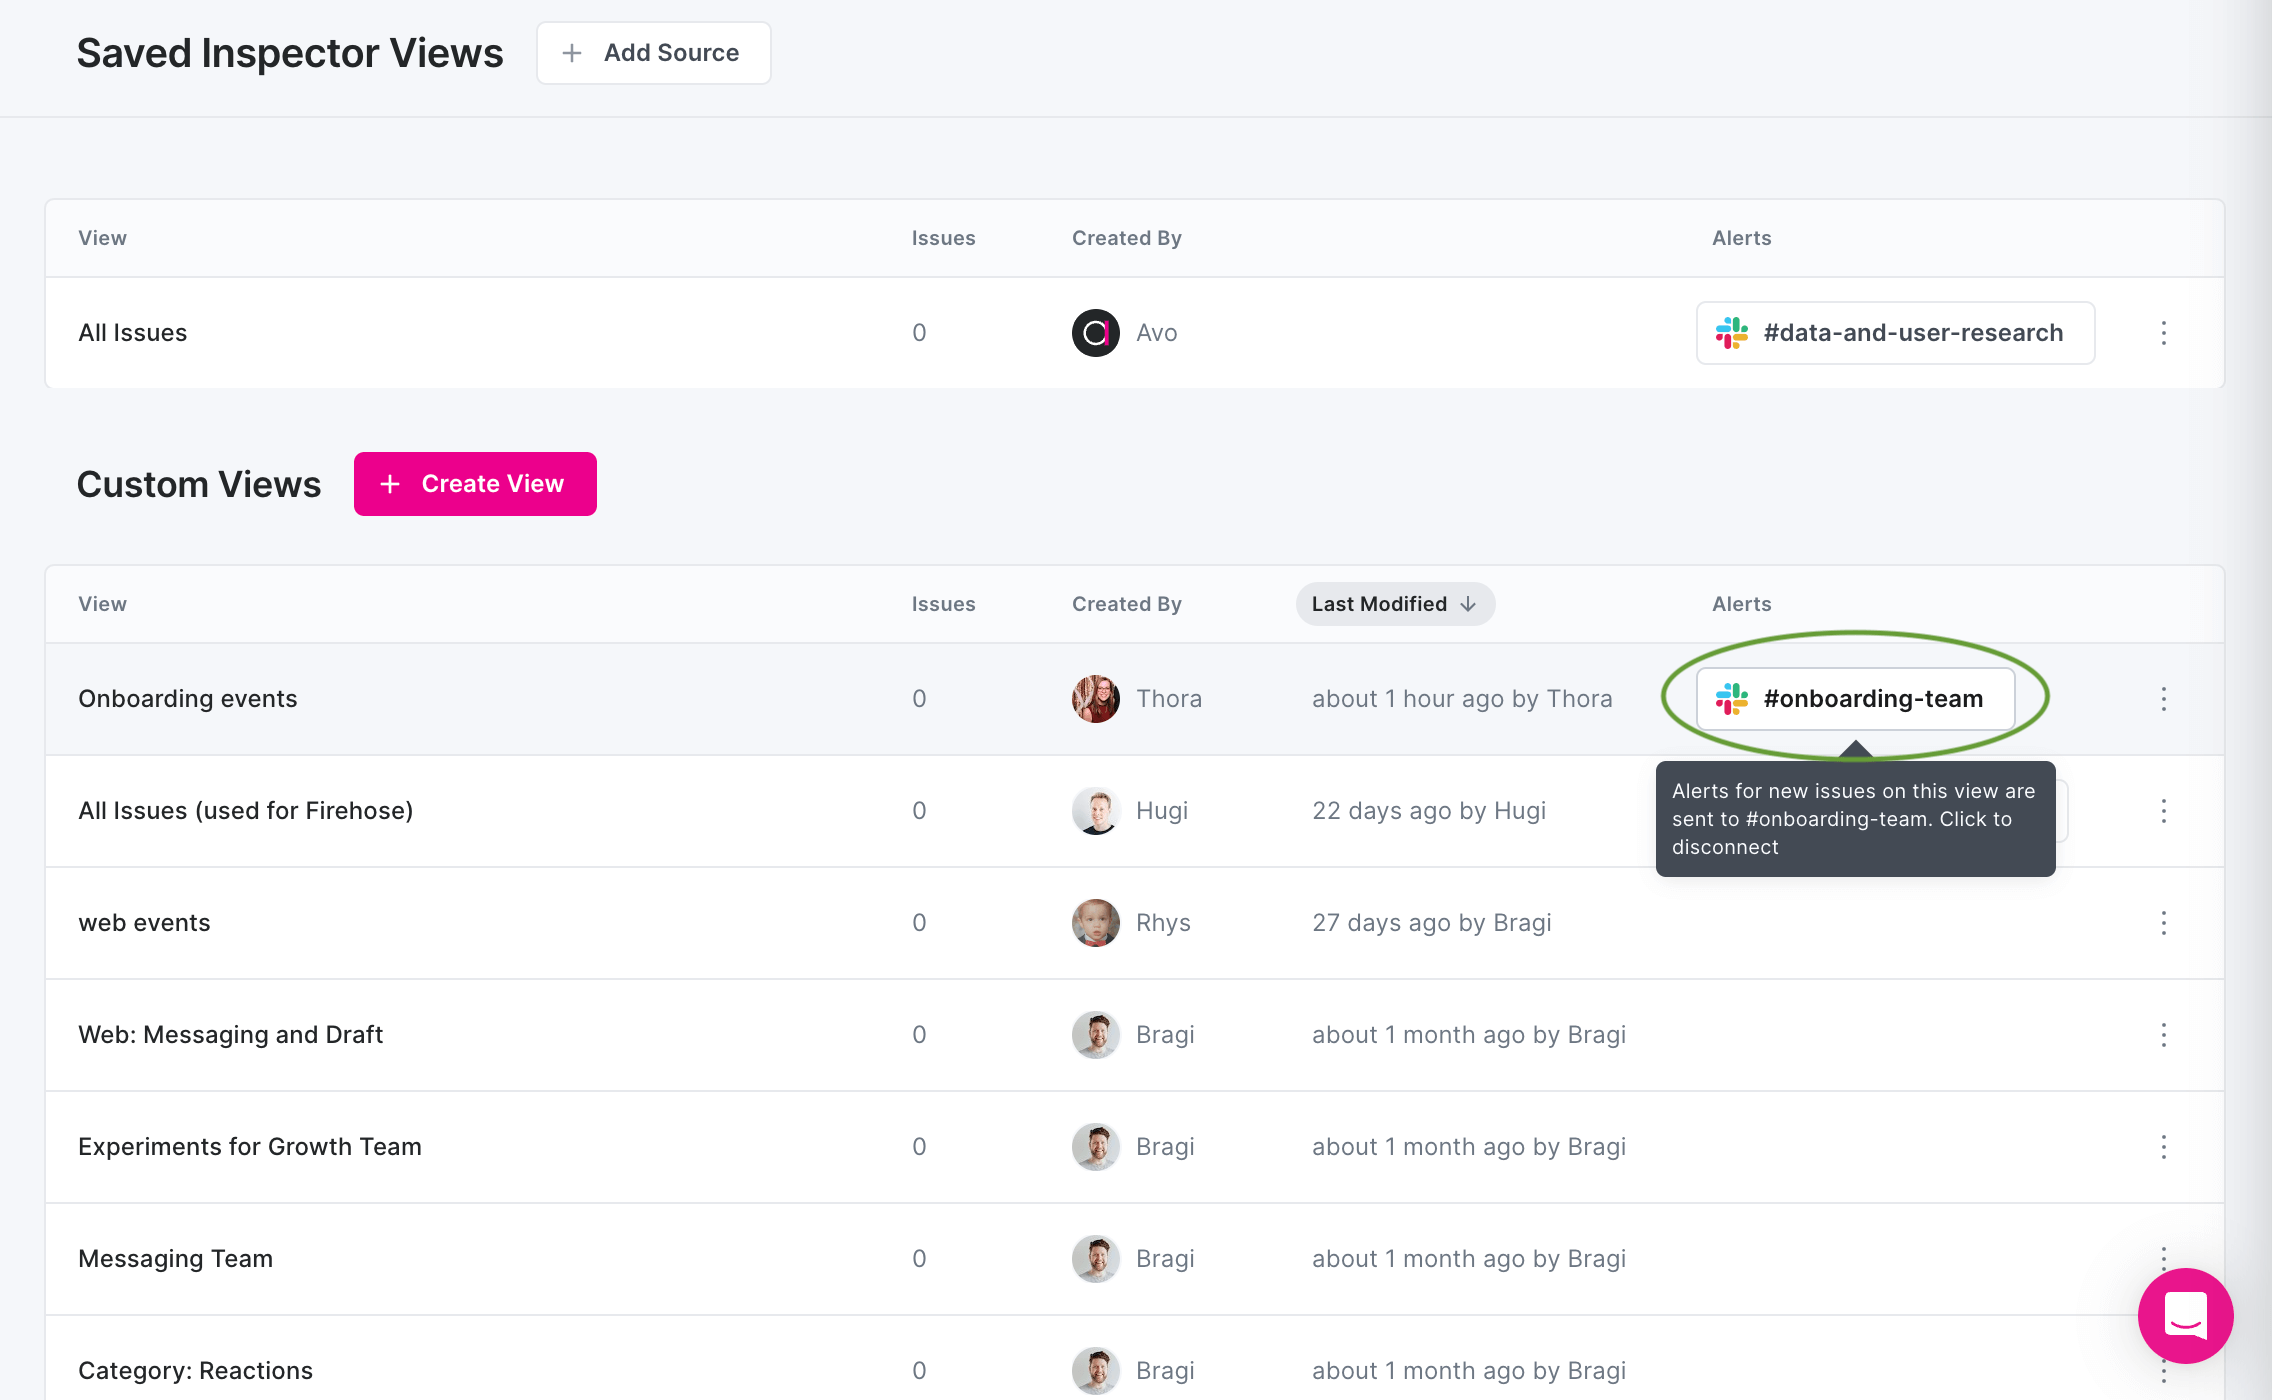
You'll get a modal for you to confirm disconnecting the alerts, and the button will be replaced with the "Set up Alerts" button.
### Best Practices for Alert Management
> ⚠️ Setting up too many broad alerts can lead to alert fatigue. Start with critical events and expand gradually based on team feedback.
- **Regular Review**: Periodically assess alert effectiveness and adjust filters
- **Team Coordination**: Align alert channels with existing team communication patterns
- **Gradual Expansion**: Start with high-priority alerts before adding comprehensive coverage
- **Channel Organization**: Use different channels for different types of issues (critical vs. informational)
## Troubleshooting
**Alerts not appearing in Slack**
- Check that the Avo app has permission to post in your selected channel
- Verify the Slack integration is still active in your workspace settings
- Ensure the connected channel still exists and you have access
**Too many notifications**
- Consider creating more specific saved views to reduce noise
- Review your filter criteria to ensure they match your actual monitoring needs
- Set up different channels for different severity levels
**Missing alerts**
- Verify your saved view filters are working as expected in the Inspector interface
- Check that issues matching your criteria are actually occurring
- Confirm the Slack integration hasn't been disconnected
---
Source: https://www.avo.app/docs/inspector/add-events-from-inspector.md
# Import tracking plan from Inspector
Inspector compares ingested events and properties against your Avo tracking plan and highlights anything that’s missing. You can use those insights to quickly bootstrap or refine your tracking plan directly from live data.
Importing from Inspector is a fast, convenient way to build your tracking plan in Avo based on what’s already being sent by your product. It’s especially useful if:
- You don't yet have a tracking plan, or your current plan is unreliable
- You prefer not to import from other sources (e.g., Mixpanel, Amplitude, spreadsheets)
- You want to curate what gets added and incrementally build a high‑quality plan over time
> 💡 If you haven’t installed Inspector yet, start with the
> [Inspector installation overview](https://www.avo.app/docs/inspector/inspector-installation-overview.md).
## What can be imported
- Events: New events observed by Inspector that aren’t yet documented in your tracking plan
- Properties: Properties of all value types, including [object properties](https://www.avo.app/docs/data-design/guides/object-properties.md).
## Where to import from and how
You can import from both the Events view and the Issues view in Inspector. You can either import multiple missing events at once, including their properties, or a single event or property at a time.
### Bulk importing events and their properties
Both the events and issues views support bulk importing events and their properties. There is a button in the header of each view that says "Add (X) events to tracking plan". Clicking this button will open a modal with a list of events or properties to import.
#### Events view
Here's the location of the button in the Events view:
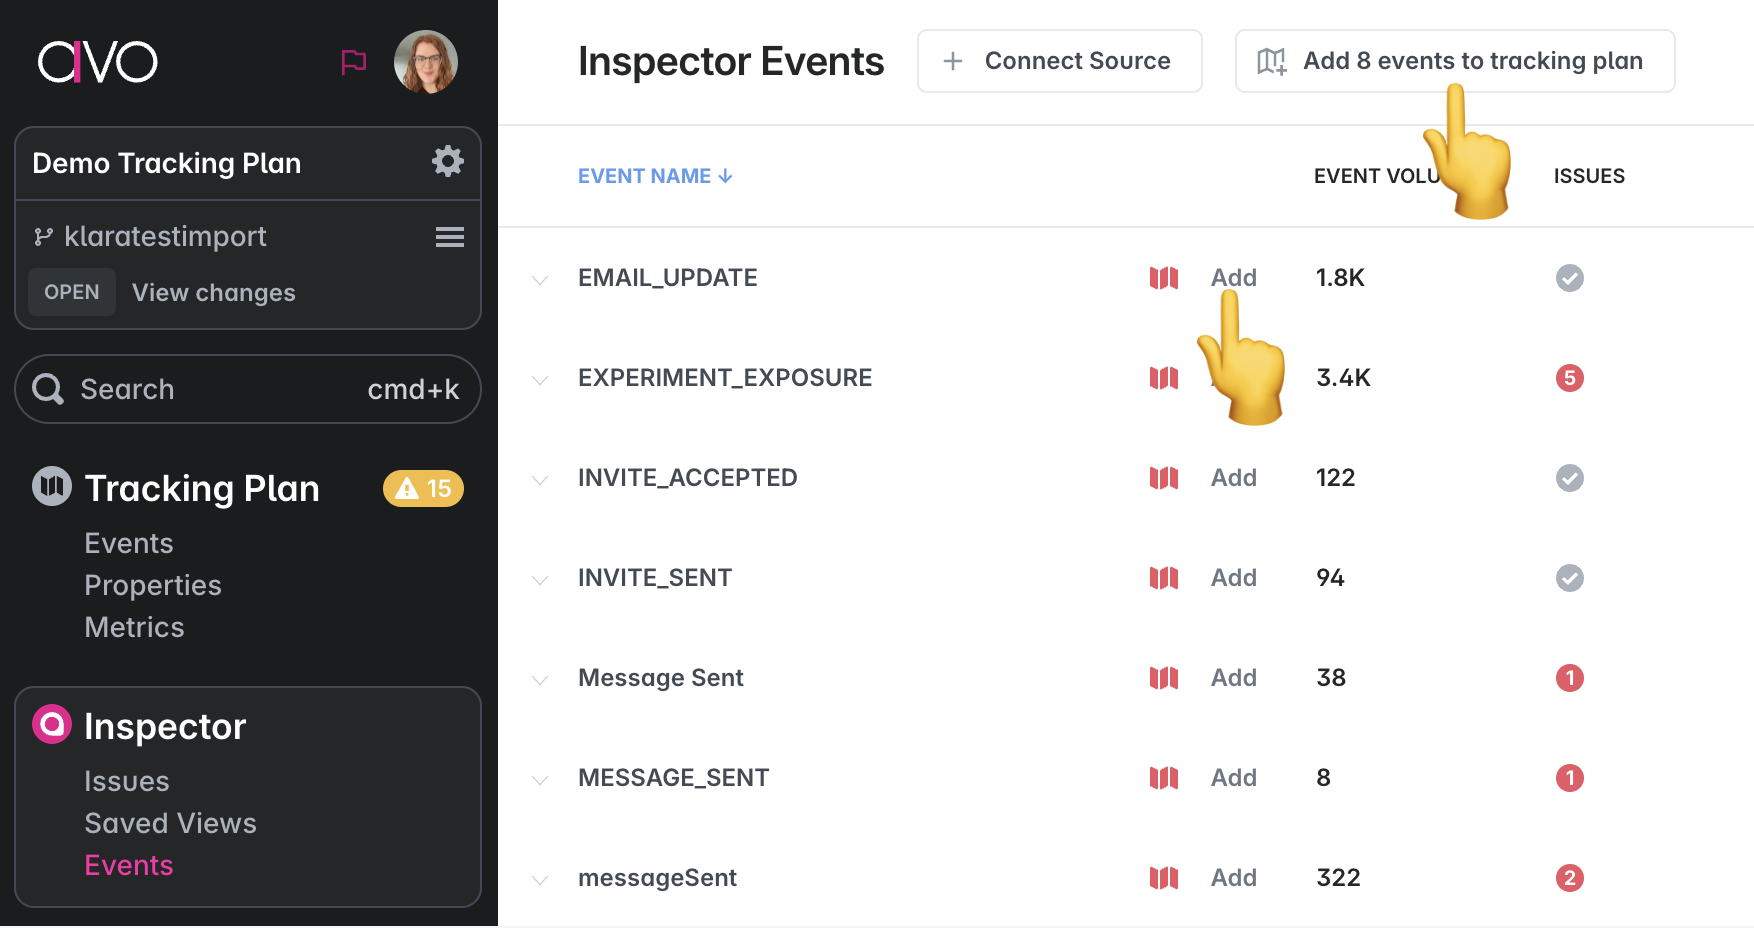
#### Issues view
Here's the location of the button in the Issues view:
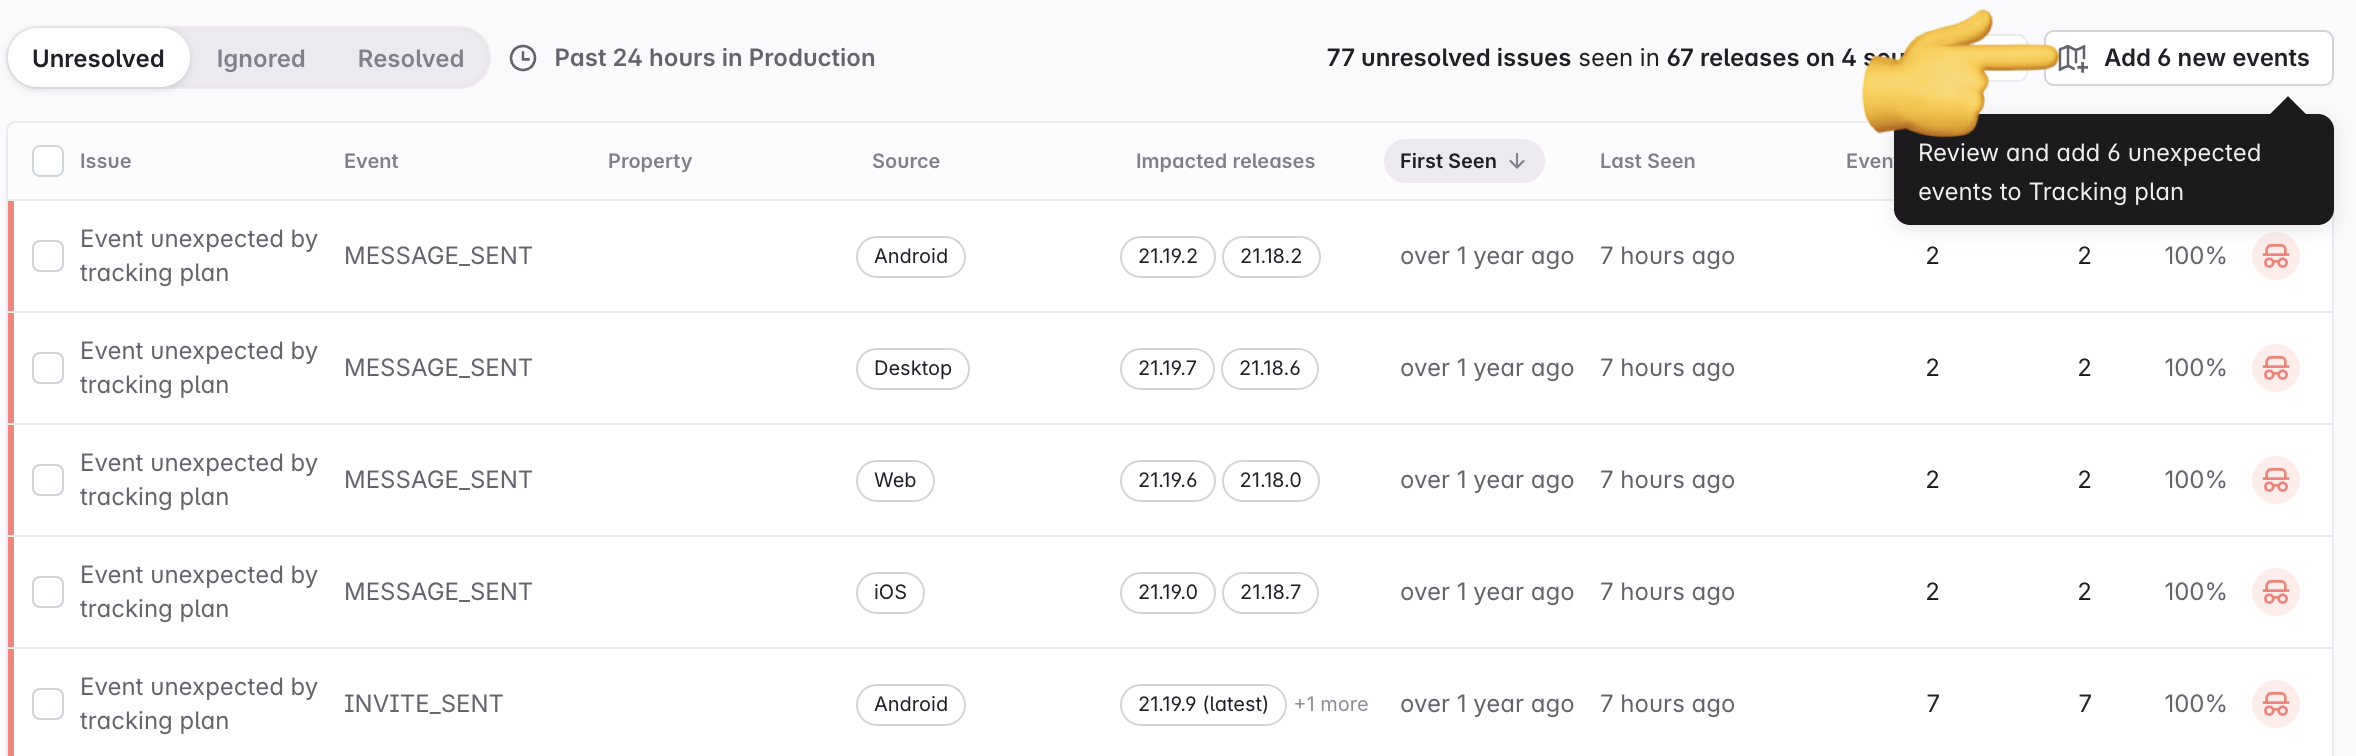
### Importing a single event or property
A single event or property can be imported from the Events view or the Issues view.
#### Events view
In the Events view, the red tracking plan icon marks events and properties seen in your product but not documented in Avo. Click the event or property to open the issue details and click the "Add" button to import the item to the tracking plan.

#### Issues view
Open an “Event unexpected by tracking plan” issue and click “Add to Tracking Plan” to import that event (and its properties) directly. Likewise, for a “Property unexpected by tracking plan” issue, click “Add to Tracking Plan” to add the property to your tracking plan and attach it to relevant events/sources.
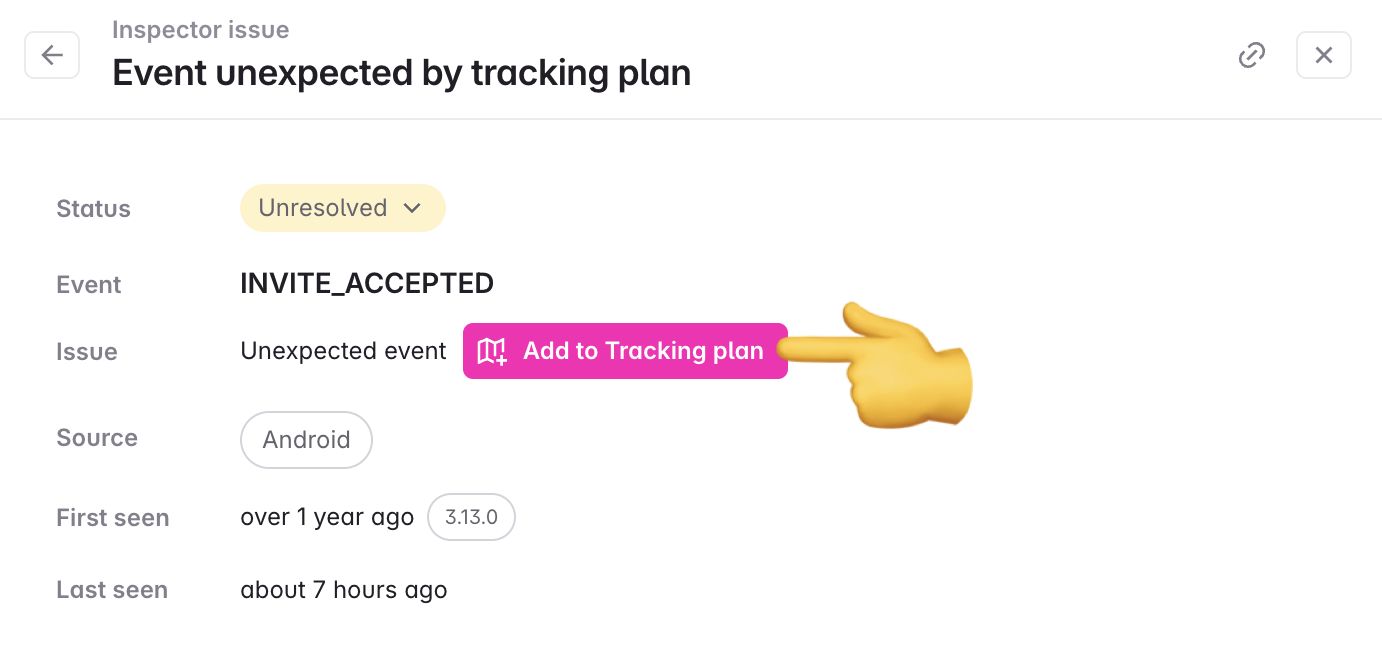
## Reviewing your import
Clicking any of the import buttons opens a "Review import data" view with an overview of the unexpected events and the sources where they were seen. Expand each event to review observed properties.
From here you can:
- Choose which events to include
- Choose which sources to include per event
- Choose which properties to include per event (create new ones as needed)
- Create or map object properties when nested structures are detected
- Adjust property types and configure required/optional presence per event and per source
> 🔁 Existing properties in your tracking plan are reused; only missing properties are created.
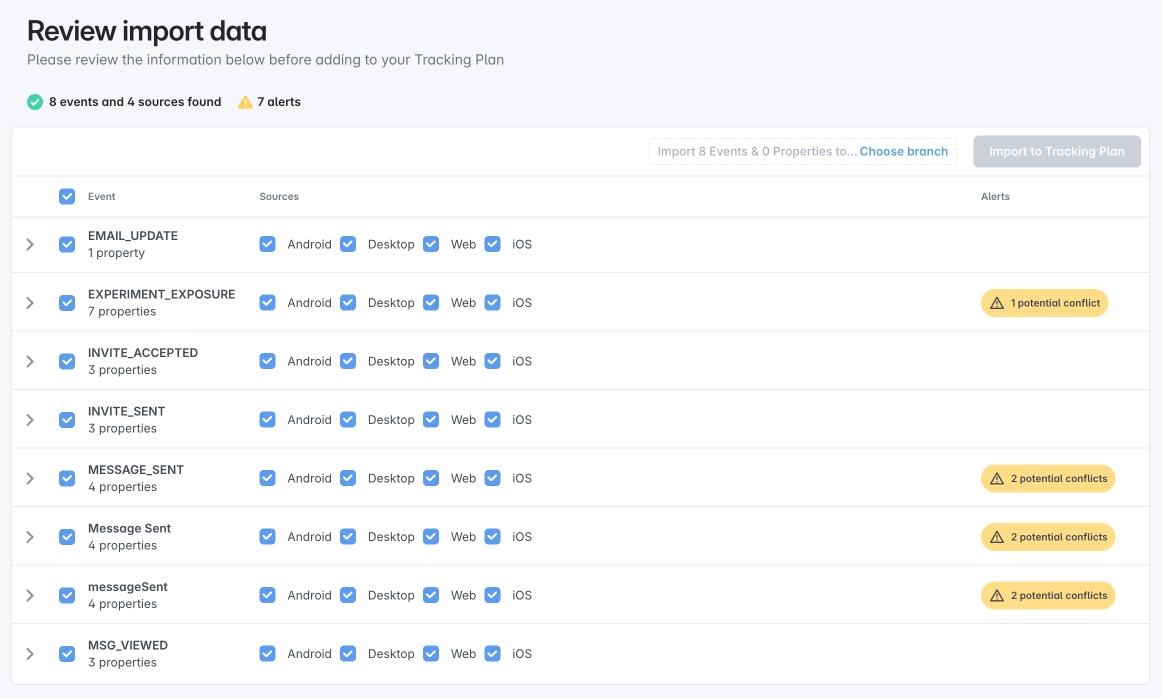
### Resolving conflicts
Avo automatically resolves or surfaces conflicts so your tracking plan stays consistent:
- Property already exists with a different type: The existing property is reused; you’ll be notified if Inspector observed a different value type
- Property observed with multiple types: Defaults to the most common observed type (e.g., 70% string vs. 30% integer → string)
> 💡 After import, Inspector will continue to flag any ongoing data issues so you can keep improving quality over time.
Avo may also ask you to review potential duplicates:
- Similar event in tracking plan
- Similar event in import
- Similar event seen by Inspector
### Completing the import
Even though you can import directly to the main branch, we always recommend creating a new branch for imports so changes can be peer reviewed.
Click “Import” to finish.
---
Source: https://www.avo.app/docs/inspector/connect-inspector-to-gtm.md
# Google Tag Manager Source (beta)
_This document describes how to send data from Google Tag Manager to Avo Inspector._
> The Inspector Google Tag Manager integrations are currently in beta so please
> reach out to us at support@avo.app or in the chat bubble in the bottom right
> corner if you have any feedback.
## Source Info
- Supports both client side and server side Google Tag Manager
- Inspector events can be verified using the browser developer console by searching for `Avo Inspector`. All keys from Avo Inspector contain that name.
- Observability can be added to all data layer events using client side GTM in under 90 seconds
- Observability can be added to all Google Analytics events using our server side GTM installation option
- Events detected by Inspector can be added to the Avo tracking plan within the Inspector UI, allowing you to fill a documentation gap on legacy events in seconds
Google Tag Manager (GTM) is a tag management system that allows you to quickly update tags and code snippets on your website, web apps, and apps. Once you deploy the Tag Manager snippet, you can configure (trigger) tags using a web-based user interface without having to alter and deploy additional code. It is common for early stage companies to use Google Tag Manager to take care of dispatching their core analytics events to reduce developer dependencies whenever new events are needed. Typically, as the analytics maturity grow and more accuracy is needed, developers will deploy data layer events in their codebase, and then GTM tag owners will trigger the analytics service events from these data layer events. [Learn more about that in this short video](https://www.loom.com/share/22c9e0f1175141efa7a0bdbf51201096).
## Getting Started
Avo Inspector requires two core steps to add observability:
1. Initializing the Inspector
2. Sending your events to Inspector
Both steps have installation options available to you to support different configurations. Which ever path you take, your data observability journey starts with creating an Avo source because this is where you create source specific API keys and can get the initialization code. If you haven't created a source yet, follow the docs to [create and set up your GTM source](https://www.avo.app/docs/inspector/configuring-inspector-sources.md).
## Migrating to v2 and enabling property value validation
Inspector v2 adds support for **property value validation** — the Inspector can validate actual property values against the [constraints defined in your tracking plan](https://www.avo.app/docs/data-design/avo-tracking-plan/properties.md#property-types-and-constraints), such as allowed values, regex patterns, and min/max ranges. Property values are encrypted on the client before being sent to Avo, so only you can decrypt them.
### Generating encryption keys
For key generation instructions, follow the [Inspector Debugger docs](https://www.avo.app/docs/inspector/inspector-debugger.md#generating-encryption-keys).
### Migrating the GTM Template (client side)
If you are using the Avo Inspector GTM template from the Template Gallery:
1. **Update the template** — Get the latest version of the Avo Inspector template from the Template Gallery. The updated template includes a new optional field: **Public Encryption Key**.
2. **Add your public key** (optional) — In the Tag Configuration, paste your hex public key into the **Public Encryption Key** field. Without a key, property values are not sent to Avo.
3. **Enable in Avo** — Go to workspace settings and enable [property value validation](https://www.avo.app/docs/inspector/inspector-debugger.md#enabling-advanced-debugger-features).
The template is backwards-compatible — existing tags continue to work without changes. The encryption key field is optional.
### Migrating the GTM Recipe (client side)
If you imported the [GTM recipe](https://github.com/avohq/gtm-web-recipe):
1. **Re-download the recipe** — Get the latest `GTM-58RX3LLN_workspace19.json` from the [gtm-web-recipe repo](https://github.com/avohq/gtm-web-recipe). The updated recipe loads Inspector v2 which supports encryption.
2. **Re-import into GTM** — Import the updated recipe into your GTM container. You may want to merge with your existing tags if you have customized filters.
3. **Add the encryption key** — In the **Avo Inspector Init** tag, add the following line before `inspector.load()`:
```js
if ('YOUR-HEX-PUBLIC-KEY') {
inspector.__PUBLIC_ENCRYPTION_KEY__ = 'YOUR-HEX-PUBLIC-KEY';
}
```
4. **Enable in Avo** — Go to workspace settings and enable [property value validation](https://www.avo.app/docs/inspector/inspector-debugger.md#enabling-advanced-debugger-features).
If you don't need property value validation, you can skip step 3 — the v2 SDK works identically to v1 without a key. Without a key, property values are not sent to Avo.
### Migrating the GTM Server-side template
If you are using the Avo Inspector server-side GTM template from the Template Gallery:
1. **Update the template** — Get the latest version of the Avo Inspector template from the Template Gallery. The updated template adds event spec validation and stream ID support.
2. **Configure the environment** — Set the environment to `dev` or `staging` to enable client-side event spec validation. In production, events are sent directly without validation for optimal throughput.
3. **Enable in Avo** — Go to workspace settings and enable [property value validation](https://www.avo.app/docs/inspector/inspector-debugger.md#enabling-advanced-debugger-features).
The server-side template validates events against the tracking plan spec in dev and staging environments, checking constraints like allowed values, pinned values, and min/max ranges. Regex validation is not supported in the GTM Server sandbox and is silently skipped.
> Encryption is not supported in the GTM Server template due to sandbox limitations (no cryptographic APIs). Property values are not sent to Avo from the server-side template. If property value encryption is required, use the client-side GTM template or a native SDK instead.
### Migrating the HTML script tag
If you are using the HTML script tag snippet directly (either in GTM or embedded in your page):
1. **Update the CDN URL** — Change `inspector-v1.min.js` to `inspector-v2.min.js`:
```html
(t.src = 'https://cdn.avo.app/inspector/inspector-v2.min.js');
```
2. **Add encryption key** (optional) — Add this line before `inspector.load()`:
```js
inspector.__PUBLIC_ENCRYPTION_KEY__ = 'YOUR-HEX-PUBLIC-KEY';
```
3. **Enable in Avo** — Go to workspace settings and enable [property value validation](https://www.avo.app/docs/inspector/inspector-debugger.md#enabling-advanced-debugger-features).
The full updated snippet is available in the [Web SDK reference](https://www.avo.app/docs/reference/avo-inspector-sdks/web.md#installation-option-2-html-tag).
> The v1 CDN bundle remains available at its original URL. Existing integrations that don't update will continue to work — they just won't have property value validation support.
---
> 💡 **Optimizing bundle size for production?** If you're using the NPM package and bundle size is a concern in production, consider using the [lite build](https://www.avo.app/docs/reference/avo-inspector-sdks/web.md#installation-option-3-lite-build-production-only) (~5.2 KB gzipped). Use the full build in dev/staging environments for the complete Inspector Debugger experience including property value validation and session filtering.
## Inspector Client side GTM integration with a template
The simplest way to integrate GTM with inspector is to use the Avo Inspector template provided in the official Template Gallery.
Follow the Avo in-app instructions to set up the GTM Template.
### Filters in the Avo Inspector Template
Events can be filtered using the `Event names to force include`, `Event names to ignore` and `Event prefixes to ignore` fields in the Tag Configuration.
All fields should be JSON arrays of strings.
`Event names to force include` has the highest priority, if you add an event there, it will be reported.
Then, if event name matches one of the values provided in `Event names to ignore`, or starts with any of the `Event prefixes to ignore`, it will be ignored and not reported to the Inspector.
We provide default values that you can customize as needed.
The same logic applies to event properties, using the `Property names to force include`, `Property names to ignore` and `Property prefixes to ignore` fields.
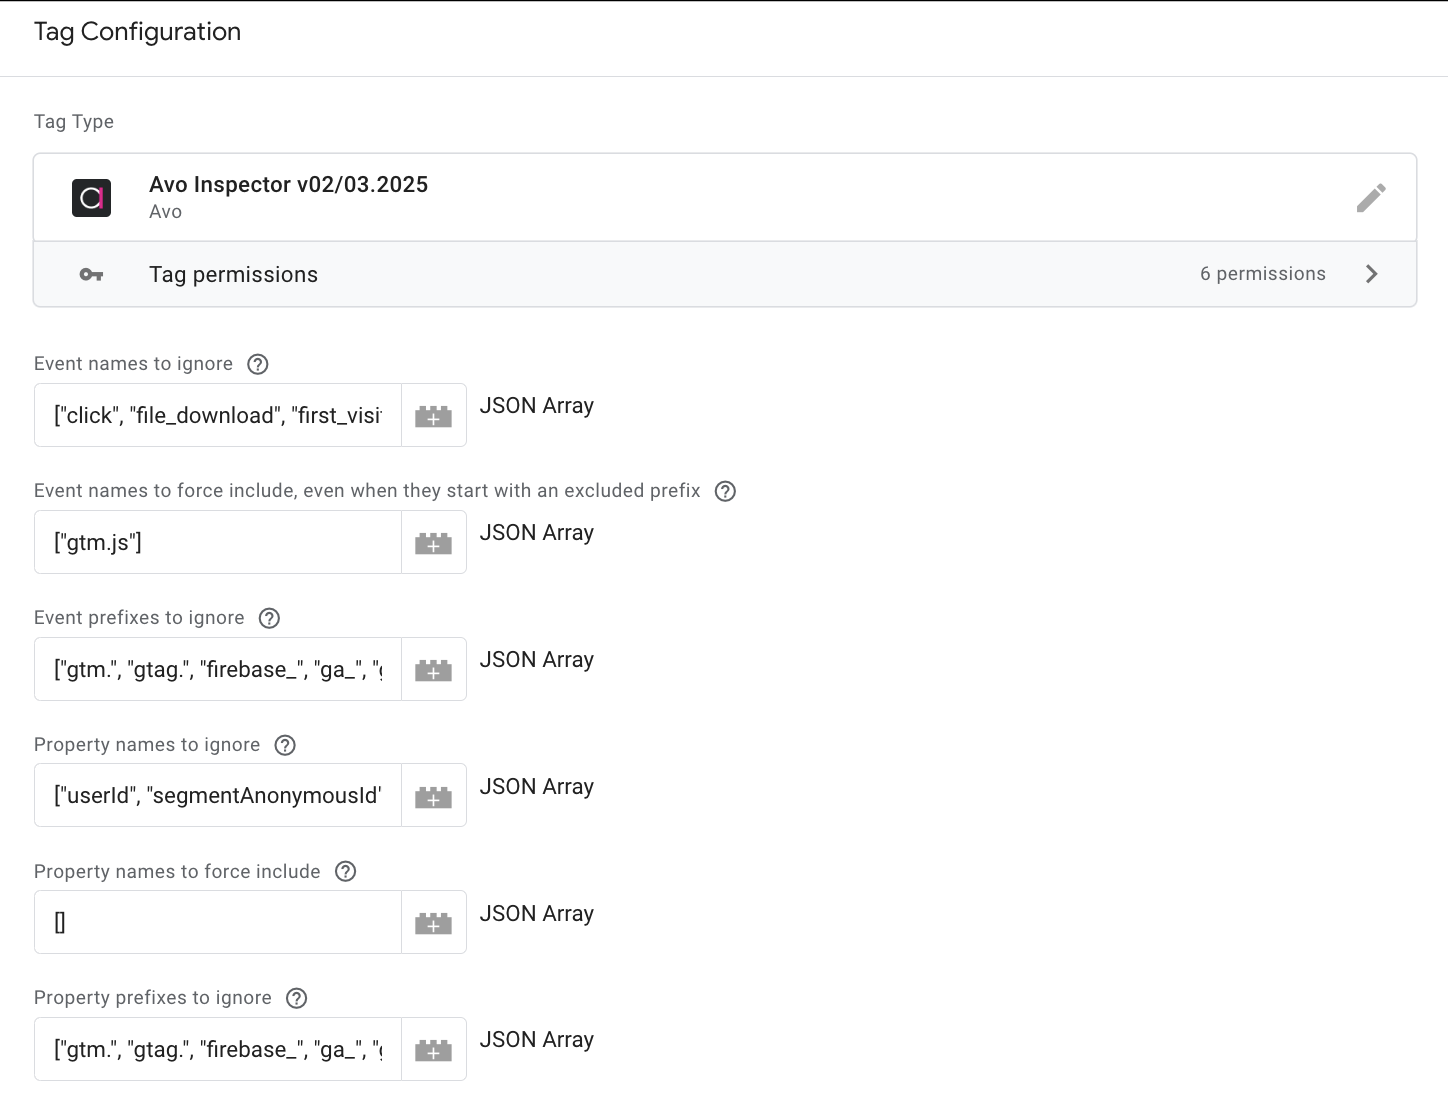
## Other ways to integrate Inspector Client side GTM
There are two extra options to install Inspector via Google Tag Manager. You can either import our GTM recipe to add observability to all data layer events, or use our Inspector function to add observability to individual events. If you choose to use the GTM recipe, the initialization code is already included in a tag, so for the Inspector API GTM variable you need to provide the source specific API key, which you can find in your Avo source Inspector setup. Another option is to initialize Inspector via creating your own HTML tag and using the HTML script you can find in the source Inspector setup.
### Importable GTM recipe
To add observability to all data layer events with our importable GTM recipe [in under 90 seconds](https://www.loom.com/share/2e2e6028c9d24a87a488c20bf3e895f1), follow the steps below:
**Step 1: [Download our GTM recipe here](https://github.com/avohq/gtm-web-recipe/blob/main/GTM-58RX3LLN_workspace19.json)**
This is a file in our public Git repo. You can download the raw file in the top right corner of the code part.
**Step 2: Import the recipe into your GTM container**
Go to the Google Tag Manager container you want to install the Inspector on and import the recipe.
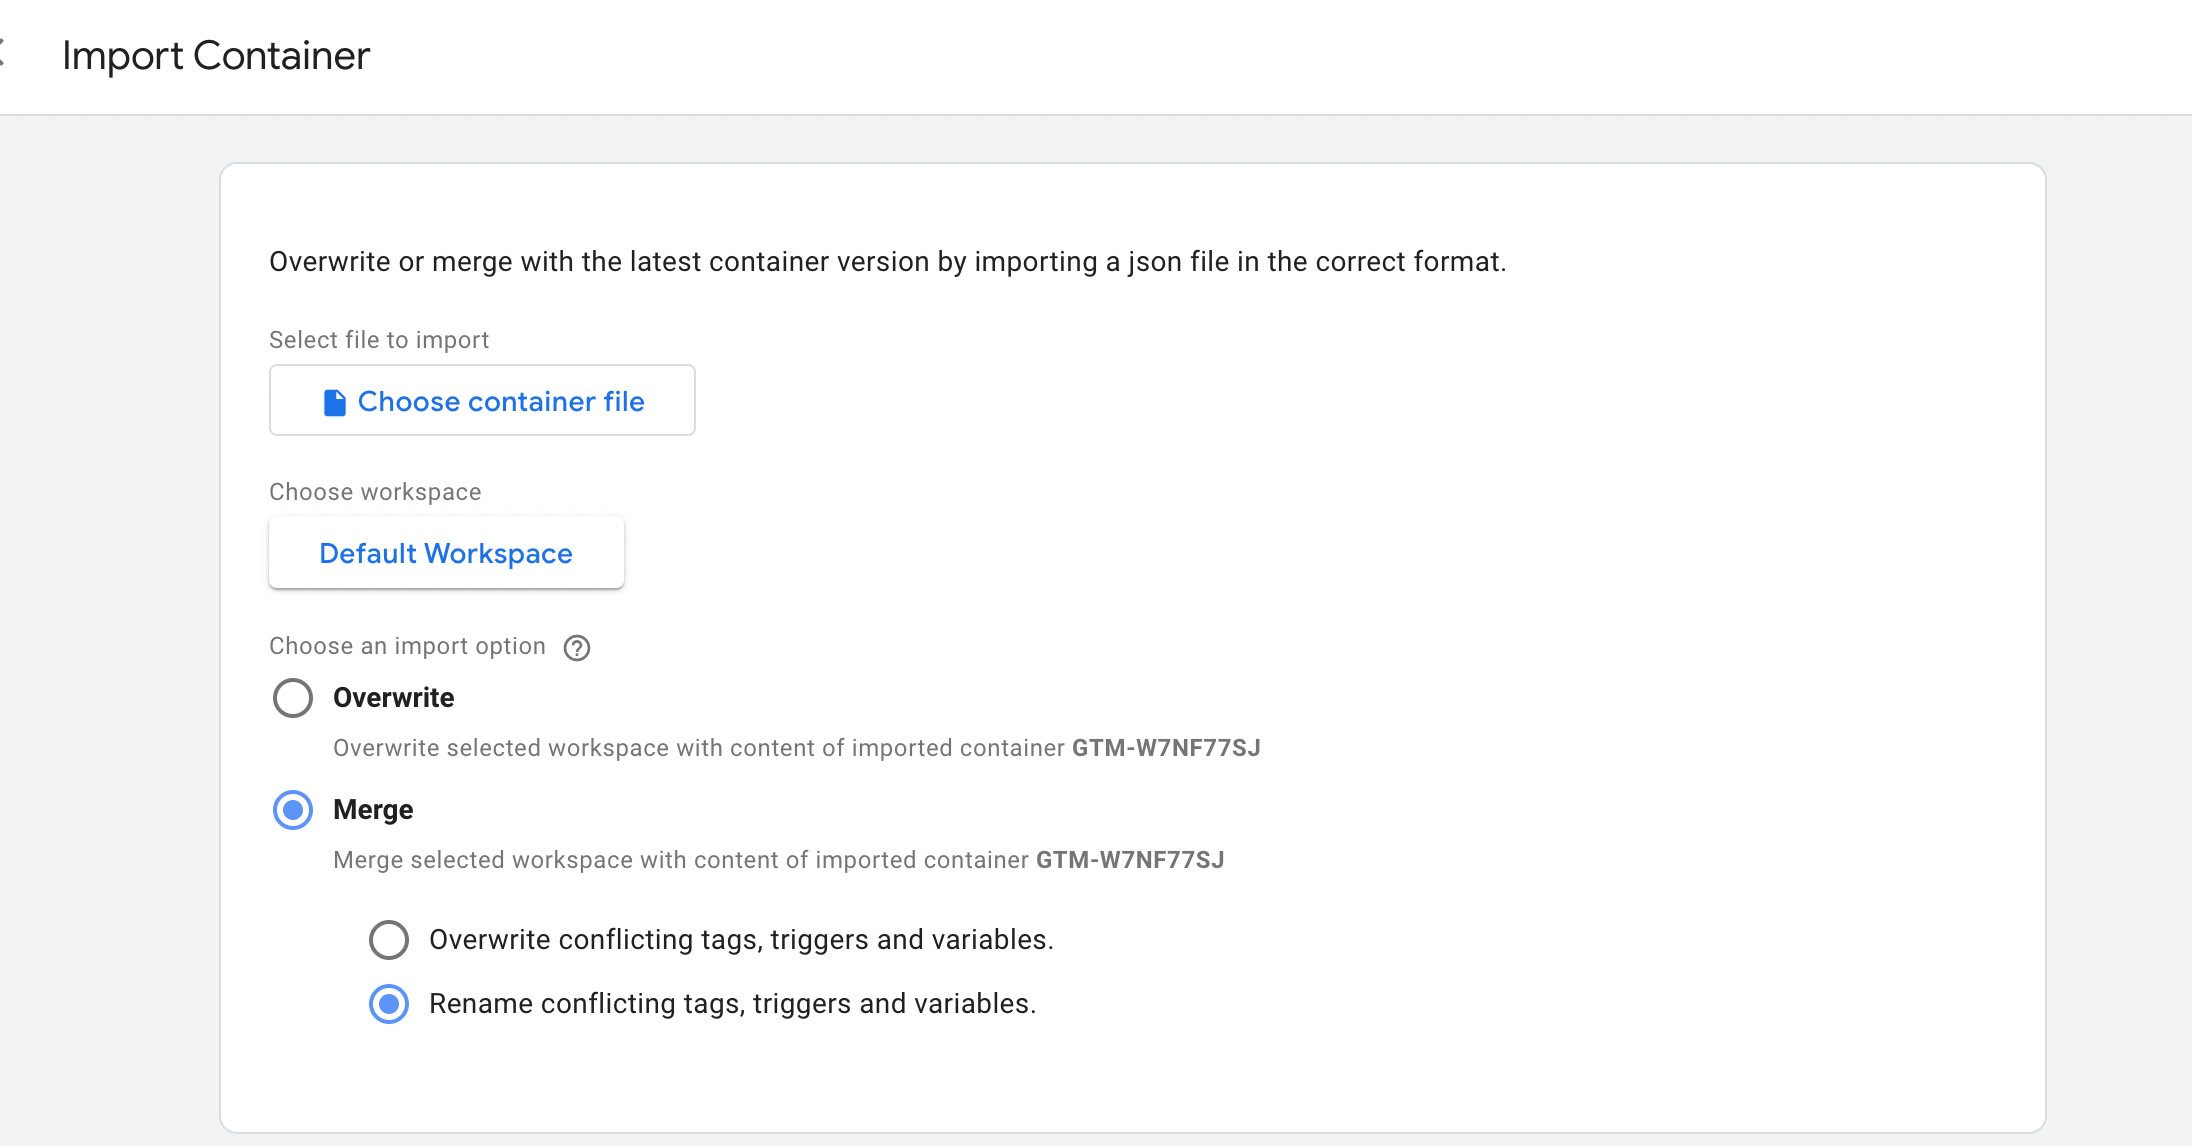
The recipe contains the following tags, triggers and variables:
- Tags
- Avo Inspector Init
- Avo Inspector Send
- Triggers
- All Custom Events
- Initialization
- Variables
- Avo Inspector API Key (required: needs to be populated before initialization)
- Avo App Name (recommended: provide a unique application name)
- Avo Public Encryption Key (optional: add your ECIES public key for [property value validation](https://www.avo.app/docs/inspector/inspector-debugger.md#generating-encryption-keys))
- Avo Events To Exclude (optional: add event names to ignore)
- Avo Properties To Exclude (optional: add property names to ignore)
- gtm.uniqueEventId
- Built-in Variables
- Debug Mode
- Event
The only thing that needs to be touched is the Avo Inspector API key.
**Step 3: Add the source specific Inspector API key**
To get the API key, navigate to the Inspector Setup tab of your Inspector source, and copy the API key:
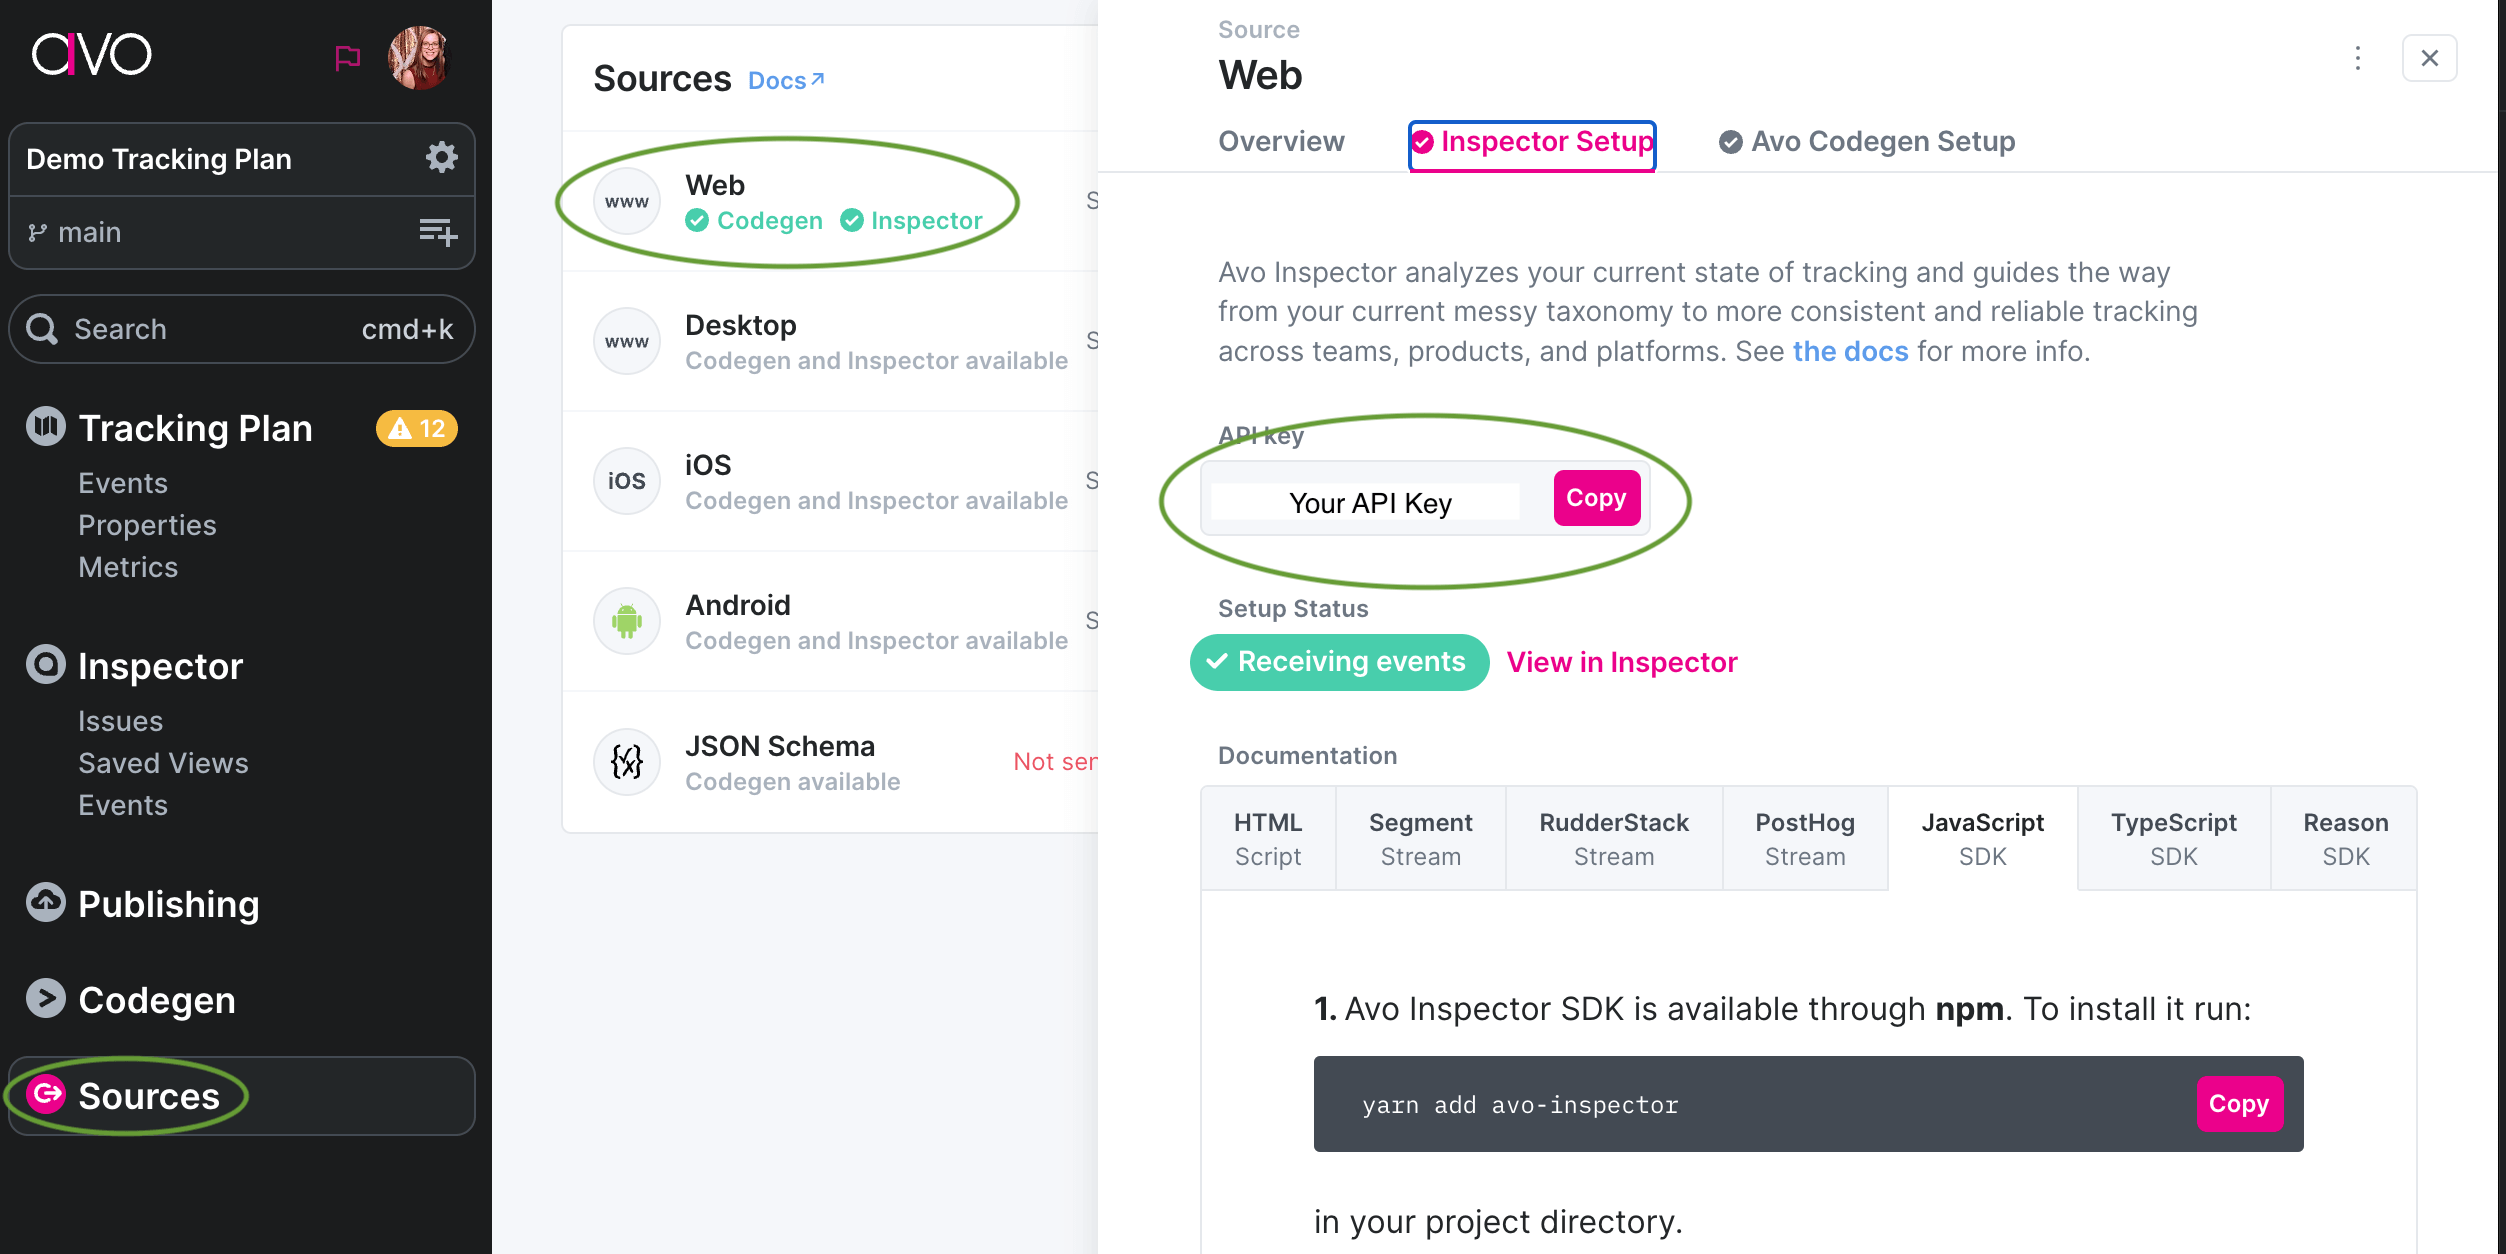
Then go into your GTM container, find the "Avo Inspector API key" variable and paste it there:
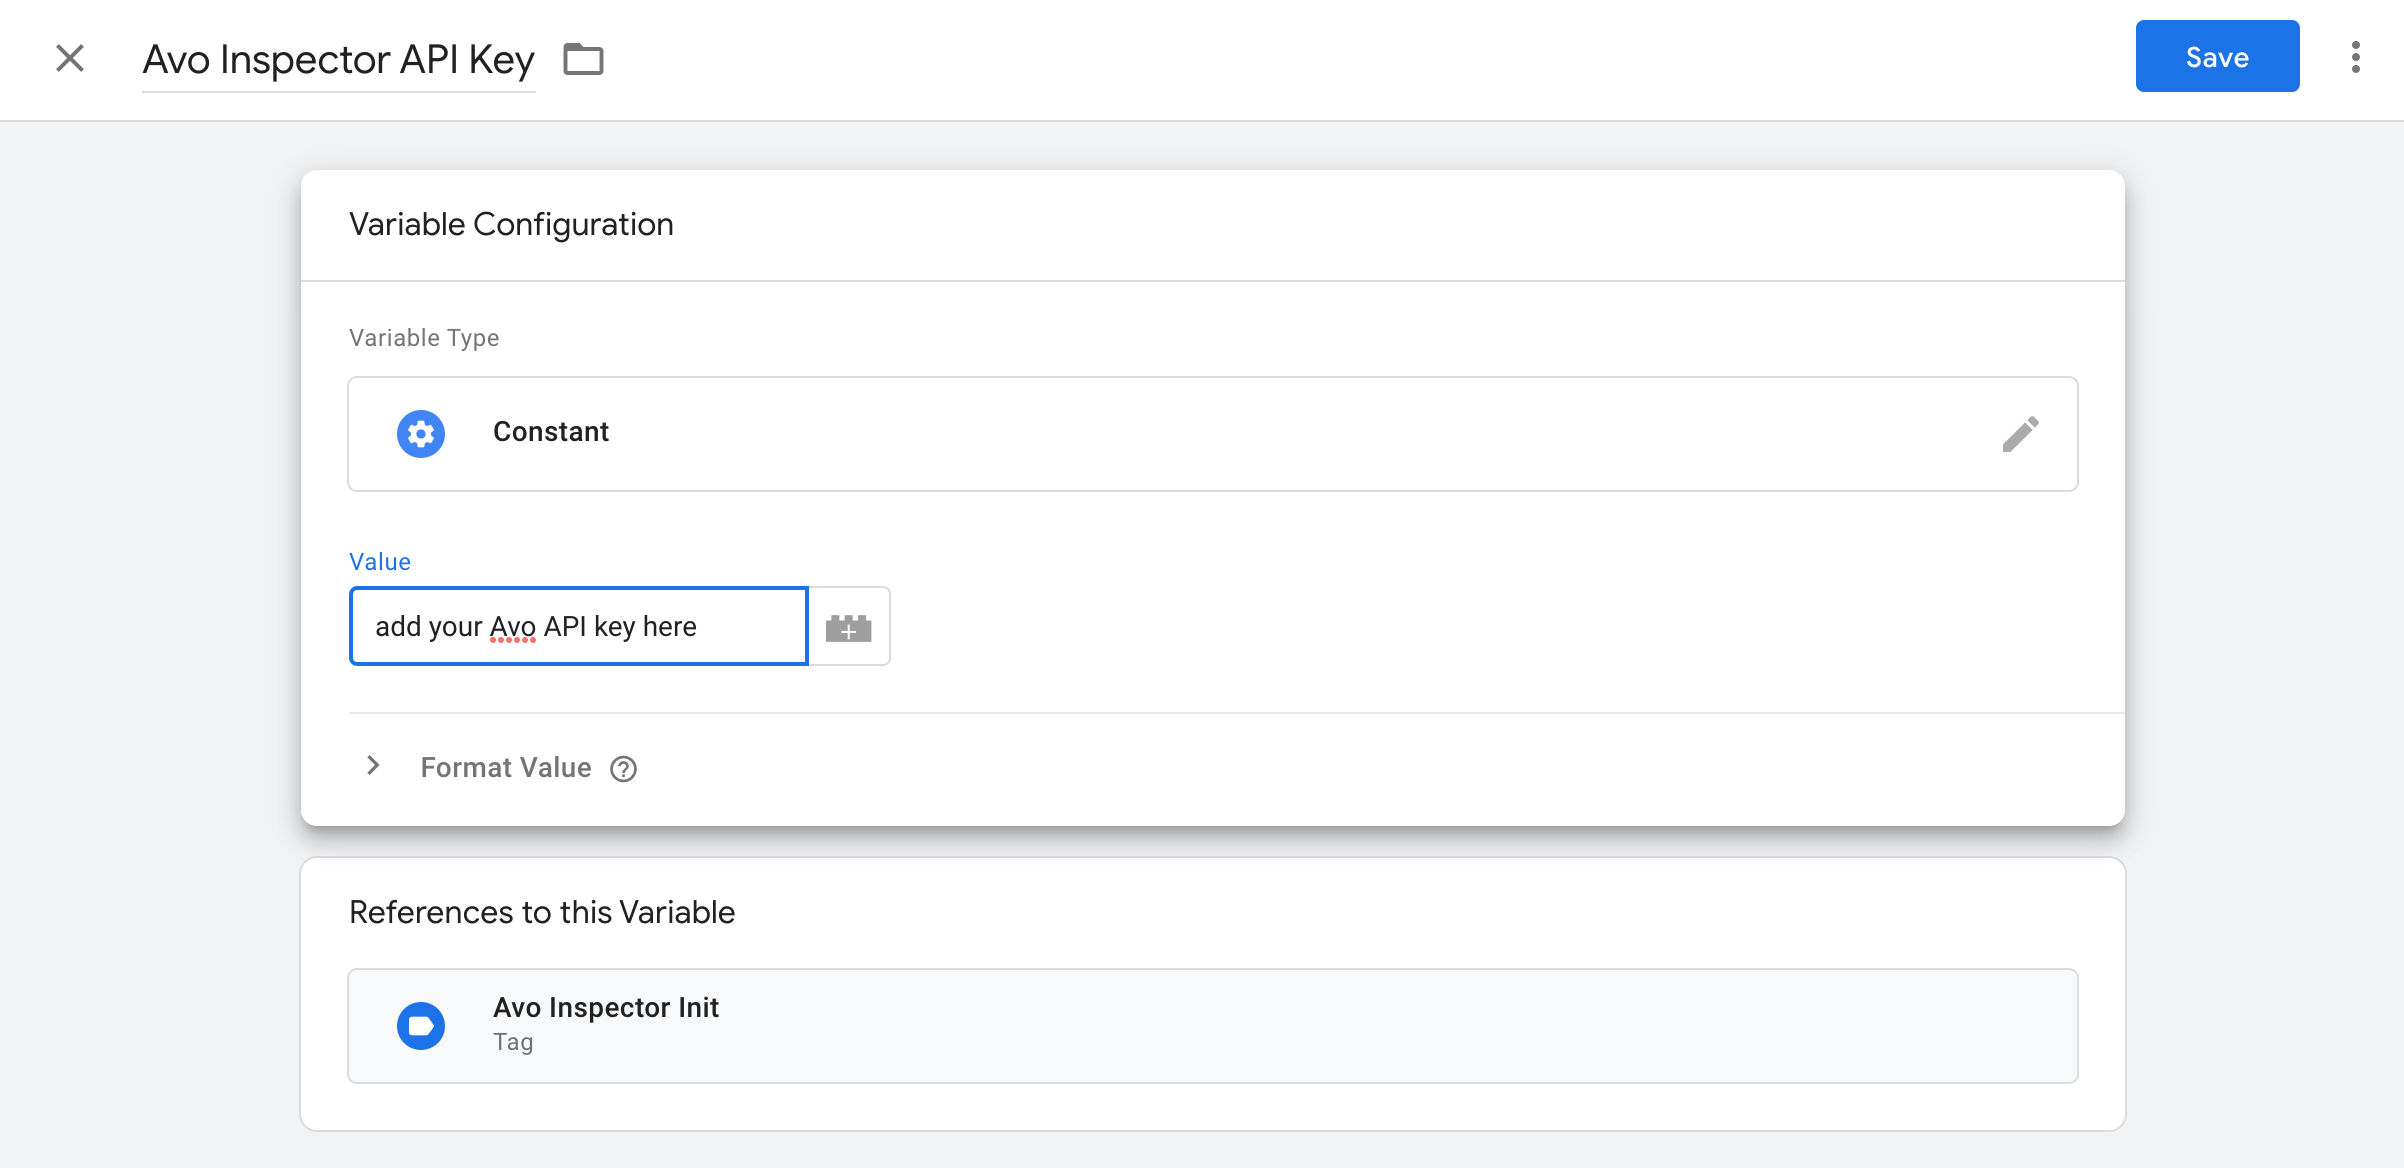
**Step 4: Test the GTM tag**
The environment is set to development by default when you are running your GTM container in preview mode. We recommend doing that first to make sure that everything is working smoothly. To see development data, open the Inspector Events view and change the environment to dev:
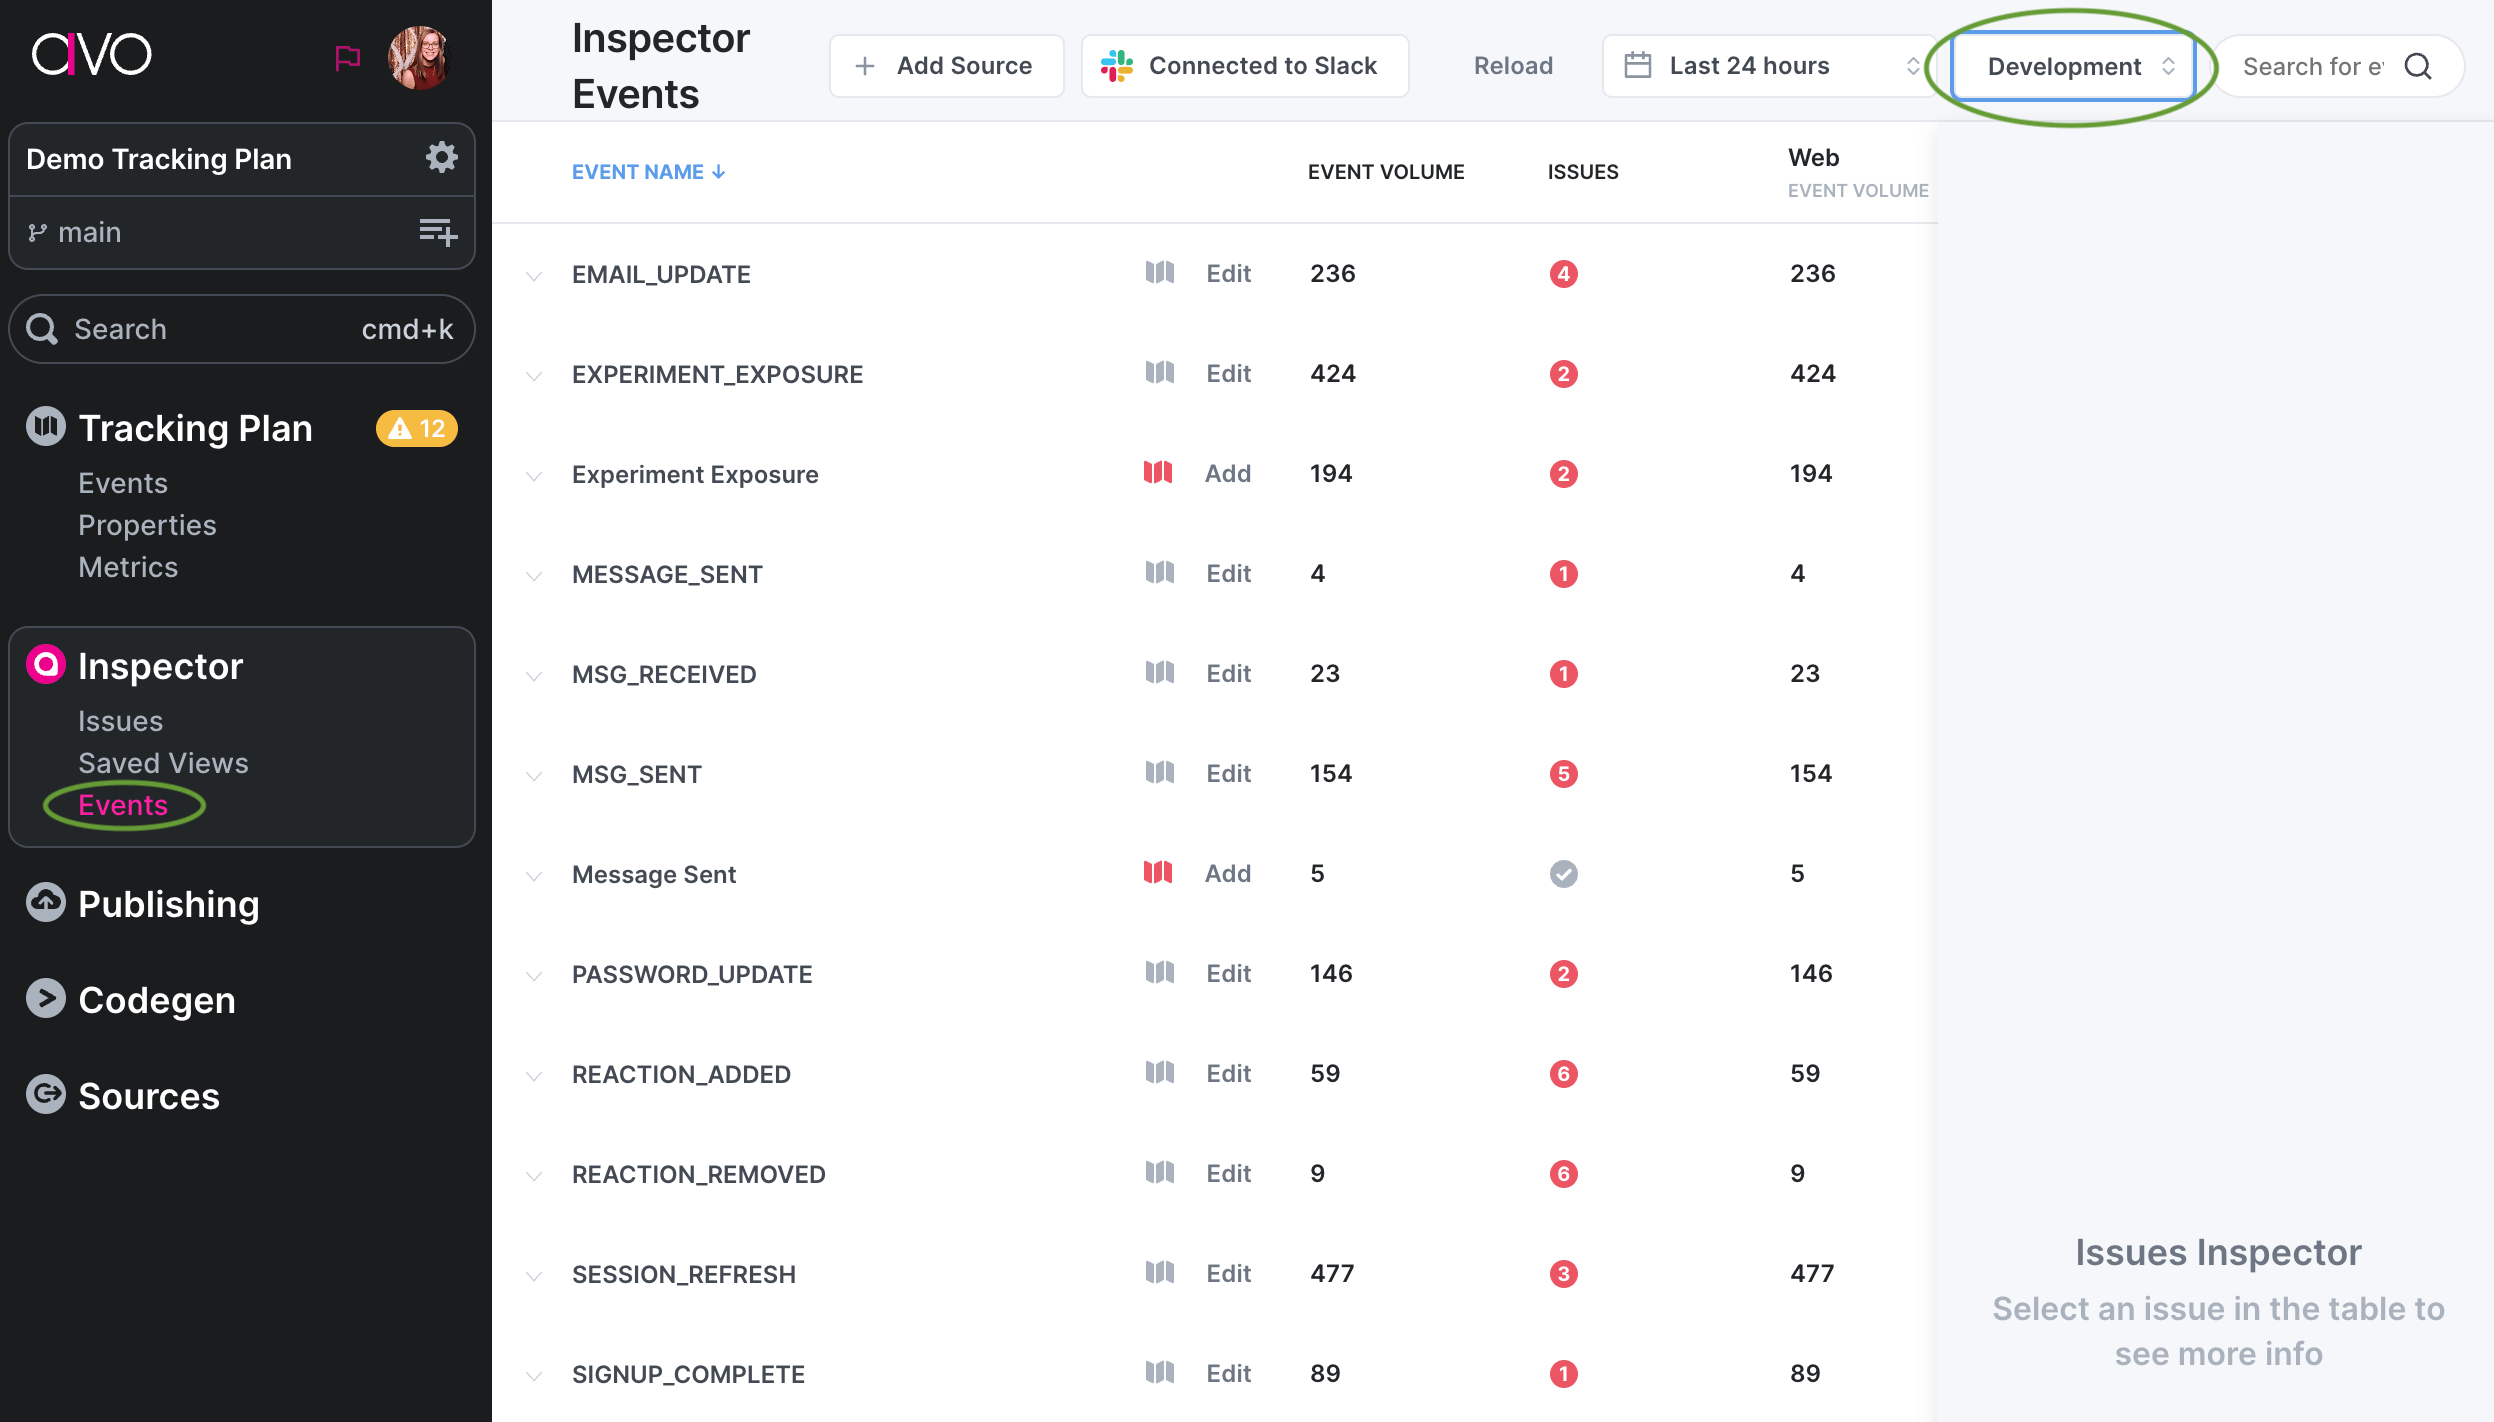
**Step 5: Publish the GTM container**
Publish your GTM container to set the Inspector live and start observing your data.
**Step 6: See your data flowing into the Inspector**
When you have published your GTM container, it will start sending data to the production environment in Inspector. We recommend opening the [Issues view](https://www.avo.app/docs/inspector/inspector-issues-view.md) to see the issues Inspector detects. You can also open the [Events view](https://www.avo.app/docs/inspector/inspector-events-view.md) in production to see all events that are coming in, with or without issues.
> 💡 Note that the Inspector production environment is optimized to handle large
> volume of data so there will be 1 - 2 hour delay in seeing your data flowing
> into production.
**Step 7: Filter your issues and save a view**
If you are getting issues into your issues view, we recommend filtering the issues and creating a saved view that includes issues that you care about. [Learn more in our Issues view documentation](https://www.avo.app/docs/inspector/inspector-issues-view.md).
### Inspector Get Schema function
To add observability to single events with our Inspector Get Schema function, create a HTML script tag for each event you want to add observability to. The screen shot below provides an example of how the script tag should look like. Make sure to use the same trigger and variables as you are using for the event you're dispatching to your analytics vendor.
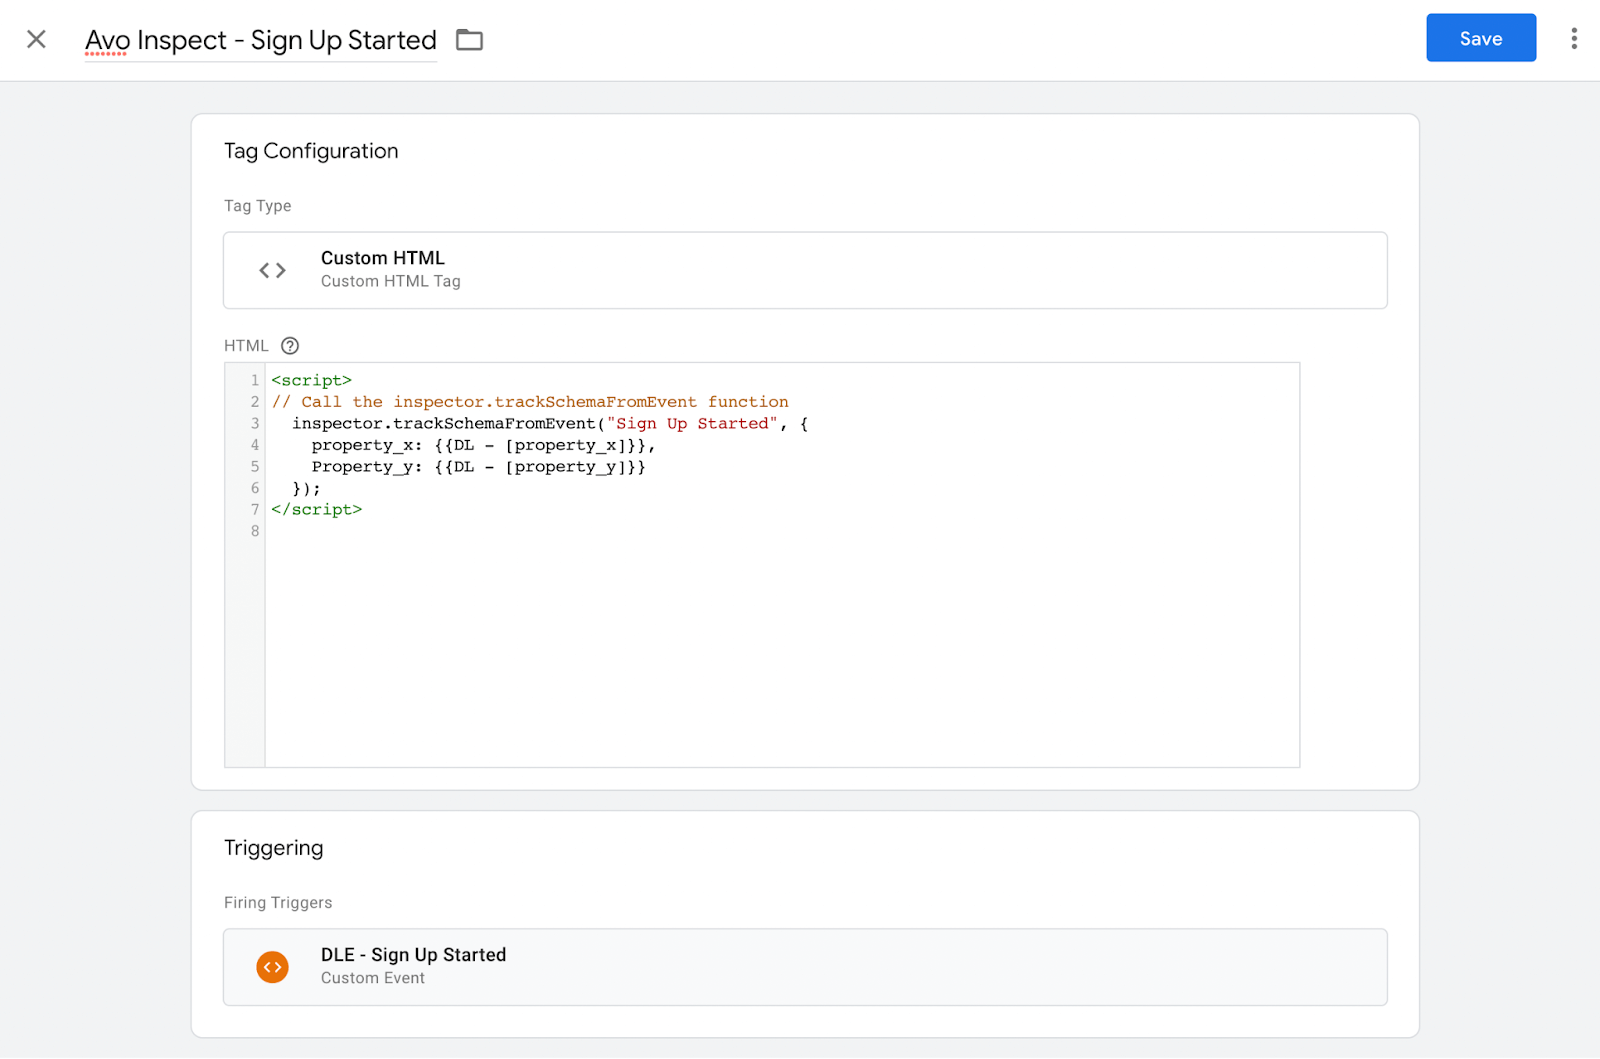
> 💡 If you have occasions where data layer events could fire before GTM loads and
> you wish to add observability, we'd recommend initializing inspector outside
> of Google Tag Manager, and perhaps adding our initialization code to the
> header of the page or using one of our other Inspector SDKs and adding it more
> native to your codebase. The flexibility here is a feature.
> **_Notes:_**
> While our importable recipe allows you to add observability to all data layer events in production in under 90 seconds, we are aware that many GTM containers are a hybrid of data layer based triggered tags for analytics events, and GTM native ones (think source selectors). If your GTM analytics implementation uses a hybrid trigger setup, to increase Inspector coverage, you could use our recipe to catch all data layer events with a single tag, and then single event Inspector Tags for native GTM trigger based events. If you wanted a single tag that catches both data layer and native GTM triggered events sent Google Analytics 4, for example, ask your developer to code a tag that detects all analytics track calls via the GA4 end point calls, parses the payload, and loops through the properties to then forward the track on to Inspector. We're currently investigating this for our new recipe.
## Inspector Server side GTM integration (beta)
This tag is designed to be used with the server side Google Tag Manager, learn more [here](https://developers.google.com/tag-platform/tag-manager/server-side/overview)
### Import Avo Inspector GTM tag template
1. In the Tag Templates section, click Search Gallery

2. Search for "Avo Inspector" and press "Add to workspace". Press "Add" in the following modal.
### Create Avo Inspector GTM tag
1. Navigate to the Tags tab in your server side GTM console
2. Click New in the top right

3. Click Tag Configuration section and choose Avo Inspector form the options
4. Paste you Avo Inspector key. To get the key open your Avo.app workspace, choose the source you want to connect the Inspector to and navigate to the Inspector Setup tab.
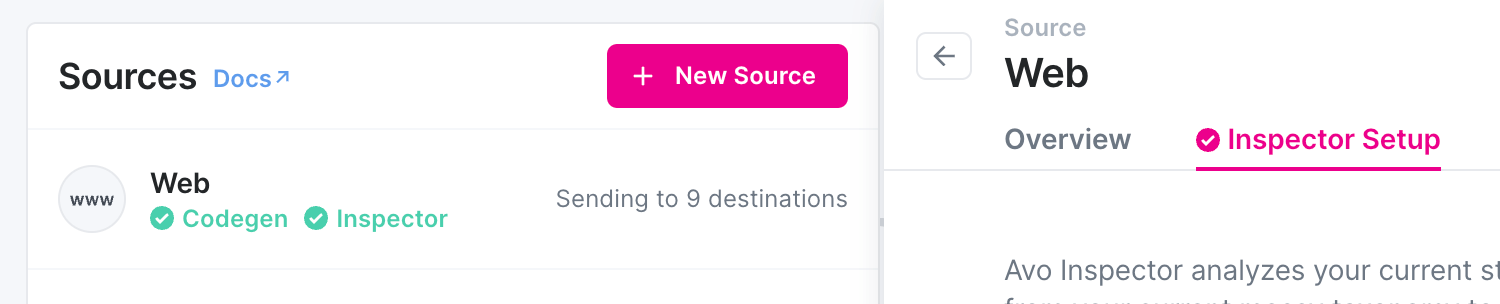
5. Choose which environment this tag is reporting from. Inspector distinguish development, staging, and production environments. Production is designed for high data volumes, while development and staging are designed for faster time to feedback in the Inspector dashboard. You'll see your dev and staging events in the Inspector dashboard almost instantly, while the production events can take up to an hour to appear
6. Add a trigger, it's best to analyze all events in Inspector. We suggest to add a trigger that accepts all events, for example with the `.*` regex. Make sure that you are only sending the events from the environment configured on the step 3. Learn more about defining triggers [here](https://support.google.com/tagmanager/topic/7679384)
7. Now all the data sent to this server side GTM will be analyzed by Inspector. Learn more about sending data to the server side Tag Manager [here](https://developers.google.com/tag-platform/tag-manager/server-side/send-data)
## Error response from API
The calls to the API are fire and forget, so the API tries to return 200 if it can.
The API will accept multiple events in a batch, and returns a 200 with `{"ok": true}` if all the events managed to get processed.
If any of the events were invalid or if the API failed to decode them, it will return a 200 response, with
`{"ok": false, "errors": [{"message": , "json": }]}` which contains the Json for each event that failed.
---
Source: https://www.avo.app/docs/inspector/connect-inspector-to-segment.md
# Send data from Segment to Avo Inspector
## Use Avo Inspector as a Segment destination
Stream your event schemas from Segment to Avo Inspector without adding any code to your codebase. Simply set up a Segment native destination powered by Segment actions and your data should be visible in Avo within a couple of seconds (in rare cases it can take up to 2 minutes).
> 💡 Inspector only receives your event schema, no actual data will be sent to Avo.
> ℹ️ Remember that production data takes up to 2 hours to appear in Inspector dashboard, while development data is available without any delay.
> 💡 You will need to create a connection between your source and the destination
> for each environment you use (`Development | Staging | Production`).
### Step 1. Create or select an Avo source to set up Inspector
A source in Avo is a code base where events are tracked, for example your
website, mobile application or server.

You can select an existing Avo source or, [create a new one](https://www.avo.app/docs/inspector/configuring-inspector-sources.md).
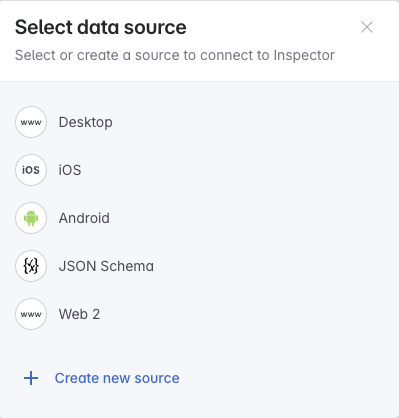
Once you’ve selected or created a source, the source details view will open on the"Inspector Setup" tab, with instructions for setting up Inspector.
Under the Segment instructions, click the `Connect to Segment` button, which will take you to your segment workspace to set up Avo as a destination.
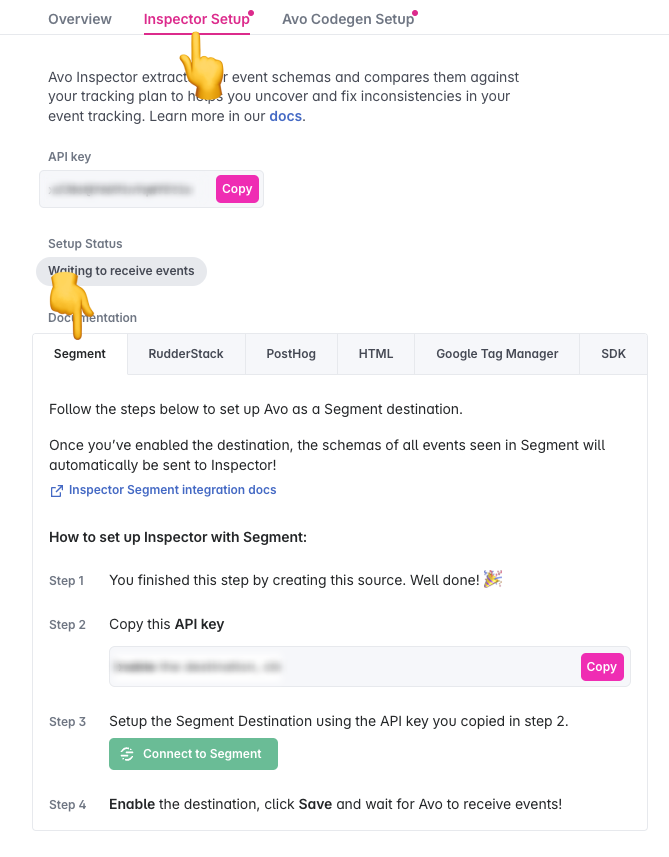
### Step 2. Create Segment destinations
The link will open the Avo Destination in your segment workspace, click `Add Destination` to continue
Select your source that you want to connect to Avo and give the destination connection a name, and then fill in the Destination settings to connect your source with the Avo Inspector..
> 💡 We recommend giving your destination a name to describe your source and
> environment, (Avo Web Prod)
#### Destination Settings
##### Avo Inspector API Key
You can copy the API key from your source in Avo. The API key allows Avo to map the events from your Segment source to the Avo source, to accurately compare your source’s event schemas to your Tracking Plan in Avo.
##### Environment
Environment describes which app environment the source is sent from, `Development | Staging | Production`.
Avo only generates issues for events in the `Production` environment, but you can see the event shapes for staging and development environments to make sure they are implemented correctly.
##### App Version Property
App Version Property is an optional **(but recommended!)** field. Having accurate app release versions in Avo Inspector allows you to see how events change across releases. This will help you identify which releases an issue is impacting, and monitor for regressions in future releases after an issue has been resolved.
Without app versions, the inspector has no way of differentiating between old and new releases, and might surface irrelevant issues based on old releases. [Learn more about how Inspector uses releases](https://www.avo.app/docs/inspector/inspector-issues-view.md#release-and-source-breakdown)
For most mobile sources, we will automatically fetch the app version from Segment Context. If you have an event property describing the app release version of your source (“E.g “app_version”) you can provide it under App Version.
If you are unsure of whether this applies to your source, or if you don’t know which event property to use, you can proceed with setting up the source and add this information later.
##### Avo Inspector Public Encryption Key (Optional)
An optional public encryption key used for property value validation. To learn more about how to generate and configure this key, see the [Property Value Validation](#property-value-validation-optional) section below.
##### Property Value Validation (Optional)
Property value validation allows you to validate property values against the [constraints defined in your tracking plan](https://www.avo.app/docs/data-design/avo-tracking-plan/properties.md#property-types-and-constraints), such as allowed values, pinned values, and min/max ranges. This helps you catch issues like incorrect enum values or out-of-range numbers.
> The Segment integration does not yet support regex property value validation. Support for regex validation is coming soon. Other [supported SDKs and integrations](https://www.avo.app/docs/inspector/inspector-debugger.md#supported-sdks-and-integrations) already support regex validation.
> 💡 Property value validation is available for the latest version of the Segment integration (Avo v2 destination). If you are using an older version, please update to the latest version.
When enabled, property values are validated on-device against your tracking plan constraints. Encrypted values are sent alongside the event schemas so you can inspect the actual reported values in the [Inspector Debugger](https://www.avo.app/docs/inspector/inspector-debugger.md). Decryption requires your private key, which only you control — Avo never has access to your raw user data.
> ⚠️ Property value validation only runs in **Development** and **Staging** environments. In Production, only event schemas are sent — no property values are validated or encrypted, even if a public encryption key is configured.
To enable property value validation:
1. **Enable property value validation in settings** — Go to workspace settings in your Avo workspace and enable [property value validation](https://www.avo.app/docs/inspector/inspector-debugger.md#enabling-advanced-debugger-features).
2. **Generate encryption keys** — Run the following command in your terminal to generate a public/private key pair:
```bash
node -e "const { createECDH } = require('crypto'); const ecdh = createECDH('prime256v1'); ecdh.generateKeys(); console.log('Private Key:', ecdh.getPrivateKey('hex')); console.log('Public Key:', ecdh.getPublicKey('hex', 'compressed'));"
```
This will output a public key and a private key.
3. **Store your private key securely** — Save your private key in a secure location like a password manager. You'll need this to decrypt values in the [Inspector Debugger](https://www.avo.app/docs/inspector/inspector-debugger.md#decrypting-property-values). Never share or expose your private key with a third party.
4. **Add the public key to the destination settings** — Copy the public key and paste it into the "Avo Inspector Public Encryption Key" field in the Segment destination settings.
> 🔒 Property values are encrypted end-to-end. Avo only stores encrypted values and cannot decrypt them. Only you can decrypt the values using your private key in the Inspector Debugger dashboard.
Learn more about [decrypting property values in the Inspector Debugger](https://www.avo.app/docs/inspector/inspector-debugger.md#decrypting-property-values) and the [property value issue types](https://www.avo.app/docs/inspector/issue-types-in-inspector.md#property-value-issues) that can be detected.
### Step 3. Monitor Avo
After you have enabled your destination in Segment, you can visit [Inspector Events](https://www.avo.app/schemas/fwtXqAc0fCLy7b7oGW40/inspector/events) and monitor the events coming into the inspector.
This can take up to 2 minutes to be populated, make sure you are monitoring the environment that you connected in the Segment destination.
If you run into any problems with your setup, we’re here to help, please reach out if you need any help getting set up.
## Next Steps
- [Import events from Inspector](https://www.avo.app/docs/inspector/add-events-from-inspector.md)
- [Review Issues](https://www.avo.app/docs/inspector/inspector-issues-view.md)
- [Set up Alerts](https://www.avo.app/docs/inspector/inspector-slack-alerts.md)
---
Source: https://www.avo.app/docs/inspector/connect-inspector-to-rudderstack.md
# Send data from RudderStack to Avo Inspector
## Use Avo Inspector as a RudderStack destination
If you are already sending your data to RudderStack you can stream it to Avo Inspector without adding any code to your codebase.
You'll need to create a RudderStack Destination powered by RudderStack Transformation with a code snippet provided in your Avo workspace for each app and environment combination.
> The Transformations that we will add here are not changing the events you receive from RudderStack in any way.
> They add a side effect of Avo Inspector analyzing your events and keeping your RudderStack events stream unchanged.
In RudderStack you usually have different sources for each app environment, for example if you have a single web app, you probably have Web App Dev and Web App Production sources in RudderStack.
Unlike RudderStack, Avo sources contain environments in them, so you will only need to create one Avo source per app, in our example you'll need a single Avo source called Web App.
After connecting a Transformation to corresponding RudderStack source the event schemas of all events seen in RudderStack will automatically be sent to Avo Inspector and you'll be able to monitor the quality of your tracking implementation without any changes in your code!
> 💡 Inspector only receives your event schema, no actual data will be sent to Avo.
> ℹ️ Remember that production data takes up to 2 hours to appear in Inspector dashboard, while development data is available without any delay.
## Guide to connect RudderStack and Avo Inspector
### Create an Avo source to get the code snippets for your RudderStack integration
#### Step 1. Set up your Avo source
An Avo Source is the first thing you need to connect your RudderStack data to Avo Inspector.
Open `Sources` in the Avo sidebar or `Manage Sources` in Inspector tab

If you already have the source, pick it. If you don’t have the source corresponding to your app, [add a new one](https://www.avo.app/docs/inspector/configuring-inspector-sources.md).

In the source details, go to "Inspector Setup" and there you’ll see options to integrate Inspector. Pick RudderStack to see the integration code snippets.
Use the copy button to copy the full snippet to clipboard when you need to paste them into RudderStack on the next step.
#### Step 2. Create RudderStack transformation with the provided code snippets
- Open RudderStack and log in into your workspace
- Pick `Transformations` in the sidebar
- Press the `New Transformation` button in the top right corner
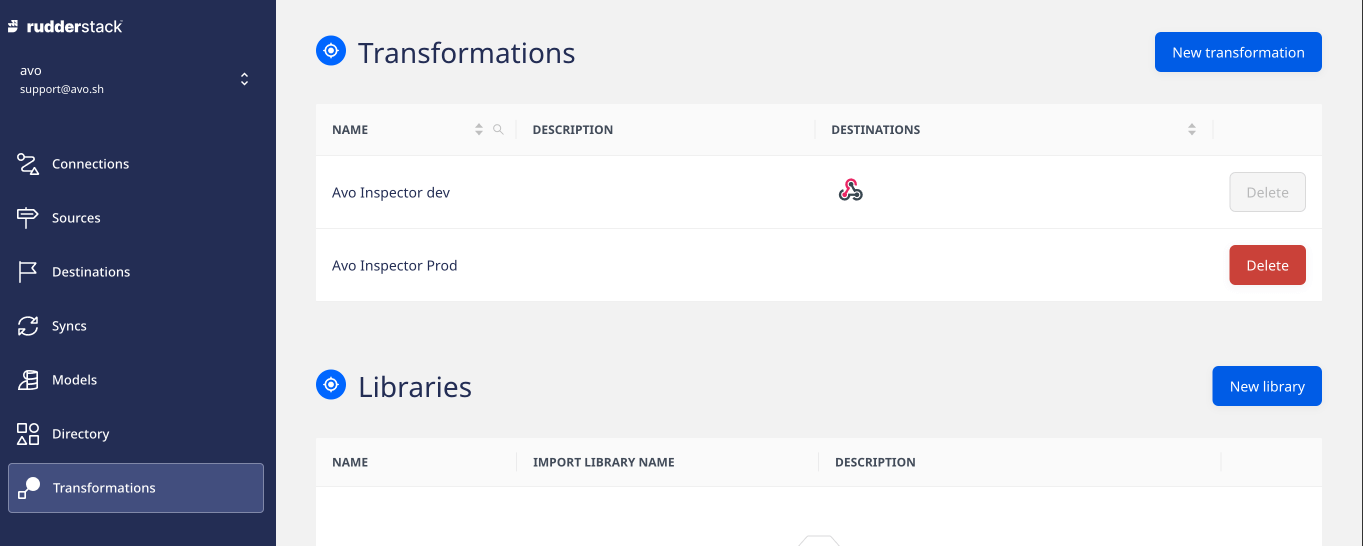
You’ll find yourself in the web code editor provided by RudderStack.
Here you would paste one of the code snippets we’ve seen in Avo on the 1st step.
> You'll need to create a separate Transformation for each code snippet, i.e. one for development, one for staging and one for production per each Avo source.
Save it by pressing `Save` button under the code editor.
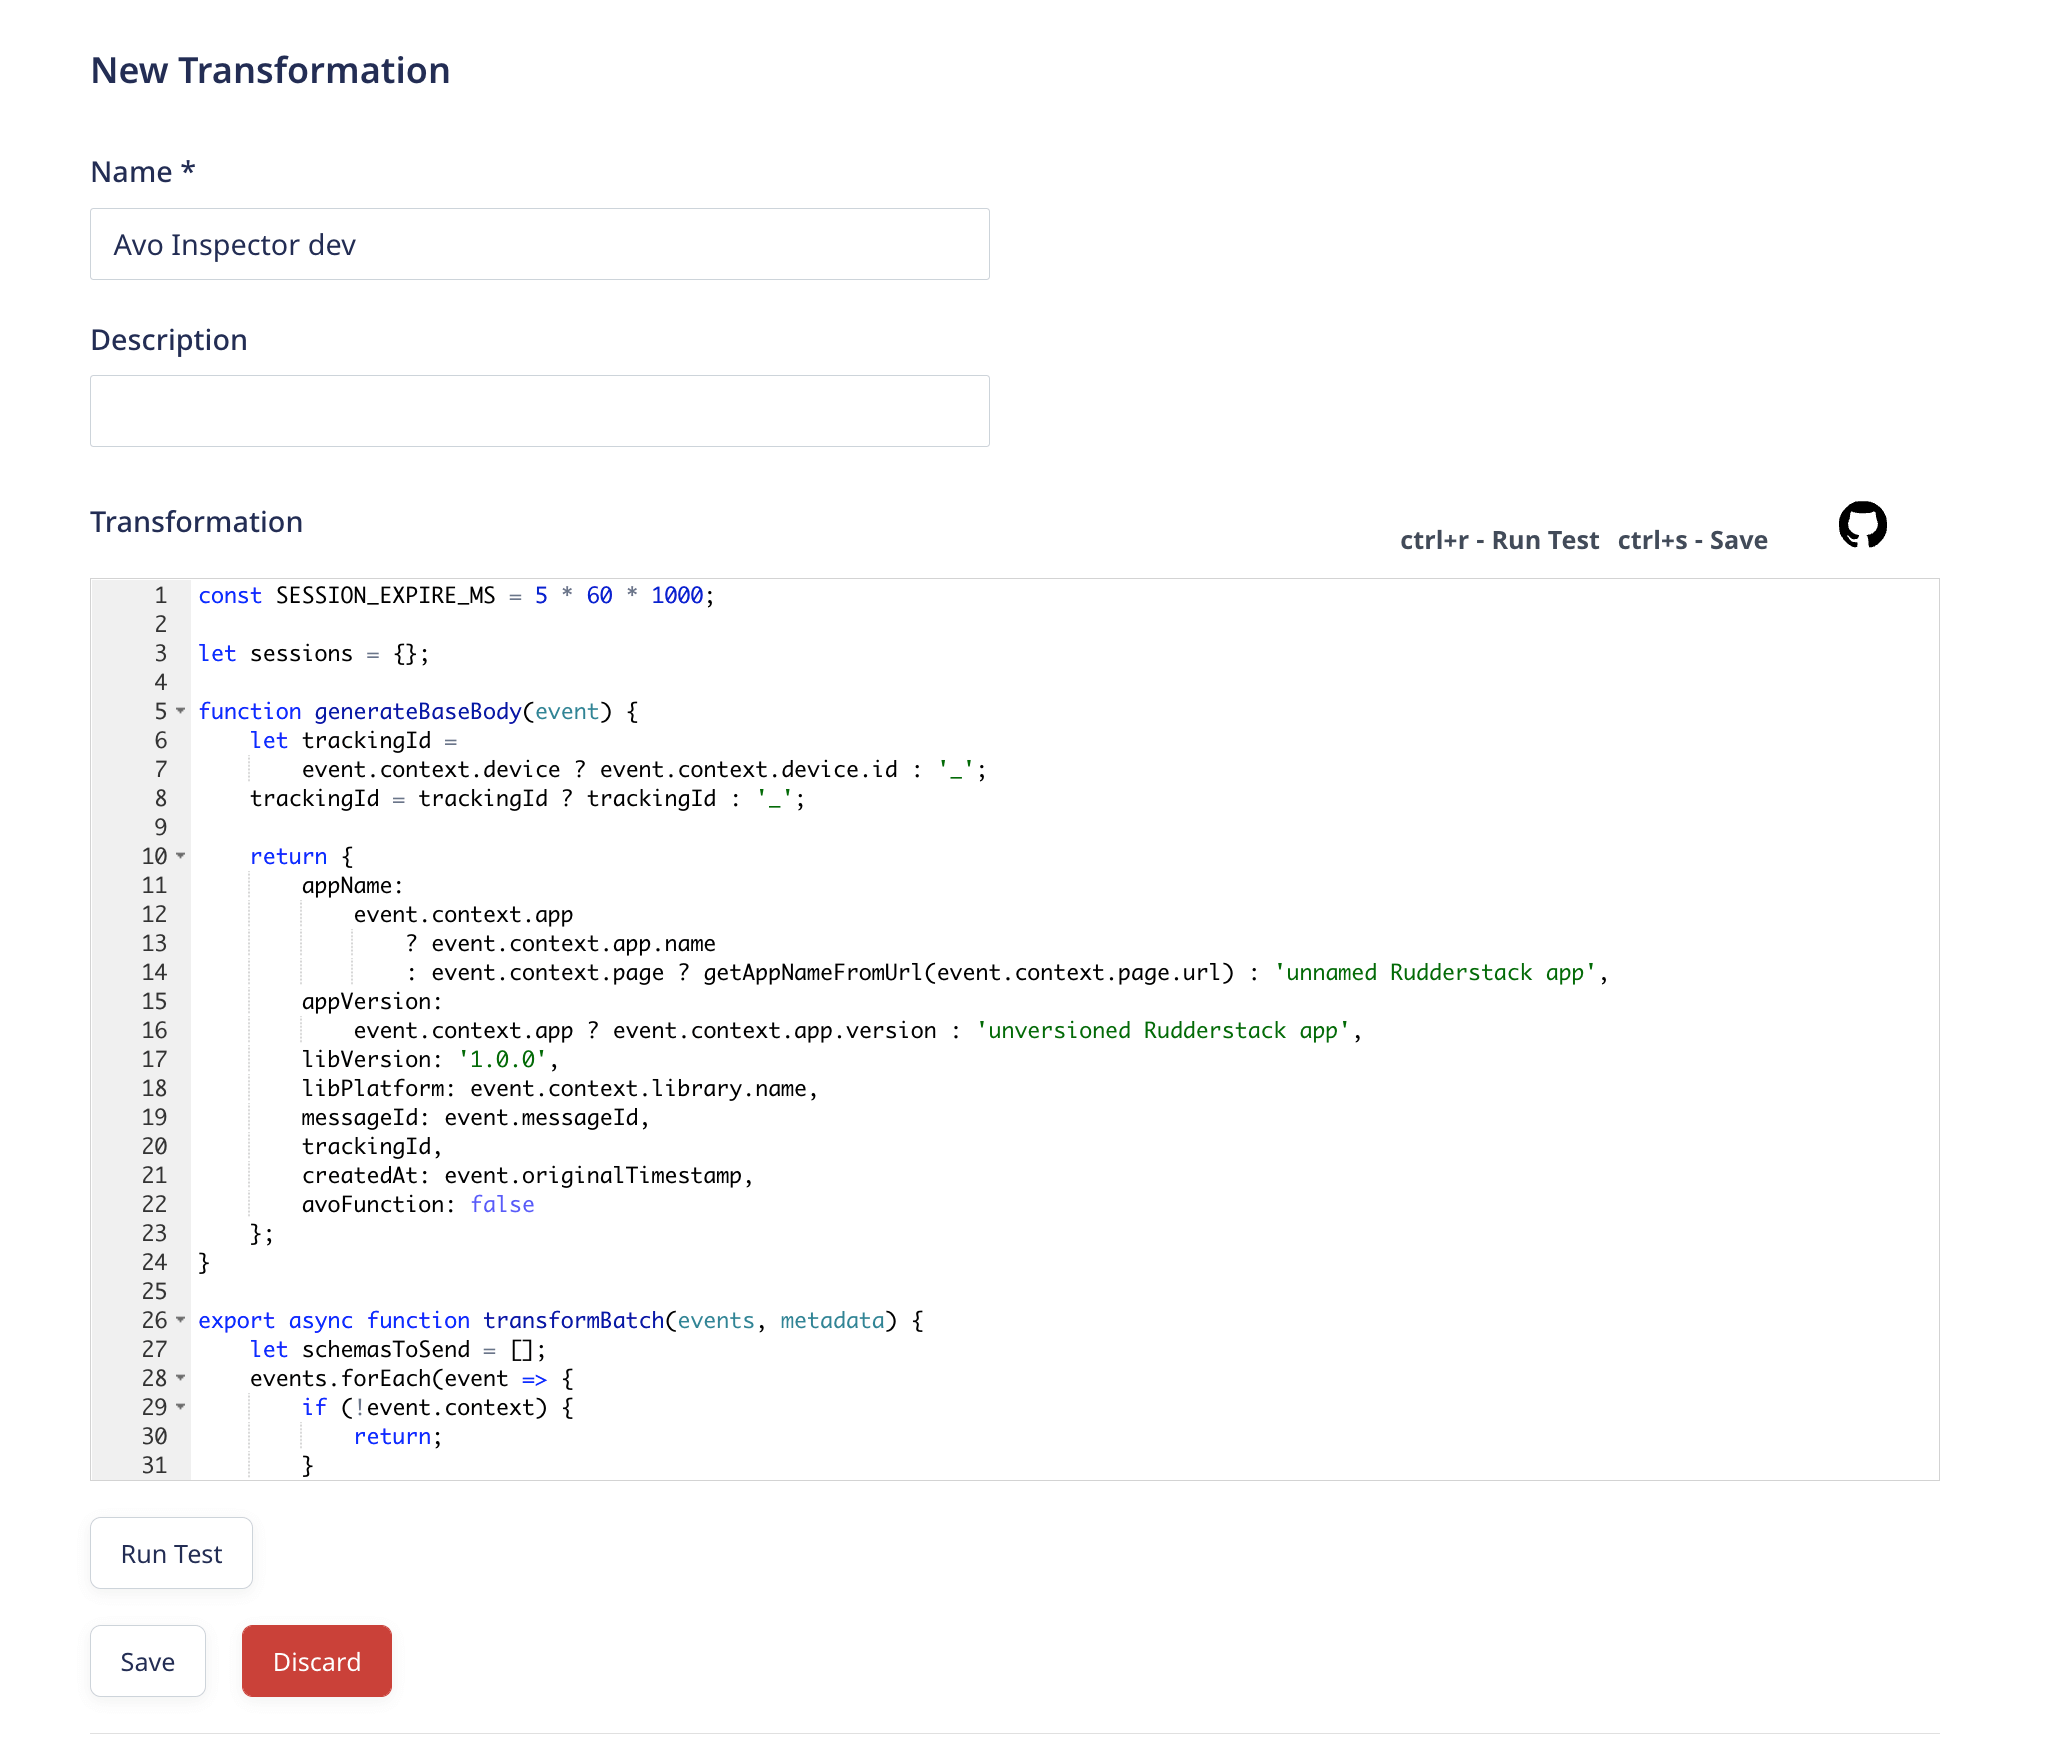
#### Step 3. Test your development RudderStack Transformation (Optional)
You can test the production RudderStack Transformation in the same way, but keep in mind that the production data shows with a ~2 hours delay in Inspector dashboard, while development data is shown without delay.
If you pick the Track event in the Events code editor in the bottom of the page and then press "Run Test" button, the event will be sent to Avo Inspector
To see the event in Avo you will need to fix the event `originalTimestamp` to a recent timestamp.
For example change this old timestamp provided by RudderStack (line highlighted on the screenshot below)
```
"originalTimestamp": "2020-05-25T18:37:10.917Z",
```
to current ISO timestamp, which you can find [on this website](https://greenwichmeantime.com/articles/clocks/iso/)
Press the `Run Test` button.
Check out the `Logs`, it should say `Log: {"ok":true}` in the end.
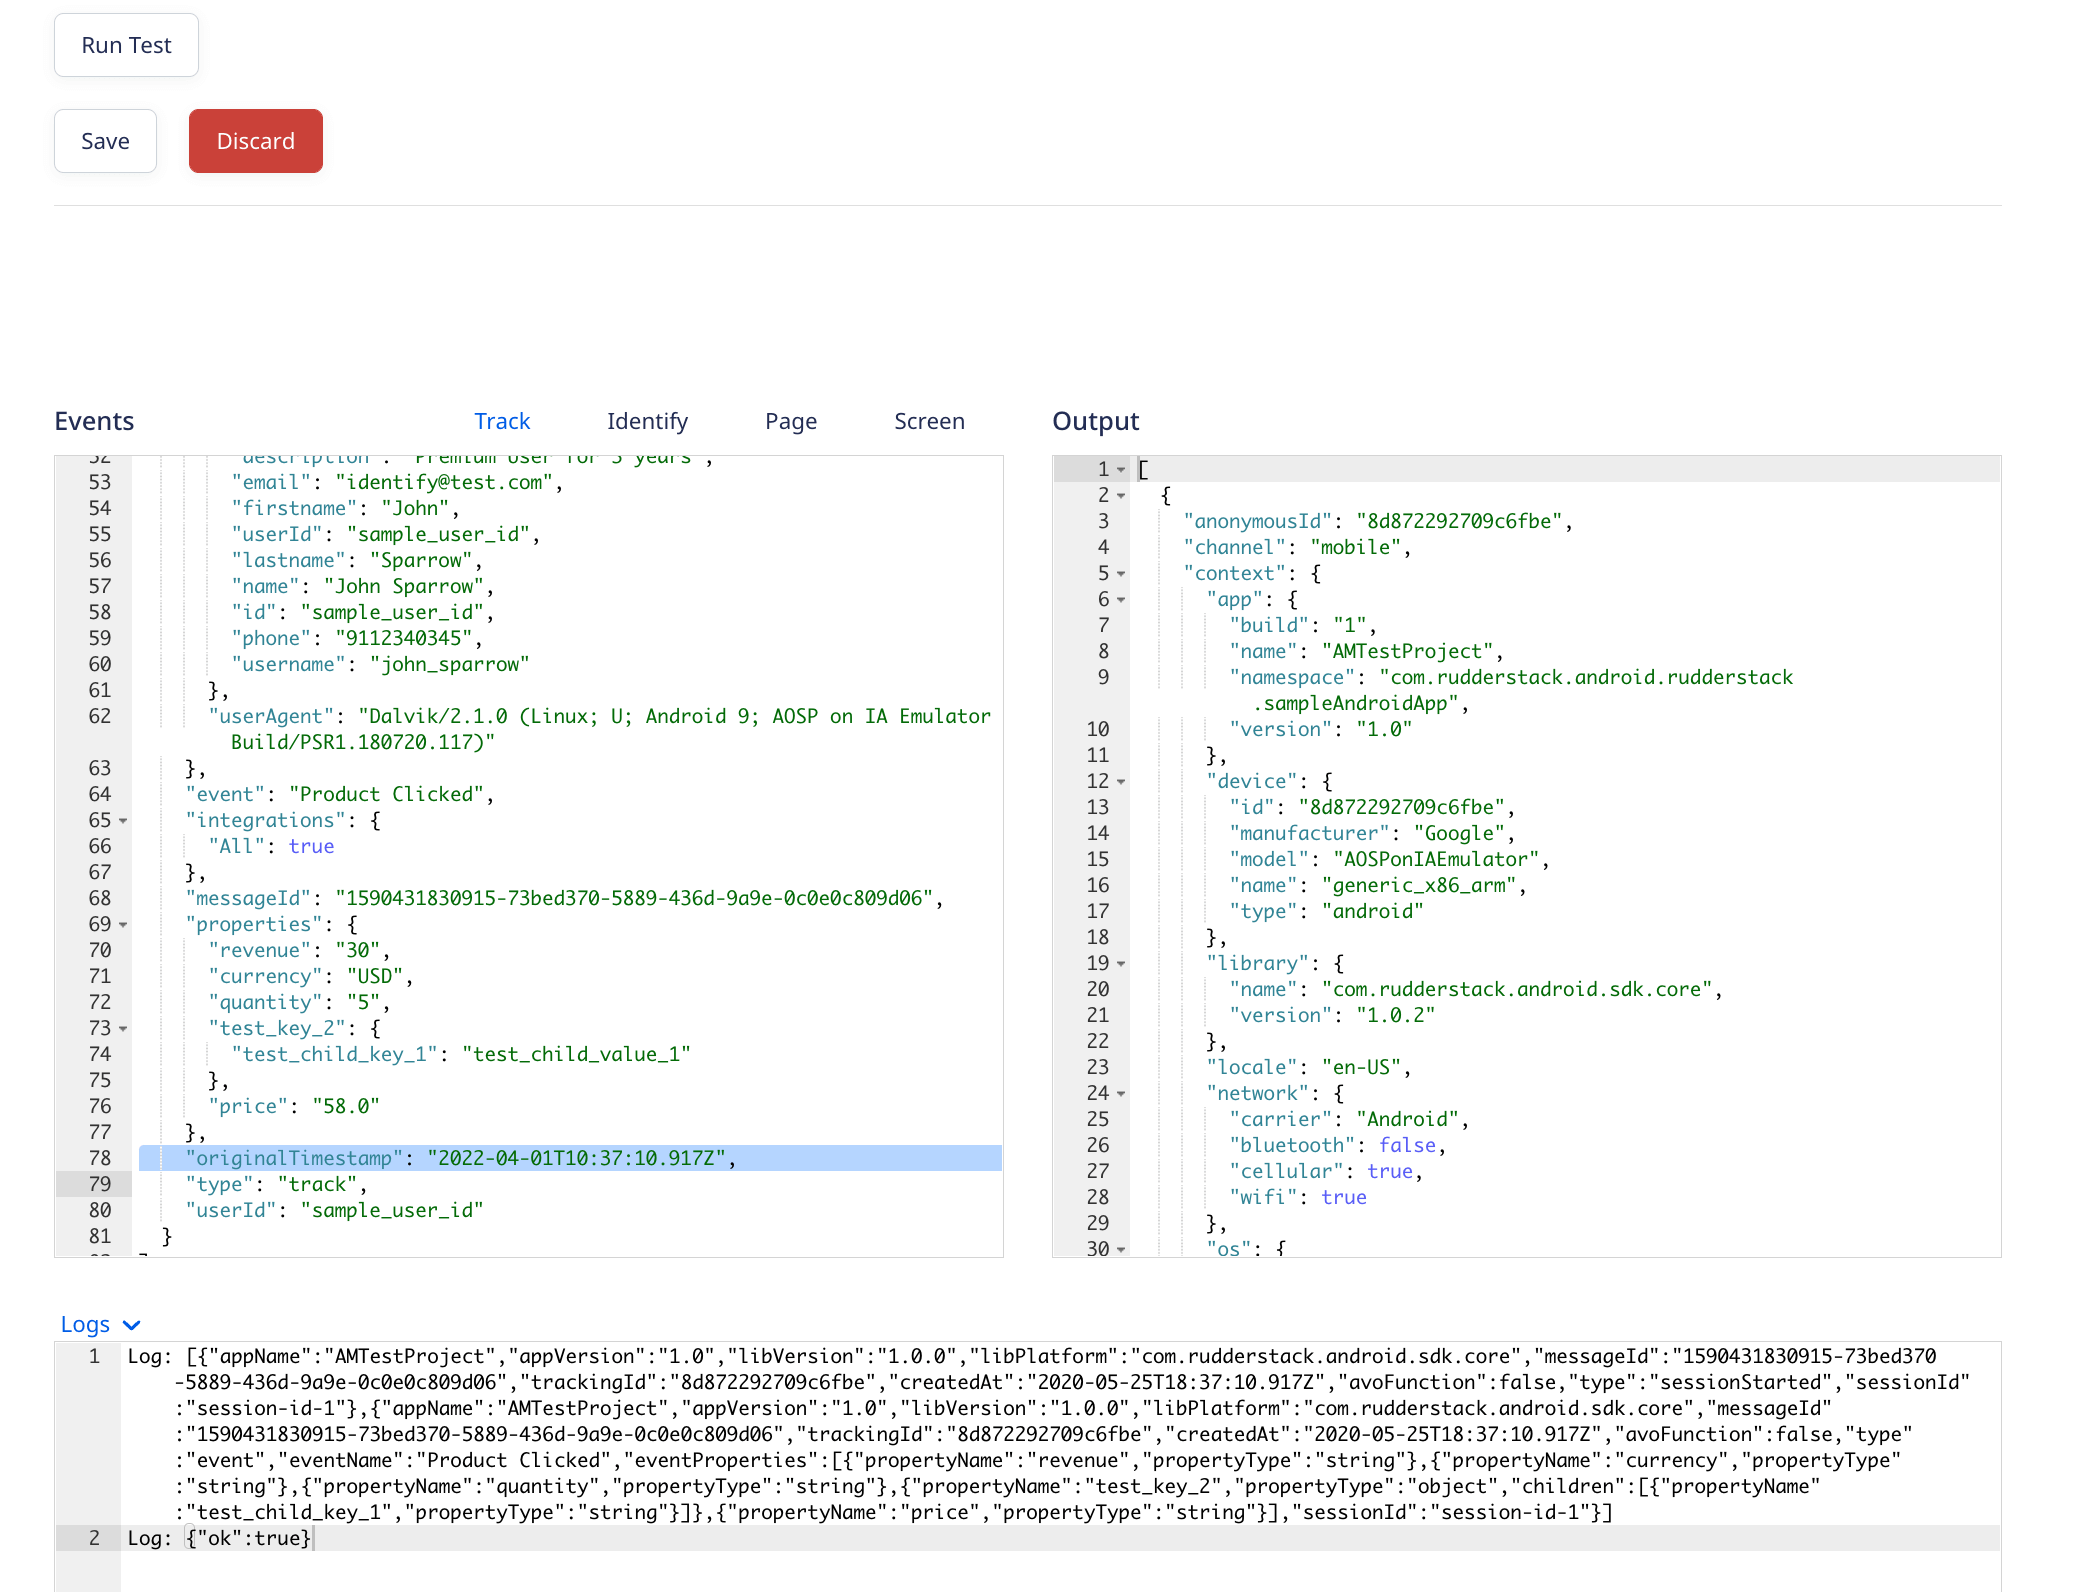
Then navigate to Avo, pick `Inspector` in the sidebar and pick Development environment
You’ll see the event in your dashboard under the source from where you got the snippet from.
This means that the RudderStack Transformation is working.
#### Step 4. Connect the RudderStack Transformation to your RudderStack Destinations
To properly route the data to Avo Inspector you'll need to create a destination per each app environment and then connect corresponding Inspector Transformation to the destination.
> For example, you are have a web app with production and development environments and send the data to Mixpanel.
>
> In this case you'll need to create two Mixpanel destinations in RudderStack - one for the production app and another one for the development app. Mixpanel settings will be identical in both.
>
> Connect the Transformation created with the development Inspector snippet to the development Mixpanel destination and the production Inspector Transformation to the production Mixpanel destination.
To make the connection pick `Destinations` in the sidebar, pick one destination and go to `Transformations` tab.
There you can pick a Transformation that will be ran on every event that is sent to this destination.
On this screenshot we connected the development Avo Inspector transformation to the Development Destination.
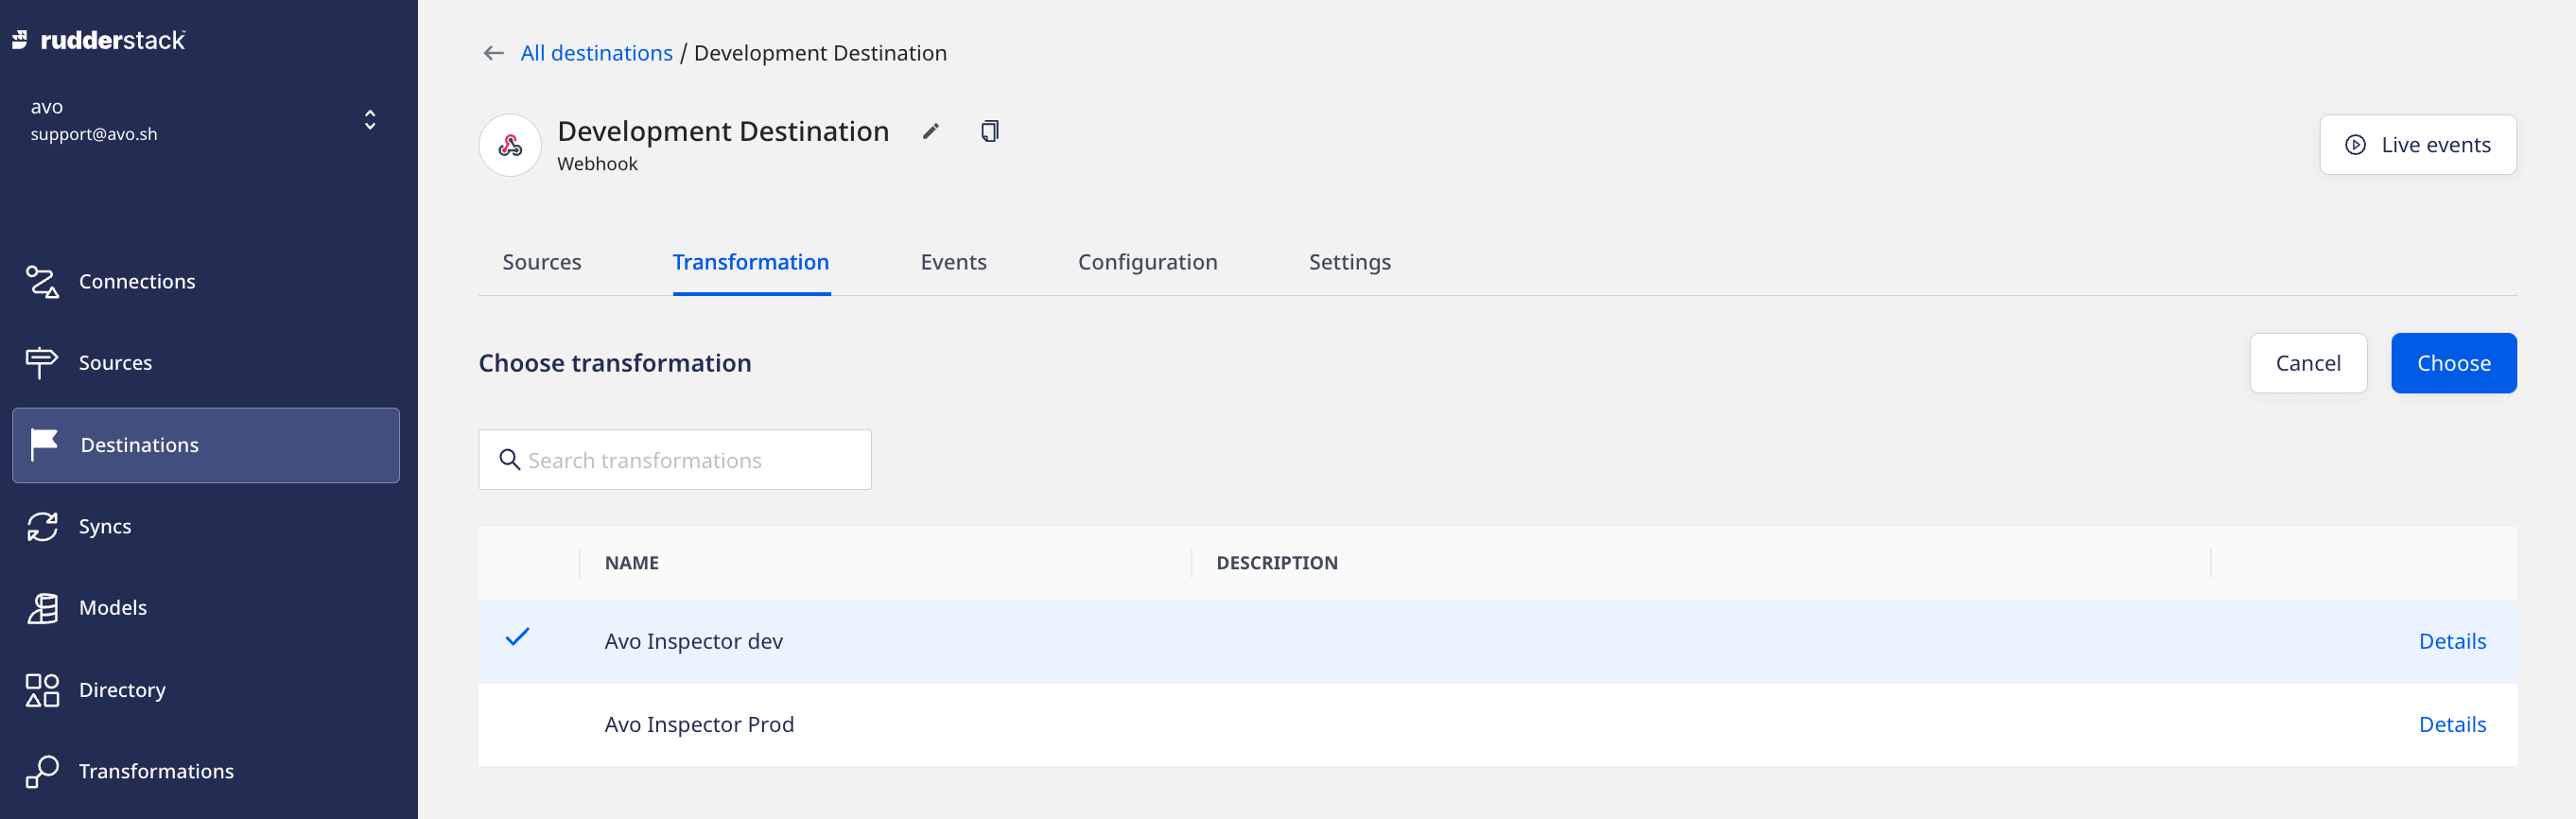
Then go to the `Sources` tab and make sure that the destination is connected to the correct source.
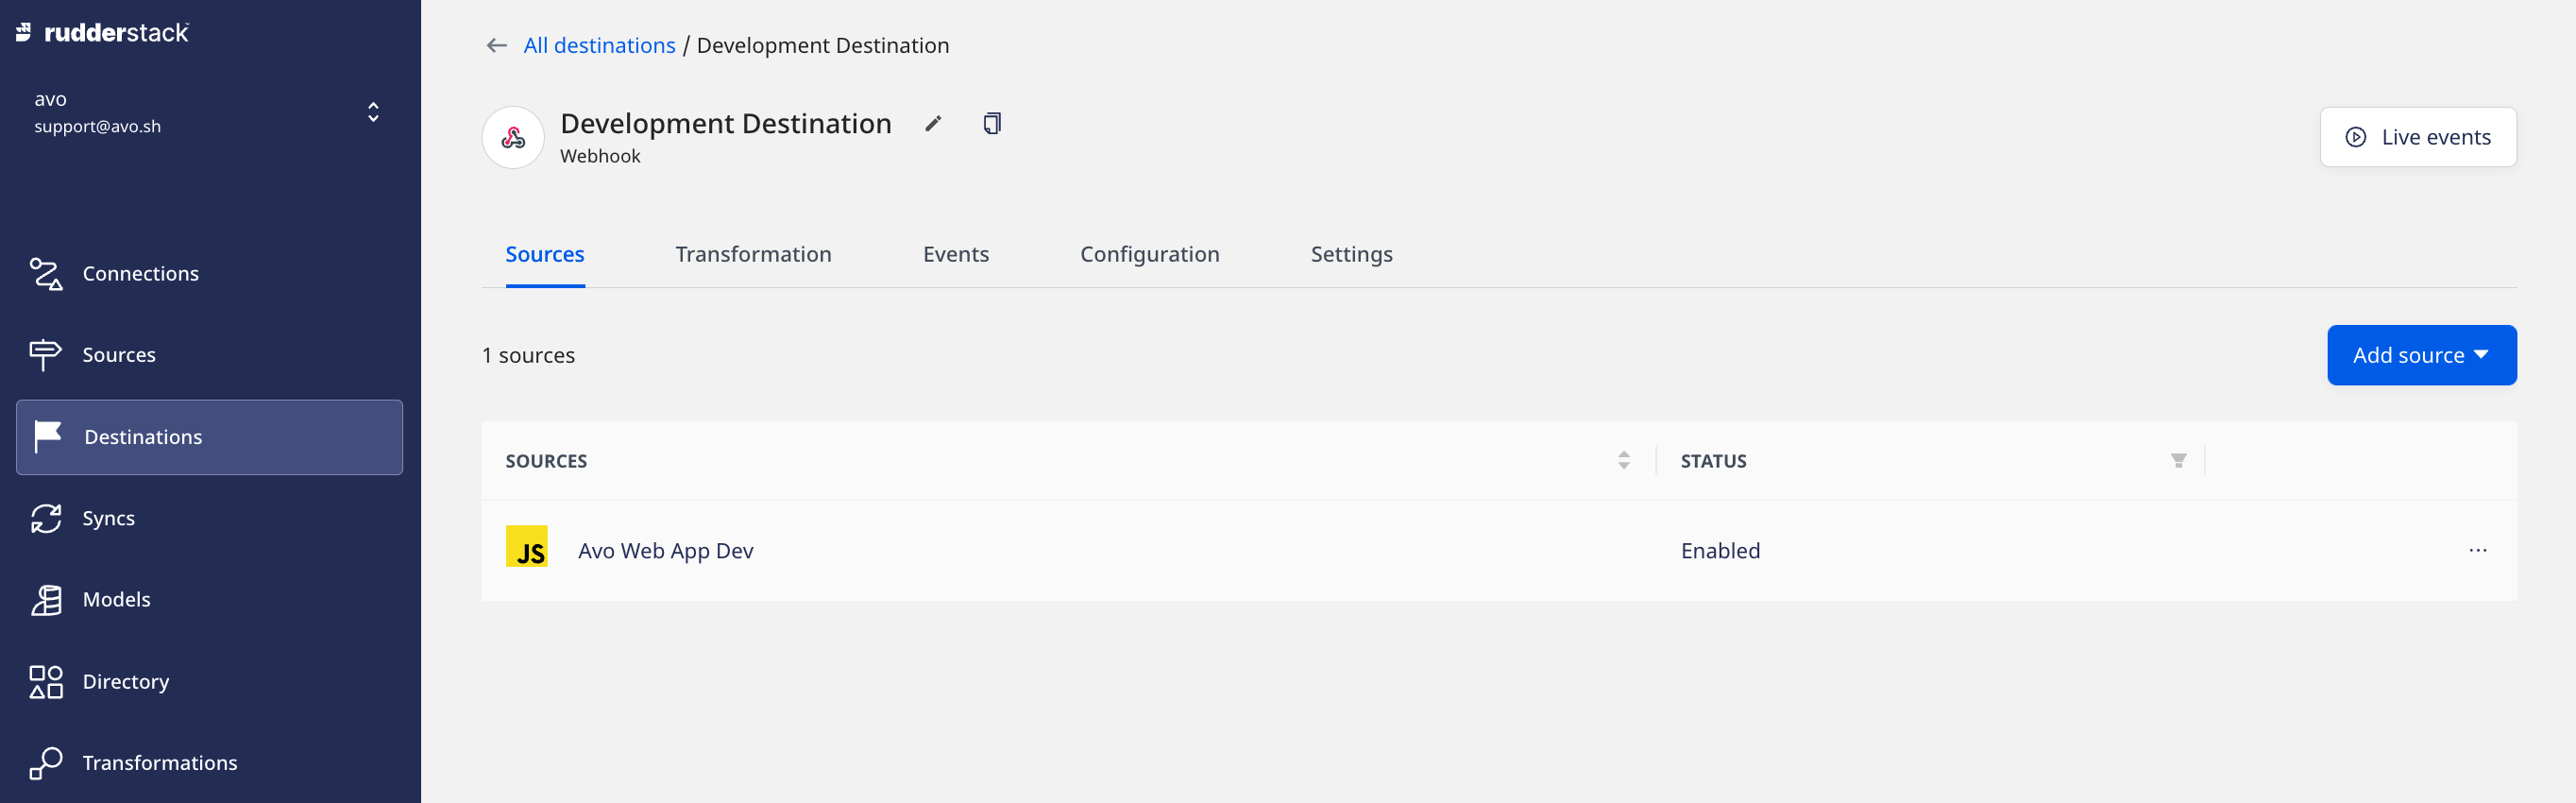
Now your RudderStack events stream from this source to this destination is analyzed by Avo Inspector.
## Error response from API
The calls to the API are fire and forget, so the API tries to return 200 if it can.
The API will accept multiple events in a batch, and returns a 200 with `{"ok": true}` if all the events managed to get processed.
If any of the events were invalid or if the API failed to decode them, it will return a 200 response, with
`{"ok": false, "errors": [{"message": , "json": }]}` which contains the Json for each event that failed.
---
Source: https://www.avo.app/docs/inspector/connect-inspector-to-posthog.md
# Send data from PostHog to Avo Inspector
## Use Avo Inspector as a PostHog destination
If you are already sending your data to PostHog you can stream it to Avo Inspector without adding any code to your codebase.
PostHog has an official plugin maintained by PostHog that sends data directly to Avo Inspector. If you are using PostHog you can set it up within a few minutes.
> The Plugin is a side effect of Avo Inspector analyzing your events and keeping your PostHog events stream unchanged.
After connecting the PostHog plugin to a source the event schemas of all events seen in PostHog will automatically be sent to Avo Inspector and you'll be able to monitor the quality of your tracking implementation without any changes in your code!
> 💡 Inspector only receives your event schema, no actual data will be sent to Avo.
> ℹ️ Remember that production data takes up to 2 hours to appear in Inspector dashboard, while development data is available without any delay.
## Guide to connect PostHog and Avo Inspector
#### Step 1. Set up your Avo source
An Avo Source is the first thing you need to connect your PostHog data to Avo Inspector.
Open `Sources` in the Avo sidebar or `Manage Sources` in Inspector tab

If you already have the source, open it in the dashboard. If you don’t have the source corresponding to your app, [add a new one](https://www.avo.app/docs/inspector/configuring-inspector-sources.md).

In the source details, go to "Inspector Setup" and there you’ll see options to integrate Inspector. Pick PostHog to see the integration guide.
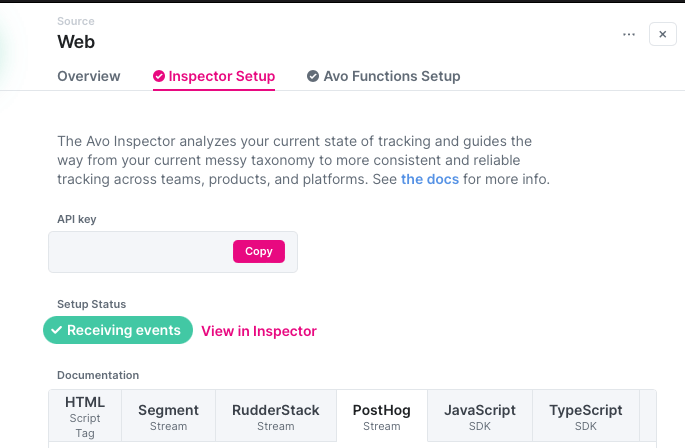
Copy the API key, you will need to use it in PostHog for the next step.
#### Step 2. Enable Avo Inspector plugin in PostHog
- Open PostHog and log in into your workspace
- Pick `Plugins` in the sidebar
- Search for `Avo Inspector` in the search box
Enable the plugin and paste the API key
Save it by pressing `Save` button under the code editor.
#### Step 3. Test your PostHog plugin integration on Dev.
You can test the production PostHog Plugin in the same way, but keep in mind that the production data shows with a ~2 hours delay in Inspector dashboard, while development and staging data is shown without delay.
Monitor the logs for Avo Inspector plugin in PostHog and verify events are being sent to Avo Inspector.
Then navigate to Avo, pick `Inspector` in the sidebar and pick Development environment

You’ll see the event in your dashboard under the source from where you got the snippet from.

This means that the PostHog plugin is working 🎉
## Error response from API
The calls to the API are fire and forget, so the API tries to return 200 if it can.
The API will accept multiple events in a batch, and returns a 200 with `{"ok": true}` if all the events managed to get processed.
If any of the events were invalid or if the API failed to decode them, it will return a 200 response, with
`{"ok": false, "errors": [{"message": , "json": }]}` which contains the Json for each event that failed.
---
Source: https://www.avo.app/docs/inspector/connect-inspector-to-snowplow.md
# Send data from Snowplow to Avo Inspector
If you are using Snowplow SDKs to track events in your application, you can connect Avo Inspector to monitor and validate your tracking implementation. This integration requires adding a small amount of code to your existing Snowplow setup.
After connecting Inspector to your Snowplow implementation, all your Snowplow self describing events will be automatically analyzed by Avo Inspector. You'll be able to monitor the quality of your tracking implementation and catch schema issues before they impact your data pipeline.
> 💡 Inspector only receives your event schema, no actual data will be sent to Avo.
> ℹ️ Remember that production data takes up to 2 hours to appear in Inspector
> dashboard, while development data is available without any delay.
## Guide to connect Snowplow and Avo Inspector
### Step 1. Set up your Avo source
An Avo Source is the first thing you need to connect your Snowplow data to Avo Inspector.
Open `Sources` in the Avo sidebar or `Manage Sources` in Inspector tab

If you already have the source, open it in the dashboard. If you don't have the source corresponding to your app, [add a new one](https://www.avo.app/docs/inspector/configuring-inspector-sources.md).
In the source details, go to "Inspector Setup" and there you'll see options to integrate Inspector. Copy the API key, you will need to use it in your Snowplow integration.

### Step 2. Install and initialize the Avo Inspector SDK
Before integrating with Snowplow, you'll need to install the Avo Inspector SDK for your platform:
- Web (JavaScript/TypeScript): [Web Inspector SDK documentation](https://www.avo.app/docs/reference/avo-inspector-sdks/web.md)
- iOS (Swift): [iOS Inspector SDK documentation](https://www.avo.app/docs/reference/avo-inspector-sdks/ios.md)
- Android (Kotlin/Java): [Android Inspector SDK documentation](https://www.avo.app/docs/reference/avo-inspector-sdks/android.md)
- React Native: [React Native Inspector SDK documentation](https://www.avo.app/docs/reference/avo-inspector-sdks/react-native.md)
### Step 3. Integrate Avo Inspector with your Snowplow implementation
The best integration approach depends on how your tracking implementation is organized. We'll cover both scenarios to help you choose the right method.
#### Web Integration
**Recommended: Add Inspector to your analytics wrapper**
If you have an analytics wrapper or service that centralizes your tracking calls (where `trackSelfDescribingEvent` is only called from one place), this is the cleanest integration approach. Simply add Avo Inspector to your existing wrapper function.
```javascript
import { trackSelfDescribingEvent } from '@snowplow/browser-tracker';
import * as Inspector from "avo-inspector";
// Initialize Avo Inspector with your API key
const inspector = new Inspector.AvoInspector({
apiKey: 'YOUR_API_KEY',
env: 'dev', // Use "staging" or "prod" for other environments
version: '1.2.3', // Your app version
});
function trackEvent(event, context) {
// Extract event name from schema URI
// (e.g., "iglu:com.example/button_clicked/jsonschema/1-0-0" -> "button_clicked")
// This is a common approach, but it may need to be adjusted based on how you structure your
// Snowplow schemas and how you've organized your events in your Avo tracking plan.
// Ensure the extracted event name matches the event names defined in Avo.
const eventName = event.schema.split('/')[1] || event.schema;
// If you have context objects (e.g., Snowplow contexts) you've documented as
// event properties in Avo, here you'd want to add them to the eventProperties object.
// For example, if you have a userContext object with the schema "iglu:com.example/user/jsonschema/1-0-0",
// you'd want to add the user to the eventProperties object.
// eventProperties['user'] = userContext.data;
const eventProperties = event.data;
// Send to Avo Inspector
inspector.trackSchemaFromEvent(eventName, eventProperties);
// Send to Snowplow
trackSelfDescribingEvent({ event, context });
}
// Usage throughout your app
trackEvent(
{
schema: 'iglu:com.example/button_clicked/jsonschema/1-0-0',
data: {
button_name: 'sign_up',
page: 'homepage',
},
},
[],
);
```
**Alternative: Create a wrapper function for decentralized tracking**
If your codebase has tracking calls scattered throughout (multiple places calling `trackSelfDescribingEvent` directly), create a wrapper function that you can use instead.
> ⚠️ This approach requires you to replace all existing `trackSelfDescribingEvent` calls with your wrapper function throughout your codebase.
```javascript
import { trackSelfDescribingEvent } from '@snowplow/browser-tracker';
import * as Inspector from "avo-inspector";
const inspector = new Inspector.AvoInspector({
apiKey: 'YOUR_API_KEY',
env: 'dev',
version: '1.2.3', // Your app version
});
// Create a wrapper function to intercept all tracking calls
function trackingWrapper(args) {
// Extract event name from schema URI
const eventName = args.event.schema.split('/')[1] || args.event.schema;
const eventProperties = args.event.data;
// Send to Avo Inspector
inspector.trackSchemaFromEvent(eventName, eventProperties);
// Send to Snowplow
return trackSelfDescribingEvent(args);
}
// Use trackingWrapper instead of trackSelfDescribingEvent throughout your app
trackingWrapper({
event: {
schema: 'iglu:com.example/button_clicked/jsonschema/1-0-0',
data: { button_name: 'sign_up', page: 'homepage' }
},
context: []
});
```
#### Mobile Integration
**Recommended: Add Inspector to your analytics wrapper**
Most mobile apps have an analytics service or wrapper class that centralizes tracking calls. If you're calling Snowplow's tracking methods from a single location, add Avo Inspector there.
**iOS (Swift)**
```swift
class AnalyticsService {
func trackEvent(event: SelfDescribing, context: [Context]) {
// Extract event name from schema URI
let eventName = event.schema.components(separatedBy: "/").count > 1 ? event.schema.components(separatedBy: "/")[1] : event.schema
// If you have context objects (e.g., Snowplow contexts) you've documented as
// event properties in Avo, here you'd want to add them to the eventParams object.
// For example, if you have a userContext object with the schema "iglu:com.example/user/jsonschema/1-0-0",
// you'd want to add the user to the eventParams object.
// eventParams["user"] = userContext.data
var eventParams = event.data
// Send to Avo Inspector
avoInspector.trackSchema(fromEvent: eventName, eventParams: eventParams)
// Send to Snowplow
let event = SelfDescribing(schema: schema, payload: data)
tracker.track(event)
}
}
// Usage throughout your app
let event = SelfDescribing(
schema: "iglu:com.example/button_clicked/jsonschema/1-0-0",
payload: ["button_name": "sign_up", "page": "homepage"]
)
analyticsService.trackEvent(event: event, context: [])
```
**Android (Kotlin)**
```kotlin
class AnalyticsService {
fun trackEvent(event: SelfDescribing, context: List) {
// Extract event name from schema URI
val eventName = event.schema.split("/").getOrElse(1) { event.schema }
val eventProperties = event.data
// Send to Avo Inspector
avoInspector.trackSchemaFromEvent(eventName, eventProperties)
// Send to Snowplow
val event = SelfDescribing(schema, data)
tracker.track(event)
}
}
// Usage throughout your app
val event = SelfDescribing(
"iglu:com.example/button_clicked/jsonschema/1-0-0",
mapOf("button_name" to "sign_up", "page" to "homepage")
)
analyticsService.trackEvent(event)
```
**React Native**
React Native uses the same approach as web since the [Snowplow React Native tracker](https://docs.snowplow.io/docs/sources/react-native-tracker/) is implemented in JavaScript/TypeScript. The [Avo Inspector React Native SDK](https://www.avo.app/docs/reference/avo-inspector-sdks/react-native.md) provides the same API as the web version.
```javascript
import { newTracker } from '@snowplow/react-native-tracker';
import * as Inspector from 'avo-inspector';
// Initialize Avo Inspector
const inspector = new Inspector.AvoInspector({
apiKey: 'YOUR_API_KEY',
env: 'dev',
version: '1.2.3',
});
// Initialize Snowplow tracker
const tracker = newTracker({
namespace: 'appTracker',
endpoint: 'https://YOUR_COLLECTOR',
});
class AnalyticsService {
trackEvent(event, context) {
// Extract event name from schema URI
const eventName = event.schema.split('/')[1] || event.schema;
// Send to Avo Inspector
inspector.trackSchemaFromEvent(eventName, event.data);
// Send to Snowplow
tracker.trackSelfDescribingEvent(event, context);
}
}
// Usage throughout your app
analyticsService.trackEvent(
'iglu:com.example/button_clicked/jsonschema/1-0-0',
{ button_name: 'sign_up', page: 'homepage' }
);
```
> ℹ️ **Event name extraction**: The above examples extract the event name by
> splitting the Snowplow schema URI on `/` and taking the second part. This
> approach may need to be adjusted based on how you structure your Snowplow
> schemas and how you've organized your events in your Avo tracking plan. Ensure
> the extracted event name matches the event names defined in Avo.
**Alternative: Use SDK plugins for decentralized tracking**
If your mobile app has tracking calls scattered throughout the codebase, use Snowplow's plugin system to automatically capture all events. Snowplow mobile SDKs (v5+) provide a plugin architecture with several extension points, including an `afterTrack` callback that executes after an event has been processed but before it's sent to the collector.
The `afterTrack` callback is perfect for Avo Inspector integration because it provides access to the complete event object, including all context entities, without interfering with your existing tracking implementation. Learn more about [Snowplow tracker plugins](https://docs.snowplow.io/docs/sources/mobile-trackers/plugins/).
**iOS Plugin Approach**
```swift
let plugin = PluginConfiguration(identifier: "avoInspectorPlugin")
plugin.afterTrack { event in
// Extract event name from schema URI
let eventName = event.schema.components(separatedBy: "/").count > 1 ?
event.schema.components(separatedBy: "/")[1] : event.schema
// Send to Avo Inspector
avoInspector.trackSchemaFromEvent(eventName: eventName, eventParams: event.payload)
}
let tracker = Snowplow.createTracker(
namespace: "namespace",
network: networkConfig,
configurations: [plugin]
)
```
**Android Plugin Approach**
```kotlin
val plugin = PluginConfiguration("myPlugin")
plugin.afterTrack {
// Extract event name from schema URI
val eventName = it.schema.split("/").getOrElse(1) { it.schema }
val params = mutableMapOf()
// Combine main event payload with context entities
params.putAll(it.payload)
it.entities.forEach { ctx ->
params[ctx.schema] = ctx.data
}
avoInspector.trackSchemaFromEvent(eventName, params)
}
val tracker = Snowplow.createTracker(
applicationContext,
"namespace",
networkConfig,
plugin
)
```
### Step 4. Test your integration
After implementing the integration, test that events are being sent to Avo Inspector by triggering some events in your application.
Navigate to Avo, pick `Inspector` in the sidebar and pick Development environment

You'll see your Snowplow events in the dashboard under the source you configured. This means that your Snowplow integration is working!
## Next Steps
- [Import events from Inspector](https://www.avo.app/docs/inspector/add-events-from-inspector.md)
- [Review Issues](https://www.avo.app/docs/inspector/inspector-issues-view.md)
- [Set up Alerts](https://www.avo.app/docs/inspector/inspector-slack-alerts.md)
---
Source: https://www.avo.app/docs/inspector/connect-inspector-to-adobe-tag-extension.md
# Avo Inspector Adobe Tag Extension
## Overview
The **Avo Inspector Adobe Tags Extension** allows you to monitor and validate your Adobe data by sending only data schemas (no personal data) to **Avo Inspector**. This helps ensure data consistency and catch schema violations in real time.
> Currently, we only support Web tag extensions for Adobe.
## Features
- Watches Adobe data layers for changes
- Filters events and properties based on configured prefixes
- Automatically extracts & sends schema structures to Avo Inspector
- Ensures tracking consistency without exposing user data
- Supports both Adobe Client Data Layer and XDM schemas
## Prerequisites
- [Avo Inspector API Key](https://www.avo.app/docs/data-design/avo-tracking-plan/define-sources-and-destinations.md#api-key)
- One of the following Adobe integrations:
- Adobe Client Data Layer Extension
- Adobe Experience Platform Web SDK with XDM schemas

## Choose Your Integration Path
Select the integration method that matches your Adobe implementation:
> [**Adobe Client Data Layer
> Integration**](#adobe-client-data-layer-integration) - Use this if you're
> working with traditional Adobe Client Data Layer
> [**XDM (Experience Data Model)
> Integration**](#xdm-experience-data-model-integration) - Use this if you're
> working with Adobe Experience Platform Web SDK and XDM schemas
---
## Adobe Client Data Layer Integration
### Installation
1. Go to **Adobe Experience Platform Tags**.
2. Navigate to the **Extensions** catalog.
3. Search for **"Avo Inspector"**.
4. Click **Install** and follow the setup instructions.
### Extension Configuration
These settings apply to the Avo Inspector extension globally across your **Tag property**.
| Setting | Description |
| --------------- | ------------------------------------------------------------------------------------------------------------------------------------------------ |
| **API Key** | [Your Avo Inspector API Key for authentication.](https://www.avo.app/docs/data-design/avo-tracking-plan/define-sources-and-destinations.md#api-key) |
| **Environment** | Defines the environment (dev, staging, prod). |
| **App Version** | The application version being tracked. (defaults to 1.0.0) |
### Rule-Specific Configuration
These settings apply to individual rules where the extension is used.
| Setting | Description |
| ----------------------- | ----------------------------------------------------------------------------------------------- |
| **Event Name Prefixes** | Filters out events that start with specific prefixes. |
| **Property Prefixes** | Filters out properties that start with specific prefixes. (only works for top level properties) |
### Setting Up a Rule in Adobe Tags
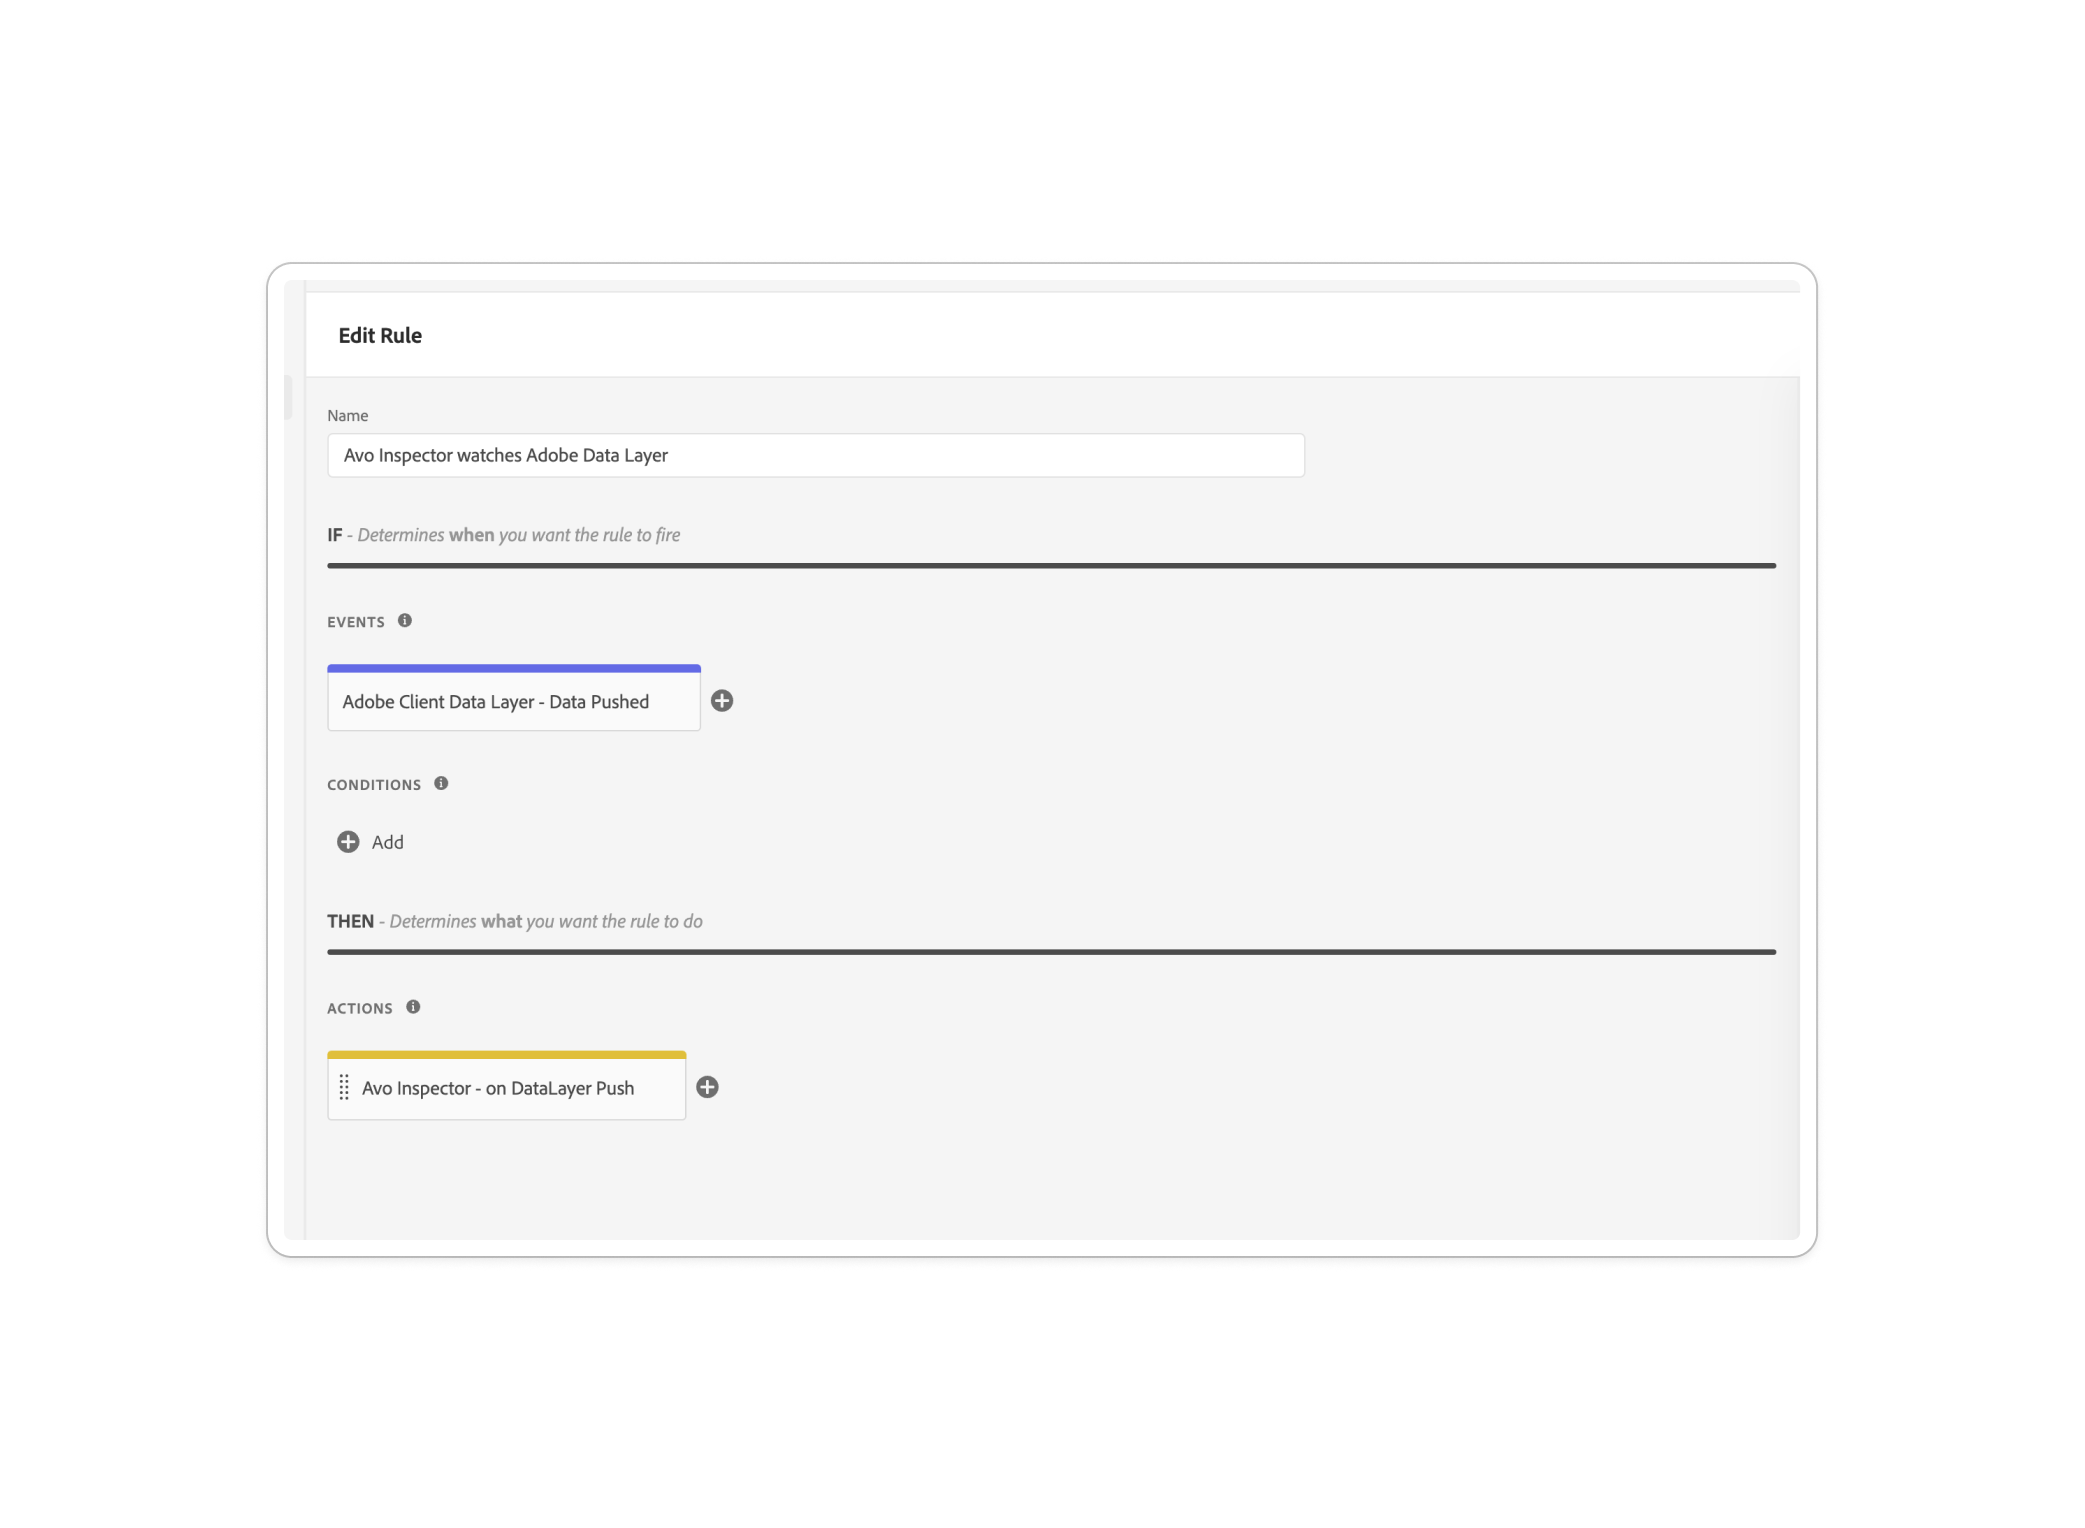
#### Step 1: Configure the Event
- Go to **Rules** → Create a **new rule**.
- Click **Add Event** → Select **Adobe Client data layer** extension or **Google data layer** extension.
- Under **eventType** select **Data Pushed**
- In the settings, select
- Listen to: **All Events**
- Time Scope: **Future**
- Click **Save**
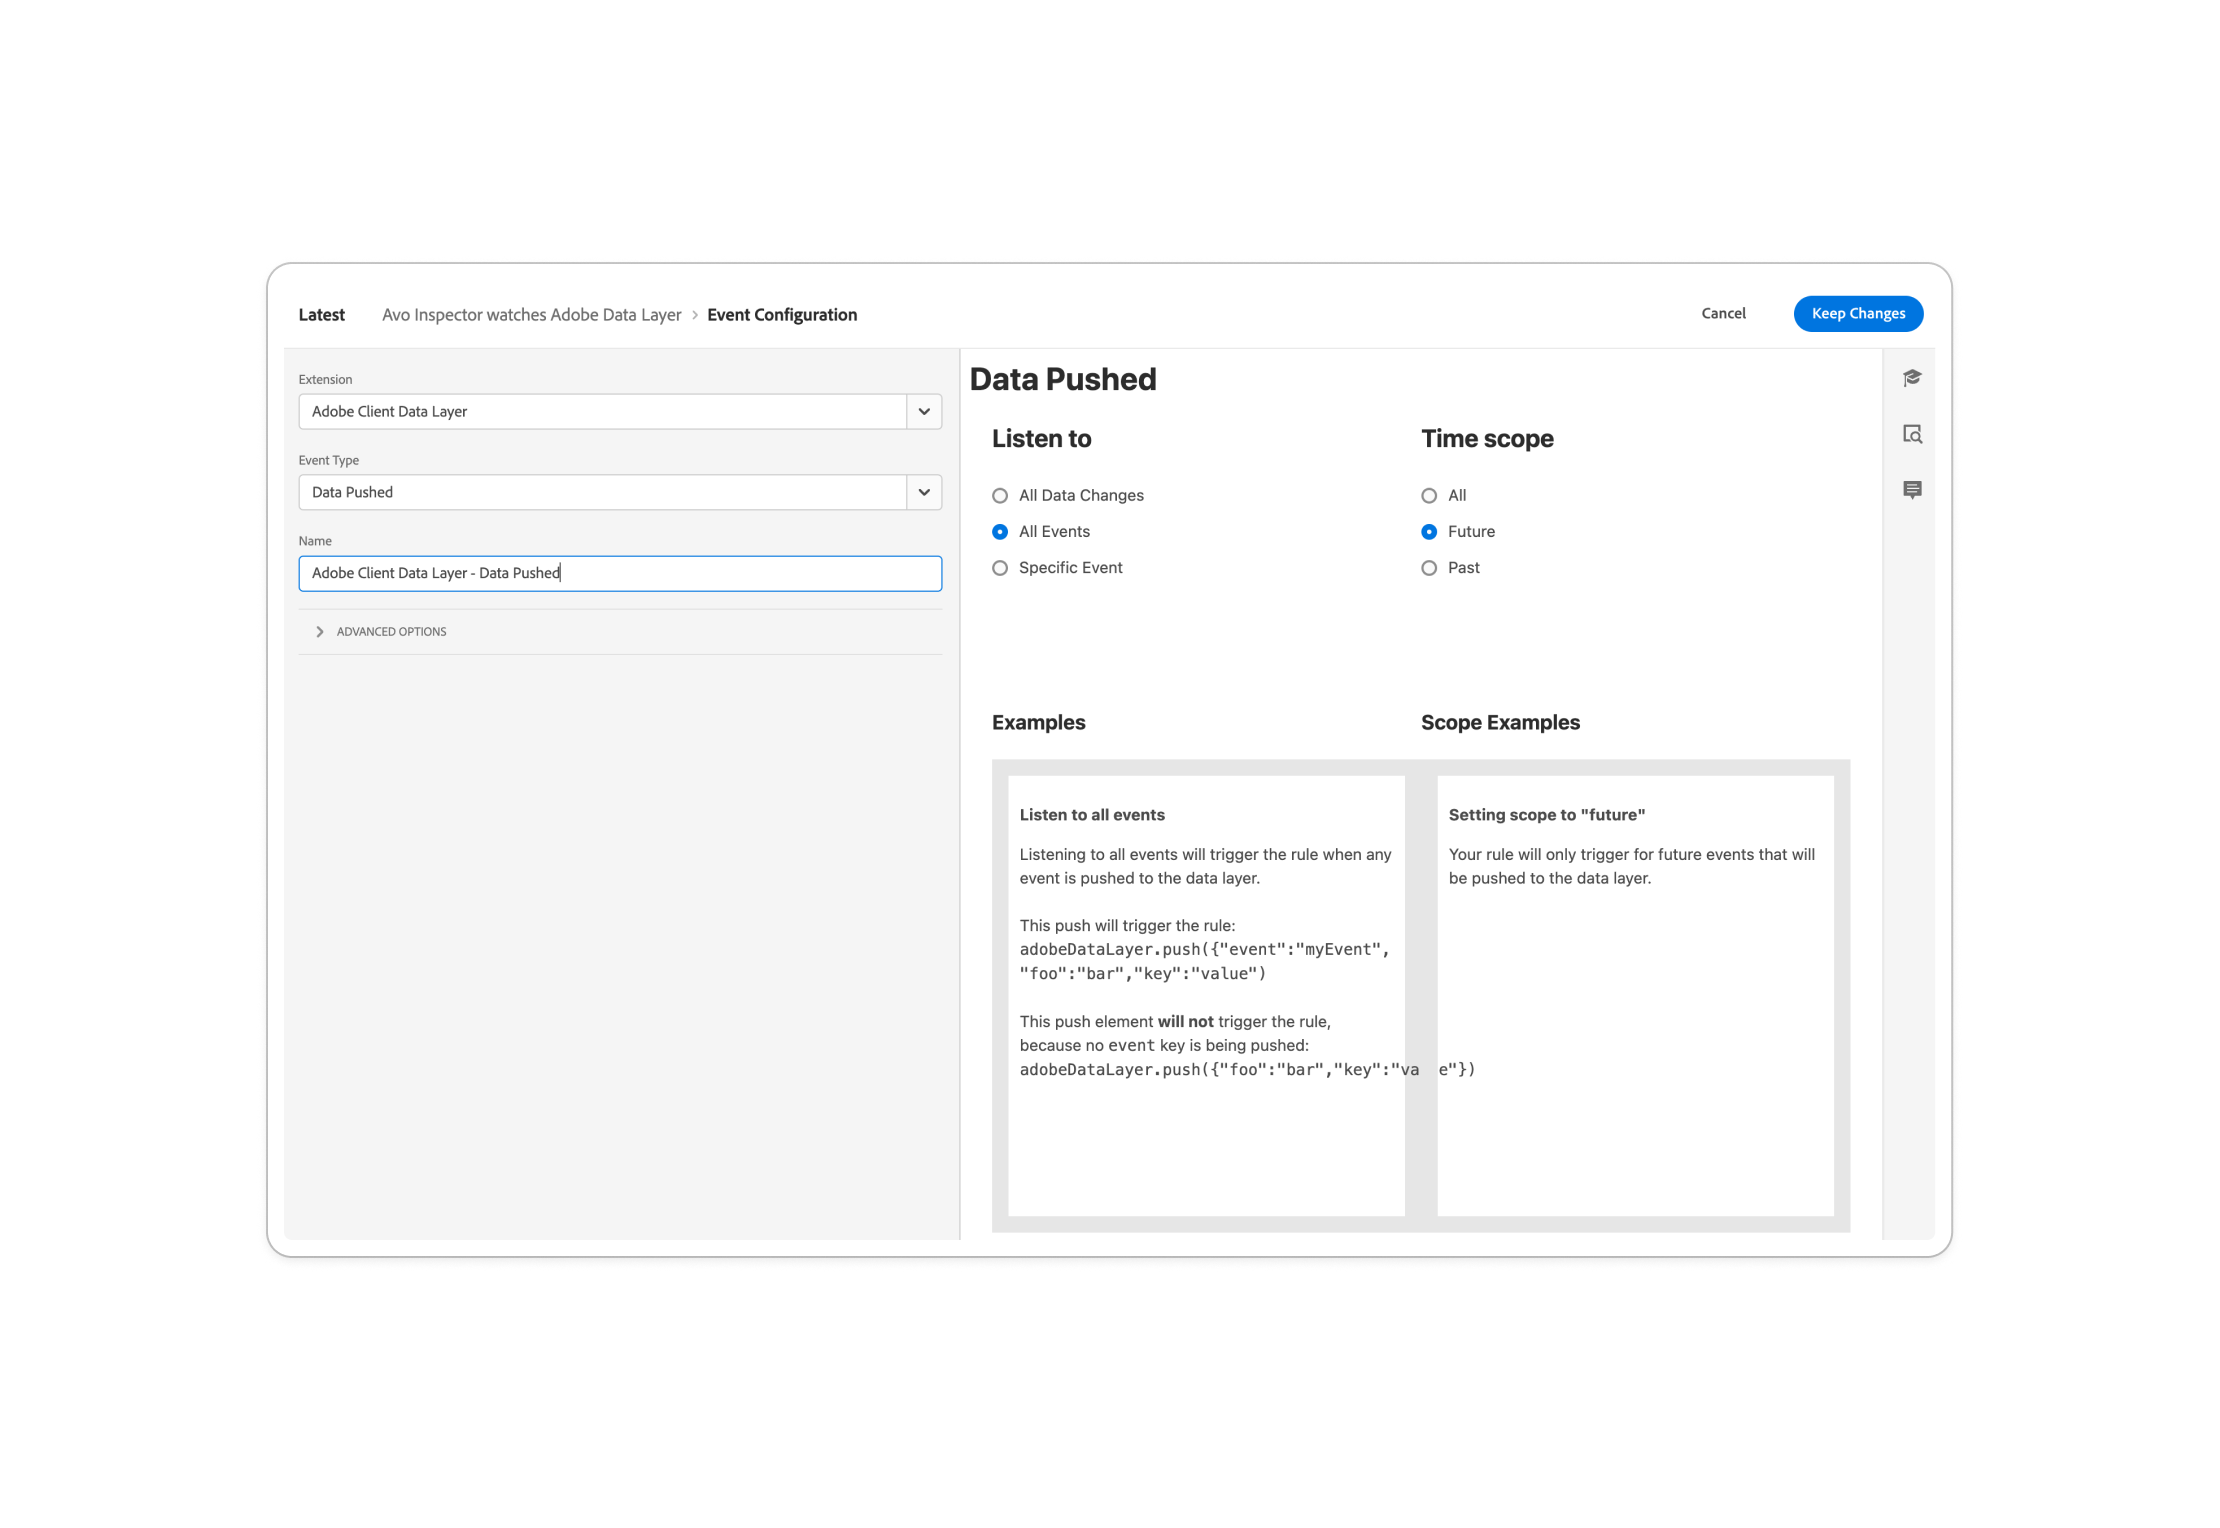
#### Step 2: Configure the Action
- Add an **Action** → Select **Avo Inspector** extension
- Choose `on Adobe DataLayer Push` as the action type.
- Configure the **Rule-Specific Configuration** (Event Name Prefixes & Property Prefixes).
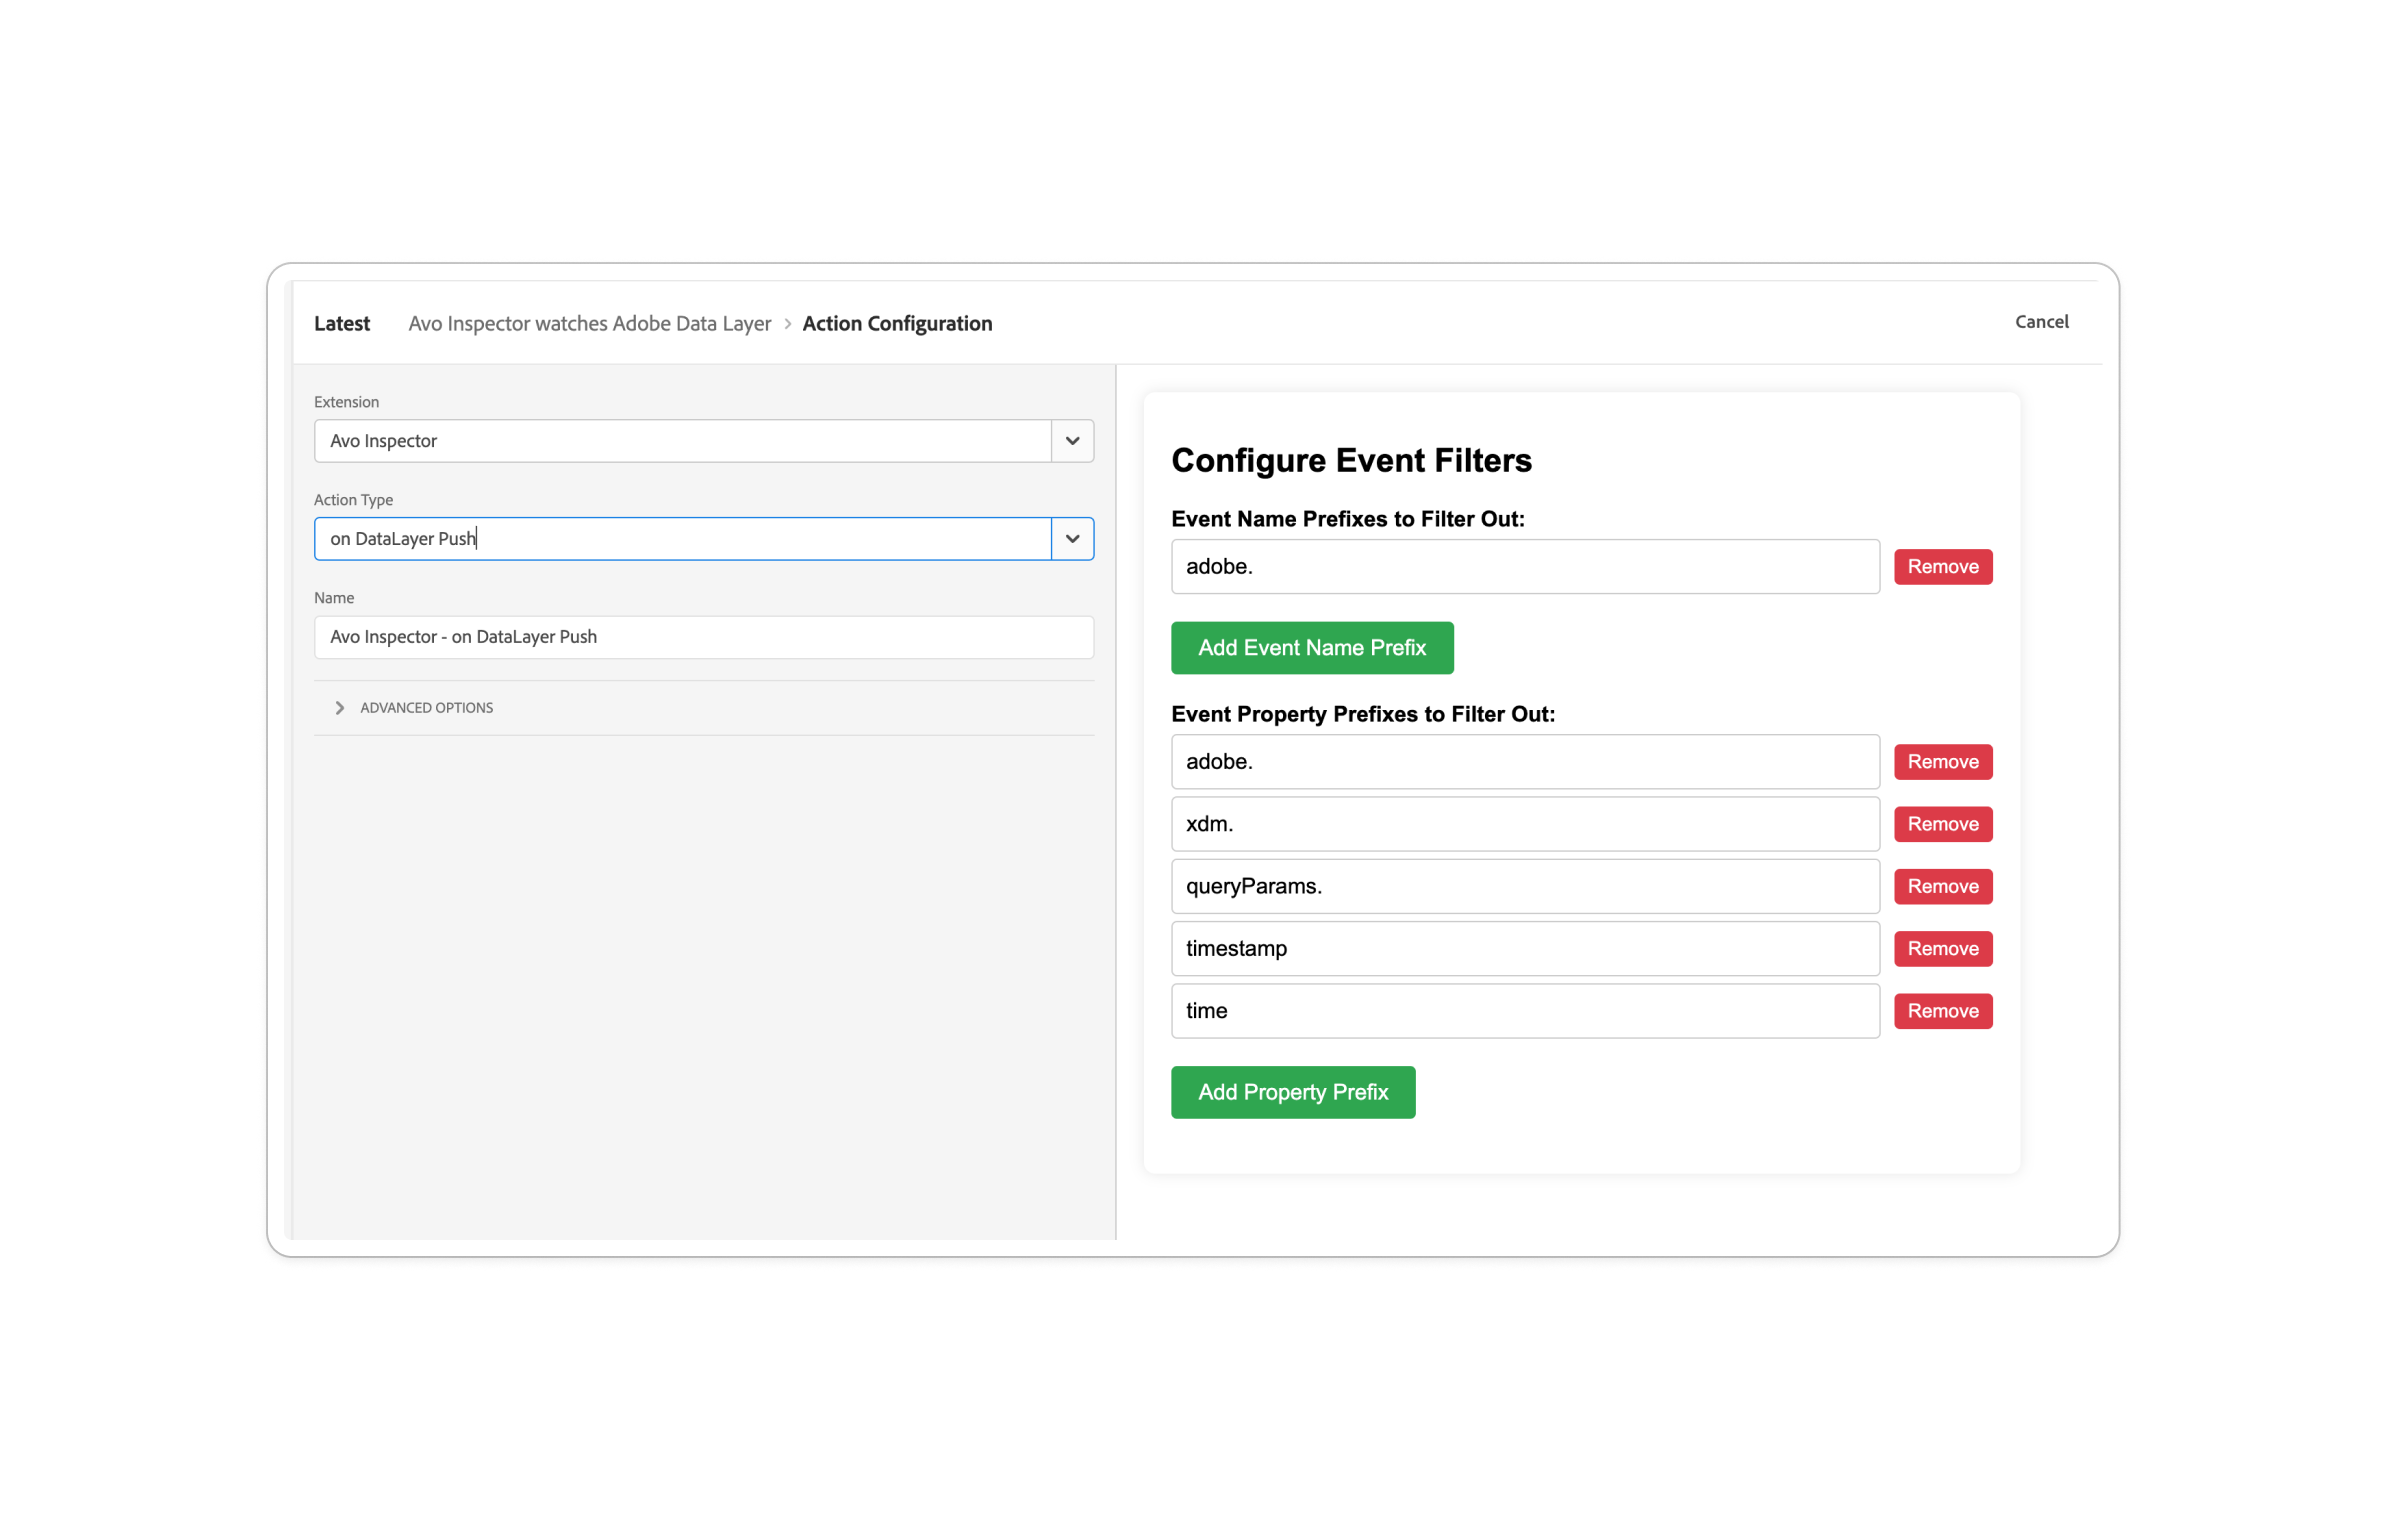
#### Step 3: Save and Publish
- Click **Save Rule**.
- Publish your changes in Adobe Tags.
- Once live, the extension will start **tracking schemas automatically**.
### How It Works
#### Event & Property Filtering
- The extension listens for changes in the **Adobe Client Data Layer**.
- Events and properties are filtered based on prefix rules (configured in settings).
- Unwanted prefixes are ignored, while only schema structures are processed.
#### Sending Schemas to Avo Inspector
- Once an event passes the filter, the extension extracts its schema and sends it to **Avo Inspector**.
- The schema is structured according to Avo's schema validation.
- This helps identify tracking inconsistencies in real time.
When events are being sent successfully, **Avo Inspector** events view will start to receive your events, whether you have them in the **Avo Tracking plan** or not.
If you receive events that are not defined in your tracking plan, the Inspector will offer you to add them to the tracking plan with a single click.
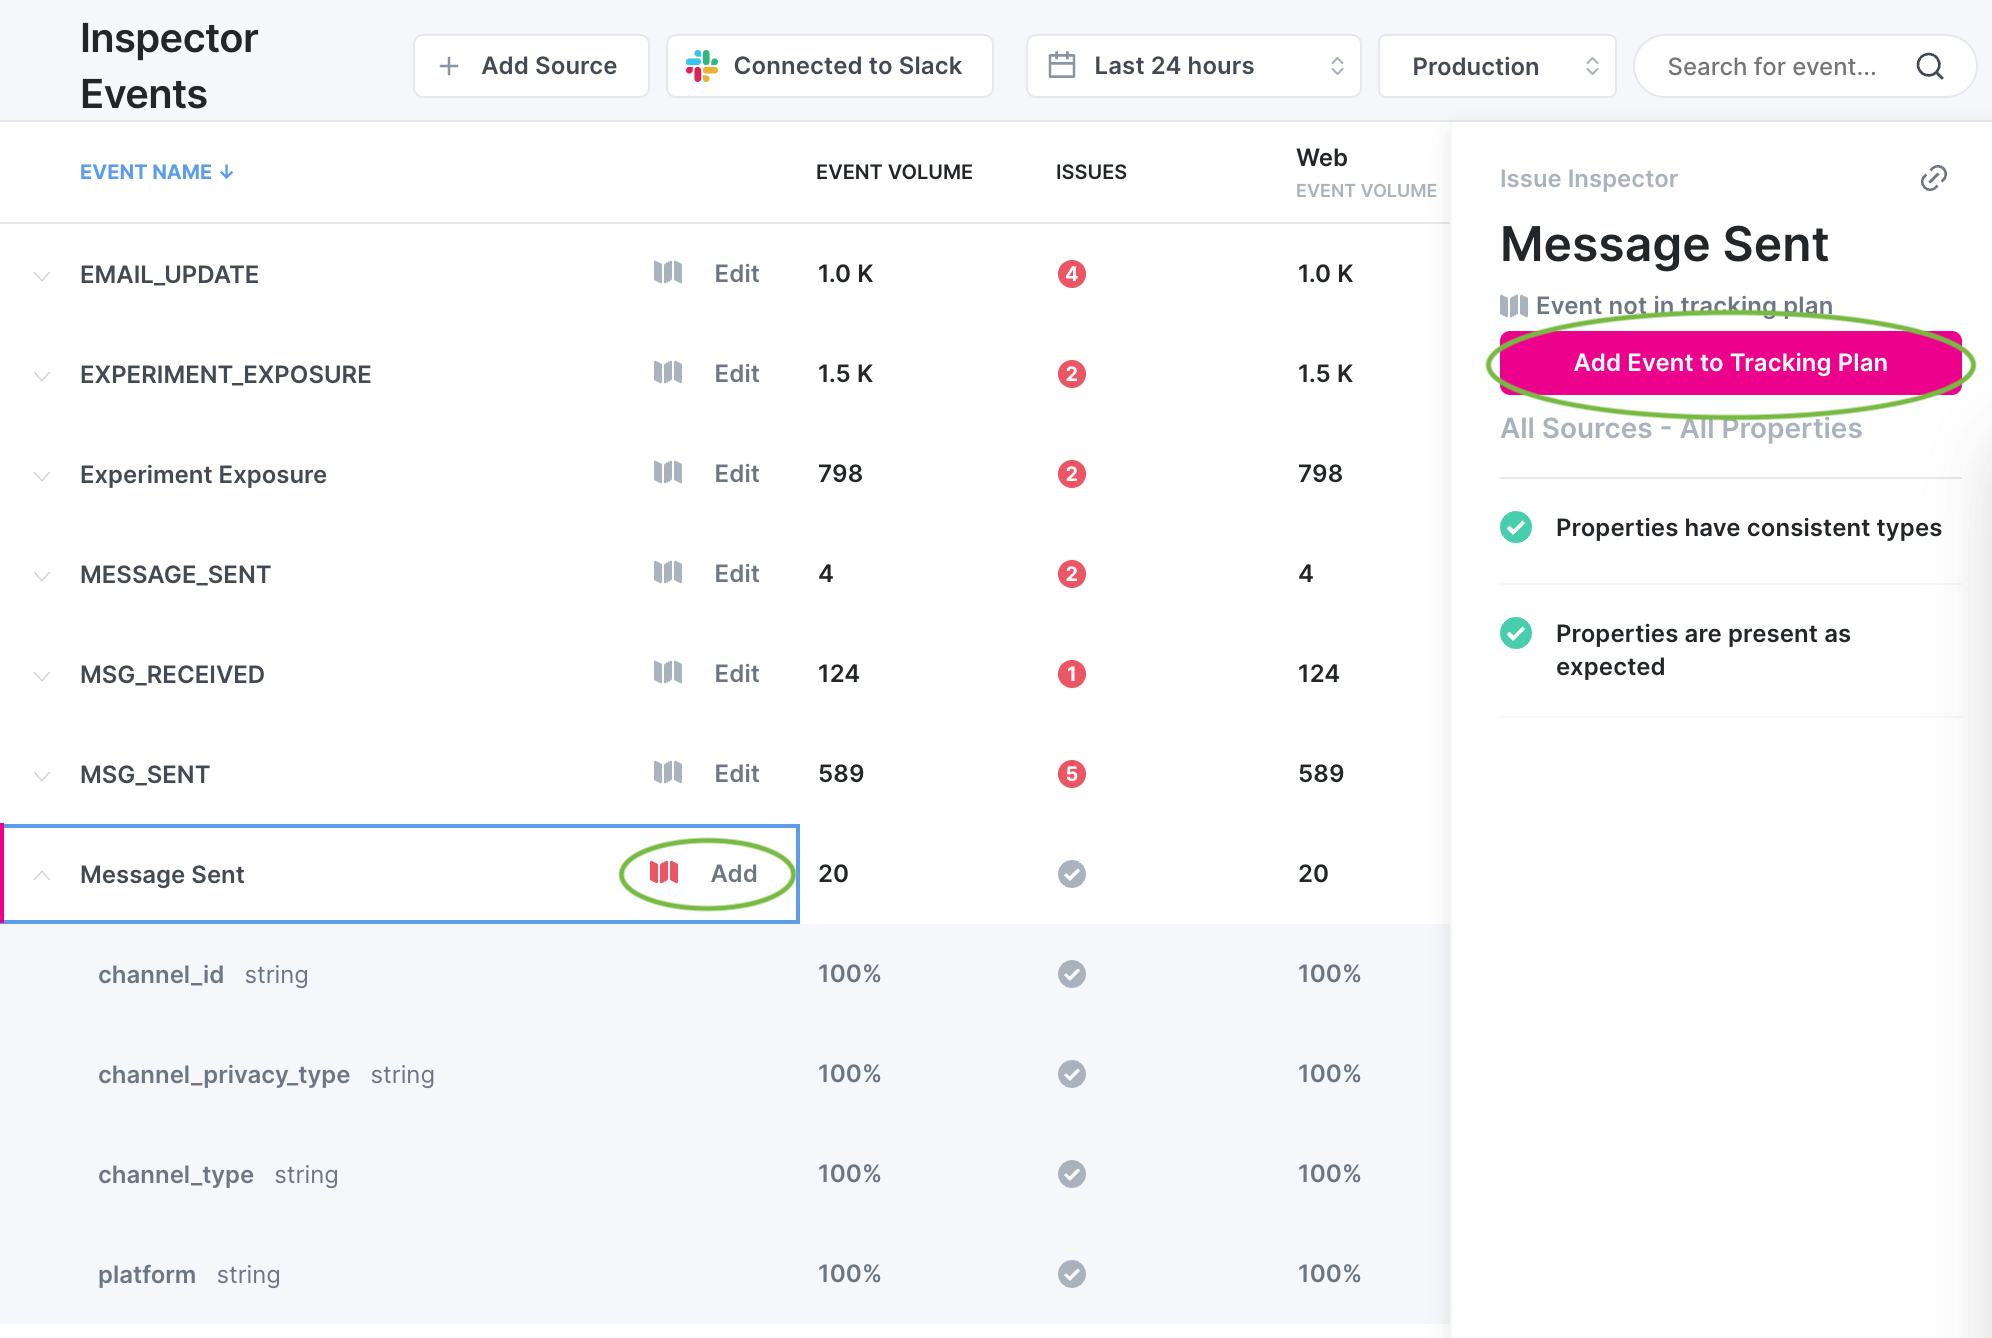
### Troubleshooting
#### No Schemas Being Sent?
- Check if the **Adobe Data Layer** has events in the browser console.
- Ensure event prefixes are not blocking schema extraction.
- If the **Avo inspector tag Extension** is set to `dev` environment, the extension will be logging to the console to help you debug.
> The Extension will do no logging if the environment is set to `prod`.
#### Getting Errors in Avo Inspector?
- Validate the schema in **Avo Inspector**.
- Check the **API key** and **environment** settings.
- Look at network requests (`F12 → Network`) to see what's being sent.
---
## XDM (Experience Data Model) Integration
### What is XDM Integration?
The Avo Inspector extension supports **Adobe Experience Platform Web SDK** with **XDM (Experience Data Model)** schemas. This allows you to validate XDM event schemas in real-time as they're sent through the Adobe Web SDK.
- **Captures XDM events** before they're sent to Adobe Experience Platform
- **Extracts schema structure** from XDM payloads
- **Automatically handles tenant-specific custom properties**
- **Validates XDM schema consistency** through Avo Inspector
### Prerequisites for XDM
Before setting up XDM integration, ensure you have:
- **Adobe Experience Platform Web SDK** extension installed in Adobe Tags
- **XDM Schema** configured in Adobe Experience Platform
- **Tenant ID** (your organization's custom namespace identifier)
- **Avo Inspector extension** installed and configured in Adobe Tags
### Step-by-Step XDM Setup
#### 1️⃣ Configure Adobe Web SDK Extension (beforeSend)
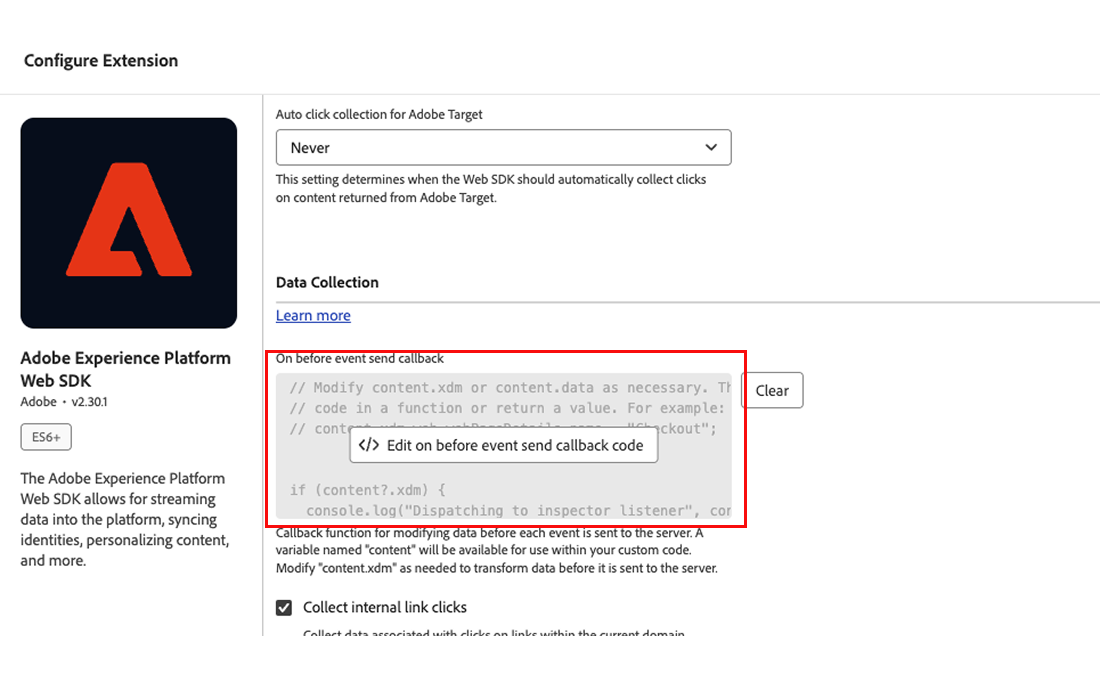
In your **Adobe Experience Platform Web SDK** extension configuration, add this code to the **beforeSend** callback:
```javascript
// Modify content.xdm or content.data as necessary. There is no need to wrap the
// code in a function or return a value. For example:
// content.xdm.web.webPageDetails.name = "Checkout";
if (content?.xdm) {
console.log('Dispatching to inspector listener', content);
document.dispatchEvent(
new CustomEvent('xdmEventToInspector', {
detail: { xdmData: content.xdm },
}),
);
} else {
console.log('content.xdm does not exist', content);
}
```
**What this code does:**
- **Intercepts XDM data** before it's sent to Adobe Experience Platform
- **Dispatches a custom DOM event** that the Avo Inspector can listen for
- **Preserves original XDM data** - doesn't modify the data being sent to Adobe
- **Logs helpful debug information** for troubleshooting
#### 2️⃣ Create XDM Rule in Adobe Tags
Create a new rule specifically for XDM event processing:
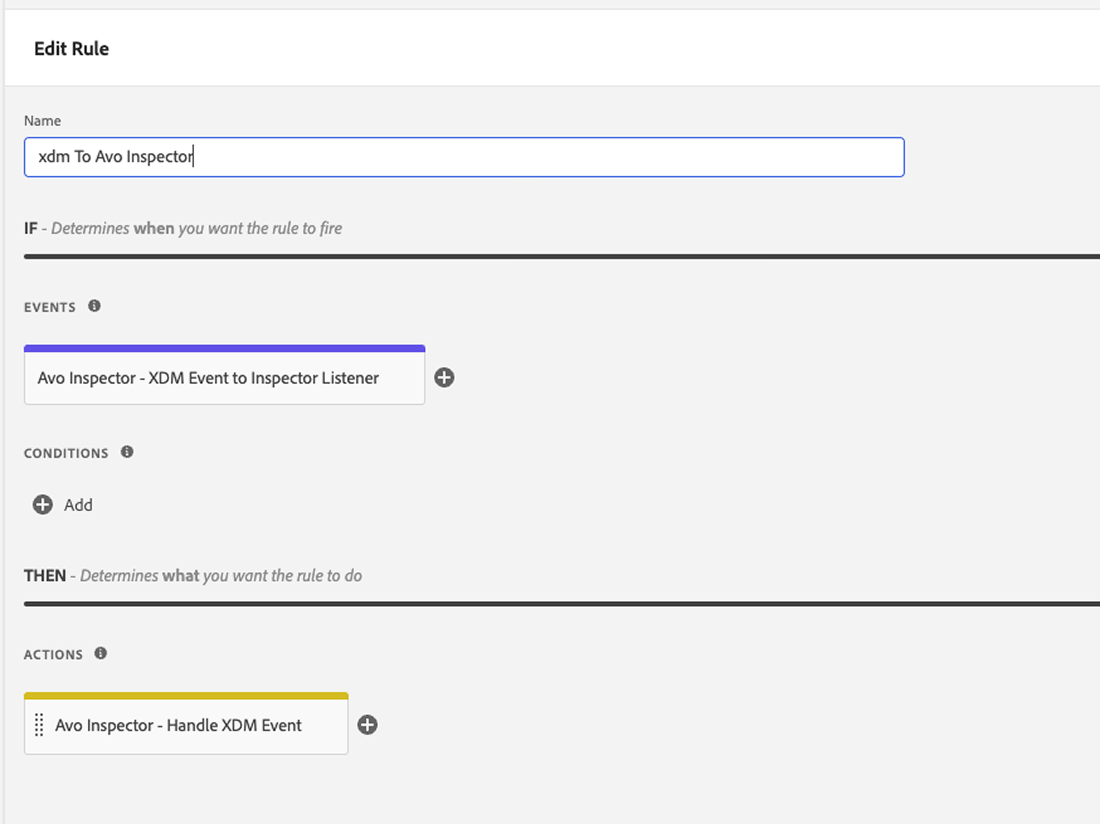
**Event Configuration:**
1. Go to **Rules** → Create a **new rule** (e.g., "XDM to Avo Inspector")
2. Click **Add Event** → Select **Avo Inspector** extension
3. Choose **"XDM Event to Inspector Listener"** as the event type
4. Click **Save**
**Action Configuration:**
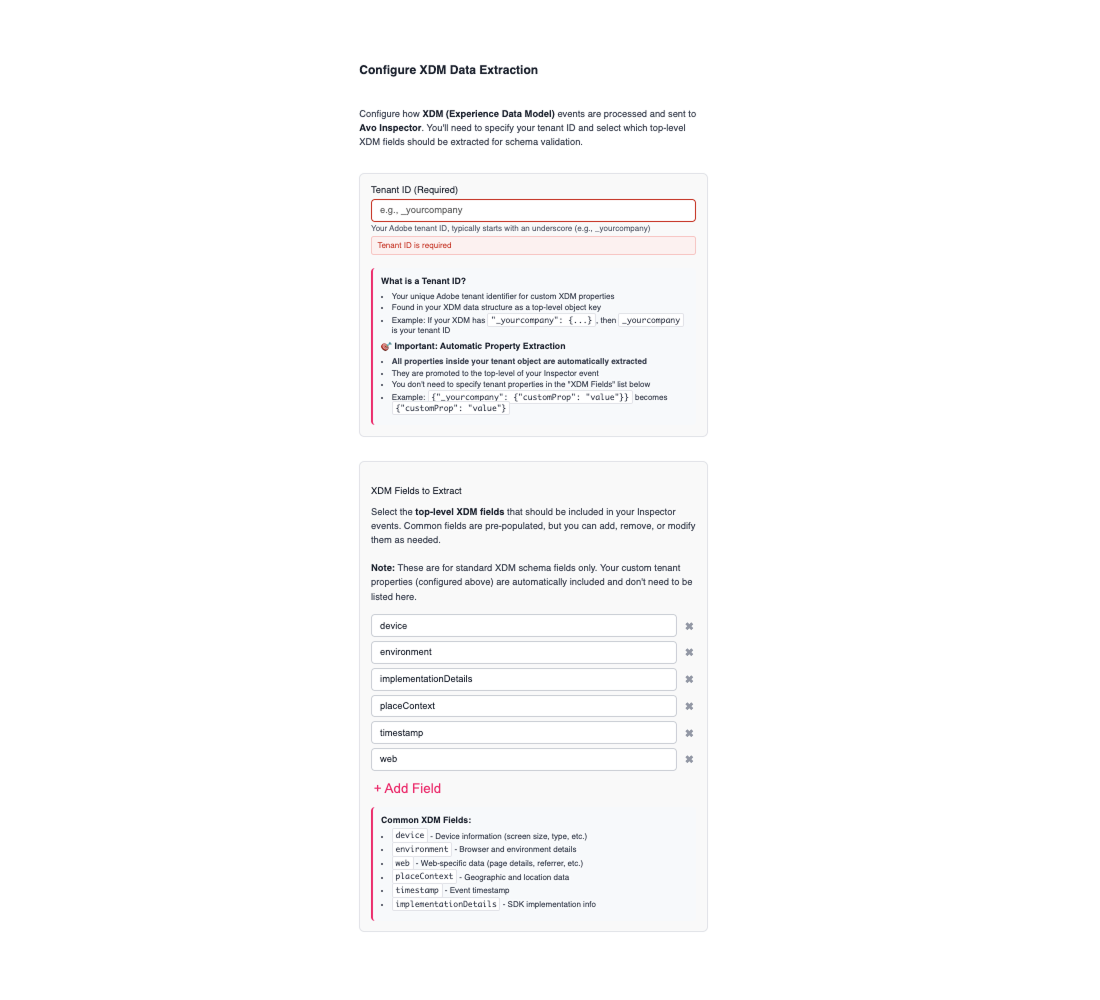
1. Add an **Action** → Select **Avo Inspector** extension
2. Choose **"Handle XDM Event"** as the action type
3. Configure your XDM settings (see next step)
#### Configure XDM Data Extraction
Configure how XDM data should be processed and sent to Avo Inspector:
**Tenant ID Configuration:**
- Enter your **Adobe tenant ID** (e.g., `_yourcompany`)
- This is typically found in your XDM schema as a top-level namespace
- **All properties inside your tenant object are automatically extracted** and promoted to top-level
**XDM Fields to Extract:**
- Select which **standard XDM fields** should be included
- Common fields include: `device`, `environment`, `web`, `placeContext`, `timestamp`, `implementationDetails`
- **Note:** Custom tenant properties are handled automatically and don't need to be listed here
**Field Configuration Examples:**
**Standard XDM Fields (commonly used):**
- `device` - Device information (screen size, type, etc.)
- `environment` - Browser and environment details
- `web` - Web-specific data (page details, referrer, etc.)
- `placeContext` - Geographic and location data
- `timestamp` - Event timestamp
- `implementationDetails` - SDK implementation info
**Advanced XDM Fields:**
- `commerce` - E-commerce related data
- `marketing` - Marketing campaign information
- `search` - Search-related data
- `identityMap` - Identity information
#### Save and Publish
1. Click **Save Rule**
2. **Publish your changes** in Adobe Tags
3. **Test in development environment** first before pushing to production
### How XDM Processing Works
#### XDM Event Capture
When an XDM event is triggered through the Adobe Web SDK, your beforeSend callback captures it:
```javascript
// XDM data from Adobe Web SDK
{
"eventType": "web.webpagedetails.pageViews",
"web": {
"webPageDetails": {
"name": "Homepage",
"URL": "https://example.com"
}
},
"device": {
"screenHeight": 1080,
"screenWidth": 1920
},
"_yourcompany": {
"userId": "12345",
"userTier": "premium",
"campaignId": "summer2024"
}
}
```
#### XDM Processing & Extraction
The extension processes XDM data by:
1. **Extracting `eventType`** as the event name
2. **Including configured standard XDM fields** (device, web, etc.)
3. **Automatically promoting ALL tenant properties** to top-level
4. **Converting to Avo Inspector format**
#### Processed Event Sent to Avo Inspector
```json
{
"eventName": "web.webpagedetails.pageViews",
"eventProperties": {
"web": {
"webPageDetails": {
"name": "string",
"URL": "string"
}
},
"device": {
"screenHeight": "int",
"screenWidth": "int"
},
"userId": "string", // ← Promoted from _yourcompany
"userTier": "string", // ← Promoted from _yourcompany
"campaignId": "string" // ← Promoted from _yourcompany
}
}
```
### XDM-Specific Troubleshooting
#### XDM Events Not Being Captured?
**Check Web SDK beforeSend configuration** - ensure the custom event dispatch code is properly added:
```javascript
// This should be in your Web SDK beforeSend callback
if (content?.xdm) {
document.dispatchEvent(
new CustomEvent('xdmEventToInspector', {
detail: { xdmData: content.xdm },
}),
);
}
```
**Verify XDM rule is active** - check that your XDM rule is published and active in Adobe Tags.
**Test XDM data structure** - ensure your XDM data has an `eventType` field:
```javascript
// XDM data should include eventType
{
"eventType": "web.webpagedetails.pageViews", // ← Required
"web": { ... },
"_yourtenant": { ... }
}
```
**Check tenant ID configuration** - verify your tenant ID matches your XDM schema namespace.
**Look for console logs** - the extension logs XDM processing details when environment is set to `dev`:
```
"Dispatching to inspector listener" // From Web SDK beforeSend
"logging payload" // From XDM action
"Executing onXdmEvent action with payload:" // From XDM action
"XDM FIELDS TO INCLUDE" // From XDM action
"[DEV] Avo Inspector Event:" // Final processed event
```
#### XDM Fields Not Being Extracted?
**Check field configuration** - ensure the XDM fields you want are listed in the action configuration.
**Verify field names** - XDM field names are case-sensitive and must match exactly.
**Tenant properties missing?** - Remember that tenant properties are extracted automatically; they don't need to be in the XDM fields list.
#### Common XDM Issues:
**Issue: eventType is undefined**
- Solution: Ensure your XDM schema includes an `eventType` field
- Alternative: Set `eventType` in your beforeSend callback if needed
**Issue: Tenant properties not appearing**
- Solution: Verify your tenant ID configuration matches your XDM namespace exactly
- Check: Look for your tenant namespace in the raw XDM data structure
**Issue: Missing standard XDM fields**
- Solution: Add the missing fields to your XDM fields configuration
- Check: Verify the field names match your actual XDM schema structure
### Testing Your XDM Integration
#### 1. Test XDM Event Dispatch
Open your browser console and manually trigger an XDM event to test:
```javascript
// Test if your XDM integration is working
alloy('sendEvent', {
xdm: {
eventType: 'web.webpagedetails.pageViews',
web: {
webPageDetails: {
name: 'Test Page',
},
},
_yourcompany: {
testProperty: 'test value',
},
},
});
```
#### 2. Verify Console Logs
Look for these log messages in your browser console:
1. `"Dispatching to inspector listener"` - From Web SDK beforeSend
2. `"logging payload"` - From XDM action
3. `"[DEV] Avo Inspector Event:"` - Final processed event
#### 3. Check Network Requests
Monitor network requests to `https://api.avo.app/inspector/v1/track` to see the data being sent to Avo Inspector.
---
## Support
For any questions, reach out to [Avo Support](https://www.avo.app) or check our [documentation](https://github.com/avohq/adobe-inspector#readme).
## Next Steps
- [Import events from Inspector](https://www.avo.app/docs/inspector/add-events-from-inspector.md)
- [Review Issues](https://www.avo.app/docs/inspector/inspector-issues-view.md)
- [Set up Alerts](https://www.avo.app/docs/inspector/inspector-slack-alerts.md)
---
Source: https://www.avo.app/docs/publishing/import/get-tracking-plan-into-avo.md
# Importing overview
_How to get your existing tracking plan into Avo_
Getting your existing tracking plan into Avo gives you an instant audit of your event structures. There are three ways to get your tracking plan into Avo:
## Import from Amplitude, Mixpanel or Google Sheets
If you are using Amplitude or Mixpanel, you can easily export your tracking plan from there and import it into Avo. If you have your tracking plan in Google Sheets or Excel, you can export a CSV and import it into Avo. You can also use the [Import API](https://www.avo.app/docs/reference/public-api/import-tracking-plan.md) to import programmatically, including support for JSON Schema payloads.
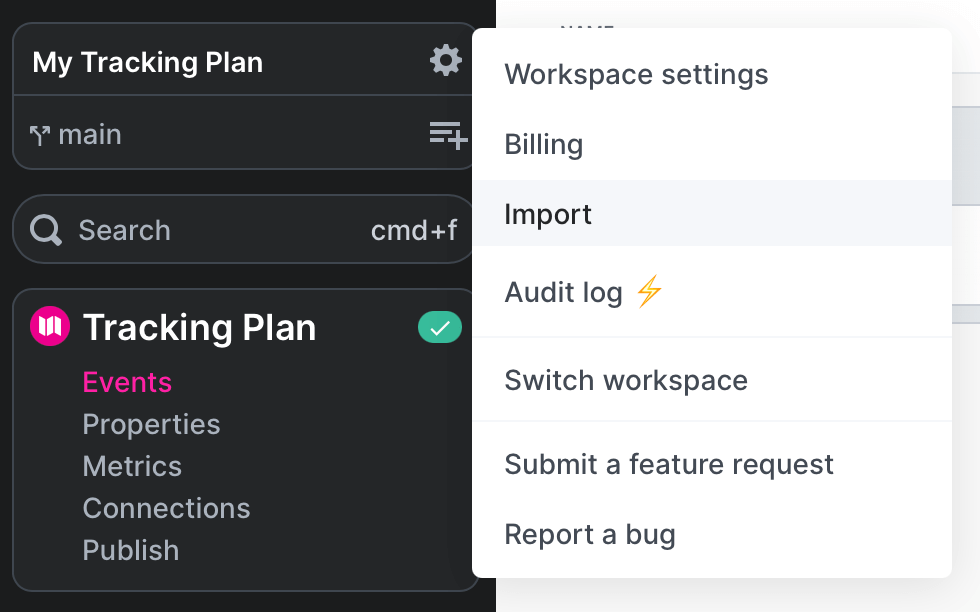
- [Import Tracking Plan](https://www.avo.app/docs/publishing/import/importing.md): Import your existing tracking plan into Avo
## Import events from Inspector
You can easily get your existing tracking plan into Avo by installing Inspector and importing your events one by one or in bulk.

- [Import events from Inspector](https://www.avo.app/docs/inspector/add-events-from-inspector.md): Import events from Inspector one by one or in bulk
## Build your tracking plan from scratch
If you don't have a tracking plan yet or want to methodically make changes to it while getting it into Avo, you can lean on the real time feedback Avo provides to manually define it.
- [Designing Data In Avo](https://www.avo.app/docs/data-design/start-data-design.md): How to define metrics, events and properties step by step
## What's next?
Once you have your tracking plan in Avo, or a subset of it, you will get an instant audit on your event structures. Learn more about [how to read, fix and configure your tracking plan audit](https://www.avo.app/docs/audit/rules.md).
---
Source: https://www.avo.app/docs/publishing/import/importing.md
# Import a CSV of Your Existing Tracking Plan
_Import your tracking plan from various sources to get started quickly_
> 💡 **Import existing tracking specs into Avo to get started quickly**. We know
> that tracking plans come in all shapes and sizes. If you don't see your format
> below you can try converting your existing spreadsheet to one of our supported
> formats or [reach out](https://www.avo.app/docs/help/troubleshooting.md#contact-us) and we'll support
> you. You can also import programmatically via the [Import API](https://www.avo.app/docs/reference/public-api/import-tracking-plan.md) using JSON Schema format.
## What To Import
You can import your [event schemas](#import-tracking-plan), [user properties](#import-user-properties), [group properties](#import-group-properties), and [name mapping](#import-name-mapping).
### Import Tracking Plan
Import your existing event schemas, aka tracking plan, to get started
quickly.
> 💡 When importing events that already exist in Avo, the importer will only import
> new properties, categories and tags for the event. The importer will never
> archive or delete existing events or properties, or remove properties,
> categories or tags from existing events. You can also import user properties,
> group properties, and name mapping.
See [supported formats for importing event schemas, aka tracking plans](https://www.avo.app/docs/publishing/import/importing.md#supported-formats).
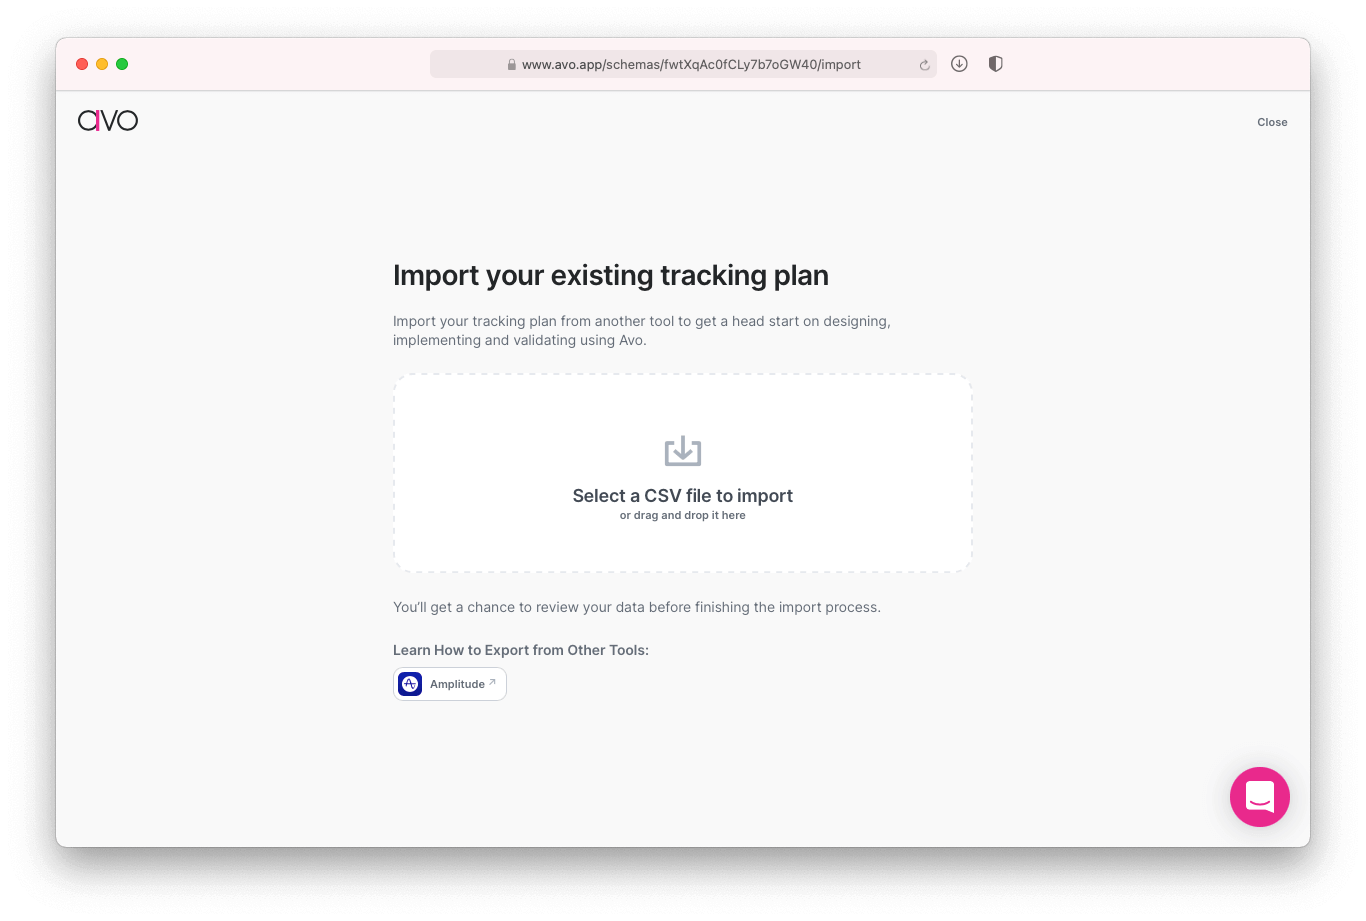
### Import User Properties
> 💡 **User properties** are helpful to segment behaviors by current state of
> users, as opposed to the state at the time of an event trigger. Read about
> [user property use cases and how they
> work](https://www.avo.app/docs/data-design/avo-tracking-plan/properties.md#user-properties).
See [supported formats for importing user properties](https://www.avo.app/docs/publishing/import/importing.md#user-property-import-format).
### Import Group Properties
> 💡 **Group analytics** are important for b2b companies and can be useful in many
> other cases. Read about [group analytics use cases and how it
> works](https://www.avo.app/docs/data-design/best-practices/groups.md).
See [supported formats for importing group properties](https://www.avo.app/docs/publishing/import/importing.md#group-property-import-format).
### Import Name Mapping
> 💡 **Different names to different destinations:** You might need to send events
> and properties with different names to different destinations if: **_a/ You
> have legacy event structures in specific analytics tools_**, which you can't
> change now because you need to data continuity in these tools. **_b/ Analytics
> destinations require specific event or property names_** for some
> functionality. Read more about [name mapping](https://www.avo.app/docs/data-design/guides/name-mapping.md) and
> its [use cases](https://www.avo.app/docs/data-design/guides/name-mapping.md#use-cases-for-name-mapping).
You can import destination specific name mapping for new events and properties using the [Avo's ultimate tracking plan CSV from](https://www.avo.app/docs/publishing/import/importing.md#avos-ultimate-tracking-plan-template).
## Where To Import From
### Importing from Amplitude
1. Export your Tracking Plan from Amplitude. Open up Amplitude Data and then click the download arrow:
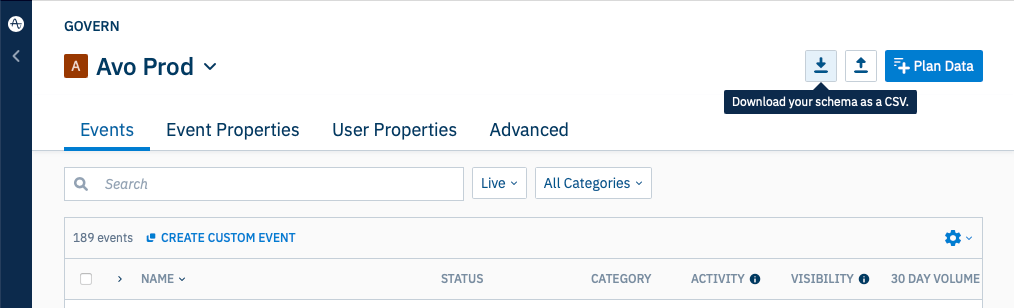
2. In the popup, select "Schema of all events and their properties" or "Schema of all user properties" and click download:
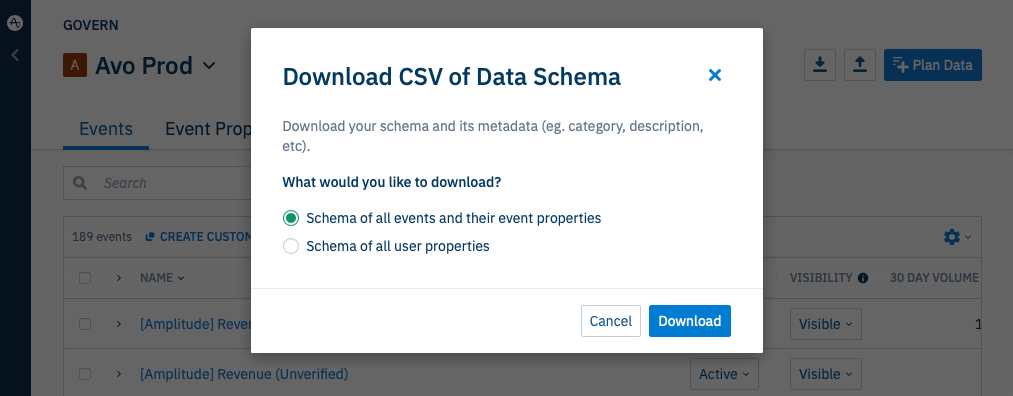
3. Finally open the Importer from your Avo workspace and drag the downloaded .csv file to the drop zone or click it and select the file:
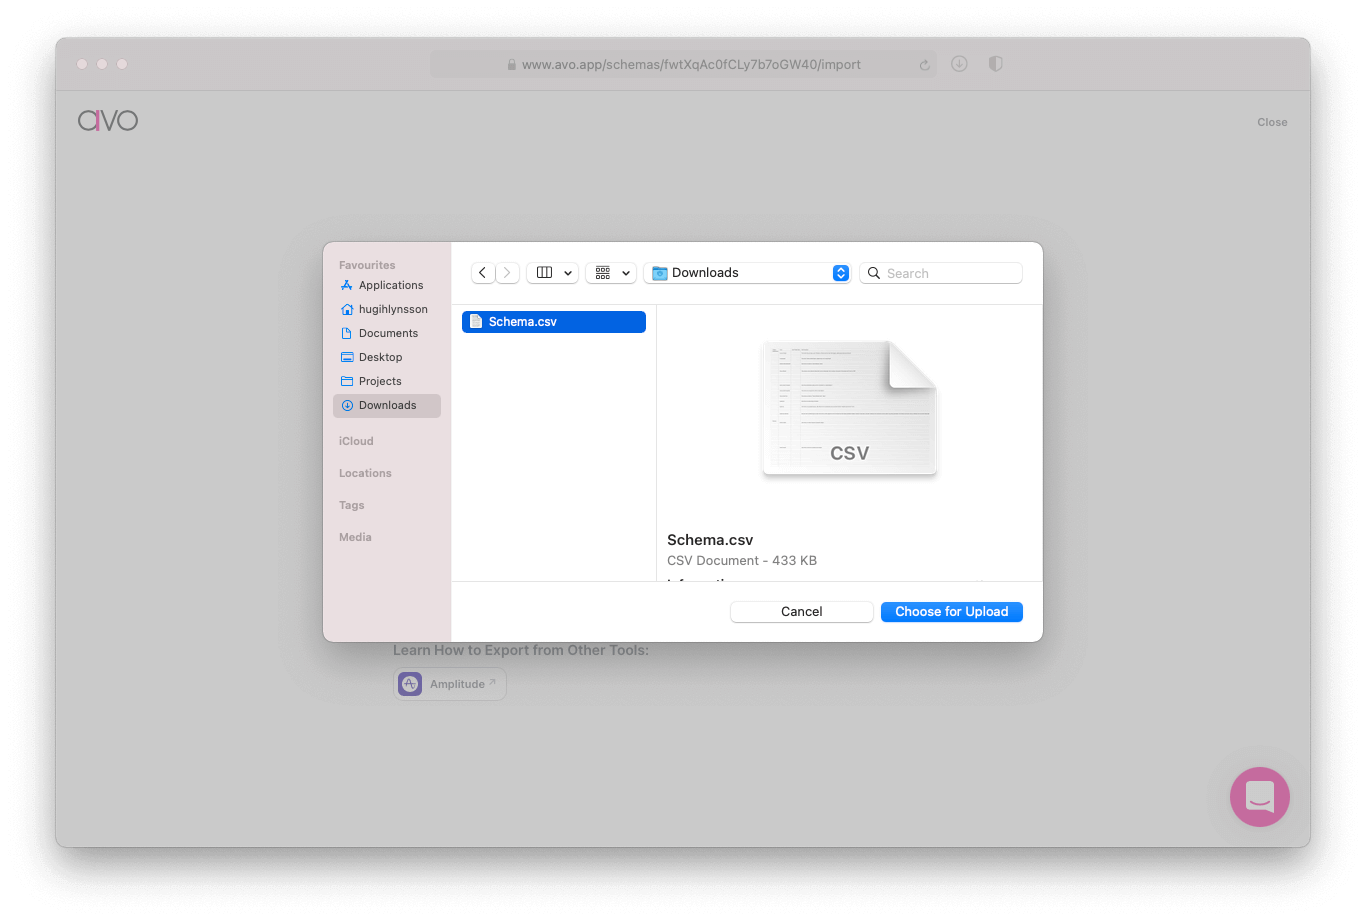
4. Review your events and properties and finish the import 🎉
### Importing from Mixpanel
1. Open up Mixpanel Lexicon (in the top right corner of your Mixpanel workspace click Data Management > Lexicon) and then click the export button:

2. In the popup, select "Events & Properties" and Send CSV. Also check "User Profile Properties" if you want to include user properties:
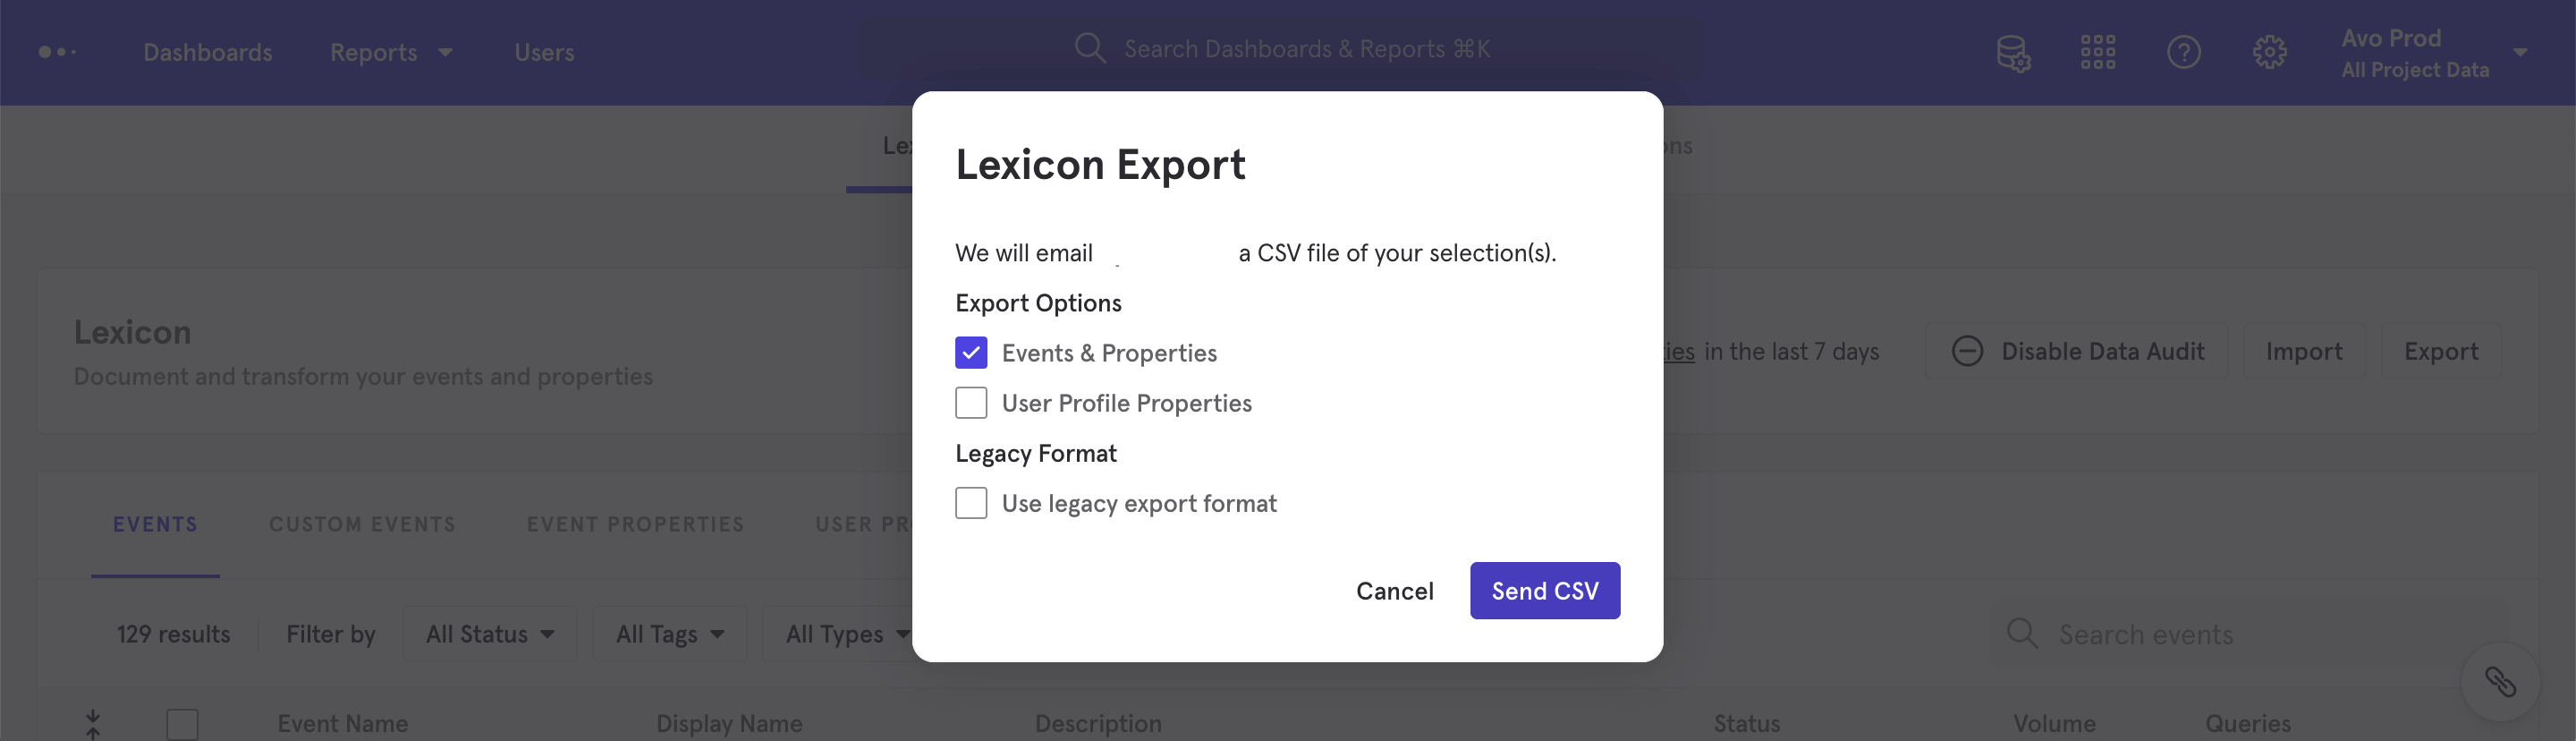
3. Within few minutes you should receive an email from Mixpanel with a CSV export. Open the Importer from your Avo workspace and drag the downloaded .csv file to the drop zone or click it and select the file:

4. Review your events and properties and finish the import 🎉
### Importing from Segment Protocols
1. Download your Tracking Plan from Segment Protocols: [How to download a tracking plan in Segment Protocols](https://segment.com/docs/protocols/tracking-plan/create/#download-a-tracking-plan)
2. Open the Importer from your Avo workspace and drag the downloaded .csv file to the drop zone or click it and select the file:
3. Review your events and properties and finish the import 🎉
### Importing from a Google Sheet
Avo supports importing various tracking plan formats. See [supported formats for importing tracking plans](https://www.avo.app/docs/publishing/import/importing.md#tracking-plan-import-formats).
#### How to import from a Google Sheet
1. Open the sheet containing your Events and Event Properties. Click File > Download > Comma-separated values (.csv)
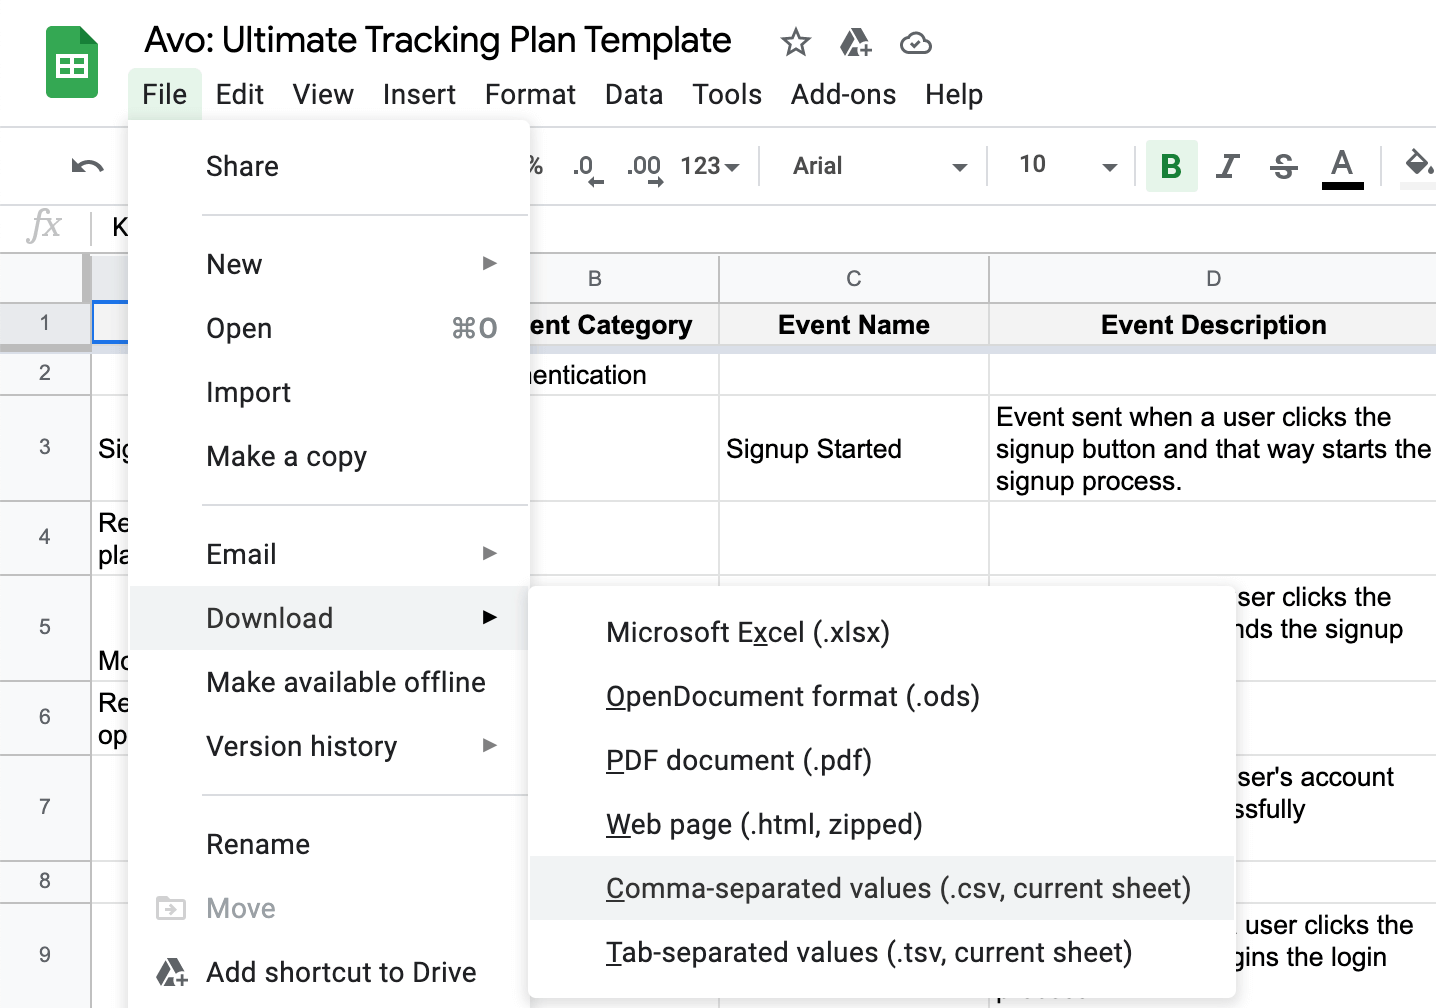
2. Open the Importer from your Avo workspace and drag the downloaded .csv file to the drop zone or click it and select the file:

4. Review your events and finish the import 🎉
## Supported Formats
Following are the spreadsheet formats the Avo Importer currently supports.
We know that tracking plan spreadsheets come in all shapes and sizes. If you don't see your format
below you can try converting your existing spreadsheet to one of these formats,
by renaming columns etc, or you can [reach out to us](https://www.avo.app/docs/help/troubleshooting.md#contact-us) and
we'll get the importing done for you.
**Note:**
- The order of the columns in your sheet does not matter
- There must be a header row in your sheet with the exact column names as described for one of the format below
- Any additional columns are ignored
You can learn more about common Tracking Plan spreadsheet formats [on our blog.](https://www.avo.app/blog/9-free-tracking-plan-templates-from-mixpanel-amplitude-segment-and-more)
### Avo's Ultimate Tracking Plan Template

[View example sheet](https://docs.google.com/spreadsheets/d/1MpoYMby6sTR9X9qavmUtpFmGIxr79I4f_kdv6OobvYQ)
#### Required columns
| Column Name | Description | Allowed Values | Example Value |
| :--------------------------- | :---------------------------------------------------------------- | :------------------------------------ | :----------------------------------------- |
| Event Name | The name of your event | Any string | App Opened |
| Event Description | The description of your event | Any string | Sent when the user opens the app |
| Event Category | The category your event belongs to, if any | Any string | App Lifecycle |
| Sources | The name of the sources this event should be sent from | Comma separated strings | iOS, Android, Web |
| Property Name | The name of a property that should be sent | Any string | Device Type |
| Property Description | The description of the property | Any string | The type of client user is currently using |
| Property Value Type | The type of the property | string, int, float, bool, object, any | string |
| Is Property Array? | True if property should be array of values | true, false | false |
| Property Enumeration Options | Finite list of all values allowed for the property, if applicable | Comma separated strings | iOS, Android, Web, Desktop, Fire |
#### Optional columns for property bundles
You can create and attach [event property bundles](https://www.avo.app/docs/data-design/avo-tracking-plan/properties.md#event-property-bundles) to events by including the columns below in your import. [View example sheet with property bundles](https://docs.google.com/spreadsheets/d/1P1zzG8dcsuS7h94jNMvBAExTSdKsikEMS5MKzUWSE-U/edit#gid=0)
| Column Name | Description | Allowed Values | Example Value |
| :-------------------------- | :---------------------------------------------------------------------------------------------------------------------------------------------------- | :------------- | :-------------------------------- |
| Property Bundle Name | The name of the property bundle you'd like to import, defined at the top of your file, followed by the properties you'd like to include in the bundle | Any string | A/B Testing Properties |
| Property Bundle Description | The description of the property bundle | Any string | Required on all A/B tested events |
| Event Property Bundle Name | The name of the property bundle you'd like to attach to an event you're importing | Any string | A/B Testing Properties |
#### Other optional columns
| Column Name | Description | Allowed Values | Example Value |
| :------------------------------------------------ | :----------------------------------------------------------------------------------------------------------------------------------------------------- | :---------------------- | :-------------------- |
| Is Property Required? | Whether the property must always be sent with your event. If this column is omitted, all imported properties default to required (`true`). | true, false | true |
| Property Type | The type of the property as it is sent to your downstream destination | Event, User, System | Event |
| Event Tags | The tags attached to your event (separate multiple tags with ';') | Any string | Owner:Growth |
| Event Variant Name | To import event variants, provide the event variant suffix here. When provided, all following properties will be imported as event variant properties. | Any string | Mobile |
| Pinned Value | The pinned value of the property on this event | Any string | iOS |
| Event Name Mapping: \ | The name of the event as it is sent to the destination | Any string | Conversion |
| Stakeholder Domains | The stakeholder team that should be attached as stakeholders to the event | Comma separated strings | Growth, Checkout Team |
| Owner | The single stakeholder team that will be set as the owner domain for events and event variants | Any string | Growth |
| Property Name Mapping: \ | The name of the property as it is sent to the destination | Any string | Revenue |
| Property Regex | Regex validation for the property value | Any regex | \d+ |
| Property Regex Sample String | A sample string that matches the regex | Any string | 1234567890 |
### Amplitude Taxonomy Template

[View example sheet](https://docs.google.com/spreadsheets/d/1-6rXRomzq05YDQ9A6QG9A2i-jez72amPw-Johhd-heQ/edit#gid=771066228)
#### Required columns
| Column Name | Description | Allowed Values | Example Value |
| :-------------------------- | :-------------------------------------------------------------------------- | :---------------------------- | :----------------------------------------- |
| Event Name | The name of your event | Any string | App Opened |
| Trigger + Event Description | The description of your event and when it should be sent | Any string | Sent when the user opens the app |
| Event Category | The category your event belongs to, if any | Any string | App Lifecycle |
| Platform | The name of the platforms this event should be sent from | Comma separated strings | iOS, Android, Web |
| Property Name | The name of a property that should be sent with your event | Any string | Device Type |
| Property Description | The description of the property | Any string | The type of client user is currently using |
| Property Type | Control whether the event should be sent as Event property or User property | Event property, User property | Event |
| Sample Values | List of all values allowed for the property, if applicable | Comma separated strings | iOS, Android, Web, Desktop, Fire |
### Mixpanel Tracking Plan Template
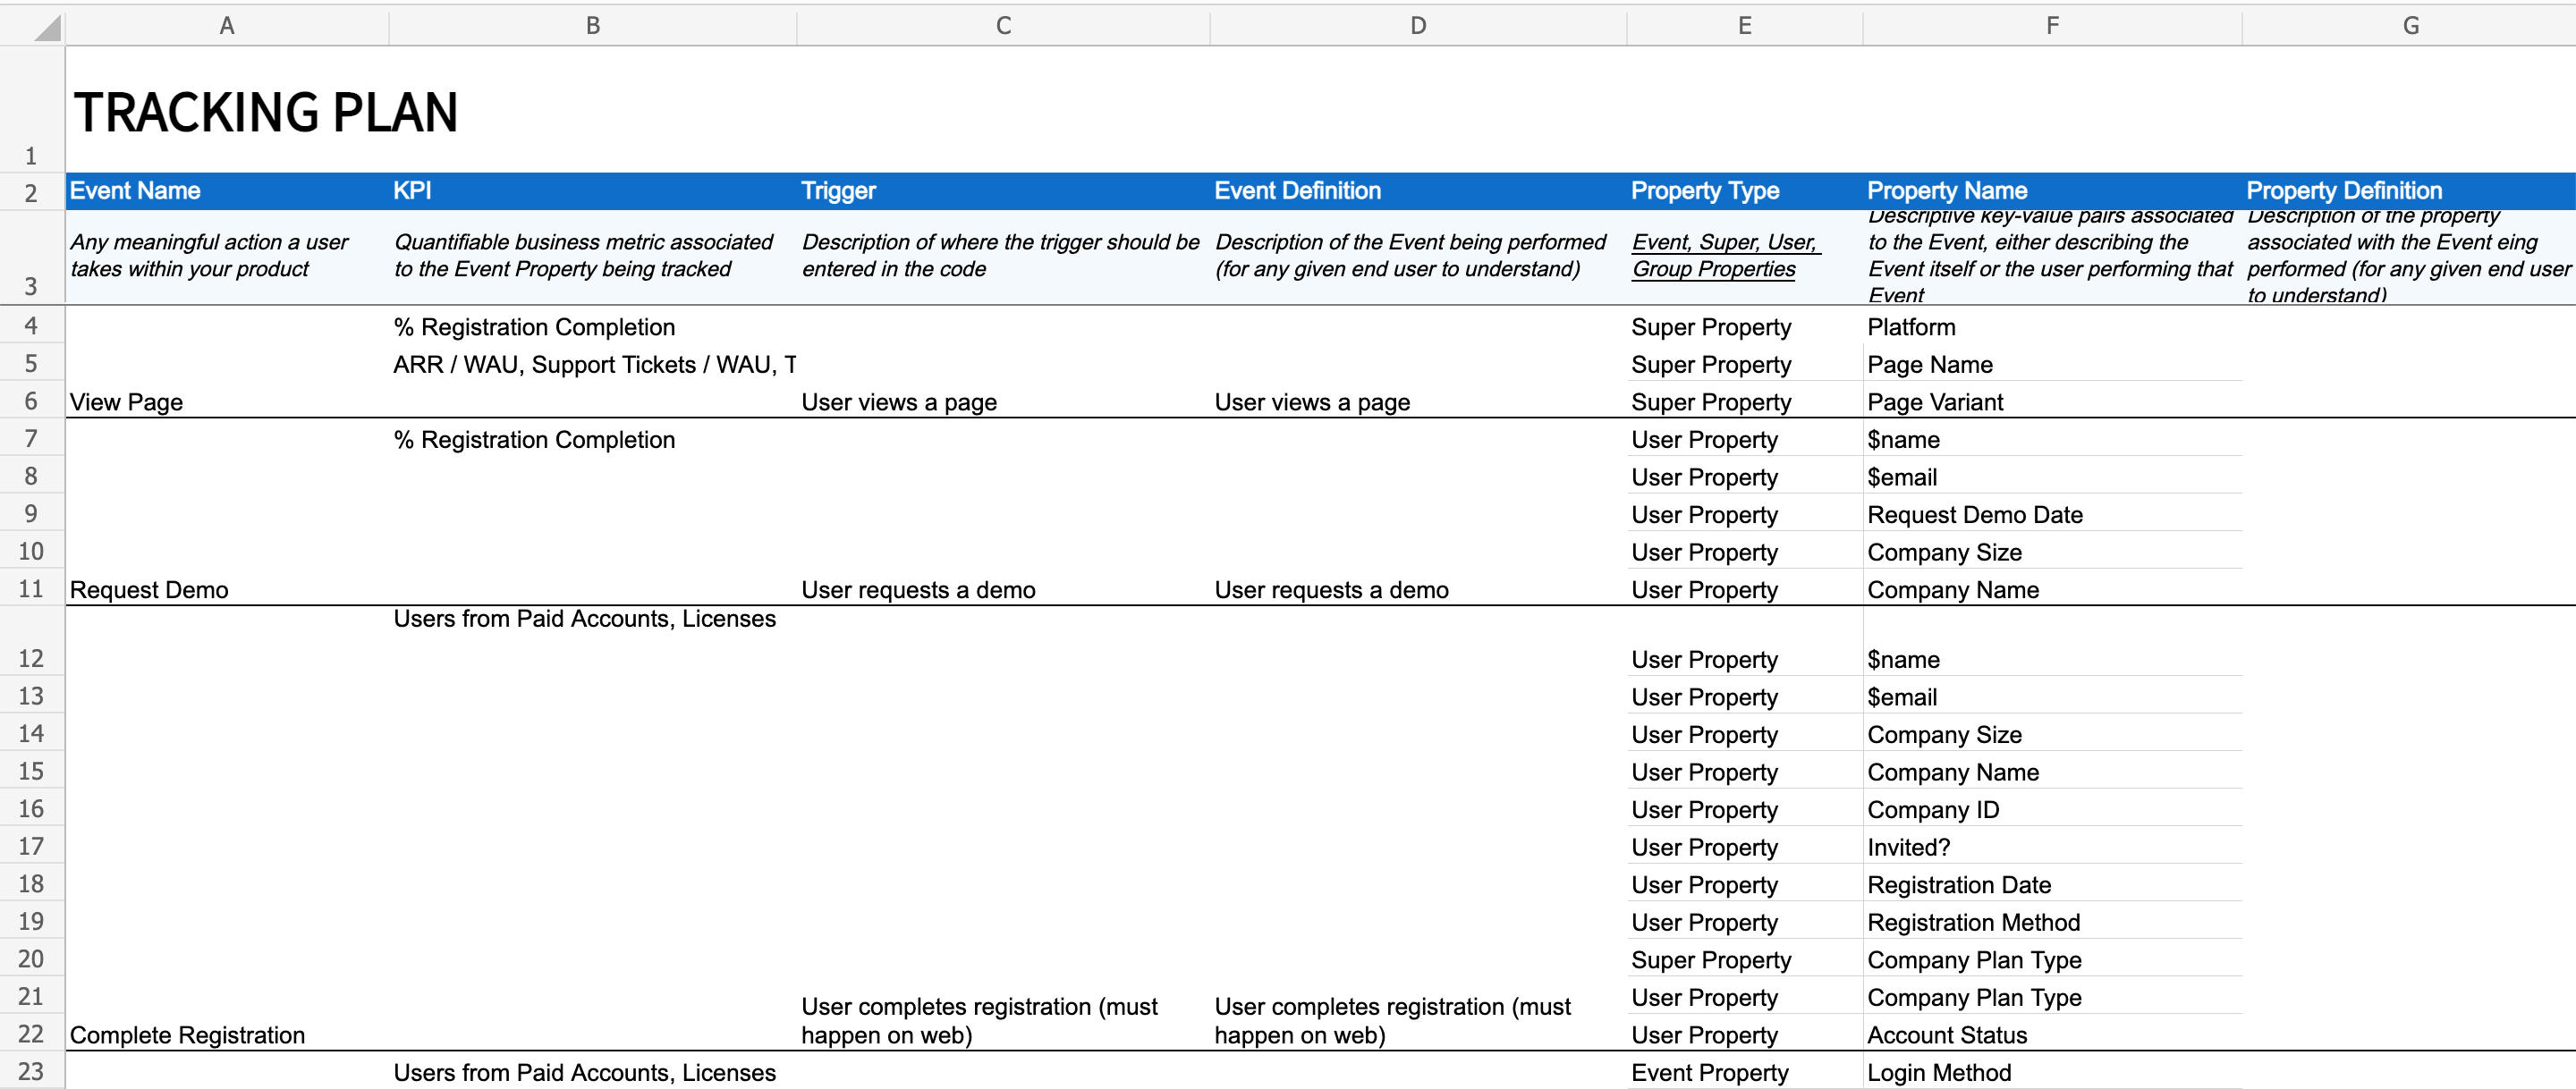
[View example sheet](https://mixpanel.app.box.com/s/1xou3n8z6a14igg3hiiuxs7ur15cii4y)
#### Required columns
| Column Name | Description | Allowed Values | Example Value |
| :------------------ | :--------------------------------------------------------- | :------------------------------------ | :------------------------------- |
| Event Name | The name of your event | Any string | App Opened |
| Event Definition | The definition of your event and when it should be sent | Any string | Sent when the user opens the app |
| Platform | The name of the platforms this event should be sent from | Comma separated strings | iOS, Android, Web |
| Property Name | The name of a property that should be sent with your event | Any string | Device Type |
| Property Definition | The description of the property | Any string | The client type |
| Data Type | The type of the property | string, int, float, bool, object, any | string |
| Sample Values | List of all values allowed for the property, if applicable | Comma separated strings | iOS, Android, Web, Desktop, Fire |
### Segment Protocols Tracking Plan CSV
Format for importing tracking plans from Segment Protocols. For how to download a tracking plan in Segment Protocols, see [here](https://segment.com/docs/protocols/tracking-plan/create/#download-a-tracking-plan).
#### Required columns
| Column Name | Description | Allowed Values | Example Value |
| :----------------- | :---------------------------------------------------------------- | :---------------------------------------------------------------------- | :------------------------------- |
| Version | The version of the tracking plan | Optional integer | 1 |
| Event Type | The type of the event | Track, Identify | Track |
| Event Name | The name of your event | Any string | App Opened |
| Property Name | The name of a property that should be sent with your event | Any string | Device Type |
| Description | The description of the event or property | Any string | Sent when the user opens the app |
| Labels | Labels in Protocols imported as tags in Avo | Any string | Owner:Growth |
| Property Data Type | The type of the property | string, int, float, bool, object, any (combined with ,null if optional) | string |
| Enum Values | Finite list of all values allowed for the property, if applicable | Comma separated strings | iOS, Android, Web, Desktop |
### Properties Import Format
CSV format for importing event, user and/or system properties.
**Note:**
- The order of the columns in your sheet do not matter
- There must be a header row in your sheet with the exact column names as described for one of the format below
- Any additional columns are ignored
#### Required columns
| Column Name | Description | Allowed values | Example Value |
| :---------------------- | :---------------------------------------------------------------------------------------------------------- | :---------------------------- | :------------------------------- |
| Property Type | Control whether the property should be sent as **Event** property, **User** property or **System** property | Event, User, System | User |
| Property Name | The name of the property | Any string | Device Type |
| Property Description | The description of the property | Any string | The client type |
| Property Value Type | The type of the property | string, int, float, bool, any | string |
| Property Value Is List | True if property should be array/list of values | true, false | false |
| Property Required | True if the property should always be sent with your event, false if sometimes sent | true, false | true |
| Property Allowed Values | Finite list of all values allowed for the property, if applicable | Any string | iOS, Android, Web, Desktop, Fire |
### Group Property Import Format
CSV format for importing.
**Note:**
- The order of the columns in your sheet does not matter
- There must be a header row in your sheet with the exact column names as described for one of the format below
- Any additional columns are ignored
#### Required columns
| Column Name | Description | Allowed Values | Example Value |
| :--------------------------- | :---------------------------------------------------------------------------- | :------------------------------------ | :----------------------------------- |
| Group Type | The group type (e.g. "Workspace" if you have a Workspace group) | Any string | Workspace |
| Property Name | The name of the property as you want it sent to the analytics destination | Any string | Member Count |
| Property Description | The description of the property | Any string | The number of members of a workspace |
| Property Value Type | The type of the property | string, int, float, bool, object, any | int |
| Is Property Array? | "Y" or "N" for whether this property is an array of property values | true, false | true |
| Sent with Events | "/" separated list of events with which this group property should be updated | Any string separated by "/" | Invite Accepted / Member Removed |
| Property Enumeration options | Finite list of all values allowed for the property, if applicable | Comma separated strings | Email, Phone Number, SSO |
## Import Methods
You can select from three import methods when importing your tracking plan:
- **Add only**: This is the default import method. The importer will only append new items from the imported file to your tracking plan. No destructive changes will be made to existing items in your tracking plan.
- **Add and update**: This import method will append new items from the imported file to your tracking plan and update existing items with the same name to match the imported file. Note that this import will not remove any items from your tracking plan.
- **Add, update and remove**: This import method will append new items, update existing items, and remove properties from events when they are absent from the imported file. Removals are event-scoped only — events not included in the import are left untouched, and properties are unlinked from events (not permanently deleted from the tracking plan). Built-in properties and user/group properties are protected from removal.
> 💡 The **Add and Update** and **Add, Update and Remove** import methods are
> currently behind a feature flag. Please [reach out to
> us](https://www.avo.app/docs/help/troubleshooting.md#contact-us) if you'd like to enable them.
When using the [Import API](https://www.avo.app/docs/reference/public-api/import-tracking-plan.md), you can pass the `importMethod` query parameter with a value of `addOnly` (default), `addAndUpdate`, or `addUpdateAndRemove`. See the [Import API documentation](https://www.avo.app/docs/reference/public-api/import-tracking-plan.md#query-parameters) for details.
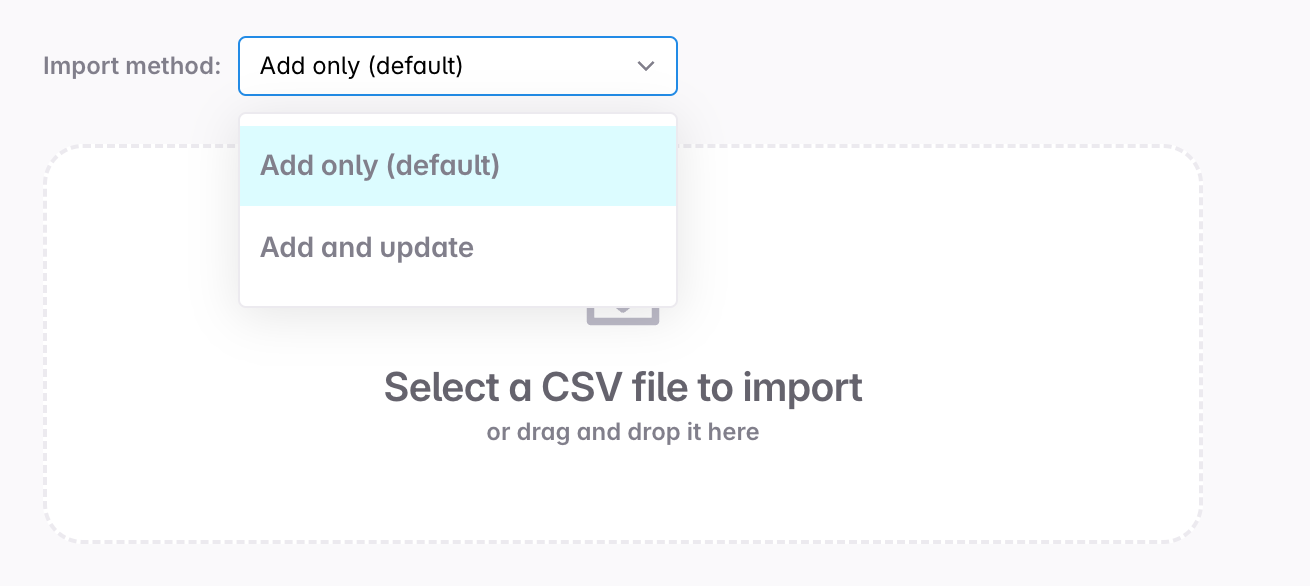
## Troubleshooting
### How do I prevent importing duplicates of my properties?
The importer attempts to merge properties from imported events using the following criteria:
- The property name matches
- The property type matches
- The description matches
If these three criteria are not fulfilled, the importer doesn't merge the properties. The reason we
decided to include the description in this criteria is that a property that shares a name and a type,
can still have a totally different meaning based on the description, and documenting that
difference clearly in the tracking plan is critical to ensure everyone share the same understanding
of what the property should contain in different context.
In the case where you have aligned your names and types, but the description is different, you can:
- **If the properties should be merged and you are in a position to reset your tracking plan**: Unify the description in your import file, [reset the tracking plan](https://www.avo.app/docs/data-design/guides/reset-tracking-plan.md)
, and re-run the import. This will result in the properties being merged on import.
- **If the properties should be merged**: Use the ["Replace property with..." feature](https://www.avo.app/docs/data-design/avo-tracking-plan/properties.md#replacing-a-property) in the context menu of the property modal
- **If the properties should not be merged**: Provide unique name and descriptions to better differentiate between these properties in the tracking plan
## What's Next?
Now you have a tracking plan in Avo and it's time to learn [how to manage it](https://www.avo.app/docs/data-design/start-data-design.md).
---
Source: https://www.avo.app/docs/publishing/publishing/overview.md
# Publishing
_Learn about how to publish your Tracking Plan to analytics platforms and APIs_

## Why keep schema registries in sync
> 💡 **Event schemas** are important in many layers of your data stack. Keeping
> schema registries in sync across the stack can be a challenge, especially
> since stakeholders involved vary from non-technical folks with a preference
> for human readable tools like spreadsheets, to technical folks with a
> preference for computer readable schemas like JSON.
**Publishing** is a way to push your tracking plan specs from Avo into your other
schema registries and downstream tools, including analytics platforms like
Amplitude or Mixpanel, ingestion time validation tools like Segment Protocols,
RudderStack or Snowplow, or connect to any tool or internal system via webhook.
See [publishing use cases](#publishing-use-cases) and [publishing integrations](#publishing-integrations) below.
### Push or pull to keep schema registries in sync
Avo allows you to maintain a single source of truth for your schemas and keep
your schema registries in sync, serving both your technical and non-technical
stakeholders.
> 💡 **Push or pull your schemas:** To keep your Avo tracking plan in sync with
> your downstream schema registries you can either **push** your schema from Avo
> via Avo Publishing or **pull** your Avo schema via Avo CLI. We recommend
> leveraging _push_ since you can configure that to make sure your downstream
> schema registries get updated when your main Avo schema gets updated.
1. **Push: Publishing your schema:** You can set up [Publishing integrations](#publishing-integrations)
where you publish your Avo schema into other schema registries. For example as
JSON into a Webhook. We recommend leveraging auto-publishing for those
integrations, where your schema will get published upon Avo branch merge
(you can also manually publish a schema at any point). See [use cases](#publishing-use-cases).
2. **Pull: Pull JSON schema via CLI:** An alternative to Avo Publishing integrations
is pulling a JSON schema via the CLI. This way you can add a schema pull into
a CI/CD. See [docs to pull schema via CLI](https://www.avo.app/docs/publishing/exporting.md#pull-json-schema-via-the-cli)
.
## Publishing Integrations
Available integrations are:
- [Amazon S3](https://www.avo.app/docs/publishing/publishing/amazon-s3.md)
- [Segment Protocols](https://www.avo.app/docs/publishing/publishing/segment-protocols.md)
- [Mixpanel Lexicon](https://www.avo.app/docs/publishing/publishing/mixpanel-lexicon.md)
- [RudderStack](https://www.avo.app/docs/publishing/publishing/rudderstack.md)
- [Snowplow Data Structures](https://www.avo.app/docs/publishing/publishing/snowplow-data-structures.md)
- [mParticle Data Master](https://www.avo.app/docs/publishing/publishing/mparticle-data-master.md)
- [Amplitude Data](https://www.avo.app/docs/publishing/publishing/amplitude-data.md)
- [Webhook](https://www.avo.app/docs/publishing/publishing/webhook-publishing.md)
Publishing enables your Tracking Plan to be:
- Published whenever a branch is merged with Auto Publishing
- Published with a push of a button
- Downloaded from your Avo workspace on relevant format
## Setting up and configuring a publishing integration
### Create a new publishing integration
To create a new publishing integration, find the Publishing part of the tracking plan in the left side navigation bar. From there you can click the "Add Integration" button to create a new publishing integration.
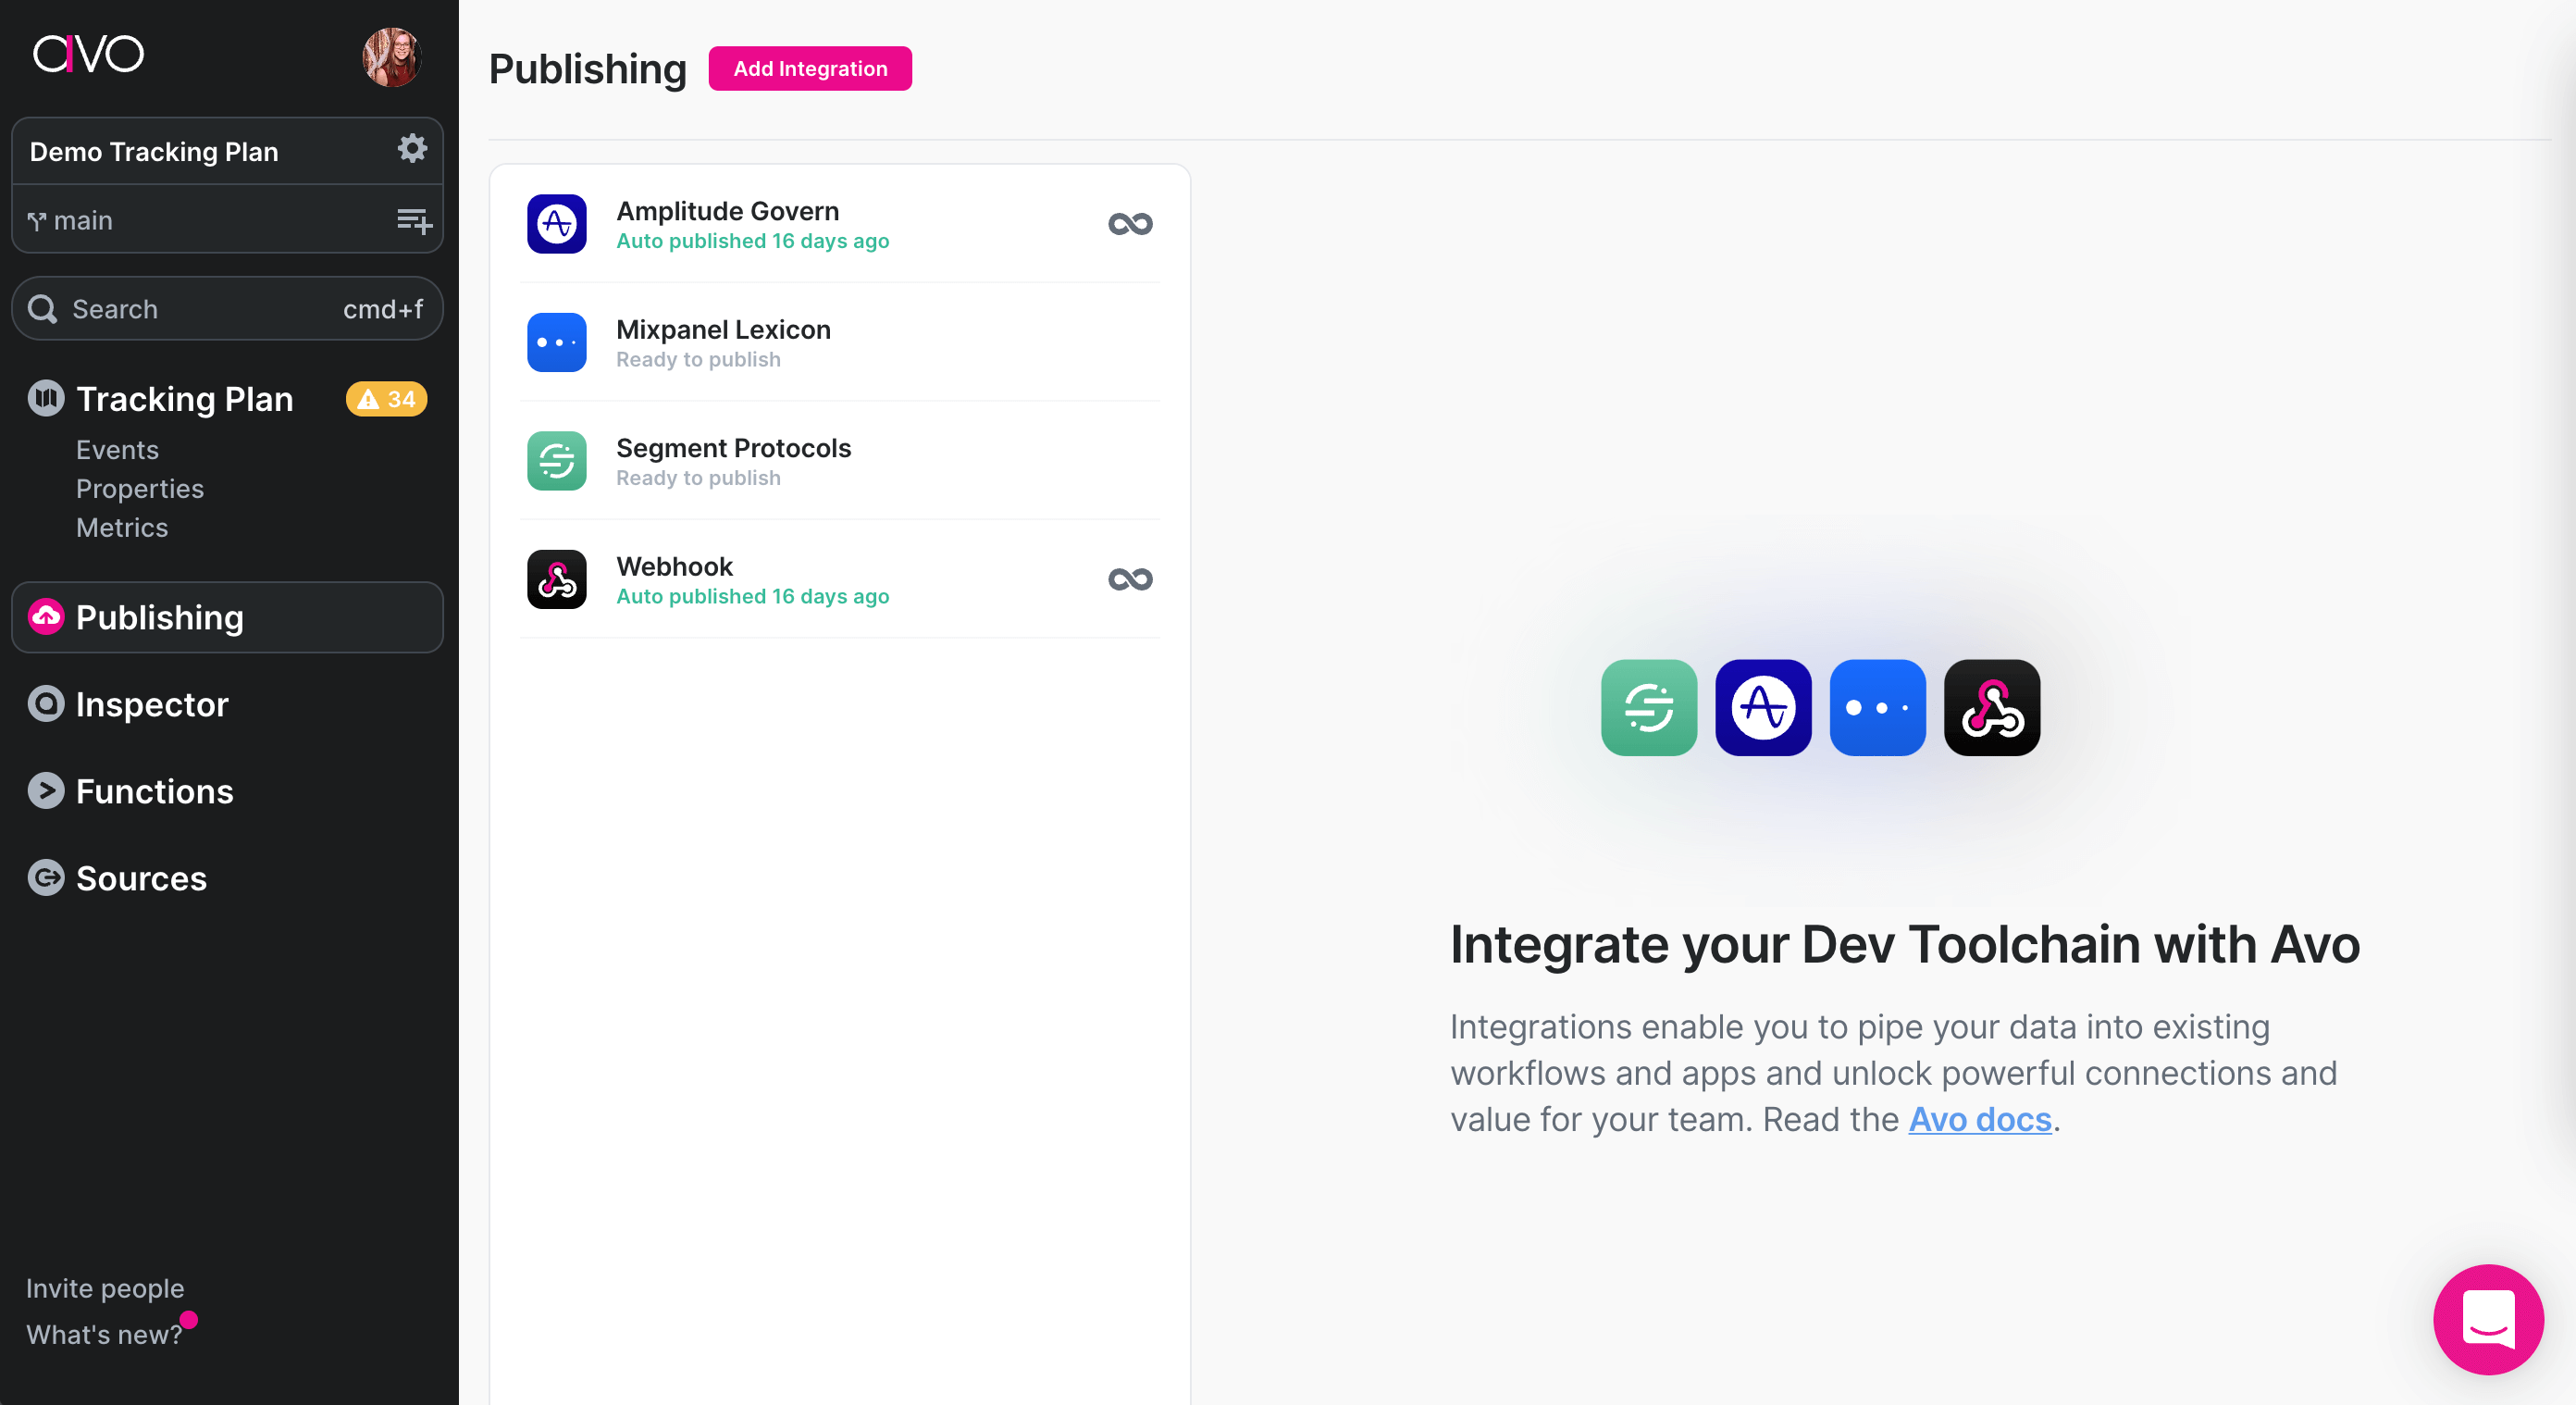
Then you can select the type of integration you want to create and give it a name.
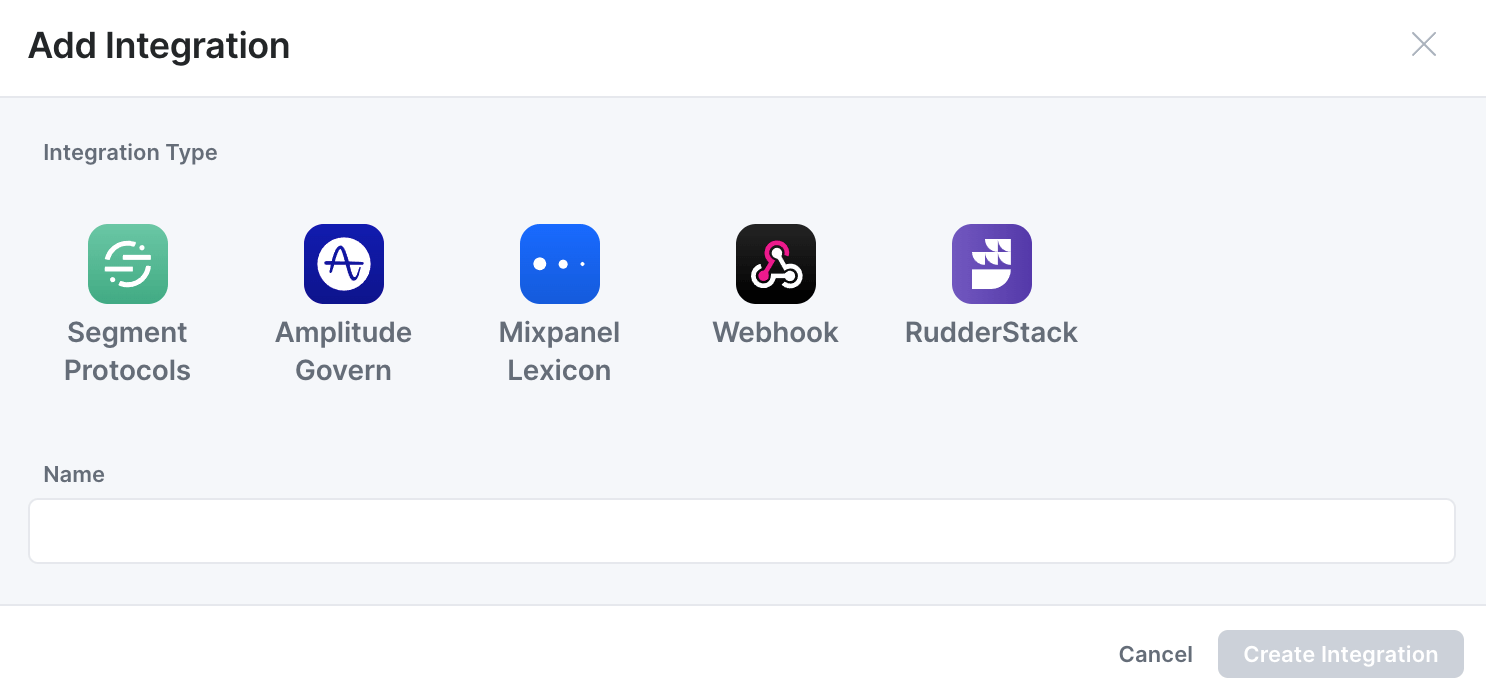
Note that the publishing integrations are independent of the destinations defined in the "Sources" tab. However the publishing integration can use those destinations to filter which events should be included in the publishing integration. See more below in [Filtering events for publishing](https://www.avo.app/docs/publishing/publishing/overview.md#filtering-events-for-publishing)
.
### Configure Auto publishing
When Auto Publishing is enabled all changes made on a branch will be published to the integration when the branch is merged.

### Filtering events for publishing
You can customize which events in Avo are published to which integrations by using the events filter. Events can be filtered by Sources, Destinations and Tags. For example the following integration will only publish events sent from Web to Amplitude.

#### Only send changed events
For Webhook integrations, you can enable "Only send changed events" in the Events Filter section. When enabled, only events that have source-impacting changes on the merged branch are included in the payload, along with a `removedEvents` field listing events that were archived or lost their filtered sources. A change is considered source-impacting when it affects an event attached to a source. Properties or events not connected to any source will not appear as changed. See [Webhook Publishing](https://www.avo.app/docs/publishing/publishing/webhook-publishing.md#only-send-changed-events) for more details.
#### Filtering and source specific property presence
How is source specific property presence published?
- If you don't filter the integration by any source, the property presence is set to the "lowest common denominator" for all sources the property is sent from
- If you filter the integration with one source, the property presence is set to the presence configured for that source on the property
- If you filter by more than one source, the property presence is set to the "lowest common denominator" for the sources you're filtering by and are sending the property
What does the "lowest common denominator" mean?
- If the property is "Always sent" on all sources being published, the property presence is set to "Always sent" (required)
- If the property is "Sometimes sent" on one or more sources being published, the property presence is set to "Sometimes sent" (optional)
- If property is "Never sent" on all sources being published, the property is not included in the publishing
You can learn more on [configuring when Properties are required or optional here](https://www.avo.app/docs/data-design/avo-tracking-plan/properties.md#configuring-when-properties-are-required-or-optional)
.
---
Source: https://www.avo.app/docs/publishing/publishing/use-cases.md
# Publishing Use Cases
*The use cases for publishing your tracking plan from Avo to your analytics tool or CDP*

## See event and property descriptions from Avo inline in your analytics tool
Having the description at hand when navigating your events in your analytics platform, like Mixpanel or Amplitude, helps you more easily identify the events and properties you’re looking for when building charts and looking at dashboards.
With an Avo publishing integration you can let Avo automatically push description and other tracking plan details into these tools, so you can have more context at hand when using the data.
## Keep data validation in your CDP up to date with the tracking plan
Segment Protocols, mParticle Data Master, RudderStack Tracking Plans and Snowplow Iglu are all examples of CDPs with ingestion time validation. It allows you to validate the events as they come in, and for example route the bad events to alternative destinations.
With Avo publishing you can make sure the schemas used for this validation are always up to date with your tracking plan in Avo, which increases the quality of your data in all downstream destinations.
Being able to integrate with CDPs this way also allows your teams to gradually adopt Avo over time.
## Receive a webhook every time the Avo tracking plan is updated
The publishing webhook is a building block that allows you to integrate your Avo tracking plan with your other schema registries and internal systems, tools and workflows.
What can you build with the webhook?
Here are some ideas to get you started:
- **Update ingestion time validation:**
_Automatically update your JSON Schema ingestion time validation whenever a tracking plan change is merged to the main branch. Making sure your pipeline is ready to approve the fresh events before they arrive._
- **Manage tables in data warehouses:**
_Automatically keep raw event table schemas in SnowflakeDB, BigQuery or Redshift in sync with the Tracking Plan – keeping your data streaming in smoothly_
- **Generate dbt models:**
_Generate .yml config files describing your raw event tables in dbt_
- **Automatically build dashboards in your visualization tool:**
_The webhook contains detailed specs on the metrics you've defined in your Tracking Plan. Those specs could be used to automatically build out feature dashboards in visualization tools like Looker, Mode, Mixpanel or Amplitude_
---
Source: https://www.avo.app/docs/publishing/publishing/adobe-experience-platform.md
# Adobe Experience Platform
*Publishing your tracking plan to the Adobe Experience Platform*

## Introduction
The integration to [Adobe Experience Platform XDM system](https://experienceleague.adobe.com/en/docs/experience-platform/xdm/home) allows you to publish your [Avo Tracking Plan](https://www.avo.app/docs/publishing/publishing/overview.md) to Adobe Experience Platform in form of XDM field groups. You can set up the integration to automatically publish on every Avo branch merge or manually trigger a publish.
## Configuring the Adobe Experience Platform integration
To enable the direct integration with AEP, navigate to the Publishing Screen in your Avo workspace, click “Add Integration” and select “Adobe Experience Platform. See details in our [setting up and configuring a publishing integration docs](https://www.avo.app/docs/publishing/publishing/overview.md#setting-up-and-configuring-a-publishing-integration)
You will need to provide the following parameters from Adobe:
- **Adobe Client Id**
- **Adobe Organization ID**
- **Adobe Client Secret**
These parameters can be found from the Adobe Developer Console -> Projects -> Workspaces -> Credentials. The URL should look like this: `https://developer.adobe.com/console/projects/{customerId}/{projectId}/workspaces/{workspaceId}/credentials/{credentialId}/details/{credentialsName}`.
## Publishing to the Adobe Experience Platform
To publish the field groups based on your Avo tracking plan to the Adobe Experience Platform, navigate to the details of the AEP integration that you just created and click the "Publish" button. Enable Auto Publishing to trigger an automatic publish whenever a branch has been merged.
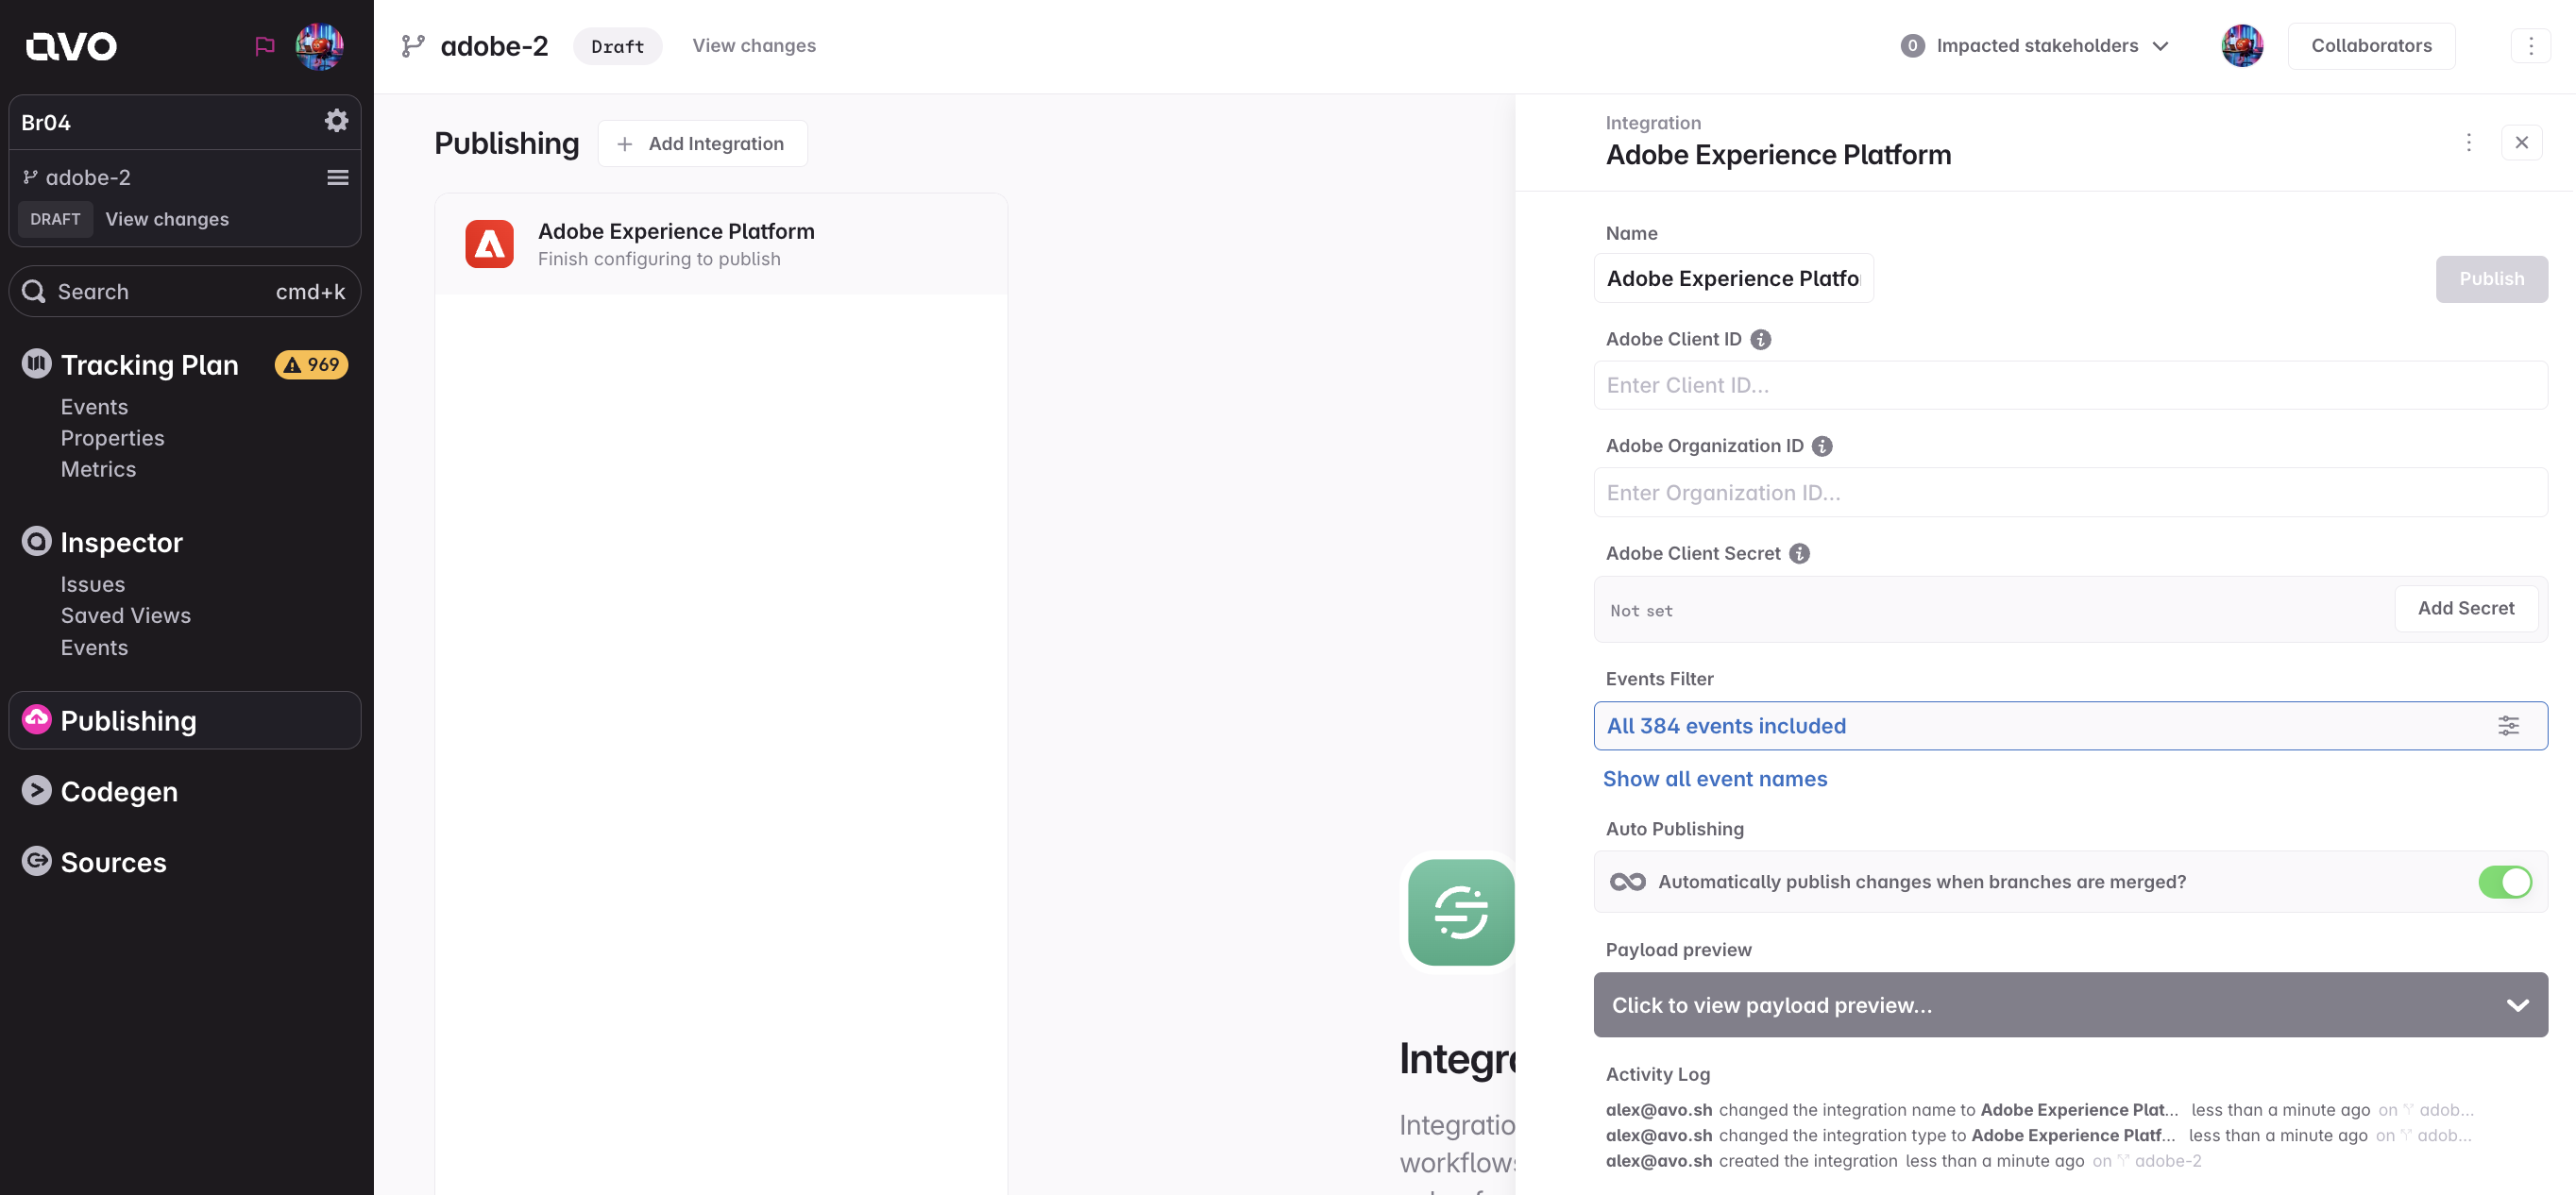
### What Is Included In The Publish to Adobe Experience Platform?
On publish, Avo will fetch all your existing field groups from AEP, compare them with the Avo Property Bundles, included into the publishing integration, and publish new and updated XDM field groups. By default Avo will publish all included property bundles on the branch that you are on as field groups, but you can configure the publish to be [filtered by Sources, Destinations and Tags](https://www.avo.app/docs/publishing/publishing/overview.md#filtering-events-for-publishing).
> All entities published by Avo have `/avo/` in their ids, for example `https://ns.adobe.com/TENANT_ID/mixins/avo/{property-bundle-id}`
#### Property Bundles map to XDM Field Groups
Avo Property Bundles map directly to XDM Field Groups. Property Bundles represent global sets of properties that can be reused across multiple events within Avo, mirroring the reuse of Field Groups across XDM schemas. This makes Property Bundles ideal for simultaneously managing your Avo Tracking Plan and corresponding XDM Schemas in Adobe Experience Platform.
Experience Events:
- **title**: Title of the Property Bundle becomes the Field Group's title
- **definitions/property/properties/TENANT_ID/properties**: contains list of XDM properties created from the Avo properties, included into the Property Bundle, where `type` is the property type defined in Avo, `title` is the property name or name mapping defined in Avo and `description` is the property description provided in Avo
- **meta:intendedToExtend**: set to `https://ns.adobe.com/xdm/context/experienceevent`
#### Handling changes
**Non breaking changes** are handled with a seamless field group update. When a non-breaking change is synced, your existing schema will be updated with the new field and can be used without any action from your side.
**Breaking changes** are handled by creating a new field group with a version suffix, e.g. `..._v2`. You will need to update your AEP schema setup to reference the new field group.
Learn more about the [breaking changes in AEP](https://experienceleague.adobe.com/en/docs/experience-platform/xdm/schema/composition#evolution)
##### Versioning
When creating a new field group caused by breaking changes, Avo will automatically increment the version number. You can find the version number of the field group in:
- **title**: for example `{Original Name}_v2`, `{Original Name}_v3` etc.
- **$id**: for example `https://ns.adobe.com/avosoftwaretpp/mixins/avo/{property-bundle-id}_v2`
---
Source: https://www.avo.app/docs/publishing/publishing/amazon-s3.md
# Amazon S3
*Publishing your tracking plan to an Amazon S3 bucket*

## Introduction
Avo can publish a snapshot of your tracking plan as a JSON file to an S3 bucket you control. This is useful when you want your tracking plan to be a versioned source-of-truth for downstream data tooling, dashboards, schema registries, or CI/CD checks. You can configure the integration to publish whenever a branch is merged or with a push of a button.
> 🔑 Amazon S3 publishing is currently in private beta. To request access for your workspace, reach out via the in-app support widget or at [support@avo.app](mailto:support@avo.app).
## Configure the Amazon S3 integration
To enable the integration, navigate to the Publishing screen in your Avo workspace, click "Add Integration" and select "Amazon S3". See details in our [setting up and configuring a publishing integration docs](https://www.avo.app/docs/publishing/publishing/overview.md#setting-up-and-configuring-a-publishing-integration).
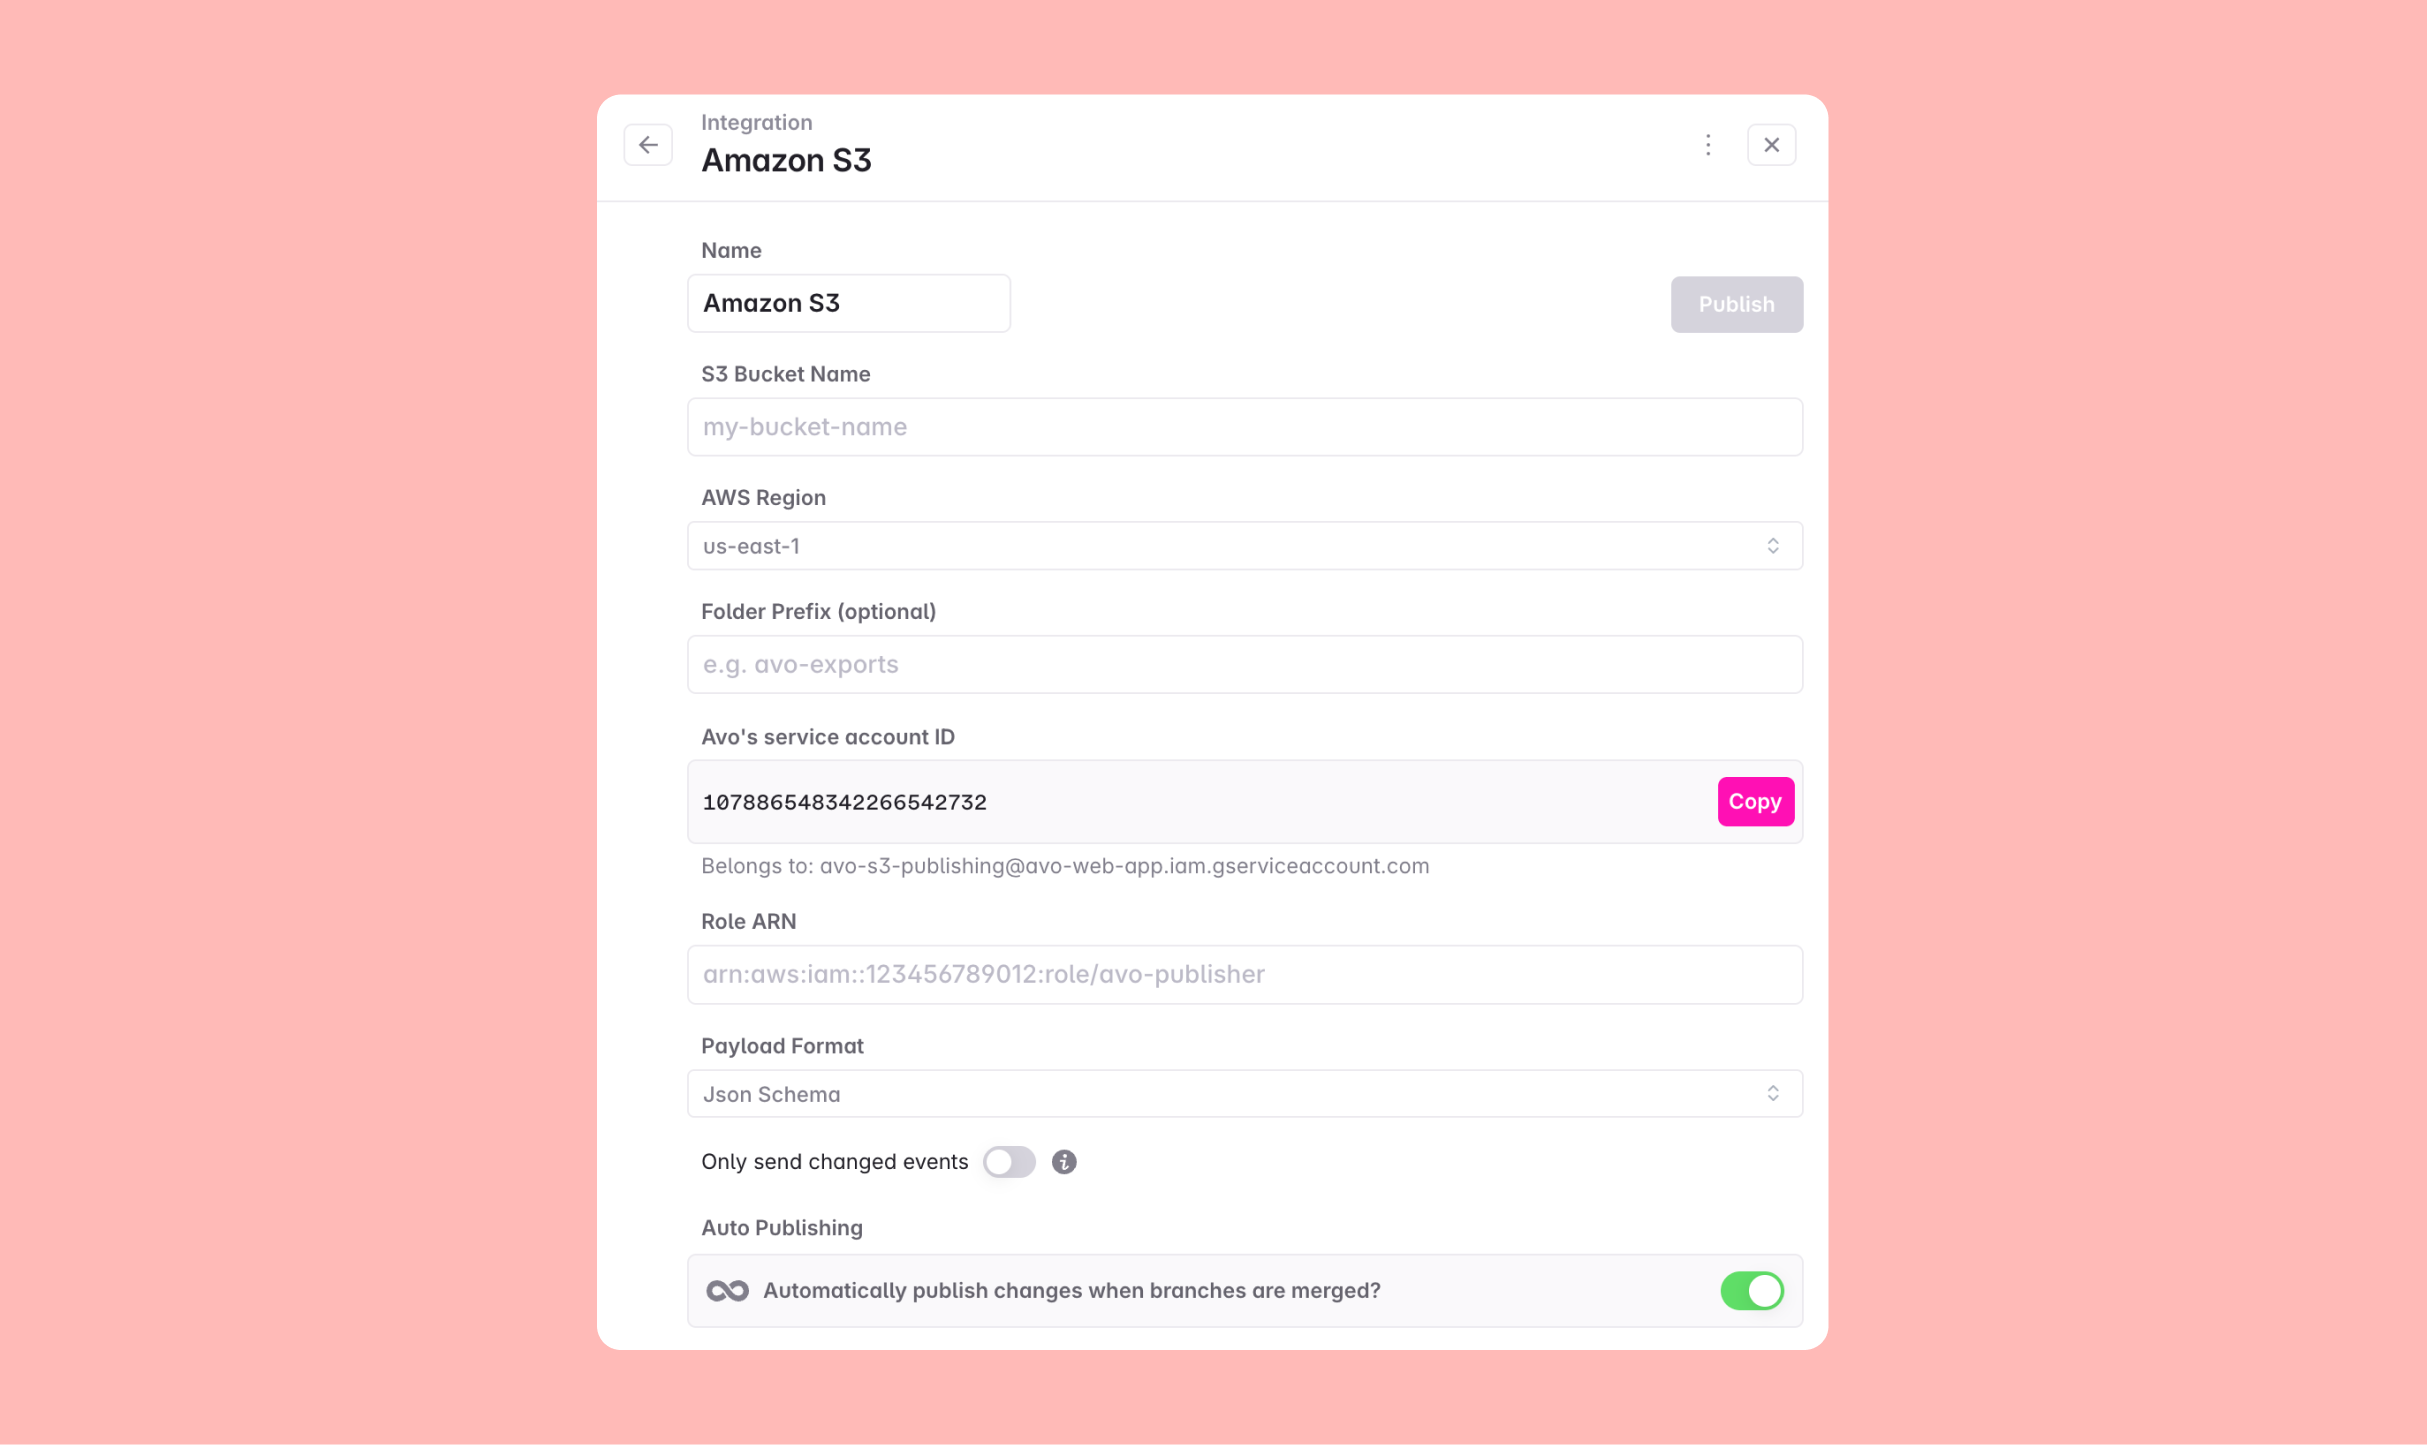
You'll configure the following fields:
| Field | Description |
|:------|:------------|
| **S3 Bucket Name** | The bucket name only — no `s3://` prefix and no region. |
| **AWS Region** | The region the bucket lives in. |
| **Folder Prefix** (optional) | A path segment placed in front of the workspace and branch folders Avo creates, e.g. `avo-exports`. |
| **Avo's service account ID** | Read-only — the 21-digit ID Avo displays for you to paste into your trust policy `accounts.google.com:sub` condition. |
| **Role ARN** | The ARN of the IAM role Avo should assume, e.g. `arn:aws:iam::123456789012:role/avo-s3-publisher`. |
| **Payload Format** | The JSON shape Avo serializes. See [Payload formats](#payload-formats) below. |
| **Only send changed events** | When on, the published payload only includes events whose schema changed on this branch, which is useful for incremental syncs. When off, every publish is a full snapshot. |
| **Automatically publish on branch merge** | When on, every branch merge triggers an automatic publish. When off, publishing only happens on a manual button click. |
Your bucket can live in any standard AWS region — GovCloud and China regions are not currently supported. Each integration writes to a single bucket; to publish to multiple buckets (e.g. dev, staging, prod), create a separate integration for each. Creating the IAM role behind the **Role ARN** and **Avo's service account ID** fields is covered in [Configuring AWS for Avo](#configuring-aws-for-avo) below.
> 💡 Avo writes every object with SSE-S3 (AES256), set explicitly on each upload. Your bucket must allow SSE-S3 uploads — the default for new buckets. A bucket whose policy requires SSE-KMS (AWS-managed or customer-managed) will reject Avo's uploads; SSE-KMS is not currently supported.
## Configuring AWS for Avo
Avo authenticates to your bucket by assuming an IAM role in your account via OpenID Connect (OIDC) — it never holds any AWS credentials, not even encrypted. The mechanism is AWS's built-in trust of Google's OIDC issuer (`accounts.google.com`), so there's no IAM identity provider to register in your account.
In the [AWS IAM console](https://console.aws.amazon.com/iam/) (**Roles → Create role → Custom trust policy**), create an **IAM role** with two policies attached. First, a **trust policy** that lets Avo's Google identity assume the role. From the Avo integration screen, copy **Avo's service account ID** — a 21-digit number Google assigns to the service account (the JWT `sub` claim) — and paste it into the `accounts.google.com:sub` condition. The screen also shows the service-account email beneath the ID for context, so you know which account the ID belongs to; the email is not the value you paste.
```json
{
"Version": "2012-10-17",
"Statement": [
{
"Effect": "Allow",
"Principal": { "Federated": "accounts.google.com" },
"Action": "sts:AssumeRoleWithWebIdentity",
"Condition": {
"StringEquals": {
"accounts.google.com:sub": "107886548342266542732"
}
}
}
]
}
```
Second, a **permission policy** limiting the role to writing into your bucket:
```json
{
"Version": "2012-10-17",
"Statement": [
{
"Effect": "Allow",
"Action": ["s3:PutObject"],
"Resource": "arn:aws:s3:::/*"
}
]
}
```
> 💡 The trust policy must use `Principal: { "Federated": "accounts.google.com" }`. If your organization's policies forbid `accounts.google.com` as a federated identity provider, [get in touch](mailto:support@avo.app) — we'll discuss workarounds.
### How a publish authenticates
Per publish, Avo's Cloud Function:
1. Fetches a short-lived, Google-signed JWT from the GCP metadata server. The JWT's `sub` claim is Avo's service account's unique 21-digit ID — a value only Google can populate.
2. Calls AWS STS `AssumeRoleWithWebIdentity` with that JWT and your **Role ARN**.
3. AWS validates the JWT signature against Google's public JWKS and checks the `sub` claim matches your trust policy condition — confirming the token was minted by Avo's specific service account. It then mints temporary credentials valid for 15 minutes.
4. The Cloud Function uses those credentials to `PutObject`; they expire automatically.
Avo never holds long-lived AWS credentials anywhere.
## What gets written and where
Every publish writes two objects under the same prefix:
```
///-.json ← immutable snapshot
///latest.json ← rolling pointer
```
- **`-.json`** is the historical record of a single publish. The filename embeds an ISO-8601 timestamp and a short tag describing why the publish ran (`Manual` or `BranchMerge`). It's never overwritten.
- **`latest.json`** is a rolling pointer *scoped to its branch folder*: it's identical in content to the most recent timestamped file in that same folder, and is overwritten on every publish to that branch. A feature branch's `latest.json` tracks that feature branch; main's tracks main. Downstream consumers that just want "the current tracking plan" should read the `latest.json` in the folder they care about; consumers that need history can list the timestamped files.
- **``** is the Avo workspace ID. It's stable and never changes.
- **``** is the Avo branch the publish came from — the branch is captured here in the folder path, not in the filename. Branches merged to main share a single main-branch ID; feature branches each have their own. This lets downstream tooling pin to a specific feature branch during development and switch to main once merged. A manual publish triggered from a feature branch lands in that feature branch's folder; auto-publishes that run on branch merge always land in the main folder.
- The object key layout is fixed: customizing the `//` segments (beyond the optional folder prefix) isn't currently supported.
### Example
With **Folder Prefix** = `avo-exports` and a publish from your main branch:
```
avo-exports/workspace_id/main/2026-05-29T14:23:11.000Z-BranchMerge.json
avo-exports/workspace_id/main/latest.json
```
## Payload formats
You can choose the JSON shape Avo serializes, each documented in detail on the [Webhook payload format docs](https://www.avo.app/docs/publishing/publishing/webhook-publishing.md#payload-format):
- **JSON Schema** — a representation of your tracking plan following the [JSON Schema](https://json-schema.org/) standard. This is the common pick for downstream validation.
- **NDJSON** — newline-delimited JSON, with one event or property object per line. Useful for streaming the file into row-oriented data tooling.
- **Snowplow Schemas** — a [Snowplow Schema](https://www.avo.app/docs/publishing/publishing/webhook-publishing.md#snowplow-schemas) for every event, for integrating Avo with Snowplow Iglu. Selecting this format reveals a **Vendor** field where you set the Snowplow vendor value stamped into the schemas.
## Publishing modes
- **Manual** — Click **Publish** on the integration page. Use this for one-off snapshots, or when you want a human in the loop before pushing schema changes downstream.
- **Auto-publish on branch merge** — Every time a branch is merged in Avo, a publish runs automatically. Because the merge target is main, these publishes always write to the main folder (`//`), not a feature-branch folder. Use this if your downstream pipeline should always reflect the current production tracking plan with no manual step. See [Configure Auto publishing](https://www.avo.app/docs/publishing/publishing/overview.md#configure-auto-publishing) for details.
Both modes write to the same files. The `` segment in the timestamped filename tells you which one triggered the publish.
## Security
- Avo holds no AWS credentials — not even encrypted. There's no secret to store, log, or leak. Each publish mints a fresh Google-signed token (valid about an hour) and exchanges it for AWS temporary credentials that expire after 15 minutes.
- The service account that mints the token is **dedicated to this integration and holds zero IAM roles in Avo's GCP project** — it can't read Avo's database, fetch secrets, or invoke other services. Your trust policy pins to this identity by its 21-digit `sub`, so even a full compromise of the publish path yields only "write to opted-in customer buckets," never a foothold inside Avo.
- Scope the role to `s3:PutObject` on the Avo bucket only — avoid `AmazonS3FullAccess` or similar broad policies.
**Why the trust policy conditions on `sub`, not `aud`**
`aud` is whatever the caller requests when minting the token, so it isn't an identity proof. AWS validates `sub` independently and the caller can't set it — which is why the trust policy pins to Avo's 21-digit service-account `sub`.
## Failure handling
When a publish fails, the integration page shows a red "Published with errors" message and the activity log below the integration captures the specific failure. Avo writes the timestamped snapshot first and only updates `latest.json` after that write succeeds, so consumers reading `latest.json` always see a complete, consistent snapshot — never a partially written file.
The error message in the Avo UI surfaces the underlying AWS response. The most common failures and how to resolve them:
- **403 Access Denied**: The assumed role doesn't have `s3:PutObject` on the target bucket or folder prefix. Confirm the permission policy is attached and that its `Resource` ARN matches your bucket, e.g. `arn:aws:s3:::/*`.
- **AccessDenied on `AssumeRoleWithWebIdentity`**: AWS refused to let Avo assume the role. The `accounts.google.com:sub` condition in your trust policy doesn't match Avo's service account ID shown in Avo, or the trust policy isn't using `Principal: { "Federated": "accounts.google.com" }`. Re-copy the service account ID from the integration screen into the condition.
- **InvalidIdentityToken**: AWS couldn't validate the Google-signed token (expired, clock skew, or a transient issue fetching Google's JWKS). This is usually transient — click **Publish** again to retry.
- **Role ARN errors (NoSuchEntity / malformed ARN)**: The configured **Role ARN** doesn't exist or is malformed. Confirm it matches the role you created, e.g. `arn:aws:iam::123456789012:role/avo-s3-publisher`.
- **404 NoSuchBucket**: The configured bucket doesn't exist in the configured region. Check the **S3 Bucket Name** (name only, no `s3://` prefix) and that the **AWS Region** matches where the bucket actually lives.
- **301 PermanentRedirect**: The bucket is in a different region than the one configured. Update **AWS Region** to the bucket's real region.
- **KMS / encryption errors**: The bucket's policy requires SSE-KMS. Avo writes objects with SSE-S3 (AES256), so a bucket that mandates KMS — whether AWS-managed or customer-managed — rejects the upload. Configure the bucket to allow SSE-S3 uploads; SSE-KMS is not currently supported.
- **Network timeout**: The request to AWS timed out. This is usually transient — click **Publish** again to retry.
- **Other errors**: The activity log captures the raw AWS error. If it isn't one of the above, reach out via the in-app support widget or at [support@avo.app](mailto:support@avo.app).
---
Source: https://www.avo.app/docs/publishing/publishing/amplitude-data.md
# Amplitude Data
*Publishing your tracking plan to Amplitude Data*

## Introduction
The integration to [Amplitude Data](https://help.amplitude.com/hc/en-us/categories/17292443498779-Amplitude-Data) allows for your Tracking Plan to be published into Amplitude Data whenever a branch has been merged. You can also manually trigger a publish by clicking the "Publish to Amplitude Data" button on the integration screen or download a CSV file on the Amplitude Data format, which you can manually import into Amplitude Data. The events to be published can be [filtered by Sources, Destinations and Tags](https://www.avo.app/docs/publishing/publishing/overview.md#filtering-events-for-publishing).
## Configure the Amplitude Data integration
> 💡 **Note:** Amplitude customers who intend on using the Taxonomy API (which is required for Avo Publishing to Amplitude to work) should reach out to their Amplitude Customer Service Manager or Amplitude Support team. More in [Amplitude's docs](https://www.docs.developers.amplitude.com/analytics/apis/taxonomy-api/).
To enable the direct integration with Amplitude Data, you need to configure it with the following parameters from Amplitude. They can be found from the project settings in Amplitude. From the left sidebar in your Amplitude workspace click: Settings > Projects > [Your Project Name]. The URL should look like this: `https://analytics.amplitude.com/{org-name}/settings/projects/{project-id}/general`.
- **Amplitude API Key**
- **Amplitude Secret Key**
- **EU Data Residency**: Turn this on if you opted to store your data in Europe when you created your Amplitude project
## Publishing to Amplitude Data
To publish your Avo tracking plan to Amplitude Data, click the "Publish to Amplitude Data" button in the integration interface, or enable Auto Publishing to publish the events included in the publishing integration whenever a branch has been merged.
### What Is Included In The Publish to Amplitude Data?
On publish, Avo will merge your Avo tracking plan with any existing events and user properties in Amplitude Data. Any changes made to an event or a user property in Amplitude Data between Avo publish will be overridden on next Avo publish.
Avo will not impact any events or properties that are not defined in Avo, or events that have not been added to the Amplitude Data integration in Avo. Avo will publish all the user properties defined in your tracking plan to Amplitude. Avo will not impact any custom events or custom user properties defined in Amplitude Data and not defined in Avo.
Here's how events, event properties properties, categories and user properties are mapped from Avo to Amplitude Data:
#### Event
- **Event type**: The event name as defined in Avo. If [name mapping](https://www.avo.app/docs/data-design/guides/name-mapping.md) is applied to the event for an Amplitude destination, the name defined by the name mapping is used here.
- **Category**: Amplitude Data only supports one category per event, so the first category attached to the event in Avo is used here
- **Description**: This is the description as provided in Avo and list of triggers defined in Avo for each source (including any attached screenshots)
#### Event Property
- **Event property**: The property name as defined in Avo. If [name mapping](https://www.avo.app/docs/data-design/guides/name-mapping.md) is applied to the property for an Amplitude destination or all destinations, the name defined by the name mapping is used here.
- **Event type**: The name of the event this property is attached to. If the property is attached to multiple events in Avo, multiple properties will be created in Amplitude Data because Amplitude Data does not support reusing properties across multiple events with a [global namespace](https://www.avo.app/docs/data-design/best-practices/global-namespace.md).
- **Type**: The property type in Avo mapped to one of Amplitude Data's supported property types: `string`, `number`, `boolean`, `enum` or `any`
- **Is array**: `true` if the "list" checkbox is checked on the property in Avo
- **Is required**: `true` if the property is marked as "Always sent" in Avo
- **Description**: The property description as defined in Avo
- **Enum values**: If the property is of type string, and the ["property matches..." rule](https://www.avo.app/docs/data-design/avo-tracking-plan/properties.md#enumeration-of-allowed-string-values) is applied in Avo, the allowed values are provided here
#### Category
- **Name**: The name of the category as defined in Avo. If the category already exists in Amplitude Data, we reuse that one.
#### User Property
- **User Property**: The property name as defined in Avo. If [name mapping](https://www.avo.app/docs/data-design/guides/name-mapping.md) is applied to the property for an Amplitude destination or all destinations, the name defined by the name mapping is used here.
- **Description**: The property description as defined in Avo
- **Type**: The property type in Avo mapped to one of Amplitude Data's supported property types: `string`, `number`, `boolean`, `enum` or `any`
- **Enum values**: If the property is of type string, and the ["property matches..." rule](https://www.avo.app/docs/data-design/avo-tracking-plan/properties.md#enumeration-of-allowed-string-values) is applied in Avo, the allowed values are provided here
- **Is array**: `true` if the "list" checkbox is checked on the property in Avo
## Amplitude Data Publishing Warnings
- **409 Conflict**: Some events or properties that are in your Amplitude Data Schema are not recognized by the Amplitude Data API, for example events that have been merged into other events in Amplitude Data or events/properties that are blocked.
Events and properties that end up returning 409 error in Amplitude are likely not active. If you'd like to get rid of this warning please double check them and remove them from your Avo tracking plan if they are not active anymore.
## Amplitude Data Publishing Errors
The following errors might occur when publishing your tracking to Amplitude Data. When publishing errors occur the error message in the Avo UI will contain which items could not be updated along with the error codes.
- **404 Not Found**: This error can be thrown in few scenarios:
- We tried to update an event or property that doesn't exist in your Amplitude Data Schema
- If this error only occurs for events and properties Amplitude hasn't seen yet, it might indicate that the schema in Amplitude Data hasn't been initialized, or that you don't have access to the "Plan data" functionality in Amplitude Data
- If this error occurs for all of the events you are attempting to publish it might indicate that your Amplitude Data Schema has not been initialized. Learn more about initializing your Amplitude Data Schema in [the Amplitude Data docs](https://help.amplitude.com/hc/en-us/articles/5078848559259).
After you Amplitude Data Schema is initialized usually the API continues to return occasional 404 errors for a few more hours. If your Amplitude Data Schema has been initialized more than 6 hours ago and the error persists, please contact support.
- **408 Timeout**: The publishing operation took too long. This can happen when publishing large tracking plans for the first time. Click publish again to resume the publish, it will continue from where it left off.
- **409 Conflict**: We tried to update an item that doesn't exist in your Amplitude Data Schema.
We noticed that this error may happen if the entity has a non-default state in your Amplitude Data schema, i.e. it is marked as "Unexpected" or "Blocked". Try setting the state to "Expected" in Amplitude Data and unblock erroring entities and publish again.
If that does not help this might be caused by an internal error. Please reach out to support so we can help you resolve the issue.
- **429 Too Many Requests**: We've exceeded the number of Amplitude Data requests we can make per hour for the provided API credentials or there are too many concurrent requests to the Amplitude Data API with given credentials.
Please wait before trying to publish again and make sure that you are not running multiple publishing at the same time for the same credentials. You can learn more about Amplitude Data request limits [in the Amplitude Data docs](https://help.amplitude.com/hc/en-us/articles/360016606991-Taxonomy-API#h_53f1b7d4-ee8d-4a81-945b-e5a2909ddfad).
- **Other error codes**: Please contact us if you are experiencing other types of errors.
---
Source: https://www.avo.app/docs/publishing/publishing/mixpanel-lexicon.md
# Mixpanel Lexicon
*Publishing your tracking plan to Mixpanel Lexicon*

## Introduction
The integration to [Mixpanel Lexicon](https://mixpanel.com/data-governance/) allows for your Tracking Plan to be published into Mixpanel Lexicon whenever a branch is merged in your workspace or with a push of a button.
## Configure the Lexicon integration
To enable the direct integration with Mixpanel Lexicon, you need to configure it with the following parameters from Mixpanel.
- **Mixpanel Project Id**: Found in the URL when viewing your project in Mixpanel: `https://mixpanel.com/report//...`
- **Mixpanel Service Account Username**: [See Mixpanel's documentation for creating a Service Account](https://developer.mixpanel.com/reference/authentication#service-accounts)
- **Mixpanel Service Account Secret**: [See Mixpanel's documentation for creating a Service Account](https://developer.mixpanel.com/reference/authentication#service-accounts)
- **EU Data Residency**: Turn this on if you opted to store your data in the EU when you created your Mixpanel project [See Mixpanel's documentation on data residency in EU](https://help.mixpanel.com/hc/en-us/articles/360039135652-Data-Residency-in-EU)
- **Publish categories as tags**: Mixpanel doesn't have a notion of event categories but enabling this toggle allows you to publish an events categories as tags to Mixpanel. The categories will have `Category: ` prepended to them, for example: `Category: Authentication`.
## Publishing to Lexicon
To publish your Avo tracking plan to Lexicon, click the "Publish to Lexicon" button in the integration interface, or enable Auto Publishing to publish the events included in the publishing integration whenever a branch has been merged.
On publish, Avo will merge your Avo tracking plan with any existing events in Lexicon. Any changes made to an event in Lexicon between Avo publish will be overridden on next Avo publish.
Avo will not impact any events that are only defined in Lexicon, or events that have not been added to the Lexicon integration in Avo.
### What Is Included In The Publish to Lexicon?
Here's how the Avo Tracking Plan is mapped to Lexicon:
- Events
- Event name
- Event description
- Required property names
- If the event has additional properties
- Event properties
- Property name
- Property description
- Property type
- Metadata
- Tags
- User Properties
- Property name
- Property description
- Property type
---
Source: https://www.avo.app/docs/publishing/publishing/mparticle-data-master.md
# mParticle Data Master
*Publishing your tracking plan to mParticle Data Master*

## Introduction
The [mParticle Data Master](https://docs.mparticle.com/guides/data-master/introduction/) integration enables you to publish your Avo Tracking Plan into mParticle Data Master. You can configure the integration to publish whenever a branch is merged or with a push of a button.
## Configure the mParticle integration
To enable the direct integration with mParticle Data Master, you need to configure it with the following parameters from mParticle.
- **mParticle Client ID**: Your client ID issued by mParticle. To get both Client ID and Client Secret press the person icon in the bottom left of your mParticle web UI. Then click "Settings" -> "API Credentials" and create new credentials. You'll get both Client ID and Client Secret there.
- **mParticle Client Secret**: Your client secret issued by mParticle.
- **mParticle Workspace ID**: The ID of the workspace containing your data plans. To find it click the app name in the top left of the mParticle web UI, then "Settings". You'll see the list of your workspaces, Workspace ID is the number below your workspace name.
- **mParticle Plan ID**: The ID of the Data Plan to update. To view available plans press "Data Master" -> "Plans" in the navigation panel in the mParticle UI. You'll see the list of your plans. Plan ID is the string below the plan name.
## Publishing to mParticle
Avo will create a new version of your data plan in mParticle every time you publish. When publishing manually you can pick whether you'd like to overwrite existing mParticle data plan version or create a new one. Auto publish will always create a new version of the data plan in mParticle, by incrementing the version number of the most recent plan by one.
Avo will override all events in the mParticle Tracking Plan that are being imported from Avo. Any changes made to an event in an mParticle Tracking Plan between publishing from Avo will be overridden on the next Avo publish.
Avo will not override any events that are only defined in mParticle, or events that have not been excluded from the mParticle integration in Avo with filters.
---
Source: https://www.avo.app/docs/publishing/publishing/rudderstack.md
# RudderStack Tracking Plans
*Publishing your tracking plan to RudderStack*

## Introduction
The [RudderStack integration](https://rudderstack.com/blog/dogfooding-at-rudderstack-tracking-plans-part-1/) enables you to publish your Avo Tracking Plan into RudderStack. You can configure the integration to publish whenever a branch is merged or with a push of a button.
## Configure the RudderStack integration
To enable the direct integration with RudderStack Tracking Plans, you need to configure it with the following parameters from RudderStack.
- **RudderStack Account Email Address**: The email of a RudderStack account with Read-Write access
- **RudderStack Tracking Plan Name**: The display name of the RudderStack Tracking Plan you want to publish to
- **RudderStack Access Token**: [Create new Personal Access Token](https://rudderstack.com/docs/transformations/api-access-token/#access-token) for the account with the email address you provided above
## Publishing to RudderStack
Avo will override all events in the RudderStack Tracking Plan that are being imported from Avo. Any changes made to an event in RudderStack Tracking Plan between Avo publish will be overridden on next Avo publish.
Avo will not override any events that are only defined in RudderStack, or events that have not been excluded from the RudderStack integration in Avo with filters.
---
Source: https://www.avo.app/docs/publishing/publishing/segment-protocols.md
# Segment Protocols
_Publishing your tracking plan to Segment Protocols_

## Introduction
The integration to [Segment Protocols](https://segment.com/docs/protocols) allows for your Tracking Plan to be published into Segment Protocols whenever branches are merged in your workspace or with a push of a button.
## Configure the Protocols integration
To enable the direct integration with Segment Protocols, you need to configure it with the following parameters from Segment.
- **Segment Workspace Slug**: Found in the URL when logged into Segment: `https://app.segment.com/{Segment workspace slug}/...` or in the workspace settings
- **Protocols Tracking Plan ID**: Found in the URL of the tracking plan page: starts with `rs_` for [Config API](https://segment.com/docs/api/config-api/), `tp_` for [Public API](https://segment.com/docs/api/public-api/)
- **Segment Access Token**: [Create new API tokens](https://segment.com/docs/api/config-api/authentication/#create-an-access-token) for Avo and limit the scope of its permissions to ‘Protocol Admin’.
## Publishing to Protocols
To publish your Avo tracking plan to Protocols, click the "Publish" button in the integration interface, or enable Auto Publishing to publish the events included in the publishing integration whenever a branch has been merged.
### What Is Included In The Publish to Protocols?
Avo will override all events in the Protocols tracking plan that are included in the publish from Avo. Any changes made to an event in Protocols between Avo publish will be overridden on next Avo publish.
Avo will not override any events that are only defined in Protocols, or events that are not included in the Protocols integration in Avo.
Here's how the Avo Tracking Plan is mapped to Protocols:
#### Event
- **Name**: The event name as defined in Avo. If [name mapping](https://www.avo.app/docs/data-design/guides/name-mapping.md) is applied to the event for a Segment destination, the name defined by the name mapping is used here.
- **Description**: This is the description as provided in Avo and list of triggers defined in Avo for each source
- **Labels**: All tags attached to the event in Avo will be published to Protocols as labels, on the key:value format "[Avo tag]:avo"
#### Event Property
- **Name**: The property name as defined in Avo. If [name mapping](https://www.avo.app/docs/data-design/guides/name-mapping.md) is applied to the property, the name defined by the name mapping is used here.
- **Description**: The property description as defined in Avo
- **Type**: The property type and rules in Avo mapped to [JSON Schema](https://json-schema.org) compatible rules
- **Required**: If the property is marked as "Always sent" in Avo it will be marked as required in Protocols
#### User Property
User Properties in Avo are published as identify traits to Segment Protocols.
By default, all user properties that are attached to events that are sent from at least one source in Avo, are included in the publish. When the publishing integration is filtered by source, only user properties sent with events from those sources will be included. To see exactly which user properties will be published in your integration, expand the "Payload Preview" section below the integration config.
Avo will not override any user properties (identify traits) that are only defined in Protocols, or user properties that are not included in the Protocols integration in Avo.
- **Name**: The property name as defined in Avo. If [name mapping](https://www.avo.app/docs/data-design/guides/name-mapping.md) is applied to the property, the name defined by the name mapping is used here. Note that event specific name mappings will not be applied because user properties are not event specific in Protocols.
- **Description**: The property description as defined in Avo
- **Type**: The property type and rules in Avo mapped to [JSON Schema](https://json-schema.org) compatible rules
- **Required**: If the property is marked as "Always sent" on all events in Avo, it will be marked as required in Protocols. Otherwise it will be marked as optional.
#### Group Property
Currently Avo does not publish properties into Protocols. If you'd like to publish group properties, please let us know, and we'll invite you to the beta when it goes live.
#### Category
Currently Avo does not publish categories into Protocols. If you'd like to publish categories, please let us know!
---
Source: https://www.avo.app/docs/publishing/publishing/snowplow-data-structures.md
# Snowplow Data Structures
*Publishing your tracking plan to Snowplow Data Structures*

## Introduction
The [Snowplow integration](https://docs.snowplow.io/docs/understanding-tracking-design/managing-data-structures/) enables you to publish your Avo Tracking Plan into Snowplow. You can configure the integration to publish whenever a branch is merged or with a push of a button.
## Configure the Snowplow integration
To enable the direct integration with Snowplow, you need to configure it with the following parameters.
- **Snowplow Organization ID**: Your organization ID issued by Snowplow, can be retrieved from the URL immediately following the `.com` when visiting the console, e.g. `13bbade6-1eff-42d0-861d-41cd3e52ac41` in `https://console.snowplowanalytics.com/13bbade6-1eff-42d0-861d-41cd3e52ac41/contact-us`.
- **Snowplow Vendor Name**: The vendor name of your Snowplow schemas, can be obtained in the `Manage data structures` section in the console.
- **Snowplow Access Token**: The secret access token to update your Snowplow data structures, can be obtained in the `API keys` section.
## Publishing to Snowplow
> Data structures interfaces are only compatible with pipelines that have been upgraded to use Iglu Server registries, rather than static S3 registries. Please check in your [Snowplow console](https://console.snowplowanalytics.com/data-structures/), to see if you need an upgrade or if your registries are ready to go.
The Snowplow API enforces a workflow of validating, testing on development and then deploying to production.
Avo publishing integration will take care of validating and deploying your data structures to the development environment, where you take over to test the data structures and promote the tested data structures to production.
Avo will override all events in the Snowplow Tracking Plan that are being imported from Avo. Any changes made to an event in Snowplow Tracking Plan between Avo publish will be overridden on next Avo publish.
Avo will not override any events that are only defined in Snowplow, or events that have not been excluded from the Snowplow integration in Avo with filters.
Note that only Admin users can promote data structures from Dev to Production. Learn more on how to promote the data structures with Snowplow Console [here](https://docs.snowplow.io/docs/understanding-tracking-design/managing-data-structures/#promoting-a-data-structure)
## Versioning
Avo will create new data structures with version 1-0-0 and will patch the existing data structures in your development environment on the same version as they are.
When promoting the tested data structures to production you will be required update the version. Read more about the versioning [here](https://docs.snowplow.io/docs/understanding-tracking-design/versioning-your-data-structures/)
---
Source: https://www.avo.app/docs/publishing/publishing/webhook-publishing.md
# Webhook
_Publishing your tracking plan to a Webhook_

## Introduction
The Webhook integration is a way to get your updated Tracking Plan distributed to an endpoint of your choice. This happens when a branch is merged or when the publish button is clicked in the integration interface.
## Configure the Webhook integration
### Webhook URL
To enable the Webhook integration you need to configure it with a URL where you want the updated tracking plan to be delivered.
The Tracking Plan will be delivered with a `POST` request containing the Tracking Plan on a JSON format. The only requirement for this endpoint is to return a `200` response status code when it has successfully received the tracking plan.
## Only Send Changed Events
When "Only send changed events" is enabled in the Events Filter section of your webhook configuration, only events that have source-impacting changes on the merged branch are included in the webhook payload. This reduces payload size for downstream consumers that only need to process changes.
An event is considered "changed" when the change impacts a source. For example, a property being added to or removed from an event on a source counts as a change, but a property that is not attached to any event, or an event that is not attached to any source, will not appear as changed.
When this option is enabled, the payload includes a `removedEvents` field containing the names of events that were archived or lost their filtered sources. This allows downstream consumers to clean up removed events.
This filter is source-aware — when a source filter is applied, only changes relevant to that source are considered.
## Payload Format
Currently there are four different payload formats you can choose from for the webhook: **Snowplow Schemas**, **Avo Json**, **NDJSON**, and **Json Schema** (default).
> 💡 To see a preview of the exact Webhook payload in your Avo workspace choose `Publishing` in the sidebar, then pick your Webhook from the menu and expand the `Payload preview` section
### Snowplow Schemas
Json containing a Snowplow Schema for every event included in the Publishing integration. These schemas can for example be used to integrate Avo with Snowplow Iglu.
You can provide your own [vendor](https://docs.snowplowanalytics.com/docs/understanding-tracking-design/understanding-schemas-and-validation/#:~:text=%E2%80%9Cvendor%E2%80%9D%20%E2%80%93%20This%20usually%20refers,events%20and%20contexts%20) value via the "Vendor" input in the publishing integration config.
| Attribute | Type | Description |
|:---------------|:-------------------------------|:-------------------------------------------------------------------------------------------------------------------------------------------------------------------------------------------------------------------------------------|
| eventSchemas | array(Snowplow Event Schema) | Schema for every event in your tracking plan, following the [Snowplow Schema](https://docs.snowplowanalytics.com/docs/understanding-tracking-design/understanding-schemas-and-validation/#the-anatomy-of-a-schema) format |
| contextSchemas | array(Snowplow Context Schema) | Schema for every Snowplow context in your tracking plan, following the [Snowplow Schema](https://docs.snowplowanalytics.com/docs/understanding-tracking-design/understanding-schemas-and-validation/#the-anatomy-of-a-schema) format |
| context | \{ publishInfo: PublishInfo } | Metadata about the webhook call |
### Avo Json
Json representation of the state of your entire Avo workspace. Currently behind a feature flag. Contact us to enable.
| Attribute | Type | Description |
|:----------|:------------------------------|:-------------------------------------------------|
| model | Avo Model | Json representation of your entire Avo workspace |
| context | \{ publishInfo: PublishInfo } | Metadata about the webhook call |
### Json Schema (default)
Json representation of your tracking plan, following the [Json Schema](https://json-schema.org/) standard. Example payload [can be found here](https://www.avo.app/docs/implementation/avo-tracking-plan-webhook.md)
| Attribute | Type | Description |
|:---------------|:------------------------------------|:--------------------------------------------------------------------------------|
| name | string | The name of your Avo workspace |
| events | array(Event) | Array of Tracking Plan events |
| removedEvents | array(string) | Names of events that were archived or lost their filtered sources. Only present when "Only send changed events" is enabled |
| metrics | \{ metricId: Metric ... } | Object where each Tracking Plan metric is a field, keys are metric ids |
| sources | \{ sourceId: Source ... } | Object where each Tracking Plan source is a field, keys are source ids |
| destinations | \{ destinationId: Destination ... } | Object where each Tracking Plan destination is a field, keys are destination ids |
| categories | \{ categoryId: Category ... } | Object where each Tracking Plan category is a field, keys are category ids |
| context | \{ publishInfo: PublishInfo } | Metadata about the webhook call |
##### Event Model
| Attribute | Type | Description |
|:------------|:-------------------------------------------------------|:---------------------------------------------------------------------------------------------------------|
| id | string | Event id |
| name | string | Event name |
| eventType | enum: ["event", "variant"] | Indicates if this event is based on an event or an event variant |
| description | string | Event description and the list of triggers |
| rules | Rules | Event JSON rules |
| tags | array(string) | Array of all tags attached to event |
| categories | array(string) | Array of category ids this event is attached to |
| triggers | array(\{id, description, sourceIds, link, imageUrl}) | Details about all triggers attached to event |
| sources | array(\{id, name, implementWithCodegen, destinations}) | Details about all sources sending event |
| variantName | optional string | If the event is generated from an event variant, this field is provided, contains the event variant name |
| stakeholderDomains | optional array(\{ id, name, isOwner }) | Key present if any event or variant has stakeholder domains. Array of all stakeholders attached to event or variant |
> 💡 Each event variant is represented by a standalone event in the JSON payload. It will have the same `name`, as the base event. Additionally, it will have the `variantName` field included, with the event variant name defined in the Avo Tracking Plan.
> You can distinguish an event, that is generated from a variant, from a base/standalone event, by checking the `eventType` field.
> The `eventType` of events that are generated from variants is `variant`, while regular events have it as `event`.
##### Stakeholder Domain Model
| Attribute | Type | Description |
|:------------|:-------------------------------------------------------|:---------------------------------------------------------------------------------------------------------|
| id | string | Stakeholder team id |
| name | string | Stakeholder team name |
| isOwner | bool | Flag that indicates that the stakeholder team owns the event, event variant, or property |
##### Rules Model
| Attribute | Type | Description |
|:-------------|:-------------------|:--------------------------------------|
| properties | PropertiesRule | Properties JSON rules |
| nameMappings | array(NameMapping) | Name mappings defined for given event |
### PropertiesRule Model
| Attribute | Type | Description |
|:-----------|:--------------------|:--------------------|
| properties | array(PropertyRule) | Property JSON rules |
##### PropertyRule Model
| Attribute | Type | Description |
|:-------------|:-----------------------------|:----------------------------------------------|
| description | string | Property description |
| type | string | Property type |
| tags | array(string) | Array of all tags attached to property |
| stakeholderDomains | array(StakeholderDomain) | Array of stakeholder domains associated with this property |
| nameMappings | array(NameMapping) | Name mappings defined for given property |
| ?const | Depends on the property type | Pinned property value |
| ?enum | array(string) | Allowed enum values |
| ?operations | array(string) | Array of property ops, e.g. "SnowplowContext" |
| ?pattern | string | Regex pattern for string type properties |
| ?sourcePresence | array(SourcePresence) | Per-source presence for this property on this event. Opt-in per workspace — see [Per-source property presence](#per-source-property-presence) |
##### SourcePresence Model
| Attribute | Type | Description |
|:-----------|:----------------------------------------------------|:-----------------------------------------------------|
| sourceId | string | Source id — the join key |
| sourceName | string | Source display name, advisory only |
| presence | enum: ["alwaysSent", "sometimesSent", "neverSent"] | Whether the property is always, sometimes, or never sent from this source on this event |
##### NameMapping Model for regular workspaces
| Attribute | Type | Description |
|:--------------|:-------|:------------------------------------------------------------------------------------------------------------------------------------------------------|
| name | string | New mapped name |
| destinationId | string | Either a destination id for which this event/property mapping applies, or "all", meaning that this event/property mapping applies to all destinations |
##### NameMapping Model for global workspaces in an Organization
| Attribute | Type | Description |
|:------------|:-------|:---------------------------------------------------------------------------------------------------------------------------------------------------------------------------|
| name | string | New mapped name |
| workspaceId | string | Either a workspace id for which this event/property mapping applies, or "all", meaning that this event/property mapping applies to all local workspace in the Organization |
##### Metric Model
| Attribute | Type | Description |
|:------------|:-----------------------------|:-----------------------------------------------------------|
| id | string | Metric id |
| name | string | Metric name |
| description | string | Metric description |
| categories | array(string) | Category ids where this metric is included |
| type | string | One of Proportion / EventSegmentation / Funnel / Retention |
| items | array of Nested Metric items | Event descriptions |
##### Nested Metric Items
###### Nested Event Model
| Attribute | Type | Description |
|:----------|:---------------------|:-----------------------------------------------------|
| eventId | string | Event id |
| where | array(whereFilter) | Array of where filters |
| groupBy | array(groupByFilter) | array of objects containing property ids to group by |
###### Nested Event Variant Model
| Attribute | Type | Description |
|:-------------------|:---------------------|:-----------------------------------------------------|
| variantIdentifier | object | Object of Base Event id and Variant id |
| where | array(whereFilter) | Array of where filters |
| groupBy | array(groupByFilter) | array of objects containing property ids to group by |
##### groupByFilter
| Attribute | Type | Description |
|:-----------|:-------|:---------------------------------------|
| propertyId | string | property Id being used in group filter |
##### Where filter
| Attribute | Type | Description |
|:-----------|:---------|:---------------------------------|
| propertyId | string | property id |
| operation | string | binary operation as string |
| values | array(t) | array of values of the same type |
##### Source Model
| Attribute | Type | Description |
|:--------------------|:--------------|:-----------------------------------------------------------|
| id | string | Source id |
| name | string | Source name |
| programmingLanguage | string | Name of programming language (e.g. "JavaScript", "Python") |
| developmentPlatform | string | Name of development platform (e.g. "Web", "Android") |
| destinations | array(string) | Destination ids where this source sends data to |
##### Destination Model
| Attribute | Type | Description |
|:----------|:-------|:-------------------------------------------------------------------------------------------------------------------|
| id | string | Destination id |
| name | string | Destination name |
| type | string | Name of the provider (e.g. "Segment", "Mixpanel") where the data is sent to if managed by Avo, "Custom" otherwise. |
##### Category Model
| Attribute | Type | Description |
|:------------|:--------------|:-----------------------------------|
| id | string | Category id |
| name | string | Category name |
| description | string | Category description |
| metrics | array(string) | Metric ids belonging this category |
| events | array(string) | Event ids belonging this category |
##### PublishInfo Model
| Attribute | Type | Description |
|:----------------|:-------------------|:----------------------------------------------------------------------------------------------------------|
| branchId | string | Branch id |
| branchName | string | Branch name |
| integrationId | string | Id of the publish integration (consistently the same for this integration) |
| integrationName | string | Name of the publish integration (seen in Tracking Plan -> publishing -> 'IntegrationName') |
| publishDate | Date string | Timestamp when the webhook was triggered |
| publishMethod | \{ "type": type } | Description of the publish method, type can be "Manual" and "BranchMerge" |
| lastUpdateId | id | Unique identifier of the last modification made to the tracking plan before the generation of this schema |
| lastUpdateDate | Date string | Time of the last modification made to the tracking plan before the generation of this schema |
| organization | Organization Model | Provided if the workspace being published belongs to an organization |
##### Organization Model
| Attribute | Type | Description |
|:-------------------|:--------------|:-------------------------------------------------------------------------|
| organizationId | string | Organization id |
| globalWorkspaceIds | array(string) | List of all global workspaces in Organization |
| localWorkspaceIds | array(string) | List of all local workspaces in Organization |
| workspaceType | string | Describes the type of the workspace being published, "local" or "global" |
### NDJSON
Newline-delimited JSON representation of your tracking plan. The top-level payload is a small JSON envelope containing two string fields, where each string is NDJSON: one JSON object per line.
#### Envelope
| Attribute | Type | Description |
|:-----------|:------------------------------|:----------------------------------------------------------------------------|
| events | string (NDJSON) | NDJSON where each line is an Events row described below |
| properties | string (NDJSON) | NDJSON where each line is an Event Properties row described below |
| context | \{ publishInfo: PublishInfo } | Optional. Metadata about the webhook call |
#### Events NDJSON line schema
| Attribute | Type | Description |
|:--------------------|:---------------------------------------|:----------------------------------------------------------------------------|
| event_id | string | Event id |
| event_name | string | Event name |
| event_type | enum: ["event", "variant"] | Whether this row represents a base event or a variant |
| variant_name | string or null | Variant name when `event_type` is `variant`, otherwise null |
| description | string or null | Event description, or null if empty |
| global_description | null | Reserved for future use |
| tags | array(string) | Tags attached to the event |
| categories | array(string) | Category names the event belongs to |
| actions | array(string) | Actions inferred from event types (camelCase) |
| stakeholder_domains | array(StakeholderDomain) | Stakeholder domains for the event (see model below) |
| sources | array(Source) | Included sources for the event |
| name_mapping | array(NameMapping) | Event-level name mappings per destination |
| rules | Rules | Per-property details for this event (see below) |
- **Source**: \{ `id`: string, `name`: string, `implement_with_codegen`: bool, `destinations`: array(string) \}
- **NameMapping**: \{ `name`: string, `destination_id`: string \} (`destination_id` can be `"all"`)
- **StakeholderDomain**: \{ `id`: string, `name`: string, `is_owner`: bool \}
- **Rules**: \{ `properties`: array(Property), `user_properties`: array(Property), `group_properties`: array(Property) \}
- **Property**: \{ `property_id`: string, `property_name`: string, `name_mapping`: array(NameMapping), `required`: bool \}
#### Properties NDJSON line schema
Each line describes a property scoped to an event, user, or group.
| Attribute | Type | Description |
|:--------------------|:--------------------------------|:---------------------------------------------------------------------------|
| event_id | string | Event id |
| event_name | string | Event name |
| property_id | string | Property id |
| property_name | string | Property name |
| property_scope | enum: ["event", "user", "group"] | Whether the property is event, user or a group property |
| required | bool | Whether the property is required for this event (considering included sources) |
| description | string or null | Property description, or null if empty |
| tags | array(string) | Tags attached to the property |
| name_mapping | array(NameMapping) | Property-level name mappings per destination for this event |
| group_type_id | string or null | Group type id if `property_scope` is `group`, otherwise null |
| is_system_property | bool | Whether the property is a system property |
| type | string or null | Base JSON Schema type (e.g. `integer`, `number`, `string`, `boolean`, `object`), or `array` if the property is a list; null if not applicable |
| enum | array(string) or null | Allowed values if the property is an enum for this event |
| minimum | number or null | Minimum numeric value if defined |
| maximum | number or null | Maximum numeric value if defined |
| regex | string or null | Regex constraint (event override preferred; falls back to property rule) |
| stakeholder_domains | array(StakeholderDomain) | Stakeholder domains for this property |
| ?source_presence | array(SourcePresenceNdjson) | Per-source presence for this property on this event. Opt-in per workspace, and absent when the export covers no source for the event — see [Per-source property presence](#per-source-property-presence) |
##### SourcePresenceNdjson Model
Keys are snake_case like every other NDJSON column; the values are camelCase, matching the `actions` column.
| Attribute | Type | Description |
|:------------|:---------------------------------------------------|:-----------------------------------------------------|
| source_id | string | Source id — the join key |
| source_name | string | Source display name, advisory only |
| presence | enum: ["alwaysSent", "sometimesSent", "neverSent"] | Whether the property is always, sometimes, or never sent from this source on this event |
#### Per-source property presence
A property can be configured to be sent from some of an event's sources and not others. Both payload formats can carry that breakdown per property: `sourcePresence` on each property entry in the JSON Schema format, and `source_presence` on each line of the properties NDJSON file.
**This is opt-in per workspace and off by default.** Existing workspaces see no change to either payload until the field is enabled for them — ask Avo support to turn it on. Workspaces created after the field shipped have it on.
Each entry names one source and states whether the property is `alwaysSent`, `sometimesSent`, or `neverSent` from it on that event.
- **The breakdown is complete.** Every source the payload covers for that event gets an entry, `alwaysSent` included, so you never have to infer presence from a missing entry. Match on the source id.
- **It covers the sources this payload covers.** Under a source filter it narrows to the filter, exactly as `required` does. In the NDJSON format the event's `sources` array matches that set exactly. In the JSON Schema format the event's `sources` array is not narrowed by the filter, so it can list sources the breakdown does not cover — infer nothing about a listed source that has no entry.
- **The key can be absent**, and only in one case: the export covers no source at all for that event. It is never emitted as an empty array or as null.
- **It is deliberately not on the events NDJSON line.** The property summary embedded there keeps its existing four keys; the breakdown lives on the properties line only, so the payload does not carry it twice.
- **`required` is unchanged.** It stays a single value per property across all covered sources. The breakdown decomposes it rather than replacing it: where any covered source is `sometimesSent` or `neverSent`, the property is not required. One legacy configuration diverges from that correspondence — a property using the older "excluded sources" setting reports `neverSent` for an excluded source while still being listed as required.
> If you load the NDJSON export into a warehouse with a fixed schema — for example a BigQuery load job with `ignoreUnknownValues=false` — an unexpected column makes the load fail. Widen your schema before the field is enabled for your workspace.
---
Source: https://www.avo.app/docs/publishing/exporting.md
# Exporting
_Export your entire or partial tracking plan_
## Manual export in the Avo dashboard
To export your tracking plan Schema:
1. Head to the Sidebar wheel > **Export**
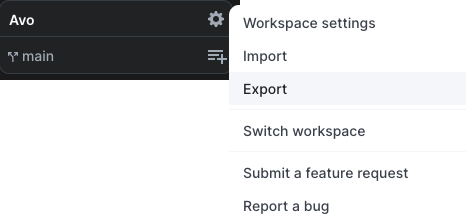
2. Select **Export JSON** or **Export CSV** to download your schema. If these formats don't contain all the data you need, you can reach out to us and we can enable alternative exporting options for your workspace.
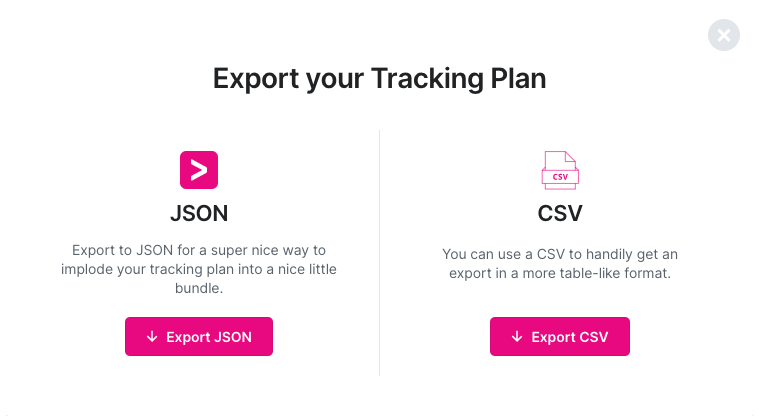
For workspaces using [Governance](https://www.avo.app/docs/data-design/avo-tracking-plan/governance.md) (Enterprise plan), the exports include the governance values: the CSV export has one column per active [custom field](https://www.avo.app/docs/data-design/avo-tracking-plan/governance/custom-fields.md) (multi select values are semicolon-separated) and "PII" and "PII Type" columns for the [PII status](https://www.avo.app/docs/data-design/avo-tracking-plan/governance/tagging-pii.md) of properties. The JSON export includes the same values: a `customFields` object on events and properties, and `pii` objects on properties and events — see the [Export API reference](https://www.avo.app/docs/reference/public-api/export-tracking-plan.md#governance-fields).
## Programmatic export with the Export API
Use the **Export API** to programmatically export your tracking plan as JSON Schema from any branch. This is ideal for automation, CI/CD pipelines, or integrating with external tools.
### Quick Start
```sh
curl -H "authorization: Basic " \
-X GET https://api.avo.app/workspaces/:workspaceId/branches/main/export/v1
```
### Key Features
- **Export any branch**: Export from main or feature branches
- **JSON Schema format**: Structured data perfect for automation
- **Rate limited**: 1 request per second per service account
- **Gzipped responses**: For faster data delivery on large tracking plans
### Use Cases
- **Automated documentation**: Generate documentation from your tracking plan
- **Data pipeline integration**: Sync tracking plan changes with downstream systems
- **Quality assurance**: Validate implementations against the latest schema
- **Custom tooling**: Build internal tools that work with your tracking plan data
**[View complete Export API documentation](https://www.avo.app/docs/reference/public-api/export-tracking-plan.md)** for authentication, parameters, and response examples.
## Automated Webhook export
[Publishing integrations](https://www.avo.app/docs/publishing/publishing/overview.md) can be used for exporting your tracking plan, either one of, or a recurring
publishing export using auto-publishing.
To export your tracking plan on a JSON Schema format:
1. Head to Tracking Plan > **Publish** in the sidebar of your Avo workspace
2. Create a Webhook integration
3. In the "Payload preview" section click "Click to view payload preview". When the preview has loaded you can either copy or download the JSON file. You can find more details on the format of the JSON in the [Publishing docs](https://www.avo.app/docs/publishing/publishing/overview.md#tracking-plan-model).
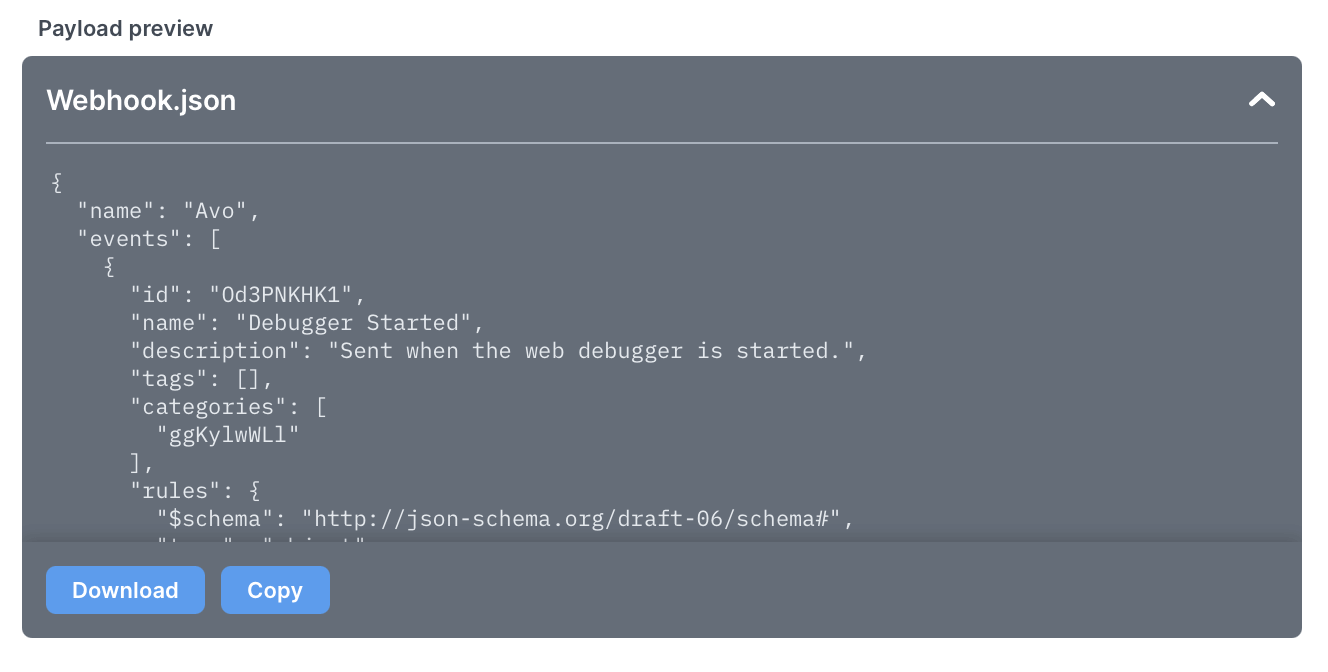
You can customize which events to export by using the events filter in the webhook configuration. Events can be filtered by Sources, Destinations and Tags.
## Pull JSON Schema via the CLI
You can 'avo pull' a JSON Schema representation of your tracking plan via the Avo CLI by configuring a JSON source in the Avo UI, and attach that source to the events you want to be included in the JSON Schema. Here's how:
1. Reach out to us to enable the JSON source type for your workspace
2. Create a new Source (in the Sources tab) and set the Source 'Development Platform' to JSON Schema
3. Attach the JSON Schema source to the events you'd like to be included. Note that this can be done in bulk on the Source settings page
4. Pick programming language in the "Avo Codegen Setup" tab
5. Run 'avo pull' in your CLI to pull the JSON Schema
## What's next?
If you find yourself regularly exporting, you might want to [configure Auto-Publishing](https://www.avo.app/docs/publishing/publishing/overview.md) for your tracking plan to consistently stay up to date with a downstream tool such as your analytics platform, your production time validation solution, your SQL table management, etc.
---
Source: https://www.avo.app/docs/publishing/webhook-signing.md
# Web signing
*Learn about how to secure your webhook endpoint*
## Check the webhook signatures
### Verify that only Avo is sending you events
Avo will sign each webhook call it sends to your endpoint by including a [JWT](https://Jwt.io) token in each request `authorization` header.
This allows you to verify that the events were sent by Avo and not by a third party.
Before you can verify signatures, you need to retrieve your publishing webhook's secret from your Webhook publishing page in Avo.
Avo generates a unique secret key for each webhook publishing integration. You should obtain a distinct key for every webhook integration you use.
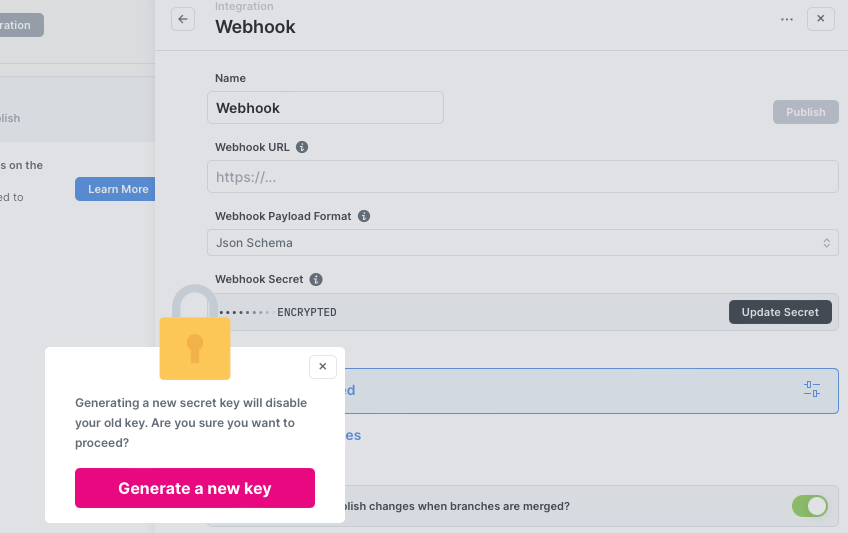
### Verifying signatures
The `authorization` header included in each request contains a JWT token that can be used to validate the request using the secret key given in the webhook configuration dashboard.
Avo generates signatures using a hash-based message authentication code (HMAC) with SHA-256.
```json
{
"alg": "HS256",
"typ": "Jwt"
}
```
### Verify authorization header
#### 1. Store your secret key safely.
The secret key you received in our webhook configuration, should be stored in a secret manager or an environment variable on your server.
#### 2. Validate the authorization header
Using a [JWT library](https://Jwt.io/libraries), verify that the token is valid.
```pseudocode
var token = request.headers.get('authorization');
token = token.split(" ")[1]; //Remove "Bearer " from the token
Jwt.verify(token, _secret); // Some libraries require try catch around this.
```
#### 3. Extra security (optional)
Each JWT token has in it's payload an "iat"(Issued at time) which is a timestamp you can use for extra security to match with the current timestamp. That way you can make sure the timestamp in the request is not very old.
This is recommended to do to defend against [Replay attacks](https://en.wikipedia.org/wiki/Replay_attack)
If malicious individuals would get a hold of a request to your webhook in any way, they are unable to change the IAT, as it would invalidate the signature.
Therefor they have to use an old authorization token.
By making sure the token can not be older then couple of seconds/minutes, you are protected against these attacks.
```json
{
"iat": 1652306791 //Unix timestamp in seconds
}
```
---
Source: https://www.avo.app/docs/implementation/avo-codegen-overview.md
# Avo Codegen overview
## What is Codegen
Codegen produces type safe code for implementing analytics.
- The "data designer" specifies the event structure in the [Avo Tracking Plan](https://www.avo.app/docs/data-design/avo-tracking-plan.md), and which platforms should send the event
- then the developer who implements analytics can use Codegen to implement the analytics calls per each analytics event
> 💡 Editors and admins can pull generated code on all plans: free, team and enterprise. Additionally, viewers can pull generated code on the team and enterprise plans. Learn more [here](https://www.avo.app/docs/workspace-management/members.md#codegen-access-for-non-editors).
## Why use Codegen
Codegen simplifies implementation and makes sure it is correct and consistent across all platforms.
For example, instead of Android calling `analytics.track("game started")` and iOS calling `analytics.track("gameStarted")` , they both call `Avo.gameStarted()`, and the Avo function takes care of the spelling of the event and property names as they get passed into the analytics SDK.
In other words, event and property naming is abstracted entirely away from the event implementation layer, ensuring that events and properties are named the same across all platforms, teams and code bases.
## When use Codegen
Codegen is our way of increasing the robustness of the analytics implementation and simplifying the implementation process.
Adopting Codegen is not required to get value from Avo - many companies have their own ways to achieve robust analytics implementation and prefer to stick to them rather than adopting a new approach.
Avo is designed to be efficient and powerful without the Codegen, providing advanced tracking plan management and observability with Inspector.
The decision to use Codegen is usually in the hands of the engineering team on each platform. If you prefer to use a different approach for implementing your tracking code Avo can still help you by providing a platform to collaborate and align on the tracking specs, and by providing clear specs for the suggested tracking changes.
Learn more in the [Codegen setup docs](https://www.avo.app/docs/implementation/start-using-avo-codegen.md).
## How does Codegen work
Codegen works with any analytics tool, whether it's any of the common event logging SDKs (e.g. Google Analytics 4, Segment, RudderStack, mParticle, Snowplow, Amplitude, Mixpanel, PostHog, FreshPaint, Pendo, etc) or an homemade API or SDK.
When designing the tracking plan you configure the list of data destinations for each source. In the generated code each destination is represented as its own Destination Interface in the initAvo method. This is how Codegen routes data, locally in your client (without the data ever going through Avo's servers), to the correct destination based on the source/destination connections you've defined in the Avo dashboard.
In the Avo Tracking Plan you can configure which analytics [actions](https://www.avo.app/docs/data-design/avo-tracking-plan/events.md#actions) should be included in Codegen (for example you might want to update user properties or log revenue along with logging an event), and Codegen will handle calling all the relevant Destination Interface methods. All you have to do is call the generated function in your code base and pass in type safe key-value pairs, and the Codegen will take care of the rest.
Learn more in the [Codegen tech deep dive docs](https://www.avo.app/docs/implementation/avo-codegen-tech-deep-dive.md).
For mixed multi-source setups — a tracking library reused across apps, or many Avo sources in a single app — Avo can emit code in a "library" shape that splits the runtime from the per-source types. See [Library codegen](https://www.avo.app/docs/reference/avo-codegen/library-codegen.md) for the file layout and quick starts.
## Does my event data flow through Avo servers?
No. None of your events ever go through Avo servers. They go directly from your devices (whether that's a front-end client or a server) to the data destination.
> 💡 This sometimes called **device mode**. With CDPs, you can choose between [_Cloud-mode_ or _Device-mode_](https://segment.com/docs/guides/intro-impl/#connection-modes):
>
> - In _Cloud-mode_, your events go through the CDP servers. Your devices send the events to the CDP cloud (aka the CDP Servers) and the CDP cloud sends them to the analytics destinations.
> - In _Device-mode_ the events go directly from your devices (whether it's a front end client or a server) to the analytics destination.
>
> In this regard, Avo works like _Device-mode_.
---
Source: https://www.avo.app/docs/implementation/start-using-avo-codegen.md
# How to set up and use Codegen
Integrating Avo with your app or website can begin as soon as you create an Avo account, and requires three steps:
1. [Configure Connections in your Avo workspace](#1-configure-your-avo-workspace)
2. [Install the Avo CLI](#install-the-avo-cli)
3. [Initialize Avo and send your first event](#3-initialize-avo-and-send-an-event)
> 💡 Editors and admins can pull generated code on all plans: free, team and enterprise. Additionally, viewers can pull generated code on the team and enterprise plans. Learn more [here](https://www.avo.app/docs/workspace-management/members.md#codegen-access-for-non-editors).
### 1. Configure your Avo workspace
In [your Avo workspace](https://avo.app/welcome) head to the Sources tab in the left sidebar. Here we'll create a Source for our app and a Destination for every SDK we want to pass data into.
> 💡 **What are Sources?**
> In Avo you define from which apps, websites and servers your data is sent (_Sources_) and to which SDKs and APIs the data is passed into (_Destinations_). In Avo the relation between Sources and Destinations are called Connections.
#### Configure a source
If a source doesn't already exist for your app or website, click "Add Source" to create a new Source. Give it a name and define what development platform and programming language you'll be using. This configuration is used to tailor Codegen to your stack.
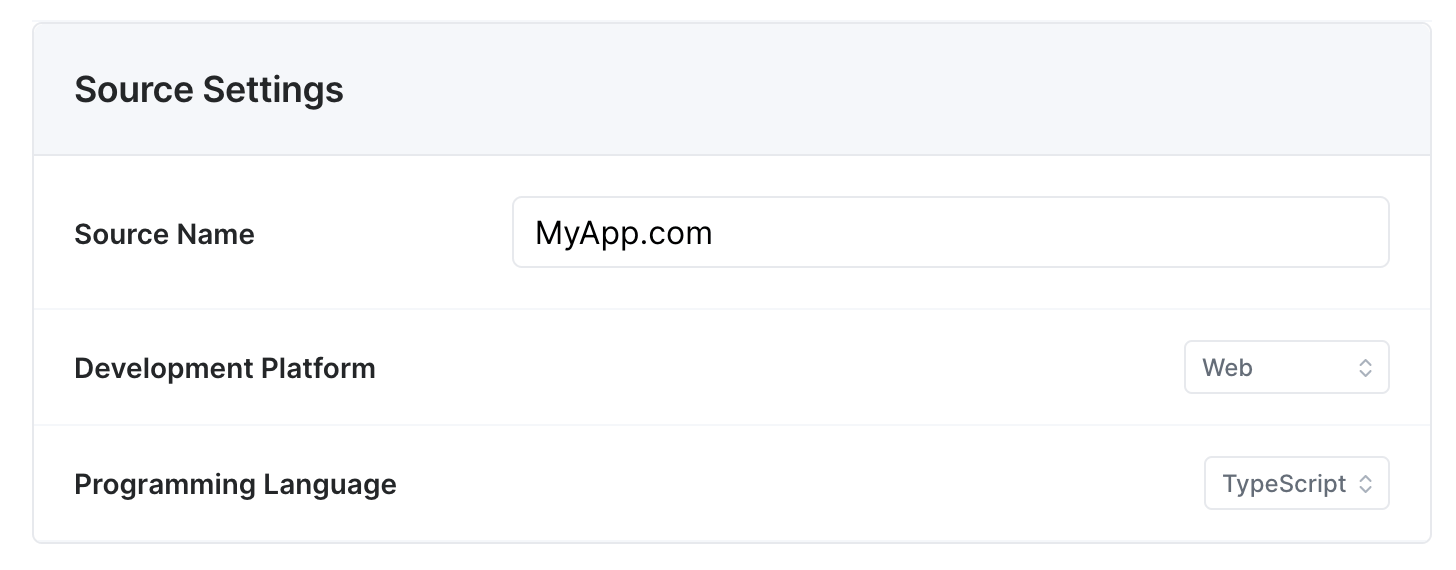
_A source configuration for MyApp.com, which is a Web app written in TypeScript_
#### Configure destinations
1. [Configure destinations in your Avo workspace](#configure-in-your-avo-workspace)
2. [Provide the destination interface for each destination in initAvo](#implement-the-destination-interface)
##### Implement the destination interface
Initialize the destination (e.g. SDK) on your own and pass it to the Avo SDK, by implementing the [destination interface](../implementation/destinations) and providing it to the Avo generated code.
_Step 1: **Implement a bridge interface** between your existing analytics SDK instance and Codegen._
- This enables you to use the same analytics SDK instance across all tracking calls (using the same session IDs and any other details that your analytics instance keeps track of), so that your users will be identified in the same way across both the tracking implemented with Codegen and your existing analytics implementation.
- This is a one-time setup per codebase.
- [See example of a callback interface in JavaScript.](../implementation/reference/javascript#destination-interface-example)
_Step 2: **Initialize Avo and pass in the bridge interface**._
- See how you [initialize Avo and send your first event using a custom destination](#3-initialize-avo-and-send-an-event).
##### Configure in your Avo workspace
Head back to the [Sources tab](../data-design/define-sources-and-destinations) and click "Add Destination". To configure a destination:
1. Give the destination a name, e.g. _My Analytics SDK_
2. Check the **Analytics Tool** drop down list. If you decided to go with Option 1, choose **Custom**, otherwise choose the name of your analytics tool. If you don't see the tool you need use Option 1.
3. Enable your source for the destination (there might be a case when your programming language and platform does not support given analytics platform, in this case you would need to go with Option 1)
Note that the _Production API Key_ and _Development API Key_ are not required for custom destinations.
If you use multiple analytics tools, you should repeat this process and create a destination for every analytics tool.
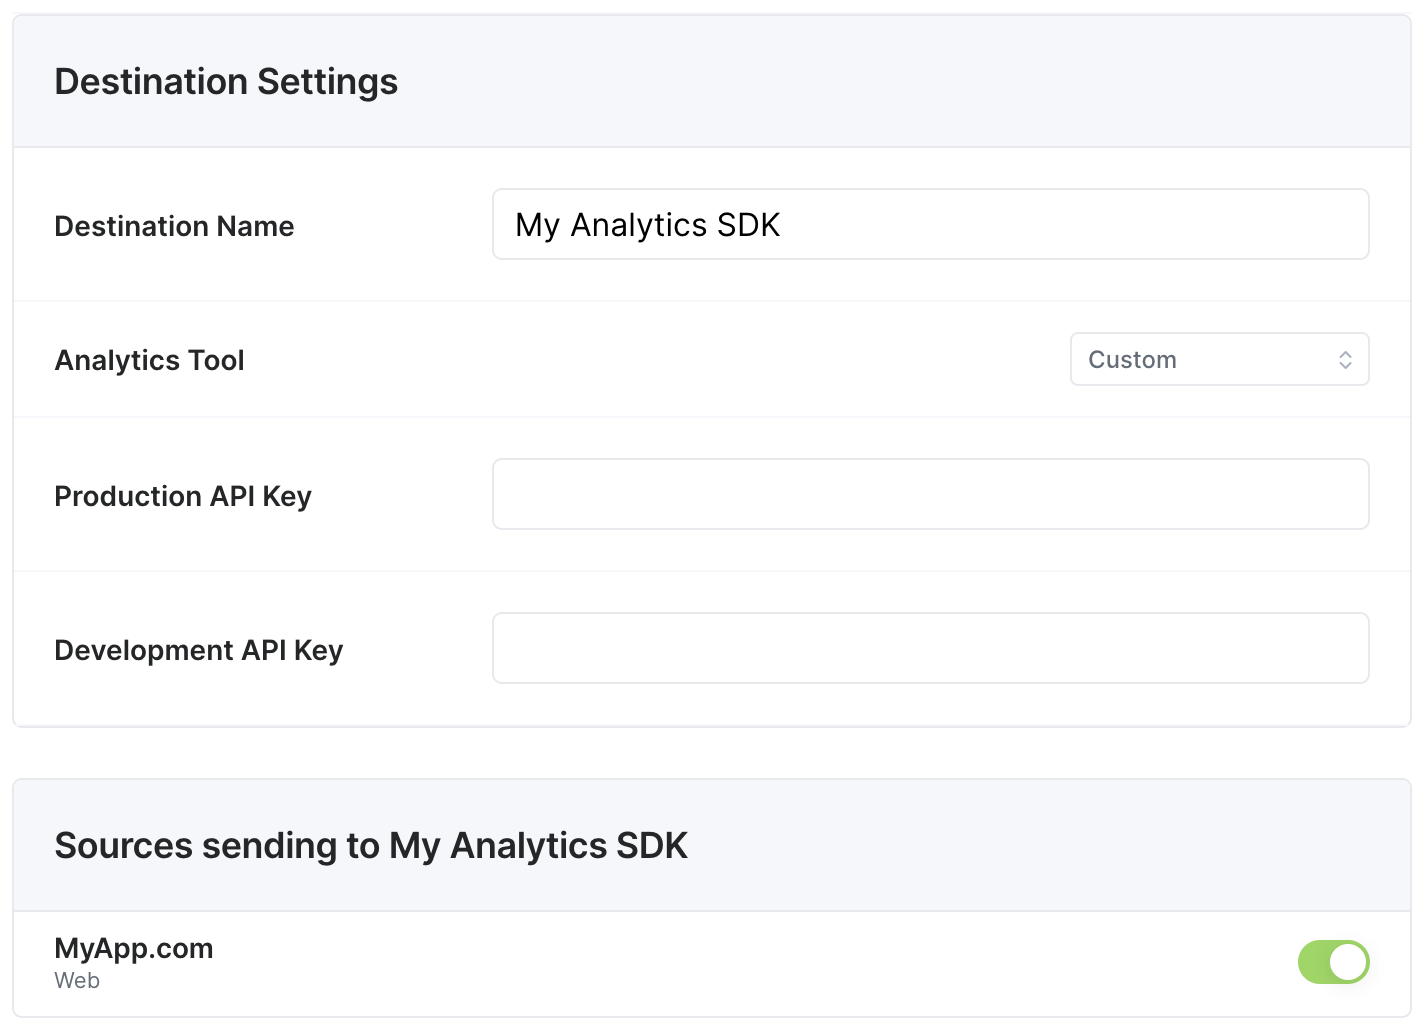
_A Destination for My Analytics SDK, which is a destination used on MyApp.com_
**All set!**
Here we've configured a Source, sending to a Custom Destination called My Analytics SDK:

_Our Source and Destination_
#### Configure events
Head to the Tracking Plan tab. If no events exist in your tracking plan yet you can either [import your existing tracking plan](https://www.avo.app/docs/publishing/import/importing.md) or [define events in the Tracking Plan](https://www.avo.app/docs/data-design/start-data-design.md#defining-and-configuring-events). Make sure to attach the source you'll be implementing to all events you want to implement. Learn more about [attaching sources to events here](https://www.avo.app/docs/data-design/avo-tracking-plan/events.md#sources).
### 2. Install Avo to your project
> 💡 **How does Avo integrate with my project?**
> Avo code-generates a file based on the Tracking Plan in your Avo workspace. The file contains a function per each Event in the Tracking Plan that you use to send your events. We call these functions Codegen. Each Avo Function validates the event data before passing it forward to your Destinations.
>
> You can think about Codegen like a utility file for your analytics. It should be placed somewhere in the source code directory of your Source and checked into git. Every time the tracking plan in Avo is updated, Codegen is updated.
>
> To make the workflow of updating Codegen as easy as possible we built the Avo CLI. By running `avo pull [--branch my-branch] [SourceName]` the CLI will update the file containing Codegen automatically.
#### Install the [Avo CLI](https://www.npmjs.com/package/avo)
Install the **Avo CLI** locally in your project (recommended), using [NPM](https://www.npmjs.com/get-npm) or [Yarn](https://classic.yarnpkg.com/en/docs/install):
```sh npm2yarn
npm install --save-dev avo
```
or globally on your system, using [NPM](https://www.npmjs.com/get-npm) or [Yarn](https://classic.yarnpkg.com/en/docs/install):
```sh npm2yarn
npm install -g avo
```
#### Link your project to Avo
Authenticate the **Avo CLI** with your Avo user:
```bash
avo login
```
Now you can pull Codegen from your Avo workspace. When you run `avo pull` for the first time it will also initialize Avo in your project by adding an `avo.json` file, containing a pointer to your Avo workspace, source and current branch. This file should be checked into git along with Codegen file.
```bash
avo pull
```
### 3. Initialize Avo and send an event
#### Initialize Avo
Before we can start using Codegen to log events we first need to initialize Avo by calling the `initAvo` function exported from the file. Avo is usually initialized in the same place you initialize all your other analytics SDKs, or as soon as possible in the runtime of your app.
First we import Codegen and set up the destinations.
If we are using an Avo-managed tracking destination (Option 2) all we need to do is to import the corresponding SDK.
If we are using Custom Destinations (Option 1) we define an interface for each destination, where we connect it to our analytics SDK:
```typescript
import Avo from './Avo';
// An interface for your Custom Destination that you pass into initAvo():
let myAnalyticsSDKBridge = {
make: function (env) {
/*
Triggered during Avo initialization. Here you can initialize an analytics SDK with a development or production key
based on the env parameter. If analytics SDK has already been initialized you can leave this function blank.
Example: analytics.init(env);
*/
},
logEvent: (eventName, eventProperties) => {
/*
All your events are managed in the Tracking Plan in Avo. Each event gets a generated Avo Function. Avo events can
have a Log Event action attached. This callback is triggered when an Avo Function with Log Event action is called.
Here you perform the actual event tracking, calling the track/log methods of the analytics SDK. Event name and event
properties are provided as parameters.
Example: analytics.track(eventName, eventProperties);
*/
},
logPage: (pageName, eventProperties) => {
/*
All your events are managed in the Tracking Plan in Avo. Each event gets a generated Avo Function. Avo events can
have a Log Page View action attached. This callback is triggered when an Avo Function with Log Page View action is called.
Here you perform the navigation tracking, providing the new page name when user opens a new page.
Example: analytics.pageView(pageName, eventProperties);
*/
},
logPage: (pageName, eventProperties) => {
/*
All your events are managed in the Tracking Plan in Avo. Each event gets a generated Avo Function. Avo events can
have a Log Revenue action attached. This callback is triggered when an Avo Function with Log Revenue action is called.
This callback is for tracking users spending money in your app. You track the amount spent.
Example: analytics.revenue(amount, eventProperties);
*/
},
setUserProperties: (userId, userProperties) => {
/*
You can add User Properties to events in the Tracking Plan in Avo. When an Avo Function with attached user properties
is called, this callback is triggered. Here you would attach user properties to the currently identified user in your
analytics platform.
Example: analytics.setUserProperties(userId, userProperties);
*/
},
identify: (userId) => {
/*
You can add the Identify User action to events in the Tracking Plan in Avo. When calling an Avo Function that includes
the Identify User action you'll need to provide a user ID. Calling an Avo Function that has the Identify User action
will trigger this callback. The main use cases are signup and login. Here you would pass the user ID to the analytics
SDK for it to create a new user or attach a session to an existing user.
Example: analytics.identify(userId);
*/
},
unidentify: () => {
/*
You can add the Unidentify User action to events in the Tracking Plan in Avo When calling an Avo Function that includes
the Unidentify User action this callback will be triggered. Here you would call an analytics SDK method to detach subsequent
actions from the currently identified user.
Example: analytics.identify(null);
*/
},
};
```
Then we call the initAvo Function:
```typescript
Avo.initAvo({ env: Avo.AvoEnv.Dev }, {}, myAnalyticsSDKBridge);
```
Detailed instructions on how to initialize Avo with Custom Destinations for all other programming languages and platforms supported by Avo [can be found here](https://www.avo.app/docs/reference/avo-codegen/destinations.md).
#### Send an event
Now we're ready to start implementing reliably analytics tracking with Codegen. Every Event defined in our [Tracking Plan on avo.app](https://www.avo.app/docs/data-design/avo-tracking-plan.md) has it's own function in Codegen file.
Let's say we have defined the "App Opened" event in our Tracking Plan in Avo, with two Event Properties, "Client" and "Screen Name". Here's how we would send the event using Codegen:
```typescript
Avo.appOpened({ client: 'Web', screenName: 'Home Screen' });
```
> On some server platforms Codegen functions are async, e.g. on Node.js they return a Promise and on C# you can await on the functions
When the Avo Function is called Avo will run validation on the event properties, making sure they fit the spec defined in the Tracking Plan in Avo. Note that this validation is only run in development mode. If you are using a Custom destination Avo passes the event name and properties to the logEvent function in the Custom Destination interface defined above, otherwise it will pass the event directly to the analytics tool defined in your destination.
---
Source: https://www.avo.app/docs/implementation/avo-codegen-tech-deep-dive.md
# Avo Codegen technical deep dive
> 💡 Editors and admins can pull generated code on all plans: free, team and enterprise. Additionally, viewers can pull generated code on the team and enterprise plans. Learn more [here](https://www.avo.app/docs/workspace-management/members.md#codegen-access-for-non-editors).
## Avo generated file with event tracking functions
The Avo generated code is the representation of the tracking plan you define in Avo for a given source. You can think of a source as a platform that sends events.
For example if you set up an iOS/Swift source the generated code will be in a `.swift` file.
Since the tracking plans are different for each customer the content of this file is also different.
We generate the files and you can download them either with [the Avo CLI](https://www.avo.app/docs/implementation/cli.md) or in the Avo web interface in [Codegen tab](https://www.avo.app/docs/implementation/guides/download-or-copy-avo-file-manually.md).
First of all, feel free to explore your generated file. It's deliberately designed to be easily readable. Our code generation is under active development and some advanced or new features may slightly differ from one platform to another.
The generated file is the best source of truth when looking for implementation details.
> You should never have to make changes to the Avo generated file. If you find
> yourself in the situation where you have to edit the file please [contact
> us](https://www.avo.app/docs/help/troubleshooting.md).
> Make sure all the events you want to implement using Codegen have the source
> attached to it, where "Implement with Codegen" has been checked. Learn more
> about how to [configure events in your tracking plan
> here](https://www.avo.app/docs/data-design/avo-tracking-plan/events.md#sources).
### Avo Command Line Interface
The Avo CLI is the easiest way to interact with Avo from your development environment.
Run
```sh npm2yarn
npm install -g avo
```
to install the CLI.
Then login with
```sh
avo login
```
And pull the Avo Generated file with the following command
```sh
avo pull [--branch my-branch] [SourceName]
```
it will guide you through the initial setup and will create a config file called `avo.json` in the directory. Next time when you pull the setup will be picked from that file.
Make sure to check the `avo.json` file in to your source control to keep the Avo configuration is in sync across your team.
Learn more about the CLI [here](https://www.avo.app/docs/implementation/cli.md).
### Initialization
First thing you need to do after importing the generated file is to initialize Avo.
There will either be a static `initAvo` method or a class, named `Avo` by default, with a constructor, depending on your setup. [Contact us](https://www.avo.app/docs/help/troubleshooting.md) if you want to change the setup.
Regardless of the option, the arguments you would need to provide are the same, and based on your tracking plan. Check out the [Codegen tab](https://www.avo.app/docs/implementation/guides/download-or-copy-avo-file-manually.md) for specific recommendations.
> **New workspaces** use the constructor/object-based pattern by default: you create an `Avo` instance with `Avo(env: ...)` and call event methods on that instance. **Legacy workspaces** may use the static pattern, where `initAvo` is a static method and events are called directly on the `Avo` class. [Contact us](https://www.avo.app/docs/help/troubleshooting.md) if you want to migrate to the constructor-based pattern.
Samples below are in Swift and the code is very similar in other programming languages.
**Constructor/object-based pattern (default for new workspaces):**
```swift
public init(env: AvoEnv,
requiredStringSystemProperty: RequiredStringSystemProperty,
optionalStringSystemProperty: OptionalStringSystemProperty?,
requiredIntSystemProperty: Int,
optionalFloatSystemProperty: Double?,
optionalListSystemProperty: [Int]?,
firstDestination: AvoCustomDestination,
secondDestination: AvoCustomDestination,
debugger: NSObject, strict: Bool = false, noop: Bool = false)
```
```swift
let avo = Avo(env: .dev/*, other parameters*/)
// avo is now ready to track events
```
**Legacy: Static pattern**
Legacy workspaces use the static pattern, where `initAvo` stores state globally and events are called on the `Avo` class directly:
```swift
Avo.initAvo(env: .dev/*, other parameters*/)
Avo.eventName(/*event properties*/)
```
- `env` - Avo is designed to act differently based on the environment. Supported values are development, staging and production. Most important differences include sending data to different projects in your analytics (to not pollute production data with dev/testing session) and ability to crash the app in development if Avo detects an error in the analytics.
- `system properties` - this are properties designed to be sent with each event. You need to provide them during initialization. You can update their values later with the `setSystemProperties` method.
```swift
public static func setSystemProperties(
requiredStringSystemProperty: RequiredStringSystemProperty,
optionalStringSystemProperty: OptionalStringSystemProperty?,
requiredIntSystemProperty: Int,
optionalFloatSystemProperty: Double?,
optionalListSystemProperty: [Int]?);
```
Read more about property types later in the [Codegen section](https://www.avo.app/docs/implementation/avo-codegen-overview.md#avo-generated-file-func-parameters).
- `firstDestination` and `secondDestination` - each destination from the source/destination connections you've defined in the Avo dashboard is represented as its own [Destination Interface](https://www.avo.app/docs/reference/avo-codegen/destinations.md) in the init call.
This is how Codegen routes data, locally in your client (without the data ever going through Avo's servers), to the correct destination based on the source/destination connections you've defined in the Avo dashboard.
- `debugger` - mobile platforms (Android, iOS, React Native) support [the Avo Analytics Debuggers](https://www.avo.app/docs/implementation/guides/start-using-visual-debuggers.md), provide one here if you want to connect it to Avo events. You don't need to provide the debugger on the web to use it there.
- `strict` - if this is set to true Avo would crash your app in the development environment when it sees errors. Note that the Avo validation will never crash your app if env is set to Production.
- `noop` - if this flag is set to true Avo won't make any network calls (no tracking) in development and staging environments. Note that the noop flag is dismissed in production.
- `destination options` (not shown in the example) - some platforms, for example JavaScript, allow you to provide destination options for the analytics destinations that will be passed during tracking SDK initialization. This allows you to pass config/options through Avo to the init functions of the underlying analytics SDKs.
- `avoLogger` (not shown in the example) - custom logger implementation to control logs logic. Can be used to disable logs. [More about custom loggers](https://www.avo.app/docs/reference/avo-codegen/custom-loggers.md).
- `inspector` (not shown in the example) - instance of Avo Inspector to automatically send Codegen data to Avo Inspector (on the supported platforms)
### What's inside the initAvo method / Avo constructor?
There are a few things happening, like setting the flags, system properties and reporting implementation status in development mode to the Avo servers, so you can check whether the event has ever been successfully invoked in development, on the Avo website.
But the most important part is initialization of the analytics destinations. Depending on the setup of your tracking plan you might see something like
```swift
if __ENV__ == .prod {
amplitudeDestination = AmplitudeDestination()
amplitudeDestination?.make("production Amplitude key is automatically here based on the data you provided in the tracking plan"")
mixpanelDestination = MixpanelDestination()
mixpanelDestination?.make("production Mixpanel key is automatically here based on the data you provided in the tracking plan"")
}
if __ENV__ == .dev {
amplitudeDestination = AmplitudeDestination()
amplitudeDestination?.make("development Amplitude key is automatically here based on the data you provided in the tracking plan"")
mixpanelDestination = MixpanelDestination()
mixpanelDestination?.make("development Mixpanel key is automatically here based on the data you provided in the tracking plan"")
}
```
The keys are set up in the Avo web UI and automatically fetched by Codegen, so you don't need to do anything here, just know that it is there. The API keys in Avo are version controlled, and synced across all your sources, this way you don't need to worry if correct API key is being used or not, Avo takes care of it for you.
### Codegen
Codegen produces actual callable functions generated for events defined in your tracking plan.
> On some server platforms Codegen produces functions which are async, e.g. on
> Node.js they return a Promise and on C# you can await on the function
For example if you have an event defined with name `App Opened` connected to your source, Codegen interface will look like
```swift
/**
App Opened: This event is sent immediately after the user opens the app [This description is defined in the Tracking Plan on avo.app]
- SeeAlso: [App Opened](https://www.avo.app/link-to-the-event-in-your-tracking-plan)
*/
public func App Opened(
beverage: Beverage,
userId: String?) {...}
```
#### Supported tracking methods (Avo Actions)
Each event in your tracking plan added to Codegen creates an event function that is a code generated wrapper that prepares and routes the event tracking data to your analytics SDK tracking libraries. Each event function can wrap multiple tracking methods, such as logging events, identifying users, updating user properties, etc. The default tracking method is to log an event. To configure which tracking methods each Avo Function wraps, you change or add "Action Types" on the event in your Avo Tracking Plan.
> 📖 **Read more about actions and supported tracking methods:**
>
> Read about [available Actions and how they work in the tracking plan](https://www.avo.app/docs/data-design/avo-tracking-plan/events.md#actions).
>
> Learn how [you can implement supported tracking methods in your destinations](https://www.avo.app/docs/reference/avo-codegen/destinations.md).
#### Property types
At this point you would notice that the parameters can have various types.
There are a few dimensions in which the parameters can differ:
##### Type
Avo supports the following types: `string`, `int`, `float`, `bool` and `object`.
##### Single value / list
You would be required to provide a list of things if the property is marked as a `list`.
##### Required / Optional
In Avo we made a design decision that you always need to provide a value of a property, even if it is optional to mitigate the risk of accidentally not providing the value and damaging the data. If the property is marked as optional you would be able to provide `null` as it's value in the cases when the property should not be sent.
##### Value Constraints
You can notice that in the example above the first argument is not a `String`, but some other type. It happens because there is a constraint specified in the tracking plan that limits the possible values of this parameter. Avo has generated an enum for you:
```swift
public enum Beverage : String {
case beer = "beer"
case wine = "wine"
case cocktail = "cocktail"
case water = "water"
}
```
The second parameter has no constraints, so it is a `String` (though it is optional, because it's marked as optional in the tracking plan).
In general, constraints can be added to properties to validate against:
string properties: a finite list of allowed string values
int and float properties: a minimum and maximum value
object properties: exact structure of the allowed keys and types of values in the object
> Avo can add helper parameters that are not defined in the tracking plan, but
> are known to be required to make that specific call, for example in server
> environments Avo usually adds a userId parameter to each function, so server
> can provide user id to the analytics tracking services.
#### What's happening inside Codegen?
Avo makes sure that the event names and provided properties are correct according to the tracking plan with compile time and runtime validations and development invocations are reported to Avo servers so you can check the invocation status on the Avo website.
Then it sends the provided data to all the configured analytics destinations, using the destination interfaces you've defined during initialization. There are different [actions](https://www.avo.app/docs/data-design/avo-tracking-plan/events.md#actions) that can be tracked:
identify, log event, update user properties, unidentify, log revenue, log page view, but everything is checked and the payload is prepared inside the Avo file and delivered in a correct form to the destination interfaces.
The Avo generated tracking code will look similar to this:
```swift
// first destination
var firstDestinationEventProperties: [String: Any] = [:]
// firstDestinationEventProperties will be populated with all the provided properties to this Avo Function and all the system properties.
firstDestination.logEvent(eventName: "Logged Out", eventProperties: firstDestinationEventProperties)
secondDestination.unidentify()
// second destination
var secondDestinationEventProperties: [String: Any] = [:]
// secondDestinationEventProperties will be populated with all the provided properties to this Avo Function and all the system properties.
secondDestination.logEvent(eventName: "Logged Out", eventProperties: customDestEventProperties)
secondDestination.unidentify()
```
This particular event has `log event` and `unidentify` actions. The methods called above will vary based on the actions of the given event. [Read more about actions here](https://www.avo.app/docs/data-design/avo-tracking-plan/events.md#actions).
### Data Validations
Avo helps developers avoid mistakes when implementing analytics, it makes sure that your code does exactly what it is supposed to do based on the tracking plan defined in Avo, in two ways.
First, Avo is utilizing the type system of a programming language you work with. For example in the code snippet above the optional properties are supported on the language level in Swift, so we make the interface in a way you can't provide null values where they are not expected. We try to do as many validations as possible this way, so they are performed in the compile time.
Second, it's runtime validations. In cases when the language does not provide us with tool to check in the compile time, like in JavaScript, we do runtime checks, looking like this
```javascript
assertString: function assertString(propertyId, propName, str) {
if (typeof str !== 'string') {
var message =
propName +
' should be of type string but you provided type ' +
typeof str +
' with value ' +
JSON.stringify(str);
return [
{
tag: 'expectedStringType',
propertyId: propertyId,
message: message,
actualType: typeof str,
},
];
} else {
return [];
}
}
```
A check like this is run when the Avo function is triggered. Then the message is delivered to the logs, debugger or as a crash in the strict mode depending on your setup.
---
Source: https://www.avo.app/docs/implementation/cli.md
# Using the Avo CLI
The [Avo command line interface](https://github.com/avohq/avo) provides a way to pull custom analytics wrappers from Avo. The CLI is designed to make developers more productive when implementing analytics.
> 💡 Editors and admins can pull generated code on all plans: free, team and enterprise. Additionally, viewers can pull generated code on the team and enterprise plans. Learn more [here](https://www.avo.app/docs/workspace-management/members.md#codegen-access-for-non-editors).
## Quickstart
### Step 1: Install the Avo CLI
```bash npm2yarn
npm install -g avo
```
After installing, verify everything is in working order by running `avo --version`.
```bash
avo --version
1.3.6
```
### Step 2: Link your Avo account
Once you have installed the Avo CLI, run `avo login` to link your Avo account with the CLI.
```bash
avo login
```
After you have successfully linked your account, run `avo whoami` to see the linked account.
```bash
avo whoami
Logged in as my@account.com
```
### Step 3: Pull generated analytics wrappers from Avo
To pull generated analytics wrappers from Avo, run `avo pull`. It will fetch the latest analytics wrappers based on your tracking plan on avo.app.
When you run this command for the first time it will prompt you to select which Avo source you would like to generate code for and where you would like to save it. This configuration will be stored in the `avo.json` file and you can always change it later.
Please commit the `avo.json` file into your version control, in order to keep it in sync across your team.
```bash
avo pull [--branch "my-branch"] [--force] [--forceFeatures ...,...] [--libraryInterfaceFileFilter interface-only|events-only|all] [SourceName]
```
Options:
```bash
--branch Name of Avo branch to pull from,
--force Proceed ignoring the unsupported features for given source type (e.g. group analytics)
--forceFeatures A list of experimental codegen features to force enable. Pass unsupported name to get the list of available features
--libraryInterfaceFileFilter For sources in library mode, which files to generate on this run: interface-only, events-only or all. Overrides the avo.json setting without changing it
```
### Step 4: Monitor the analytics implementation
Once you have implemented analytics with the Avo analytics wrappers, you can check the status of the implementation by running `avo status`.
The `status` command will report on where the analytics functions provided by Avo are being called, and which events have not been implemented yet.
```bash
avo status
```
The output of this command will show you all the Avo function calls in your codebase and will highlight functions that are never called. If one or more functions from Avo Codegen are not called in the code the command will fail.
```sh
> avo status
info Currently on branch 'main'
└─ java android (musicplayerexample/src/main/java/sh/avo/Avo.java)
├─ appOpened
│ └─ used in musicplayerexample/src/main/java/app/avo/musicplayerexample/MusicPlayerExampleApplication.kt: 1 time
├─ login
│ └─ ✖ no usage found
├─ logout
│ └─ ✖ no usage found
├─ pause
│ └─ used in musicplayerexample/src/main/java/app/avo/musicplayerexample/ExampleMusicPlayerActivity.kt: 1 time
├─ play
│ └─ used in musicplayerexample/src/main/java/app/avo/musicplayerexample/ExampleMusicPlayerActivity.kt: 3 times
├─ playNextTrack
│ └─ used in musicplayerexample/src/main/java/app/avo/musicplayerexample/ExampleMusicPlayerActivity.kt: 1 time
└─ playPreviousTrack
└─ used in musicplayerexample/src/main/java/app/avo/musicplayerexample/ExampleMusicPlayerActivity.kt: 1 time
info 5 of 7 events seen in code
error 2 missing events
└─ java android (musicplayerexample/src/main/java/sh/avo/Avo.java)
├─ login: no usage found
└─ logout: no usage found
```
If you run `avo status --verbose` it will also print a list of files where the CLI searched for the functions from Avo Codegen.
Here is an example beginning of the verbose output:
```sh
info Currently on branch 'main'
Looking in files with extensions: [ 'java', 'kt' ]
info Looking for events in src/main/java/app/avo/musicplayerexample/ExampleMusicPlayerActivity.kt
info Looking for events in src/main/java/app/avo/musicplayerexample/ExampleMusicPlayerLogic.kt
info Looking for events in src/main/java/app/avo/musicplayerexample/MusicPlayerExampleApplication.kt
info Looking for events in src/main/java/app/avo/musicplayerexample/MusicStorage.kt
info Looking for events in src/main/java/app/avo/musicplayerexample/Player.kt
...
```
### Interface files
Some languages allow you to generate multiple files, for example Objective-C requires it and you can enable it in Kotlin and Swift using on-demand feature flags. For Kotlin use `SplitKtFiles` and for Swift it's `SplitSwiftFiles` [see --forceFeatures pull flag above](https://www.avo.app/docs/implementation/cli.md#step-3-pull-generated-analytics-wrappers-from-avo).
When initializing a source with CLI v3.2.0 and later it will ask you to specify a separate path for the interface file.
You can also specify the interface file path manually, by adding `interfaceFilePath` field to the `source` object in the `avo.json` file
```json
"sources": [
{
"id": "...",
"name": "Android Kotlin",
"path": "Avo.kt",
"interfacePath": "interface/AvoInterface.kt",
"actionId": "...",
"branchId": "...",
"updatedAt": "..."
}
]
```
If your source uses [library mode](https://www.avo.app/docs/reference/avo-codegen/library-codegen.md) and the library interface is shared between repositories, see [Sharing one library interface across repositories](https://www.avo.app/docs/reference/avo-codegen/library-codegen.md#4-sharing-one-library-interface-across-repositories) for the `libraryInterfaceFileFilter` and `libraryInterfaceSharedModule` settings in `avo.json`.
## Using Avo Branches
When editing your tracking plan on avo.app you can branch out from the main tracking plan to make changes in isolation, just like with git. To pull analytics wrappers from an open Avo branch you first need to switch to that branch with `avo checkout`.
```bash
avo checkout my-branch-name
```
You can also pull from a specific branch by using the `--branch` flag when running `avo pull`
```bash
avo pull [my-source-name] --branch my-branch-name
```
### Using an Avo branch with a git branch
Here is the workflow we recommend when working on Avo branches with git branches.
1. On your git branch, pull updated analytics wrappers from the Avo branch you would like to implement
```bash
avo pull [my-source-name] --branch my-branch-name
```
2. Once ready to merge, make sure your Avo branch is up to date with Avo main by pulling latest main changes into your branch. This can also be done from the branch review screen on avo.app.
If any changes were pulled in, make sure to run `avo pull` again to update the analytics wrappers
```bash
avo merge main
```
3. Review and merge your git branch
4. Immediately after merging the git branch, merge the Avo branch from the branch review screen on avo.app
## Git Conflicts in Avo Files
To resolve git conflicts in `avo.json` run `avo pull`. It will attempt to resolve the git conflicts in `avo.json` automatically and check whether the incoming branch has been merge and if your current branch is up to date with Avo main before pulling latest analytics wrappers.
```bash
avo pull
```
As an alternative you can also run `avo conflict`, it will resolve any conflicts in `avo.json` without pulling latest analytics wrappers.
```bash
avo conflict
```
## Complete Reference
Below is the complete documentation for all available commands:
```bash
avo --help
avo command
Commands:
avo init Initialize an Avo workspace in the current folder
avo pull [source] Pull analytics wrappers from Avo workspace
avo checkout [branch] Switch branches [aliases: branch]
avo source Manage sources for the current project
avo status [source] Show the status of the Avo implementation
avo merge main Pull Avo main branch into your current branch
avo conflict Resolve git conflicts in Avo files [aliases: resolve, conflicts]
avo edit Open the Avo workspace in your browser
avo login Log into the Avo platform
avo logout Log out from the Avo platform
avo whoami Shows the currently logged in username
Options:
--version Show version number [boolean]
-v, --verbose make output more verbose [boolean] [default: false]
-f, --force Proceed with merge when incoming branch is open [boolean] [default: false]
--help Show help [boolean]
```
To report any issues or suggest changes, go to [https://github.com/avohq/avo](https://github.com/avohq/avo)
---
Source: https://www.avo.app/docs/implementation/guides/avo-and-existing-tracking.md
# Avo Codegen alongside existing tracking
You can safely keep raw tracking calls in your code when adopting Codegen. In this case we recommend to migrate gradually, following 2 steps below.
### 1. Start implementing all new tracking with Codegen.
Mark the new events you want to implement with Avo Codegen as "Implement with Codegen" in the Avo workspace and they will appear as functions in the generated code.
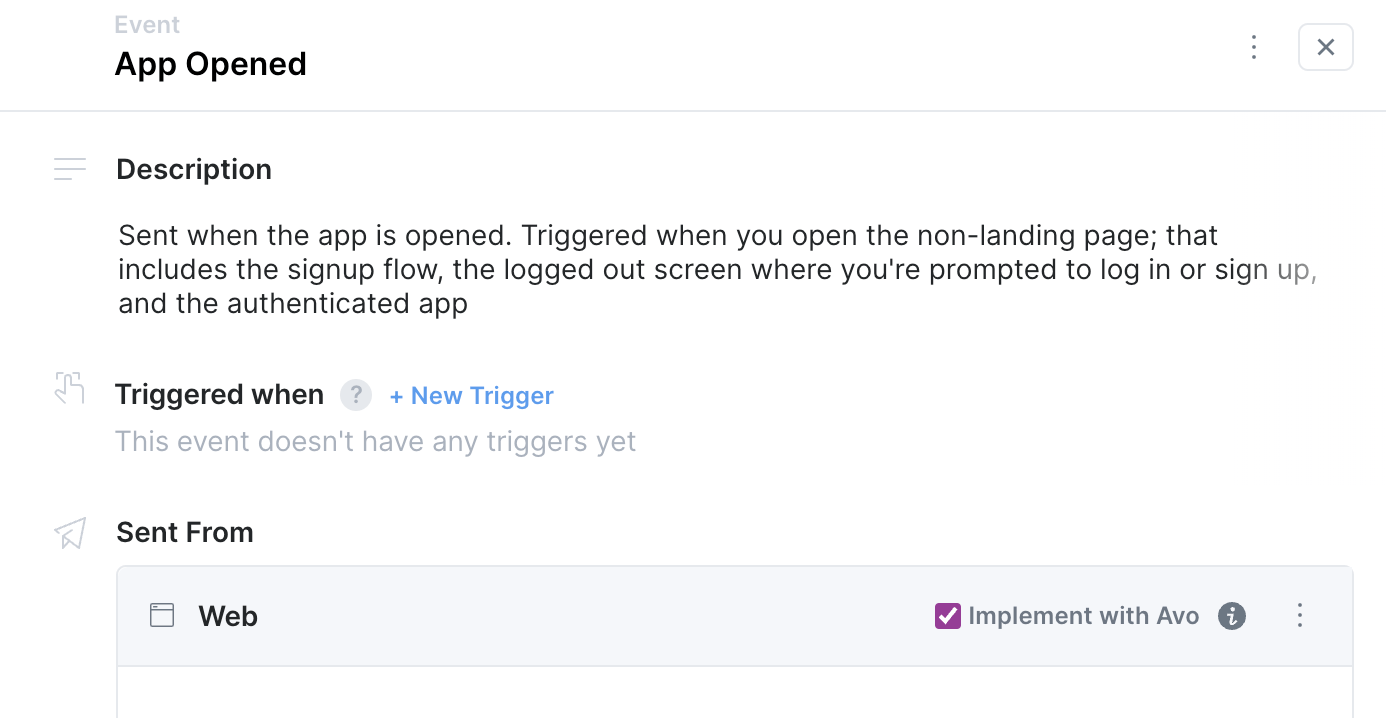
Initiate Codegen with a [destination interface](https://www.avo.app/docs/reference/avo-codegen/destinations.md#destination-interface-callback-methods).
In the track methods of the destination interface (logEvent, identify etc.) you use your existing tracking SDK instance to track events:
```pseudocode
logEvent(eventName, eventProperties) {
// Log event in your destination
analytics.track(eventName, eventProperties)
}
```
With this one time setup the events you track with Codegen will be sent to the same analytics destinations as your existing events.
### 2. Migrate you existing implementation to Avo
Going forward you'll be able to gradually swap old events implemented with raw analytics SDK with Avo implementation at your own pace by:
- Marking more events as "Implement with Codegen"
- Pulling the Avo code
- Replacing existing SDK calls with calls of the generated Codegen
---
Source: https://www.avo.app/docs/implementation/guides/avo-and-git.md
# Using Avo in large development teams with parallel workflows
In this doc we’ll cover how you can use Avo in large development teams, where multiple teams are working on multiple conflicting analytics changes in parallel, across multiple platforms.
## Workflow example
Let’s look at an example. In our fictional company we have two development teams, iOS and Android. Even though the iOS and Android teams have an almost identical long-term product roadmap, they don’t work on the same features at the same time. In addition to that, each platform team can also be working on multiple features at the same time. This means there are always multiple analytics tracking changes happening in the company simultaneously.
How does that work in Avo, where there is a single tracking plan shared across the entire company, and directly connected to each codebase with Avo Codegen to ensure a single source of truth?
### Avo branches
Developers have been using branches in Git to work on multiple code changes simultaneously for almost 20 years. In Avo you can use branches too, to work on multiple tracking plan changes simultaneously, both when designing your tracking plan and when implementing the tracking in code.
Let’s say the iOS team at our fictional company is working on an updated checkout flow. As part of this work they’ll need to add new events to their tracking plan and add properties to some existing events. They are also going to implement the tracking plan changes in code using Avo Codegen.
#### Branched tracking plan changes
First, they [open a new branch](https://www.avo.app/docs/data-design/branches.md#how-to-create-branches) in their Avo tracking plan, where they can modify the tracking plan without changing it for anyone else. They [create the new events](https://www.avo.app/docs/workflow/overview.md#step-3--define-events-and-properties), and mark them to be [sent from the iOS source](https://www.avo.app/docs/data-design/avo-tracking-plan/events.md#sources). They add the new properties to the existing events and [mark the properties to be always sent on iOS](https://www.avo.app/docs/data-design/avo-tracking-plan/properties.md#configuring-when-properties-are-required-or-optional).
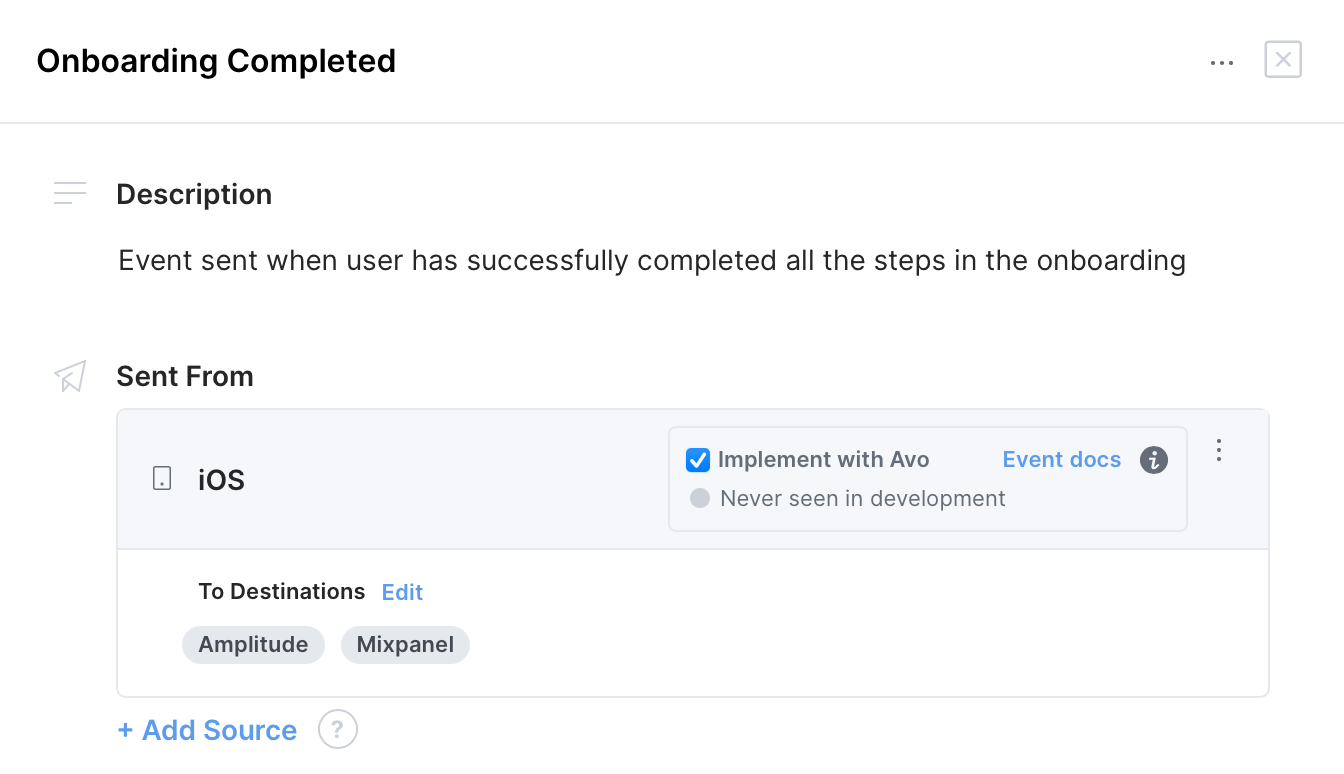
_Onboarding flow event in Avo, sent from iOS_
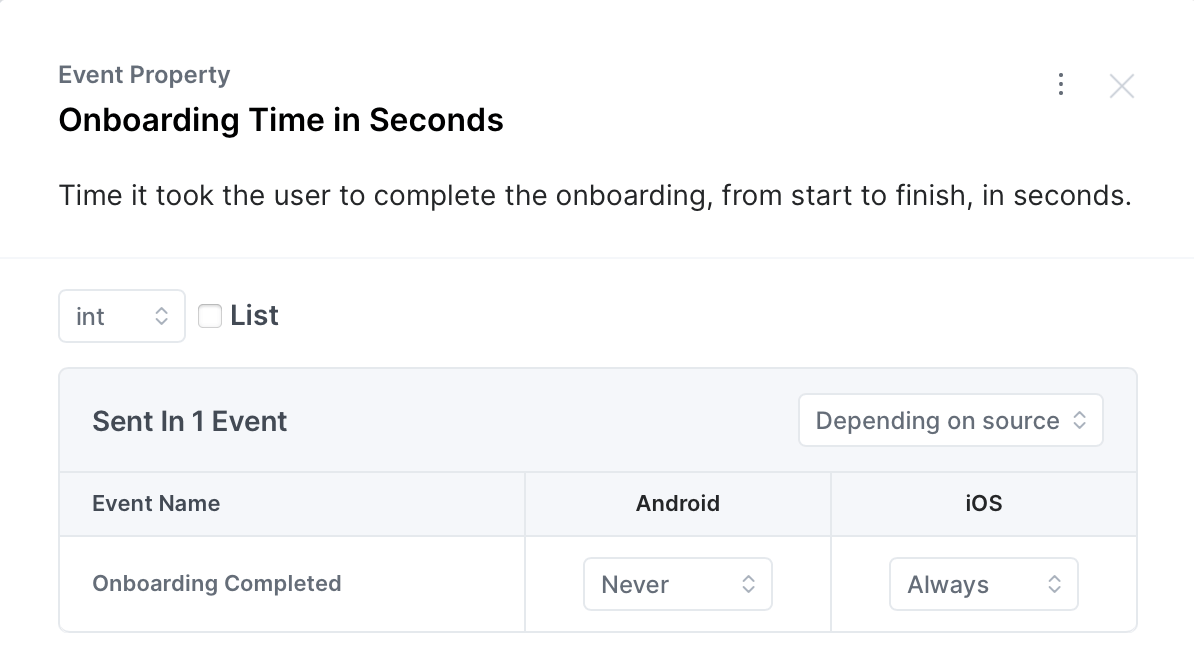
_Property always sent from iOS, never from Android_
#### Branched tracking plan implementation
When the tracking plan changes made on the branch have been [peer-reviewed and approved](https://www.avo.app/docs/workflow/overview.md#step-4--ask-for-review) in Avo, they can start the tracking implementation.
Using [the Avo CLI](https://www.avo.app/docs/implementation/cli.md#using-avo-branches) the iOS developer can pull their type-safe generated Avo code based on the tracking plan from the Avo branch, into their feature branch on git: `avo pull new-onboarding-events` where `new-onboarding-events` is the Avo branch containing the Tracking Plan changes. By doing so, they've pinned the `avo.json` file in their project to the current state of the Tracking Plan on that Avo branch.
> `avo status` uses the Tracking Plan version defined in `avo.json`to verify everything is implemented. That means `avo status` doesn't break if changes are made to your Tracking Plan that haven't been pulled into code.
Once the tracking has been implemented, and the feature is ready to go, the developer gets their git branch merged like they usually would. As soon as the git branch is merged into the git main branch, they merge their Avo branch in the Avo main branch. By doing so, the main branch in Avo always represents the current state of the Avo tracking plan, while the tracking plan implementation stays pinned to the branch we just implemented. The `avo.json` file still points to the head of the Avo branch they just implemented, since that's the version of the Tracking Plan the most recent tracking implementation was based on.
When it’s time for the Android team to implement the same changes, they would go through the same flow, but instead of creating the events and properties in Avo, they would only need to add the Android source to the events they want to implement, set the properties to be always sent from Android and run `avo pull [--branch my-branch] [SourceName]` from their Avo branch to implement the tracking changes.
Previously merged Avo branches can always be viewed back in time. That means you can always see the state of your tracking plan at that point, what changes were made when, and by whom.
#### Branched tracking plan changes and implementation within one platform
In the example above we were looking at teams working on iOS and Android. The exact same could apply for two or more teams working in parallel on tracking changes for a single platform, where each team would have their own Avo branch to work on, and would eventually merge their tracking implementations in git.
### Workflow summary
When changes are made in the Avo Tracking Plan:
1. Open an Avo branch and make your Tracking Plan changes
2. Get a peer-review and approval on the changes
3. Implement the changes from the Avo branch in your code on a git branch
4. Merge the git branch
5. Merge the Avo branch
6. Details on what changes were introduced on the Avo branch remain available for future reference
## FAQs
#### Should the Avo generated code and the avo.json file be checked into git?
Yes, the generated code from Avo as well as avo.json should be checked into your source control. With the avo.json file checked in, the source code is always pinned to a certain point in time of the Tracking Plan and the Avo CLI configuration is automatically shared within your team. The Avo generated file is also checked in to git just like any other code in your project.
#### Do I need to manually resolve git conflicts in the Avo generated code and avo.json?
No, if you have git conflicts in any Avo related files (Avo generated code or avo.json), run `avo pull` and the Avo CLI will take care of resolving the conflicts automatically. Learn more in the [CLI documentation](https://www.avo.app/docs/implementation/cli.md#using-avo-branches).
#### The avo.json on my git main branch is pointing to an Avo branch that has already been merged, is that expected?
Yes, that is expected! The Avo CLI uses this information to verify that the Avo branch has been merged, for example when automatically resolving git merge conflicts. It's also a documentation for which version of the Tracking Plan was used for the most recent tracking plan implementation for this source. The Avo CLI will take care of automatically updating `avo.json` on next avo pull, pinning it to the new Avo branch you're pulling from.
#### What if one source is done with their Avo implementation before the other sources on that branch?
If one of the sources completes their implementation ahead of the other sources, and are merging that implementation in the main git branch, we recommend merging only that source into your Avo main branch. Read more about how to [manage branches with multiple sources](https://www.avo.app/docs/data-design/guides/multiple-sources-on-avo-branches.md) to keep your Avo main branch in sync with your git main branch.
## Want to learn more?
- [Avo 101 for developers](https://www.avo.app/docs/implementation/devs-101.md)
- [Day to day Avo workflow](https://www.avo.app/docs/workflow/overview.md)
- [Using the Avo CLI](https://www.avo.app/docs/implementation/cli.md)
---
Source: https://www.avo.app/docs/implementation/guides/avo-and-linters.md
# Avo generated code and linters
Avo obsesses over making the generated code human readable, so you can open the generated Avo file at any point of time and easily understand what's happening there.
At the same time, since the Avo file is added to your codebase as any other code you read, it falls under investigation of your linter, if you use some.
Given the variety of different linting rules we decided to not try to conform any particular one, but instead provide human readable code and exclude it from linting. That's a common practice for generated code, like protobuf files are excluded for example.
### Step 1: Excluding the file
Avo generated files contain commands disabling some linters automatically, including `eslint`, `swiftlint` and `pylint`.
For other linters you'll need to add the Avo file to the excluded files list in the linter config.
### Optional step 2: Set up auto reformat
If you wish to apply your code style to the Avo file for better readability, we recommend you to set up automatic formatter.
Some linters allow you to automatically reformat a file according to your config, for example with `ktlint` you can run `ktlint -F ./Avo.kt` and it will bring the Avo file to your code style.
You can enable this as a commit hook and keep the Avo file formatted exactly as you want automatically.
---
Source: https://www.avo.app/docs/implementation/guides/avo-and-unit-tests.md
# Avo and tests
It can be useful to have your Avo Codegen running as a part of your test suite.
To that end, Avo generated tracking libraries can be initialized with a `noop` flag
that disables network requests and only run data validation.
Below is an example of initializing Avo in a [jest](https://jestjs.io) test environment with JavaScript:
```js
describe('Avo', () => {
var Avo;
beforeAll(() => {
Avo = require('./Avo');
Avo.initAvo({ env: 'dev', noop: true, strict: true });
});
test('signupStart() with email property is valid', () => {
Avo.signupCompleted({ email: 'test@test.com' });
});
test('signupStart() without email property throws', () => {
expect(() => {
Avo.signupCompleted();
}).toThrow();
});
});
```
The `noop` flag is supported in JavaScript, TypeScript, Reason, Java, Objective-C, Swift and Python.
### Unit tests in Kotlin and Swift
In the generated Avo file we provide wrapping interface/protocol with all the event methods.
```kotlin
public interface Avo {
fun feedbackGiven(
path: String,
feedback: String
)
}
```
```swift
public protocol AvoProtocol {
func feedbackGiven(
path: String,
feedback: String
)
}
```
We suggest to mock it in your tests and verify that desired method is called with particular parameters.
---
Source: https://www.avo.app/docs/implementation/guides/avo-in-monorepo.md
# Avo in monorepos
Avo supports monorepos out of the box. A single `avo.json` file in the root directory keeps track of all configured Avo sources for the repo, where the code for each source is located and when it was last updated.
To use Avo in a monorepo, initialize the Avo CLI by running `avo init` in the root of your repository. This will create a single `avo.json` file in the root of your monorepo. When you run `avo pull [--branch my-branch] [SourceName]` you pass in for which source you want to pull code for (e.g. `avo pull Web`). When you run `avo pull` for a new source for the first time, the CLI will prompt you to pick a location for the generated code (Avo Codegen file) for that source. The `avo.json` file in the root keeps track of which sources are configured in the repo, where Avo Codegen file for each one lives, when the tracking for that source was last updated, and what Avo branch that update was based on.
Here's an example of how an `avo.json` could look like in a monorepo containing a web app, microservice, iOS app, Android app and docs page:
```json
{
"avo": {
"version": 1
},
"schema": {
"id": "",
"name": "My Tracking Plan"
},
"branch": {
"id": "main",
"name": "main"
},
"sources": [
{
"id": "SOURCE_ID",
"name": "Docs",
"path": "projects/docs/Avo.ts",
"actionId": "",
"branchId": "",
"updatedAt": ""
},
{
"id": "SOURCE_ID",
"name": "Web App",
"path": "projects/web/Avo.ts",
"actionId": "",
"branchId": "",
"updatedAt": ""
},
{
"id": "SOURCE_ID",
"name": "Transactions Microservice",
"path": "projects/transactions/Avo.ts",
"actionId": "",
"branchId": "",
"updatedAt": ""
},
{
"id": "SOURCE_ID",
"name": "iOS",
"path": "projects/iOS/Avo.swift",
"actionId": "",
"branchId": "",
"updatedAt": ""
},
{
"id": "SOURCE_ID",
"name": "Android",
"path": "projects/Android/Avo.kt",
"actionId": "",
"branchId": "",
"updatedAt": ""
}
]
}
```
---
Source: https://www.avo.app/docs/implementation/guides/avo-in-the-ci.md
# Avo in CI/CD
The Avo CLI includes a command, `avo status` , which you can use ad-hoc or run in your CI to monitor that all expected analytics events are in fact implemented in your code.
## What is `avo status` ?
When you implement your analytics events with [Avo Codegen](https://www.avo.app/docs/implementation/avo-codegen-overview.md), aka the type-safe analytics wrappers, you can run `avo status` to check where in your code base the analytics calls are made, or if they are missing.
## How does avo status work?
- `avo status` runs through your code base, searches for instances Avo Codegen, and returns an error if there is no found instance of one or more of the analytics events that are marked as "Implement with Codegen" for this code base.
- `avo status` searches in the folder where it's invoked and in the children subfolders. It requires Avo to be initialized in that folder, i.e. your `avo.json` file should be there.
- It validates tracking calls implemented with [Avo Codegen](https://www.avo.app/docs/implementation/avo-codegen-overview.md), aka the Avo generated type-safe analytics wrappers.
- It will error if no instance of the event is found in your code. This means two things:
1. It will not error if one tracking call instance is removed for a specific event, but there are still some tracking calls for this event remaining
2. It will not error if the tracking call remains in a dead code path
```sh
> avo status
info Currently on branch 'main'
└─ java android (musicplayerexample/src/main/java/sh/avo/Avo.java)
├─ appOpened
│ └─ used in musicplayerexample/src/main/java/app/avo/musicplayerexample/MusicPlayerExampleApplication.kt: 1 time
├─ login
│ └─ ✖ no usage found
├─ logout
│ └─ ✖ no usage found
├─ pause
│ └─ used in musicplayerexample/src/main/java/app/avo/musicplayerexample/ExampleMusicPlayerActivity.kt: 1 time
├─ play
│ └─ used in musicplayerexample/src/main/java/app/avo/musicplayerexample/ExampleMusicPlayerActivity.kt: 3 times
├─ playNextTrack
│ └─ used in musicplayerexample/src/main/java/app/avo/musicplayerexample/ExampleMusicPlayerActivity.kt: 1 time
└─ playPreviousTrack
└─ used in musicplayerexample/src/main/java/app/avo/musicplayerexample/ExampleMusicPlayerActivity.kt: 1 time
info 5 of 7 events seen in code
error 2 missing events
└─ java android (musicplayerexample/src/main/java/sh/avo/Avo.java)
├─ login: no usage found
└─ logout: no usage found
```
[Get in touch](https://www.avo.app/docs/help/troubleshooting.md) if you want to learn more about how Avo prevents analytics errors.
## Integrating Avo with my CI
> 💡 **Why would I add Avo to my CI/CD?**
>
> Adding `avo status` to your CI/CD enables you to **regression monitor** your implementation (i.e. confirm you haven't accidentally refactored out an analytics trigger), as well as **confirm that you've implemented every analytics event** that should be implemented for a specific analytics release in a specific codebase.
### Example: setting up `avo status` in GitHub Actions
Add this script to `.github/workflows/avo_status.yml` .
It will take care of installing the Avo CLI and running the `avo status` check on your codebase every time new changes are pushed.
```sh
name: Avo Status
on: push
jobs:
build:
runs-on: ubuntu-latest
strategy:
matrix:
node-version: [16.x]
steps:
- uses: actions/checkout@v2
- name: Use Node.js ${{ matrix.node-version }}
uses: actions/setup-node@v1
with:
node-version: ${{ matrix.node-version }}
- name: Install Avo CLI
run: npm install -g avo
- name: Avo status
run: avo status
```
---
Source: https://www.avo.app/docs/implementation/guides/download-or-copy-avo-file-manually.md
# Get Avo Codegen without using Avo CLI
> 💡 Codegen produces type-safe wrappers around your analytics event tracking
> calls, to make it easier and faster to implement your analytics tracking
> calls. [Read more about Codegen here](https://www.avo.app/docs/implementation/devs-101.md).
Codegen is generated based on the events in your tracking plan, so when
an event is updated in your tracking plan, you generate the code again to get the
updated implementation requirements applied to your type safe analytics code.
### [Recommended] Set up Avo CLI to connect Codegen to your repo
We recommend connecting your repository to a Source in your Avo Tracking Plan, because
then all you need to do to update the generated code is run `avo pull [--branch my-branch] [SourceName]` from your
terminal, and that will update the generated code.
[Check out the Quickstart guide to setting up the Avo CLI](https://www.avo.app/docs/implementation/cli.md)
### Download Codegen manually
If you want to skip setting up the CLI for some reason, you can Download or Copy
Codegen manually:
1. Navigate to Codegen tab in the sidebar
2. Select your source
3. Go to "Codegen Setup"
4. Scroll to the bottom and press "Click to generate your Avo file"
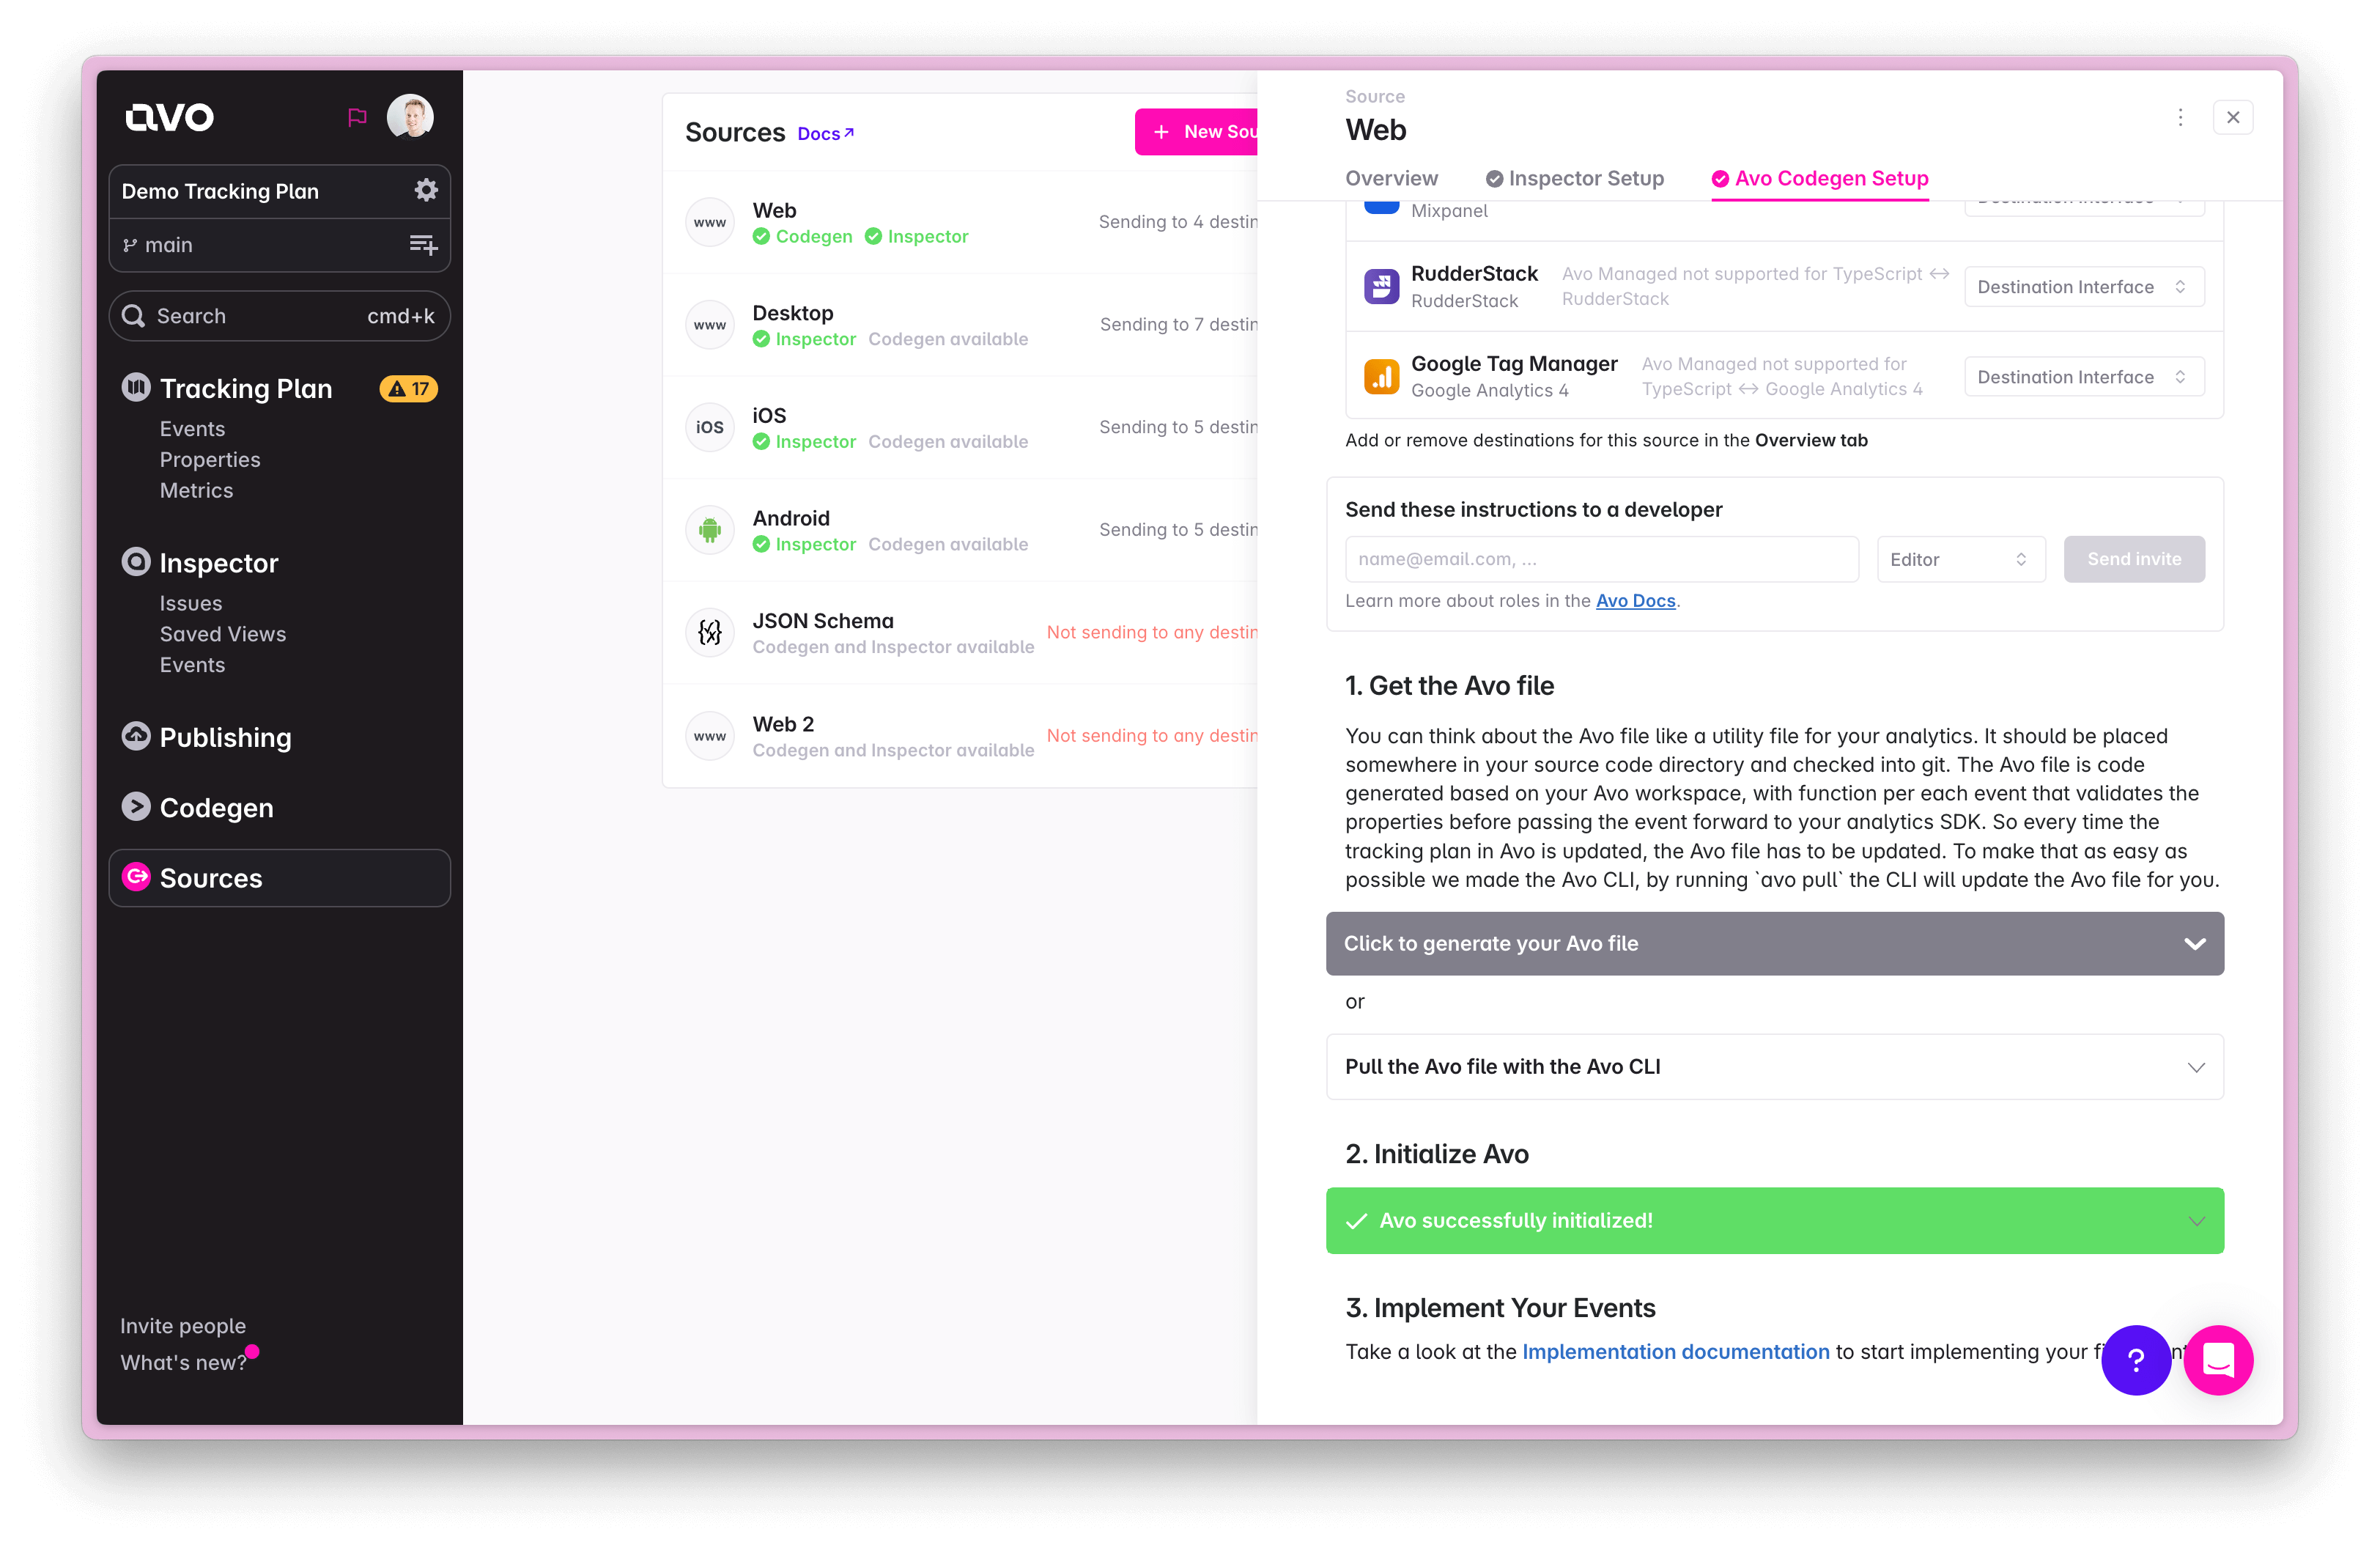
Your file will be generated after that and you'll be able to download or copy it from there.
---
Source: https://www.avo.app/docs/implementation/guides/explicit-null-in-codegen.md
# Why Avo Codegen requires explicit `null` values when "Sometimes Sent" property is not sent
With the Avo Codegen our goal is to provide developers with a type safe analytics implementation and make the compiler catch as many analytics implementation bugs as possible.
One of the ways we do it is with the required values for the `Sometimes Sent` parameters.
The fact that we require an explicit `null` value to be passed for every `Sometimes Sent` property when it's not sent allows the compiler to catch very common implementation related data bugs.
Imagine we don't require passing `null` explicitly. Now if the tracking plan changes and a property presence goes from `Never Sent` to `Sometimes Sent`, which is a very common scenario, compiler has no way to distinguish between the two cases and will allow you go ahead instead of helping you do the migration. In this situation it's very easy to miss a code path where a value should be provided.
On the other hand when we require `null` values for `Sometimes Sent` properties when they are not provided the compiler is able to guide you through the migration from `Never Sent` and back.
Another example is when a `Sometimes Sent` property is added to an event. In this case the compiler will guide the developer through every event call to consider where the property should be sent.
---
Source: https://www.avo.app/docs/implementation/guides/property-bundles-unbundling.md
# Property bundles in Avo Codegen
In Avo you can bundle multiple event properties that are commonly used together into a property bundle.
Property bundles allow you to increase the consistency of your tracking plan as well as increasing efficiency when defining new events and implementing them.
## Example
In Avo we have a property bundle called "Source", that includes 2 properties: "Source Id" and "Source Name".
We add this property bundle to any event that is related to a source instead of adding those 2 properties manually every time.
Property bundles can include more than 2 properties, there is no upper limit.
Read more about property bundles [here](https://www.avo.app/docs/data-design/avo-tracking-plan/properties.md#event-property-bundles).
## Property bundles in Avo Codegen
When generating code for a tracking plan with property bundles the property bundles can be in 2 states:
- Bundled: in this case we can represent a property bundle as an object in the code. Every property included into the property bundle becomes a field of the object.
- Unbundled: in this case all the properties from the property bundle are added to the event tracking function as if the properties were added individually to the event in Avo.
Property bundles are currently supported in 4 languages: Kotlin, Swift, Objective-C and Rescript/ReasonML. Codegen for these languages will generate bundled properties, unless they have to be force unbundled. [Contact us](https://www.avo.app/docs/help/troubleshooting.md) if you want to force unbundle all property bundles in your workspace.
### Force property bundle unbundling
Sometimes a change in the tracking plan can cause a property bundle to be force unbundled.
This happens if the property bundle data structure can not be represented as a specific type in the programming language anymore.
One reason for that is when the property absence varies between different events.
In that case a property can be optional on one event and required on another event.
This circumstance makes it impossible to represent this property bundle type as a class in the code, because one filed of that class should be optional under one condition and non optional under another.
When this happen we unbundle the property bundle, so each event can get granular property presence.
---
Source: https://www.avo.app/docs/implementation/guides/start-implementing-tracking-changes.md
# Getting started to implement tracking plan changes in code with Avo codegen
_This guide describes how to get started with implementation using [Avo Codegen](../../implementation/avo-codegen-overview). If your team is not using Codegen yet, we recommend checking out the [Implementation Overview page](../../workflow/implement)._
Data design on an Avo branch has been finished and it's time to implement new tracking in code.
> 💡 Editors and admins can pull generated code on all plans: free, team and enterprise. Additionally, viewers can pull generated code on the team and enterprise plans. Learn more [here](https://www.avo.app/docs/workspace-management/members.md#codegen-access-for-non-editors).
## Familiarize yourself with the changes
First of all we recommend to open your Avo workspace and navigate to the branch you are about to implement, click *View changes* in the sidebar to access the review. The review has three tabs: Branch context, Tracking Plan Changes, and Code Changes. Branch context lets you add context for reviewers; Tracking Plan Changes summarizes all tracking items changed; Code Changes shows the code diffs and snippets per source.

*Press `View changes` button*
It's really valuable to understand what exactly needs to be tracked and clear all
unknowns.
We suggest using comments in the code changes view to ask for any clarification before starting to implement.

Read more on [the branch changes view](https://www.avo.app/docs/data-design/branches/code-changes.md).
## Pull the new code with Avo CLI
### Install the [Avo CLI](https://www.npmjs.com/package/avo)
Install the **Avo CLI** locally in your project, using [NPM](https://www.npmjs.com/get-npm) or [Yarn](https://classic.yarnpkg.com/en/docs/install):
```bash npm2yarn
npm install --save-dev avo
```
or globally on your system, using [NPM](https://www.npmjs.com/get-npm) or [Yarn](https://classic.yarnpkg.com/en/docs/install):
```bash npm2yarn
npm install -g avo
```
### Link your project to Avo
Authenticate the **Avo CLI** with your Avo user:
```bash
avo login
```
Now you can pull your custom tracking snippet from your Avo workspace using Codegen.
```bash
avo pull --branch your_branch_name [SourceName]
```
> When you run Avo pull for the first time it will also initialize Avo in your project by adding an `avo.json` file, containing a pointer to your Avo workspace, source and current branch. This file should be checked into git along with Codegen file.
## Implement new events
Now your Avo file will have the changes from the `your_branch_name` branch. Call all the new Avo Codegen functions in required places, update the new event properties. You can find a reference of all the code snippets required to implement your events in the `Codegen` tab.
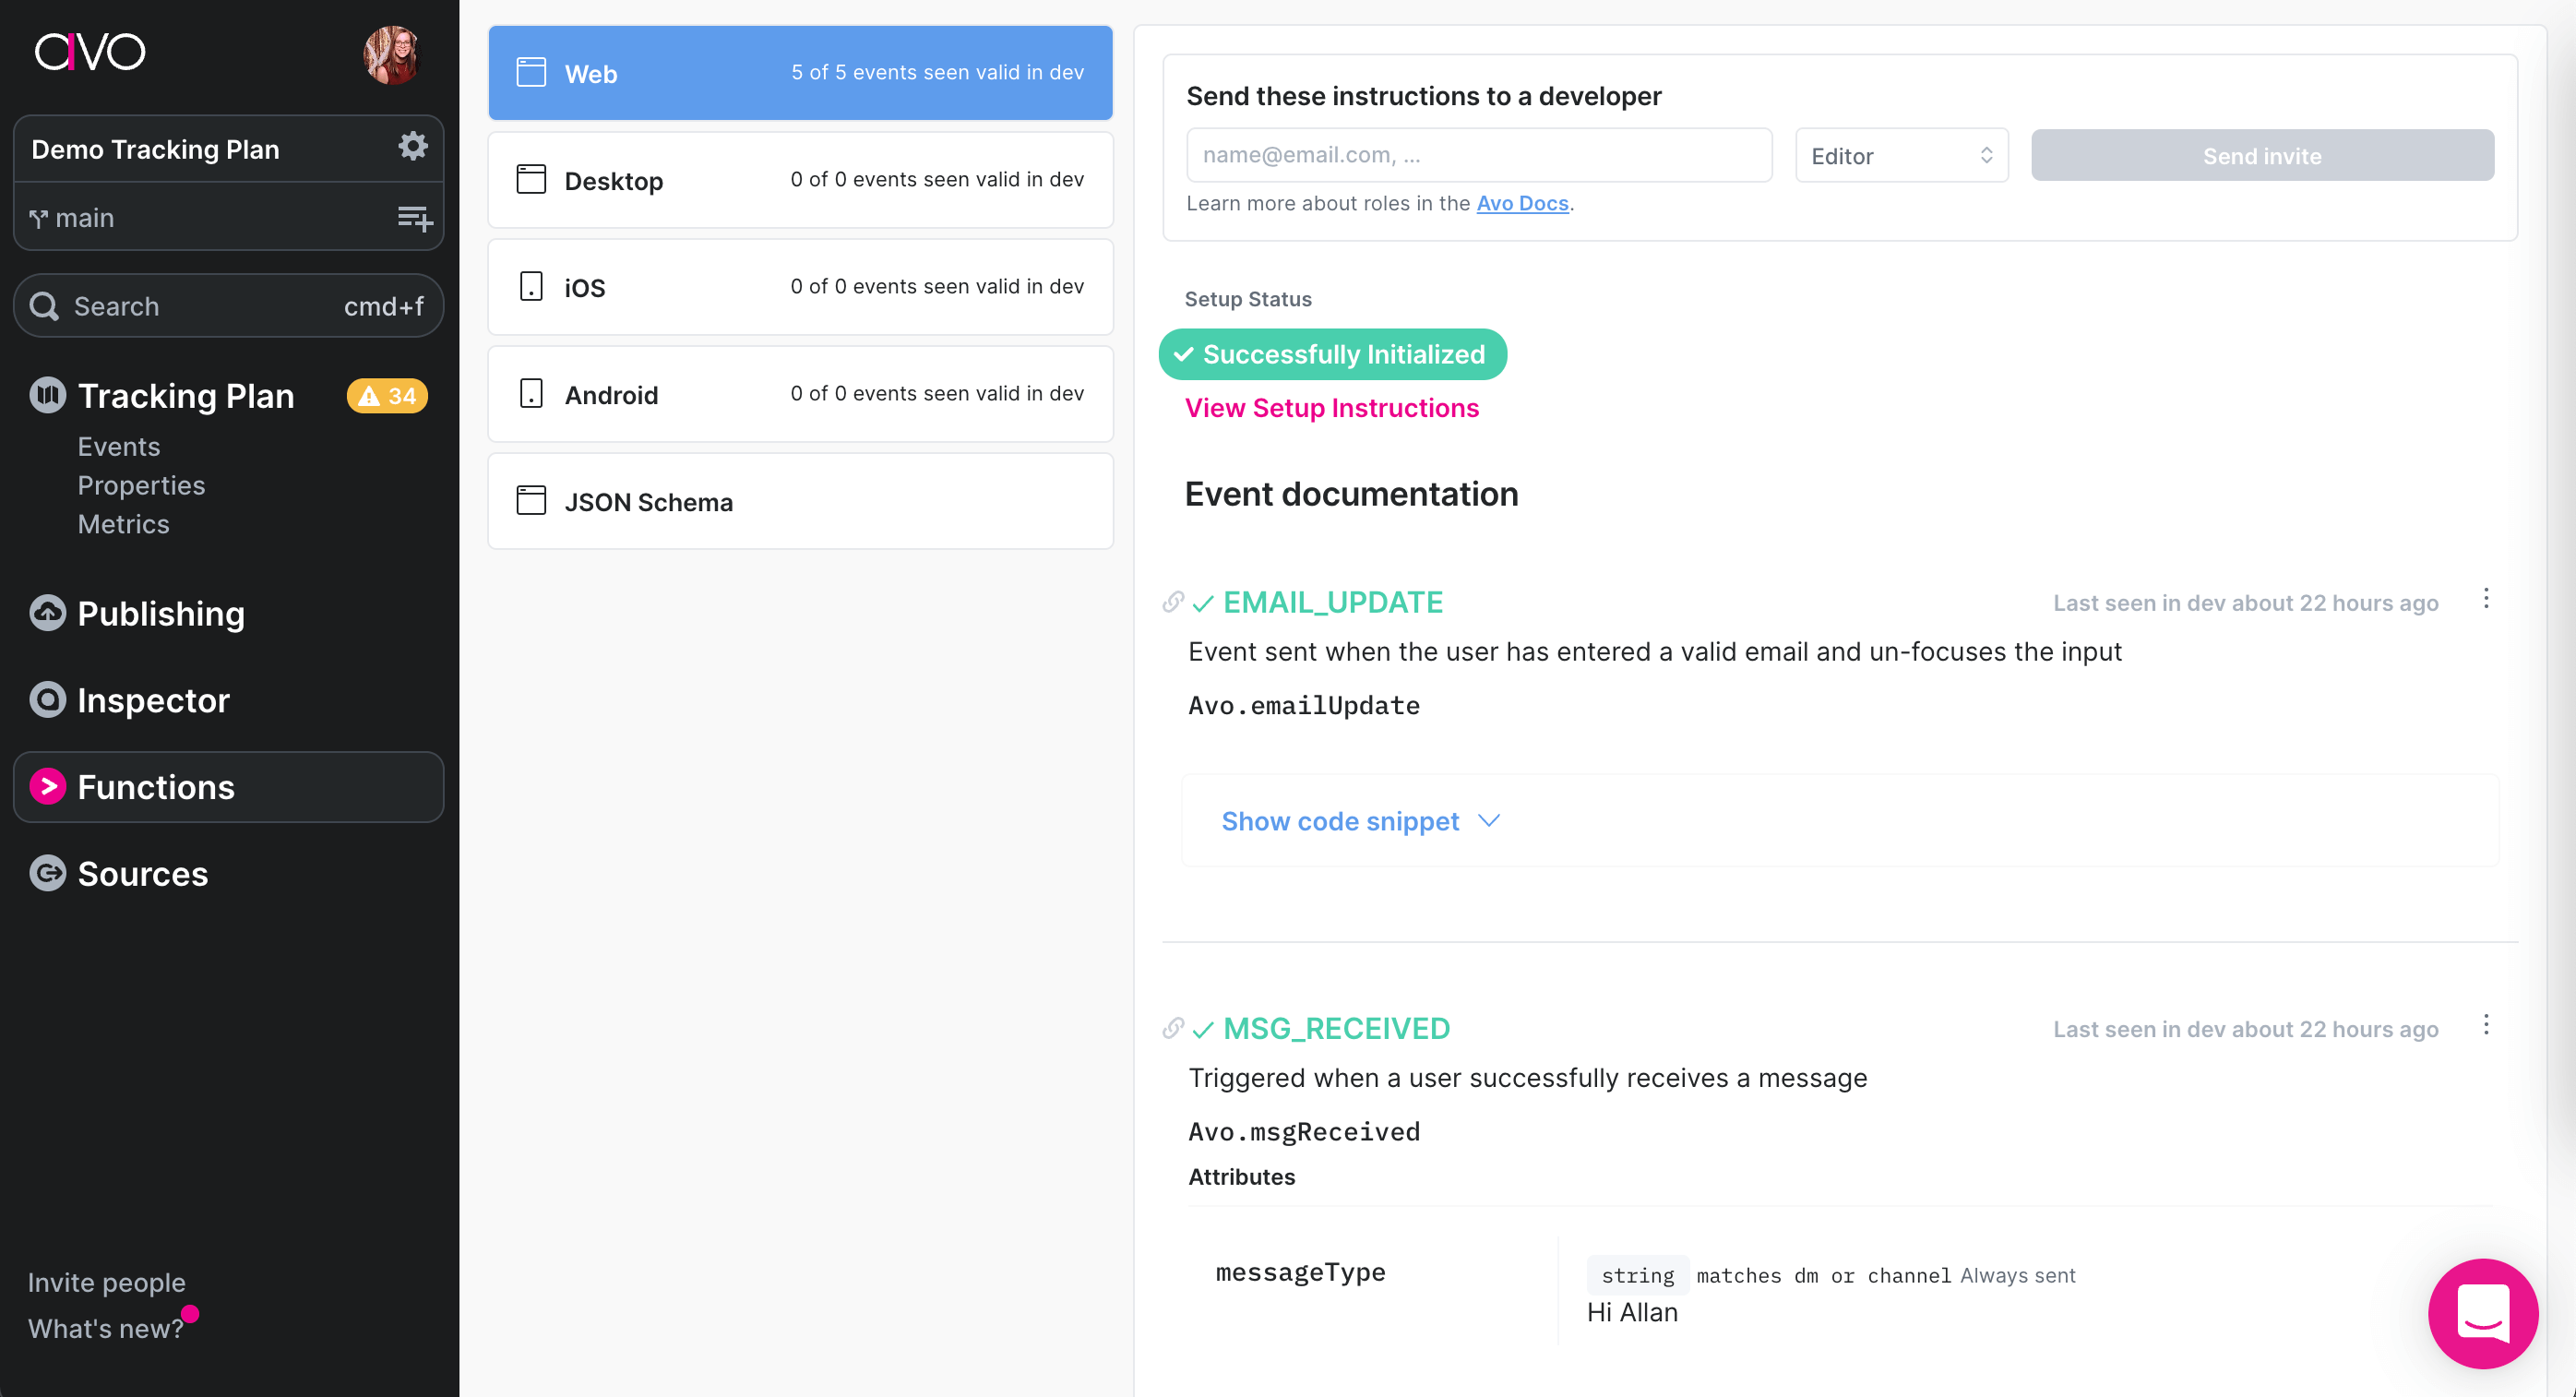
*Codegen reference*
It might be useful to check the changes tab in your Avo workspace for overview while implementing.
> If you are implementing the branch in multiple code bases we recommend you to read the [Multiple sources on Avo branches](https://www.avo.app/docs/data-design/guides/multiple-sources-on-avo-branches.md) guide.
## The most important part
Once you are finished with implementing the code and your source control branch was merged remember to also **merge the Avo branch**!
---
Source: https://www.avo.app/docs/implementation/guides/start-using-inspector-with-avo-codegen.md
# Getting started to use Inspector alongside Avo Codegen
You need to do minor setup to enable **Codegen** to start reporting to **Avo Inspector**.
Common steps for all platforms:
1. Avo Inspector should be enabled for given source. To verify, learn more about how to [configure Inspector sources](https://www.avo.app/docs/inspector/configuring-inspector-sources.md).
2. Your Avo generated file should use Avo version 63.10.0 or greater. You can find the version in the comment at the top of the generated file. If the version is older than 63.10.0 run `avo pull` again.
Platform specific setup:
**iOS**
Codegen on iOS automatically report to Avo Inspector since Avo version >=
`63.10.0` and Inspector SDK version >= `1.2.0`.
> Make sure `AvoInspector` dependency in your podfile is equal or greater than `1.2.0`.
> You can use your own separate instance of Avo Inspector as [described here](https://github.com/avohq/ios-avo-inspector) to analyze your tracking outside of Codegen, it will report the data correctly alongside Codegen.
---
****Android****
To enable Codegen to report to Avo Inspector automatically you would need to provide an instance of Avo Inspector, [check the quick start guide for how to create one](https://github.com/avohq/android-avo-inspector), when initializing Avo and use Avo version >= `63.10.0` and Avo Inspector SDK version >= `1.2.0`.
> Make sure `com.github.avohq:android-avo-inspector` dependency in your build.gradle file is equal or greater than `1.2.0`.
> Generated Avo file exposes **avoInspectorApiKey** constant that contains your Inspector API key.
This is how your Avo initialization code should look like:
```kotlin
import app.avo.inspector.AvoInspector
import app.avo.inspector.AvoInspectorEnv
val inspector = AvoInspector(avoInspectorApiKey,
application, AvoInspectorEnv.Dev)
Avo.initAvoWithInspector(inspector, ...)
```
```java
import app.avo.inspector.AvoInspector;
import app.avo.inspector.AvoInspectorEnv;
AvoInspector inspector = new AvoInspector(StaticAvo.avoInspectorApiKey, getApplication(), AvoInspectorEnv.Dev);
Avo.initAvoWithInspector(..., inspector);
```
> You can use the same instance of Avo Inspector to analyze your tracking outside of Codegen, it will report the data correctly alongside Codegen.
---
**Web**
To enable Codegen to report to Avo Inspector automatically you provide an instance of Inspector when initializing Avo. This requires Avo version >= `63.10.0` and Avo Inspector SDK version >= `1.2.0`. [Check the quick start guide for how to create an Avo Inspector instance](https://github.com/avohq/js-avo-inspector/).
> `avo-inspector` dependency in your package.json file should be equal or greater than 1.2.0.
> Generated Avo file exposes **avoInspectorApiKey** constant that contains your Inspector API key.
This is how your Avo initialization code should look like:
```javascript
const Inspector = require("avo-inspector");
const inspector = new Inspector.AvoInspector({
apiKey: Avo.avoInspectorApiKey,
env: Inspector.AvoInspectorEnv.Dev,
version: "1.0.0",
appName: "My App"
});
Avo.initAvo( { env: "dev", inspector: inspector}, ...);
```
```typescript
import * as Inspector from "avo-inspector";
const inspector = new Inspector.AvoInspector({
apiKey: Avo.avoInspectorApiKey,
env: Inspector.AvoInspectorEnv.Dev,
version: "1.0.0",
appName: "My App"
});
Avo.initAvo({ env: Avo.AvoEnv.Dev, inspector: inspector }, ...);
```
> You can use the same instance of Avo Inspector to analyze your tracking outside of Codegen, it will report the data correctly alongside Codegen.
---
**Node**
To enable Codegen to report to Avo Inspector automatically you provide an instance of Inspector when initializing Avo. This requires Avo version >= `71.34.0` and Avo Inspector SDK version >= `0.1.0`. [Check the quick start guide for how to create an Avo Inspector instance](https://github.com/avohq/node-avo-inspector).
> `node-avo-inspector` dependency in your package.json file should be equal or greater than 0.1.0.
> Generated Avo file exposes **avoInspectorApiKey** constant that contains your Inspector API key.
This is how your Avo initialization code should look like:
```javascript
const Inspector = require("node-avo-inspector");
const inspector = new Inspector.AvoInspector({
apiKey: Avo.avoInspectorApiKey,
env: Inspector.AvoInspectorEnv.Dev,
version: "1.0.0",
appName: "My App"
});
Avo.initAvo( { env: "dev", inspector: inspector}, ...);
```
```typescript
import * as Inspector from "node-avo-inspector";
const inspector = new Inspector.AvoInspector({
apiKey: Avo.avoInspectorApiKey,
env: Inspector.AvoInspectorEnv.Dev,
version: "1.0.0",
appName: "My App"
});
Avo.initAvo({ env: Avo.AvoEnv.Dev, inspector: inspector }, ...);
```
> You can use the same instance of Avo Inspector to analyze your tracking outside of Codegen, it will report the data correctly alongside Codegen.
---
**React Native**
To enable Codegen to report to Avo Inspector automatically you provide an instance of Inspector when initializing Avo. This requires Avo version >= `63.10.0` and Avo Inspector SDK version >= `1.2.0`. [Check the quick start guide for how to create an Avo Inspector instance](https://github.com/avohq/js-avo-inspector/tree/react-native-node-package).
> `react-native-avo-inspector` dependency in your package.json file should be equal or greater than 1.2.0.
> Generated Avo file exposes **avoInspectorApiKey** constant that contains your Inspector API key.
This is how your Avo initialization code should look like:
```javascript
const Inspector = require("react-native-avo-inspector/dist-native");
const inspector = new Inspector.AvoInspector({
apiKey: Avo.avoInspectorApiKey,
env: Inspector.AvoInspectorEnv.Dev,
version: "1.0.0",
appName: "My App"
});
Avo.initAvo( { env: "dev", inspector: inspector}, ...);
```
```typescript
import * as Inspector from "react-native-avo-inspector/dist-native";
const inspector = new Inspector.AvoInspector({
apiKey: Avo.avoInspectorApiKey,
env: Inspector.AvoInspectorEnv.Dev,
version: "1.0.0",
appName: "My App"
});
Avo.initAvo({ env: Avo.AvoEnv.Dev, inspector: inspector }, ...);
```
> You can use the same instance of Avo Inspector to analyze your tracking outside of Codegen, it will report the data correctly alongside Codegen.
---
Source: https://www.avo.app/docs/implementation/guides/start-using-visual-debuggers.md
# Visual debuggers
When testing analytics on web and mobile apps it’s hard to know if the events are being sent successfully or not, and if they are being sent at the correct time.
Our Visual Debuggers provide a way to control the events flow in your app, making testing analytics way easier and pleasant in web and mobile products.
Each analytics event sent with Avo will automatically show up in the debugger with timestamp and all the properties.
If Avo detects errors the visual debugger will highlight those.
### Accessing the web debugger
> Currently the web visual debugger is only available when you use [Avo Codegen](https://www.avo.app/docs/implementation/avo-codegen-overview.md).
The debuggers are on by default in development but can be accessed in production:
On web, add the `?avo_debug=1` query parameter to the URL.
Example: `https://example.com/checkout?avo_debug=1`.

### Accessing mobile debuggers
> Mobile debuggers are bundled with Inspector SDK on iOS and Android.
Ask a developer to integrate the debugger into your application and provide a way to toggle it following [this guide](https://www.avo.app/docs/reference/avo-debuggers/mobile.md).
## How it looks
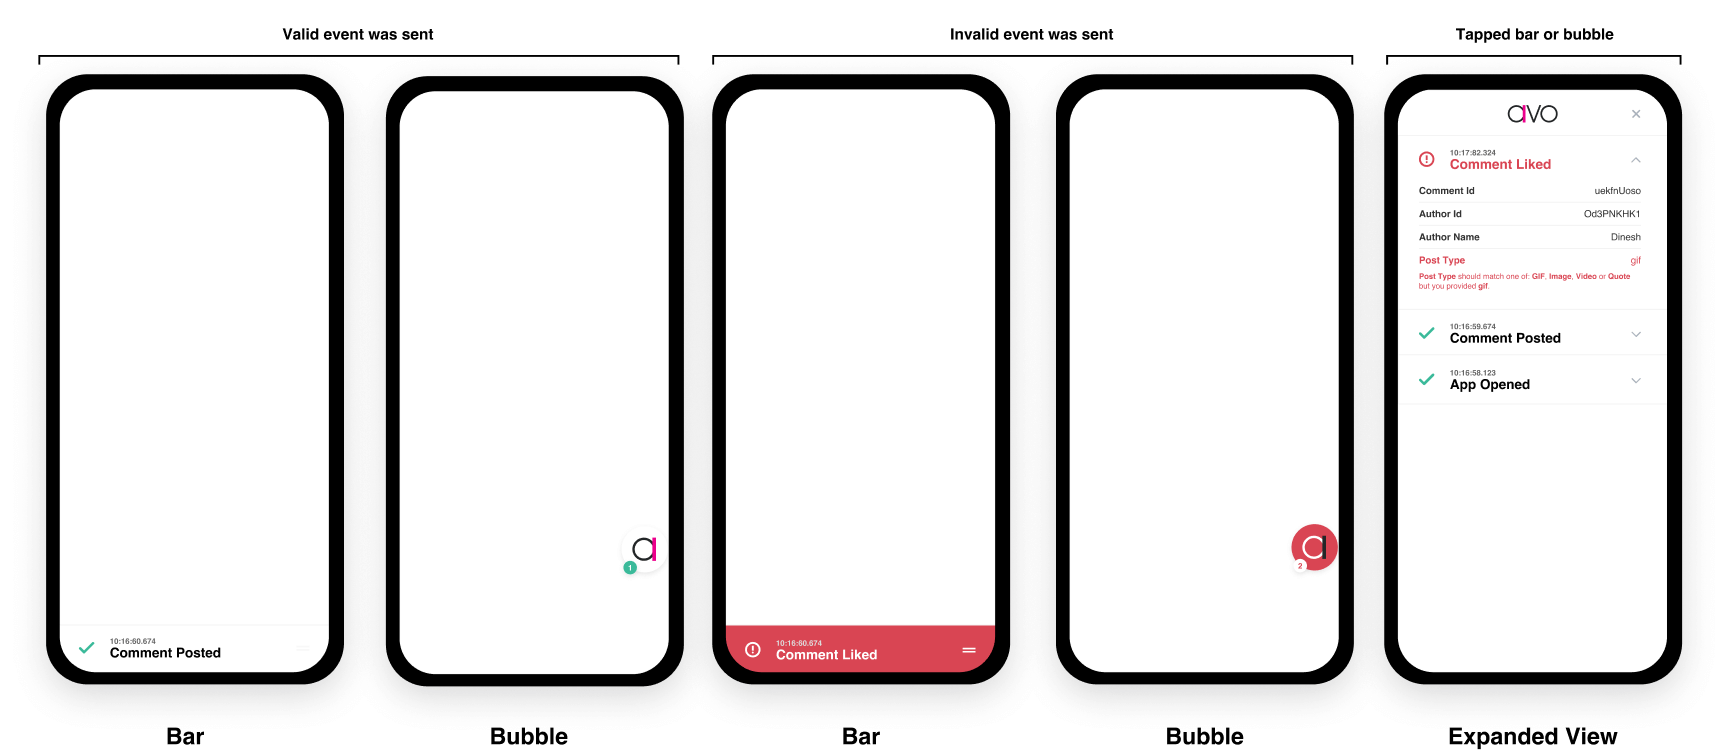
Here is a demonstration of the mobile debugger in a simple music player app.
The debugger have 2 visual presentation modes - **_bubble_** and **_bar_**. Both are draggable, so you can place them at a suitable spot in your app.
You can switch between presentation mods without loosing the data.
Press the debugger to see the list of registered events.
---
Source: https://www.avo.app/docs/workspace-management/members.md
# Members
Expand your Avo team and manage your members access by opening the workspace settings modal from the settings wheel located next to your workspace name:
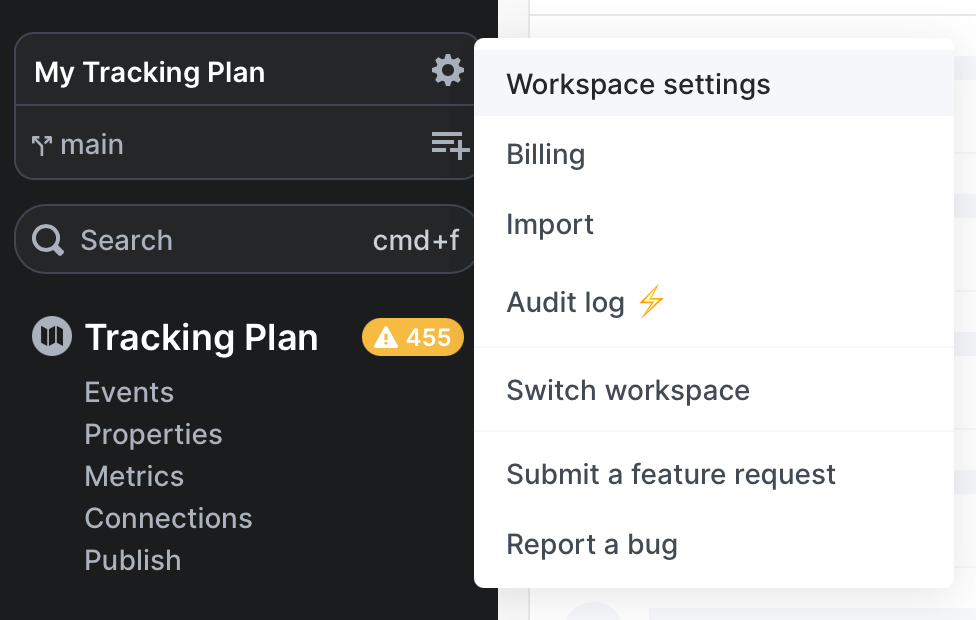
## Roles
Admins can assign roles when inviting new users as well as for existing users, excluding yourself.
Role overview:
| | [Billing](https://www.avo.app/docs/workspace-management/members.md#billing-only) | [Viewer](https://www.avo.app/docs/workspace-management/members.md#viewer) | [Editor](https://www.avo.app/docs/workspace-management/members.md#editor) | [Admin](https://www.avo.app/docs/workspace-management/members.md#admin) |
|----------------------------------------|---------|--------|--------|-------|
| View tracking plan | | ✅ | ✅ | ✅ |
| Pull generated code using the Avo CLI | | ✅* | ✅ | ✅ |
| Comment | | ✅ | ✅ | ✅ |
| Create branches and edit tracking plan | | | ✅ | ✅ |
| Change branch status | | | ✅ | ✅ |
| Edit tracking plan rules | | | ✅ | ✅ |
| View members | | | ✅ | ✅ |
| View workspace settings | | | ✅ | ✅ |
| View service accounts | | | ✅ | ✅ |
| Manage and invite members | | | | ✅ |
| Manage workspace settings | | | | ✅ |
| Manage stakeholder teams | | | | ✅ |
| Manage governance (custom fields and PII types)\*\* | | | | ✅ |
| Manage service accounts | | | | ✅ |
| View and manage billing | ✅ | | | ✅ |
> 💡 \* Viewers can pull code using the CLI on the team and enterprise plans by activating a monthly active implementer seat. On the free plan, only admins and editors can pull code. [See details below](https://www.avo.app/docs/workspace-management/members.md#implementer-access-for-viewers).
>
> \*\* Managing [Governance](https://www.avo.app/docs/data-design/avo-tracking-plan/governance.md) custom fields and PII types is available on the Enterprise plan only.
### Admin
Members with the _Admin_ role can change your workspace name, publish integrations, edit other members roles, invite new members and manage service accounts. Admins can access the Audit Log, Billing page and all workspace settings. If the _protected main branch_ config is active, Admins can override merging a branch without approval. On the Enterprise plan, only Admins can manage [Governance](https://www.avo.app/docs/data-design/avo-tracking-plan/governance.md) custom fields and PII types — all other roles see the Governance page read-only.
### Editor
Members with the _Editor_ role can:
- Make changes to your workspace like adding events and properties, changing property values and opening new branches.
- Pull code generated Avo Codegen using the Avo CLI.
- View other members but can not change their roles or add new ones.
- View service accounts but can not delete them or add new ones.
- Edit the [tracking plan audit rules](https://www.avo.app/docs/audit/rules.md).
- _Not_ change your workspace name.
On the Team and Enterprise plans you can limit editor edits to just branches, requiring peer approval before the changes are merged to main:

### Viewer
Members with the _Viewer_ role can access your workspace and comment, but cannot make any modifications and cannot access workspace settings including the members and settings modal, audit log or billing page. On the team and enterprise plans, viewers can activate a monthly active implementer seat to pull Avo Codegen with the Avo CLI and use the Inspector Debugger (not available on free). Assign the _Viewer_ role to a member when you want to allow them to view your tracking plan but don't want them to be able to make changes. All new plans can add an unlimited amount of _Viewer_ users.
### Billing Only
Members with a _Billing Only_ role can only access the Billing page of the workspace. They can update payment methods and sign up for new subscriptions. Billing users are free of charge.
### Implementer access for Viewers
Editors and Admins have full implementer access (including pulling code with the CLI and using the Inspector Debugger) on all plans: free, team and enterprise.
Viewers on the team and enterprise plans can also get implementer access by activating a monthly active implementer seat. Each viewer who needs to pull code or use the Inspector Debugger must have an active implementer seat, which is charged per monthly active viewer using these features. See the [pricing page](https://www.avo.app/pricing) for more details.
Implementer access is not a role that can be assigned to members on invite. Viewers activate their implementer seat when they first use an implementer feature each month.
Learn more about [codegen and its benefits](https://www.avo.app/docs/implementation/avo-codegen-overview.md).
### Legacy Roles
#### View Only (Legacy)
Members with the _View Only_ role can access your workspace but cannot make any modifications and can not access workspace settings including the members and settings modal, audit log or billing page. Additionally, _View Only_ users don't have access to pull Avo Codegen with the Avo CLI. Assign the _View Only_ role to a member when you want to allow them to view your tracking plan but don't want them to be able to make changes. All new plans can add an unlimited amount of _View Only_ users.
#### Comment Only (Legacy)
Members with a _Comment Only_ role have the same limitations as the _View Only_ role but can comment on events, properties, branches and more. The _Comment Only_ role is available on plans with extended collaboration, [see more](https://www.avo.app/pricing).
## What's next?
Now when you when you have your team in Avo it's time to [learn how to collaborate](https://www.avo.app/docs/data-design/collaboration.md).
---
Source: https://www.avo.app/docs/workspace-management/domains.md
# Managing Stakeholder Teams
Defining stakeholder teams in Avo is a key step toward more organized, scalable data management, especially in larger workspaces with multiple teams.
It enables your entire organization to operate within a single namespace, sharing data structures and working towards more consolidated tracking, while ensuring that the entities of your organization can operate comfortably without stepping on each-others' toes.
By documenting stakeholders and owners on the events in your tracking plan, anyone is able to understand who is relying on which events and who to loop in when changes are made or if an issue comes up.
- [Stakeholder teams](https://www.avo.app/docs/data-design/avo-tracking-plan/stakeholder-domains.md): What are stakeholder teams and how do they work
## Creating a Stakeholder team
To see and manage your stakeholder teams in Avo, navigate to your workspace settings and click to the tab labeled "Stakeholders".
From there you can navigate to a view each stakeholder team in your workspace
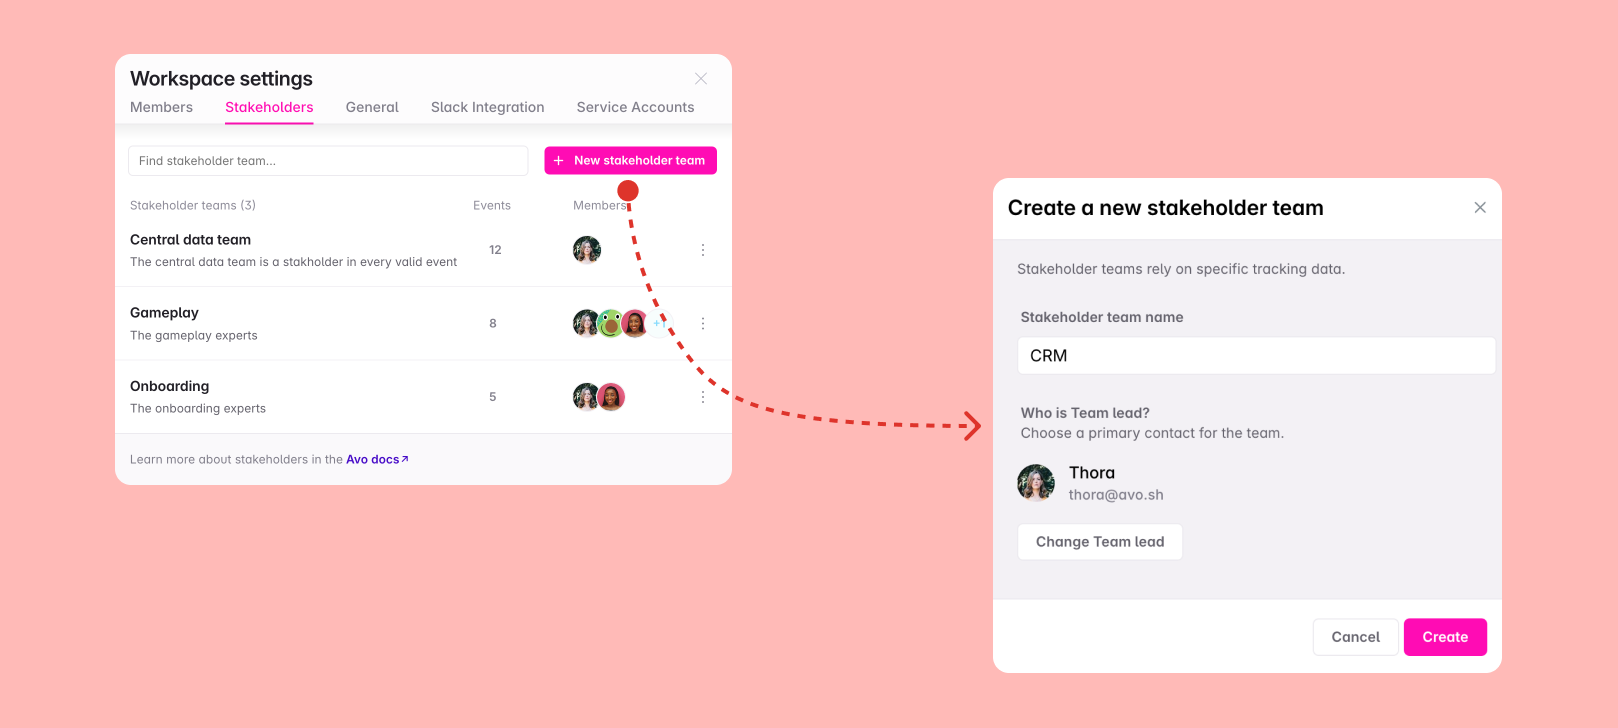
Workspace admins can create new stakeholder teams by clicking on Create Stakeholder.
Give the stakeholder team a name and assign a stakeholder lead.
Click create, and then the stakeholder team has been created.
## Managing stakeholder teams
Once created, the stakeholder lead in addition to workspace admins can start setting up the stakeholder team.
Stakeholder teams are managed in Stakeholder Team details accessible via the Stakeholders tab in workspace settings.
### Stakeholder team settings
Stakeholder teams can be configured with specific review and notification preferences that determine how they are involved when branches contain changes that impact them. These settings control whether teams are automatically added as reviewers and how they receive notifications.
#### Workspace-level stakeholder settings
In the General tab of Workspace Settings, there is a workspace-level setting available for workspaces on the enterprise plan: **"Require approval from owning stakeholders"**.

When this setting is enabled:
- Each stakeholder team that owns tracking plan items (events and event variants) impacted by branch changes will be automatically added as a required reviewer to the branch
- The branch cannot be merged until a member with approval privileges from each impacted owner team has approved the branch
- Individual stakeholder team "As impacted owner" settings are overridden and locked
When this setting is disabled, individual stakeholder teams can configure their own review and notification preferences.
#### Individual stakeholder team settings
When the workspace-level "Require approval from owning stakeholders" setting is disabled, each stakeholder team can configure separate settings for three different scenarios:
- **As impacted owner** - How the team is involved when they own events being modified
- **As impacted stakeholder** - How the team is involved when they are stakeholders (but not owners) of events being modified
- **As stakeholder reviewer** - How the team receives notifications when manually added as a branch reviewer (not automatically impacted)
Options include:
- **Automatically add as required reviewer** - The team will be automatically added as a required reviewer for the branch (only available when stakeholder is impacted)
- **Notify in stakeholder Slack channel** - The team will receive Slack notifications without being required to approve
- **Do nothing** - No automatic action is taken
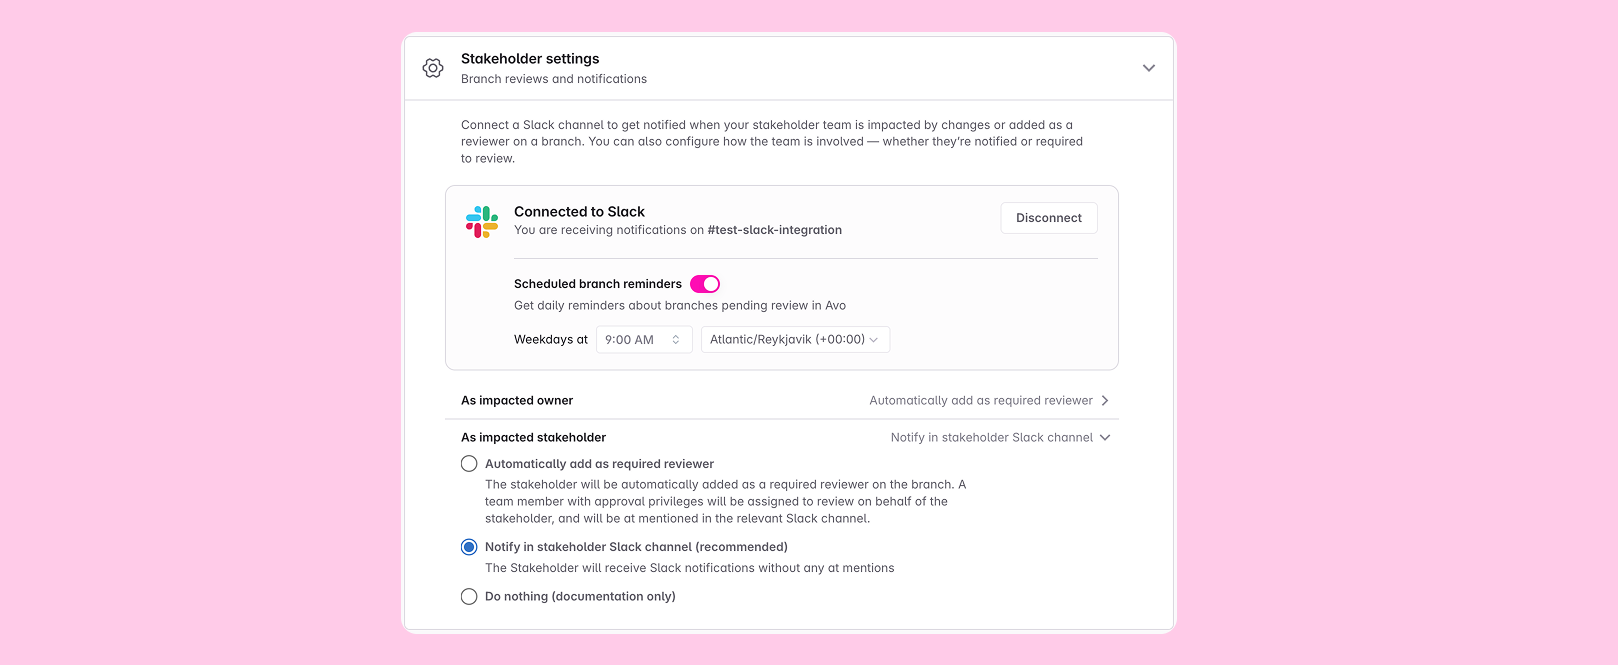
To set up Slack notifications, connect a Slack channel to the stakeholder team through the "Slack notifications" section in stakeholder team settings.
> 💡 When the workspace-level "Require approval from owning stakeholders" setting is enabled, the "As impacted owner" setting is locked and displays a notice that the setting is controlled at the workspace level. The "As impacted stakeholder" and "As stakeholder reviewer" settings can still be configured individually.
#### Defining what changes impact a stakeholder
In addition to the review and notification settings above, you can control **when** a stakeholder team is considered impacted by changes using the **"Only impacted by breaking changes"** setting.
When this setting is enabled, the stakeholder team will only be considered impacted when breaking changes are made to their tracking plan items. This means:
- The team will not receive notifications for non-breaking changes
- The team will not be automatically added as a reviewer for non-breaking changes (if that setting is enabled)
- Only breaking changes will trigger impact detection and the associated review/notification workflows
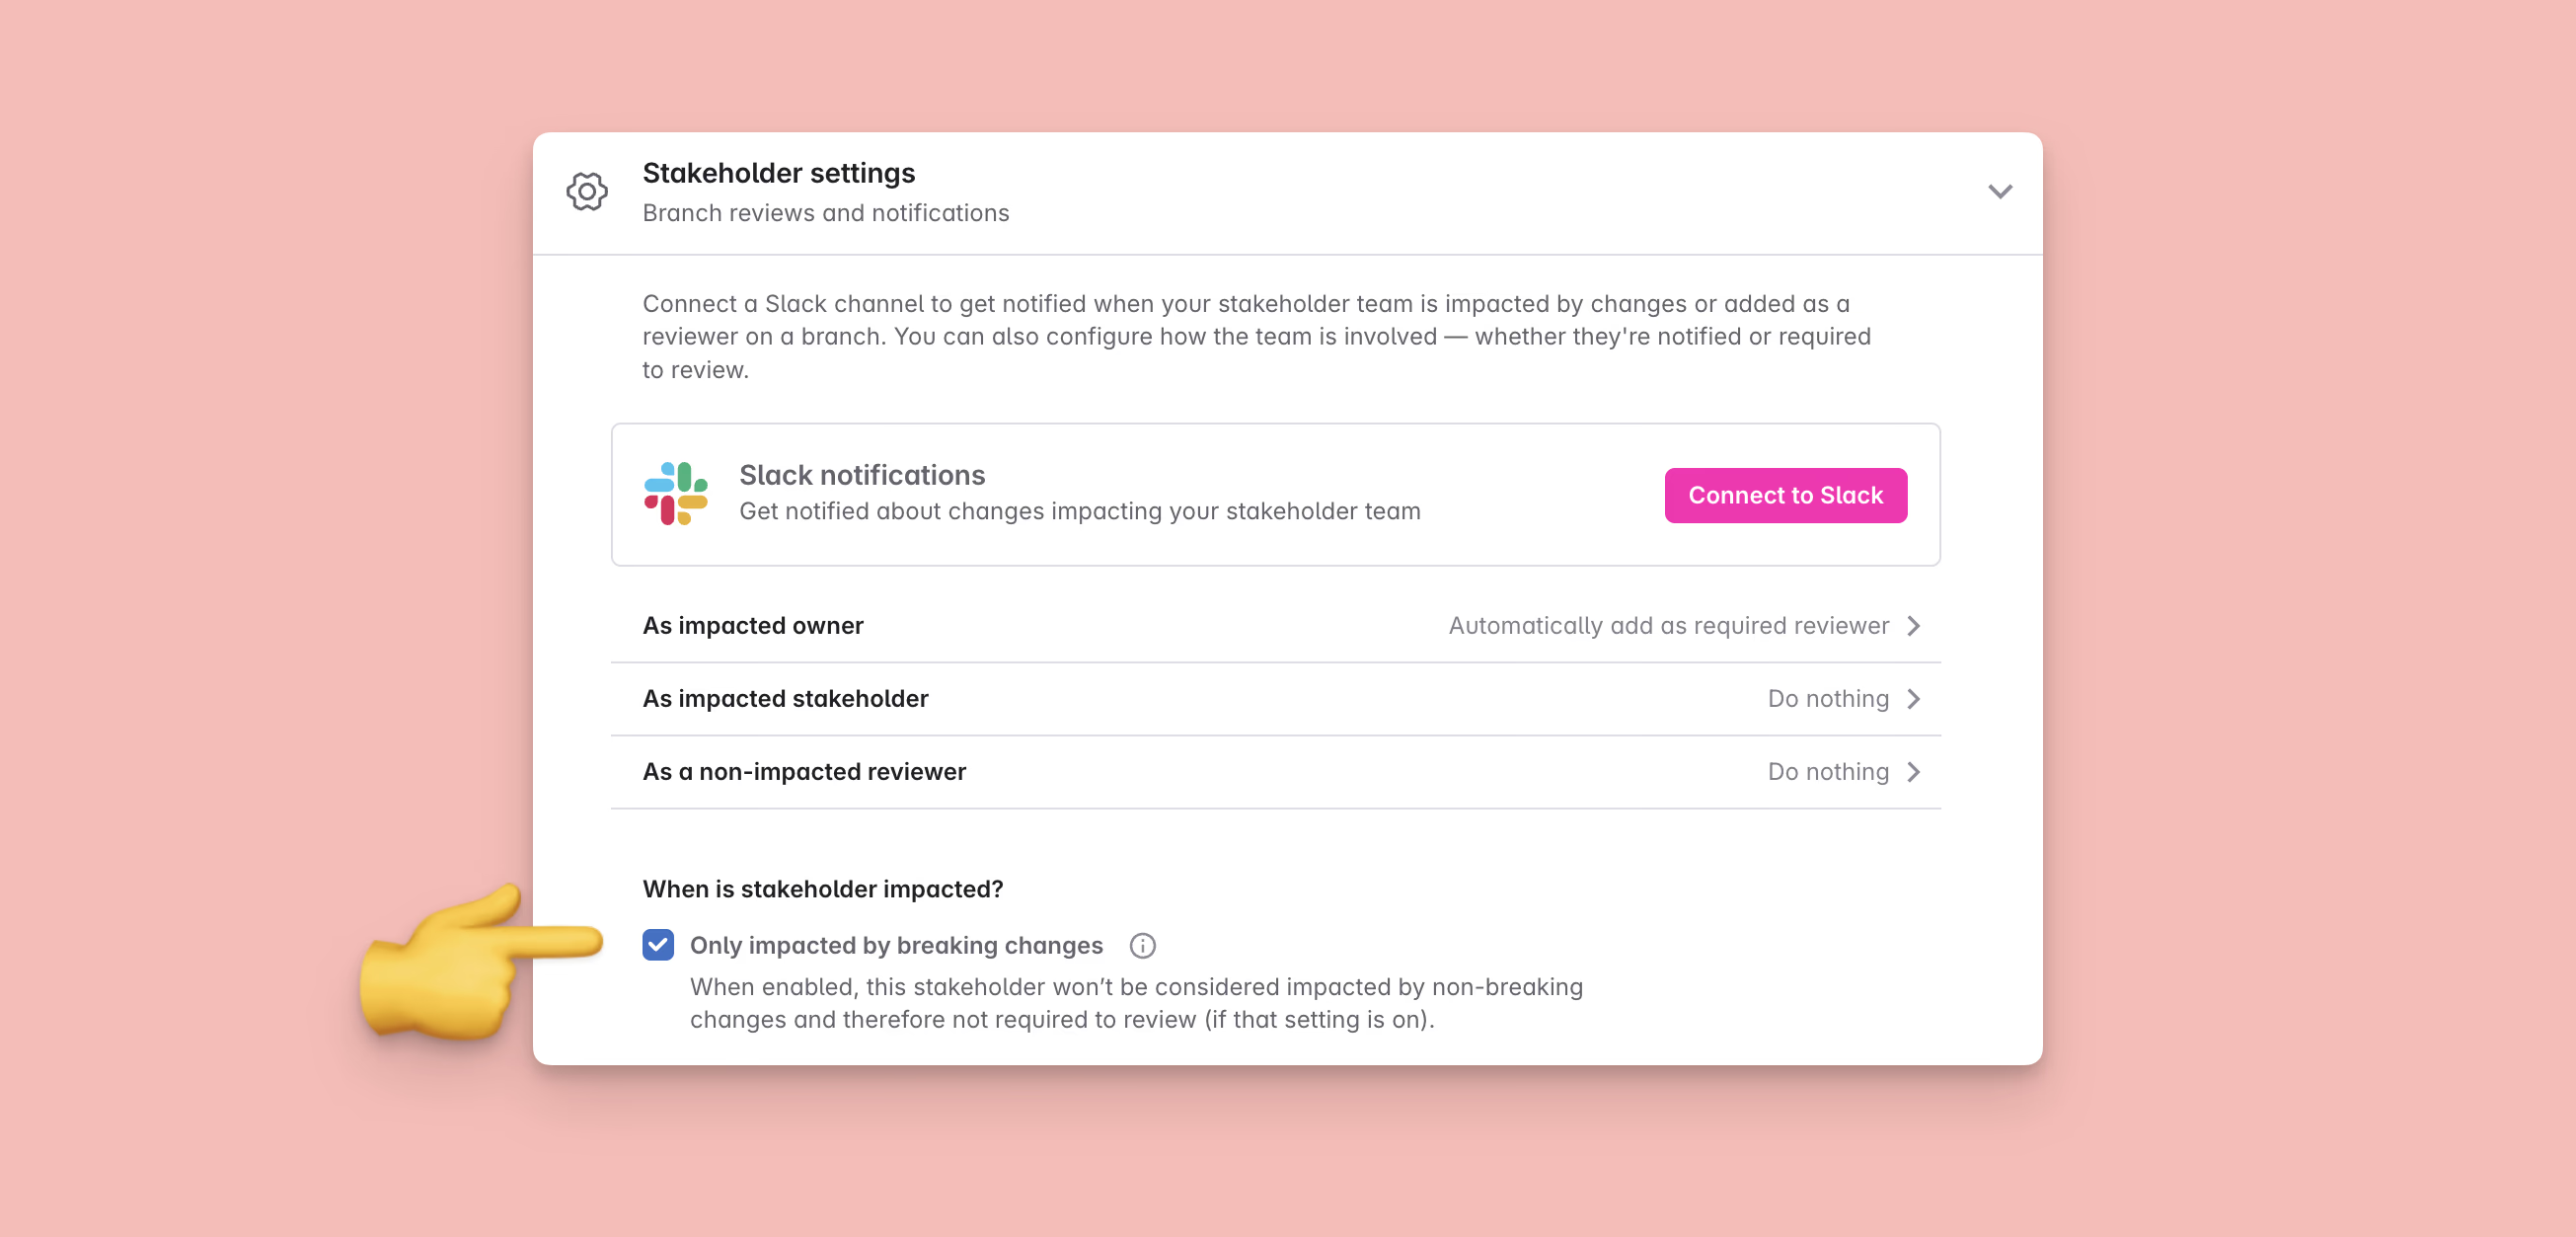
**What is a breaking change?**
A breaking change is any modification that would require developers to update their implementation code. For example, renaming an event, changing a property type, or removing allowed values would all be considered breaking since they require code changes.
In contrast, non-breaking changes are safe, additive modifications that don't affect existing implementations - such as adding optional properties, adding new allowed values, or updating documentation.
This setting is particularly useful for stakeholder teams that want to stay informed about major changes requiring code updates, but don't need to be involved in minor documentation updates or safe additive changes.
> 💡 This setting only affects when a stakeholder is considered impacted. All changes, breaking and non-breaking, are still tracked and documented in the tracking plan.
**Impacted by PII changes**
On the Enterprise plan, you can also mark a stakeholder team as **"Impacted by PII changes"**. When enabled, the team is considered impacted — and, if configured, automatically added as a required reviewer — whenever a branch changes the workspace's PII data flow: a new [PII property](https://www.avo.app/docs/data-design/avo-tracking-plan/governance/tagging-pii.md), a property toggled from Not PII to PII, PII attached to a new event, or a PII event sent from a new source or to a new destination. This is useful for looping a privacy or data-governance team into every change that touches sensitive data.
#### Settings hierarchy
Understanding how stakeholder settings interact:
1. **Workspace settings take precedence** - The workspace-level "Require approval from owning stakeholders" setting overrides all individual stakeholder team configurations
2. **Separate owner vs stakeholder configuration** - Teams can have different behaviors when they own events vs when they are just stakeholders
3. **Slack integration required for notifications** - Notification options only work when Slack is properly connected to the stakeholder team
#### Configuration examples
**Central data team oversight:**
- As impacted stakeholder: "Automatically add as required reviewer"
- As impacted owner: "Automatically add as required reviewer"
- Result: Central data team reviews all changes to events they care about, whether they own them or not
**Product team ownership:**
- As impacted owner: "Automatically add as required reviewer"
- As impacted stakeholder: "Notify in stakeholder Slack channel"
- Result: Product team must approve changes to their owned events, but just gets notified about other events they're stakeholders in
**Documentation-only stakeholder:**
- As impacted owner: "Automatically add as required reviewer"
- As impacted stakeholder: "Do nothing"
- Result: Team only gets involved when they own events, stakeholder relationships are for documentation only
### Adding stakeholder team members
Under the "Team" section, click "Manage" which will open a modal where you can search for members in your workspace and add them to the stakeholder team.
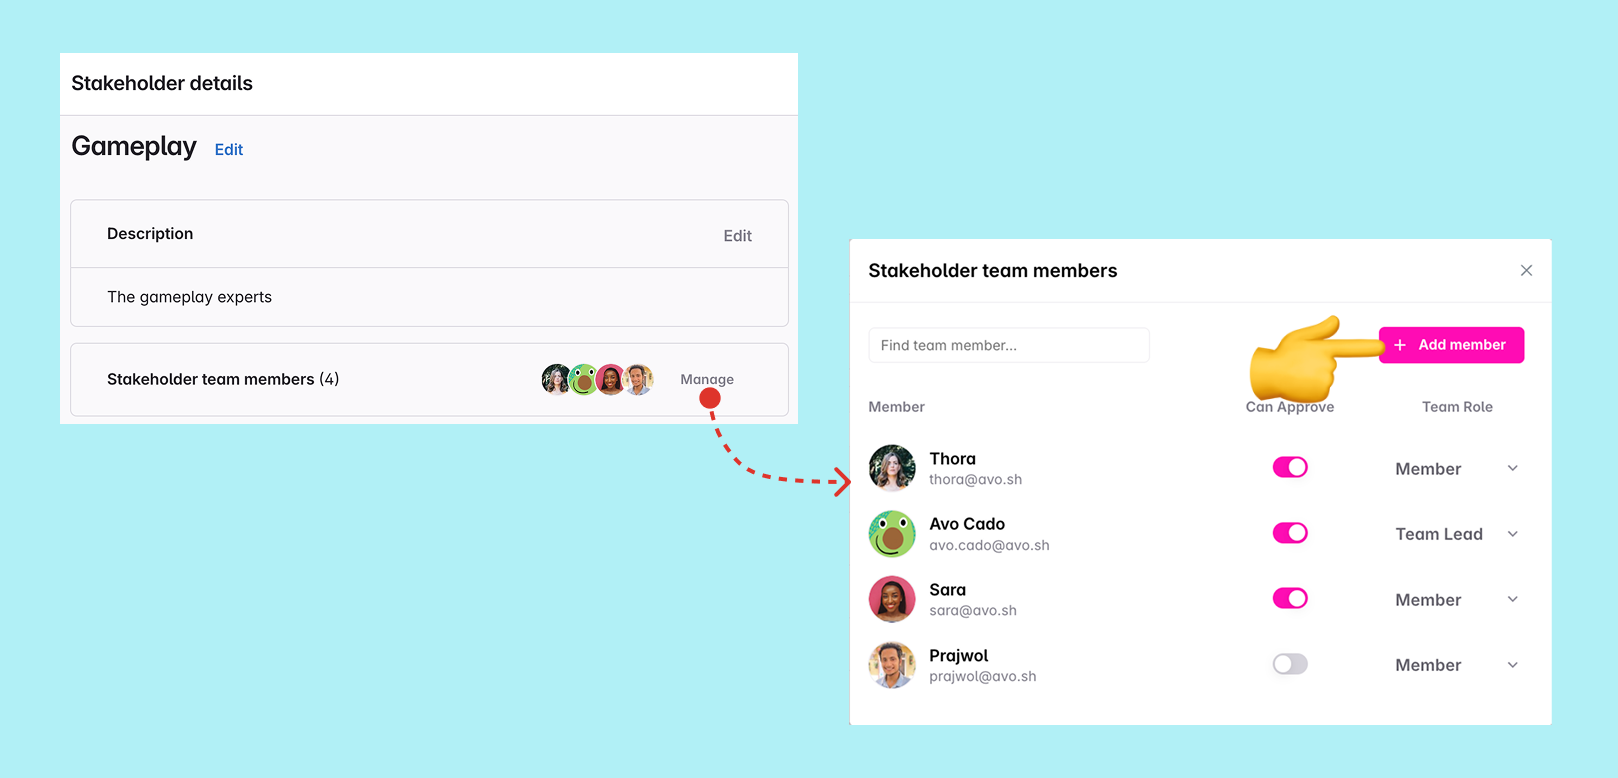
### Adding stakeholder items
Tracking plan items can be added to stakeholder teams from the stakeholder details and item details pages.
**Stakeholder details**
The stakeholder details page organizes items into two tabs:
- **Events tab** - Shows events and event variants assigned to the stakeholder team
- **Properties tab** - Shows individual properties assigned to the stakeholder team

1. Navigate to the appropriate tab (Events or Properties) based on what you want to add
2. Click "+ Add" in the stakeholder item header
3. Select the items from your tracking plan where you want to assign the stakeholder team as a stakeholder:
- **Events tab**: Choose entire events (which includes all their variants and properties) or specific event variants
- **Properties tab**: Choose individual event, user, system or group properties
You can filter events and event variants by category or tag and all items by name, to make it easier to find relevant items.
4. Click "Add" to finish adding the selected items to your stakeholder team
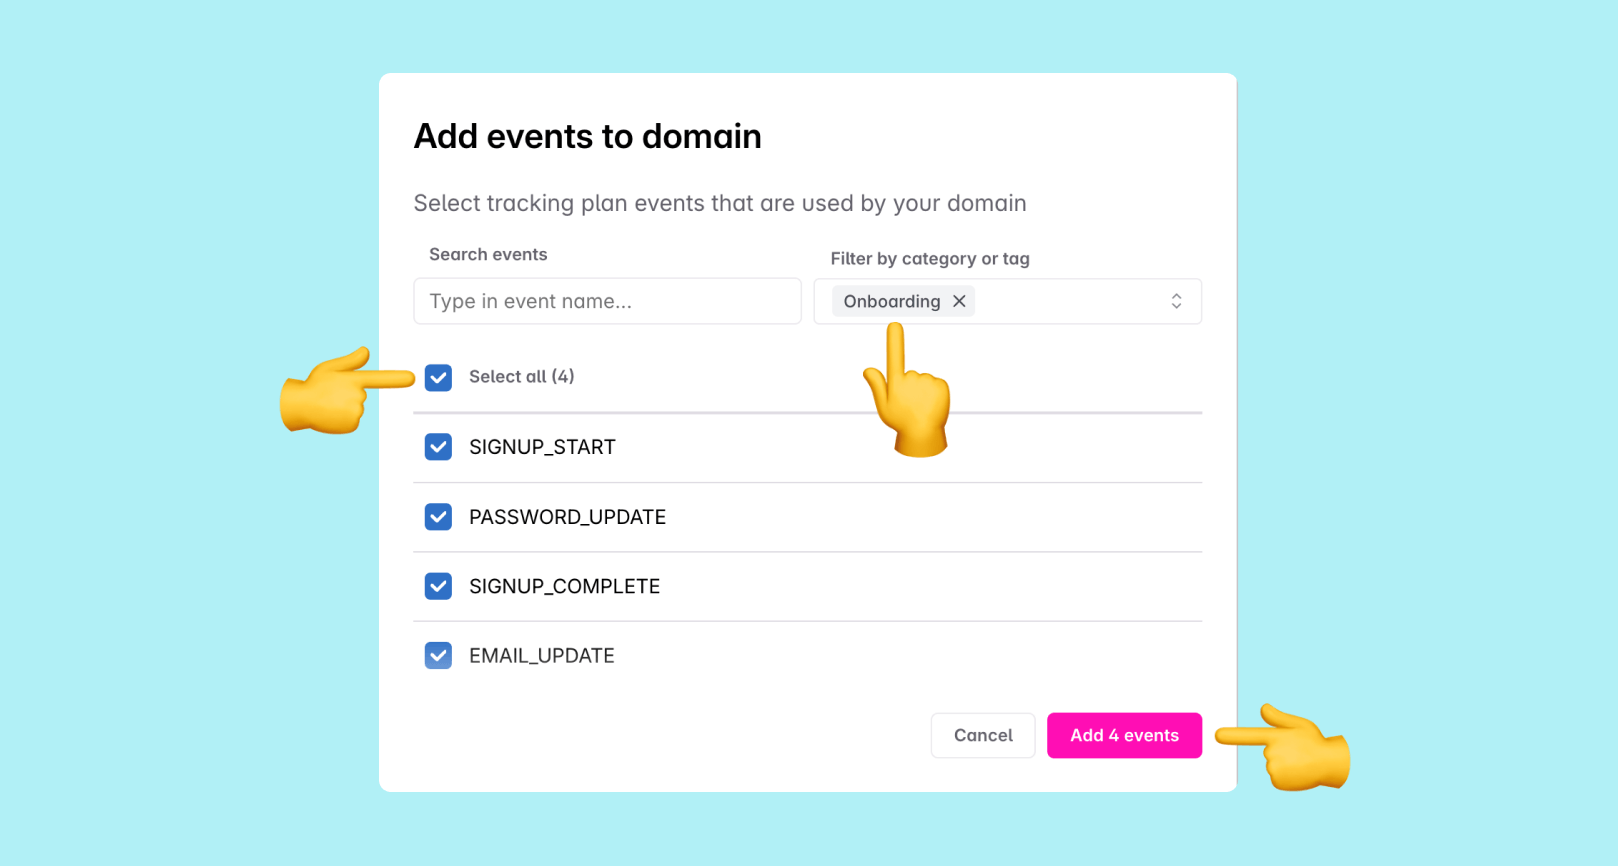
**Item details**
1. Go to the event, event variant, or property and scroll to the **Stakeholders** section in the item details.
2. Click **Add Stakeholder**.
3. Select the team you want to assign.
### Setting item ownership
Stakeholder teams can claim ownership of tracking plan items attached to their team from the stakeholder details and item details pages.
When there is already an owner, a workspace admin or someone from the owner team needs to first remove ownership, before another team can claim ownership.
**Stakeholder details**
1. Navigate to the appropriate tab (Events or Properties)
2. In the stakeholder item list, click "Claim ownership" on the item you wish to own
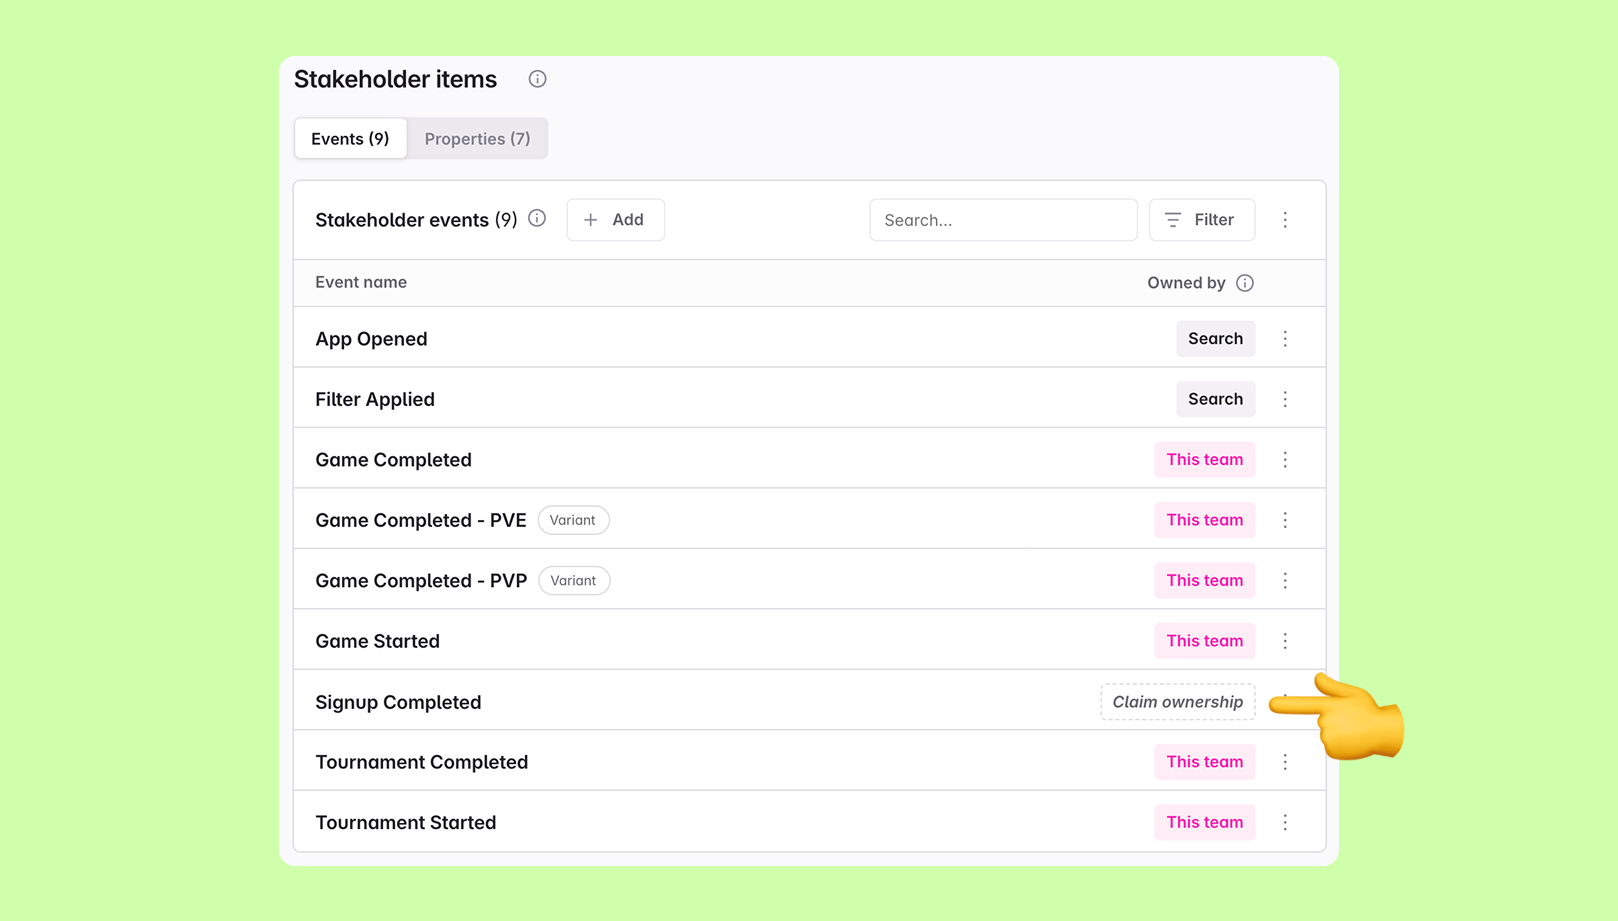
**Item details**
In the **Stakeholders** section, click the Stakeholder Name you'd like to own this item and click "Assign as owner".
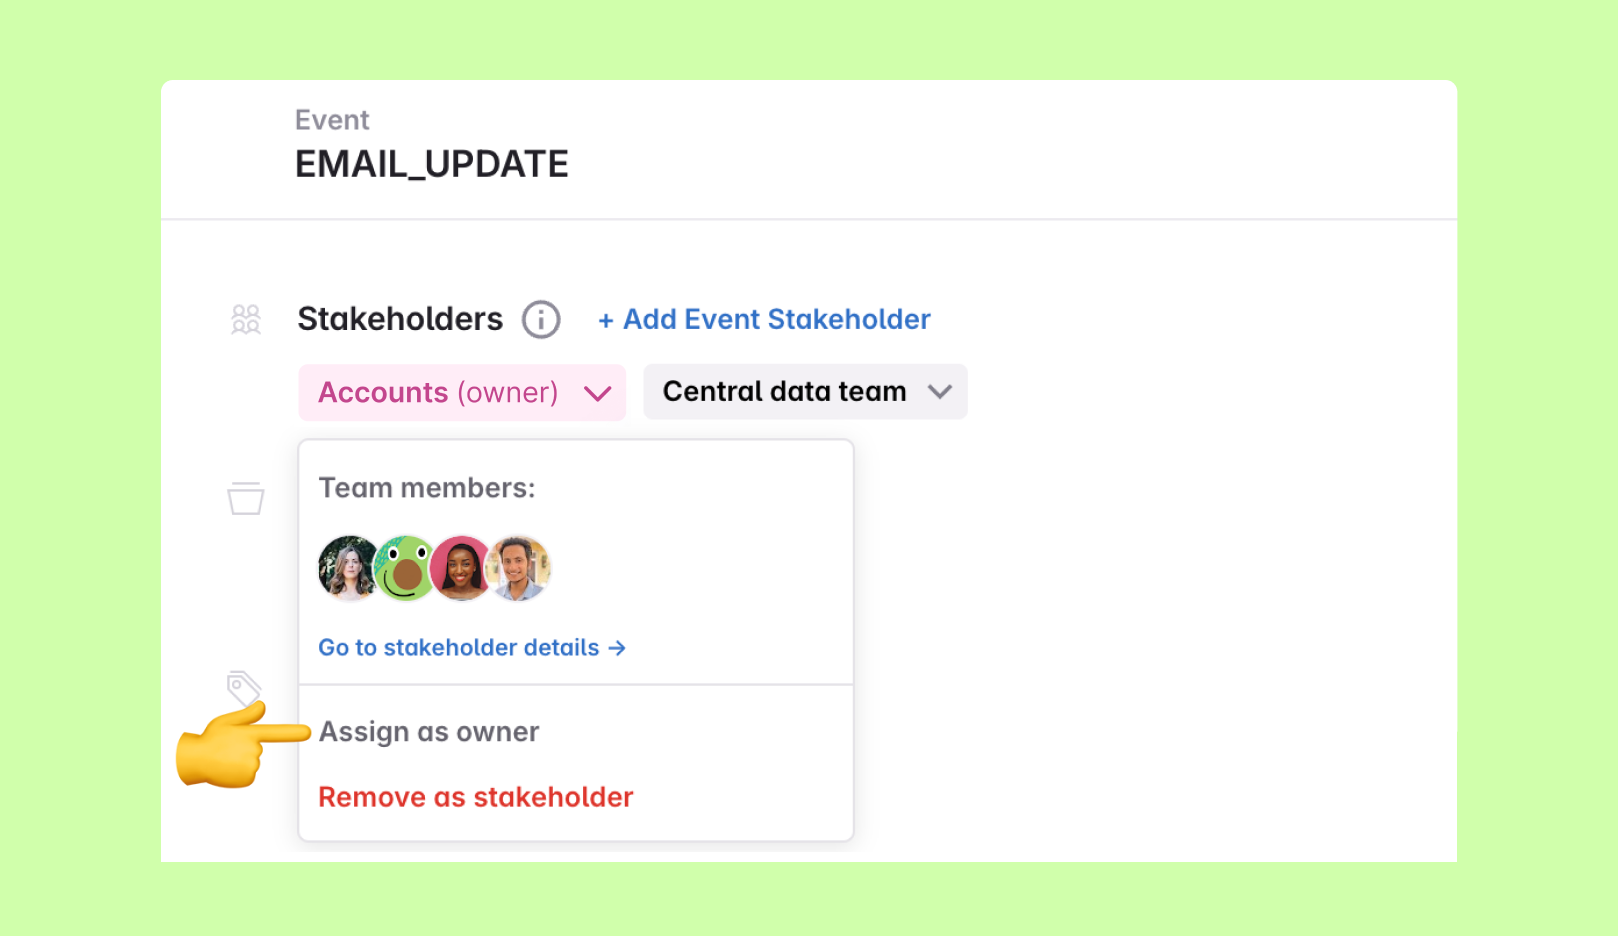
> ⚖️ **Governance Integration**: Event ownership integrates with Avo's [audit system](https://www.avo.app/docs/audit/rules.md#all-events-have-owners). You can configure audit rules to require owners for all events (Enterprise plan), helping ensure accountability before events are implemented. This is especially useful for maintaining data governance standards as your tracking plan grows.
### Who can create and manage stakeholder teams
Workspace admins alone can create stakeholder teams and assign stakeholder leads. They can also manage any stakeholder team.
Stakeholder leads can assign the "Can approve" privilege to stakeholder team members.
Any stakeholder team member can add members and items to their own stakeholder team.
| | Stakeholder members | Stakeholder leads | Workspace admins |
| ------------------------------------ | ------------------ | ----------------- | ---------------- |
| Create stakeholder teams | | | ✅ |
| Assign stakeholder leads | | | ✅ |
| Add members to any stakeholder team | | | ✅ |
| Add items to any stakeholder team | | | ✅ |
| Assign "Can approve" privilege | | ✅ | ✅ |
| Add members to own stakeholder teams | ✅ | ✅ | ✅ |
| Add item to own stakeholder teams | ✅ | ✅ | ✅ |
## Filtering by stakeholders and owners
Once you've set up stakeholder teams and assigned ownership, you can use Avo's filtering capabilities to focus on relevant items:
- **[Events filtering](https://www.avo.app/docs/data-design/avo-tracking-plan/events.md#filtering-and-organizing-events)**: Filter events by stakeholders and owners to see events relevant to specific teams
- **[Branch filtering](https://www.avo.app/docs/data-design/branches.md#filtering-branches)**: Filter branches by impacted stakeholders and owners to see branches affecting specific teams
These filtering capabilities help teams focus on events and branches relevant to their domain, making it easier to manage responsibilities in large workspaces.
## What's next?
- [Approval workflows](https://www.avo.app/docs/data-design/branches/approval-workflows.md) - Learn how stakeholder settings integrate with branch approval workflows
- [Stakeholder teams overview](https://www.avo.app/docs/data-design/avo-tracking-plan/stakeholder-domains.md) - Understanding stakeholder teams and how they work
- [Impacted Stakeholders](https://www.avo.app/docs/data-design/guides/managing-changes-impacting-multiple-stakeholders.md) - Managing changes impacting multiple stakeholders
---
Source: https://www.avo.app/docs/workspace-management/authentication.md
# Authentication Methods
You can configure your workspace with three different authentication methods:
- [Email/Password + Google Login](#emailpassword--google-login)
- [Google SSO](#google-sso)
- [SAML SSO](#saml-sso)
You can configure the authentication method in the workspace settings modal. Note that for setting up SSO you will need to reach out to us for configuration details.
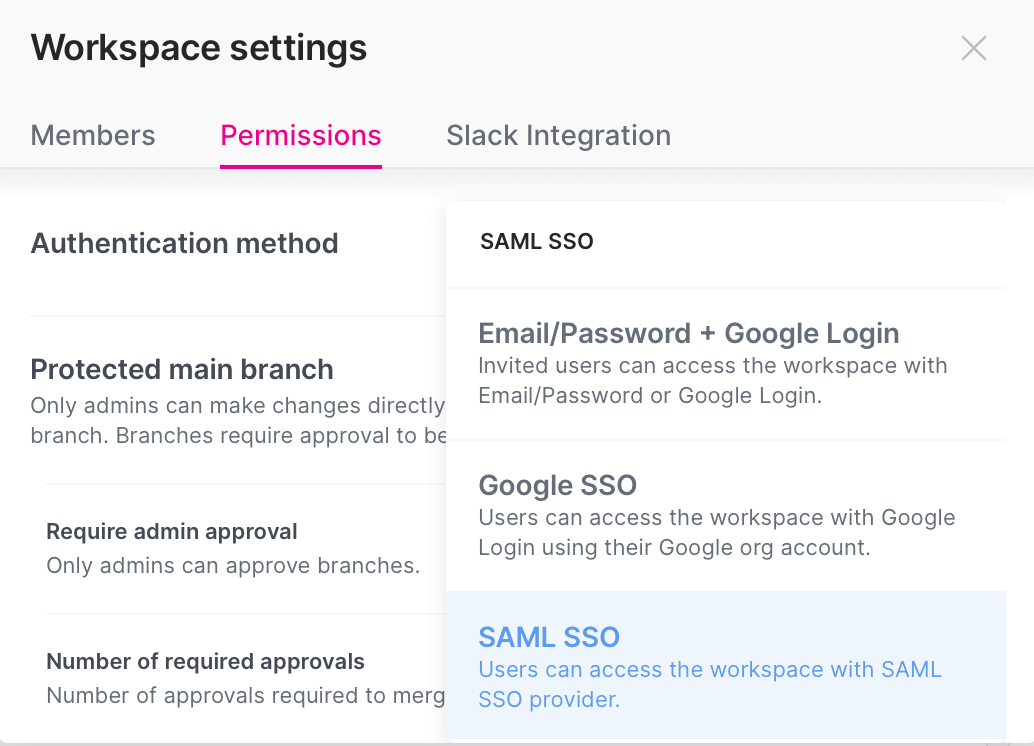
### Email/Password + Google Login
The default authentication method for all workspaces. This method allows users to log in with an email and password or a Google account.
### Google SSO
Allows anyone with your company domain Google account to log in to your workspace. You can set the default role for users logging in with this method (View Only, Comment Only, Editors or Admins).
### SAML SSO
SAML SSO is a standard for authenticating users with a SAML service provider. This method allows you to set up SAML SSO for your Avo workspace, and connect it to your own SAML service provider. Example of SAML service providers are Okta, Active Directory, JumpCloud and Google.
To enable SAML SSO for your Avo workspace, [reach out](https://www.avo.app/docs/help/troubleshooting.md) to us.
> Currently Avo supports service provider–initiated sign-on, e. g. when the
> users type their SSO email on Avo and then they are redirected to the
> company's SSO page. Avo currently does not support IdP-initiated sign-on.
#### SAML SSO Configuration
Create a new SAML SSO app in your SAML service provider. We will ask you for the following details from the SAML service provider:
- Entity ID
- SSO URL
- Certificate
Add the following details to the Avo SAML configuration in your service provider:
- Authorization callback URL (ACS URL): `https://www.avo.app/__/auth/handler`
- Entity ID: `avo.app`
To learn more, here are resources from common SAML providers on how to configure a SAML SSO app:
- Okta: [Add an Okta SAML application](https://help.okta.com/oag/en-us/Content/Topics/Access-Gateway/add-app-saml-pass-thru-add-okta.htm)
- Google: [Set up your own custom SAML application](https://support.google.com/a/answer/6087519?hl=en)
- Active Directory: [Add an enterprise application](https://docs.microsoft.com/en-us/azure/active-directory/manage-apps/add-application-portal)
---
Source: https://www.avo.app/docs/reference/avo-codegen/programming-languages.md
# Programming Languages
### Code generated functions based on your tracking plan
The generated code gives you access to functions, each function representing an event, user identification, user properties update, page view, revenue or mix of those as they are defined in your tracking plan.
We call those functions Avo Codegen.
> 💡 Editors and admins can pull generated code on all plans: free, team and enterprise. Additionally, viewers can pull generated code on the team and enterprise plans. Learn more [here](https://www.avo.app/docs/workspace-management/members.md#codegen-access-for-non-editors).
You invoke Avo Codegen, provide tracking parameters and
- Avo verifies that your tracking is correct according to the defined tracking plan. It verifies that all required properties are provided, correctly spelled and their value fit what's expected by your tracking plan. Preventing the time consuming back-and-forth required to align on what to track and how, and to verify the tracking is correctly implemented.
- Avo also tracks your functions usage in development and reports if a call of particular function was seen or not, both in your CI with the Avo CLI and in your Tracking Plan on avo.app.
- Eventually Avo sends the data to the destinations it manages and calls the callbacks (called custom destinations) you provided when initializing.
> It's useful to get the overview of the tracking implementation when working on new tracking.
> You can also get more insights into dev implementation and actual production state of your tracking with [Inspector implementation status](https://www.avo.app/docs/data-design/avo-tracking-plan/implementation-status.md#inspector-implementation-status)
### Handling tracking plan changes
When tracking plan changes, you generate the file again and swap the old file with the new one. Avo manages the merge conflicts inside the file.
Then, if the existing events changed, you'll have to update your Avo Codegen calls according to the new tracking plan to pass the runtime checks in the Avo file.
You'll also get access to the new events defined in your tracking plan after the previous generated code update.
## Supported Programming Languages
Avo supports multiple languages and platforms:
- [JavaScript (Browser, Node.js, React Native)](https://www.avo.app/docs/reference/avo-codegen/programming-languages/javascript.md)
- [TypeScript (Browser, Node.js, React Native)](https://www.avo.app/docs/reference/avo-codegen/programming-languages/typescript.md)
- [ReasonML (Browser, Node.js, React Native)](https://www.avo.app/docs/reference/avo-codegen/programming-languages/reasonml.md)
- [Rescript (Browser, Node.js, React Native)](https://www.avo.app/docs/reference/avo-codegen/programming-languages/rescript.md)
- [Kotlin (Android)](https://www.avo.app/docs/reference/avo-codegen/programming-languages/kotlin.md)
- [Java (Android, Server)](https://www.avo.app/docs/reference/avo-codegen/programming-languages/java.md)
- [Swift (iOS, macOS)](https://www.avo.app/docs/reference/avo-codegen/programming-languages/swift.md)
- [Objective-C (iOS)](https://www.avo.app/docs/reference/avo-codegen/programming-languages/objc.md)
- [Python](https://www.avo.app/docs/reference/avo-codegen/programming-languages/python.md)
- [Ruby](https://www.avo.app/docs/reference/avo-codegen/programming-languages/ruby.md)
- [C# (Unity, .NET)](https://www.avo.app/docs/reference/avo-codegen/programming-languages/csharp.md)
- [PHP](https://www.avo.app/docs/reference/avo-codegen/programming-languages/php.md)
Each platform/language combination supports a set of event destinations. We often add support for new destinations, and Avo also allows you to send to custom destinations.
For an overview or implementation details please see the [docs for Analytics Tools](https://www.avo.app/docs/data-design/analytics.md).
For Kotlin, Swift, and TypeScript sources, Avo can also emit code in a "library" shape that splits the runtime from per-source types. See [Library codegen](https://www.avo.app/docs/reference/avo-codegen/library-codegen.md) for the file layout and migration steps.
## Upcoming Programming Languages
We've been looking into adding Codegen support for the following languages:
- Go
- Dart (Flutter)
- C# (Xamarin)
- C++
- Clojure
- Scala
- Kotlin (Server)
Even if your favorite language isn’t currently listed it might be on our radar. In any
case, please [contact us](https://www.avo.app/docs/help/troubleshooting.md) to inquire
or let us know what you’re looking for.
---
Source: https://www.avo.app/docs/reference/avo-codegen/programming-languages/csharp.md
# Avo Codegen in C#
### Platforms
Avo can code generate Avo Codegen in C# targeted at the following platforms
- .NET Server
- Unity
#### Step 1. Include the Avo file
##### Pull the generated code with the Avo CLI
To get the Avo generated C# file you must be a member of an Avo workspace with a C# source. Ask for an invite from a colleague or create a [new workspace](https://www.avo.app/onboarding)
```bash npm2yarn
npm install -g avo
avo login
avo pull --branch my-branch-name
```
Learn more about [the CLI here](https://www.avo.app/docs/implementation/cli.md).
You can also [download the file manually](https://www.avo.app/docs/implementation/guides/download-or-copy-avo-file-manually.md) from your Avo workspace.
#### Step 2. Initialize Avo
Initialize Avo by creating an object using constructor from the generated Avo file
```csharp
using Avo;
Avo.Avo avo = new Avo.Avo(Avo.AvoEnv.Dev/*, other parameters depending on your tracking plan setup*/);
```
The actual parameters depend on your tracking plan setup, see the parameters explanation in [the reference below](https://www.avo.app/docs/reference/avo-codegen/programming-languages/csharp.md#constructor).
#### Step 3. Call Avo Codegen to track your product usage
Every event in your tracking plan, marked with the "Implement with Codegen" checkbox, gets a function in the generated code, named according to the event name, in PascalCase.
[//]: # 'TODO Future: Add link here to the "Implement with Codegen" doc in "Tracking Plan Management"'
For example, if you have a "Signup Start" event defined like this in Avo:
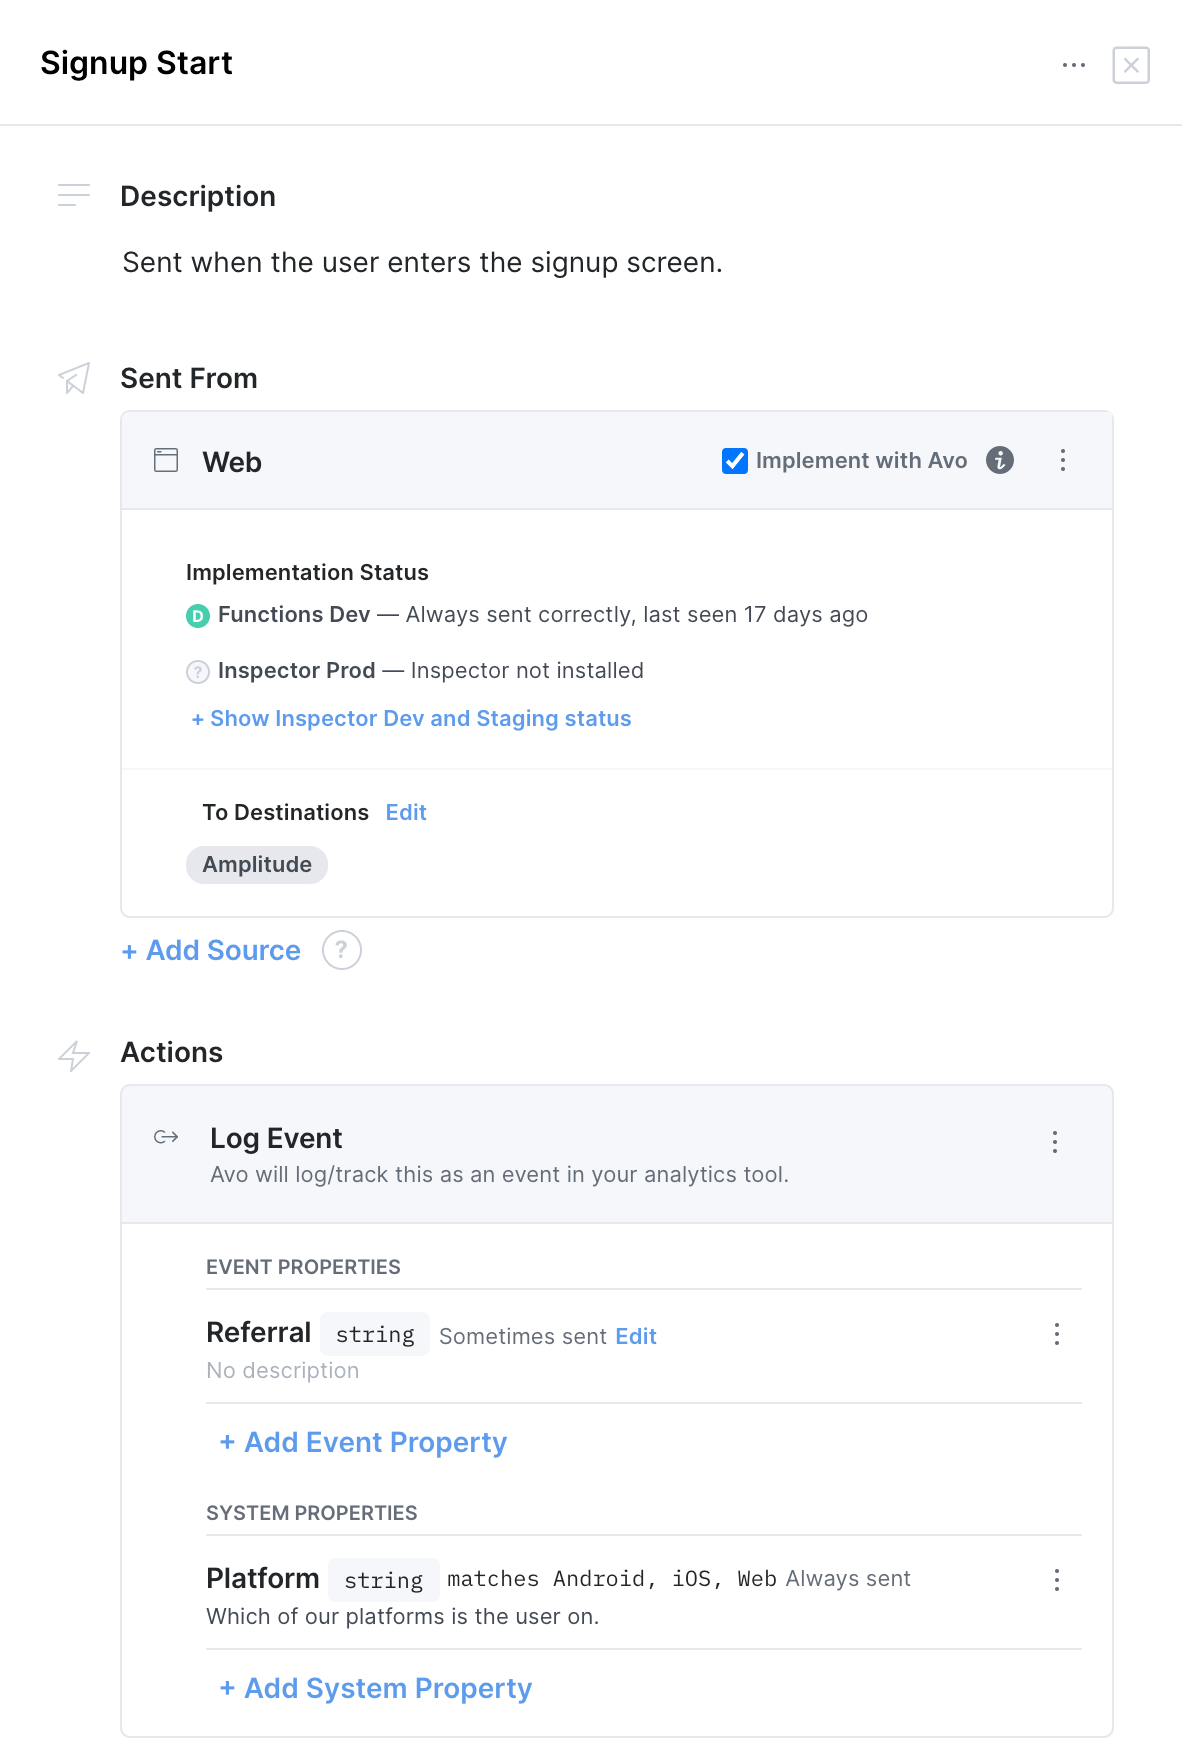
You'll be able to call it like this from the generated code
```csharp
avo.SignupStart(referral = "direct")
```
> Notice, that you are not passing the System property with the call. System properties are defined on the init step and then automatically included with all events.
> You can update the system properties with `setSystemProperties` function.
#### Step 4. Verify the implementation
Use the [Implementation status](https://www.avo.app/docs/data-design/avo-tracking-plan/implementation-status.md) in your Avo workspace to verify that your implementation is correct.
### Reference
#### Constructor
```csharp
public Avo(AvoEnv env,
// Other parameters may not be present, depending on your tracking plan
int systemProperty0, bool systemProperty1,
IDestination mixpanelDestination,
IDestination segmentDestination,
IDestination otherDestination,
bool strict = true
)
```
Creates the Avo object that will be used to track.
This method will call the `Make(env, apiKey)` callback in all the provided [destination interfaces](https://www.avo.app/docs/reference/avo-codegen/destinations.md#destination-interface-callback-methods). It will also initialize the analytics SDKs of the legacy [Avo Managed destinations](https://www.avo.app/docs/reference/avo-codegen/destinations.md#avo-managed-destination-legacy).
##### Arguments
`AvoEnv env`: Can be set to dev, prod and staging.
`systemProperties`: a number of parameters equal to the number of system properties defined in your Avo workspace.
The parameters are named the same as system properties, in camelCase, and require corresponding types: string, int, long, float, bool and list.
`IDestination destination`: object, each destination you are sending events to gets a separate parameter in the init function with hooks that the Avo generated code will trigger, unless you are using the legacy Avo managed destinations. Each method in the destination interface is directly mapped to the Actions attached to each event in Avo. [Learn more about event Actions in this doc](https://www.avo.app/docs/data-design/avo-tracking-plan/events.md#actions).
```csharp
interface IDestination {
void Make(AvoEnv env, string apiKey); // This method is optional in C# 8+, you can skip it if you've already initialized your Analytics SDK
Task LogEvent(string eventName, IDictionary eventProperties);
Task SetUserProperties(string userId, IDictionary userProperties);
Task LogPage(string userId, string pageName, IDictionary eventProperties);
Task Revenue(string userId, double amount, IDictionary eventProperties);
// The following methods are used for group analytics and are not required. Learn, more about group analytics here: /docs/data-design/groups
Task AddCurrentUserToGroup(string anonymousId, string userId, string groupType, string groupId, IDictionary groupProperties) {return Task.CompletedTask;}
Task SetGroupProperties(string anonymousId, string userId, string groupType, string groupId, IDictionary groupProperties) {return Task.CompletedTask;}
Task LogEventWithGroups(string anonymousId, string userId, string eventName, IDictionary eventProperties, IDictionary groupTypesToGroupIds) {return Task.CompletedTask;}
// Unity specific methods
void Identify(string userId);
void Unidentify();
}
```
If you are using `.NET` source each callback gets an additional first parameter - `userId` and, optionally, a `anonymousId` parameter. To add the optional `anonymousId` parameter to the callbacks in your workspace [reach out to us](https://www.avo.app/docs/help/troubleshooting.md).
`strict: Boolean`: bool, if true, Avo will throw an exception when it detects a tracking problem in development or staging. Note that the strict flag is ignored in production.
#### Destination interface example
```csharp
// Example: Destination interface for the Mixpanel SDK. Replace the Mixpanel implementation with your own tracking SDK methods
public class CustomDestination : IDestination{
// Make method is optional, you can skip it if you've already initialized your Analytics SDK
public void Make(AvoEnv env, string apiKey) {
_client = new MixpanelClient(apiKey);
}
public async Task LogEvent(string userId, string eventName, IDictionary eventProperties) {
return await _client!.TrackAsync(eventName, userId, eventProperties);
}
public async Task SetUserProperties(string userId, IDictionary userProperties) {
return await _client!.PeopleSetAsync(userId, userProperties);
}
public async Task LogPage(string userId, string pageName, IDictionary eventProperties) {
// Note: In this example Mixpanel does not provide a native method for page or screen tracking, so we send an event instead. Other SDKs may have a dedicated page tracking method.
eventProperties["pageName"] = pageName;
return await _client!.TrackAsync("Page Visited", userId, eventProperties);
}
public async Task Revenue(string userId, double amount, IDictionary eventProperties) {
eventProperties["amount"] = amount;
return await _client!.TrackAsync("Purchase Completed", userId, eventProperties);
}
// The following methods are used for group analytics and are not required. Learn, more about group analytics here: /docs/data-design/groups
public async Task AddCurrentUserToGroup(string userId, string groupType, string groupId, IDictionary groupProperties) {
// Conceptual code, Mixpanel C# library does not support group analytics yet
await _client!.SetGroup(groupType, groupId);
return await _client!.GetGroup(groupType, groupId).Set(groupProperties);
}
Task SetGroupProperties(string userId, string groupType, string groupId, IDictionary groupProperties) {
return await _client!.GetGroup(groupType, groupId).Set(groupProperties);
}
Task LogEventWithGroups(string userId, string eventName, IDictionary eventProperties, IDictionary groupTypesToGroupIds) {
return await _client!.TrackWithGroups(eventName, eventProperties, groupTypesToGroupIds);;
}
}
```
In `Unity` all the method are synchronous `void` type and there are 2 additional methods:
```csharp
// Initialize before use in the Unity UI https://developer.mixpanel.com/docs/unity-quickstart#2-initialize-mixpanel
public void LogEvent(string eventName, IDictionary eventProperties){
var props = new Value();
foreach (string key in eventProperties.Keys)
{
object value = eventProperties[key];
if (value is string)
{
props[key] = value as string;
}
else if (value is int)
{
props[key] = value as int?;
}
else if (value is double)
{
props[key] = value as double?;
}
else if (value is bool)
{
props[key] = value as bool?;
}
}
Mixpanel.Track(eventName, props);
}
public void LogPage(string pageName, IDictionary eventProperties){
// Note: In this example Mixpanel does not provide a native method for page or screen tracking, you can send a custom event like in the LogEvent() method here instead. Other SDKs may have a dedicated page tracking method.
}
public void Revenue(double amount, IDictionary eventProperties){
// Note: In this example Mixpanel does not provide a native method for revenue tracking, you can send a custom event like in the LogEvent() method here instead. Other SDKs may have a dedicated page tracking method.
}
public void SetUserProperties(string userId, IDictionary userProperties){
foreach (string key in userProperties.Keys)
{
object value = userProperties[key];
if (value is string)
{
Mixpanel.People.Set(key, value as string);
}
else if (value is int)
{
Mixpanel.People.Set(key, value as int?);
}
else if (value is double)
{
Mixpanel.People.Set(key, value as double?);
}
else if (value is bool)
{
Mixpanel.People.Set(key, value as bool?);
}
}
}
public void Identify(string userId){
Mixpanel.Identify(userId);
}
public void Unidentify(){
Mixpanel.Reset();
}
```
Read more about the destination interface [here](https://www.avo.app/docs/reference/avo-codegen/destinations.md).
#### setAvoLogger
```csharp
public static ILogger __LOGGER__ = null;
```
This field allows you to provide a custom implementation of the logger used by Avo Codegen.
Can for example be used to disable logs or change which logging method is used.
##### Arguments
`Microsoft.Extensions.Logging.ILogger __LOGGER__`: custom implementation of the logger.
#### setSystemProperties
```csharp
public void SetSystemProperties(int systemProperty0, bool systemProperty1, ...)
```
A method to update system properties after initialization.
##### Arguments
`systemProperties`: a number of parameters equal to the number of system properties defined in your Avo workspace.
The parameters are named the same as system properties, in camelCase, and require corresponding types: string, int, long, float, bool and list.
#### Event tracking functions
```csharp
public void [YourEventName](int eventProperty0, double? eventProperty1, ..., bool? userProperty0, IList userProperty1, ..., string userId_, string anonymousId_)
```
Every event you define in your tracking plan in Avo gets a function named after the event in PascalCase. The arguments of the function depend on how it's defined in your tracking plan
##### Arguments
`eventProperty`: type defined in the Avo tracking plan, can be string, int, long, float, bool and list.
Every event property attached to the event in the Avo UI gets a corresponding argument. The argument key is camelCase version of the property name.
Pass the value of the property to track here.
`userProperty`: type defined in the Avo tracking plan as a user property, can be string, int, long, float, bool and list.
Every user property attached to the event in the Avo UI gets a corresponding argument. The argument key is camelCase version of the property name.
Pass the value of the property to update here.
`userId_: String`: used to connect event to specific user.
Unity: Added if the event has the `Identify User` action
.NET: added to all events, you have to either provide it or the `anonymousId_`
###### Additional arguments
`anonymousId_`: string, .NET only, this argument is automatically added if corresponding setting is enabled, used to track anonymous users
### Destinations
You can send your data using the Avo generated C# code to any data destination that accepts custom events, including:
- Amplitude
- FacebookAnalytics
- FullStory
- Mixpanel
- Mixpanel
- Permutive
- Segment
- Snowplow
- ZendeskConnect
- Adobe Analytics
- Apptelemetry
- RudderStack
- Freshpaint
- PostHog
- Google Analytics 4 / Firebase Analytics
- Heap
- Keen
- Kissmetrics
- LaunchDarkly Events
- Pendo
- Fivetran
- AppsFlyer
- Braze
- Intercom
- A home made SDK
- Internal API
---
Source: https://www.avo.app/docs/reference/avo-codegen/programming-languages/java.md
# Avo Codegen in Java
### Platforms
Avo can code generate Avo Codegen in Java targeted at the following platforms
- Android
- Server
#### Step 1. Include the Avo file
##### Pull the generated code with the Avo CLI
To get the Avo generated Java file you must be a member of an Avo workspace with a Java source. Ask for an invite from a colleague or create a [new workspace](https://www.avo.app/onboarding)
```bash npm2yarn
npm install -g avo
avo login
avo pull --branch my-branch-name
```
Learn more about [the CLI here](https://www.avo.app/docs/implementation/cli.md).
You can also [download the file manually](https://www.avo.app/docs/implementation/guides/download-or-copy-avo-file-manually.md) from your Avo workspace.
#### Step 2. Initialize Avo
Initialize Avo by calling the `initAvo` method before tracking
```java
Avo.initAvo(Avo.AvoEnv.DEV/*, other parameters depending on your tracking plan setup*/);
```
The actual parameters depend on your tracking plan setup, see the parameters explanation in [the reference below](https://www.avo.app/docs/reference/avo-codegen/programming-languages/java.md#initAvo).
#### Step 3. Call Avo Codegen to track your product usage
Every event in your tracking plan, marked with the "Implement with Codegen" checkbox, gets a function in the generated code, named according to the event name, in camelCase.
[//]: # 'TODO Future: Add link here to the "Implement with Codegen" doc in "Tracking Plan Management"'
For example, if you have a "Signup Start" event defined like this in Avo:

You'll be able to call it like this from the generated code
```java
Avo.signupStart("direct")
```
> Notice, that you are not passing the System property with the call. System properties are defined on the init step and then automatically included with all events.
> You can update the system properties with `setSystemProperties` function.
#### Step 4. Verify the implementation
Use the [Implementation status](https://www.avo.app/docs/data-design/avo-tracking-plan/implementation-status.md) in your Avo workspace and the [Avo Inspector](https://www.avo.app/docs/reference/avo-inspector-sdks/overview.md) to verify that your implementation is correct. If you don't want to use Avo Inspector you can use the [standalone visual debugger](https://github.com/avohq/android-analytics-debugger) in your client applications.
### Reference
#### initAvo
```java
public static void initAvo(AvoEnv env,
// Other parameters may not be present, depending on your tracking plan
Integer systemProperty0, Boolean systemProperty1,
ICustomDestination mixpanelDestination,
ICustomDestination segmentDestination,
ICustomDestination otherDestination,
boolean strict = true, boolean noop = false,
application: Application, context: Context
);
```
There is also an init method that accepts an instance of Avo Inspector, use it if you have Avo Inspector set up in your project, so Avo Codegen will automatically report invocations to Avo Inspector.
```java
public static void initAvoWithInspector(AvoEnv env,
Object avoInspector,
// Other parameters may not be present, depending on your tracking plan
// Same parameters, as in `initAvo`
Integer systemProperty0, Boolean systemProperty1,
ICustomDestination mixpanelDestination,
ICustomDestination segmentDestination,
ICustomDestination otherDestination,
boolean strict = true, boolean noop = false,
application: Application, context: Context,
);
```
Initializes Avo, needs to be called before the event specific methods.
This method will call the `Make(env, apiKey)` callback in all the provided [destination interfaces](https://www.avo.app/docs/reference/avo-codegen/destinations.md#destination-interface-callback-methods). It will also initialize the analytics SDKs of the legacy [Avo Managed destinations](https://www.avo.app/docs/reference/avo-codegen/destinations.md#avo-managed-destination-legacy).
##### Arguments
`AvoEnv env`: Can be set to dev, prod and staging.
`systemProperties`: a number of parameters equal to the number of system properties defined in your Avo workspace.
The parameters are named the same as system properties, in camelCase, and require corresponding types: string, int, long, float, bool or list.
`ICustomDestination destination`: object, each destination you are sending events to gets a separate parameter in the init function with callbacks that the Avo generated code will trigger, unless you are using the legacy Avo managed destinations. Each callback in the destination interface is directly mapped to the Actions attached to each event in Avo. [Learn more about event Actions in this doc](https://www.avo.app/docs/data-design/avo-tracking-plan/events.md#actions).
```java
public interface ICustomDestination {
default void make(AvoEnv env) {};
default void make(AvoEnv env, String apiKey) {
throw new RuntimeException("Make with apiKey is not implemented");
};
void logEvent(String eventName, Map eventProperties);
void setUserProperties(String userId, Map userProperties);
void identify(String userId);
void unidentify();
void logPage(String pageName, Map eventProperties);
void revenue(double revenue, Map eventProperties);
}
```
If you are using server Java each callback gets an additional first parameter - `userId` and, optionally, a `anonymousId` parameter. To add the optional `anonymousId` parameter to the callbacks in your workspace [reach out to us](https://www.avo.app/docs/help/troubleshooting.md).
`boolean strict = true`: bool, if true, Avo will throw an exception when it detects a tracking problem in development or staging environments. Note that the strict flag is ignored in production.
`boolean noop = false`: bool, if true, Avo won't make any network calls (no tracking) in development and staging environments. Note that the noop flag is ignored in production.
`Object avoInspector`: optional Avo Inspector instance. If you use Avo Inspector pass it here to make Avo Codegen automatically report the invocations to Avo Inspector.
#### Destination interface example
Android:
```java
// Example: Destination interface for the Mixpanel SDK. Replace the Mixpanel implementation with your own tracking SDK methods
public class Destination implements ICustomDestination {
private MixpanelAPI mixpanel;
// Make method is optional, you can skip it if you've already initialized your Analytics SDK
public void make(Avo.AvoEnv env, String apiKey) {
mixpanel = MixpanelAPI.getInstance(context.getApplicationContext(), projectToken);
}
public void logEvent(String eventName, Map eventProperties) {
mixpanel.track(eventName, eventProperties);
}
public void setUserProperties(String userId, Map userProperties) {
mixpanel.getPeople().set(userProperties);
}
public void identify(String userId) {
mixpanel.identify(userId);
}
public void unidentify() {
mixpanel.reset();
}
public void logPage(String pageName, Map eventProperties) {
// Note: In this example the Mixpanel SDK does not provide a native method for page or screen tracking, so we send an event instead. Other SDKs may have a dedicated page tracking method.
eventProperties.add("Page", pageName);
mixpanel.track("Page Viewed", eventProperties);
}
public void revenue(double amount, Map eventProperties) {
mixpanel.getPeople().trackCharge(amount, eventProperties);
}
}
```
Server:
```java
// Example: Destination interface for the Segment SDK. Replace the Segment implementation with your own tracking SDK methods
public class Destination implements ICustomDestination {
private Analytics analytics = null;
// Make method is optional, you can skip it if you've already initialized your Analytics SDK
public void make(AvoEnv env, String apiKey) {
analytics = Analytics.builder(apiKey).build();
}
public void logEvent(String userId, String eventName, Map eventProperties) {
TrackMessage.Builder builder = TrackMessage.builder(eventName);
if (userId != null) {
builder = builder.userId(userId);
}
analytics.enqueue(builder.properties(eventProperties));
}
public void setUserProperties(String userId, Map userProperties) {
IdentifyMessage.Builder builder = IdentifyMessage.builder();
if (userId != null) {
builder = builder.userId(userId);
}
analytics.enqueue(builder.traits(userProperties));
}
public void logPage(String userId, String pageName, Map eventProperties) {
ScreenMessage.Builder builder = PageMessage.builder(pageName);
if (userId != null) {
builder = builder.userId(userId);
}
analytics.enqueue(builder.properties(eventProperties));
}
public void revenue(String userId, double amount, Map eventProperties) {
// Note: In this example the Segment SDK does not provide a native method for revenue tracking, so we send an event instead. Other SDKs may have a dedicated revenue tracking method.
TrackMessage.Builder builder = TrackMessage.builder("Purchase Completed");
if (userId != null) {
builder = builder.userId(userId);
}
eventProperties.put("revenue", amount)
analytics.enqueue(builder.properties(eventProperties));
}
}
```
Read more about the destination interface [here](https://www.avo.app/docs/reference/avo-codegen/destinations.md).
###### Additional arguments
`Application application` and `Context context` are required by some analytics destinations.
#### setSystemProperties
```java
public static void setSystemProperties(Integer systemProperty0, Boolean systemProperty1, ...)
```
A method to update system properties after initialization.
##### Arguments
`systemProperties`: a number of parameters equal to the number of system properties defined in your Avo workspace.
The parameters are named the same as system properties, in camelCase, and require corresponding types: string, int, long, float, bool or list.
#### Event tracking functions
```java
public static void [yourEventName](int eventProperty0, Double eventProperty1, ..., Boolean userProperty0, List userProperty1, ..., String userId_)
```
Every event you define in your tracking plan in Avo gets a function named after the event in camelCase. The arguments of the function depend on how it's defined in your tracking plan
##### Arguments
`eventProperty: type defined in the Avo tracking plan, can be string, int, long, float, bool, list`:
Every event property attached to the event in the Avo UI gets a corresponding argument. The argument key is camelCase version of the property name.
Pass the value of the property to track here.
`userProperty: type defined in the Avo tracking plan as a user property, can be string, int, long, float, bool, list`:
Every user property attached to the event in the Avo UI gets a corresponding argument. The argument key is camelCase version of the property name.
Pass the value of the property to update here.
`userId_: String`: used to connect event to specific user.
Android: Automatically added if the event has the `Identify User` action
Server: Automatically added to all events, you have to either provide it or the `anonymousId_`
###### Additional arguments
`anonymousId_`: string, automatically added in Server code, used to track anonymous users
### Destinations
You can send your data using the Avo generated JavaScript code to any data destination that accepts custom events, including:
- Amplitude
- FacebookAnalytics
- FullStory
- Mixpanel
- Mixpanel
- Permutive
- Segment
- Snowplow
- ZendeskConnect
- Adobe Analytics
- Apptelemetry
- RudderStack
- Freshpaint
- PostHog
- Google Analytics 4 / Firebase Analytics
- Heap
- Keen
- Kissmetrics
- LaunchDarkly Events
- Pendo
- Fivetran
- AppsFlyer
- Braze
- Intercom
- A home made SDK
- Internal API
---
Source: https://www.avo.app/docs/reference/avo-codegen/programming-languages/javascript.md
# Avo Codegen in JavaScript
### Platforms
Avo can code generate Avo Codegen in JavaScript targeted at the following platforms
- Web
- React Native
- Node.js
### Quickstart
Avo Codegen usage consists of 4 steps.
[//]: # (TODO For future: Here we can add link to the "Type safe code & unit tests" docs section when that's ready, something like:)
[//]: # 'TODO Learn more about how Avo Codegen can help decrease time spent on implementing analytics and increase data reliability in this guide.'
#### Step 1. Include the Avo file
##### Pull the generated code with the Avo CLI
To get the Avo generated JavaScript file you must be a member of an Avo workspace with a JavaScript source. Ask for an invite from a colleague or create a [new workspace](https://www.avo.app/onboarding)
```bash npm2yarn
npm install -g avo
avo login
avo pull --branch my-branch-name
```
Learn more about [the CLI here](https://www.avo.app/docs/implementation/cli.md).
You can also [download the file manually](https://www.avo.app/docs/implementation/guides/download-or-copy-avo-file-manually.md) from your Avo workspace.
#### Step 2. Initialize Avo
Import Avo from the generated file and initialize it by calling the `initAvo` method before tracking
```javascript
import Avo from './Avo';
Avo.initAvo(
{ env: 'dev' },
/*, other parameters depending on your tracking plan setup*/
);
```
The actual parameters depend on your tracking plan setup, see the parameters explanation in [the reference below](https://www.avo.app/docs/reference/avo-codegen/programming-languages/javascript.md#initavo).
#### Step 3. Call Avo Codegen to track your product usage
Every event in your tracking plan, marked with the "Implement with Codegen" checkbox, gets a function in the generated code, named according to the event name, in camelCase.
[//]: # 'TODO Future: Add link here to the "Implement with Codegen" doc in "Tracking Plan Management"'
For example, if you have a "Signup Start" event defined like this in Avo:

You'll be able to call it like this from the generated code
```javascript
Avo.signupStart({ referral: 'direct' });
```
> Notice, that you are not passing the System property with the call. System properties are defined on the init step and then automatically included with all events.
> You can update the system properties with `setSystemProperties` function.
#### Step 4. Verify the implementation
Use the [Implementation status](https://www.avo.app/docs/data-design/avo-tracking-plan/implementation-status.md) in your Avo workspace and the [visual debuggers](https://www.avo.app/docs/implementation/guides/start-using-visual-debuggers.md) to verify that your implementation is correct.
### Reference
#### initAvo
```javascript
Avo.initAvo(
options,
?systemProperties,
?destinationOptions,
?destinationInterfaceOne,
?destinationInterfaceTwo,
?...destinationInterface,
);
```
This method will call the `make(env, apiKey)` callback in all the provided [destination interfaces](https://www.avo.app/docs/reference/avo-codegen/destinations.md#destination-interface-callback-methods). It will also initialize the analytics SDKs of the legacy [Avo Managed destinations](https://www.avo.app/docs/reference/avo-codegen/destinations.md#avo-managed-destination-legacy).
##### Arguments
`options`: `{env, [noop], [strict], [avoLogger], [inspector], [mobileDebugger]}`
- `env`: string, one of 'dev', 'prod' or 'staging'.
- `[noop = false]`: bool defaulting to false, if true, Avo won't make any network calls (no tracking) in development and staging environments. Note that the noop flag is ignored in production.
- `[strict = true]`: bool defaulting to true, if true, Avo will throw an exception when it detects a tracking problem in development or staging. Note that the strict flag is ignored in production.
- `[avoLogger]`: optional custom implementation of the logger. Can be used to disable logs. [Find the code snippet here](https://www.avo.app/docs/reference/avo-codegen/custom-loggers.md#javascript).
- `[inspector]`: optional Avo Inspector instance. If you use Avo Inspector pass it here to make Avo Codegen automatically report the invocations to Avo Inspector.
- `[mobileDebugger]`: React Native specific and optional Avo Debugger instance. Pass it to make Avo Codegen automatically show the functions calls and all the errors in the visual debugger. Check [React Native mobile debugger repo](https://github.com/avohq/react-native-analytics-debugger) to learn more about it.
`systemProperties`: an object where each field represents a system property in your tracking plan.
When you define system properties in your Avo workspace you set name and type - the fields of this object are named the same as system properties, in camelCase, and you should provide corresponding types, can be string, int, long, float, bool, array, object and any.
`destination`: object, each destination you are sending events to gets a separate parameter in the init function with callbacks that the Avo generated code will trigger, unless you are using the legacy Avo managed destinations. Each method in the destination interface is directly mapped to the Actions attached to each event in Avo. [Learn more about event Actions in this doc](https://www.avo.app/docs/data-design/avo-tracking-plan/events.md#actions).
```javascript
{
[make]: function (env, apiKey), // This method is optional, you can skip it if you've already initialized your Analytics SDK
logEvent: function (eventName, eventProperties),
setUserProperties: function (userId, userProperties),
identify: function (userId), // Not present in Node
unidentify: function (), // Not present in Node
[revenue]: function(amount, eventProperties),
[page]: function(pageName, eventProperties),
// The following methods are used for group analytics and are not required. Learn more about group analytics here: /docs/data-design/groups
[setGroupProperties]: function(groupType, groupId, groupProperties),
[addCurrentUserToGroup]: function(groupType, groupId, groupProperties),
[logEventWithGroups]: function(eventName, eventProperties, groupTypesToGroupIds)
};
```
In Node each callback is asynchronous and gets an additional first parameter - `userId` and, optionally, a `anonymousId` parameter. To get the `anonymousId` parameter in your workspace [reach out to us](https://www.avo.app/docs/help/troubleshooting.md).
`destinationOptions`: send an empty object if you are using the destination interface. If you are using legacy managed destinations here you can pass initialization parameters. `{[segmentDestinationName], [anotherSegmentDestinationName], [amplitudeDestinationName], [mixpanelDestinationName]}`. Keys of this objects are the camelCase versions of your destinations in the Avo UI.
- `mixpanelDestinationName`: optional object, if you use Mixpanel destination managed by Avo, this object will be passed to `mixpanel.init(apiKey, options)` as the second parameter, `options`
- `amplitudeDestinationName`: optional object, if you use Amplitude destination managed by Avo, this object will be passed to `amplitude.init(apiKey, null, options)` as the third parameter, `options`
- `segmentDestinationName`: optional object, if you use Segment destination managed by Avo, this object will be passed to `analytics.load(apiKey, options)` as the second parameter, `options`
#### Destination interface example
```javascript
// Example: Destination interface for the Mixpanel SDK. Replace the Mixpanel implementation with your own tracking SDK methods
const mixpanelDestinationInterface = {
make: function (env, apiKey) {
// This call is optional, you may as well initialize the SDK somewhere else before using Avo Codegen.
mixpanel.init(apiKey);
},
logEvent: function (eventName, eventProperties) {
mixpanel.track(eventName, eventProperties);
},
setUserProperties: function (userId, userProperties) {
mixpanel.people.set(userProperties);
},
identify: function (userId) {
mixpanel.identify(userId);
},
unidentify: function () {
mixpanel.reset();
},
revenue: function (amount, eventProperties) {
mixpanel.people.track_charge(amount, eventProperties);
},
logPage: function (pageName, eventProperties) {
// Note: In this example the Mixpanel SDK does not provide a native method for page or screen tracking, so we send an event instead. Other SDKs may have a dedicated page tracking method.
mixpanel.track(
'Page Viewed',
eventProperties.assign({ pageName: pageName }),
);
},
// The following methods are used for group analytics and are not required. Learn more about group analytics here: /docs/data-design/groups
setGroupProperties(groupType, groupId, groupProperties) {
// Mixpanel example
mixpanel.get_group(groupType, groupId).set(groupProperties);
// Amplitude example
var identify = new amplitude.Identify().set(groupProperties);
amplitude.groupIdentify(groupType, groupId, identify);
},
addCurrentUserToGroup: function (groupType, groupId, groupProperties) {
// Segment example
analytics.group(groupType, {
name: groupId,
...groupProperties,
});
// Mixpanel example
mixpanel.set_group(groupType, groupId);
mixpanel.get_group(groupType, groupId).set(groupProperties);
// Amplitude example
amplitude.getInstance().setGroup(groupType, groupId);
var identify = new amplitude.Identify().set(groupProperties);
amplitude.groupIdentify(groupType, groupId, identify);
},
logEventWithGroups: function (
eventName,
eventProperties,
groupTypesToGroupIds,
) {
// Mixpanel example
mixpanel.track_with_groups(
eventName,
eventProperties,
groupTypesToGroupIds,
);
// Amplitude example
amplitude
.getInstance()
.logEventWithGroups(eventName, eventProperties, groupTypesToGroupIds);
},
};
```
##### Web Google Analytics 4 example
Make sure you have the `gtag.js` tag added as described in the `Add the global site tag directly to your web pages` section [here](https://support.google.com/analytics/answer/9304153?hl=en#zippy=add-your-tag-using-google-tag-manager%2Cadd-the-global-site-tag-directly-to-your-web-pages).
```javascript
import Avo from './Avo';
// An object representing your Google Analytics destination that you pass into initAvo():
var googleAnalyticsDestinationInterface = {
logEvent: function (eventName, eventProperties) {
gtag('event', eventName, eventProperties);
},
setUserProperties: function (userId, userProperties) {
// Todo: Pass user properties to Google Analytics
},
identify: function (userId) {
// Todo: Identify user in Google Analytics
},
unidentify: function () {
// Todo: Unidentify currently identified user in Google Analytics
},
revenue: function (amount, eventProperties) {
gtag('event', 'purchase', { ...eventProperties, amount });
},
logPage: function (screenName, eventProperties) {
gtag('event', 'screen_view', {
...eventProperties,
screen_name: screenName,
});
},
};
```
Then, when initializing Avo you'll provide the destination interface as your GA4 destination.
```javascript
Avo.initAvo(
{ env: 'dev' },
/*other parameters depending on your tracking plan setup*/,
googleAnalyticsDestinationInterface
);
```
##### React Native Mixpanel example
Here is a more specific example of how you can use a destination interface in JavaScript on React Native to integrate with your Mixpanel SDK. In this example we're using the official [mixpanel-react-native](https://github.com/mixpanel/mixpanel-react-native) SDK.
```javascript
import { Mixpanel } from 'mixpanel-react-native';
import Avo from './Avo';
// An object representing your Mixpanel destination
// that you pass into initAvo():
var mixpanelDestinationInterface = {
make: function (env, apiKey) {
Mixpanel.init(apiKey);
},
logEvent: function (eventName, eventProperties) {
mixpanel.track(eventName, eventProperties);
},
setUserProperties: function (userId, userProperties) {
mixpanel.identify(userId);
Object.keys(userProperties).forEach((key) =>
mixpanel.getPeople().set(key, userProperties[key]),
);
},
identify: function (userId) {
mixpanel.identify(userId);
},
unidentify: function () {
mixpanel.reset();
},
revenue: function (amount, eventProperties) {
mixpanel.getPeople().trackCharge(amount, eventProperties);
},
logPage: function (pageName, eventProperties) {
// Note: Mixpanel does not provide a native method for page or screen tracking, so we send an event instead. Other SDKs may have a dedicated page tracking method.
mixpanel.track(
'Page Viewed',
eventProperties.assign({ pageName: pageName }),
);
},
};
```
Read more about the destination interface [here](https://www.avo.app/docs/reference/avo-codegen/destinations.md).
#### setAvoLogger
```javascript
Avo.setAvoLogger(avoLogger);
```
This method allows you to provide custom implementation of the logger used by Avo Codegen, same as the `avoLogger` parameter in the `initAvo` call.
Can for example be used to disable logs or change which logging method is used.
##### Arguments
`avoLogger`: custom implementation of the logger. [Find the code snippet here](https://www.avo.app/docs/reference/avo-codegen/custom-loggers.md#javascript).
#### setSystemProperties
```javascript
Avo.setSystemProperties(systemProperties);
```
A method to update system properties. If you provide undefined values here corresponding properties won't be updated
##### Arguments
`systemProperties`: an object where each field represents a system property in your tracking plan.
When you define system properties in your Avo workspace you set name and type - the fields of this object are named the same as system properties, in camelCase, and you should provide corresponding types.
#### Event tracking functions
```javascript
Avo.yourEventName(properties: { [eventProperty0], [eventProperty1], ..., [userProperty0], [userProperty1], ..., [groupType0GroupId], [groupType1GroupId], ..., [groupProperty0], [groupProperty1], ..., [userId_], [anonymousId_], [segmentContext_] })
```
Every event you define in your tracking plan in Avo gets a function named after the event in camelCase. The arguments of the function depend on how it's defined in your tracking plan
##### Arguments
`eventProperty`: type defined in the Avo tracking plan, can be string, int, long, float, bool, array, object and any.
Every event property attached to the event in the Avo UI gets a corresponding argument.
The argument key is camelCase version of the property name defined in the Avo UI.
Pass the value of the property to track here.
`userProperty`: type defined in the Avo tracking plan, can be string, int, long, float, bool, array, object and any.
Every user property attached to the event in the Avo UI gets a corresponding argument.
The argument key is camelCase version of the property name defined in the Avo UI.
Pass the value of the property to update here.
`groupTypeGroupId`: string, if this event has group type attached in the UI, you'll provide the group id here.
The argument key is camelCase version of the group type defined in the Avo UI with the "GroupId" suffix.
E.g. if the event has "company" group type, the property will be celled "companyGroupId" and you would provide the company name.
`groupProperty`: type defined in the Avo tracking plan, can be string, int, long, float, bool, array, object and any.
Every group property attached to the event in the Avo UI with the "Group Update" action gets a corresponding argument.
The argument key is camelCase version of the property name defined in the Avo UI.
Pass the value of the property to update here.
`userId_`: string, used to connect event to specific user
Web and React Native: Added if the event has the `Identify User` action
Node.js: added to all events, you have to either provide it or the `anonymousId_`
###### Additional arguments
`anonymousId_`: string, Node.js only, this argument is automatically added if corresponding setting is enabled, used to track anonymous users
`segmentContext_`: object, Node.js only, passed down to Segment as the Segment context, e.g. `segment.track({..., context: context})`
### Snowplow interface
Snowplow SDK's tracking interface is a little different from the common event tracking libraries and working with Snowplow through Avo is slightly different too.
If you add a Snowplow destination to a JavaScript source you'll need to provide the following object as
```javascript
options[snowplowDestination];
```
You'll implement it like this:
```javascript
const snowplowDestination = {
make: function (env) {
// Optional: You can initialize Snowplow here or leave empty if initialized elsewhere.
// Your custom Snowplow initialization, that includes the `newTracker` call
// newTracker('sp1', '{{collector_url}}', { appId: 'my-app-id', plugins: [] });
// Learn more: https://docs.snowplow.io/docs/sources/web-trackers/
},
trackSelfDescribingEvent: (schema, data, contexts) => {
trackSelfDescribingEvent({
event: {
schema: schema,
data: data,
},
context: contexts,
});
// Learn more: https://docs.snowplow.io/docs/sources/web-trackers/custom-tracking-using-schemas/
},
trackPageView: (title) => {
trackPageView(title);
// Learn more: https://docs.snowplow.io/docs/sources/web-trackers/custom-tracking-using-schemas/
},
identify: (userId) => {
setUserId(userId);
// Learn more: https://docs.snowplow.io/docs/sources/web-trackers/custom-tracking-using-schemas/
},
unidentify: () => {
clearUserData();
// Learn more: https://docs.snowplow.io/docs/sources/web-trackers/custom-tracking-using-schemas/
},
};
```
### Destinations
You can send your data using the Avo generated JavaScript code to any data destination that accepts custom events, including:
- Amplitude
- FacebookAnalytics
- FullStory
- Mixpanel
- Mixpanel
- Permutive
- Segment
- Snowplow
- ZendeskConnect
- Adobe Analytics
- Apptelemetry
- RudderStack
- Freshpaint
- PostHog
- Google Analytics 4 / Firebase Analytics
- Heap
- Keen
- Kissmetrics
- LaunchDarkly Events
- Pendo
- Fivetran
- AppsFlyer
- Braze
- Intercom
- A home made SDK
- Internal API
---
Source: https://www.avo.app/docs/reference/avo-codegen/programming-languages/kotlin.md
# Avo Codegen in Kotlin
> 💡 This page documents the single-file Kotlin output. Avo can also emit Kotlin in a "library" shape that splits the runtime from per-source types — see [Library codegen](https://www.avo.app/docs/reference/avo-codegen/library-codegen.md).
### Platforms
Avo can code generate Avo Codegen in Kotlin targeted at the following platforms
- Android
- Kotlin Multiplatform (beta, advanced features like Codegen implementation status are coming soon)
- Server is coming soon, for now we recommend using the `Java` generated code for backend JVM projects
> [Reach out](https://www.avo.app/docs/help/troubleshooting.md) if you want to use Avo Codegen in Kotlin server
> You can force the Android generated code to use Kotlin Coroutines for the network calls with "--forceFeatures KotlinCoroutines" flag when running the [Avo CLI](https://www.avo.app/docs/implementation/cli.md#step-3-pull-generated-analytics-wrappers-from-avo). [Let us know](https://www.avo.app/docs/help/troubleshooting.md) if you want to enable coroutines by default in your workspace.
### Quickstart
Avo Codegen usage consists of 4 steps.
[//]: # (TODO For future: Here we can add link to the "Type safe code & unit tests" docs section when that's ready, something like:)
[//]: # 'TODO Learn more about how Avo Codegen can help decrease time spent on implementing analytics and increase data reliability in this guide.'
#### Step 1. Include the Avo file
##### Pull the generated code with the Avo CLI
To get the Avo generated Kotlin file you must be a member of an Avo workspace with a Kotlin source. Ask for an invite from a colleague or create a [new workspace](https://www.avo.app/onboarding)
```bash npm2yarn
npm install -g avo
avo login
avo pull --branch my-branch-name
```
Learn more about [the CLI here](https://www.avo.app/docs/implementation/cli.md).
You can also [download the file manually](https://www.avo.app/docs/implementation/guides/download-or-copy-avo-file-manually.md) from your Avo workspace.
#### Step 2. Initialize Avo
Initialize Avo by creating an object using constructor from the generated Avo file
```kotlin
val avo = AvoImpl(env = AvoEnv.DEV/*, other parameters depending on your tracking plan setup*/)
```
The actual parameters depend on your tracking plan setup, see the parameters explanation in [the reference below](https://www.avo.app/docs/reference/avo-codegen/programming-languages/kotlin.md#constructor).
#### Step 3. Call Avo Codegen to track your product usage
Every event in your tracking plan, marked with the "Implement with Codegen" checkbox, gets a function in the generated code, named according to the event name, in camelCase.
[//]: # 'TODO Future: Add link here to the "Implement with Codegen" doc in "Tracking Plan Management"'
For example, if you have a "Signup Start" event defined like this in Avo:

You'll be able to call it like this from the generated code
```kotlin
avo.signupStart(referral = "direct")
```
> Notice, that you are not passing the System property with the call. System properties are defined on the init step and then automatically included with all events.
> You can update the system properties with `setSystemProperties` function.
#### Step 4. Verify the implementation
Use the [Implementation status](https://www.avo.app/docs/data-design/avo-tracking-plan/implementation-status.md) in your Avo workspace and the [Avo Inspector](https://www.avo.app/docs/reference/avo-inspector-sdks/android.md) to verify that your implementation is correct. If you don't want to use Avo Inspector you can use the [standalone visual debugger](https://github.com/avohq/android-analytics-debugger).
### Reference
#### Constructor
```kotlin
class AvoImpl(env: AvoEnv,
// Other parameters may not be present, depending on your tracking plan
systemProperty0: int, systemProperty1: bool,
mixpanelDestination: ICustomDestination,
segmentDestination: ICustomDestination,
otherDestination: ICustomDestination,
avoInspector: Any? = null,
strict: Boolean = true,
application: Application, context: Context
)
```
Creates the Avo object that will be used to track.
This method will call the `Make(env, apiKey)` callback in all the provided [destination interfaces](https://www.avo.app/docs/reference/avo-codegen/destinations.md#destination-interface-callback-methods). It will also initialize the analytics SDKs of the legacy [Avo Managed destinations](https://www.avo.app/docs/reference/avo-codegen/destinations.md#avo-managed-destination-legacy).
After initializing, call event functions on the `avo` instance:
```kotlin
avo.testEmptyEvent()
```
> We recommend using dependency injection to share the `avo` instance across your app. Frameworks like [Hilt](https://developer.android.com/training/dependency-injection/hilt-android) make it straightforward to provide and inject the `AvoImpl` instance wherever you need to track events.
> **Note:** `AvoImpl` is the default generated class name for new workspaces, matching the workspace prefix. If you are using Kotlin Multiplatform (KMP, beta), you may see a different class name depending on your workspace configuration.
**Legacy: Static pattern**
Legacy workspaces use the static pattern, where you initialize and call events statically:
```kotlin
Avo.initAvo(application, context, AvoEnv.DEV/*, other parameters*/)
Avo.eventName(/*event properties*/)
```
##### Arguments
`env: AvoEnv`: Can be set to dev, prod and staging.
`systemProperties`: a number of parameters equal to the number of system properties defined in your Avo workspace.
The parameters are named the same as system properties, in camelCase, and require corresponding types: string, int, long, float, bool or list.
`destination: ICustomDestination`: object, each destination you are sending events to gets a separate parameter in the init function with callbacks that the Avo generated code will trigger, unless you are using the legacy Avo managed destinations. Each method in the destination interface is directly mapped to the Actions attached to each event in Avo. [Learn more about event Actions in this doc](https://www.avo.app/docs/data-design/avo-tracking-plan/events.md#actions).
```kotlin
interface ICustomDestination {
fun make(env: AvoEnv, apiKey: String) {} // This method is optional, you can skip it if you've already initialized your Analytics SDK
fun logEvent(eventName: String, eventProperties: Map)
fun logPage(pageName: String, eventProperties: Map)
fun revenue(amount: Double, eventProperties: Map)
fun setUserProperties(userId: String, userProperties: Map)
fun identify(userId: String)
fun unidentify()
}
```
`avoInspector: Any?`: optional Avo Inspector instance. If you use Avo Inspector pass it here to make Avo Codegen automatically report the invocations to Avo Inspector.
`strict: Boolean`: bool, if true, Avo will throw an exception when it detects a tracking problem in development or staging. Note that the strict flag is ignored in production.
#### Destination interface example
```kotlin
// Example: Destination interface for the Mixpanel SDK. Replace the Mixpanel implementation with your own tracking SDK methods
let mixpanelDestinationInterface = object : ICustomDestination {
var mixpanel: MixpanelAPI? = null
private set
override fun make(env: AvoEnv, apiKey: String) {
mixpanel = MixpanelAPI.getInstance(context.applicationContext, apiKey)
}
override fun logEvent(eventName: String, eventProperties: Map) {
mixpanel?.track(eventName, eventProperties)
}
override fun setUserProperties(userId: String, userProperties: Map) {
// Note: In this example the Mixpanel SDK does not provide a native method for page or screen tracking, so we send an event instead. Other SDKs may have a dedicated page tracking method.
let mutableEventprops = eventProperties.toMutableMap()
mutableEventprops["Page Name"] = pageName
mixpanel?.track("Page Viewed", mutableEventprops)
}
override fun revenue(amount: Double, eventProperties: Map) {
mixpanel?.people?.trackCharge(amount, eventProperties)
}
override fun identify(userId: String) {
mixpanel?.identify(userId)
}
override fun unidentify() {
mixpanel?.reset()
}
}
```
Read more about the destination interface [here](https://www.avo.app/docs/reference/avo-codegen/destinations.md).
###### Additional arguments
`application: Application` and `context: Context` are required by some analytics destinations.
#### setAvoLogger
```kotlin
fun setAvoLogger(logger: (String) -> Unit)
```
This method allows you to provide custom implementation of the logger used by Avo Codegen.
Can for example be used to disable logs or change which logging method is used.
##### Arguments
`avoLogger: (String) -> Unit`: custom implementation of the logger, e.g. `{ logMessage: String -> Log.d(this.localClassName, logMessage) }`
#### setSystemProperties
```kotlin
fun setSystemProperties(systemProperty0: Int, systemProperty1: Boolean?, ...)
```
A method to update system properties after initialization.
##### Arguments
`systemProperties`: a number of parameters equal to the number of system properties defined in your Avo workspace.
The parameters are named the same as system properties, in camelCase, and require corresponding types: string, int, long, float, bool or list.
#### Event tracking functions
```kotlin
fun [yourEventName](eventProperty0: Int, eventProperty1: Double?, ..., userProperty0: Boolean?, userProperty1: List, ..., userId_: String)
```
Every event you define in your tracking plan in Avo gets a function named after the event in camelCase. The arguments of the function depend on how it's defined in your tracking plan
##### Arguments
`eventProperty: type defined in the Avo tracking plan, can be string, int, long, float, bool and list`:
Every event property attached to the event in the Avo UI gets a corresponding argument. The argument key is camelCase version of the property name.
Pass the value of the property to track here.
`userProperty: type defined in the Avo tracking plan as a user property, can be string, int, long, float, bool and list`:
Every user property attached to the event in the Avo UI gets a corresponding argument. The argument key is camelCase version of the property name.
Pass the value of the property to update here.
`userId_: String`: used to connect event to specific user.
Added if the event has the `Identify User` action
### Snowplow interface
Snowplow SDK's tracking interface is a little different from the common event tracking libraries and working with Snowplow through Avo is slightly different too.
If you add a snowplow destination to a Kotlin source you'll get an additional constructor parameter
```kotlin
snowplowDestination: AvoSnowplowDestination
```
You'll implement it like this:
```kotlin
val avo = AvoImpl(...,
snowplowDestination = object : AvoSnowplowDestination {
override fun make(env: AvoEnv) {
// Optional: You can initialize Snowplow here or leave empty if initialized elsewhere.
// Your custom Snowplow initialization, that includes the `createTracker` call
// Snowplow.createTracker(this@MainActivity, "appTracker", "COLLECTOR_URL", HttpMethod.POST)
// Learn more: https://docs.snowplow.io/docs/sources/mobile-trackers/installation-and-set-up/?platform=android
}
override fun trackSelfDescribingEvent(schema: String, data: Map, contexts: List>) {
val eventContent = SelfDescribingJson(schema, data)
val event = SelfDescribing(eventContent)
contexts.forEach { customContext ->
val contextSchema = customContext["schema"]
val contextData = customContext["data"]
if (contextSchema is String && contextData is Any) {
event.customContexts.add(
SelfDescribingJson(contextSchema, contextData)
)
}
}
Snowplow.getDefaultTracker()?.track(event)
// Learn more: https://docs.snowplow.io/docs/sources/mobile-trackers/installation-and-set-up/?platform=android
}
override fun trackPageView(title: String) {
Snowplow.getDefaultTracker()?.track(ScreenView(title))
// Learn more: https://docs.snowplow.io/docs/sources/mobile-trackers/installation-and-set-up/?platform=android
}
override fun identify(userId: String) {
Snowplow.getDefaultTracker()?.subject?.userId = userId
// Learn more: https://docs.snowplow.io/docs/sources/mobile-trackers/installation-and-set-up/?platform=android
}
override fun unidentify() {
Snowplow.getDefaultTracker()?.subject?.userId = null
// Learn more: https://docs.snowplow.io/docs/sources/mobile-trackers/installation-and-set-up/?platform=android
}
})
```
### Destinations
You can send your data using the Avo generated Kotlin code to any data destination that accepts custom events, including:
- Amplitude
- FacebookAnalytics
- FullStory
- Mixpanel
- Mixpanel
- Permutive
- Segment
- Snowplow
- ZendeskConnect
- Adobe Analytics
- Apptelemetry
- RudderStack
- Freshpaint
- PostHog
- Google Analytics 4 / Firebase Analytics
- Heap
- Keen
- Kissmetrics
- LaunchDarkly Events
- Pendo
- Fivetran
- AppsFlyer
- Braze
- Intercom
- A home made SDK
- Internal API
---
Source: https://www.avo.app/docs/reference/avo-codegen/programming-languages/objc.md
# Avo Codegen in Objective-C
### Platforms
Avo can code generate Avo Codegen in Objective-C for your iOS tracking.
### Quickstart
Avo Codegen usage consists of 4 steps.
[//]: # (TODO For future: Here we can add link to the "Type safe code & unit tests" docs section when that's ready, something like:)
[//]: # 'TODO Learn more about how Avo Codegen can help decrease time spent on implementing analytics and increase data reliability in this guide.'
#### Step 1. Include the Avo file
##### Pull the generated code with the Avo CLI
To get the Avo generated Objective-C file you must be a member of an Avo workspace with an Objective-C source. Ask for an invite from a colleague or create a [new workspace](https://www.avo.app/onboarding).
```bash npm2yarn
npm install -g avo
avo login
avo pull --branch my-branch-name
```
Learn more about [the CLI here](https://www.avo.app/docs/implementation/cli.md).
You can also [download the file manually](https://www.avo.app/docs/implementation/guides/download-or-copy-avo-file-manually.md) from your Avo workspace.
#### Step 2. Initialize Avo
Initialize Avo by creating an object using constructor from the generated Avo file
```objectivec
val avo = Avo(env: .dev/*, other parameters depending on your tracking plan setup*/)
[Avo initAvoWithEnv:AVOEnvDev
/*other parameters depending on your tracking plan setup*/];
```
The actual parameters depend on your tracking plan setup, see the parameters explanation in [the reference below](https://www.avo.app/docs/reference/avo-codegen/programming-languages/objc.md#initAvo).
#### Step 3. Call Avo Codegen to track your product usage
Every event in your tracking plan, marked with the "Implement with Codegen" checkbox, gets a function in the generated code, named according to the event name, in camelCase.
[//]: # 'TODO Future: Add link here to the "Implement with Codegen" doc in "Tracking Plan Management"'
For example, if you have a "Signup Start" event defined like this in Avo:

You'll be able to call it like this from the generated code
```objectivec
[Avo signupStartWithReferral:@"direct"];
```
> Notice, that you are not passing the System property with the call. System properties are defined on the init step and then automatically included with all events.
> You can update the system properties with `setSystemProperties...` function.
#### Step 4. Verify the implementation
Use the [Implementation status](https://www.avo.app/docs/data-design/avo-tracking-plan/implementation-status.md) in your Avo workspace and the [Avo Inspector](https://www.avo.app/docs/reference/avo-inspector-sdks/ios.md) to verify that your implementation is correct. If you don't want to use Avo Inspector you can use the [standalone visual debugger](https://github.com/avohq/ios-analytics-debugger).
### Reference
#### Constructor
```objectivec
+ (void)initAvoWithEnv:(AVOEnv)env
// Other parameters may not be present, depending on your tracking plan
systemProperty0:(nullable NSNumber *)systemProperty0
systemProperty1:(BOOL)systemProperty1
mixpanelDestination:(nonnull id)mixpanelDestination
segmentDestination:(nonnull id)segmentDestination
otherDestination:(nonnull id)otherDestination
strict:(BOOL)strict
noop:(BOOL)noop;
```
This method will call the `makeWithEnv:withApiKey:` callback in all the provided [destination interfaces](https://www.avo.app/docs/reference/avo-codegen/destinations.md#destination-interface-callback-methods). It will also initialize the analytics SDKs of the legacy [Avo Managed destinations](https://www.avo.app/docs/reference/avo-codegen/destinations.md#avo-managed-destination-legacy).
##### Arguments
`(AVOEnv) env`: Can be set to `AVOEnvProd`, `AVOEnvDev`.
`systemProperties`: a number of parameters equal to the number of system properties defined in your Avo workspace.
The parameters are named the same as system properties, in camelCase, and require corresponding types: string, int, long, float, bool or list.
`(nonnull id) destination`: object, each destination you are sending events to gets a separate parameter in the init function with callbacks that the Avo generated code will trigger, unless you are using the legacy Avo managed destinations. Each method in the destination interface is directly mapped to the Actions attached to each event in Avo. [Learn more about event Actions in this doc](https://www.avo.app/docs/data-design/avo-tracking-plan/events.md#actions).
```objectivec
@protocol AVOCustomDestination
- (void)make:(AVOEnv)avoEnv;
- (void)logEvent:(nonnull NSString*)eventName withEventProperties:(nonnull NSDictionary*)eventProperties;
- (void)logPage:(nonnull NSString*)pageName withEventProperties:(nonnull NSDictionary*)eventProperties;
- (void)revenue:(double)amount withEventProperties:(nonnull NSDictionary*)eventProperties;
- (void)setUserProperties:(nonnull NSString*)userId withUserProperties:(nonnull NSDictionary*)userProperties;
- (void)identify:(nonnull NSString*)userId;
- (void)unidentify;
@end
```
`(BOOL) strict`: bool, default value is `true`, if true, Avo will throw an exception when it detects a tracking problem in development or staging. Note that the strict flag is ignored in production.
`(BOOL) noop`: bool, default value is `false`, if true, Avo won't make any network calls (no tracking) in development and staging environments. Note that the noop flag is ignored in production.
> Note that you do not need to pass Avo Inspector instance to the constructor. It will be automatically picked up if you include the library and enable Avo Inspector for your iOS source in the Avo workspace. [Read more here](https://www.avo.app/docs/implementation/guides/start-using-inspector-with-avo-codegen.md).
#### Destination interface example
```objectivec
@interface CustomDestination()
@property (nonatomic, readwrite) NSString* apiKey;
@end
// Example: Destination interface for the Mixpanel SDK. Replace the Mixpanel implementation with your own tracking SDK methods
@implementation CustomDestination : NSObject
// This method is optional, you can skip it if you've already initialized your Analytics SDK
- (void)makeWithEnv:(AVOEnv)avoEnv withApiKey:(nonnull NSString*) apiKey
{
self.apiKey = apiKey;
}
- (void)logEvent:(nonnull NSString*)eventName withEventProperties:(nonnull NSDictionary*)eventProperties
{
[[Mixpanel sharedInstanceWithToken:self.apiKey] track:eventName properties:eventProperties];
}
- (void)logPage:(nonnull NSString*)pageName withEventProperties:(nonnull NSDictionary*)eventProperties
{
// Note: Mixpanel does not provide a native method for page or screen tracking, so we send an event instead. Other SDKs may have a dedicated page tracking method.
NSMutableDictionary *mutableEventProperties = [eventProperties mutableCopy];
mutableEventProperties[@"Page Name"] = pageName;
[[Mixpanel sharedInstanceWithToken:self.apiKey] track:"Page Viewed" properties:mutableEventProperties];
}
- (void)revenue:(double)amount withEventProperties:(nonnull NSDictionary*)eventProperties
{
[[[Mixpanel sharedInstanceWithToken:self.apiKey] people] trackCharge:amount withProperties:eventProperties];
}
- (void)setUserProperties:(nonnull NSString*)userId withUserProperties:(nonnull NSDictionary*)userProperties
{
[[[Mixpanel sharedInstanceWithToken:self.apiKey] people] set:userProperties];
}
- (void)identify:(nonnull NSString*)userId
{
[[Mixpanel sharedInstanceWithToken:self.apiKey] identify:userId];
}
- (void)unidentify
{
[[Mixpanel sharedInstanceWithToken:self.apiKey] reset];
}
```
Read more about the destination interface [here](https://www.avo.app/docs/reference/avo-codegen/destinations.md).
#### setSystemProperties
```objectivec
+ (void)setSystemPropertiesWithSystemProperty0:(NSInteger)systemProperty0
systemProperty1:(nullable NSNumber *)systemProperty1
...;
```
A method to update system properties after initialization.
##### Arguments
`systemProperties`: a number of parameters equal to the number of system properties defined in your Avo workspace.
The parameters are named the same as system properties, in camelCase, and require corresponding types: string, int, long, float, bool or list.
#### Event tracking functions
```objectivec
+ (void)[yourEventName]WithEventProperty0:(NSInteger)eventProperty0
eventProperty1:(nullable NSNumber *)eventProperty1
userProperty0:(BOOL)userProperty0
userProperty1:(BOOL)userProperty1
userId:(nonnull NSString *)userId_
...];
```
Every event you define in your tracking plan in Avo gets a function named after the event in camelCase. The arguments of the function depend on how it's defined in your tracking plan
##### Arguments
`eventProperty: type defined in the Avo tracking plan, can be string, int, long, float, bool or list`:
Every event property attached to the event in the Avo UI gets a corresponding argument. The argument key is camelCase version of the property name.
Pass the value of the property to track here.
`userProperty: type defined in the Avo tracking plan as a user property, can be string, int, long, float, bool or list`:
Every user property attached to the event in the Avo UI gets a corresponding argument. The argument key is camelCase version of the property name.
Pass the value of the property to update here.
`(nonnull NSString *) userId_`:
Added if the event has the `Identify User` action
### Destinations
You can send your data using the Avo generated Swift code to any data destination that accepts custom events, including:
- Amplitude
- FacebookAnalytics
- FullStory
- Mixpanel
- Mixpanel
- Permutive
- Segment
- Snowplow
- ZendeskConnect
- Adobe Analytics
- Apptelemetry
- RudderStack
- Freshpaint
- PostHog
- Google Analytics 4 / Firebase Analytics
- Heap
- Keen
- Kissmetrics
- LaunchDarkly Events
- Pendo
- Fivetran
- AppsFlyer
- Braze
- Intercom
- A home made SDK
- Internal API
---
Source: https://www.avo.app/docs/reference/avo-codegen/programming-languages/php.md
# Avo Codegen in PHP
### Platforms
Avo can code generate Avo Codegen in PHP for your server side tracking.
### Quickstart
Avo Codegen usage consists of 4 steps.
[//]: # (TODO For future: Here we can add link to the "Type safe code & unit tests" docs section when that's ready, something like:)
[//]: # 'TODO Learn more about how Avo Codegen can help decrease time spent on implementing analytics and increase data reliability in this guide.'
#### Step 1. Include the Avo file
##### Pull the generated code with the Avo CLI
To get the Avo generated PHP file you must be a member of an Avo workspace with a PHP source. Ask for an invite from a colleague or create a [new workspace](https://www.avo.app/onboarding)
```bash npm2yarn
npm install -g avo
avo login
avo pull --branch my-branch-name
```
Learn more about [the CLI here](https://www.avo.app/docs/implementation/cli.md).
You can also [download the file manually](https://www.avo.app/docs/implementation/guides/download-or-copy-avo-file-manually.md) from your Avo workspace.
#### Step 2. Initialize Avo
Import Avo from the generated file and initialize it by calling the `init_avo` method before tracking
```php
require_once 'avo.php';
Avo::init_avo(array("env" => "dev" /*, other parameters depending on your tracking plan setup*/), [$system_properties]);
```
The actual parameters depend on your tracking plan setup, see the parameters explanation in [the reference below](https://www.avo.app/docs/reference/avo-codegen/programming-languages/php.md#init_avo).
#### Step 3. Call Avo Codegen to track your product usage
Every event in your tracking plan, marked with the "Implement with Codegen" checkbox, gets a function in the generated code, named according to the event name, in snake_case.
[//]: # 'TODO Future: Add link here to the "Implement with Codegen" doc in "Tracking Plan Management"'
For example, if you have a "Signup Start" event defined like this in Avo:

You'll be able to call it like this from the generated code
```php
Avo::signup_start(array('referral' => 'direct'));
```
> Notice, that you are not passing the System property with the call. System properties are defined on the init step and then automatically included with all events.
> You can update the system properties with `set_system_properties` function.
#### Step 4. Verify the implementation
Use the [Implementation status](https://www.avo.app/docs/data-design/avo-tracking-plan/implementation-status.md) in your Avo workspace to verify that your implementation is correct.
### Reference
#### init_avo
```php
public static function init_avo($options, $systemProperties)
```
Initializes Avo, needs to be called before the tracking methods.
This method will call the `make(env, apiKey)` callback in all the provided [destination interfaces](https://www.avo.app/docs/reference/avo-codegen/destinations.md#destination-interface-callback-methods). It will also initialize the analytics SDKs of the legacy [Avo Managed destinations](https://www.avo.app/docs/reference/avo-codegen/destinations.md#avo-managed-destination-legacy).
##### Arguments
`options (array)`: an array with env (one of: 'dev', 'prod'), strict bool, verbose bool, logger object, customDestinationInstance object
- `env`: string, one of 'dev' or 'prod'.
- `[strict = TRUE]`: bool, if set, Avo will throw an exception when it detects a tracking problem in development or staging. Note that the strict flag is ignored in production.
- `[verbose = TRUE]`: bool, if set and strict is false, will print the error messages to console.
- `[logger]`: optional custom implementation of the logger, following the `\Psr\Log\LoggerInterface` format. Can be used to disable logs.
Custom logger interface:
```php
interface LoggerInterface
{
public function emergency($message, array $context = array());
public function alert($message, array $context = array());
public function critical($message, array $context = array());
public function error($message, array $context = array());
public function warning($message, array $context = array());
public function notice($message, array $context = array());
public function info($message, array $context = array());
public function debug($message, array $context = array());
public function log($level, $message, array $context = array());
}
```
- `[destination_instance]`: object, each destination you are sending events to gets a separate parameter in the init function with callbacks that the Avo generated code will trigger, unless you are using the legacy Avo managed destinations. Each method in the destination interface is directly mapped to the Actions attached to each event in Avo. [Learn more about event Actions in this doc](https://www.avo.app/docs/data-design/avo-tracking-plan/events.md#actions).
#### Destination interface example
```php
# Example: Destination interface for the Mixpanel SDK. Replace the Mixpanel implementation with your own tracking SDK methods
class CustomDestination {
private $mp;
# This method is optional, you can skip it if you've already initialized your Analytics SDK
function make($stub, $apiKey){
$this->mp = Mixpanel::getInstance(apiKey);
}
function log_event($user_id, $name, $properties){
$properties["distinct_id"] = $user_id;
$this->mp->track($name, $properties);
}
function set_user_properties($user_id, $array){
$this->mp->people->set($user_id, $array, $ip = 0, $ignore_time = true);
}
function log_page($user_id, $page_name, $event_properties){
# Note: Mixpanel does not provide a native method for page or screen tracking, so we send an event instead. Other SDKs may have a dedicated page tracking method.
$event_properties["distinct_id"] = $user_id;
$event_properties["page_name"] = $page_name;
$this->mp->track("Page Viewed", $event_properties);
}
function revenue($userId, $amount, $event_properties){
$this->mp->people->trackCharge($userId, $amount);
}
}
```
To add the optional `anonymousId` parameter to the callbacks in your workspace [reach out to us](https://www.avo.app/docs/help/troubleshooting.md).
Read more about the destination interface [here](https://www.avo.app/docs/reference/avo-codegen/destinations.md).
#### set_system_properties
```php
public static function set_system_properties($system_props)
```
A method to update system properties after initialization.
##### Arguments
`system_props (array)`: an array containing the system properties that should be sent with every event.
When you define system properties in your Avo workspace you set name and type - the keys in this dictionary should be the same as system properties, in snake_case, and you should provide corresponding types, can be string, int, long, float, bool, array and object.
#### Event tracking functions
```php
public static function [your_event_name]($properties = [])
```
Every event you define in your tracking plan in Avo gets a function named after the event in snake_case. The arguments of the function depend on how it's defined in your tracking plan.
##### Arguments
`properties`: an associated array of properties, defined in your Avo tracking plan. Properties can be of types string, int, long, float, bool, array and object.
Keys are:
- `user_id_`: string, added to all events, used to connect event to specific user
- snake_case converted event properties names defined in your Avo tracking plan and attached to this event.
- snake_case converted user property names defined in your Avo tracking plan and attached to this event.
### Destinations
You can send your data using the Avo generated PHP code to any data destination that accepts custom events, including:
- Amplitude
- FacebookAnalytics
- FullStory
- Mixpanel
- Mixpanel
- Permutive
- Segment
- Snowplow
- ZendeskConnect
- Adobe Analytics
- Apptelemetry
- RudderStack
- Freshpaint
- PostHog
- Google Analytics 4 / Firebase Analytics
- Heap
- Keen
- Kissmetrics
- LaunchDarkly Events
- Pendo
- Fivetran
- AppsFlyer
- Braze
- Intercom
- A home made SDK
- Internal API
---
Source: https://www.avo.app/docs/reference/avo-codegen/programming-languages/python.md
# Avo Codegen in Python
### Platforms
Avo can code generate Avo Codegen in Python for your server side tracking.
Avo supports Python 2 and Python 3.
### Quickstart
Avo Codegen usage consists of 4 steps.
[//]: # (TODO For future: Here we can add link to the "Type safe code & unit tests" docs section when that's ready, something like:)
[//]: # 'TODO Learn more about how Avo Codegen can help decrease time spent on implementing analytics and increase data reliability in this guide.'
#### Step 1. Include the Avo file
##### Pull the generated code with the Avo CLI
To get the Avo generated Python file you must be a member of an Avo workspace with a Python source. Ask for an invite from a colleague or create a [new workspace](https://www.avo.app/onboarding)
```bash npm2yarn
npm install -g avo
avo login
avo pull --branch my-branch-name
```
Learn more about [the CLI here](https://www.avo.app/docs/implementation/cli.md).
You can also [download the file manually](https://www.avo.app/docs/implementation/guides/download-or-copy-avo-file-manually.md) from your Avo workspace.
#### Step 2. Initialize Avo
Import Avo from the generated file and initialize it by calling the `init_avo` method before tracking
```python
import avo
avo.init_avo({'env': 'dev'}, ...) # other parameters depend on your tracking plan setup
```
The actual parameters depend on your tracking plan setup, see the parameters explanation in [the reference below](https://www.avo.app/docs/reference/avo-codegen/programming-languages/python.md#init_avo).
#### Step 3. Call Avo Codegen to track your product usage
Every event in your tracking plan, marked with the "Implement with Codegen" checkbox, gets a function in the generated code, named according to the event name, in snake_case.
[//]: # 'TODO Future: Add link here to the "Implement with Codegen" doc in "Tracking Plan Management"'
For example, if you have a "Signup Start" event defined like this in Avo:

You'll be able to call it like this from the generated code
```python
avo.signup_start(referral = 'direct')
```
> Notice, that you are not passing the System property with the call. System properties are defined on the init step and then automatically included with all events.
> You can update the system properties with `set_system_properties` function.
#### Step 4. Verify the implementation
Use the [Implementation status](https://www.avo.app/docs/data-design/avo-tracking-plan/implementation-status.md) in your Avo workspace to verify that your implementation is correct.
### Reference
#### init_avo
```python
avo.init_avo(options, [system_properties], [mixpanel_destination], [segment_destination], [other_destination], ...)
```
Initializes Avo, needs to be called before the tracking methods.
This method will call the `make(env, apiKey)` callback in all the provided [destination interfaces](https://www.avo.app/docs/reference/avo-codegen/destinations.md#destination-interface-callback-methods). It will also initialize the analytics SDKs of the legacy [Avo Managed destinations](https://www.avo.app/docs/reference/avo-codegen/destinations.md#avo-managed-destination-legacy).
##### Arguments
`options (dict)`: a dictionary with env (one of: 'dev', 'prod'), strict bool, verbose bool, noop bool
- `env`: string, one of 'dev' or 'prod'.
- `[noop = false]`: bool, if set, Avo won't make any network calls (no tracking) in development and staging environments. Note that the noop flag is ignored in production.
- `[strict = true]`: bool, if set, Avo will throw an exception when it detects a tracking problem in development or staging. Note that the strict flag is ignored in production.
- `[verbose = true]`: bool, if set and strict is false, will print the error messages to console.
`system_properties (dict)`: a dictionary containing the system properties that should be sent with every event.
When you define system properties in your Avo workspace you set name and type - the keys in this dictionary should be the same as system properties, in snake_case, and you should provide corresponding types, can be string, int, long, float, bool and list.
`[destination (object)]`: each destination you are sending events to gets a separate parameter in the init function with hooks that the Avo generated code will trigger, unless you are using the legacy Avo managed destinations. Each method in the destination interface is directly mapped to the Actions attached to each event in Avo. [Learn more about event Actions in this doc](https://www.avo.app/docs/data-design/avo-tracking-plan/events.md#actions).
#### Destination interface example
```python
# Example: Destination interface for the Mixpanel SDK. Replace the Mixpanel implementation with your own tracking SDK methods
class CustomDestination:
# This method is optional, you can skip it if you've already initialized your Analytics SDK
def make(self, env, apiKey):
# TODO: Replace the call below with a call to your destination
self.mp = Mixpanel(apiKey)
def track_event(self, user_id, event_name, event_properties):
# TODO: Replace the call below with a call to your destination
self.mp.track(user_id, event_name, event_properties)
def set_user_properties(self, user_id, user_properties):
# TODO: Replace the call below with a call to your destination
self.mp.people_set(user_id, user_properties)
def log_page(self, user_id, page_name, event_properties):
# TODO: Replace the call below with a call to your destination
# Note: Mixpanel does not provide a native method for page or screen tracking, so we send an event instead. Other SDKs may have a dedicated page tracking method.
event_properties["Page Name"] = page_name
self.mp.track(user_id, "Page Viewed", event_properties)
def revenue(self, user_id, amount, event_properties):
# TODO: Replace the call below with a call to your destination
self.mp.people_track_charge(user_id, amount, event_properties)
# The following methods are used for group analytics and are not required
def add_current_user_to_group(self, user_id, group_type, group_id, group_properties):
# TODO: Replace the call below with a call to your destination
self.mp.people_set(user_id, { group_type : group_id })
self.mp.group_set(group_type, group_id, group_properties)
def set_group_properties(self, group_type, group_id, group_properties):
# TODO: Replace the call below with a call to your destination
self.mp.group_set(group_type, group_id, group_properties)
def track_event_with_groups(self, user_id, event_name, event_properties, group_types_to_group_ids):
# TODO: Replace the call below with a call to your destination
for group_type in group_types_to_group_ids:
event_properties[group_type] = group_types_to_group_ids[group_type]
self.mp.track(user_id, event_name, event_properties)
# You can then call avo.init_avo with your destination interface
avo.init_avo({'env': 'dev'}, CustomDestination())
```
> Learn more about group analytics [here](https://www.avo.app/docs/data-design/best-practices/groups.md)
To add the optional `anonymousId` parameter to the callbacks in your workspace [reach out to us](https://www.avo.app/docs/help/troubleshooting.md).
##### Segment example (without the group analytics)
Here is a more specific example of how you can use the destination interface in Python to integrate with your Segment SDK. In this example we're using the [analytics](https://segment.com/docs/connections/sources/catalog/libraries/server/python/) Python SDK from Segment
```python
import analytics
# An object representing your custom destination
# that you pass into init_avo():
class SegmentDestination:
def make(self, env):
analytics.write_key = 'YOUR_WRITE_KEY'
def track_event(self, user_id, event_name, event_properties):
analytics.track(user_id, event_name, event_properties)
def set_user_properties(self, user_id, user_properties):
analytics.identify(user_id, user_properties)
def log_page(self, user_id, page_name, event_properties):
analytics.page(user_id, page_name, event_properties)
def revenue(self, user_id, amount, event_properties):
analytics.track(user_id, 'Revenue', { 'revenue': amount })
```
Read more about the destination interface [here](https://www.avo.app/docs/reference/avo-codegen/destinations.md).
#### set_system_properties
```python
avo.set_system_properties(system_props)
```
A method to update system properties.
##### Arguments
`system_props (dict)`: a dictionary containing the system properties that should be sent with every event.
When you define system properties in your Avo workspace you set name and type - the keys in this dictionary should be the same as system properties, in snake_case, and you should provide corresponding types.
#### Event tracking functions
```python
avo.your_event_name([event_property_0], [event_property_1], ..., [user_property_0], [user_property_1], ..., [user_id_], [anonymous_id_] })
```
Every event you define in your tracking plan in Avo gets a function named after the event in snake_case. The arguments of the function depend on how it's defined in your tracking plan.
##### Arguments
`event_property`: type defined in the Avo tracking plan, can be string, int, long, float, bool and list. The argument key is snake_case version of the property name defined in the Avo UI.
This is an event property that should be tracked with given event. Pass the value of the property to track here.
`user_property`: type defined in the Avo tracking plan, can be string, int, long, float, bool and list. The argument key is snake_case version of the property name defined in the Avo UI.
This is a user property that should be updated with given event. Pass the value of the property to update here.
`user_id_`: string
added to all events, used to connect event to specific user, you have to either provide it or the `anonymous_id_`
`anonymous_id_`: string, this argument is automatically added if corresponding setting is enabled, used to track anonymous users
### Destinations
You can send your data using the Avo generated JavaScript code to any data destination that accepts custom events, including:
- Amplitude
- FacebookAnalytics
- FullStory
- Mixpanel
- Mixpanel
- Permutive
- Segment
- Snowplow
- ZendeskConnect
- Adobe Analytics
- Apptelemetry
- RudderStack
- Freshpaint
- PostHog
- Google Analytics 4 / Firebase Analytics
- Heap
- Keen
- Kissmetrics
- LaunchDarkly Events
- Pendo
- Fivetran
- AppsFlyer
- Braze
- Intercom
- A home made SDK
- Internal API
---
Source: https://www.avo.app/docs/reference/avo-codegen/programming-languages/reasonml.md
# Avo Codegen in ReasonML
### Platforms
Avo can code generate Avo Codegen in ReasonML targeted at the following platforms
- Web
- React Native
- Node.js
### Quickstart
Avo Codegen usage consists of 4 steps.
[//]: # (TODO For future: Here we can add link to the "Type safe code & unit tests" docs section when that's ready, something like:)
[//]: # 'TODO Learn more about how Avo Codegen can help decrease time spent on implementing analytics and increase data reliability in this guide.'
#### Step 1. Include the Avo file
##### Pull the generated code with the Avo CLI
To get the Avo generated ReasonML file you must be a member of an Avo workspace with a ReasonML source. Ask for an invite from a colleague or create a [new workspace](https://www.avo.app/onboarding)
```bash npm2yarn
npm install -g avo
avo login
avo pull --branch my-branch-name
```
Learn more about [the CLI here](https://www.avo.app/docs/implementation/cli.md).
You can also [download the file manually](https://www.avo.app/docs/implementation/guides/download-or-copy-avo-file-manually.md) from your Avo workspace.
#### Step 2. Initialize Avo
Import Avo from the generated file and initialize it by calling the `initAvo` method before tracking
```reasonml
Avo.initAvo(
~env=`dev,
~systemProperties=Avo.AvoSystemProperties.t(),
[~destinationOptions=?],
[~mixpanelDestination=?],
[~segmentDestination=?],
[~otherDestination=?],
()
);
```
The actual parameters depend on your tracking plan setup, see the parameters explanation in [the reference below](https://www.avo.app/docs/reference/avo-codegen/programming-languages/reasonml.md#initavo).
#### Step 3. Call Avo Codegen to track your product usage
Every event in your tracking plan, marked with the "Implement with Codegen" checkbox, gets a function in the generated code, named according to the event name, in camelCase.
[//]: # 'TODO Future: Add link here to the "Implement with Codegen" doc in "Tracking Plan Management"'
For example, if you have a "Signup Start" event defined like this in Avo:

You'll be able to call it like this from the generated code
```reasonml
Avo.signupStart(~referral="direct");
```
> Notice, that you are not passing the System property with the call. System properties are defined on the init step and then automatically included with all events.
> You can update the system properties with `setSystemProperties` function.
#### Step 4. Verify the implementation
Use the [Implementation status](https://www.avo.app/docs/data-design/avo-tracking-plan/implementation-status.md) in your Avo workspace and the [visual debuggers](https://www.avo.app/docs/implementation/guides/start-using-visual-debuggers.md) to verify that your implementation is correct.
### Reference
#### initAvo
```reasonml
Avo.initAvo(
~env: AvoEnv,
~webDebugger: bool=true,
~noop: bool=false,
/*other parameters depending on your tracking plan setup*/
(): unit,
)
```
Initializes Avo, needs to be called before the tracking methods.
This method will call the `make(env, apiKey)` callback in all the provided [destination interfaces](https://www.avo.app/docs/reference/avo-codegen/destinations.md#destination-interface-callback-methods). It will also initialize the analytics SDKs of the legacy [Avo Managed destinations](https://www.avo.app/docs/reference/avo-codegen/destinations.md#avo-managed-destination-legacy).
##### Arguments
- `env`: AvoEnv, can be set to dev, prod and staging.
- `systemProperties`: AvoSystemProperties.t, where each field represents a system property in your tracking plan.
When you define system properties in your Avo workspace you set name and type - the fields of this object are named the same as system properties, in camelCase, and you should provide corresponding types, can be string, int, long, float, bool and list.
- `webDebugger`: optional bool, for optional Avo Web Debugger instance
- `[noop=false]`: optional bool, if set, Avo won't make any network calls (no tracking) in development and staging environments. Note that the noop flag is ignored in production.
- `[mobileDebugger]`: React Native specific and optional Avo Debugger instance. Pass it to make Avo Codegen automatically show the functions calls and all the errors in the visual debugger. Check [React Native mobile debugger repo](https://github.com/avohq/react-native-analytics-debugger) to learn more about it.
`destinationOptions`: `[~segmentDestinationName=?], [~anotherSegmentDestinationName=?], [~amplitudeDestinationName=?], [~mixpanelDestinationName=?]`. Keys of this object are the camelCase versions of your destinations in the Avo UI.
- `mixpanelDestinationName`: optional Js.t, if you use Mixpanel destination managed by Avo, this object will be passed to `mixpanel.init(apiKey, options)` as the second parameter, `options`
- `amplitudeDestinationName`: optional Js.t, if you use Amplitude destination managed by Avo, this object will be passed to `amplitude.init(apiKey, null, options)` as the third parameter, `options`
- `segmentDestinationName`: optional Js.t, if you use Segment destination managed by Avo, this object will be passed to `analytics.load(apiKey, options)` as the second parameter, `options`
`destination`: CustomDestination, each destination you are sending events to gets a separate parameter in the init function with hooks that the Avo generated code will trigger, unless you are using the legacy Avo managed destinations. Each method in the destination interface is directly mapped to the Actions attached to each event in Avo. [Learn more about event Actions in this doc](https://www.avo.app/docs/data-design/avo-tracking-plan/events.md#actions).
```reasonml
{
make: (env: avoEnvType, apiKey: string) => unit, // This method is optional, you can skip it if you've already initialized your Analytics SDK
logEvent: (eventName: string, eventProperties: Js.Json.t) => unit,
logPage: (pageName: string, eventProperties: Js.Json.t) => unit,
revenue: (amount: float, eventProperties: Js.Json.t) => unit,
setUserProperties: (userId: string, userProperties: Js.Json.t) => unit,
identify: (userId: string) => unit,
unidentify: unit => unit,
};
```
In Node each callback gets an additional first parameter - `userId` and, optionally, a `anonymousId` parameter. To get the `anonymousId` parameter in your workspace [reach out to us](https://www.avo.app/docs/help/troubleshooting.md).
#### Destination interface example
```reasonml
// Example: Destination interface for Avo Inspector SDK. Replace the implementation with your own tracking SDK methods
let inspectorCustomDestination: Avo.avoCustomDestination = {
make: (_env, _apiKey) => (),
logEvent: (eventName, eventProperties) => {
let () =
inspector->AvoInspector.trackSchemaFromEvent(
eventName,
eventProperties,
);
();
},
logPage: (_pageName, _eventProperties) => {
();
},
revenue: (_amount, _eventProperties) => {
();
},
setUserProperties: (_userId, _userProperties) => {
();
},
identify: _userId => {
();
},
unidentify: () => {
();
},
};
```
Read more about the destination interface [here](https://www.avo.app/docs/reference/avo-codegen/destinations.md).
#### setSystemProperties
```reasonml
Avo.setSystemProperties([~systemProperty1=?], [~systemProperty2=?], ..., ());
```
A method to update system properties. If you don't provide values here corresponding properties won't be updated
##### Arguments
`systemProperties`: a record where each field represents a system property in your tracking plan.
When you define system properties in your Avo workspace you set name and type - the fields of this object are named the same as system properties, in camelCase, and you should provide corresponding types.
#### Event tracking functions
```reasonml
Avo.yourEventName([~eventProperty0], [~eventProperty1], ..., [~userProperty0], [~userProperty1], ..., [~groupType0GroupId], [~groupType1GroupId], ..., [~groupProperty0], [~groupProperty1], ..., [~userId_], [~anonymousId_], [~segmentContext_])
```
Every event you define in your tracking plan in Avo gets a function named after the event in camelCase. The arguments of the function depend on how it's defined in your tracking plan
##### Arguments
`eventProperty`: type defined in the Avo tracking plan, can be string, int, long, float, bool and list.
Every event property attached to the event in the Avo UI gets a corresponding argument.
The argument key is camelCase version of the property name defined in the Avo UI.
Pass the value of the property to track here.
`userProperty`: type defined in the Avo tracking plan, can be string, int, long, float, bool and list.
Every user property attached to the event in the Avo UI gets a corresponding argument.
The argument key is camelCase version of the property name defined in the Avo UI.
Pass the value of the property to update here.
`groupTypeGroupId`: string, if this event has group type attached in the UI, you'll provide the group id here.
The argument key is camelCase version of the group type defined in the Avo UI with the "GroupId" suffix.
E.g. if the event has "company" group type, the property will be celled "companyGroupId" and you would provide the company name.
`groupProperty`: type defined in the Avo tracking plan, can be string, int, long, float, bool, array, object and any.
Every group property attached to the event in the Avo UI with the "Group Update" action gets a corresponding argument.
The argument key is camelCase version of the property name defined in the Avo UI.
Pass the value of the property to update here.
`userId_`: string, used to connect event to specific user
Web and React Native: Added if the event has the `Identify User` action
Node.js: added to all events, you have to either provide it or the `anonymousId_`
###### Additional arguments
`anonymousId_`: string, Node.js only, this argument is automatically added if corresponding setting is enabled, used to track anonymous users
`segmentContext_`: Js.t, Node.js only, passed down to Segment as the Segment context, e.g. `segment.track({..., context: context})`
### Destinations
You can send your data using the Avo generated ReasonML code to any data destination that accepts custom events, including:
- Amplitude
- FacebookAnalytics
- FullStory
- Mixpanel
- Mixpanel
- Permutive
- Segment
- Snowplow
- ZendeskConnect
- Adobe Analytics
- Apptelemetry
- RudderStack
- Freshpaint
- PostHog
- Google Analytics 4 / Firebase Analytics
- Heap
- Keen
- Kissmetrics
- LaunchDarkly Events
- Pendo
- Fivetran
- AppsFlyer
- Braze
- Intercom
- A home made SDK
- Internal API
---
Source: https://www.avo.app/docs/reference/avo-codegen/programming-languages/rescript.md
# Avo Codegen in ReScript
### Platforms
Avo can code generate Avo Codegen in ReScript targeted at the following platforms
- Web
- React Native
- Node.js
### Quickstart
Avo Codegen usage consists of 4 steps.
[//]: # (TODO For future: Here we can add link to the "Type safe code & unit tests" docs section when that's ready, something like:)
[//]: # 'TODO Learn more about how Avo Codegen can help decrease time spent on implementing analytics and increase data reliability in this guide.'
#### Step 1. Include the Avo file
##### Pull the generated code with the Avo CLI
To get the Avo generated ReScript file you must be a member of an Avo workspace with a ReScript source. Ask for an invite from a colleague or create a [new workspace](https://www.avo.app/onboarding)
```bash npm2yarn
npm install -g avo
avo login
avo pull --branch my-branch-name
```
Learn more about [the CLI here](https://www.avo.app/docs/implementation/cli.md).
You can also [download the file manually](https://www.avo.app/docs/implementation/guides/download-or-copy-avo-file-manually.md) from your Avo workspace.
#### Step 2. Initialize Avo
Import Avo from the generated file and initialize it by calling the `initAvo` method before tracking
```rescript
Avo.initAvo(
~env=#dev,
/*other parameters depending on your tracking plan setup*/
()
);
```
The actual parameters depend on your tracking plan setup, see the parameters explanation in [the reference below](https://www.avo.app/docs/reference/avo-codegen/programming-languages/rescript.md#initavo).
#### Step 3. Call Avo Codegen to track your product usage
Every event in your tracking plan, marked with the "Implement with Codegen" checkbox, gets a function in the generated code, named according to the event name, in camelCase.
[//]: # 'TODO Future: Add link here to the "Implement with Codegen" doc in "Tracking Plan Management"'
For example, if you have a "Signup Start" event defined like this in Avo:

You'll be able to call it like this from the generated code
```rescript
Avo.signupStart(~referral="direct");
```
> Notice, that you are not passing the System property with the call. System properties are defined on the init step and then automatically included with all events.
> You can update the system properties with `setSystemProperties` function.
#### Step 4. Verify the implementation
Use the [Implementation status](https://www.avo.app/docs/data-design/avo-tracking-plan/implementation-status.md) in your Avo workspace and the [visual debuggers](https://www.avo.app/docs/implementation/guides/start-using-visual-debuggers.md) to verify that your implementation is correct.
### Reference
#### initAvo
```rescript
Avo.initAvo(
~env: AvoEnv,
~systemProperties: AvoSystemProperties.t,
~webDebugger: bool=true,
~noop: bool=false,
[~mobileDebugger: option(mobileDebuggerInstance)=?],
[~destinationOptions: option(DestinationOptions.t())=?],
[~mixpanelDestination: avoCustomDestination],
[~segmentDestination: avoCustomDestination],
[~otherDestination: avoCustomDestination],
(): unit,
)
```
Initializes Avo, needs to be called before the tracking methods.
This method will call the `make(env)` callback in all the provided [destination interfaces](https://www.avo.app/docs/reference/avo-codegen/destinations.md#destination-interface-callback-methods). It will also initialize the analytics SDKs of the legacy [Avo Managed destinations](https://www.avo.app/docs/reference/avo-codegen/destinations.md#avo-managed-destination-legacy).
##### Arguments
- `env`: AvoEnv, can be set to dev, prod and staging.
- `systemProperties`: AvoSystemProperties.t, where each field represents a system property in your tracking plan.
When you define system properties in your Avo workspace you set name and type - the fields of this object are named the same as system properties, in camelCase, and you should provide corresponding types, can be string, int, long, float, bool and list.
- `webDebugger`: optional bool, for optional Avo Web Debugger instance
- `[noop=false]`: optional bool, if set, Avo won't make any network calls (no tracking) in development and staging environments. Note that the noop flag is ignored in production.
- `[mobileDebugger]`: React Native specific and optional Avo Debugger instance. Pass it to make Avo Codegen automatically show the functions calls and all the errors in the visual debugger. Check [React Native mobile debugger repo](https://github.com/avohq/react-native-analytics-debugger) to learn more about it.
`destinationOptions`: `[~segmentDestinationName=?], [~anotherSegmentDestinationName=?], [~amplitudeDestinationName=?], [~mixpanelDestinationName=?]`. Keys of this object are the camelCase versions of your destinations in the Avo UI.
- `mixpanelDestinationName`: optional Js.t, if you use Mixpanel destination managed by Avo, this object will be passed to `mixpanel.init(apiKey, options)` as the second parameter, `options`
- `amplitudeDestinationName`: optional Js.t, if you use Amplitude destination managed by Avo, this object will be passed to `amplitude.init(apiKey, null, options)` as the third parameter, `options`
- `segmentDestinationName`: optional Js.t, if you use Segment destination managed by Avo, this object will be passed to `analytics.load(apiKey, options)` as the second parameter, `options`
`destination`: CustomDestination, each destination you are sending events to gets a separate parameter in the init function with hooks that the Avo generated code will trigger, unless you are using the legacy Avo managed destinations. Each method in the destination interface is directly mapped to the Actions attached to each event in Avo. [Learn more about event Actions in this doc](https://www.avo.app/docs/data-design/avo-tracking-plan/events.md#actions).
Custom destination interface format:
```rescript
{
// This method is optional, you can skip it if you've already initialized your Analytics SDK
make: (env: avoEnvType, apiKey: string) => unit,
logEvent: (eventName: string, eventProperties: Js.Json.t) => unit,
logPage: (pageName: string, eventProperties: Js.Json.t) => unit,
revenue: (amount: float, eventProperties: Js.Json.t) => unit,
setUserProperties: (userId: string, userProperties: Js.Json.t) => unit,
identify: (userId: string) => unit,
unidentify: unit => unit,
};
```
In Node each callback gets an additional first parameter - `userId` and, optionally, a `anonymousId` parameter. To get the `anonymousId` parameter in your workspace [reach out to us](https://www.avo.app/docs/help/troubleshooting.md).
#### Destination interface example
```rescript
// Example: Destination interface for Avo Inspector SDK. Replace the implementation with your own tracking SDK methods
let inspectorCustomDestination: Avo.avoCustomDestination = {
make: (_env, _apiKey) => (),
logEvent: (eventName, eventProperties) => {
let () =
inspector->AvoInspector.trackSchemaFromEvent(
eventName,
eventProperties,
);
();
},
logPage: (_pageName, _eventProperties) => {
();
},
revenue: (_amount, _eventProperties) => {
();
},
setUserProperties: (_userId, _userProperties) => {
();
},
identify: _userId => {
();
},
unidentify: () => {
();
},
};
```
Read more about the destination interface [here](https://www.avo.app/docs/reference/avo-codegen/destinations.md).
#### setSystemProperties
```rescript
Avo.setSystemProperties([~systemProperty1=?], [~systemProperty2=?], ..., ());
```
A method to update system properties. If you don't provide values here corresponding properties won't be updated
##### Arguments
`systemProperties`: a record where each field represents a system property in your tracking plan.
When you define system properties in your Avo workspace you set name and type - the fields of this object are named the same as system properties,
in camelCase, and you should provide corresponding types, can be string, int, long, float, bool and list.
#### Event tracking functions
```rescript
Avo.yourEventName([~eventProperty0], [~eventProperty1], ..., [~userProperty0], [~userProperty1], ..., [~groupType0GroupId], [~groupType1GroupId], ..., [~groupProperty0], [~groupProperty1], ..., [~userId_], [~anonymousId_], [~segmentContext_])
```
Every event you define in your tracking plan in Avo gets a function named after the event in camelCase. The arguments of the function depend on how it's defined in your tracking plan
##### Arguments
`eventProperty`: type defined in the Avo tracking plan, can be string, int, long, float, bool and list.
Every event property attached to the event in the Avo UI gets a corresponding argument.
The argument key is camelCase version of the property name defined in the Avo UI.
Pass the value of the property to track here.
`userProperty`: type defined in the Avo tracking plan, can be string, int, long, float, bool and list.
Every user property attached to the event in the Avo UI gets a corresponding argument.
The argument key is camelCase version of the property name defined in the Avo UI.
Pass the value of the property to update here.
`groupTypeGroupId`: string, if this event has group type attached in the UI, you'll provide the group id here.
The argument key is camelCase version of the group type defined in the Avo UI with the "GroupId" suffix.
E.g. if the event has "company" group type, the property will be celled "companyGroupId" and you would provide the company name.
`groupProperty`: type defined in the Avo tracking plan, can be string, int, long, float, bool, array, object and any.
Every group property attached to the event in the Avo UI with the "Group Update" action gets a corresponding argument.
The argument key is camelCase version of the property name defined in the Avo UI.
Pass the value of the property to update here.
`userId_`: string, used to connect event to specific user
Web and React Native: Added if the event has the `Identify User` action
Node.js: added to all events, you have to either provide it or the `anonymousId_`
###### Additional arguments
`anonymousId_`: string, Node.js only, this argument is automatically added if corresponding setting is enabled, used to track anonymous users
`segmentContext_`: Js.t, Node.js only, passed down to Segment as the Segment context, e.g. `segment.track({..., context: context})`
### Destinations
You can send your data using the Avo generated ReScript code to any data destination that accepts custom events, including:
- Amplitude
- FacebookAnalytics
- FullStory
- Mixpanel
- Mixpanel
- Permutive
- Segment
- Snowplow
- ZendeskConnect
- Adobe Analytics
- Apptelemetry
- RudderStack
- Freshpaint
- PostHog
- Google Analytics 4 / Firebase Analytics
- Heap
- Keen
- Kissmetrics
- LaunchDarkly Events
- Pendo
- Fivetran
- AppsFlyer
- Braze
- Intercom
- A home made SDK
- Internal API
---
Source: https://www.avo.app/docs/reference/avo-codegen/programming-languages/ruby.md
# Avo Codegen in Ruby
### Platforms
Avo can code generate Avo Codegen in Ruby for your server side tracking.
### Quickstart
Avo Codegen usage consists of 4 steps.
[//]: # (TODO For future: Here we can add link to the "Type safe code & unit tests" docs section when that's ready, something like:)
[//]: # 'TODO Learn more about how Avo Codegen can help decrease time spent on implementing analytics and increase data reliability in this guide.'
#### Step 1. Include the Avo file
##### Pull the generated code with the Avo CLI
To get the Avo generated Ruby file you must be a member of an Avo workspace with a Ruby source. Ask for an invite from a colleague or create a [new workspace](https://www.avo.app/onboarding)
```bash npm2yarn
npm install -g avo
avo login
avo pull --branch my-branch-name
```
Learn more about [the CLI here](https://www.avo.app/docs/implementation/cli.md).
You can also [download the file manually](https://www.avo.app/docs/implementation/guides/download-or-copy-avo-file-manually.md) from your Avo workspace.
#### Step 2. Initialize Avo
Import Avo from the generated file and initialize it by calling the `init_avo` method before tracking
```ruby
require './avo.rb'
Avo.init_avo(options: { env: :dev }, ...) # other parameters depend on your tracking plan setup
```
The actual parameters depend on your tracking plan setup, see the parameters explanation in [the reference below](https://www.avo.app/docs/reference/avo-codegen/programming-languages/python.md#init_avo).
#### Step 3. Call Avo Codegen to track your product usage
Every event in your tracking plan, marked with the "Implement with Codegen" checkbox, gets a function in the generated code, named according to the event name, in snake_case.
[//]: # 'TODO Future: Add link here to the "Implement with Codegen" doc in "Tracking Plan Management"'
For example, if you have a "Signup Start" event defined like this in Avo:

You'll be able to call it like this from the generated code
```ruby
Avo.signup_start(referral: 'direct')
```
> Notice, that you are not passing the System property with the call. System properties are defined on the init step and then automatically included with all events.
> You can update the system properties with `set_system_properties` function.
#### Step 4. Verify the implementation
Use the [Implementation status](https://www.avo.app/docs/data-design/avo-tracking-plan/implementation-status.md) in your Avo workspace to verify that your implementation is correct.
### Reference
#### init_avo
```ruby
def self.init_avo(options:, [system_properties:], [mixpanel_destination:], [segment_destination:], [other_destination:], [logger: nil])
```
Initializes Avo, needs to be called before the tracking methods.
This method will call the `make(env, apiKey)` callback in all the provided [destination interfaces](https://www.avo.app/docs/reference/avo-codegen/destinations.md#destination-interface-callback-methods). It will also initialize the analytics SDKs of the legacy [Avo Managed destinations](https://www.avo.app/docs/reference/avo-codegen/destinations.md#avo-managed-destination-legacy).
##### Arguments
`options (Hash)`: a hash with :env symbol (:prod, :dev), :verbose (true, false)
`system_properties (Hash)`: a Hash containing the system properties that should be sent with every event.
When you define system properties in your Avo workspace you set name and type - the keys in this hash should be the same as system properties, in snake_case, and you should provide corresponding types, can be string, int, long, float, bool and list.
`[destination (object)]`: each destination you are sending events to gets a separate parameter in the init function with callbacks that the Avo generated code will trigger, unless you are using the legacy Avo managed destinations. Each method in the destination interface is directly mapped to the Actions attached to each event in Avo. [Learn more about event Actions in this doc](https://www.avo.app/docs/data-design/avo-tracking-plan/events.md#actions).
#### Destination interface example
```ruby
# Example: Destination interface for the Mixpanel SDK. Replace the Mixpanel implementation with your own tracking SDK methods
class CustomDestination
# This method is optional, you can skip it if you've already initialized your Analytics SDK
def make(env:, api_key:)
@tracker = Mixpanel::Tracker.new(api_key)
end
def track_event(user_id:, event_name:, event_properties:)
@tracker.track(user_id, event_name, event_properties)
end
def log_page(user_id:, page_name:, event_properties:)
# Note: Mixpanel does not provide a native method for page or screen tracking, so we send an event instead. Other SDKs may have a dedicated page tracking method.
event_properties["Page Name"] = page_name
@tracker.track(user_id, "Page Viewed", event_properties)
end
def revenue(user_id:, amount:, event_properties:)
@tracker.people.track_charge(user_id, amount, event_properties)
end
def set_user_properties(user_id:, user_properties:)
@tracker.people.set(user_id, user_properties)
end
end
```
To add the optional `anonymousId` parameter to the callbacks in your workspace [reach out to us](https://www.avo.app/docs/help/troubleshooting.md).
Read more about the destination interface [here](https://www.avo.app/docs/reference/avo-codegen/destinations.md).
#### set_system_properties
```ruby
def self.set_system_properties(system_props)
```
A method to update system properties.
##### Arguments
`system_props (Hash)`: a Hash containing the system properties that should be sent with every event.
When you define system properties in your Avo workspace you set name and type - the keys in this dictionary should be the same as system properties, in snake_case, and you should provide corresponding types.
#### Event tracking functions
```ruby
def self.[your_event_name]([event_property_0:], [event_property_1:], ..., [user_property_0:], [user_property_1:], ..., [user_Id:], [anonymous_id:] })
```
Every event you define in your tracking plan in Avo gets a function named after the event in snake_case. The arguments of the function depend on how it's defined in your tracking plan.
##### Arguments
`event_property`: type defined in the Avo tracking plan, can be string, int, long, float, bool, array and any. The argument key is snake_case version of the property name defined in the Avo UI.
This is an event property that should be tracked with given event. Pass the value of the property to track here.
`user_property`: type defined in the Avo tracking plan, can be string, int, long, float, bool, array and any. The argument key is snake_case version of the property name defined in the Avo UI.
This is a user property that should be updated with given event. Pass the value of the property to update here.
`user_id`: string
added to all events, used to connect event to specific user, you have to either provide it or the `anonymous_id`
`anonymous_id`: string, this argument is automatically added, used to track anonymous users
### Destinations
You can send your data using the Avo generated JavaScript code to any data destination that accepts custom events, including:
- Amplitude
- FacebookAnalytics
- FullStory
- Mixpanel
- Mixpanel
- Permutive
- Segment
- Snowplow
- ZendeskConnect
- Adobe Analytics
- Apptelemetry
- RudderStack
- Freshpaint
- PostHog
- Google Analytics 4 / Firebase Analytics
- Heap
- Keen
- Kissmetrics
- LaunchDarkly Events
- Pendo
- Fivetran
- AppsFlyer
- Braze
- Intercom
- A home made SDK
- Internal API
---
Source: https://www.avo.app/docs/reference/avo-codegen/programming-languages/swift.md
# Avo Codegen in Swift
> 💡 This page documents the single-file Swift output. Avo can also emit Swift in a "library" shape that splits the runtime from per-source types — see [Library codegen](https://www.avo.app/docs/reference/avo-codegen/library-codegen.md).
### Platforms
Avo can code generate Avo Codegen in Swift targeted at the following platforms
- iOS
- macOS
### Quickstart
Avo Codegen usage consists of 4 steps.
[//]: # (TODO For future: Here we can add link to the "Type safe code & unit tests" docs section when that's ready, something like:)
[//]: # 'TODO Learn more about how Avo Codegen can help decrease time spent on implementing analytics and increase data reliability in this guide.'
#### Step 1. Include the Avo file
##### Pull the generated code with the Avo CLI
To get the Avo generated Swift file you must be a member of an Avo workspace with a Swift source. Ask for an invite from a colleague or create a [new workspace](https://www.avo.app/onboarding)
```bash npm2yarn
npm install -g avo
avo login
avo pull --branch my-branch-name
```
Learn more about [the CLI here](https://www.avo.app/docs/implementation/cli.md).
You can also [download the file manually](https://www.avo.app/docs/implementation/guides/download-or-copy-avo-file-manually.md) from your Avo workspace.
#### Step 2. Initialize Avo
Initialize Avo by creating an object using the constructor from the generated Avo file. Store it as a property so it is accessible from other methods:
```swift
let avo = Avo(env: .dev/*, other parameters depending on your tracking plan setup*/)
```
The actual parameters depend on your tracking plan setup, see the parameters explanation in [the reference below](https://www.avo.app/docs/reference/avo-codegen/programming-languages/swift.md#constructor).
#### Step 3. Call Avo Codegen to track your product usage
Every event in your tracking plan, marked with the "Implement with Codegen" checkbox, gets a function in the generated code, named according to the event name, in camelCase.
[//]: # 'TODO Future: Add link here to the "Implement with Codegen" doc in "Tracking Plan Management"'
For example, if you have a "Signup Start" event defined like this in Avo:

You'll be able to call it like this from the generated code
```swift
avo.signupStart(referral: "direct")
```
> Notice, that you are not passing the System property with the call. System properties are defined on the init step and then automatically included with all events.
> You can update the system properties with `setSystemProperties` function.
#### Step 4. Verify the implementation
Use the [Implementation status](https://www.avo.app/docs/data-design/avo-tracking-plan/implementation-status.md) in your Avo workspace and the [Avo Inspector](https://www.avo.app/docs/reference/avo-inspector-sdks/ios.md) to verify that your implementation is correct. If you don't want to use Avo Inspector you can use the [standalone visual debugger](https://github.com/avohq/ios-analytics-debugger).
#### Step 5. Suppress warnings in the Avo files
Because of the nature of the code generation Avo files can sometimes contain warnings, that do not affect the execution of the code, but may distract you.
To avoid it we suggest to disable the warning in the Avo generated files.
To do that:
1. Select the file you want to suppress warnings for in the Xcode project navigator.
1. Click on the file to open its details view in the right-hand pane.
1. In the details view, click on the "Build Phases" tab.
1. In the "Compile Sources" section, find the file you want to suppress warnings for and click on it to select it.
1. Click on the "Compiler Flags" column next to the selected file, and add the `-w -Xanalyzer -analyzer-disable-all-checks` flags to suppress warnings.
1. Save your changes, restart Xcode and rebuild your project.

### Reference
#### Constructor
```swift
public init(env: AvoEnv,
// Other parameters may not be present, depending on your tracking plan
systemProperty0: Int, systemProperty1: Bool,
mixpanelDestination: AvoCustomDestination,
segmentDestination: AvoCustomDestination,
otherDestination: AvoCustomDestination,
strict: Bool = true, noop: Bool = false)
```
Creates an `Avo` instance that you store and inject into your app:
```swift
let avo = Avo(env: .dev/*, other parameters*/)
avo.testEmptyEvent()
```
> The returned `Avo` instance is designed to be stored and injected into your app using a dependency injection approach. Consider using [swift-dependencies](https://github.com/pointfreeco/swift-dependencies) to manage and inject the `Avo` instance throughout your app.
This method will call the `make(env, apiKey)` callback in all the provided [destination interfaces](https://www.avo.app/docs/reference/avo-codegen/destinations.md#destination-interface-callback-methods). It will also initialize the analytics SDKs of the legacy [Avo Managed destinations](https://www.avo.app/docs/reference/avo-codegen/destinations.md#avo-managed-destination-legacy).
**Legacy: Static pattern**
Legacy workspaces use the static pattern, where `initAvo` stores state globally and events are called on the `Avo` class directly:
```swift
Avo.initAvo(env: .dev/*, other parameters*/)
Avo.eventName(/*event properties*/)
```
##### Arguments
`env: AvoEnv`: Can be set to dev, prod and staging.
`systemProperties`: a number of parameters equal to the number of system properties defined in your Avo workspace.
The parameters are named the same as system properties, in camelCase, and require corresponding types: string, int, long, float, bool, list, object or any.
`destination: AvoCustomDestination`: object, each destination you are sending events to gets a separate parameter in the init function with callbacks that the Avo generated code will trigger, unless you are using the legacy Avo managed destinations. Each method in the destination interface is directly mapped to the Actions attached to each event in Avo. [Learn more about event Actions in this doc](https://www.avo.app/docs/data-design/avo-tracking-plan/events.md#actions).
```swift
public protocol AvoCustomDestination {
func make(env: AvoEnv, apiKey: String) // This method is optional, you can skip it if you've already initialized your Analytics SDK
func logEvent(eventName: String, eventProperties: [String:Any])
func logPage(pageName: String, eventProperties: [String:Any])
func revenue(amount: Double, eventProperties: [String:Any])
func setUserProperties(userId: String, userProperties: [String:Any])
func identify(userId: String)
func unidentify()
}
```
`strict: Bool = true`: bool, default value is `true`, if true, Avo will throw an exception when it detects a tracking problem in development or staging. Note that the strict flag is ignored in production.
`noop: Bool = false`: bool, default value is `false`, if true, Avo won't make any network calls (no tracking) in development and staging environments. Note that the noop flag is ignored in production.
> Note that you do not need to pass Avo Inspector instance to the constructor. It will be automatically picked up if you include the library and enable Avo Inspector for your iOS source in the Avo workspace. [Read more here](https://www.avo.app/docs/implementation/guides/start-using-inspector-with-avo-codegen.md).
#### Destination interface example
Find more examples here: https://github.com/avohq/destination-interface-code-snippets/blob/main/swift/ios/
```swift
# Example: Destination interface for the Mixpanel SDK. Replace the Mixpanel implementation with your own tracking SDK methods
class CustomDestination : AvoCustomDestination {
func make(env: AvoEnv, apiKey: String) {
Mixpanel.initialize(token: apiKey)
}
func logEvent(eventName: String, eventProperties: [String : Any]) {
Mixpanel.mainInstance().track(event: eventName, properties: eventProperties as? Properties)
}
func setUserProperties(userId: String, userProperties: [String : Any]) {
if !userProperties.isEmpty {
Mixpanel.mainInstance().people.set(properties: userProperties as! Properties)
}
}
func logPage(pageName: String, eventProperties: [String:Any]) {
// Note: Mixpanel does not provide a native method for page or screen tracking, so we send an event instead. Other SDKs may have a dedicated page tracking method.
Mixpanel.mainInstance().track(event: "Page Viewed", properties: eventProperties as? Properties)
}
func revenue(amount: Double, eventProperties: [String:Any]) {
Mixpanel.mainInstance().people.trackCharge(amount: amount, properties: eventProperties as? Properties)
}
func identify(userId: String) {
Mixpanel.mainInstance().identify(distinctId: userId)
}
func unidentify() {
Mixpanel.mainInstance().reset()
}
}
```
Read more about the destination interface [here](https://www.avo.app/docs/reference/avo-codegen/destinations.md).
#### avoLogger
```swift
var avoLogger: AvoLogger
```
where `avoLogger` conforms to a protocol
```swift
public protocol AvoLogger {
func logDebug(env: AvoEnv, message: String) -> Bool
func logWarn(env: AvoEnv, message: String) -> Bool
func logError(env: AvoEnv, message: String) -> Bool
}
```
Allows you to provide custom implementation of the logger used by Avo Codegen.
Can for example be used to disable logs or change which logging method is used.
[Find the code snippet here](https://www.avo.app/docs/reference/avo-codegen/custom-loggers.md#swift).
#### setSystemProperties
```swift
public func setSystemProperties(systemProperty0: Int, systemProperty1: Bool?, ...)
```
A method to update system properties after initialization.
##### Arguments
`systemProperties`: a number of parameters equal to the number of system properties defined in your Avo workspace.
The parameters are named the same as system properties, in camelCase, and require corresponding types: string, int, long, float, bool, list, object or any.
#### Event tracking functions
```swift
public func [yourEventName](eventProperty0: Int, eventProperty1: Double?, ..., userProperty0: Bool?, userProperty1: [Int], ..., userId_: String)
```
Every event you define in your tracking plan in Avo gets a function named after the event in camelCase. The arguments of the function depend on how it's defined in your tracking plan
##### Arguments
`eventProperty: type defined in the Avo tracking plan, can be string, int, long, float, bool, list, object and any`:
Every event property attached to the event in the Avo UI gets a corresponding argument. The argument key is camelCase version of the property name.
Pass the value of the property to track here.
`userProperty: type defined in the Avo tracking plan as a user property, can be string, int, long, float, bool, list, object and any`:
Every user property attached to the event in the Avo UI gets a corresponding argument. The argument key is camelCase version of the property name.
Pass the value of the property to update here.
`userId_: String`: used to connect event to specific user.
Added if the event has the `Identify User` action
### Snowplow interface
Snowplow SDK's tracking interface is a little different from the common event tracking libraries and working with Snowplow through Avo is slightly different too.
If you add a snowplow destination to a Swift source you'll get an additional constructor parameter
```swift
snowplowDestination: AvoSnowplowDestination
```
You'll implement it like this:
```swift
extension SnowplowDestination: AvoSnowplowDestination {
func make(env: AvoEnv) {
// Optional: You can initialize Snowplow here or leave empty if initialized elsewhere.
// Your custom Snowplow initialization, that includes the `createTracker` call
// Snowplow.createTracker(namespace: "appTracker", endpoint: "COLLECTOR_URL", method: .post)
// Learn more: https://docs.snowplow.io/docs/sources/mobile-trackers/installation-and-set-up/?platform=ios
}
func trackSelfDescribingEvent(schema: String, data: [String: Any], contexts: [[String: Any]]) {
let event = SelfDescribing(schema: schema, payload: data)
contexts.forEach { context in
event.contexts.add(
SelfDescribingJson(schema: context["schema"],
andDictionary: context["data"]))
}
Snowplow.getDefaultTracker().track(event)
// Learn more: https://docs.snowplow.io/docs/sources/mobile-trackers/installation-and-set-up/?platform=ios
}
func trackPageView(name: String) {
Snowplow.getDefaultTracker().track(ScreenView(name: name))
// Learn more: https://docs.snowplow.io/docs/sources/mobile-trackers/installation-and-set-up/?platform=ios
}
func identify(userId: String) {
Snowplow.getDefaultTracker().subject.setUserId(userId)
// Learn more: https://docs.snowplow.io/docs/sources/mobile-trackers/installation-and-set-up/?platform=ios
}
func unidentify() {
Snowplow.getDefaultTracker().subject.setUserId(nil)
// Learn more: https://docs.snowplow.io/docs/sources/mobile-trackers/installation-and-set-up/?platform=ios
}
}
let avo = Avo(..., snowplowDestination: SnowplowDestination())
```
### Destinations
You can send your data using the Avo generated Swift code to any data destination that accepts custom events, including:
- Amplitude
- FacebookAnalytics
- FullStory
- Mixpanel
- Mixpanel
- Permutive
- Segment
- Snowplow
- ZendeskConnect
- Adobe Analytics
- Apptelemetry
- RudderStack
- Freshpaint
- PostHog
- Google Analytics 4 / Firebase Analytics
- Heap
- Keen
- Kissmetrics
- LaunchDarkly Events
- Pendo
- Fivetran
- AppsFlyer
- Braze
- Intercom
- A home made SDK
- Internal API
---
Source: https://www.avo.app/docs/reference/avo-codegen/programming-languages/typescript.md
# Avo Codegen in TypeScript
> 💡 This page documents the single-file TypeScript output. Avo can also emit TypeScript in a "library" shape that splits the runtime from per-source types and a codegen-bound config file — see [Library codegen](https://www.avo.app/docs/reference/avo-codegen/library-codegen.md).
### Platforms
Avo can code generate Avo Codegen in TypeScript targeted at the following platforms
- Web
- React Native
- Node.js
### Quickstart
Avo Codegen usage consists of 4 steps.
[//]: # (TODO For future: Here we can add link to the "Type safe code & unit tests" docs section when that's ready, something like:)
[//]: # 'TODO Learn more about how Avo Codegen can help decrease time spent on implementing analytics and increase data reliability in this guide.'
#### Step 1. Include the Avo file
##### Pull the generated code with the Avo CLI
To get the Avo generated TypeScript file you must be a member of an Avo workspace with a TypeScript source. Ask for an invite from a colleague or create a [new workspace](https://www.avo.app/onboarding)
```bash npm2yarn
npm install -g avo
avo login
avo pull --branch my-branch-name
```
Learn more about [the CLI here](https://www.avo.app/docs/implementation/cli.md).
You can also [download the file manually](https://www.avo.app/docs/implementation/guides/download-or-copy-avo-file-manually.md) from your Avo workspace.
#### Step 2. Initialize Avo
Import Avo from the generated file and initialize it by calling the `initAvo` method before tracking
```typescript
import Avo from './Avo';
Avo.initAvo(
{ env: Avo.AvoEnv.Dev },
/*, other parameters depending on your tracking plan setup*/
);
```
The actual parameters depend on your tracking plan setup, see the parameters explanation in [the reference below](https://www.avo.app/docs/reference/avo-codegen/programming-languages/typescript.md#initavo).
#### Step 3. Call Avo Codegen to track your product usage
Every event in your tracking plan, marked with the "Implement with Codegen" checkbox, gets a function in the generated code, named according to the event name, in camelCase.
[//]: # 'TODO Future: Add link here to the "Implement with Codegen" doc in "Tracking Plan Management"'
For example, if you have a "Signup Start" event defined like this in Avo:

You'll be able to call it like this from the generated code
```typescript
Avo.signupStart({ referral: 'direct' });
```
> Notice, that you are not passing the System property with the call. System properties are defined on the init step and then automatically included with all events.
> You can update the system properties with `setSystemProperties` function.
##### Web + TypeScript: Generate one file per event
For Web sources using TypeScript you can enable a source setting that generates one file per event to improve tree‑shaking and reduce bundle size.
- Availability: Web + TypeScript only
- Default: Off
- Where to enable: Source → Avo Codegen Setup → "Generate one file per event"
When enabled, the generated output is split into one file per event. You still initialize Avo from `Avo.ts`; event functions are imported from `AvoEvents`.
This section describes one-file-per-event for the standard (non-library) output mode. The same setting can also be combined with TypeScript [library mode](https://www.avo.app/docs/reference/avo-codegen/library-codegen.md#one-file-per-event) — see that page for the library-mode file layout.
###### Folder structure
```text
Before
└─ Avo.ts # everything in one file
After
├─ Avo.ts # initAvo, validations, shared/runtime code
└─ AvoEvents/
├─ index.ts
├─ types.ts
├─ AppOpened.ts
└─ ... # one file per event
```
###### Migration steps
1) Turn on the setting for your Web + TypeScript source and re‑generate (`avo pull`).
2) Keep initializing Avo from `Avo.ts`.
3) Update event call sites to import from `AvoEvents`.
###### Before
```typescript
import Avo from './Avo';
Avo.emailUpdate({ /* props */ });
```
###### After
```typescript
import Avo from './Avo';
import { emailUpdate } from './AvoEvents';
Avo.initAvo(/* ... */);
emailUpdate({ /* props */ });
```
###### Reference details
- `AvoEvents/index.ts` re‑exports the per‑event default exports as named exports:
```typescript
export { default as signupStart } from './signupStart';
export { default as passwordUpdate } from './passwordUpdate';
export { default as signupComplete } from './signupComplete';
export { default as msgReceived } from './msgReceived';
export { default as emailUpdate } from './emailUpdate';
```
- `AvoEvents/types.ts` exposes shared types used by the per‑event modules:
```typescript
export interface AvoEventsModuleMap {
signupStart: typeof import('./signupStart').default;
passwordUpdate: typeof import('./passwordUpdate').default;
signupComplete: typeof import('./signupComplete').default;
msgReceived: typeof import('./msgReceived').default;
emailUpdate: typeof import('./emailUpdate').default;
}
export type EventName = keyof AvoEventsModuleMap;
export type EventFn = AvoEventsModuleMap[T];
```
#### Step 4. Verify the implementation
Use the [Implementation status](https://www.avo.app/docs/data-design/avo-tracking-plan/implementation-status.md) in your Avo workspace and the [visual debuggers](https://www.avo.app/docs/implementation/guides/start-using-visual-debuggers.md) to verify that your implementation is correct.
### Reference
#### initAvo
```typescript
Avo.initAvo(
options: {
env: AvoEnv;
webDebugger?: boolean;
strict?: boolean;
noop?: boolean;
reportFailureAs?: 'error' | 'warn' | 'log';
inspector?: AvoInspector;
avoLogger?: AvoLogger;
},
systemProperties?: {
systemProperty0: number;
systemProperty1: boolean;
...},
destinationOptions?: any,
interfaceDestination?: CustomDestination,
otherInterfaceDestination?: CustomDestination,
...Destination?: CustomDestination
```
Initializes Avo, needs to be called before the tracking methods.
This method will call the `make(env)` callback in all the provided [destination interfaces](https://www.avo.app/docs/reference/avo-codegen/destinations.md#destination-interface-callback-methods). It will also initialize the analytics SDKs of the legacy [Avo Managed destinations](https://www.avo.app/docs/reference/avo-codegen/destinations.md#avo-managed-destination-legacy).
##### Arguments
`options`: `{env, [noop], [strict], [avoLogger], [inspector], [mobileDebugger]}`
- `env`: AvoEnv, can be set to dev, prod and staging.
- `[webDebugger]: optional bool, for optional Avo Web Debugger instance
- `[strict = true]`: bool defaulting to true, if true, Avo will throw an exception when it detects a tracking problem in development or staging. Note that the strict flag is ignored in production.
- `[noop = false]`: bool defaulting to false, if true, Avo won't make any network calls (no tracking) in development and staging environments. Note that the noop flag is ignored in production.
- `[reportFailureAs]: optional, can be set to error, warn and log. Decides the log level of reports for failures.
- `[inspector]`: optional Avo Inspector instance. If you use Avo Inspector pass it here to make Avo Codegen automatically report the invocations to Avo Inspector.
- `[avoLogger]`: optional custom implementation of the logger. Can be used to disable logs. [Find the code snippet here](https://www.avo.app/docs/reference/avo-codegen/custom-loggers.md#typescript).
`systemProperties`: an object where each field represents a system property in your tracking plan.
When you define system properties in your Avo workspace you set name and type - the fields of this object are named the same as system properties, in camelCase, and you should provide corresponding types, can be string, int, long, float, bool, array, object and any.
`destinationOptions`: `{[segmentDestinationName], [anotherSegmentDestinationName], [amplitudeDestinationName], [mixpanelDestinationName]}`. Keys of this objects are the camelCase versions of your destinations in the Avo UI.
- `mixpanelDestinationName`: optional object, if you use Mixpanel destination managed by Avo, this object will be passed to `mixpanel.init(apiKey, options)` as the second parameter, `options`
- `amplitudeDestinationName`: optional object, if you use Amplitude destination managed by Avo, this object will be passed to `amplitude.init(apiKey, null, options)` as the third parameter, `options`
- `segmentDestinationName`: optional object, if you use Segment destination managed by Avo, this object will be passed to `analytics.load(apiKey, options)` as the second parameter, `options`
`destination`: CustomDestination, each destination you are sending events to gets a separate parameter in the init function with hooks that the Avo generated code will trigger, unless you are using the legacy Avo managed destinations. Each method in the destination interface is directly mapped to the Actions attached to each event in Avo. [Learn more about event Actions in this doc](https://www.avo.app/docs/data-design/avo-tracking-plan/events.md#actions).
Custom destination interface format:
```typescript
{
make?: function (env: AvoEnv): void, // This method is optional, you can skip it if you've already initialized your Analytics SDK
logEvent?: function (eventName: string, eventProperties: object): void,
setUserProperties?: function (userId: string, userProperties: object): void,
identify?: function (userId: string): void,
unidentify?: function (): void,
logPage?: function (pageName: string, eventProperties: object): void
revenue?: function (amount: number, eventProperties: object): void
// The following methods are used for group analytics and are not required. Learn more about group analytics [here](/data-design/groups)
setGroupProperties?: function(groupType: string, groupId: string, groupProperties: object),
addCurrentUserToGroup?: function(groupType: string, groupId: string, groupProperties: object),
logEventWithGroups?: function(eventName: string, eventProperties: object, groupTypesToGroupIds: object)
};
```
In Node each callback is asynchronous and gets an additional first parameter - `userId` and, optionally, a `anonymousId` parameter. To get the `anonymousId` parameter in your workspace [reach out to us](https://www.avo.app/docs/help/troubleshooting.md).
#### Destination interface example: Mixpanel
```typescript
# Example: Destination interface for the Mixpanel SDK. Replace the Mixpanel implementation with your own tracking SDK methods
let customDestination = {
make: function (env: AvoEnv, apiKey: string) {
mixpanel.getInstance().init(apiKey);
},
logEvent: function (eventName: string, eventProperties: object) {
mixpanel.getInstance().track(eventName, eventProperties);
},
setUserProperties: function (userId: string, userProperties: object) {
mixpanel.getInstance().people.set(userProperties);
},
identify: function (userId: string) {
mixpanel.getInstance().identify(userId);
},
unidentify: function () {
mixpanel.getInstance().reset();
},
logPage: function (pageName: string, eventProperties: object) {
mixpanel.track("Page Viewed", eventProperties.assign({"pageName": pageName}));
},
revenue: function (amount: number, eventProperties: object) {
mixpanel.getInstance().people.track_charge(amount, eventProperties);
},
// The following methods are used for group analytics and are not required. Learn more about group analytics [here](/data-design/groups)
setGroupProperties(
groupType: string,
groupId: string,
groupProperties: object,
) {
// Mixpanel example
mixpanel.get_group(groupType, groupId).set(groupProperties);
// Amplitude example
var identify = new amplitude.Identify().set(groupProperties);
amplitude.groupIdentify(groupType, groupId, identify);
},
addCurrentUserToGroup: function (
groupType: string,
groupId: string,
groupProperties: object,
) {
// Segment example
analytics.group(groupType, {
name: groupId,
...groupProperties,
});
// Mixpanel example
mixpanel.set_group(groupType, groupId);
mixpanel.get_group(groupType, groupId).set(groupProperties);
// Amplitude example
amplitude.getInstance().setGroup(groupType, groupId);
var identify = new amplitude.Identify().set(groupProperties);
amplitude.groupIdentify(groupType, groupId, identify);
},
logEventWithGroups: function (
eventName: string,
eventProperties: object,
groupTypesToGroupIds: object,
) {
// Mixpanel example
mixpanel.track_with_groups(eventName, eventProperties, groupTypesToGroupIds);
// Amplitude example
amplitude
.getInstance()
.logEventWithGroups(eventName, eventProperties, groupTypesToGroupIds);
},
};
```
#### Destination interface example: Segment
```typescript
# Example: Destination interface for the Segment SDK. Replace the Segment implementation with your own tracking SDK methods
let customDestination = {
make: function (env: AvoEnv, apiKey: string) {
analytics.load(apiKey)
},
logEvent: function (eventName: string, eventProperties: object) {
analytics.track(eventName, eventProperties)
},
setUserProperties: function (userId: string, userProperties: object) {
analytics.identify(userId, userProperties);
},
identify: function (userId: string) {
analytics.identify(userId);
},
unidentify: function () {
analytics.identify(null);
},
logPage: function (pageName: string, eventProperties: object) {
analytics.page(eventProperties.assign({"pageName": pageName}));
},
revenue: function (amount: number, eventProperties: object) {
analytics.track("Purchase Complete", eventProperties.assign({"revenue": amount}))
},
// The following methods are used for group analytics and are not required. Learn more about group analytics [here](/data-design/groups)
setGroupProperties(
groupType: string,
groupId: string,
groupProperties: object,
) {
analytics.group(groupId, groupProperties);
},
addCurrentUserToGroup: function (
groupType: string,
groupId: string,
) {
analytics.group(groupId)
},
logEventWithGroups: function (
eventName: string,
eventProperties: object,
groupTypesToGroupIds: object,
) {
// Not supported by the Segment SDK
},
};
```
Find destination interface snippets for different platforms and analytics destinations [in our GitHub](https://github.com/avohq/destination-interface-code-snippets/tree/main/typescript).
Read more about the destination interface [here](https://www.avo.app/docs/reference/avo-codegen/destinations.md).
#### setAvoLogger
```typescript
Avo.setAvoLogger(avoLogger);
```
This method allows you to provide custom implementation of the logger used by Avo Codegen, same as the `avoLogger` parameter in the `initAvo` call.
Can for example be used to disable logs or change which logging method is used.
##### Arguments
`avoLogger`: custom implementation of the logger. [Find the code snippet here](https://www.avo.app/docs/reference/avo-codegen/custom-loggers.md#typescript).
#### setSystemProperties
```typescript
Avo.setSystemProperties(systemProperties);
```
A method to update system properties. If you provide undefined values here corresponding properties won't be updated
##### Arguments
`systemProperties`: an object where each field represents a system property in your tracking plan.
When you define system properties in your Avo workspace you set name and type - the fields of this object are named the same as system properties, in camelCase, and you should provide corresponding types.
#### Event tracking functions
```typescript
Avo.yourEventName(properties: { [eventProperty0], [eventProperty1], ..., [userProperty0], [userProperty1], ..., [groupType0GroupId], [groupType1GroupId], ..., [groupProperty0], [groupProperty1], ..., [userId_], [anonymousId_], [segmentContext_] })
```
Every event you define in your tracking plan in Avo gets a function named after the event in camelCase. The arguments of the function depend on how it's defined in your tracking plan
##### Arguments
`eventProperty`: type defined in the Avo tracking plan, can be string, int, long, float, bool, array, object and any.
Every event property attached to the event in the Avo UI gets a corresponding argument.
The argument key is camelCase version of the property name defined in the Avo UI.
Pass the value of the property to track here.
`userProperty`: type defined in the Avo tracking plan, can be string, int, long, float, bool, array, object and any.
Every user property attached to the event in the Avo UI gets a corresponding argument.
The argument key is camelCase version of the property name defined in the Avo UI.
Pass the value of the property to update here.
`groupTypeGroupId`: string, if this event has group type attached in the UI, you'll provide the group id here.
The argument key is camelCase version of the group type defined in the Avo UI with the "GroupId" suffix.
E.g. if the event has "company" group type, the property will be celled "companyGroupId" and you would provide the company name.
`groupProperty`: type defined in the Avo tracking plan, can be string, int, long, float, bool, array, object and any.
Every group property attached to the event in the Avo UI with the "Group Update" action gets a corresponding argument.
The argument key is camelCase version of the property name defined in the Avo UI.
Pass the value of the property to update here.
`userId_`: string, used to connect event to specific user
Web and React Native: Added if the event has the `Identify User` action
Node.js: added to all events, you have to either provide it or the `anonymousId_`
###### Additional arguments
`anonymousId_`: string, Node.js only, this argument is automatically added if corresponding setting is enabled, used to track anonymous users
`segmentContext_`: object, Node.js only, passed down to Segment as the Segment context, e.g. `segment.track({..., context: context})`
### Snowplow interface
Snowplow SDK's tracking interface is a little different from the common event tracking libraries and working with Snowplow through Avo is slightly different too.
If you add a snowplow destination to a JavaScript source you'll need to provide the following object as
```typescript
options[snowplowDestination];
```
You'll implement it like this:
```typescript
const snowplowDestination = {
make: function (env: string) {
// Optional: You can initialize Snowplow here or leave empty if initialized elsewhere.
// Your custom Snowplow initialization, that includes the `newTracker` call
// newTracker('sp1', '{{collector_url}}', { appId: 'my-app-id', plugins: [] });
// Learn more: https://docs.snowplow.io/docs/sources/web-trackers/
},
trackSelfDescribingEvent: (
schema: string,
data: any,
contexts: any[],
): void => {
trackSelfDescribingEvent({
event: {
schema: schema,
data: data,
},
context: contexts,
});
// Learn more: https://docs.snowplow.io/docs/sources/web-trackers/custom-tracking-using-schemas/
},
trackPageView: (title: string): void => {
trackPageView(title);
// Learn more: https://docs.snowplow.io/docs/sources/web-trackers/custom-tracking-using-schemas/
},
identify: (userId: string): void => {
setUserId(userId);
// Learn more: https://docs.snowplow.io/docs/sources/web-trackers/custom-tracking-using-schemas/
},
unidentify: (): void => {
clearUserData();
// Learn more: https://docs.snowplow.io/docs/sources/web-trackers/custom-tracking-using-schemas/
},
};
```
### Destinations
You can send your data using the Avo generated TypeScript code to any data destination that accepts custom events, including:
- Amplitude
- FacebookAnalytics
- FullStory
- Mixpanel
- Mixpanel
- Permutive
- Segment
- Snowplow
- ZendeskConnect
- Adobe Analytics
- Apptelemetry
- RudderStack
- Freshpaint
- PostHog
- Google Analytics 4 / Firebase Analytics
- Heap
- Keen
- Kissmetrics
- LaunchDarkly Events
- Pendo
- Fivetran
- AppsFlyer
- Braze
- Intercom
- A home made SDK
- Internal API
---
Source: https://www.avo.app/docs/reference/avo-codegen/library-codegen.md
# Library codegen for Kotlin, Swift, and TypeScript
Avo can emit generated code in two shapes for Kotlin, Swift, and TypeScript sources: the default **single-source** output (one file per source) and the **library mode** output that splits the runtime from the per-source types. Both modes are supported — they serve different use cases and you can generate either from the same source.
Library mode is the better fit when you have multiple Avo sources sharing the same app, when you're building an internal tracking library reused across apps, or when you want the runtime code separated from the per-source event types. If that library is shared between repositories, see [section 4](#4-sharing-one-library-interface-across-repositories) for how to stop each repo regenerating it.
---
## 1. The shape of library mode
`avo pull` emits multiple files per source instead of one. The shared source-independent runtime — `Avo` class, validation helpers, `AvoEvent` protocol/interface, `AvoInvoke` — lives in a separate "library" file. The per-source "app" file contains only the things that change when your tracking plan changes: per-event classes and the codegen-bound IDs. Optionally, a third file is extracted with everything needed for `Avo` initialization, so initialization can be decoupled from the apps too.
### What gets generated
- **Library file**: the runtime. `AvoEnv`, `AvoAssert`, `AvoInvoke`, the `AvoEvent` protocol/interface, and the `Avo` class. Regenerated rarely. Every source generates an identical library file. Shared across all sources/apps. Optionally orchestrated from a single place — "the library".
- **App file**: per-source types and a thin config object. Regenerated whenever the tracking plan source changes.
- In TypeScript, a third file `AvoConfig.ts` holds the source config with `schemaId`/`actionId`/`branchId`/`sourceId` plus destination API keys. It has no runtime imports — just the values.
### Mental model
Events are values you construct, not method calls. You build an instance of `LoginSuccessEvent(timestamp: ..., teamId: ..., ...)` and pass it to `avo.process(event)` (Swift/Kotlin) or `avo.track(event)` (TypeScript). The call returns a map keyed by destination name, with the per-destination payload (event name + properties) for each one.
The boundary: the library file knows nothing about your tracking plan. The app file knows nothing about how validation or invocation metrics work. You decide what to do with the per-destination map the call returns — either fan out manually, or hand off to destination implementations the runtime calls for you.
---
## 2. Quick start
Enable library mode on a per-source basis with the `--forceFeatures` flag on `avo pull`. The flag names match the language:
```bash
avo pull --forceFeatures SwiftLibraryInterface
avo pull --forceFeatures KotlinLibraryInterface
avo pull --forceFeatures TypeScriptLibraryInterface
```
You can also enable these features in your Avo workspace if you'd like them on by default — [reach out](https://www.avo.app/docs/help/troubleshooting.md) and we'll switch them on for your source.
### Kotlin
`avo pull` produces:
- `Analytics.kt` — per-event data classes and `AvoTrackingPlanConfig`
- `AnalyticsLibraryInterface.kt` — runtime (`Avo` class, `AvoEvent`, `AvoAssert`, `AvoInvoke`)
Both files share the same package (inferred from the source path, default `sh.avo`). Treat them like any other Kotlin files in your project — drop them anywhere in your source tree that fits your module layout.
Initialize using the `initAvo` extension that's generated alongside the per-event classes:
```kotlin
import sh.avo.Avo
import sh.avo.AvoEnv
import sh.avo.AvoVerificationError
import sh.avo.LoginSuccessEvent
import sh.avo.initAvo
val avo = Avo.initAvo(env = AvoEnv.DEV)
try {
val payloads = avo.process(LoginSuccessEvent(
timestamp = 1730000000,
teamId = "team_42",
teamDomain = "acme.example"
))
payloads["custom"]?.let { event ->
myAnalyticsSdk.logEvent(event.name, event.properties)
}
} catch (e: AvoVerificationError) {
// Validation failed and strict mode is on.
println("[avo] ${e.messages.joinToString(", ")}")
}
```
`process()` returns `Map` keyed by destination name (lowercased identifier from your Avo workspace). In development and staging it throws `AvoVerificationError` when validation fails and `strict = true` (the default), otherwise it logs a warning and continues. In production, runtime validation is skipped entirely — `process()` never throws or logs, and always returns the destination map. Returns an empty map in noop mode.
### Swift
`avo pull` produces:
- `Analytics.swift` — `AvoTypes` namespace, per-event structs, `AvoTrackingPlanConfig`, and an `extension Avo` with a no-config `initAvo`
- `AnalyticsLibraryInterface.swift` — runtime
The app file imports `Library`. You decide where the library file lives: package it as a Swift module called `Library` (SPM package, Xcode target, internal framework — whichever fits your project) so the import resolves, or drop both files into the same module and remove the `import Library` line from the app file by hand. Either approach works; the library file is just Swift source.
Initialize:
```swift
import Library
let avo = Avo.initAvo(env: .dev)
do {
let payloads = try avo.process(event: LoginSuccessEvent(
timestamp: 1730000000,
teamId: "team_42",
teamDomain: "acme.example"
))
if let event = payloads["custom"] {
MyAnalyticsSDK.logEvent(name: event.name, properties: event.properties)
}
} catch let error as AvoVerificationError {
// Validation failed and strict mode is on.
print("Avo verification: \(error.messages.joined(separator: \", \"))")
}
```
`process(event:)` returns `[String: AvoDestinationEvent]`. In development and staging it throws `AvoVerificationError` when validation fails and `strict` is on, otherwise it logs via `NSLog` and continues. In production, runtime validation is skipped entirely — `process(event:)` never throws or logs. Returns an empty dictionary in noop mode.
### TypeScript
TypeScript library mode has two file layouts. By default `avo pull` emits one file for all events; with the **"Generate one file per event"** source setting on (Source → Avo Codegen Setup), each event gets its own module. Both layouts expose the same `./Avo` import surface, so the init, destination, and tracking code below applies to either one.
#### One file for all events
`avo pull` produces three files:
- `Avo.ts` — per-event classes (`LoginSuccessEvent`, etc.) extending `BaseAvoEvent`, plus re-exports of the public runtime surface
- `AvoLibrary.ts` — runtime (`Avo` class, `AvoEvent`, `AvoAssert`, `BaseAvoEvent`)
- `AvoConfig.ts` — codegen-bound config (default export), `DestinationKey` union, and per-destination API keys
`AvoConfig.ts` is the only file that contains your `schemaId`/`actionId`/`branchId`. Move it (and update the import path) wherever you want `Avo.init` to live — at the app level, a library level, or any module boundary.
There are no runtime dependencies outside the standard library and `fetch` (used by `AvoInvoke`).
`Avo.init` takes two arguments: a runtime `AvoConfig` and the codegen-bound config (default-exported from `AvoConfig.ts`). The recommended starting point is to wire all destinations through the runtime:
```ts
import { Avo, AvoEnv, AvoVerificationError, LoginSuccessEvent } from './Avo';
import codegenConfig from './AvoConfig';
const avo = Avo.init(
{
env: AvoEnv.Dev,
destinations: {
Custom: {
make(env, apiKey) { /* initialize your SDK */ },
logEvent(event) { myAnalyticsSDK.logEvent(event.name, event.properties); },
setUserProperties(userId, props) { myAnalyticsSDK.identify(userId, props); },
},
},
},
codegenConfig,
);
try {
avo.track(new LoginSuccessEvent(1730000000, 'team_42', 'acme.example'));
} catch (e) {
if (e instanceof AvoVerificationError) {
console.error('[avo]', e.messages.join(', '));
} else {
throw e;
}
}
```
`AvoCustomDestination` has the same shape as the custom destination interface in the single-source output — `make` (optional), `logEvent`, `setUserProperties`, `identify`, `unidentify`, `logPage`, and `revenue` — so an existing single-source destination implementation is drop-in compatible. `destinations` is all-or-nothing: if you provide any, you must provide an implementation for every `DestinationKey` or `Avo.init` will throw.
If the all-or-nothing model doesn't fit (for example, you want to fan out manually for some destinations), omit `destinations` and fan out yourself:
```ts
const avo = Avo.init({ env: AvoEnv.Dev }, codegenConfig);
try {
const payloads = avo.track(new LoginSuccessEvent(1730000000, 'team_42', 'acme.example'));
const custom = payloads['Custom'];
if (custom) {
myAnalyticsSDK.logEvent(custom.name, custom.properties);
}
} catch (e) {
if (e instanceof AvoVerificationError) {
console.error('[avo]', e.messages.join(', '));
} else {
throw e;
}
}
```
`track()` returns `Record` keyed by `DestinationKey` from `AvoConfig.ts`. It throws `AvoVerificationError` the same way Kotlin/Swift do.
#### One file per event
With the **"Generate one file per event"** source setting on, each event is split into its own module for better tree‑shaking. `avo pull` then emits an `AvoEvents/` directory and one extra file:
```text
One file for all events
├─ Avo.ts # per-event classes + runtime re-exports
├─ AvoLibrary.ts # runtime
└─ AvoConfig.ts # codegen-bound config
One file per event
├─ Avo.ts # thin barrel — re-exports everything below
├─ AvoLibrary.ts # runtime (unchanged)
├─ AvoConfig.ts # codegen-bound config (unchanged)
├─ AvoAppSystemProperties.ts # AppSystemProperties singleton
└─ AvoEvents/
├─ index.ts
├─ types.ts # shared object and enum types
└─ .ts # one module per event
```
The public import surface does not change. `Avo.ts` becomes a thin barrel that re‑exports the runtime (`Avo`, `AvoEnv`, `AvoVerificationError`, …), every per‑event class, `AppSystemProperties`, and the shared types — so `import { Avo, AvoEnv, AvoVerificationError, LoginSuccessEvent } from './Avo'` keeps working exactly as in the one-file layout above. You don't need to change any call sites.
`AppSystemProperties` moves out of `Avo.ts` into its own `AvoAppSystemProperties.ts` file so the per‑event modules can import it from a sibling — importing it from the `Avo.ts` barrel would create an import cycle, since the barrel re‑exports the per‑event files. You still import `AppSystemProperties` from `./Avo`; this is only an internal file split.
---
## 3. Differences from the single-source output
If you're switching an existing source from the single-source output to library mode, here's what changes — and what stays the same.
### Before / after
#### Kotlin
```kotlin
// Single-source
val avo = Avo(env = AvoEnv.DEV, customDestination = MyCustomDestination())
avo.loginSuccess(
timestamp = 1730000000,
teamId = "team_42",
teamDomain = "acme.example",
)
// Library mode
val avo = Avo.initAvo(env = AvoEnv.DEV)
try {
val payloads = avo.process(LoginSuccessEvent(
timestamp = 1730000000,
teamId = "team_42",
teamDomain = "acme.example",
))
payloads["custom"]?.let { event ->
myAnalyticsSdk.logEvent(event.name, event.properties)
}
} catch (e: AvoVerificationError) {
println("[avo] ${e.messages.joinToString(", ")}")
}
```
#### Swift
```swift
// Single-source
let avo = Avo(env: .dev, customDestination: MyCustomDestination())
avo.loginSuccess(
timestamp: 1730000000,
teamId: "team_42",
teamDomain: "acme.example"
)
// Library mode
let avo = Avo.initAvo(env: .dev)
do {
let payloads = try avo.process(event: LoginSuccessEvent(
timestamp: 1730000000,
teamId: "team_42",
teamDomain: "acme.example"
))
if let event = payloads["custom"] {
MyAnalyticsSDK.logEvent(name: event.name, properties: event.properties)
}
} catch let error as AvoVerificationError {
print("Avo verification: \(error.messages.joined(separator: \", \"))")
}
```
#### TypeScript
```ts
// Single-source
import Avo from './Avo';
Avo.initAvo({ env: Avo.AvoEnv.Dev }, /* destinations */ {});
Avo.loginSuccess({
timestamp: 1730000000,
teamId: 'team_42',
teamDomain: 'acme.example',
});
// Library mode
import { Avo, AvoEnv, AvoVerificationError, LoginSuccessEvent } from './Avo';
import codegenConfig from './AvoConfig';
const avo = Avo.init({ env: AvoEnv.Dev }, codegenConfig);
try {
const payloads = avo.track(new LoginSuccessEvent(1730000000, 'team_42', 'acme.example'));
const custom = payloads['Custom'];
if (custom) {
myAnalyticsSDK.logEvent(custom.name, custom.properties);
}
} catch (e) {
if (e instanceof AvoVerificationError) {
console.error('[avo]', e.messages.join(', '));
} else {
throw e;
}
}
```
### What stays the same
- **Event names, property names, and validation rules.** The tracking plan is unchanged — only the shape of the generated code differs.
- **Strict / noop modes.** `strict` (throw on validation failure in development and staging) and `noop` (drop network calls) behave the same as in the single-source output — runtime validation is skipped entirely in production, and `noop` is force-disabled in production.
- **Inspector integration.** Construct your Avo Inspector instance from the SDK and pass it into the init call — same as the single-source output.
- **Implementation status tracking.** The CLI reports event-usage status the same way regardless of mode.
- **Destination interface.** TypeScript's `AvoCustomDestination` has the same shape as the single-source custom destination (`make`, `logEvent`, `setUserProperties`, `identify`, `unidentify`, `logPage`, `revenue`) — an existing single-source implementation is drop-in compatible.
- **The `avo pull` workflow.** Same command, same authentication, same source/destination configuration in your Avo workspace.
- **Destination API keys.** Still embedded by codegen. In TypeScript they're in `AvoConfig.ts`; in Swift/Kotlin they're inside `AvoTrackingPlanConfig` and used by the `initAvo` extension.
### What changes
1. **`Avo` constructor signature.** The single-source `Avo(env:, customDestination:, ...)` (Swift/Kotlin) and the free-function `Avo.initAvo(config, destinations)` (TypeScript) become `Avo.initAvo(env:)` (Swift/Kotlin) and `Avo.init(config, codegenConfig)` (TypeScript).
2. **Event method calls become event constructors and a single `process` / `track` call.** Each `avo.someEvent(...)` becomes `avo.process(SomeEvent(...))` (Swift/Kotlin) or `avo.track(new SomeEvent(...))` (TypeScript).
3. **`process()` / `track()` throws `AvoVerificationError`.** In development and staging, library mode in all three languages throws a typed `AvoVerificationError` when `strict` is on — wrap calls in `try` / `do-catch`, see the quick-start examples. In production, runtime validation is skipped entirely, so the call never throws.
4. **TypeScript: how custom destinations are wired.** Custom destinations are passed in the `destinations` map of the runtime config, keyed by `DestinationKey`, instead of as separate `Avo` constructor arguments. All-or-nothing — provide an implementation for every `DestinationKey`, or omit `destinations` entirely and fan out manually. The `AvoCustomDestination` interface itself has the same shape as the single-source custom destination.
5. **System properties.** `setSystemProperties(...)` / `Avo.setSystemProperties(...)` becomes `AppSystemProperties.configure(...)` (Kotlin) or `AppSystemProperties.shared.configure({...})` (Swift, TypeScript). `verify()` and `process()` / `track()` throw `AvoVerificationError` with the message "AppSystemProperties.configure() must be called before sending events." if a tracked event needs system properties and `configure()` hasn't run.
6. **Imports.** Add the library file to your build and import its types where you previously imported from the single file. In Swift this is `import Library` (if you packaged it that way); in Kotlin it's `import sh.avo.*` (or whatever package your source path resolves to); in TypeScript it's `import { ... } from './Avo'` (the app file re-exports the public library surface).
---
## 4. Sharing one library interface across repositories
When one repository owns the library file and others only consume it, a plain `avo pull` on either side generates files that do not belong there. The `libraryInterfaceFileFilter` setting in `avo.json` (Avo CLI 3.6.0+) tells `avo pull` which side to generate. It only affects sources in library mode.
| Value | Generates | Use in |
|---|---|---|
| `all` (default) | Every file, as before | Repos holding both the interface and the events |
| `interface-only` | Only the library file: `AnalyticsLibraryInterface.kt` / `.swift`, `AvoLibrary.ts` | The repo that owns the shared interface |
| `events-only` | Everything else: the app file, and in TypeScript also `AvoConfig.ts`, `AvoEvents/` and `AvoAppSystemProperties.ts` | Client repos importing the interface from a shared module |
`AvoConfig.ts` is on the events side despite its name: it holds the source-specific ids and keys a shared interface must not contain.
### Configuring it
Add the keys to `avo.json` by hand — `avo init` does not prompt for them. A top-level key applies to every source; the same key on a `source` entry overrides it for that source. `avo pull --libraryInterfaceFileFilter ` overrides both for a single run without writing to `avo.json`. Each source resolves: flag → source key → top-level key → `all`.
Client repos also need **`libraryInterfaceSharedModule`** — the module the generated app files import the interface from, placed top-level or per-source the same way:
| Language | Value |
|---|---|
| Kotlin | Package name of the shared interface, e.g. `"sh.avo.shared"` |
| TypeScript | Module specifier. A bare specifier (`"@acme/analytics"`) is emitted verbatim in every generated import of the library interface. A relative one (`"../shared/AvoLibrary"`) is resolved relative to the output folder, so it only works within one repository |
| Swift | Not used — the app file already does `import Library`; ship the shared interface as that module |
The value is passed to codegen verbatim and only has an effect when the resolved filter is not `all`. The repo that owns the interface does not need it.
Shared repo:
```json
{
"libraryInterfaceFileFilter": "interface-only",
"sources": [{ "id": "...", "name": "Web", "path": "src/Avo.ts", "actionId": "...", "branchId": "...", "updatedAt": "..." }]
}
```
Each client repo:
```json
{
"libraryInterfaceFileFilter": "events-only",
"libraryInterfaceSharedModule": "@acme/analytics",
"sources": [{ "id": "...", "name": "Web", "path": "src/Avo.ts", "actionId": "...", "branchId": "...", "updatedAt": "..." }]
}
```
In a monorepo with a single `avo.json`, put the same keys on the individual `sources` entries instead. `path` stays as usual: an `interface-only` source with `path: "src/Avo.ts"` writes only `src/AvoLibrary.ts`.
### Good to know
- **Stale files are reported, never deleted.** After a filter change, `avo pull` warns `[avo] Warning: is no longer generated here because of the current libraryInterfaceFileFilter…` for each file it used to write, on every pull until you remove it.
- **`avo.json` conflicts:** if the two sides disagree on `libraryInterfaceFileFilter`, your current branch's value is kept and the discarded one is printed.
- **Invalid values** are rejected by every command that reads `avo.json`.
- **Which sources can share one interface:** the library file has no source-specific ids or keys, but its `AvoEnv` cases come from the source's destination environments — share it between repos pulling the same source, or sources with an identical set of destination environments.
---
Source: https://www.avo.app/docs/reference/avo-codegen/anonymous-user-id.md
# Handling anonymous and identified users in the client and on the server
## User identity in the client side Codegen
### Anonymous users
When working with anonymous users, analytics SDKs automatically assign anonymous user ids on a per-client level.
When a user is identified the anonymous events are associated with the identified user.
You don't need to do additional actions for this logic to work on the client side, so you are not required to provide `anonymousUserId` anywhere.
### Identified users
Client side Analytics SDKs can store the information about the currently logged in user.
It makes possible to identify user once and then send all subsequent tracking calls on behalf of the identified user.
To make an Avo function identify a user you add the Identify action to the corresponding Avo event in your tracking plan. [Learn more about the Identify action](https://www.avo.app/docs/data-design/avo-tracking-plan/events.md#identify-user).
Codegen corresponding to the events with Identify action will require a userId parameter automatically.
## User identity in the server side Codegen
Server side Codegen does not inherently maintain user identity, so it requires to specify the identifying id value for each event.
The codegen will automatically add two parameters to every Avo function in server side environments: `anonymous_id_` and `user_id`.
### Anonymous users
An "anonymous id" is used to associate events with non identified users, e.g. your device id.
In Avo functions generated for events that do not have `Identify` action, both `anonymous_id` and `user_id` are optional, so you can provide either one.
For non identified users provide the value of the `anonymous_id_` and set `user_is_` to null.
> Workspaces created before July 2023 might not get `anonymous_id_` parameters in the generated Avo functions, run `avo pull` with the `--forceFeatures ServerTrackingWithDeviceId` flag to include the parameter. You can [contact us](https://www.avo.app/docs/help/troubleshooting.md) to have it enabled by default.
### Identified users
User id is the id of an identified user.
In Avo functions generated for events that do not have `Identify` action, both `anonymous_id_` and `user_id` are optional, so you can provide one.
For identified users provide the value of the `user_id_` and set `anonymous_id_` to null.
Alternatively, some SDKs allow you to keep the `anonymous_id_` and use both when calling the SDK, like (Mixpanel)[https://docs.mixpanel.com/docs/tracking-methods/id-management/identifying-users-simplified#server-side-identity-management]
> Though both `anonymousUserId` and `userId` are optional make sure to provide at least one of them to be able to identify the user.
### Identify action in server side codegen
If you add an `Identify` action to an event in Avo, the generated code with create an Avo function that requires both `anonymous_id_` and `user_id`.
It should happen at the moment when the user gets identified and the `anonymous_id_` should be associated with the `user_id_`.
Some SDKS require you to perform the identification manually, other do it automatically. An example of the manual case is (Mixpanel's old approach)[https://developer.mixpanel.com/reference/identity-create-alias] to user identification
> Server side codegen uses the `logEvent` callback in this case. `logEvent` will provide non-null values for both `anonymous_id_` and `user_id`.
> Make sure to include `Log Event` and `Identify` action on the server side events.
---
Source: https://www.avo.app/docs/reference/avo-codegen/custom-loggers.md
# Controlling logging in Avo Codegen
> 💡 Custom loggers are currently only supported in Swift, JavaScript and
> TypeScript. [Reach out to us](https://www.avo.app/docs/help/troubleshooting.md) if you want access to
> custom loggers in your programming languages.
To get fine control over the logs you can provide a custom logger to Avo Codegen.
Notice the returned boolean, if you return `true` Avo Codegen won't print the built-in logs.
### Swift
```swift
class MyAvoLogger : AvoLogger {
func logDebug(env: AvoEnv, message: String) -> Bool {
NSLog("[debug] My avo logger: " + String(describing: env) + " " + message)
return true
}
func logWarn(env: AvoEnv, message: String) -> Bool {
NSLog("[warn] My avo logger: " + String(describing: env) + " " + message)
return false
}
func logError(env: AvoEnv, message: String) -> Bool {
NSLog("[error] My avo logger: " + String(describing: env) + " " + message)
return false
}
}
Avo.initAvo(...)
Avo.avoLogger = MyAvoLogger()
```
### JavaScript
```javascript
const avoLogger = {
logDebug: (env, message) => {
console.log("Avo Custom Logger Here!", message, env)
return true
},
logWarn: (env, message) => {
console.log("Avo Custom Logger Here!", message, env)
return true
},
logError: (env, message) => {
console.log("Avo Custom Logger Here!", message, env)
return true
}
};
Avo.initAvo(
{ env: env.DEV, ..., avoLogger: avoLogger },
...
);
```
### TypeScript
```typescript
const avoLogger = {
logDebug: (env: AvoEnv, message: string): boolean => {
console.log("Avo Custom Logger Here!", message, env)
return true
},
logWarn: (env: AvoEnv, message: string): boolean => {
console.log("Avo Custom Logger Here!", message, env)
return true
},
logError: (env: AvoEnv, message: string): boolean => {
console.log("Avo Custom Logger Here!", message, env)
return true
}
};
Avo.initAvo(
{ env: env.DEV, ..., avoLogger: avoLogger },
...
);
```
---
Source: https://www.avo.app/docs/reference/avo-codegen/destinations.md
# Destinations in Avo Codegen
Destination Interface is a set of callback methods that you implement to route data from Avo to particular analytics destination in your client. Avo triggers specific methods when you call the functions from Codegen to send events, update user properties, identify users, etc.
It provides the data ready to be sent to any analytics destination.
You can use the destination interface with any analytics platform, please [contact](https://www.avo.app/docs/help/troubleshooting.md) if you are unsure of what is
the best solution for you.
To get started using a destination interface you do the following:
1. Create a [Destination](https://www.avo.app/docs/data-design/avo-tracking-plan/define-sources-and-destinations.md#destinations-1Destination) in the Connections tab
2. Set the Destination Mode to Destination Interface in the [Codegen Setup](https://www.avo.app/docs/data-design/avo-tracking-plan/define-sources-and-destinations.md#avo-codegen-setup) tab in your Source
3. Pull the updated code by doing `avo pull [--branch my-branch] [SourceName]` in the Avo CLI
4. Initialize Avo with a custom destination ([view example for JavaScript](https://www.avo.app/docs/reference/avo-codegen/programming-languages/javascript.md#destination-interface-example))
5. Fill in the empty callback methods for sending the data to your analytics destination
## Destination Interface overview
We will be referencing _[Codegen](https://www.avo.app/docs/implementation/avo-codegen-overview.md)_, _[events](https://www.avo.app/docs/data-design/avo-tracking-plan/events.md)_, _[actions](https://www.avo.app/docs/data-design/avo-tracking-plan/events.md#actions)_ and other Avo concepts in this document. Please read [the Tracking Plan doc](https://www.avo.app/docs/avo-tracking-plan) to get familiar with Avo concepts.
With a destination interface you'll get access to callback methods for all the Avo actions. The Avo generated code triggers the callbacks when corresponding [Codegen](https://www.avo.app/docs/implementation/avo-codegen-overview.md) are called.
> Available event actions in Avo
>
> The callback methods mirror the Avo Actions you set up for given Avo Event in your tracking plan in your workspace.
> Learn how to attach actions to events in [the Tracking Plan section](https://www.avo.app/docs/data-design/avo-tracking-plan/events.md#actions).
### Destination Interface callback methods
- `make`: Triggered during Avo initialization.
Here you will usually initialize an analytics SDK with the provided apiKey parameter. You can adjust the initialization based on the `env` parameter.
> 💡 Note that if you have already initialized your destination you can leave this callback method empty or leave it out of the interface.
```pseudocode
make(env, apiKey) {
// Initialize your destination, if you haven't already
analytics.init(apiKey)
}
```
- `logEvent`: All your analytics events are managed in the Tracking Plan in Avo. Each event gets a generated Avo function. Avo events can have a [Log Event action](https://www.avo.app/docs/data-design/avo-tracking-plan/events.md#log-event) attached. This callback is invoked when an Avo function with Log Event action is called.
Here you perform the actual event tracking, calling the track/log methods of your analytics destination. Event name and event properties are provided as parameters.
```pseudocode
logEvent(eventName, eventProperties) {
// Log event in your destination
analytics.track(eventName, eventProperties)
}
```
- `identify`: If you call an Avo Function for an event with the [Identify User action](https://www.avo.app/docs/data-design/avo-tracking-plan/events.md#identify-user) in the Tracking Plan, this callback will be invoked. When calling an Avo Function that includes the Identify User action you'll need to provide a user ID.
The main use cases are signup and login.
Here you would pass the user ID to the analytics SDK for it to create a new user or attach a session to an existing user.
```pseudocode
identify(userId) {
// Identify user in your destination, if your destination supports it
analytics.identify(userId)
}
```
- `unidentify`: If you call an Avo Function for an event with the [Unidentify User action](https://www.avo.app/docs/data-design/avo-tracking-plan/events.md#unidentify-user) in the Tracking Plan, this callback will be invoked.
Here you would call a destination SDK method to detach subsequent actions from the currently identified user.
```pseudocode
unidentify() {
// Unidentify user in your destination, if your destination supports it
analytics.identify(null)
}
```
- `revenue`: If you call an Avo Function for an event with the [Log Revenue action](https://www.avo.app/docs/data-design/avo-tracking-plan/events.md#log-revenue) in the Tracking Plan, this callback will be invoked.
Here you would log the revenue to your analytics destination, many of them have a special method to log revenue.
> 💡 Note that if your destination does not support revenue tracking, you can leave this callback empty.
```pseudocode
revenue(amount, properties) {
// Log revenue in your destination, if your destination supports it
analytics.revenue(properties.productId, properties.quantity, amount)
}
```
- `page`: If you call an Avo Function for an event with the [Log Page View](https://www.avo.app/docs/data-design/avo-tracking-plan/events.md#log-page-view) action in the Tracking Plan, this callback will be invoked.
Here you would report navigation to your analytics destination.
> 💡 Note that if your destination does not support page/screen tracking, you can leave this callback empty.
```pseudocode
logPage(pageName, eventProperties) {
// Log page/screen view in your destination, if your destination supports it
analytics.page(pageName, eventProperties)
}
```
- `setUserProperties`: If you call an Avo Function for an event with the [Update User Properties action](https://www.avo.app/docs/data-design/avo-tracking-plan/events.md#update-user-properties) in the Tracking Plan, this callback will be invoked.
Here you would attach user properties to the currently identified user in your analytics platform.
> 💡 Note that if your destination does not support user properties / traits tracking, you can leave this callback empty.
```pseudocode
setUserProperties(userId, userProperties) {
// Update/set user properties in your destination, if your destination supports it
analytics.setUserProperties(userId, userProperties)
}
```
- `setGroupProperties`: You can update various group properties along with events in the Tracking Plan. If you call an Avo Function for an event with the [Update Groups action](https://www.avo.app/docs/data-design/avo-tracking-plan/events.md#update-groups) in the Tracking Plan, this callback is invoked.
Here you would update the properties for specified groups.
> 💡 Note that if your destination does not support groups / accounts property tracking, you can leave this callback empty.
```pseudocode
setGroupProperties(groupType, groupId, groupProperties) {
// Update/set group/account properties in your destination, if your destination supports it
analytics.get_group(groupType, groupId).set(groupProperties)
}
```
- `addCurrentUserToGroup`: You can add groups and group properties to an event and set the event to associate the currently identified user with the provided groups.
Can optionally update group properties along the way.
> 💡 Note that if your destination does not support groups / accounts property tracking, you can leave this callback empty.
```pseudocode
addCurrentUserToGroup(groupType, groupId, groupProperties) {
// Add user to group/account in your destination, if your destination supports it
analytics.group(groupType, { name: groupId, ...groupProperties, });
}
```
- `logEventWithGroups`: this call is same as the `logEvent` call described above, except it also associates this particular event with a group.
> 💡 Note that if your destination does not support groups / accounts property tracking, you can leave this callback empty.
```pseudocode
logEventWithGroups(eventName, eventProperties, groupTypesToGroupIds) {
// Log event with groups/accounts in your destination, if your destination supports it
analytics.track_with_groups(eventName, eventProperties, { groupType: groupId, });
}
```
### Programming language specific implementation instructions
Below are instructions on how to initialize Avo with a destination interface for
each of the supported languages:
- Web
- [JavaScript](https://www.avo.app/docs/reference/avo-codegen/programming-languages/javascript.md#destination-interface-example)
- [TypeScript](https://www.avo.app/docs/reference/avo-codegen/programming-languages/typescript.md#destination-interface-example)
- [Rescript](https://www.avo.app/docs/reference/avo-codegen/programming-languages/rescript.md#destination-interface-example)
- [ReasonML](https://www.avo.app/docs/reference/avo-codegen/programming-languages/reasonml.md#destination-interface-example)
- Mobile
- iOS
- [ Objective-C](https://www.avo.app/docs/reference/avo-codegen/programming-languages/objc.md#destination-interface-example)
- [Swift](https://www.avo.app/docs/reference/avo-codegen/programming-languages/swift.md#destination-interface-example)
- Android
- [Java](https://www.avo.app/docs/reference/avo-codegen/programming-languages/java.md#destination-interface-example)
- [Kotlin](https://www.avo.app/docs/reference/avo-codegen/programming-languages/kotlin.md#destination-interface-example)
- React Native
- [JavaScript](https://www.avo.app/docs/reference/avo-codegen/programming-languages/javascript.md#destination-interface-example)
- [TypeScript](https://www.avo.app/docs/reference/avo-codegen/programming-languages/typescript.md#destination-interface-example)
- [ReScript](https://www.avo.app/docs/reference/avo-codegen/programming-languages/rescript.md#destination-interface-example)
- [ReasonML](https://www.avo.app/docs/reference/avo-codegen/programming-languages/reasonml.md#destination-interface-example)
- Backend
- Node.js
- [JavaScript](https://www.avo.app/docs/reference/avo-codegen/programming-languages/javascript.md#destination-interface-example")
- [TypeScript](https://www.avo.app/docs/reference/avo-codegen/programming-languages/typescript.md#destination-interface-example)
- [ReScript](https://www.avo.app/docs/reference/avo-codegen/programming-languages/rescript.md#destination-interface-example)
- [ReasonML](https://www.avo.app/docs/reference/avo-codegen/programming-languages/reasonml.md#destination-interface-example)
- [Java](https://www.avo.app/docs/reference/avo-codegen/programming-languages/java.md#destination-interface-example)
- [PHP](https://www.avo.app/docs/reference/avo-codegen/programming-languages/php.md#destination-interface-example)
- [Python](https://www.avo.app/docs/reference/avo-codegen/programming-languages/python.md#destination-interface-example)
- [Ruby](https://www.avo.app/docs/reference/avo-codegen/programming-languages/ruby.md#destination-interface-example)
- [C#](https://www.avo.app/docs/reference/avo-codegen/programming-languages/csharp.md#destination-interface-example)
- Game Engines
- [C#](https://www.avo.app/docs/reference/avo-codegen/programming-languages/csharp.md#destination-interface-example)
## Snowplow destination interface
Snowplow SDK's tracking interface is a little different from the common event tracking libraries and working with Snowplow through Avo is slightly different too.
The main idea stays the same though, when you initialize the Avo analytics wrapper generated for you, you pass an object with callbacks that will be called by Avo after all the validations are done.
The callback object has the following interface:
```pseudocode
func make(env: AvoEnv)
func trackSelfDescribingEvent(schema: String, data: Dictionary,
contexts: List>)
func trackPageView(title: String)
func identify(userId: String)
func unidentify()
```
> **Snowplow context** is an object of properties (a set of property names and values) in addition to the Snowplow schema name. In code we represent the Snowplow context as a combination of two fields: string `schema`, that is pinned in the Avo UI and you don't need to provide it in the code when calling the Avo Function, and the `data`, which is an object. You provide the values for that object's fields when calling the Avo function.
In each callback you would do a specific action, that maps directly to the Snowplow SDK. Code snippets for various programming languages are available below.
1. `make` - here you would initialize your Snowplow SDK. You can skip this callback (leave empty) if you already have the Snowplow SDK initialized, the parameter will be one of `AvoEnv.Dev`, `AvoEnv.Prod`, `AvoEnv.Staging`
2. `trackSelfDescribingEvent` - this callback provides you all the data needed to track a self describing event
3. `trackPageView` - this callback is for tracking page views, with the page title as parameter, there is a corresponding method in the Snowplow SDK
4. `identify` - this callback is to assign an id of the current user, which is the call's parameter, in Snowplow it's done by assigning the user id in the Subject config
5. `unidentify` - this callback is for removing current user's identification
### Implementation instructions
- [Kotlin](https://www.avo.app/docs/reference/avo-codegen/programming-languages/kotlin.md#snowplow-interface)
- [Swift](https://www.avo.app/docs/reference/avo-codegen/programming-languages/swift.md#snowplow-interface)
- [JavaScript](https://www.avo.app/docs/reference/avo-codegen/programming-languages/javascript.md#snowplow-interface)
- [TypeScript](https://www.avo.app/docs/reference/avo-codegen/programming-languages/typescript.md#snowplow-interface)
## Avo Managed destination (legacy)
When using some language + destination combinations you can pick Avo managed destination approach.
If you choose Avo to manage your destination, you'll still have to include the destination SDK in your application, but the initialization of the library and all event actions: `Log Event`, `Update User Properties`, `Identify User`, `Unidentify User`, `Log Revenue`, `Log Page View`, `Update Groups`, will be handled by the [Codegen in the Avo generated code](https://www.avo.app/docs/implementation/avo-codegen-overview.md).
- Avo will initialize the analytics SDK with the API key you provided in the Avo UI corresponding to the specified environment when you initialize Avo
- **Log Event**: Avo will call the track method of the analytics SDK (e.g. `track(eventName, eventProperties)` in the Segment SDK) when an Avo Function corresponding to an event with `Log Event` action is called and will include the event and system properties in the call.
- **Log event with Group**: Avo will associate the track method with the specified group if the event is associated with a group in the `Log Event` action.
- **Update User Properties**: Avo will call the user properties method of the analytics SDK (e.g. `identify(userId, userProperties)` in the Segment SDK) when an Avo Function corresponding to an event with `Update User Properties` action is called and will include the user properties in the call.
- **Identify User**: Avo will call the identify method of the analytics SDK (e.g. `identify(userId)` in the Segment SDK) when an Avo Function corresponding to an event with `Identify User` action is called.
- **Unidentify User**: Avo will call the unidentify method of the analytics SDK (e.g. `identify(null)` in the Segment SDK) when an Avo Function corresponding to an event with `Unidentify User` action is called.
- **Log Revenue**: Avo will call the revenue method of the analytics SDK (e.g. `track("revenue", {"revenue": amount})` in the Segment SDK) when an Avo Function corresponding to an event with `Log Revenue` action is called.
- **Log Page View**: Avo will call the page method of the analytics SDK (e.g. `page(pageName, eventProperties)` in the Segment SDK) when an Avo Function corresponding to an event with `Log Page View` action is called and will include the event and system properties in the call.
- **Associate user with Group**: Avo will associate current user with the specified group when an Avo event with the 'Update Groups' action is triggered.
- **Update Groups Properties**: Avo will update specified group metadata when an Avo event with the 'Update Groups' action is triggered.
> Learn more about Avo actions and how to attach them to events in [the Tracking Plan section](https://www.avo.app/docs/data-design/avo-tracking-plan/events.md#actions).
---
Source: https://www.avo.app/docs/reference/avo-inspector-sdks/overview.md
# Avo Inspector SDK overview
Avo Inspector analyzes the analytics events sent from your app, without collecting the actual data (not yet another tool to add to your privacy policy). Based on that analysis Avo automatically builds a single source of truth tracking plan, covering all your products and platforms, giving you a complete overview of which is tracking what, and which is not.
Avo Inspector SDK is designed to be small and easy to include in any project.
Avo Inspector SDK extracts tracking plan information from your existing tracking calls. It provides methods to get the shape of an event you are going to send to the analytics platform and then to send that shape alongside the event name for analysis.
The SDKs are distributed with the standard mechanism of the platform, like npm package, gradle dependency or cocoapods.
## Platform documentation
- [iOS](https://www.avo.app/docs/reference/avo-inspector-sdks/ios.md)
- [Android](https://www.avo.app/docs/reference/avo-inspector-sdks/android.md)
- [Web](https://www.avo.app/docs/reference/avo-inspector-sdks/web.md)
- [React Native](https://www.avo.app/docs/reference/avo-inspector-sdks/react-native.md)
- [Node.js](https://www.avo.app/docs/reference/avo-inspector-sdks/node.md)
- [Flutter](https://www.avo.app/docs/reference/avo-inspector-sdks/dart.md)
- [Java](https://www.avo.app/docs/reference/avo-inspector-sdks/java.md)
- [Go](https://www.avo.app/docs/reference/avo-inspector-sdks/go.md)
## Avo Inspector initialization
Before using Avo Inspector SDK you need to obtain an API key from Inspector Setup in the source details of your source and provide it to the initialization method.

Then you provide the API key when defining Inspector in your code.
```swift
let avoInspector = AvoInspector(apiKey: "YOUR_API_KEY", env: AvoInspectorEnv.dev)
```
## Inspecting events
Whenever an event is tracked, you need to call either `trackSchemaFromEvent(eventName: String, eventParams: Map)` or `trackSchema(eventName: String, eventSchema: Map)`
The difference is that in the first method the event object is transformed into an event schema under the hood and in the second method you provide the event schema. Eventually in both methods the event schema is sent to Avo servers for analysis.
The event schema format is a map, similar to the format most events use, but with type names instead of actual values. For example if you track CheckoutCompleted event
```json
{
"userId": 1337,
"emailAddress": "jane.doe@avo.app",
"productId": 45,
"revenue": 15.99,
"timestamp": 1579263014,
"deviceId": "sdf-23-trr-456-0000"
}
```
The following event schema would be sent to Avo:
```json
{
"userId": "int",
"emailAddress": "string",
"productId": "int",
"revenue": "float",
"timestamp": "int",
"deviceId": "string"
}
```
Note:
You can extract the schema separately with `extractSchema(eventParams: Map)`, the same method that's used by `trackSchemaFromEvent(eventName: String, eventParams: Map)`
Example
```swift
func trackAppOpened(appOpenedEvent: Dictionary) {
tracker.track(eventName: "App Opened", eventParams: appOpenedEvent);
SceneDelegate.avoInspector?.trackSchema(fromEvent: "App Opened", eventParams: appOpenedEvent)
}
```
## Supported event schema types in Avo Inspector
`null`, `int`, `float`, `boolean`, `string`, combination of types, e.g. an optional integer would look like integer | null. If we've seen a mix of integers, strings and nulls it will be integer | string | null. List can be a part of combination. parametrized list, i. e. `list` nested objects
> Bonus: this docs you are reading [are open sourced](https://github.com/avohq/docs), if you find anything wrong or missing, please open a pull request or an issue!
## Logs
You can enable or disable logs with a method on the `AvoInspector` class (the interface may vary depending on platform, see [platform specific documentation](#platform-docs) above)
`AvoInspector.enableLogging(isEnabled)`
The printed logs are the following, in the chronological order:
- `Avo Inspector: supplied event ...`: when an event is provided to Avo Inspector
- `Avo Inspector: extracting schema from ...`: right before extraction of the schema from a supplied event
- `Avo Inspector: saved event ...`: when the event schema is saved locally to send it to Avo servers later, due to batching
- `Avo Inspector: events ...`: before sending the data it prints the list of event schemas that are going to be sent
- `Avo Inspector: batch sent successfully.`: when the event schemas are successfully sent
> When setting up Inspector make sure that you see the `Avo Inspector: batch sent successfully` log. That means that your setup is most likely correct.
## Batching
In order to ensure our SDK doesn't have a large impact on performance or battery life it supports event schemas batching. In production, default values are 30 schemas per batch and smaller batches are sent if more than 30 seconds pass between uploads. In development batching is disabled by default. You can change the values using `AvoInspector.setBatchSize(newBatchSize: Int)` and `AvoInspector.setBatchFlushSeconds(newBatchFlushSeconds: Int)` class methods to fine tune the library performance.
## App versions
When initializing Inspector SDK you'll be prompted to provide the current app version. Providing correct app version is not required, but doing so significantly improves Inspector issue reporting. By providing app version Inspector is able to tell in what version an issue was first seen, and in what version the issue was fixed. Versions also allow Inspector to report more accurately on the implementation status of your events, by focusing on the implementation status in your latest app version for every source.
We recommend using semantic versioning (e.g. "1.0.0") or other types of numeric versioning (e.g. build number) which get incremented on every release.
Examples of great app versions, incremented with every feature release:
- 4.11.2
- 1.110.0
- 1452
- 42
Examples of bad app versions:
- 0f5d04ddbb401971b2f9c7f6186f58161692c3d8
- prod.commit.b401971
Don't have versioning for your app in place? Reach out to us and we'll help you set up versioning in your app.
## What's next?
Once you have successfully installed Inspector, you can start seeing your events appear in the [Inspector events view](https://www.avo.app/docs/inspector/inspector-events-view.md) and your issues in the [Inspector Issues view](https://www.avo.app/docs/inspector/inspector-issues-view.md).
---
Source: https://www.avo.app/docs/reference/avo-inspector-sdks/android.md
# Avo Inspector Android SDK
## Quick Start Guide
Find the Quick Start Guide in our [GitHub repo](https://github.com/avohq/android-avo-inspector).
## Installation
We host the library on JitPack.io, so
add the following to the root build.gradle:
```groovy
allprojects {
repositories {
...
maven { url 'https://jitpack.io' }
}
}
```
and in your module build.gradle:
```groovy
dependencies {
debugImplementation 'com.github.avohq.android-avo-inspector:dev:TAG' // Includes the visual inspector, a tool useful to monitor your analytics calls when developing
releaseImplementation 'com.github.avohq.android-avo-inspector:prod:TAG' // Does not include the visual inspector
}
```
Use the latest GitHub release tag to get the latest version of the library.
## ProGuard
If you are using ProGuard add the following line to your proguard rules file:
```proguard
-keep class app.avo.** { *; }
```
## Import
```java
import app.avo.inspector.AvoInspector;
import app.avo.inspector.AvoInspectorEnv;
```
```kotlin
import app.avo.inspector.AvoInspector
import app.avo.inspector.AvoInspectorEnv
```
## Initialization
Obtain the API key in Inspector tab in your [Avo.app](https://www.avo.app/welcome) workspace.
You will need to create an instance of `AvoInspector` with the constructor.
```java
public AvoInspector(@NonNull String apiKey, @NonNull Application application, @NonNull AvoInspectorEnv env, @Nullable Activity rootActivityForVisualInspector, @Nullable String publicEncryptionKey)
```
```kotlin
class AvoInspector(apiKey: String, application: Application, env: AvoInspectorEnv, rootActivityForVisualInspector: Activity?, publicEncryptionKey: String?)
```
> #### Parameters:
>
> - `String apiKey` - the API key you get in Inspector tab of your Avo workspace
> - `Application application` - reference to your Application class
> - `AvoInspectorEnv env` - current environment: development, staging or production
> - `Activity rootActivityForVisualInspector` - you root activity that will be used to show Visual Inspector, a view where you can track the reported schemas.
> - `String publicEncryptionKey` (optional) - public key used to encrypt property values for secure debugging in Inspector.
[More about the Visual Inspector below](#visual-inspector)
#### Property value validation
You can enable property value validation to validate property values against the [constraints defined in your tracking plan](https://www.avo.app/docs/data-design/avo-tracking-plan/properties.md#property-types-and-constraints), such as allowed values, regex patterns, and min/max ranges.
> 💡 Property value validation is available for version 2.4.0+ of the Android Inspector SDK. If you are using an older version, please update to the latest version.
To enable property value validation:
1. **Enable property value validation in settings** - Go to workspace settings in your Avo workspace and enable [property value validation](https://www.avo.app/docs/inspector/inspector-debugger.md#enabling-advanced-debugger-features).
To be able to [decrypt the property values](https://www.avo.app/docs/inspector/inspector-debugger.md#decrypting-property-values) in the Inspector Debugger, you need to generate a public/private key pair:
**Step 1: Generate encryption keys**
Run the following command in your terminal to generate a public/private key pair:
```bash
node -e "const { createECDH } = require('crypto'); const ecdh = createECDH('prime256v1'); ecdh.generateKeys(); console.log('Private Key:', ecdh.getPrivateKey('hex')); console.log('Public Key:', ecdh.getPublicKey('hex', 'compressed'));"
```
This will output:
- **Public key** - Used by Avo to encrypt property values
- **Private key** - Used by you to decrypt values in the Inspector Debugger
**Step 2: Store your private key securely**
Save your private key in a secure location like a password manager. You'll need this to [decrypt values in the Inspector Debugger](https://www.avo.app/docs/inspector/inspector-debugger.md#decrypting-property-values). Never share or expose your private key to a third party.
**Step 3: Add the public key to the Inspector initialization**
Pass the public key when initializing the `AvoInspector` instance. Refer to the [Initialization](#initialization) section above for the constructor signature.
> 🔒 Property values are encrypted end-to-end. Avo only stores encrypted values and cannot decrypt them. Only you can decrypt the values using your private key in the Inspector Debugger dashboard.
Learn more about [decrypting property values in the Inspector Debugger](https://www.avo.app/docs/inspector/inspector-debugger.md#decrypting-property-values) and the [property value issue types](https://www.avo.app/docs/inspector/issue-types-in-inspector.md#property-value-issues) that can be detected.
## Sending event schemas to Avo Inspector
This is the core of the **Avo Inspector SDK**.
Call \***\*one of the methods\*\*** in this section every time an event is tracked.
### Option 1
```java
@NonNull Map trackSchemaFromEvent(@NonNull String eventName, @Nullable JSONObject eventProperties);
// or
@NonNull Map trackSchemaFromEvent(@NonNull String eventName, @Nullable Map eventProperties);
```
```kotlin
fun trackSchemaFromEvent(eventName: String, eventProperties: JSONObject?): Map
// or
fun trackSchemaFromEvent(eventName: String, eventProperties: Map?): Map
```
Extracts event schema from event properties represented by the second parameter (`JSONObject` or `Map`) and sends the schema to **Avo** for analysis.
> #### Parameters:
>
> - `String eventName` - event name, sometimes referred as event type.
> - `@Nullable JSONObject eventProperties` or `@Nullable Map eventProperties` - actual event properties, which will be converted to event schema on the device and the event schema will be sent to **Avo**. Resulting keys will be JSON fields keys and resulting values will be JSON fields values types converted to schema types.
>
> ##### Example format:
>
> ```java
> JSONObject eventProperties = new JSONObject();
> eventProperties.put("userId", 1337);
> eventProperties.put("emailAddress", "jane.doe@avo.app");
> eventProperties.put("key", "value");
> ```
>
> ```kotlin
> val eventProperties = JSONObject().apply {
> put("userId", 1337)
> put("emailAddress", "jane.doe@avo.app")
> put("key", "value")
> }
>
> ```
> #### Return Type:
>
> - `@NonNull Map` containing event schema, so you can verify that conversion was correct.
> Example format:
>
> ```java
> Map eventSchema = new HashMap<>();
> eventSchema.put("userId", new AvoEventSchemaType.AvoInt());
> eventSchema.put("emailAddress", new AvoEventSchemaType.AvoString());
> eventSchema.put("key", newAvoEventSchemaType.AvoString());
> ```
>
> ```kotlin
> val eventSchema = mutableMapOf().apply {
> put("userId", AvoInt())
> put("'emailAddress'", AvoString())
> put("'key'", AvoString())
> }
> ```
### Option 2
```java
void trackSchema(@NonNull String eventName, @Nullable Map eventSchema);
```
```kotlin
void trackSchema(@NonNull String eventName, @Nullable Map eventSchema);
```
This method allows you to process the event schema before sending it.
It's handy to extract the schema from your event properties with `extractSchema(Object eventProperties)` (see below), process it and then provide it to this method.
> #### Parameters:
>
> - `@NonNull String eventName` - event name, also known as event type.
> - `@Nullable Map eventSchema` - actual event schema that will be sent to **Avo**.
>
> ##### Example format:
>
> ```java
> Map eventSchema = new HashMap<>();
> eventSchema.put("userId", new AvoEventSchemaType.AvoInt());
> eventSchema.put("emailAddress", new AvoEventSchemaType.AvoString());
> eventSchema.put("key", new AvoEventSchemaType.AvoString());
> ```
>
> ```kotlin
> val eventSchema = mutableMapOf().apply {
> put("userId", AvoInt())
> put("emailAddress", AvoString())
> put("key", AvoString())
> }
> ```
See [this](https://www.avo.app/docs/reference/avo-inspector-sdks/overview.md#standalone-usage) for details about event schema structure and schema types.
## Other methods
### 1. Extract schema from event properties
```
java @NonNull Map extractSchema(@Nullable Object eventProperties);`kotlin
fun extractSchema(eventProperties: Any?): Map
```
This is the method used by `trackSchemaFromEvent` internally. Extracts event schema in form of `Map` from an event properties object.
> #### Parameters:
>
> - `@Nullable Object eventProperties` - event properties object. If it is an instance of `JSONObject` or `Map` it will be processed based on the containing key-value pairs, otherwise the event schema will be based on object fields.
> #### Return Type:
>
> - `@NonNull Map` containing event schema of the given event properties. Keys are event properties names and values are event properties types.
>
> ##### Example format:
>
> ```java
> Map eventSchema = new HashMap<>();
> eventSchema.put("userId", new AvoEventSchemaType.AvoInt());
> eventSchema.put("emailAddress", new AvoEventSchemaType.AvoString());
> eventSchema.put("key", newAvoEventSchemaType.AvoString());
> ```
>
> ```kotlin
> val eventSchema = mutableMapOf().apply {
> put("userId", AvoInt())
> put("'emailAddress'", AvoString())
> put("'key'", AvoString())
> }
>
> ```
### 2. Print logs
```java
static void enableLogging(boolean enable); // static method on AvoInspector
```
```kotlin
fun enableLogging(enable: Boolean) // static method on AvoInspector
```
`enableLogging` controls printing of tracked event schemas and other helpful information to logcat. Enabled by default in development environments.
> #### Parameters:
>
> - `boolean enable` - sets whether **Avo Inspector SDK** will print logs to the logcat.
### 3. Control batching size
```java
static public void setBatchSize(int newBatchSize) // static method on AvoInspector
```
```kotlin
fun setBatchSize(newBatchSize: Int) // static method on AvoInspector
```
Enables manual control over events batching. Default batch size in production is 30, i.e. the library attempts to send event schemas to the server when it has 30 or more schemas.
In development batching is disabled by default.
> #### Parameters:
>
> - `int newBatchSize` - sets batch size.
### 4. Control batching interval
```java
static public void setBatchFlushSeconds(int newBatchFlushSeconds) // static method on AvoInspector
```
```kotlin
fun setBatchFlushSeconds(newBatchFlushSeconds: Int) // static method on AvoInspector
```
Enables manual control over events batching. Default production batch flush interval is 30 seconds, i.e. the library attempts to send event schemas to the server when 30 or more seconds pass, given there are unsent schemas.
> #### Parameters:
>
> - `int newBatchFlushSeconds` - sets batch flush time in seconds.
## Using the Visual Inspector
Visual inspector is actually our [Mobile Debugger](https://www.avo.app/docs/reference/avo-debuggers/overview.md) integrated in Avo Inspector SDK.
Visual Inspector is enabled in development and staging environments by default.
### Show
```java
void showVisualInspector(Activity rootActivity, DebuggerMode visualInspectorMode);
```
```kotlin
fun showVisualInspector(rootActivity: Activity, visualInspectorMode: DebuggerMode)
```
### Hide
```java
void hideVisualInspector(Activity rootActivity);
```
```kotlin
fun hideVisualInspector(rootActivity: Activity)
```
### Get instance of `DebuggerManager`
```java
@Nullable Object getVisualInspector();
```
```kotlin
fun getVisualInspector(): Object?
```
In the `:dev` dependency the returned object is a nullable `DebuggerManager`. In the `:prod` dependency it always returns null.
See more about the DebuggerManager in it's [GitHub repo](https://github.com/avohq/android-analytics-debugger).
## Auto inspection with Segment SDK
Here is a code snippet you can use to easily integrate with **Segment**.
After registering the middleware schemas of all the events sent to **Segment** will automatically be sent to **Avo**, i.e. you don't need to call `trackSchemaFromEvent` or `trackSchema` methods.
```java
Middleware avoInspectorMiddleware = new Middleware() {
@Override
public void intercept(Chain chain) {
BasePayload payload = chain.payload();
if (payload.type() == BasePayload.Type.track) {
TrackPayload trackPayload = (TrackPayload) payload;
avoInspector.trackSchemaFromEvent(trackPayload.event(), trackPayload.properties());
}
chain.proceed(payload);
}
};
Analytics analytics = new Analytics.Builder(getApplicationContext(), "SEGMENT_ANALYTICS_WRITE_KEY")
.middleware(avoInspectorMiddleware)
.build();
```
```kotlin
val avoInspectorMiddleware = Middleware { chain ->
val payload = chain.payload()
if (payload.type() == BasePayload.Type.track) {
val trackPayload = payload as TrackPayload
avoInspector.trackSchemaFromEvent(trackPayload.event(), trackPayload.properties())
}
chain.proceed(payload)
}
val analytics = Analytics.Builder(applicationContext, "SEGMENT_ANALYTICS_WRITE_KEY")
.middleware(avoInspectorMiddleware)
.build()
```
See [Segment android middleware docs](https://segment.com/docs/connections/sources/catalog/libraries/mobile/android/#middlewares) for more information.
---
Source: https://www.avo.app/docs/reference/avo-inspector-sdks/dart.md
# Avo Inspector Flutter and Dart SDK
[Package on Pub.dev](https://pub.dev/packages/avo_inspector)
## Quick Start Guide
Find the Quick Start Guide in our [GitHub repo](https://github.com/avohq/flutter-avo-inspector/tree/improve-score).
## Installation
With Flutter:
```bash
flutter pub add avo_inspector
```
This will add a line like this to your package's pubspec.yaml (and run an implicit flutter pub get):
```yaml
dependencies:
avo_inspector: ^0.9.9
```
## Import
Now in your Dart code, you can use:
```dart
import 'package:avo_inspector/avo_inspector.dart';
```
## Initialization
Obtain the API key in Inspector tab in your [Avo.app](https://www.avo.app/welcome) workspace.
You will need to create an instance of **AvoInspector** with the constructor:
```dart
AvoInspector avoInspector = await AvoInspector.create(
apiKey: "my_key",
env: AvoInspectorEnv.dev,
appVersion: "1.0",
appName: "Hello Flutter");
```
> #### Parameters:
>
> - `apiKey` - the API key you get in Inspector Setup Guide in your Avo Workspace
> - `env` - current environment: `AvoInspectorEnv.dev`, `AvoInspectorEnv.staging` or `AvoInspectorEnv.prod`
> - `appVersion` - your application version. Some Inspector features rely on versioning and you need to provide a comparable string here to get value from them. We recommend using semantic versioning or integers that are incremented in every release.
> - `appName` - your application name. Optional; Provide it to make it easier to distinguish between data from different apps.
## Sending event schemas to Avo Inspector
This method gets the actual tracking event parameters, extracts the schema automatically and sends it to Avo Inspector backend. Just call this method at the same place you call your analytics tools' track methods with the same parameters.
```dart
avoInspector.trackSchemaFromEvent(
eventName: "Event name",
eventProperties: {
"String Prop": "Prop Value",
"Float Prop": 1.0,
"Boolean Prop": true});
```
> #### Parameters:
>
> - `eventName` - string event name, also known as event type.
> - `eventProperties` - The actual event properties, which will be converted to an event schema on the device and the event schema will be sent to Avo. The resulting keys will be object field names and the values will be object field value types converted to schema types.
>
## Configuring Logs
Logs are enabled by default in the dev mode and disabled in prod and staging modes.
```dart
AvoInspector.shouldLog = true;
```
> #### Parameters:
>
> - `shouldLog` - boolean flag that sets whether **Avo Inspector SDK** will print logs
>
## Batching control
In order to ensure our SDK doesn't have a large impact on performance or battery life it supports event schemas batching.
Default batch size is 30 and default batch flush timeout is 30 seconds. In development mode batching is disabled.
```dart
AvoBatcher.batchSizeThreshold = 10;
```
```dart
AvoBatcher.batchFlushSecondsThreshold = 10;
```
---
Source: https://www.avo.app/docs/reference/avo-inspector-sdks/go.md
# Avo Inspector Go SDK
## Quick Start Guide
Find the Quick Start Guide in our [GitHub repo](https://github.com/avohq/go-avo-inspector/tree/develop).
## Installation
Our library is distributed as a Go module:
```bash
go get github.com/avohq/go-avo-inspector
```
Use the latest GitHub release tag to get the latest version of the library.
## Import
```go
import (
avoinspector "github.com/avohq/go-avo-inspector"
)
```
## Initialization
Obtain the API key by opening your [Avo.app workspace settings](https://www.avo.app/schemas/default/settings), selecting the source you want to add and then click the _Inspector Setup_ tab.
You will need to create an instance of `AvoInspector`.
```go
func NewAvoInspector(
apiKey string,
env AvoInspectorEnv,
appVersion string,
appName string
) (*AvoInspector, error)
```
> #### Parameters:
>
> - `apiKey string` - the API key you get in Inspector tab of your Avo workspace
> - `env AvoInspectorEnv` - current environment: AvoInspectorEnv.Dev, AvoInspectorEnv.Staging or AvoInspectorEnv.Prod
> - `appVersion string` - app version to attribute the events to
> - `appName string` - application name
## Sending event schemas to Avo Inspector
This is the core of the **Avo Inspector SDK**.
Call the following method every time an event is tracked, so Inspector can analyze the event's schema and spot problems.
### Option 1
```go
func (inspector *AvoInspector) TrackSchemaFromEvent(
eventName string,
eventProperties map[string]interface{}
) ([]Property, error)
```
> Example usage:
>
> ```go
> func trackEvent(eventName string, eventParams map[string]interface{}) {
> tracker.Track(eventName, eventParams)
> avoInspector.TrackSchemaFromEvent(eventName, eventParams)
> }
> ```
Extracts event schema from event properties represented by the second parameter `map[string]interface{}` and sends the schema to **Avo** for analysis.
> #### Parameters:
>
> - `eventName string` - event name, sometimes referred as event type.
> - `eventProperties map[string]interface{}` - actual event properties, which will be converted to event schema on the device and the event schema will be sent to **Avo**. Resulting keys will be JSON fields keys and resulting values will be JSON fields values types converted to schema types.
>
> ##### Example format:
>
```go
map[string]interface{}{
"greeting": "hello",
"answer": 42,
}
```
> #### Return Type:
>
> - `[]avoinspector.Property` containing event schema, so you can verify that conversion was correct.
> Example format:
>
```go
[]Property{
{
PropertyName: "greeting",
PropertyType: "string",
Children: nil,
},
{
PropertyName: "answer",
PropertyType: "int",
Children: nil,
}
}
```
See [this](https://www.avo.app/docs/reference/avo-inspector-sdks/overview.md#standalone-usage) for details about event schema structure and schema types.
## Other methods
### 1. Print logs
```go
func (c *AvoInspector) ShouldLog(shouldLog bool)
```
`shouldLog` controls printing of tracked event schemas and other helpful information to logcat. Enabled by default in development environments.
> #### Parameters:
>
> - `shouldLog bool` - sets whether **Avo Inspector SDK** will print logs to console.
---
Source: https://www.avo.app/docs/reference/avo-inspector-sdks/ios.md
# Avo Inspector iOS SDK
## Quick Start Guide
Quick start guides are available in the GitHub repos:
[Swift Package Manager guide](https://github.com/avohq/ios-avo-inspector-spm)
[CocoaPods guide](https://github.com/avohq/ios-avo-inspector)
## Installation
AvoInspector is available through CocoaPods and Swift Package manager.
To install it through CocoaPods, add the following line to your Podfile:
```ruby
pod 'AvoInspector'
```
The latest version can be found in [GitHub releases](https://github.com/avohq/ios-avo-inspector/releases) tab.
To install with SPM, search for `https://github.com/avohq/ios-avo-inspector-spm` in Xcode.
## Import
```swift
import AvoInspector
```
```objectivec
#import
```
## Initialization
Obtain the API key in Inspector tab in your [Avo.app](https://www.avo.app/welcome) workspace.
You will need to create an instance of `AvoInspector` with the constructor.
```swift
init(apiKey: String, env: AvoInspectorEnv, proxyEndpoint: String?, publicEncryptionKey: String?)
```
```objectivec
-(instancetype) initWithApiKey: (NSString *) apiKey env: (AvoInspectorEnv) env proxyEndpoint: (NSString *) proxyEndpoint publicEncryptionKey: (NSString * _Nullable) publicEncryptionKey {
```
> #### Parameters:
>
> - `String apiKey` - the API key you get in Inspector tab of your Avo workspace
> - `AvoInspectorEnv env` - current environment: development, staging or production
> - `String proxyEndpoint` - proxy endpoint used by the SDK for network requests
> - `String publicEncryptionKey` (optional) - public key used to encrypt property values for secure debugging in Inspector
#### Property value validation
You can enable property value validation to validate property values against the [constraints defined in your tracking plan](https://www.avo.app/docs/data-design/avo-tracking-plan/properties.md#property-types-and-constraints), such as allowed values, regex patterns, and min/max ranges.
> 💡 Property value validation is available for CocoaPods 3.0.0+ or SPM 4.0.0+ of the iOS Inspector SDK. If you are using an older version, please update to the latest version.
To enable property value validation:
1. **Enable property value validation in settings** - Go to workspace settings in your Avo workspace and enable [property value validation](https://www.avo.app/docs/inspector/inspector-debugger.md#enabling-advanced-debugger-features).
To be able to [decrypt the property values](https://www.avo.app/docs/inspector/inspector-debugger.md#decrypting-property-values) in the Inspector Debugger, you need to generate a public/private key pair:
**Step 1: Generate encryption keys**
Run the following command in your terminal to generate a public/private key pair:
```bash
node -e "const { createECDH } = require('crypto'); const ecdh = createECDH('prime256v1'); ecdh.generateKeys(); console.log('Private Key:', ecdh.getPrivateKey('hex')); console.log('Public Key:', ecdh.getPublicKey('hex', 'compressed'));"
```
This will output:
- **Public key** - Used by Avo to encrypt property values
- **Private key** - Used by you to decrypt values in the Inspector Debugger
**Step 2: Store your private key securely**
Save your private key in a secure location like a password manager. You'll need this to [decrypt values in the Inspector Debugger](https://www.avo.app/docs/inspector/inspector-debugger.md#decrypting-property-values). Never share or expose your private key to a third party.
**Step 3: Add the public key to the Inspector initialization**
Pass the public key when initializing the `AvoInspector` instance. Refer to the [Initialization](#initialization) section above for the constructor signature.
> 🔒 Property values are encrypted end-to-end. Avo only stores encrypted values and cannot decrypt them. Only you can decrypt the values using your private key in the Inspector Debugger dashboard.
Learn more about [decrypting property values in the Inspector Debugger](https://www.avo.app/docs/inspector/inspector-debugger.md#decrypting-property-values) and the [property value issue types](https://www.avo.app/docs/inspector/issue-types-in-inspector.md#property-value-issues) that can be detected.
## Sending event schemas to Avo Inspector
This is the core of the **Avo Inspector SDK**.
Call \***\*one of the methods\*\*** in this section every time an event is tracked.
### Option 1
```swift
func trackSchema(fromEvent eventName: String?, eventParams params: [String : Any?]?) -> [String : AvoEventSchemaType]?
```
```objectivec
-(NSDictionary *) trackSchemaFromEvent:(NSString *) eventName eventParams:(NSDictionary *) params;
```
> #### Parameters:
>
> - `eventName: String` - event name, sometimes referred as event type.
> - `eventProperties: NSDictionary *` - event properties, which will be converted to event schema on the device and the event schema will be sent to **Avo**. Resulting keys will be the same and resulting values will be original value's types converted to schema types.
>
> ##### Example format:
>
> ```swift
> let eventProperties: [String : Any] = [
> "userId": 1337,
> "emailAddress": "jane.doe@avo.app",
> "key": "value"
> ]
> ```
>
> ```objectivec
> NSDictionary *eventProperties = @{
> @"userId": @1337,
> @"emailAddress": @"jane.doe@avo.app",
> @"key": @"value"
> };
> ```
> #### Return Type:
>
> - `NSDictionary *` containing event schema, so you can verify that conversion was correct.
>
> ##### Example format:
>
> ```swift
> let eventSchema: [String : AvoEventSchemaType] = [
> "userId": AvoInt(),
> "emailAddress": AvoString(),
> "key": AvoString()
> ]
> ```
>
> ```objectivec
> NSDictionary \*eventSchema = @{
> @"userId": [AvoInt new],
> @"emailAddress": [AvoString new],
> @"key": [AvoString new]
> };
> ```
### Option 2
```swift
func trackSchema(eventName: String, eventSchema: NSDictionary)
```
```objectivec
-(void) trackSchema:(NSString *) eventName eventSchema:(NSDictionary *) schema;
```
This method allows you to process the event schema before sending it.
It's handy to extract the schema from your event properties with `extractSchema(eventProperties: NSDictionary)` (see below), process it and then provide it to this method.
> #### Parameters:
>
> - `eventName: String` - event name, sometimes referred as event type.
> - `eventSchema: NSDictionary *` - actual event schema that will be sent to **Avo**. Keys are event properties names and values are event properties types.
>
> ##### Example format:
>
> ```swift
> let eventSchema: [String : AvoEventSchemaType] = [
> "userId": AvoInt(),
> "emailAddress": AvoString(),
> "key": AvoString()
> ]
> ```
>
> ```objectivec
> NSDictionary \*eventSchema = @{
> @"userId": [AvoInt new],
> @"emailAddress": [AvoString new],
> @"key": [AvoString new]
> };
> ```
See [this](https://www.avo.app/docs/reference/avo-inspector-sdks/overview.md#standalone-usage) for details about event schema structure and schema types.
## Other methods
### 1. Extract schema from event properties
```swift
func extractSchema(eventProperties: NSDictionary) -> NSDictionary
```
```objectivec
-(NSDictionary _) extractSchema:(NSDictionary \*) eventParams;
```
This is the method used by `trackSchemaFromEvent` internally. It extracts the event schema in form of an `NSDictionary` from an event properties NSDictionary.
> #### Parameters:
>
> - `eventProperties: NSDictionary` - event properties object. Keys are event properties names and values are event properties values.
>
> #### Return Type:
>
> - `NSDictionary *` containing event schema of the given event properties. Keys are event properties names and values are event properties types.
> Example format:
>
> ```swift
> let eventSchema: [String : AvoEventSchemaType] = [
> "userId": AvoInt(),
> "emailAddress": AvoString(),
> "key": AvoString()
>
> ]
> ```
>
> ```objectivec
> NSDictionary \*eventSchema = @{
> @"userId": [AvoInt new],
> @"emailAddress": [AvoString new],
> @"key": [AvoString new]
> };
> ```
### 2. Print logs
```swift
func enableLogging(enable: Bool)
```
```objectivec
+(void) enableLogging:(BOOL) enable;
```
This is a class method.
`enableLogging` controls printing of tracked event schemas and other helpful information. Enabled by default in development environments.
> #### Parameters:
>
> - `enable: Bool` - sets whether **Avo Inspector SDK** will print logs.
### 3. Control batching size
```swift
func setBatchSize(newBatchSize: Int32)
```
```objectivec
+(void) setBatchSize:(int) newBatchSize;
```
This is a class method.
Enables manual control over events batching. Default batch size in production is 30, i.e. the library attempts to send event schemas to the server when it has 30 or more schemas.
In development batching is disabled by default.
> #### Parameters:
>
> - `newBatchSize: Int32` - sets batch size.
### 4. Control batching interval
```swift
func setBatchFlushSeconds(newBatchFlushSeconds: Int32)
```
```objectivec
+(void) setBatchFlushSeconds: (int) newBatchFlushSeconds;
```
This is a class method.
Enables manual control over events batching. Default production batch flush interval is 30 seconds, i.e. the library attempts to send event schemas to the server when 30 or more seconds pass, given there are unsent schemas.
> #### Parameters:
>
> - `newBatchFlushSeconds: Int32` - sets batch flush time in seconds.
## Migrating from v1 to v2 of CocoaPods distribution
Before the release 2.0.0 the CocoaPods Inspector SDK bundled the [Mobile Debugger](https://www.avo.app/docs/reference/avo-debuggers/mobile.md#open-source-repositories-and-platform-specific-integration-docs). Starting from release 2.0.0 the Mobile Debugger is available as a standalone library. This approach will allow you to get greater control over your app dependencies, not including the Mobile Debugger into the production build. The Mobile Debugger is designed to be used in development and staging builds only.
After including the [Mobile debugger](https://cocoapods.org/pods/IosAnalyticsDebugger) into your project the Visual Inspector methods from versions prior to 2.0.0 map to the Mobile debugger methods in the following way:
```swift
inspector.show(avoVisualInspectorType)
```
```objectivec
[inspector showVisualInspector: avoVisualInspectorType];
```
becomes
```swift
debugger.showBubble()
```
```objectivec
[debugger showBubbleDebugger];
```
and
```swift
func hideVisualInspector()
```
```objectivec
- (void) hideVisualInspector;
```
becomes
```swift
debugger.hide()
```
```objectivec
[debugger hideDebugger];
```
To see the events you send to Inspector in the Mobile Debugger add the following code next to the Inspector call.
Given you have the following code to report to Inspector
```swift
avoInspector.trackSchema(fromEvent: myEventName, eventParams: myEventProps)
```
add the following code to see the same event in the Mobile Debugger
```swift
var debuggerProps: [DebuggerProp] = []
let debuggerErrors: [Any] = []
for (key, value) in myEventProps {
debuggerProps.append(DebuggerProp(id: key, name: key, value: String(describing: value)))
}
debugger.publishEvent(myEventName, withTimestamp: NSNumber(value: NSDate().timeIntervalSince1970),
withProperties: debuggerProps, withErrors: debuggerErrors)
```
Learn more about the debugger setup and initialization [here](https://github.com/avohq/ios-analytics-debugger).
## Using the Mobile Debugger
When using the Inspector SDK we recommend to also add the [Avo Mobile Debugger](https://www.avo.app/docs/reference/avo-debuggers/overview.md) to your development builds to verify tracking implementation.
To use the Visual Inspector with Swift Package Manager, include https://github.com/avohq/ios-analytics-debugger-spm
To use the Mobile Debugger with CocoaPods, include https://cocoapods.org/pods/IosAnalyticsDebugger
## Auto inspection with Segment SDK
Here is a code snippet you can use to easily integrate with **Segment**.
After registering this middleware every events sent to **Segment** will be automatically analyzed by **Avo**, i.e. you don't need to call `trackSchemaFromEvent` or `trackSchema` methods.
```swift
let config = SEGAnalyticsConfiguration(writeKey: "YOUR_WRITEKEY_HERE")
let avoMiddleware = SEGBlockMiddleware { (context, next) in
if let trackPayload = context.payload as? SEGTrackPayload {
avoInspector.trackSchema(fromEvent: trackPayload.event, eventParams: Dictionary(uniqueKeysWithValues:
trackPayload.properties?.map { key, value in (key.description, value) } ?? []))
}
next(context)
}
config.middlewares = [ avoMiddleware ]
SEGAnalytics.setup(with: config)
```
```objectivec
SEGAnalyticsConfiguration * config = [SEGAnalyticsConfiguration configurationWithWriteKey: @"YOUR_WRITEKEY_HERE"];
SEGBlockMiddleware * avoMiddleware = [[SEGBlockMiddleware alloc] initWithBlock:^(SEGContext * _Nonnull context, SEGMiddlewareNext _Nonnull next) {
SEGPayload * payload = [context payload];
if ([payload isKindOfClass:[SEGTrackPayload class]]) {
SEGTrackPayload * trackPayload = (SEGTrackPayload *) payload;
[avoInspector trackSchemaFromEvent:[trackPayload event] eventParams:[trackPayload properties]];
}
next(context);
}];
config.middlewares = @[avoMiddleware];
[SEGAnalytics setupWithConfiguration:config];
```
See [Segment iOS middleware docs](https://segment.com/docs/connections/sources/catalog/libraries/mobile/ios/#middlewares) for more information.
---
Source: https://www.avo.app/docs/reference/avo-inspector-sdks/java.md
# Avo Inspector Java SDK
## Quick Start Guide
Find the Quick Start Guide in our [GitHub repo](https://github.com/avohq/java-avo-inspector).
## Installation
We host the library on JitPack.io, so
add the following to the root build.gradle:
```groovy
repositories {
mavenCentral()
...
maven { url 'https://jitpack.io' }
}
```
and:
```groovy
dependencies {
debugImplementation 'com.github.avohq.java-avo-inspector:TAG'
}
```
Use the latest GitHub release tag to get the latest version of the library.
## Import
```java
import is.avo.inspector.AvoEventSchemaType;
import is.avo.inspector.AvoInspector;
import is.avo.inspector.AvoInspectorEnv;
```
## Initialization
Obtain the API key in Inspector tab in your [Avo.app](https://www.avo.app/welcome) workspace.
You will need to create an instance of `AvoInspector` with the constructor.
```java
public AvoInspector(@NotNull String apiKey, @NotNull String appVersion, @NotNull String appName, @NotNull AvoInspectorEnv env)
```
> #### Parameters:
>
> - `String apiKey` - the API key you get in Inspector tab of your Avo workspace
> - `String appVersion` - app version to attribute the events to
> - `String appName` - application name
> - `AvoInspectorEnv env` - current environment: AvoInspectorEnv.Dev, AvoInspectorEnv.Staging or AvoInspectorEnv.Prod
## Sending event schemas to Avo Inspector
This is the core of the **Avo Inspector SDK**.
Call \***\*one of the methods\*\*** in this section every time an event is tracked.
### Option 1
```java
@NonNull Map trackSchemaFromEvent(@NonNull String eventName, @Nullable JSONObject eventProperties);
// or
@NonNull Map trackSchemaFromEvent(@NonNull String eventName, @Nullable Map eventProperties);
```
> Example usage:
>
> ```java
> void trackEvent(@NonNull String eventName, @Nullable Map eventParams) {
> tracker.track(eventName, eventParams);
> this.avoInspector.trackSchemaFromEvent(eventName, eventParams);
> }
> ```
Extracts event schema from event properties represented by the second parameter (`JSONObject` or `Map`) and sends the schema to **Avo** for analysis.
> #### Parameters:
>
> - `String eventName` - event name, sometimes referred as event type.
> - `@Nullable JSONObject eventProperties` or `@Nullable Map eventProperties` - actual event properties, which will be converted to event schema on the device and the event schema will be sent to **Avo**. Resulting keys will be JSON fields keys and resulting values will be JSON fields values types converted to schema types.
>
> ##### Example format:
>
> ```java
> JSONObject eventProperties = new JSONObject();
> eventProperties.put("userId", 1337);
> eventProperties.put("emailAddress", "jane.doe@avo.app");
> eventProperties.put("key", "value");
> ```
> #### Return Type:
>
> - `@NonNull Map` containing event schema, so you can verify that conversion was correct.
> Example format:
>
> ```java
> Map eventSchema = new HashMap<>();
> eventSchema.put("userId", new AvoEventSchemaType.AvoInt());
> eventSchema.put("emailAddress", new AvoEventSchemaType.AvoString());
> eventSchema.put("key", newAvoEventSchemaType.AvoString());
> ```
### Option 2
```java
void trackSchema(@NonNull String eventName, @Nullable Map eventSchema);
```
This method allows you to process the event schema before sending it.
It's handy to extract the schema from your event properties with `extractSchema(Object eventProperties)` (see below), process it and then provide it to this method.
> #### Parameters:
>
> - `@NonNull String eventName` - event name, also known as event type.
> - `@Nullable Map eventSchema` - actual event schema that will be sent to **Avo**.
>
> ##### Example format:
>
> ```java
> Map eventSchema = new HashMap<>();
> eventSchema.put("userId", new AvoEventSchemaType.AvoInt());
> eventSchema.put("emailAddress", new AvoEventSchemaType.AvoString());
> eventSchema.put("key", new AvoEventSchemaType.AvoString());
> ```
See [this](https://www.avo.app/docs/reference/avo-inspector-sdks/overview.md#standalone-usage) for details about event schema structure and schema types.
## Other methods
### 1. Extract schema from event properties
```
java @NonNull Map extractSchema(@Nullable Object eventProperties);`kotlin
fun extractSchema(eventProperties: Any?): Map
```
This is the method used by `trackSchemaFromEvent` internally. Extracts event schema in form of `Map` from an event properties object.
> #### Parameters:
>
> - `@Nullable Object eventProperties` - event properties object. If it is an instance of `JSONObject` or `Map` it will be processed based on the containing key-value pairs, otherwise the event schema will be based on object fields.
> #### Return Type:
>
> - `@NonNull Map` containing event schema of the given event properties. Keys are event properties names and values are event properties types.
>
> ##### Example format:
>
> ```java
> Map eventSchema = new HashMap<>();
> eventSchema.put("userId", new AvoEventSchemaType.AvoInt());
> eventSchema.put("emailAddress", new AvoEventSchemaType.AvoString());
> eventSchema.put("key", newAvoEventSchemaType.AvoString());
> ```
### 2. Print logs
```java
static void enableLogging(boolean enable); // static method on AvoInspector
```
`enableLogging` controls printing of tracked event schemas and other helpful information to logcat. Enabled by default in development environments.
> #### Parameters:
>
> - `boolean enable` - sets whether **Avo Inspector SDK** will print logs to the logcat.
---
Source: https://www.avo.app/docs/reference/avo-inspector-sdks/node.md
# Avo Inspector Node.js SDK
## Quick Start Guide
Find the Quick Start Guide in our [GitHub repo](https://github.com/avohq/node-avo-inspector).
## Installation
The library is distributed with NPM, install with npm:
```bash npm2yarn
npm i node-avo-inspector
```
## Import
```ts
import * as Inspector from "node-avo-inspector";
```
## Initialization
Obtain the API key in Inspector tab in your [Avo.app workspace](https://www.avo.app/welcome).
You will need to create an instance of **AvoInspector** with the constructor:
```ts
constructor(options: {
apiKey: string;
env: AvoInspectorEnv;
version: string;
appName?: string;
publicEncryptionKey?: string;
});
```
All the following methods are available in the **AvoInspector** class.
> #### Parameters:
>
> - `apiKey` - the API key you get in your Avo account
> - `env` - current environment: `"dev"`, `"staging"` or `"prod"`
> - `appVersion` - your application version. A lot of Inspector features rely on versioning and you need to provide a comparable string here to get value from them. We recommend using semantic versioning or integers that are incremented in every release.
> - `appName` - your application name. Optional; Provide it to make it easier to distinguish between data from different apps.
> - `publicEncryptionKey` - optional. Your hex-encoded P-256 public key for [property value validation](#property-value-validation).
#### Property value validation
You can enable property value validation to validate property values against the [constraints defined in your tracking plan](https://www.avo.app/docs/data-design/avo-tracking-plan/properties.md#property-types-and-constraints), such as allowed values, regex patterns, and min/max ranges.
> 💡 Property value validation is available for version 1.2.0+ of the Node.js Inspector SDK. If you are using an older version, please update to the latest version.
To enable property value validation:
1. **Enable property value validation in settings** - Go to workspace settings in your Avo workspace and enable [property value validation](https://www.avo.app/docs/inspector/inspector-debugger.md#enabling-advanced-debugger-features).
To be able to [decrypt the property values](https://www.avo.app/docs/inspector/inspector-debugger.md#decrypting-property-values) in the Inspector Debugger, you need to generate a public/private key pair:
**Step 1: Generate encryption keys**
Run the following command in your terminal to generate a public/private key pair:
```bash
node -e "const { createECDH } = require('crypto'); const ecdh = createECDH('prime256v1'); ecdh.generateKeys(); console.log('Private Key:', ecdh.getPrivateKey('hex')); console.log('Public Key:', ecdh.getPublicKey('hex', 'compressed'));"
```
This will output:
- **Public key** - Used by Avo to encrypt property values
- **Private key** - Used by you to decrypt values in the Inspector Debugger
**Step 2: Store your private key securely**
Save your private key in a secure location like a password manager. You'll need this to [decrypt values in the Inspector Debugger](https://www.avo.app/docs/inspector/inspector-debugger.md#decrypting-property-values). Never share or expose your private key to a third party.
**Step 3: Add the public key to the Inspector initialization**
Pass the public key when initializing the `AvoInspector` instance:
```ts
const inspector = new Inspector.AvoInspector({
apiKey: 'YOUR-API-KEY',
env: 'dev',
version: '1.0.0',
appName: 'My App',
publicEncryptionKey: 'YOUR-HEX-PUBLIC-KEY',
});
```
> 🔒 Property values are encrypted end-to-end. Avo only stores encrypted values and cannot decrypt them. Only you can decrypt the values using your private key in the Inspector Debugger dashboard.
Learn more about [decrypting property values in the Inspector Debugger](https://www.avo.app/docs/inspector/inspector-debugger.md#decrypting-property-values) and the [property value issue types](https://www.avo.app/docs/inspector/issue-types-in-inspector.md#property-value-issues) that can be detected.
## Sending event schemas to Avo Inspector
This is the core of the **Avo Inspector SDK**.
```ts
trackSchemaFromEvent(eventName: string, eventProperties: {
[propName: string]: any;
}): void;
```
> #### Parameters:
>
> - `eventName` - string event name, also known as event type.
> - `eventProperties` - The actual event properties, which will be converted to an event schema on the device and the event schema sent to **Avo**. The resulting keys will be object field names and the values will be object field value types converted to schema types.
>
> ##### Example format:
>
> ```js
> var eventProperties = {
> userId: 1337,
> emailAddress: 'jane.doe@avo.app',
> key: 'value',
> };
> ```
## Configuring Logs
`enableLogging` controls printing of tracked event schemas and other helpful information to logcat. Enabled by default in development environments.
```js
enableLogging(enable: boolean): void;
```
> #### Parameters:
>
> - `enable` - boolean flag that sets whether **Avo Inspector SDK** will print logs
> .
---
Source: https://www.avo.app/docs/reference/avo-inspector-sdks/react-native.md
# Avo Inspector React Native SDK
## Quick Start Guide
Find the Quick Start Guide in our [GitHub repo](https://github.com/avohq/js-avo-inspector/tree/react-native-node-package).
## Installation
Inspector library is available through npm. Run the following command to install it:
```bash npm2yarn
npm install react-native-avo-inspector
```
## Import
```ts
import * as Inspector from 'react-native-avo-inspector/dist-native';
```
## Initialization
Obtain the API key in Inspector tab in your [Avo.app](https://www.avo.app/welcome) workspace.
You will need to create an instance of **AvoInspector** with the constructor:
```ts
constructor(options: {
apiKey: string;
env: AvoInspectorEnv;
version: string;
appName?: string;
});
```
All the following methods are available in the **AvoInspector** class.
> #### Parameters:
>
> - `apiKey` - the API key you get in your Avo account
> - `env` - current environment: `"dev"`, `"staging"` or `"prod"`
> - `appVersion` - your application version. A lot of Inspector features rely on versioning and you need to provide a comparable string here to get value from them. We recommend using semantic versioning or integers that are incremented in every release.
> - `appName` - your application name. Optional; Provide it to make it easier to distinguish between data from different apps.
## Sending event schemas to Avo Inspector
This is the core of the **Avo Inspector SDK**.
Call \***\*one of the methods\*\*** in this section every time an event is tracked.
#### Option 1
```ts
trackSchemaFromEvent(eventName: string, eventProperties: {
[propName: string]: any;
}): void;
```
Extracts the event schema from event properties represented by the second parameter `({ [propName: string]: any; })` and sends the schema to **Avo** for analysis.
> #### Parameters:
>
> - `eventName` - string event name, also known as event type.
> - `eventProperties` - The actual event properties, which will be converted to an event schema on the device and the event schema sent to **Avo**. The resulting keys will be object field names and the values will be object field value types converted to schema types.
>
> ##### Example format:
>
> ```js
> var eventProperties = {
> userId: 1337,
> emailAddress: 'jane.doe@avo.app',
> key: 'value',
> };
> ```
#### Option 2
```js
trackSchema(eventName: string, eventSchema: Array<{
propertyName: string;
propertyType: string;
children?: any;
}>): void;
```
This method allows you to process the event schema before sending it.
It's handy to extract the schema from your event properties with `extractSchema` (see below), process it, and then provide it to this method.
> #### Parameters:
>
> - `eventName` - string event name, also known as event type.
> - `eventSchema` - actual event schema that will be sent to **Avo**. Keys are event parameters names and values are event parameters types.
>
> #### Example format:
>
> ```js
> var returnedSchema = [
> {
> propertyName: 'userId';
> propertyType: 'int';
> },
> {
> propertyName: 'emailAddress';
> propertyType: 'string';
> },
> {
> propertyName: 'key';
> propertyType: 'string';
> },
> ];
> ```
>
> See supported schema types [here](https://www.avo.app/docs/reference/avo-inspector-sdks/overview.md#supported-types).
## Other methods
#### 1. Extract schema from event properties
```ts
extractSchema(eventProperties: {
[propName: string]: any;
}): Array<{
propertyName: string;
propertyType: string;
children?: any;
}>
```
This is the method used by `trackSchemaFromEvent` internally. The event schema is extracted from the event properties' JS object, itself in the form of a JS object as well.
> #### Parameters:
>
> - `eventProperties` - An event properties object. Keys are event properties' names and values are event properties' values.
> The format is the same as the `eventProperties` parameter in the `trackSchemaFromEvent` method.
>
> #### Return Value:
>
> - A JS object containing the event schema of the given event properties. The keys are the event properties' names and the values are the event properties' types.
> The format is the same as `eventSchema` parameter in the `trackSchema` method.
#### 2. Print logs
```js
enableLogging(enable: boolean): void;
```
`enableLogging` controls printing of tracked event schemas and other helpful information to logcat. Enabled by default in development environments.
> #### Parameters:
>
> - `enable` - boolean flag that sets whether **Avo Inspector SDK** will print logs.
### 3. Controlling the batch size
```js
setBatchSize(newBatchSize: number): void;
```
Enables manual control over events batching. The default batch size in production is 30, i.e. the library attempts to send event schemas to the server when it has 30 or more schemas.
In development batching is disabled by default.
> #### Parameters:
>
> - `int newBatchSize` - sets batch size.
### 4. Controlling the batching interval
```js
setBatchFlushSeconds(newBatchFlushSeconds: number): void;
```
Enables manual control over events batching. The default production batch flush interval is 30 seconds, i.e. the library attempts to send event schemas to the server when 30 or more seconds pass, given that there are unsent schemas.
> #### Parameters:
>
> - `int newBatchFlushSeconds` - sets batch flush time in seconds.
## What's next?
Now when you've set up Inspector we recommend to start using [the mobile debugger](https://www.avo.app/docs/reference/avo-debuggers/mobile.md).
---
Source: https://www.avo.app/docs/reference/avo-inspector-sdks/web.md
# Avo Inspector Web SDK
## Quick Start Guide
Find the Quick Start Guide in our [GitHub repo](https://github.com/avohq/js-avo-inspector).
## 1. Installation
### Installation option 1: NPM / Yarn
Inspector library is available through npm. Run the following command to install it:
```bash npm2yarn
npm install avo-inspector
```
##### Import
```ts
import * as Inspector from 'avo-inspector';
```
##### Initialization
Obtain the API key in the Sources tab in your [Avo.app](https://www.avo.app/welcome) workspace.
You will need to create an instance of **AvoInspector** with the constructor:
```ts
constructor(options: {
apiKey: string;
env: AvoInspectorEnv;
version: string;
appName?: string;
suffix?: string;
publicEncryptionKey?: string;
});
```
All the following methods are available in the **AvoInspector** class.
> #### Parameters:
>
> - `apiKey` - the API key you get in your Avo account
> - `env` - current environment: `"dev"`, `"staging"` or `"prod"`
> - `appVersion` - your application version. A lot of Inspector features rely on versioning and you need to provide a comparable string here to get value from them. We recommend using semantic versioning or integers that are incremented in every release.
> - `appName` - your application name. Optional; Provide it to make it easier to distinguish between data from different apps.
> - `suffix` - optional. If you are using more than 1 instance of Avo Inspector in the same project provide a unique string here.
> - `publicEncryptionKey` - optional. Your hex-encoded P-256 public key for [property value validation](#property-value-validation).
#### Property value validation
You can enable property value validation to validate property values against the [constraints defined in your tracking plan](https://www.avo.app/docs/data-design/avo-tracking-plan/properties.md#property-types-and-constraints), such as allowed values, regex patterns, and min/max ranges.
To enable property value validation:
1. **Enable property value validation in settings** - Go to workspace settings in your Avo workspace and enable [property value validation](https://www.avo.app/docs/inspector/inspector-debugger.md#enabling-advanced-debugger-features).
2. **Generate encryption keys** - Follow the key generation guide in the [Inspector Debugger docs](https://www.avo.app/docs/inspector/inspector-debugger.md#generating-encryption-keys).
3. **Add the public key to the Inspector initialization**
Pass the public key in the constructor options:
```ts
const inspector = new Inspector.AvoInspector({
apiKey: 'YOUR-API-KEY',
env: 'dev',
version: '1.0.0',
appName: 'My App',
publicEncryptionKey: 'YOUR-HEX-PUBLIC-KEY',
});
```
Once enabled, property values will be encrypted using ECIES (P-256 ECDH + AES-256-GCM) and sent to Avo for validation. You can view the encrypted values and any [property value issues](https://www.avo.app/docs/inspector/issue-types-in-inspector.md#property-value-issues) in the [Inspector Debugger](https://www.avo.app/docs/inspector/inspector-debugger.md), and decrypt them locally using your private key.
### Installation option 2: HTML Tag
> Warning! This step is not enough to connect Avo Inspector. Make sure to proceed to step 2 to complete your setup.
Paste the HTML script tag snippet within the `` tag of your page, or into a tag manager like Google Tag Manager (GTM).
> When pasting the HTML script snippet into GTM, paste it into a GTM Tag and have it load as early as possible. It needs to be loaded before you call your events.
Make sure to update `__API_KEY__`, `__ENV__`, `__VERSION__` and `__APP_NAME__` based on your project. Obtain the API key in the Sources tab in your [Avo.app](https://www.avo.app/welcome) workspace.
```html
```
> When Setting Up GTM, you can use the inspect tool in your browser to see if your GTM tag is firing the track call correctly.
To enable [property value validation](#property-value-validation) with the HTML tag, uncomment the `__PUBLIC_ENCRYPTION_KEY__` line and add your public key. See the [property value validation section](#property-value-validation) above for instructions on generating keys.
### Installation option 3: Lite build (production only)
Available since version `3.1.0`. For production environments where bundle size matters (GTM, script tags, etc.), the lite entry point excludes property value validation, session filtering, and event deduplication. Use the full build in dev/staging environments for the complete [Inspector Debugger](https://www.avo.app/docs/inspector/inspector-debugger.md) experience.
```bash npm2yarn
npm install avo-inspector
```
```ts
import { AvoInspector, AvoInspectorEnv } from 'avo-inspector/lite';
const inspector = new AvoInspector({
apiKey: 'YOUR-API-KEY',
env: AvoInspectorEnv.Prod,
version: '1.0.0',
});
```
The lite build has the same tracking API as the full version — `trackSchemaFromEvent`, `trackSchema`, and `extractSchema` all work identically. The differences:
- Does not support [property value validation](https://www.avo.app/docs/inspector/inspector-debugger.md#enabling-advanced-debugger-features) in the Inspector Debugger (no `publicEncryptionKey` constructor option)
- Does not support [session filtering](https://www.avo.app/docs/inspector/inspector-debugger.md) in the Inspector Debugger (no stream ID generation/persistence)
- Does not support event deduplication — if you use both Avo Codegen and manual `trackSchemaFromEvent` calls for the same events, use the full build instead to avoid sending duplicate schemas
- Works universally with any bundler or minifier — no flags or configuration needed
**Lite build size:** ~20 KB minified, ~5.2 KB gzipped.
## 2. Send event schemas to Avo Inspector
This is the core of the **Avo Inspector SDK**.
Call \***\*one of the methods\*\*** in this section every time an event is tracked.
#### Track option 1
```ts
inspector.trackSchemaFromEvent(eventName: string, eventProperties: {
[propName: string]: any;
}): void;
```
Extracts the event schema from event properties represented by the second parameter `({ [propName: string]: any; })` and sends the schema to **Avo** for analysis.
> #### Parameters:
>
> - `eventName` - string event name, also known as event type.
> - `eventProperties` - The actual event properties, which will be converted to an event schema on the device and the event schema sent to **Avo**. The resulting keys will be object field names and the values will be object field value types converted to schema types.
>
> ##### Example format:
>
> ```js
> var eventProperties = {
> userId: 1337,
> emailAddress: 'jane.doe@avo.app',
> key: 'value',
> };
> ```
#### Track option 2
```js
inspector.trackSchema(eventName: string, eventSchema: Array<{
propertyName: string;
propertyType: string;
children?: any;
}>): void;
```
This method allows you to process the event schema before sending it.
It's handy to extract the schema from your event properties with `extractSchema` (see below), process it, and then provide it to this method.
> #### Parameters:
>
> - `eventName` - string event name, also known as event type.
> - `eventSchema` - actual event schema that will be sent to **Avo**. Keys are event parameters names and values are event parameters types.
>
> #### Example format:
>
> ```js
> var returnedSchema = [
> {
> propertyName: 'userId';
> propertyType: 'int';
> },
> {
> propertyName: 'emailAddress';
> propertyType: 'string';
> },
> {
> propertyName: 'key';
> propertyType: 'string';
> },
> ];
> ```
>
> See supported schema types [here](https://www.avo.app/docs/reference/avo-inspector-sdks/overview.md#supported-types).
## Other methods
#### 1. Extract schema from event properties
```ts
inspector.extractSchema(eventProperties: {
[propName: string]: any;
}): Array<{
propertyName: string;
propertyType: string;
children?: any;
}>
```
This is the method used by `trackSchemaFromEvent` internally. The event schema is extracted from the event properties' JS object, itself in the form of a JS object as well.
> #### Parameters:
>
> - `eventProperties` - An event properties object. Keys are event properties' names and values are event properties' values.
> The format is the same as the `eventProperties` parameter in the `trackSchemaFromEvent` method.
>
> #### Return Value:
>
> - A JS object containing the event schema of the given event properties. The keys are the event properties' names and the values are the event properties' types.
> The format is the same as `eventSchema` parameter in the `trackSchema` method.
#### 2. Print logs
```js
inspector.enableLogging(enable: boolean): void;
```
`enableLogging` controls printing of tracked event schemas and other helpful information to logcat. Enabled by default in development environments.
> #### Parameters:
>
> - `enable` - boolean flag that sets whether **Avo Inspector SDK** will print logs.
#### 3. Controlling the batch size
```js
setBatchSize(newBatchSize: number): void;
```
Enables manual control over events batching. The default batch size in production is 30, i.e. the library attempts to send event schemas to the server when it has 30 or more schemas.
In development batching is disabled by default.
> #### Parameters:
>
> - `int newBatchSize` - sets batch size.
#### 4. Controlling the batching interval
```js
setBatchFlushSeconds(newBatchFlushSeconds: number): void;
```
Enables manual control over events batching. The default production batch flush interval is 30 seconds, i.e. the library attempts to send event schemas to the server when 30 or more seconds pass, given that there are unsent schemas.
> #### Parameters:
>
> - `int newBatchFlushSeconds` - sets batch flush time in seconds.
#### 5. Controlling the network timeout
```js
setNetworkTimeout(newNetworkTimeout: number): void;
getNetworkTimeout(): number;
```
Enables manual control over the network timeout. The default network timeout is 2 seconds.
## Using in web workers
The Web SDK maintains some shared state across the tracking calls and stores the data for batching, which makes it not suitable for web workers usage.
If you have event tracking in web workers, we recommend to set up a listener in the main thread and send your event data there, where an inspector instance will be listening, processing and sending the event schemas to Avo.
This approach will allow you to use the shared batching and sessions across all web workers and the main thread.
> #### Parameters:
>
> - `number newNetworkTimeout` - sets network timeout in milliseconds.
## GTM and CDPs
Find our guides to connect Inspector through the GTM or a CDP below:
- [GTM](https://www.avo.app/docs/inspector/connect-inspector-to-gtm.md)
- [Segment](https://www.avo.app/docs/inspector/connect-inspector-to-segment.md)
- [RudderStack](https://www.avo.app/docs/inspector/connect-inspector-to-rudderstack.md)
- [PostHog](https://www.avo.app/docs/inspector/connect-inspector-to-posthog.md)
---
Source: https://www.avo.app/docs/reference/avo-debuggers/overview.md
# Setup Avo Visual Debugger in code
When implementing analytics on web and mobile apps it’s hard to know if the events are being sent successfully or not, and if they are being sent at the correct time.
Our Visual Debuggers provide a way to control the events flow in your app, making implementing analytics way easier and pleasant in web and mobile products.
Web Visual debugger is integrated into the Avo generated file and mobile debuggers are distributed as standalone open source libraries.
Each Avo function will automatically show events in the debugger with timestamp and all the properties.
If Avo detects errors the visual debugger will highlight those.
> Debuggers are disabled in the [noop](https://www.avo.app/docs/implementation/guides/avo-and-unit-tests.md) mode
### [Web debugger](https://www.avo.app/docs/reference/avo-debuggers/web.md)
### [Mobile debuggers](https://www.avo.app/docs/reference/avo-debuggers/mobile.md)
---
Source: https://www.avo.app/docs/reference/avo-debuggers/mobile.md
# Set up Avo Mobile Visual Debugger in code
Mobile debuggers are distributed as standalone open source libraries.
Each Avo function will automatically show events in the debugger with timestamp and all the properties.
If Avo detects errors the visual debugger will highlight those.
> Debuggers are disabled in the [noop](https://www.avo.app/docs/implementation/guides/avo-and-unit-tests.md) mode
### Setting up the mobile debuggers
> If you have already initialized development build of the Inspector SDK on Android, no further action is required to include the Visual Debugger. See `showVisualInspector` and `hideVisualInspector` methods of Inspector SDKs to start using the Visual Debugger.
The following pseudocode would give you the idea, head to [platform docs](#platform-docs) for specific integration instructions.
1. Create the debugger
```javascript
val debugger = Debugger()
```
2. Pass debugger when you initialize Avo, so Avo can show all tracked events
```javascript
Avo.initAvo(AvoEnv.DEV, ..., debugger)
```
3. Show the debugger
```javascript
debugger.showDebugger(this, DebuggerMode.bar)
```
4. Post your own events
```javascript
debugger.post(
timestamp,
"EventName",
errors: [{propertyId:"id0", message:"error in property 'event prop' with id 'id0'"}],
eventProperties: [{id:"id0", name:"event prop", value:"val"}],
userProperties: [{id:"id1", name:"user prop", value:"val"}]
);
```
## Open source repositories and platform specific integration docs
We store the source code, platform docs and example apps in the corresponding GitHub repositories.
- [Android](https://github.com/avohq/android-analytics-debugger)
- iOS
- [CocoaPods](https://github.com/avohq/ios-analytics-debugger)
- [Swift Package Manager](https://github.com/avohq/ios-analytics-debugger-spm)
- [React Native](https://github.com/avohq/react-native-analytics-debugger)
---
Source: https://www.avo.app/docs/reference/avo-debuggers/web.md
# Start using Avo Visual Debugger in code
Currently the web visual debugger is only available when you use [Avo Codegen](https://www.avo.app/docs/implementation/avo-codegen-overview.md).
Each Avo function will automatically show events in the debugger with timestamp and all the properties.
If Avo detects errors the visual debugger will highlight those.
> Debuggers are disabled in the [noop](https://www.avo.app/docs/implementation/guides/avo-and-unit-tests.md) mode
### Accessing the web debugger
The Web Debugger is on by default in development.
To disable the Web Debugger in development provide `webDebugger = false` to initAvo options:
```typescript
Avo.initAvo({ webDebugger: false, ... }, ...);
```
```ReasonML
Avo.initAvo(~webDebugger=true, ...);
```
```ReScript
Avo.initAvo(~webDebugger=true, ...)
```
To access it in production add the `?avo_debug=1` query parameter to the URL.
#### Setting the position of the web debugger
The default position of the Web Debugger is at the bottom right of the screen. However, if you wish to move it you can pass in the `position` object to the `webDebuggerOptions`. The bubble may be anchored to each corner of the screen (`BottomRight`, `BottomLeft`, `TopRight` or `TopLeft`) and each area will take a more fine grained offset relative to it's corner.
> 💡 Using `WebDebuggerPosition` will guide you to pass the correct parameters.
```typescript
import Avo, { WebDebuggerPosition } from './path/to/Avo';
Avo.initAvo({
webDebuggerOptions: {
position: WebDebuggerPosition.BottomRight({ bottom: 20, right: 20 }),
},
...
});
```
```javascript
Avo.initAvo({
webDebuggerOptions: {
position: Avo.WebDebuggerPosition.TopLeft({ top: 20, left: 20 }),
},
...
});
```
```ReasonML
Avo.initAvo(~webDebuggerOptions={position: BottomLeft{"bottom": 20, "left": 30}}, ...);
```
```ReScript
Avo.initAvo(~webDebuggerOptions={position: TopRight{"top": 20, "right": 30}}, ...)
```
---
Source: https://www.avo.app/docs/reference/public-api/overview.md
# Avo Public API
The Avo API is organized around REST, has predictable resource-oriented URLs, which are versioned by endpoint.
Avo API returns JSON encoded responses and uses standard HTTP response codes.
Avo API Uses [Basic Authentication](https://en.wikipedia.org/wiki/Basic_access_authentication) to authenticate requests.
- [Export Tracking Plan](https://www.avo.app/docs/reference/public-api/export-tracking-plan.md): Export your Avo tracking plan as JSON from any branch
- [Export Branch Stats](https://www.avo.app/docs/public-api/export-branch-stats): Export your Avo branch stats as CSV for all branches in the workspace
- [Create Branch](https://www.avo.app/docs/public-api/create-branch): Create a new branch in your Avo workspace
- [Import Tracking Plan](https://www.avo.app/docs/reference/public-api/import-tracking-plan.md): Import a tracking plan from a CSV file into a specific branch in your Avo workspace
- [Inspector Issues](https://www.avo.app/docs/reference/public-api/inspector-issues.md): Read a single Inspector issue by ID and the observed event shapes behind it
---
Source: https://www.avo.app/docs/reference/public-api/inspector-issues.md
# Inspector Issues
_Read Inspector issues and the event shapes behind them over HTTP_
Two GET endpoints: one returns a single Inspector issue, the other returns the event shapes ("variations") behind it. Both take an `issueId`, which you'll find in the Avo web app URL when you open an issue: `https://www.avo.app/schemas/{workspaceId}/inspector/issues/ii/{issueId}`.
The base URL for the Avo public API is `https://api.avo.app`.
## Endpoints
| Method and path | Returns | Use it when |
| --- | --- | --- |
| `GET /workspaces/:workspaceId/inspector/issues/v3/:issueId` | A single issue | You need counts broken down per app version, or a window other than 24 hours. |
| `GET /workspaces/:workspaceId/inspector/issues/:issueId/variations` | The event shapes behind an issue, as JSON or CSV | You want to see exactly what the event looked like when it triggered the issue. |
`:workspaceId` is the ID of your workspace, from the URL of your Avo tab after `/schemas/`.
> 💡 **Inspector data takes a few minutes to arrive**, so an event sent moments ago won't be in a response yet. To check an implementation as you ship it, use the [Inspector Debugger](https://www.avo.app/docs/inspector/inspector-debugger.md).
## Authentication
Both endpoints require an [authorization header](https://www.avo.app/docs/reference/public-api/authentication.md#authenticating-with-avo-api) containing a Base64 encoded service account name and secret.
| Code | Body | Condition |
| --- | --- | --- |
| `401` | `{"message": "Authorization header missing"}` | No `Authorization` header. |
| `401` | `{"message": "Invalid authorization"}` | Bad secret, unknown service account, or a service account not registered in this workspace. |
An `issueId` from another workspace returns 404, the same as an id that doesn't exist.
### Rate limits
Treat these endpoints as rate limited. Design for **1 request per second per service account**, the limit soft-enforced across the rest of the Avo public API. Retry on `429 Too Many Requests` with exponential backoff, and respect `Retry-After` if it's there.
If you need a higher sustained rate, [reach out](https://www.avo.app/docs/help/troubleshooting.md).
## Retrieving a single issue
```Url
GET https://api.avo.app/workspaces/:workspaceId/inspector/issues/v3/:issueId
```
Returns one issue, with its counts broken down per app version.
### Query parameters
| Parameter | Type | Default | Accepted values |
| --- | --- | --- | --- |
| `time` | string | `24h` | A number followed by `h` or `d`, such as `12h` or `7d`. Anything else falls back to `24h`. |
### Response
| Field | Type | Notes |
| --- | --- | --- |
| `issueId` | string | Identifies this issue on this source. |
| `sharedIssueId` | string | Groups the same problem across sources. |
| `schemaId` | string | Your workspace ID. |
| `sourceId` | string | The source this issue was found on. |
| `eventName` | string | The event name as sent. |
| `propertyName` | string \| null | `null` for event-level issue types. |
| `issueType` | object | What kind of issue this is. See below. |
| `oldestAppVersion` | string | |
| `newestAppVersion` | string | |
| `firstSeen` | string (ISO 8601) | |
| `lastSeen` | string (ISO 8601) | |
| `issueCount` | number | Occurrences that violated, summed across versions. |
| `eventCount` | number | **Total** occurrences of that event on that source, including the ones that were fine. |
| `appVersions` | object | Keyed by version string, **not an array**. Each value is `{"appVersion": string, "issueCount": number, "eventCount": number, "lastSeen": string \| null}`. |
| `issueStatus` | object | `{status, updatedAt: string \| null, updatedBy: string \| null}`. See below. |
| `regression` | boolean | See below. |
| `branchIds` | string[] | `[]` when the issue isn't linked to a branch. |
> ⚠️ **`eventCount` is not the number of events affected by the issue.** It is the total volume of that event on that source, healthy occurrences included. `issueCount` is the part that violated. Report the ratio between them: `issueCount: 1428` out of `eventCount: 96204` is a 1.5% violation rate, not 96,204 broken events.
#### `issueType`
A `type` plus a payload key. For what each type means, see [issue types in Inspector](https://www.avo.app/docs/inspector/issue-types-in-inspector.md).
```json
{ "type": "EventNotInTrackingPlan" }
{ "type": "UnexpectedEvent" }
{ "type": "MissingExpectedProperty", "missingExpectedProperty": { "eventId": "...", "propertyId": "...", "propertyName": "..." } }
{ "type": "PropertyTypeInconsistentWithTrackingPlan", "PropertyTypeInconsistentWithTrackingPlan": { "eventId": "..." , "propertyId": "...", "propertyName": "...", "expectedPropertyType": "...", "actualPropertyType": "..." } }
{ "type": "UnexpectedProperty", "unexpectedProperty": { "eventId": "...", "propertyName": "...", "propertyType": "..." } }
{ "type": "InconsistentType", "inconsistentType": { "propertyName": "...", "propertyTypes": ["string", "int"] } }
```
Payload keys are camelCase, except on `PropertyTypeInconsistentWithTrackingPlan`, where the key repeats the PascalCase type name.
#### `issueStatus.status`
```json
{ "type": "Unresolved" }
{ "type": "Ignored", "validateIn": { "type": "NextAppVersion", "appVersion": "8.15.0" } }
{ "type": "Resolved", "validateIn": { "type": "Never" } }
```
`validateIn` is one of `{"type":"CurrentAppVersion","appVersion":string}`, `{"type":"NextAppVersion","appVersion":string}`, `{"type":"CustomAppVersion","appVersion":string}`, `{"type":"Date","date":ISO 8601}` or `{"type":"Never"}`.
The status labelled **Ignore** in the Avo web app reads back as `Ignored`. An issue that never had a status set reads as `Unresolved`. See [issue status](https://www.avo.app/docs/inspector/inspector-issues-view.md#issue-status) for what each one means.
#### `regression`
`true` when an issue that was marked **Resolved** came back after the point it was meant to be fixed, which is the `validateIn` recorded when it was resolved. Inspector moves the issue back to `Unresolved` and sets the flag.
Setting the status again clears it, and an `Ignored` issue that comes back never sets it. It only means anything while the status is `Unresolved`.
### Status codes
| Code | Body | Condition |
| --- | --- | --- |
| `200` | The issue object | |
| `401` | See [authentication](#authentication) | Missing or invalid credential. |
| `404` | `{"error": "Issue Not found"}` | No issue with this id in your workspace. |
| `500` | `{"error": "Internal Server Error"}` | |
### Example
```sh
$ curl -H "authorization: Basic " \
-X GET "https://api.avo.app/workspaces/hAtPI0dEsq/inspector/issues/v3/2f1c9b8e4d7a05c3e6b1a94f8d2c70b5e93a17d4c8f0b62a5d1e7c3948fb0a26?time=7d"
```
```json
{
"issueId": "2f1c9b8e4d7a05c3e6b1a94f8d2c70b5e93a17d4c8f0b62a5d1e7c3948fb0a26",
"sharedIssueId": "8b4d0f6a1c93e57204ab8d1f6e3c9057b24da8f1093c6e5b7d20a41fc8e93b56",
"schemaId": "hAtPI0dEsq",
"sourceId": "9Zq7YAo0R",
"eventName": "Checkout Completed",
"propertyName": "revenue",
"issueType": {
"type": "PropertyTypeInconsistentWithTrackingPlan",
"PropertyTypeInconsistentWithTrackingPlan": {
"eventId": "yT2rKpQ4Xa",
"propertyId": "Bv8nLm1Zq0",
"propertyName": "revenue",
"expectedPropertyType": "float",
"actualPropertyType": "string"
}
},
"oldestAppVersion": "8.13.1",
"newestAppVersion": "8.14.2",
"firstSeen": "2026-08-11T09:42:18.000Z",
"lastSeen": "2026-08-24T06:00:00.000Z",
"issueCount": 9871,
"eventCount": 644390,
"appVersions": {
"8.13.1": {
"appVersion": "8.13.1",
"issueCount": 7204,
"eventCount": 402118,
"lastSeen": "2026-08-23T21:00:00.000Z"
},
"8.14.2": {
"appVersion": "8.14.2",
"issueCount": 2667,
"eventCount": 242272,
"lastSeen": "2026-08-24T06:00:00.000Z"
}
},
"issueStatus": {
"status": { "type": "Unresolved" },
"updatedAt": null,
"updatedBy": null
},
"regression": false,
"branchIds": []
}
```
## Listing event variations
```Url
GET https://api.avo.app/workspaces/:workspaceId/inspector/issues/:issueId/variations
```
A **variation** is one observed shape of an event: a particular combination of property names and types, per app version, per source. This endpoint returns every shape the event was seen in over the last 24 hours, each with a `causingIssue` flag and a count, so you can compare a shape that triggered the issue against one that didn't.
The window is always 24 hours and can't be changed.
### Query parameters
| Parameter | Type | Default | Accepted values |
| --- | --- | --- | --- |
| `format` | string | `json` | `csv` returns CSV. Anything else returns JSON. |
| `sourceId` | string | No filter | One source ID. |
| `appVersion` | string | No filter | One app version. |
`sourceId` and `appVersion` take a single value each and match exactly, so `?sourceId=a,b` finds nothing. Repeating a parameter is ignored.
> ⚠️ **Without `?sourceId=`, you get the event across every source in your workspace**, not just the source the issue was reported on. Pass the issue's own `sourceId` if that's what you want.
The response is capped at 400 rows, and each shape produces one row per app version per source. `variationsTruncated: true` means you hit the cap and are only seeing part of the picture. Narrow the query with `sourceId` and `appVersion`, then check the flag again.
### Response
`{"variations": [...], "variationsTruncated": bool}`, where each row has:
| Field | Type | Notes |
| --- | --- | --- |
| `eventVariationKey` | string | Identifies this shape on this source and app version. |
| `causingIssue` | boolean | Whether this shape is one of the shapes causing the issue. |
| `count` | number | Occurrences in the window. An estimate on sampled sources. |
| `eventName` | string | The event name as sent. |
| `sourceId` | string | The Avo Source ID. |
| `schemaId` | string | Your workspace ID. |
| `appVersion` | string \| null | |
| `minCreatedAt` | string \| null | ISO 8601. |
| `maxCreatedAt` | string \| null | ISO 8601. |
| `propertyNameSignature` | string[] | The property names that were sent, sorted by name. |
| `propertyTypeSignature` | string[] | Their types, in the same order, so `propertyTypeSignature[i]` is the type of `propertyNameSignature[i]`. |
Rows also carry `eventKey` and `sourceKey`, which you can ignore.
> ⚠️ **`propertyNameSignature` holds the names the SDK actually sent, not your tracking plan's names.** Line them up before comparing, or you'll report differences that aren't real. Names that look like data are redacted and come back as `